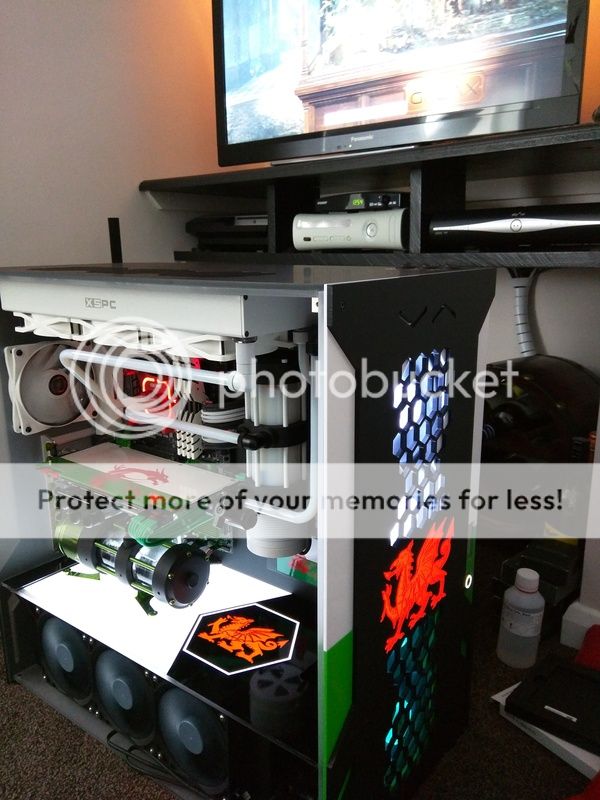
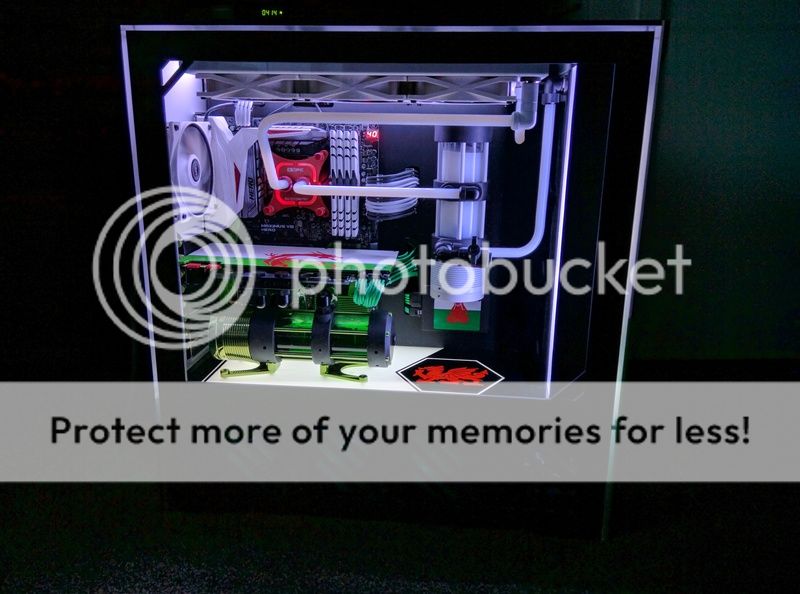
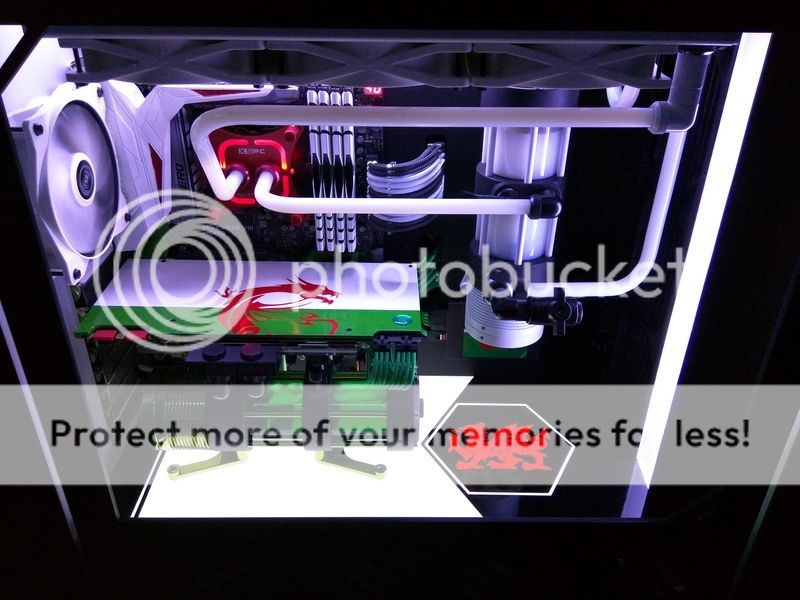
A Window To Wales

Excellent job on the light box :)

Polarised filter ! Just got one for glass and led shots . works great when its black out, found with daylight shots for internal details not so good .
Gets rid of unwanted reflections , which would be handle with your hard tubes
 
Cheers mate, I'd never really done any 'proper' modding before but this is tempting me to go back and make improvements to the previous build as well now :D

Unfortunately when it comes to photography I'm beyond useless, was just hoping auto mode on the Nikon DSLR would be a step up from auto mode on a Nexus phone! I do know how to manually focus it though, so guess that's a start lol
 
I have a ds3200 ... I think , used auto non flash with pola filter .
Only full night shots do I use manual settings or non PC stuff. But I'm just an amateur haha, would love a macro lens but just have a macro lens cap haha 20th the price !
 
I've tried playing with manual settings on the Nikon but found 90% of the time I made it worse, so stick to auto now!

Seeing the price of decent lenses it's probably a good thing we aren't pro's :D
 
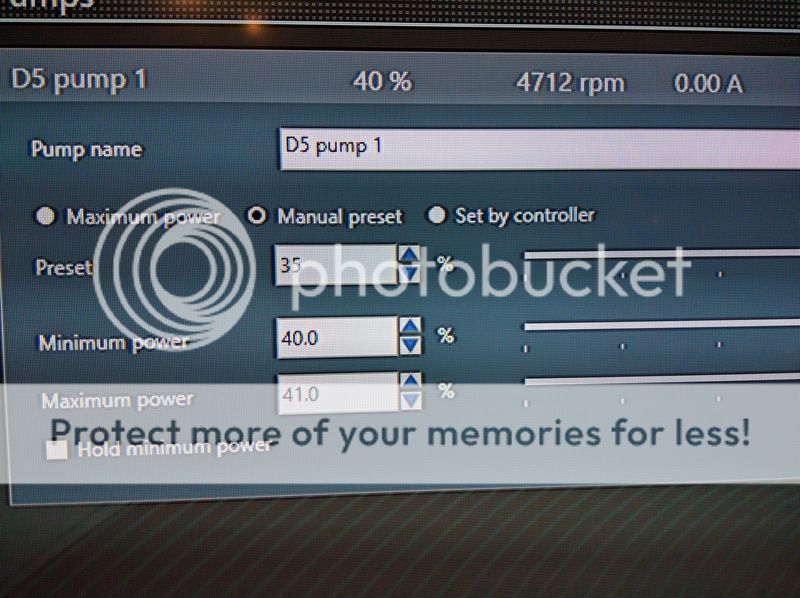
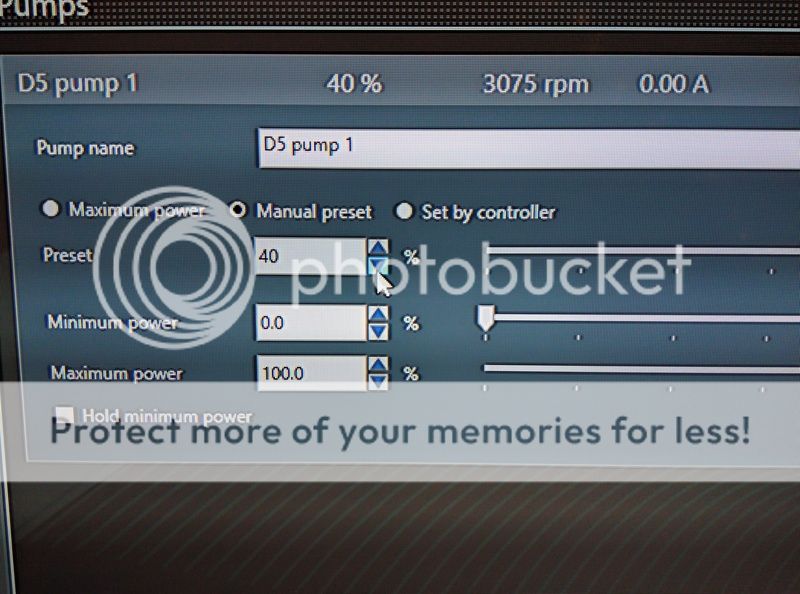
Random question: Both loops are using identical Aqua Computer D5's, but with the Aquabus cable unplugged and only the Molex connected the one runs a lot faster than the other. At a guess I'd say the one in the top loop is at 100% while the identical pump in the bottom loop seems to default to around 60%... Does anyone know if Aqua Computer changed the default speeds recently? I know EK changed their default speed from 60% > 100% last year so I'm hoping Aqua Computer have done the same, and that I've got pumps from 2 different batches rather than 1 dodgy pump! Cheers guys :)
 
Good news: Both loops filled and neither (so far!) leaking. More good news? I found out why my photos were coming out purple... Apparently all I had to do was turn HDR off lol I'm such a muppet some days :(

Still not mounted the new lightbox properly as I'm waiting for something from eBay and not added the green dye to the bottom loop yet, but here's a few non purple photos anyway :)

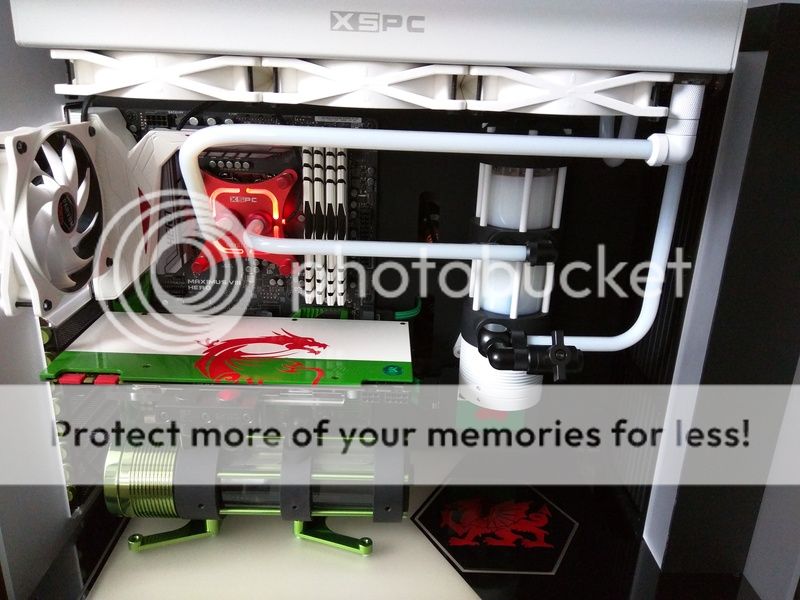
CPU block is always lit soooo, on its own:

IMG_20170323_143630.jpg


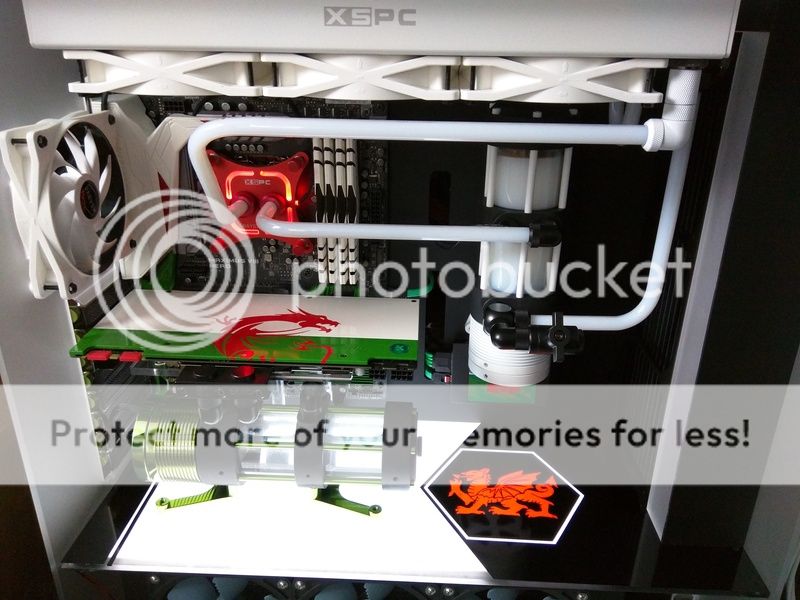
With floor:

IMG_20170323_143730.jpg


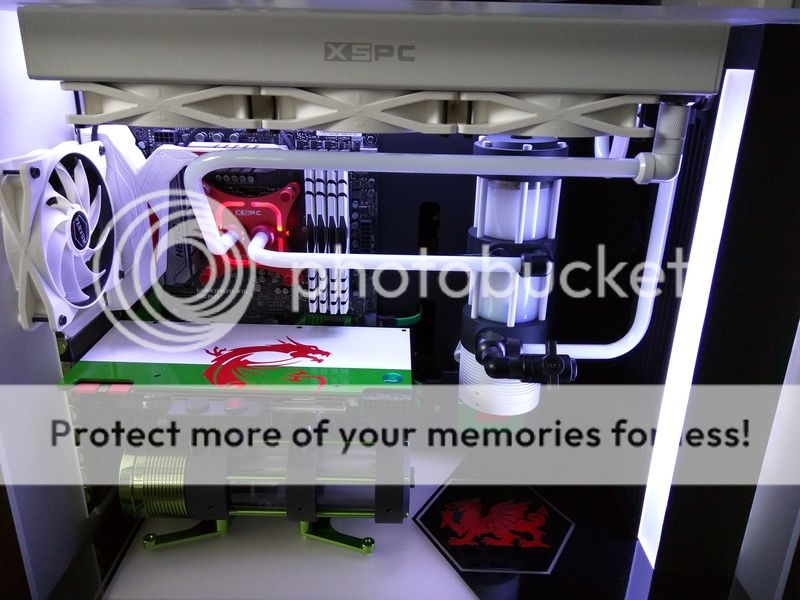
With LEDs not looking so purple!

IMG_20170323_143543.jpg


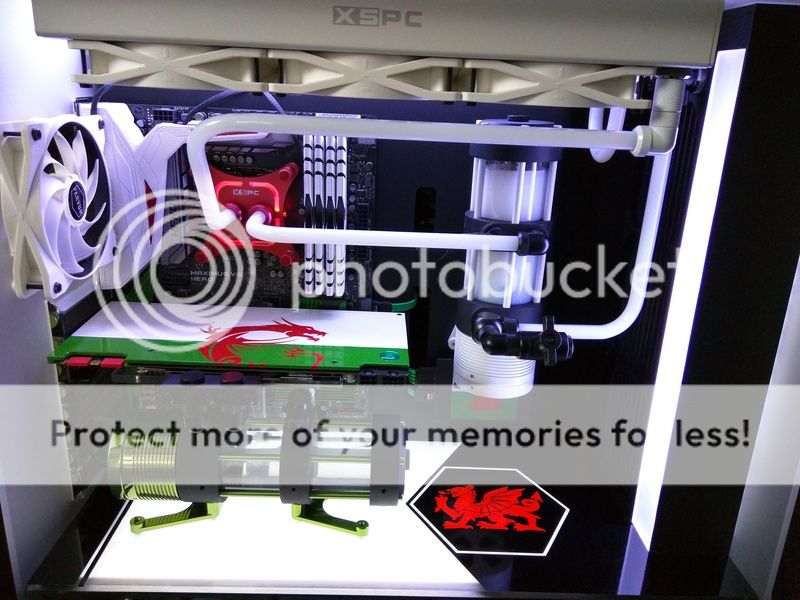
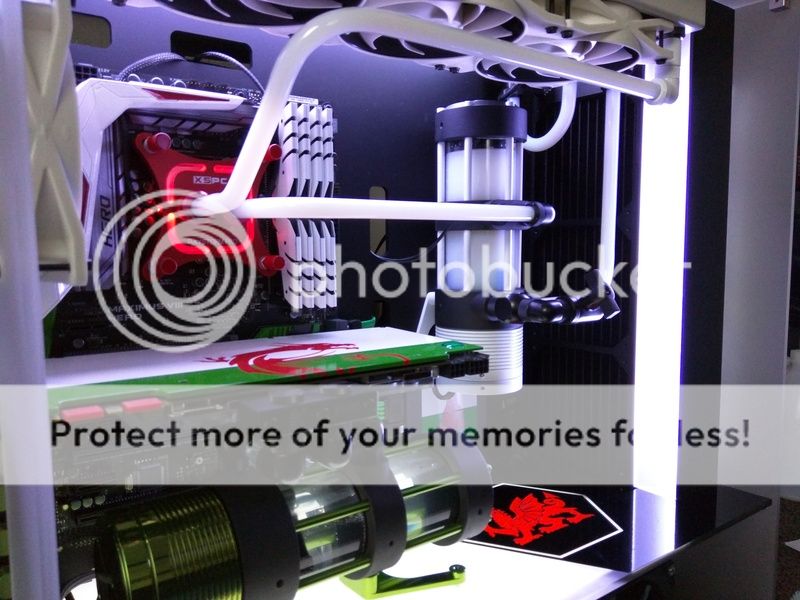
Everything :cool:

IMG_20170323_143524.jpg


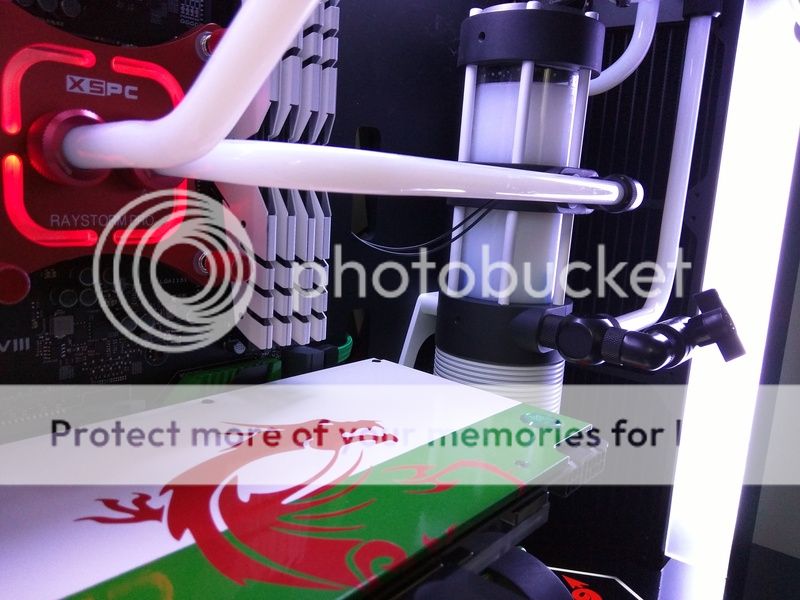
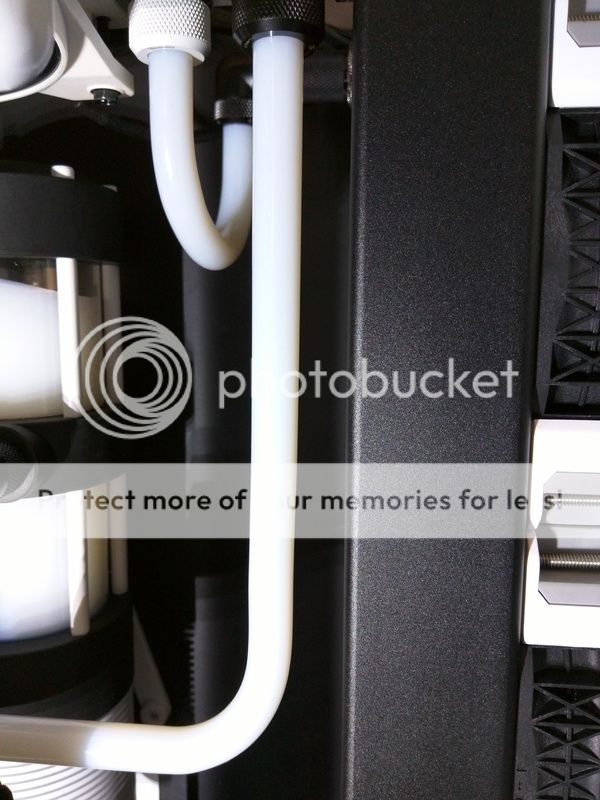
My bends are a long way off perfect, but at least they're level(ish) now...

IMG_20170323_143943.jpg


IMG_20170323_144016.jpg


IMG_20170323_145253.jpg


IMG_20170323_145453.jpg


Hope you like it but thoughts, ideas and criticisms welcome as always :D
 
Thanks mate, wasn't going to post again until I'd finished everything but just couldn't resist :D

To be honest I'd never even thought about that but yes, that would have looked good! *Heads off to eBay...*
 
Thanks mate, wasn't going to post again until I'd finished everything but just couldn't resist :D

To be honest I'd never even thought about that but yes, that would have looked good! *Heads off to eBay...*

Just realised , could have been used between the Res unit and the rad. Save you doing a bend and just used to straights.
That or between the CPU and res
 
That would have saved a good few lengths of pipe as well! Not sure why but I kept messing that one up even though it's one of the easiest bends ever :/
 
AAAAAARRRGGGHH!!! Fired it up and already have an issue: First up I was correct, pump 1 runs a lot faster than pump 2. The problem? Installed Aquasuite, both Aquaero's recognised, both pumps there but neither will respond to any changes I make, they just carry on at the same speed... Any ideas before I go crazy?

You like it so far then LePhuronn?! Can't wait to get the front back on it now to see it finished :D
 
Aye, I do very much like what I see. The tubing is nicely bent and white lighting is particularly delicious. Lovely job.

Thanks a lot mate, I honestly thought this build was going to be a lot more divisive than it has but am very pleasantly surprised by the responses it has received :)

Bumped the GPU core to +160 (hitting 2126 during the test according to Afterburner) just as a random starting point. CPU still stock it got a Time Spy score of 7558. GPU 8153 @ 52.17 fps & 47.52 fps with CPU 5350 @ 17.98 fps.

Still haven't figured these bloody pumps out but guess as soon as I have the CPU is going to receive a swift kick up the backside via an increased multiplier :D
 
The lighting you have done there sets it off great, real nice and clean way to display it.

Thank you, I had the idea for the radiator / fan cover and lightbox months ago, but when I found the edge strip light diffuser on eBay I decided not to bother... Glad I changed my mind again now :)
 
Good news, IT'S FINISHED! So time for an update full of pictures :D

First job though was to fix the issues I was having with the pumps. As you can see they definitely weren't running at 40%!

IMG_20170323_202540.jpg


IMG_20170323_202913.jpg


As this was giving me brain ache I decided to have a break and run a quick benchmark again. Chucked +165 on the GPU core and +475 on the memory to see what happened (CPU still @ stock).

IMG_20170324_125249.jpg


Time Spy came in @ 7774, with the GPU scoring 8448 and the CPU 5356. Not too bad, but definitely going to clock the CPU when I get a few spare minutes :)

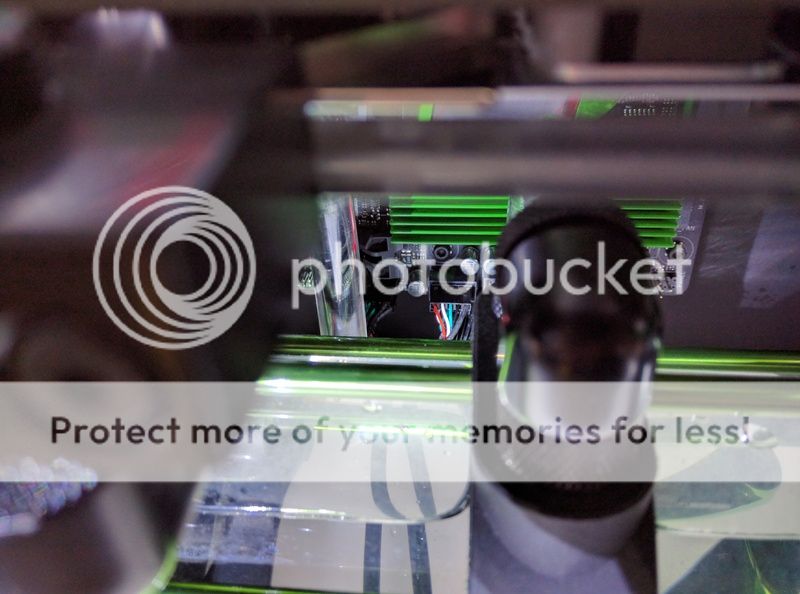
Then some good news: Some very helpful people over in the watercooling section pointed me in the right direction. It seems even when controlling pumps via Aquabus you need to run them via USB first. GREAT! Except check out where the USB headers are...

20 odd minutes and much swearing later they were both plugged in and working perfectly, so a big thanks to those who saved my brain!!

IMG_20170325_113312.jpg


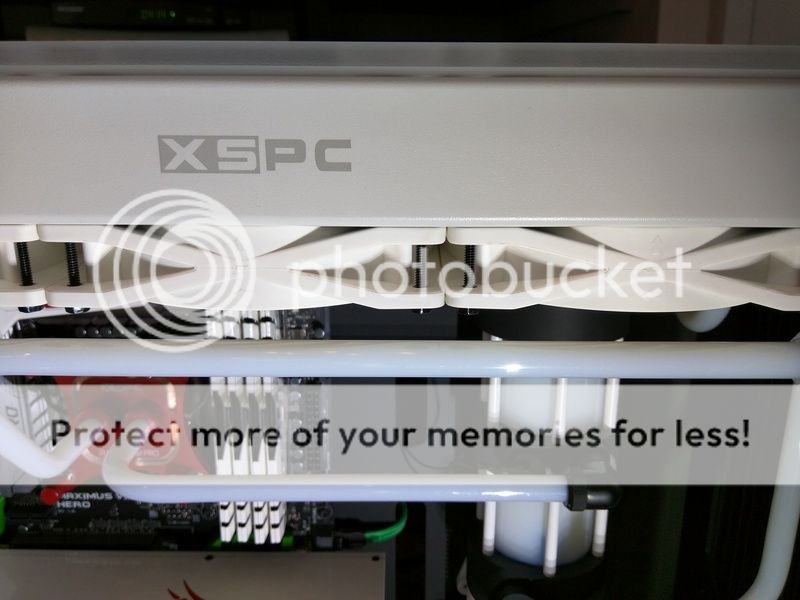
Next up I got the lightbox / shroud mounted properly...

IMG_20170325_111239.jpg


...Added the green dye and she was finally done! :D

IMG_20170325_120446.jpg


IMG_20170324_140829.jpg


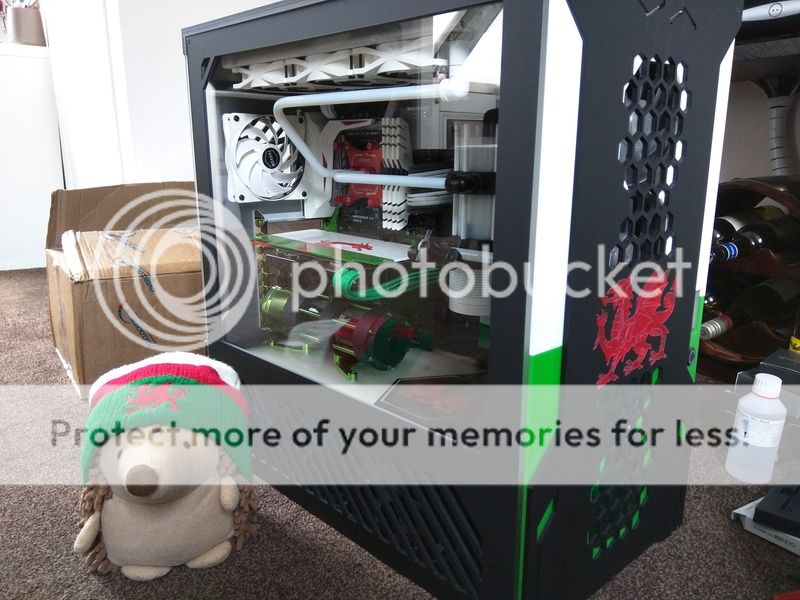
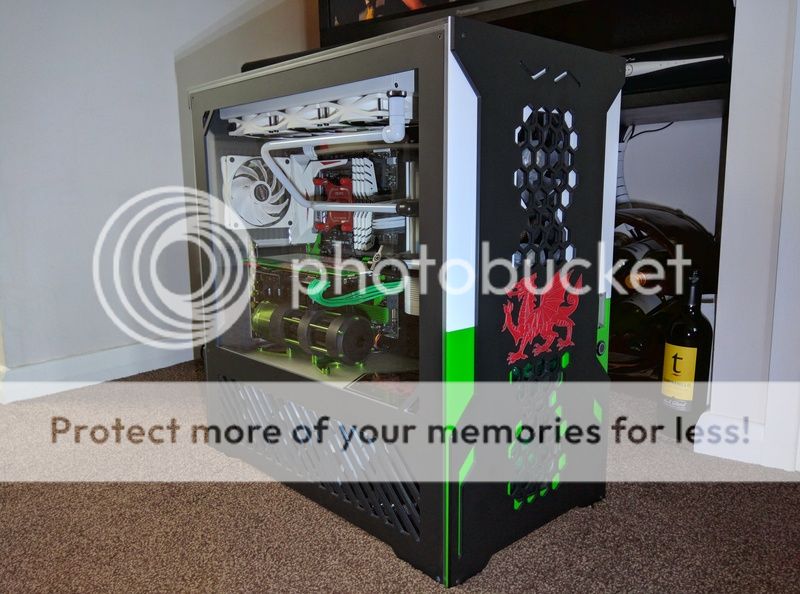
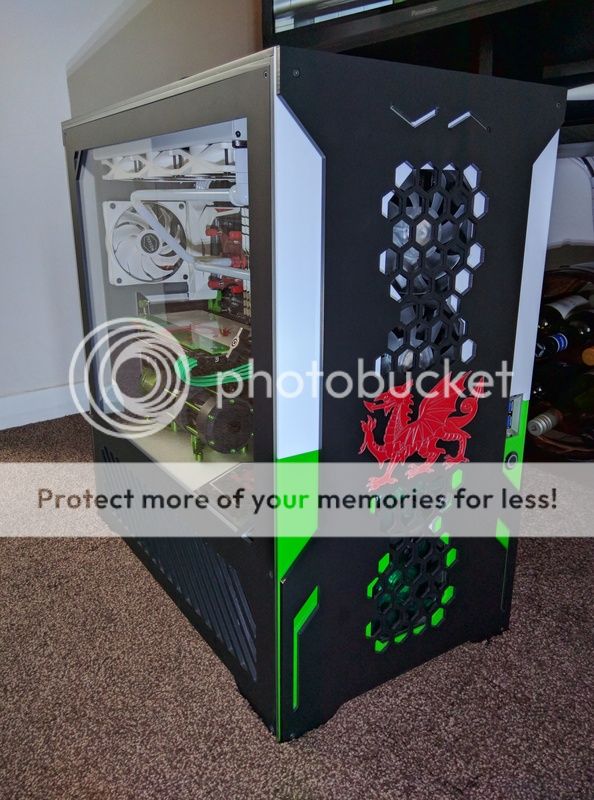
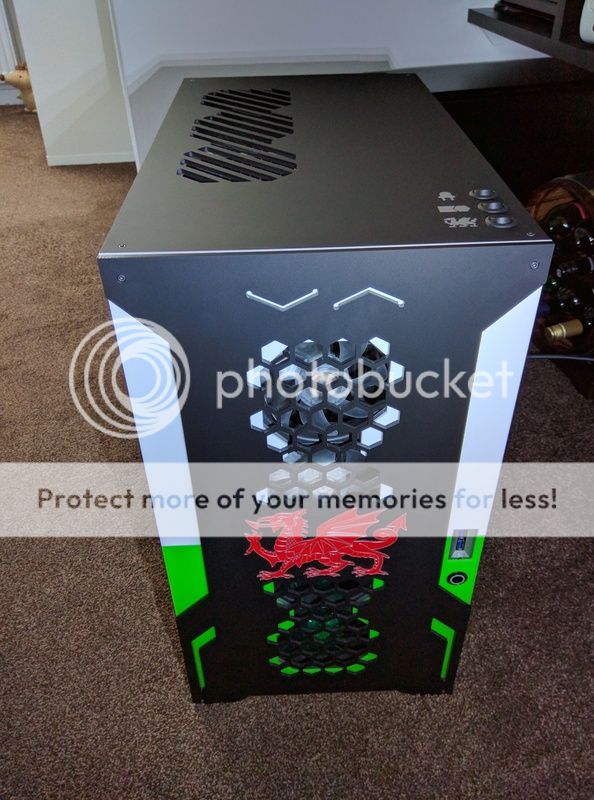
Now for some not brilliant but good enough for now phone pics :)

IMG_20170326_181349.jpg


IMG_20170326_181444.jpg


IMG_20170326_181423.jpg


IMG_20170326_181604.jpg


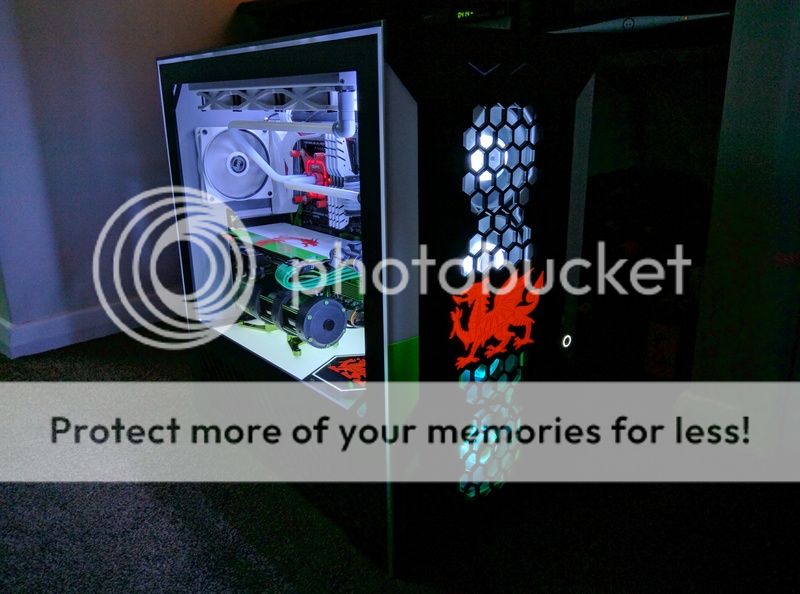
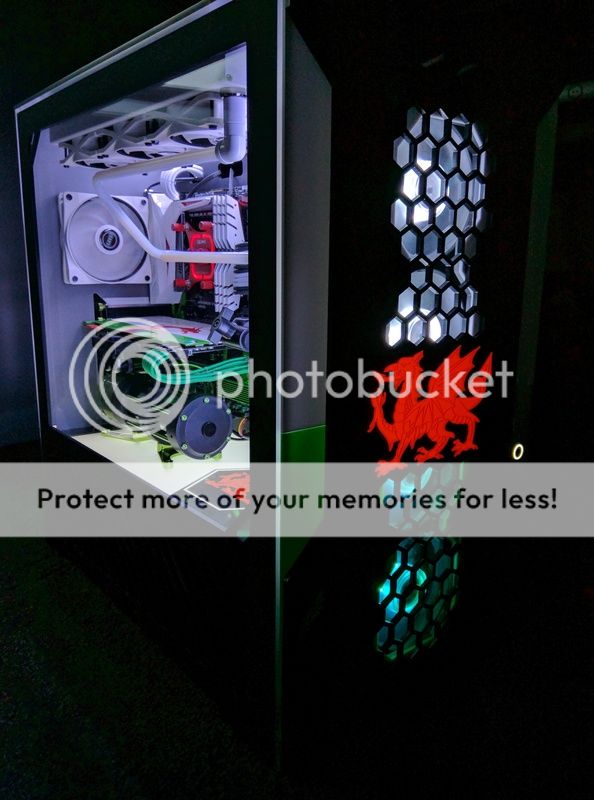
And lit up at night:

IMG_20170326_193107.jpg


IMG_20170326_193204.jpg


IMG_20170326_193257.jpg


IMG_20170326_193614.jpg


Hopefully when the Missus gets back from Asia next week I'll be allowed to play with the Nikon and get some better quality pics up, but until then I'd just like to say a massive thanks to the guys at Parvum for doing such a stunning job on the case and all you guys who not only followed the build but also gave me a lot of help and advice along the way. Couldn't be happier with how it turned out so I'm off to put it to use now and admire the graphics on Project Cars :D
 
Wait you've actually finished it? Nice work buddy, i've managed to score some very cheap custom toughened glass quite locally so about to kick off mine again... £30 toughened panel with holes... You know you wanna.
 
Very nice build mate, the lighting is perfect.

You can sit back and enjoy it now :D

Thanks a lot mate, really happy with how smooth the lighting turned out in the end as that always annoyed me on my old build :)

Ran a quick test using Project Cars and the temps are crazy compared to my last build. Racing in thunderstorm weather used to have my last rig screaming with the fans going over 1100rpm and the water hitting 40°C+. Gave this one a quick spin with pretty much all settings maxed out and with just the front fans @ 500rpm for CPU and one bottom set running @ 600rpm for GPU the water in the loops hit a max of 24°C and 29°C. Could play in the desert if I turn the other 6 fans on and crank em all up a bit :D
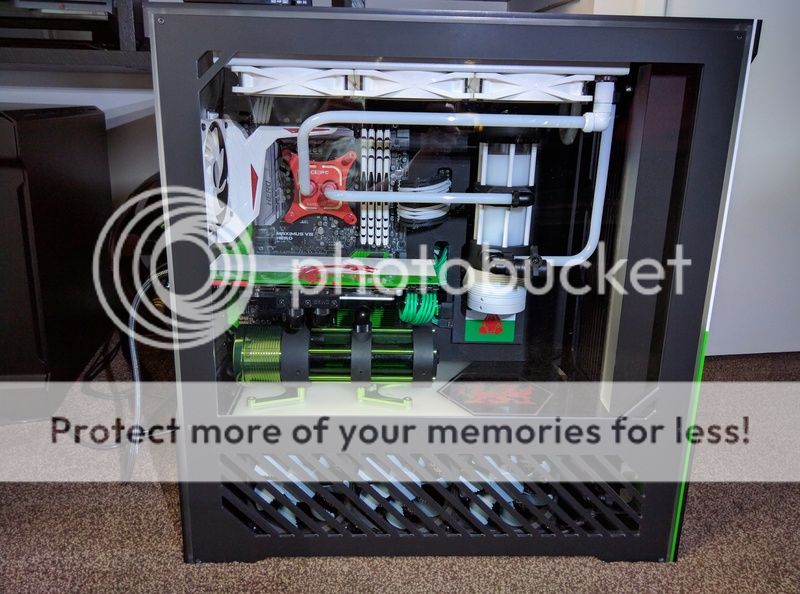
Wait you've actually finished it? Nice work buddy, i've managed to score some very cheap custom toughened glass quite locally so about to kick off mine again... £30 toughened panel with holes... You know you wanna.

Sorry mate, got a bit impatient waiting for you to finish yours first! That's good to hear, will keep an eye out for some updates once you fire it up again :)

That is a tempting price though, thinking maybe a glass panel cut with hexagonal holes to replace the solid front on the old build, get a bit of air flowing through it... :D
 
Back
Top Bottom