You are using an out of date browser. It may not display this or other websites correctly.
You should upgrade or use an alternative browser.
You should upgrade or use an alternative browser.
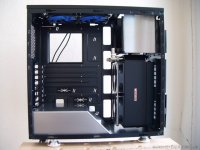
BackDraft Evo (a Nanoxia DS1 Build)
- Thread starter 23RO_UK
- Start date
More options
View all poststhat loooks awesome
Thank you, I was hoping it would have that effect

If my cards don't sell I'll be doing this
If you don't mind me asking, how much is the cooling alone costing you? (excluding fans)
Ok the actual cost which includes the bay pump/res, rad, shroud, CPU block, the GPU block and backplate plus the compression fittings weighs in at around 350 quid.
That excludes the cost of the fans, angled fittings and extensions, tubing and coolant.
It's not cheap and I've gone for premium kit which also knocks up the price tab some, but if you look apon it this way; you'll likely utilize some if not all of the kit in future builds.
I hope that answers the question mate?
Thanks dudeI already have the GPU blocks, but nothing else as yet. Have the same case though so would be doing a very similar build

No worries, you're very welcome; any further questions feel free to ask

I look forward to seeing your build also

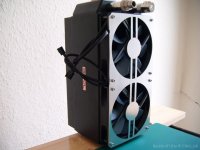
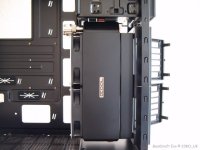
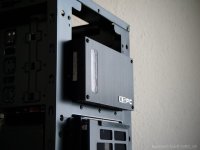
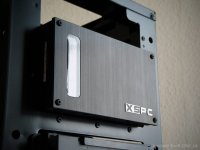
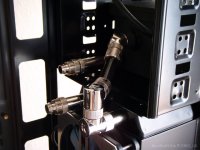
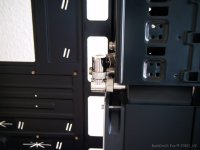
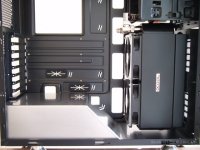
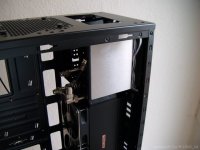
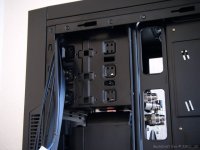
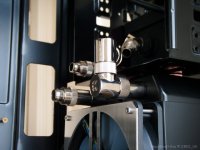
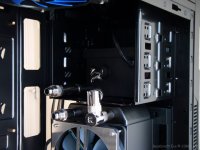
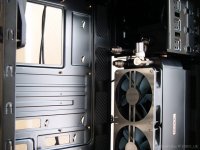
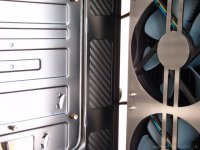
Not much of an update guys, it's just pretty much to highlight how I've been able to arrange the various inlets/outlets using risers and extension bars to improve the routing of the minimal and point to point tubing I'm incorporating into the build; also as you can see the dual bay XSPC X2O 750 V4 pump/res is relatively shallow in depth.
From top to bottom -
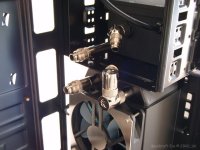
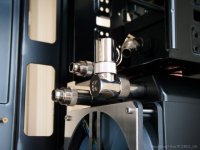
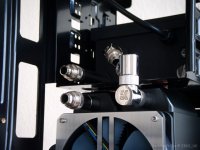
From top to bottom -
- Pump/res outlet
- Pump/res Inlet
- Rad inlet
- Rad outlet


Last edited:
No worries man, good to hear you know about it. Came to check out the build and realized the problem. Maybe throw up the images on dropbox, never had any problems with bandwidth restrictions from them.
I've made a start on the thread maintenance

I've opted for Imgur though it will take a while to get all the links back up

Just a quick post to say thread maintenance has begun and all missing pics should be back up by tomorrow afternoon
Ok the OCD kicked in and it's now back up and running

More updates tomorrow

Looks good mate! Is that just sitting over the top of the PSU, or have you actually re-housed the guts of the PSU in it?
Cheers,
G
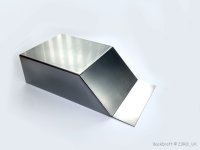
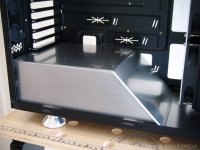
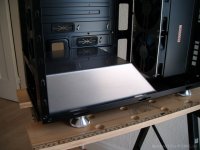
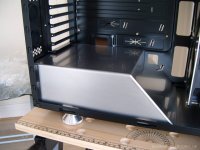
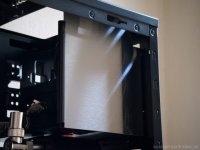
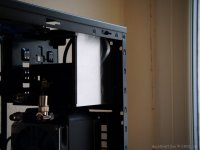
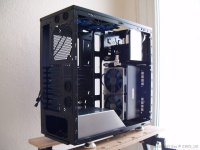
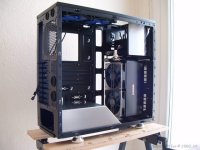
What we have here is a polished stainless steel PSU cover/shroud

No way am I going to rip apart my Seasonic X Series lol
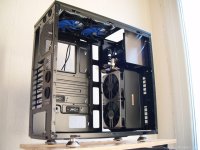
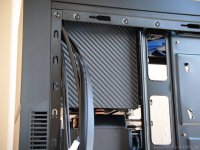
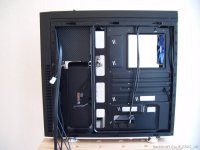
Today saw the front and lid of the case reinstalled, not such a biggy you might say but it did see me having to remove the XSPC X2O 750 V4 to get the front panel back in place; a further extension bar was needed to bring the pump inlet back into alignment and I had to replace the existing pump run off with a piece of tubing 10mm longer.
To kick off proceedings -
The installed 140mm Alpenföhn Wing Boost rear extract fan
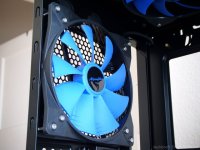
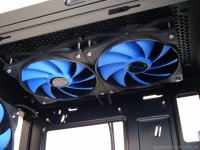
The twin 120mm Alpenföhn Wing Boost roof extract fans
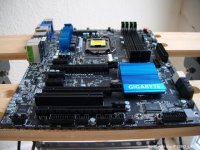
I think they match the colour of the heatsinks on the motherboard pretty well
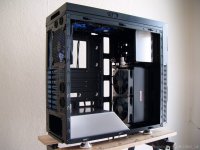
And this is where BackDraft ceases to be just a chassis...
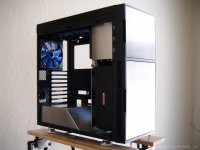
To kick off proceedings -
The installed 140mm Alpenföhn Wing Boost rear extract fan

The twin 120mm Alpenföhn Wing Boost roof extract fans

I think they match the colour of the heatsinks on the motherboard pretty well


And this is where BackDraft ceases to be just a chassis...


Last edited:
I'm convinced that case looks silver rather than anthracitelove it.
It's anthracite all the way lol

Cheers G, much appreciated

No roof mounted rad now? Have I missed you changing it? Great build, looks very good thus far
I made a few changes back in post #95 mate.
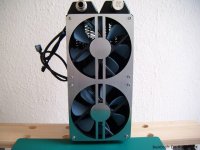
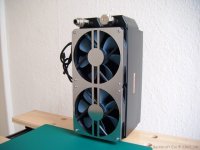
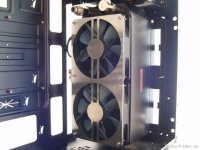
Call it a bit of experimentation on my part but I want to see what sort of cooling is afforded by a shrouded 240 Monsta with 4 x Akasa Pirhanas

And thank you mate, much appreciated

Im not jelous.. honest
Looking very nice indeed! Good job
lol thank you, still a ways to go but getting there


