Hi,
As fate would have it(or my credit card) the time has come for me to finally build my first PC, thanks to all who helped in advising me on the right peripherals and components, the spec for this build can be found here without the SSD though .
.
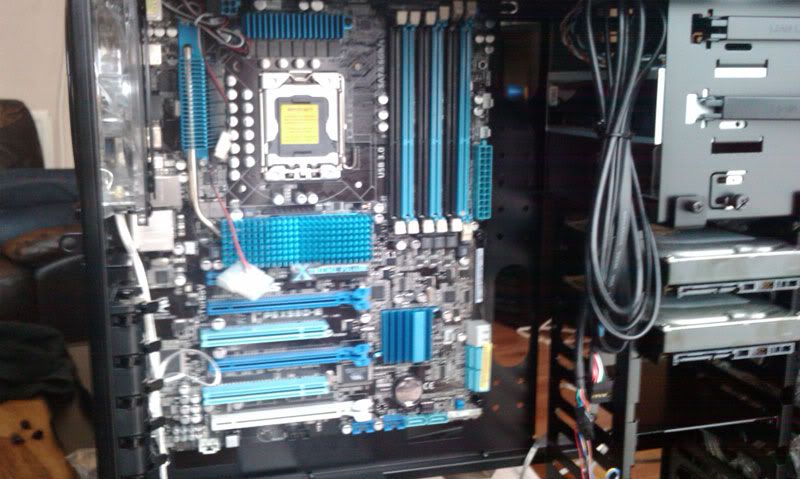
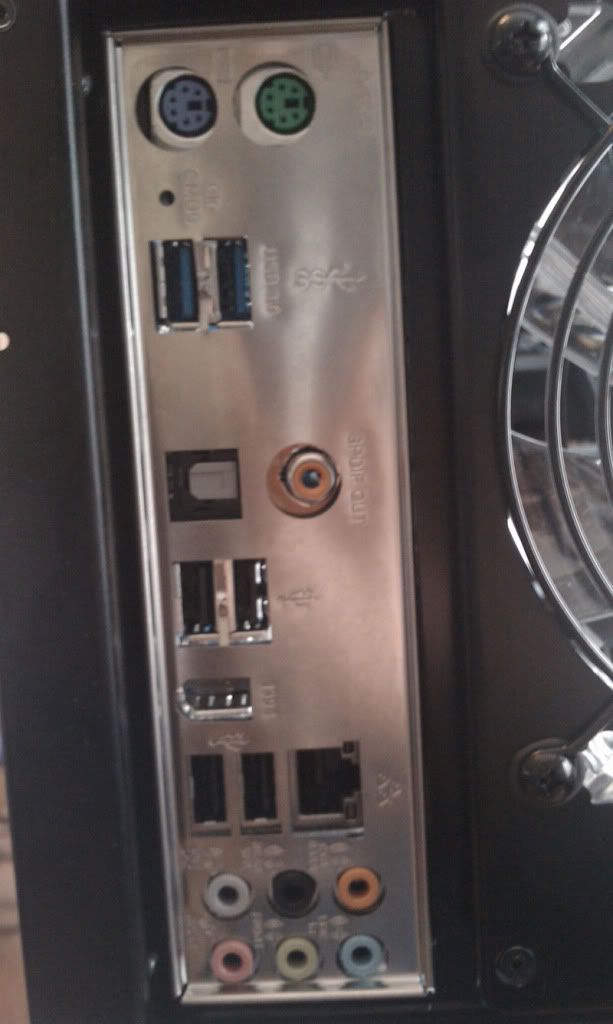
I will be providing screenshots and would love any tips, opinions or assistance you can provide, this probably be start and stop, as am working from home today and got little rug rats running around, also pics will be taking on my phone so not sure how clear there be. No idea how this will go so don't expect any structured order to this and those with a weak heart I advise to leave now.
I be following the system build guide from the OC forum here and after all is complete if I haven’t blown myself up, I hope to overclock as well probably using this guide here. The system will be using Windows 7 Professional 64bit edition.
The computer desk and chair are expected to arrive on Monday so I upload images once they're arrive.
Wish me luck")
As fate would have it(or my credit card) the time has come for me to finally build my first PC, thanks to all who helped in advising me on the right peripherals and components, the spec for this build can be found here without the SSD though
.I will be providing screenshots and would love any tips, opinions or assistance you can provide, this probably be start and stop, as am working from home today and got little rug rats running around, also pics will be taking on my phone so not sure how clear there be. No idea how this will go so don't expect any structured order to this and those with a weak heart I advise to leave now.
I be following the system build guide from the OC forum here and after all is complete if I haven’t blown myself up, I hope to overclock as well probably using this guide here. The system will be using Windows 7 Professional 64bit edition.
The computer desk and chair are expected to arrive on Monday so I upload images once they're arrive.
Wish me luck


 looking good, will be nice to see it as it's built
")