You are using an out of date browser. It may not display this or other websites correctly.
You should upgrade or use an alternative browser.
You should upgrade or use an alternative browser.
Coffee table build
- Thread starter T.F.S.
- Start date
More options
Thread starter's postsAssociate
- Joined
- 17 Dec 2009
- Posts
- 10
- Location
- Cumbria, UK
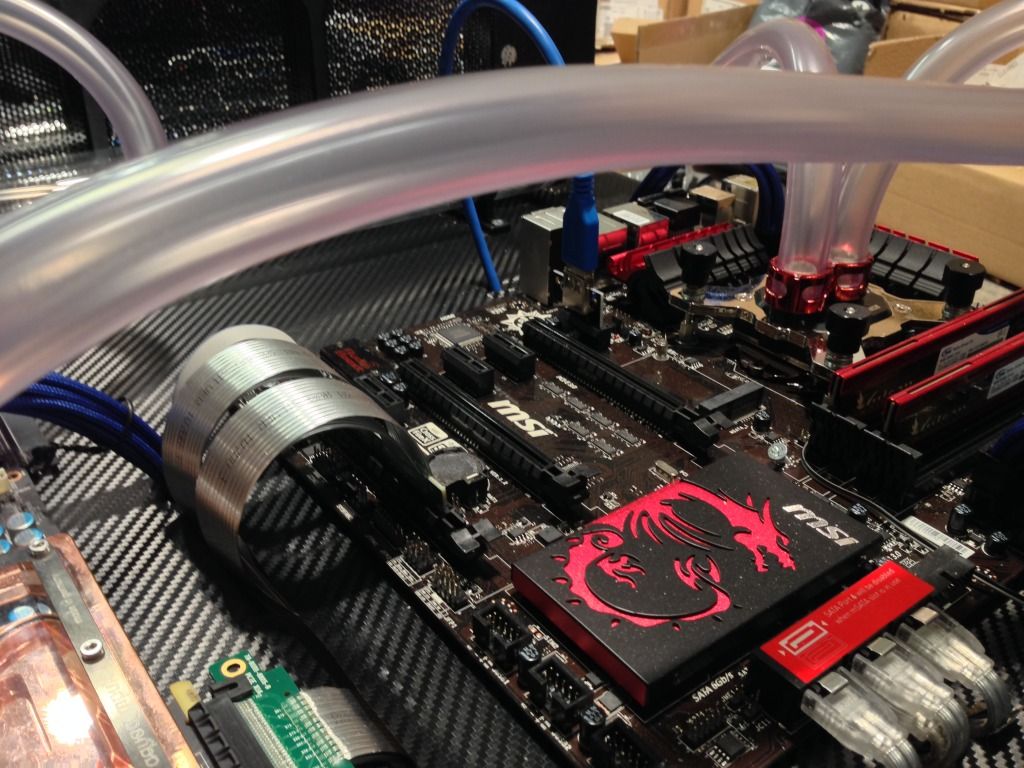
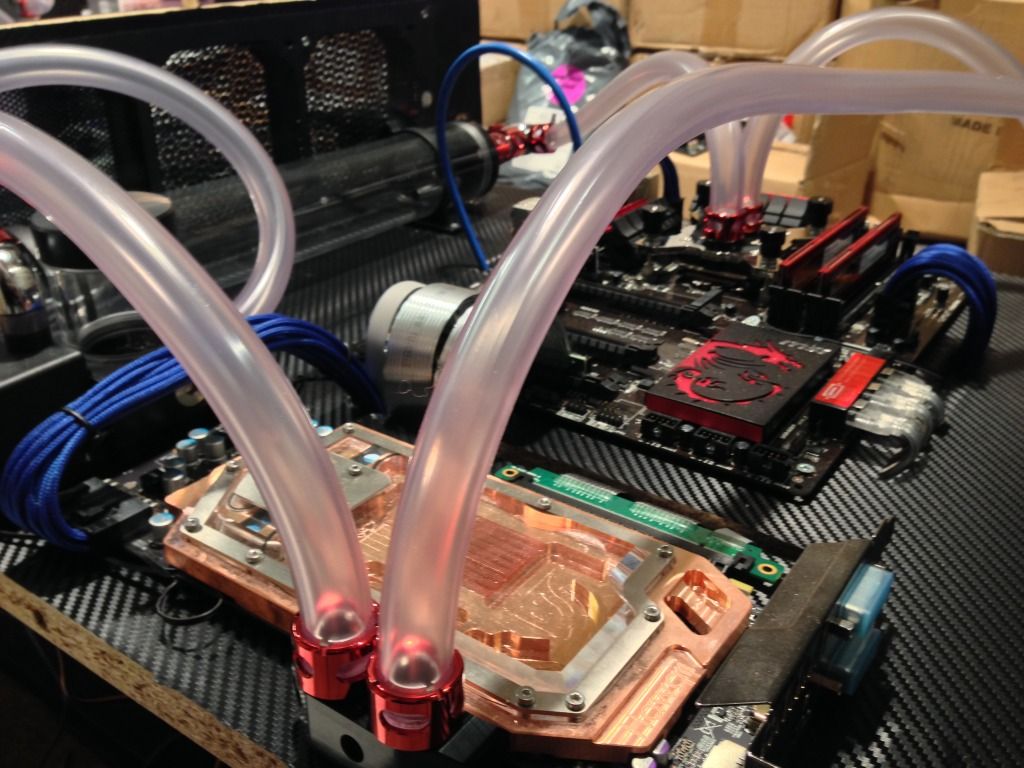
That is looking really good - I am interested to see more photos as this progresses.
*Subscribed*
*Subscribed*
Associate
- Joined
- 19 Oct 2009
- Posts
- 1,222
- Location
- Earth Mostly
Really good looking build, very interested to see the finished article should be great.
Associate
- Joined
- 8 Jan 2012
- Posts
- 668
Really like the look of the project. 

Associate
- Joined
- 17 Dec 2009
- Posts
- 10
- Location
- Cumbria, UK
I think by straight pipe he means the stiff piping which you heat up and bend to the shape you require.

The progress looks great.
Soldato
- Joined
- 13 Jul 2006
- Posts
- 3,371
- Location
- Hell!! \m/
Mate you are the end of a leg, legend!! I see desk mods a lot now and wanna try summit similer?
got drawer here was gunna mount pc or 360 in and build inside then hole in the desk
got drawer here was gunna mount pc or 360 in and build inside then hole in the desk

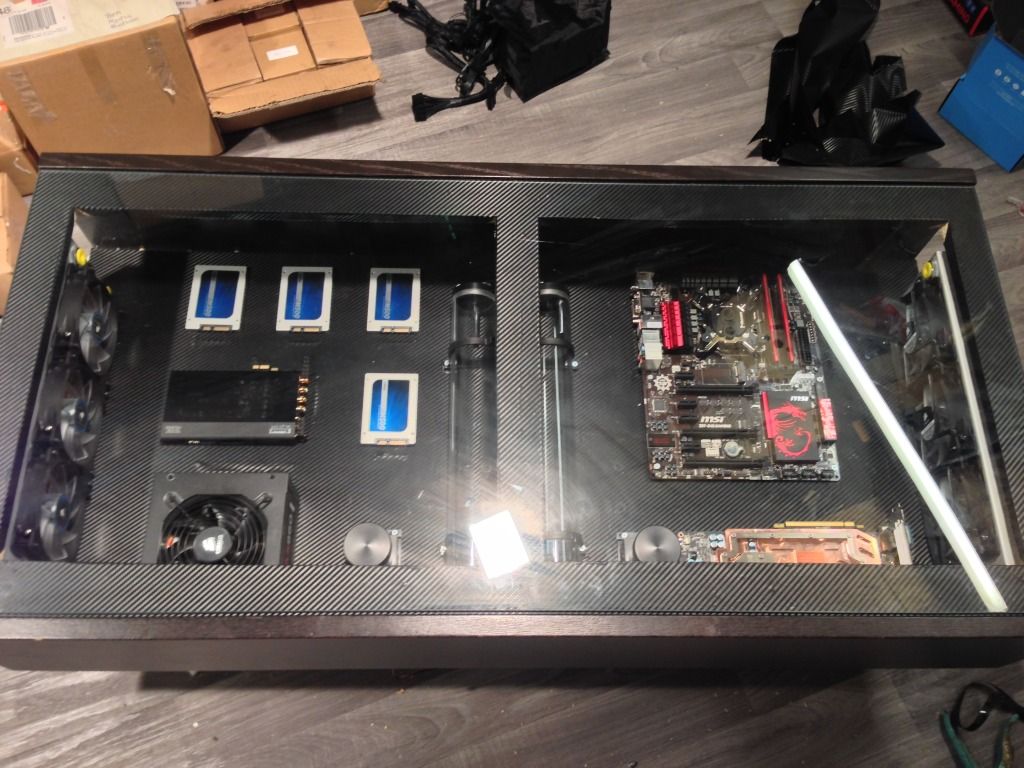
Looking great, lots of space for adding more bits if you wanted at later date.
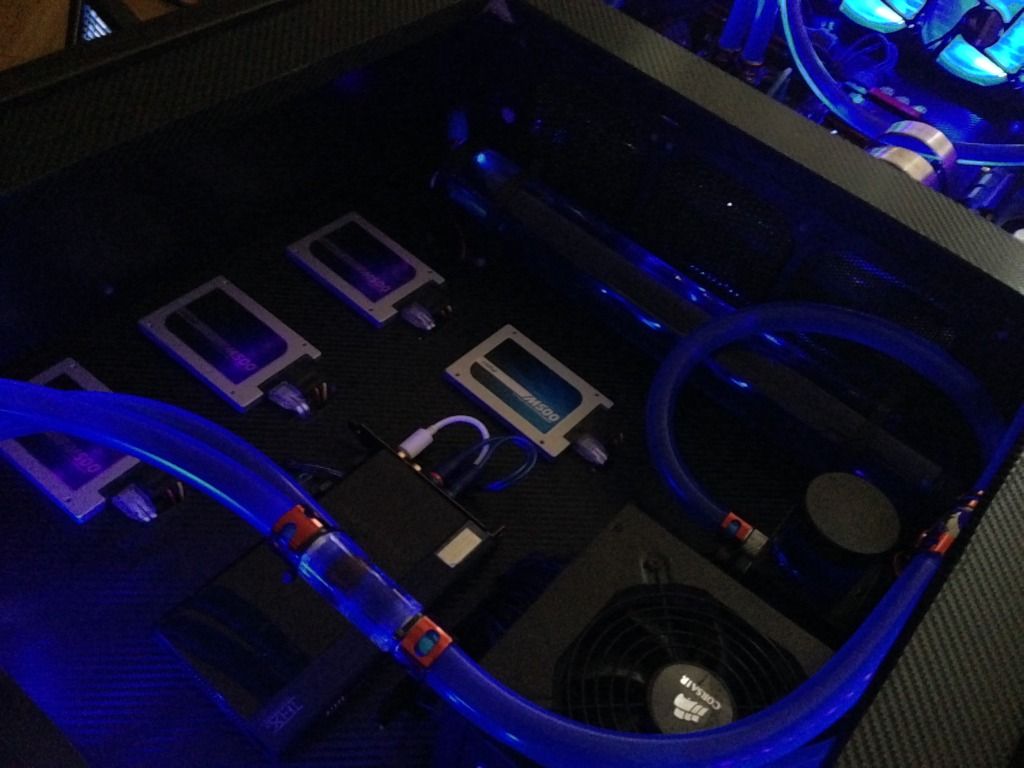
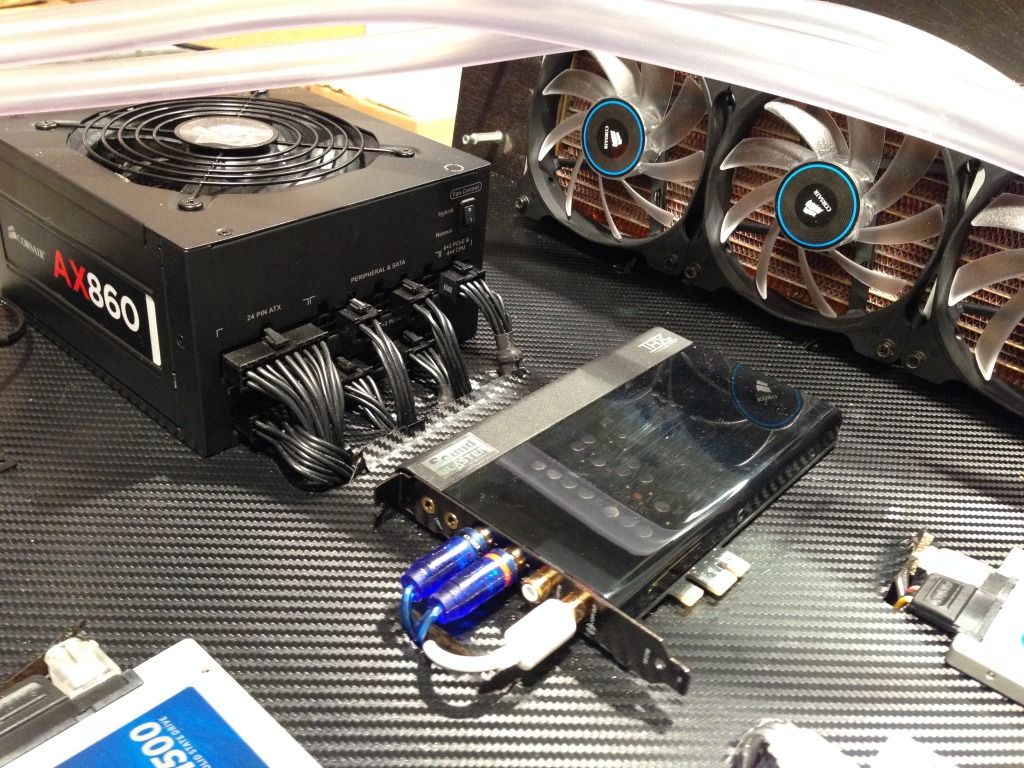
My SSD's suck, so i hide them lol
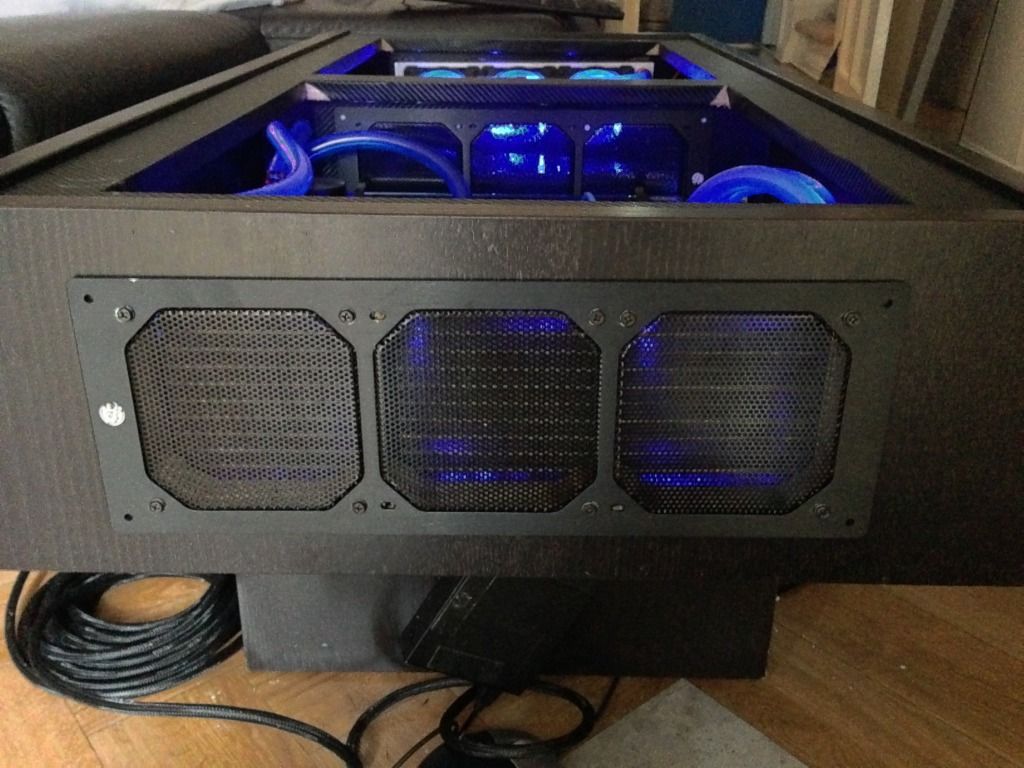
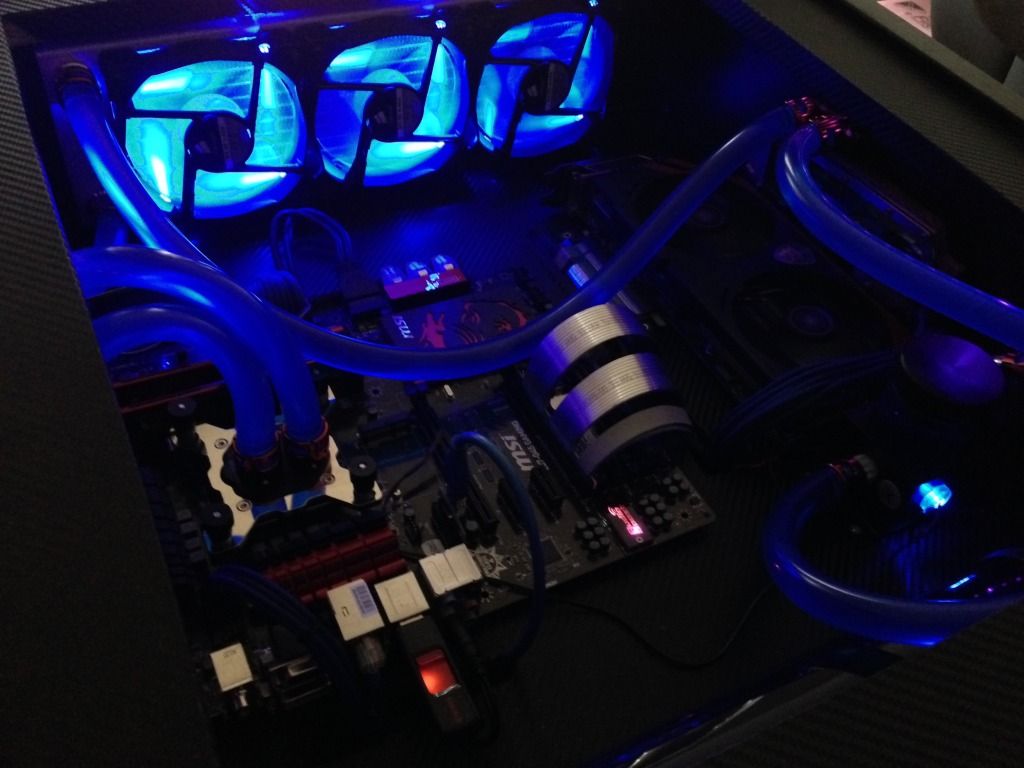
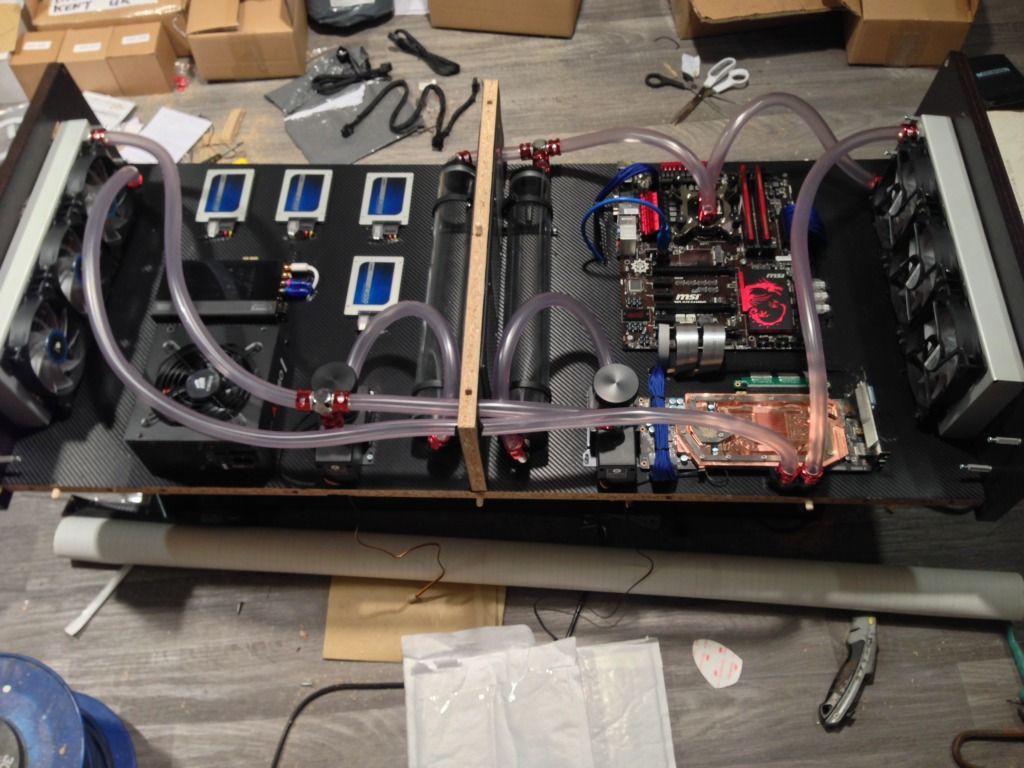
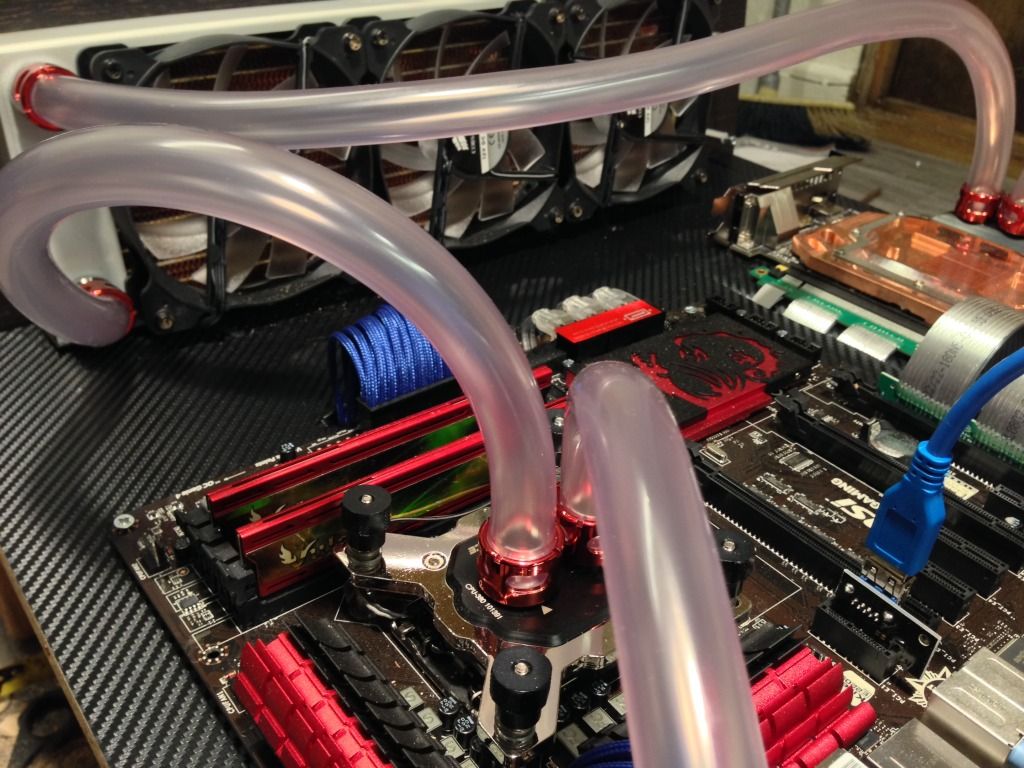
Sorry if i missed the info, from the pics it looks like the right side is air inflow (pull) & on the left is the out (Push),
are you using any other fans for inflow or air vents?
im using 6x120mm fans for desk inflow & 2xRADs with all 6 fans pushing out.
the temps are great but if i could remove the 6x inflows and swap one RAD to inflow that would save some space, - 6 fans & help save the planet

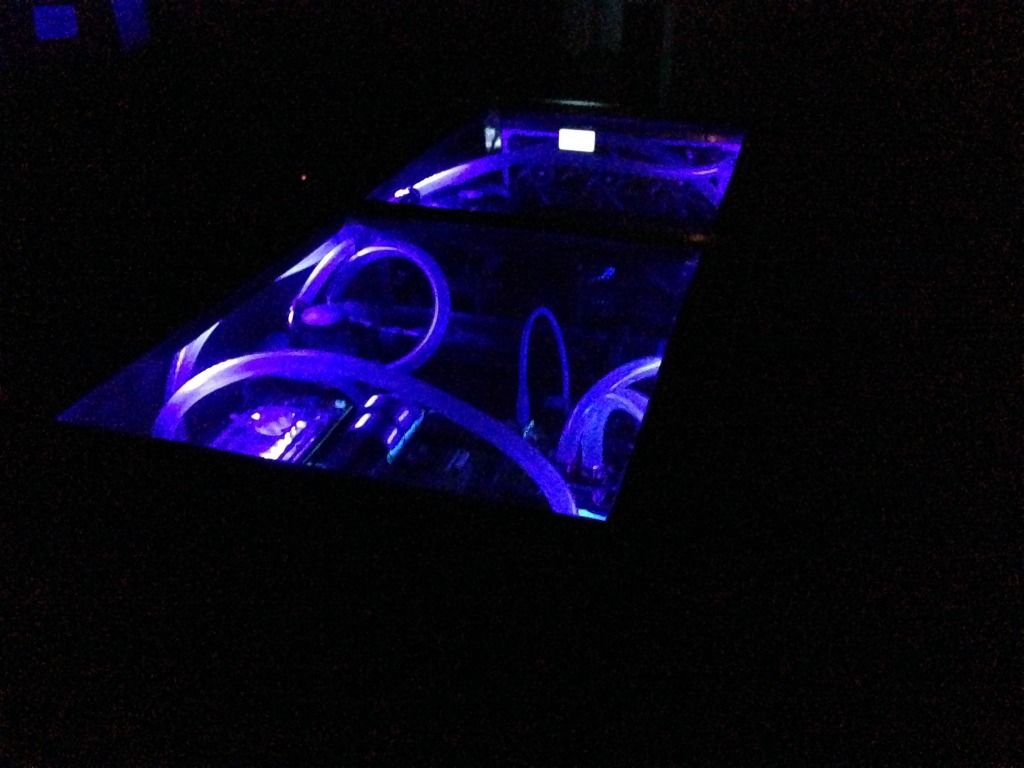
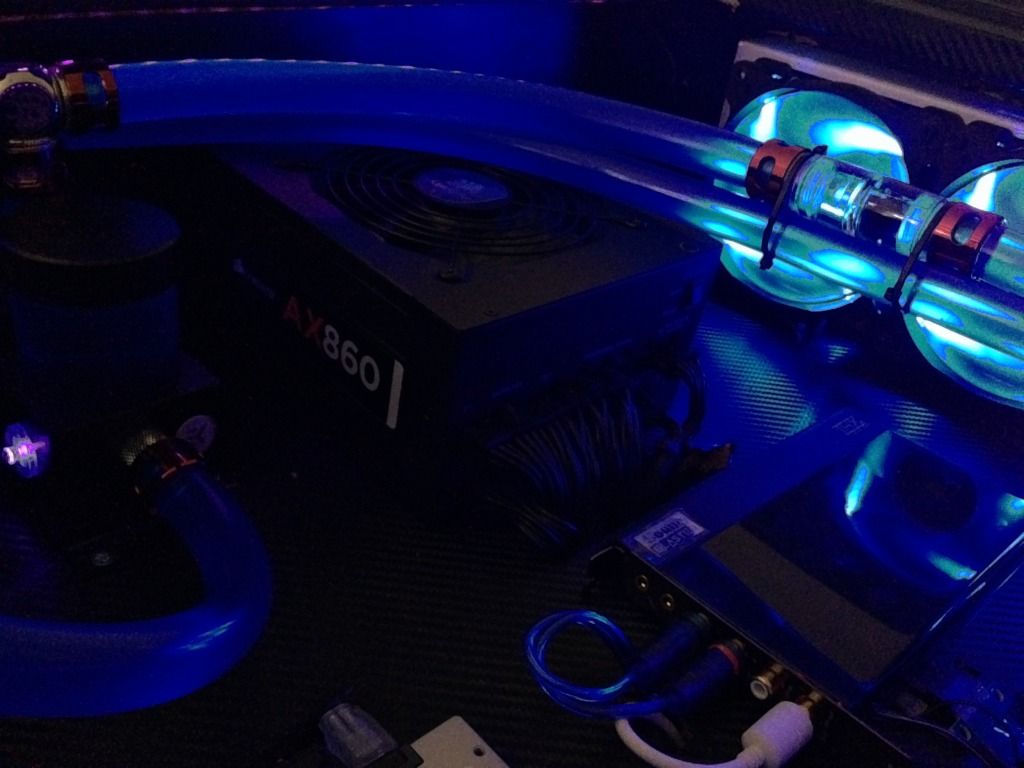
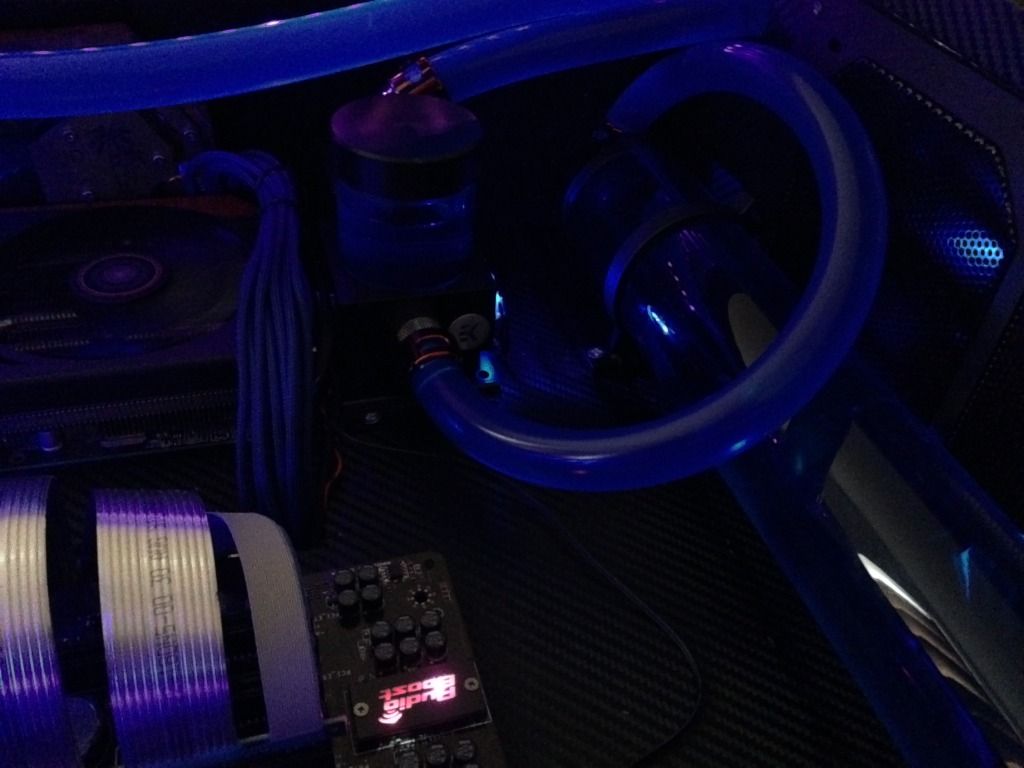
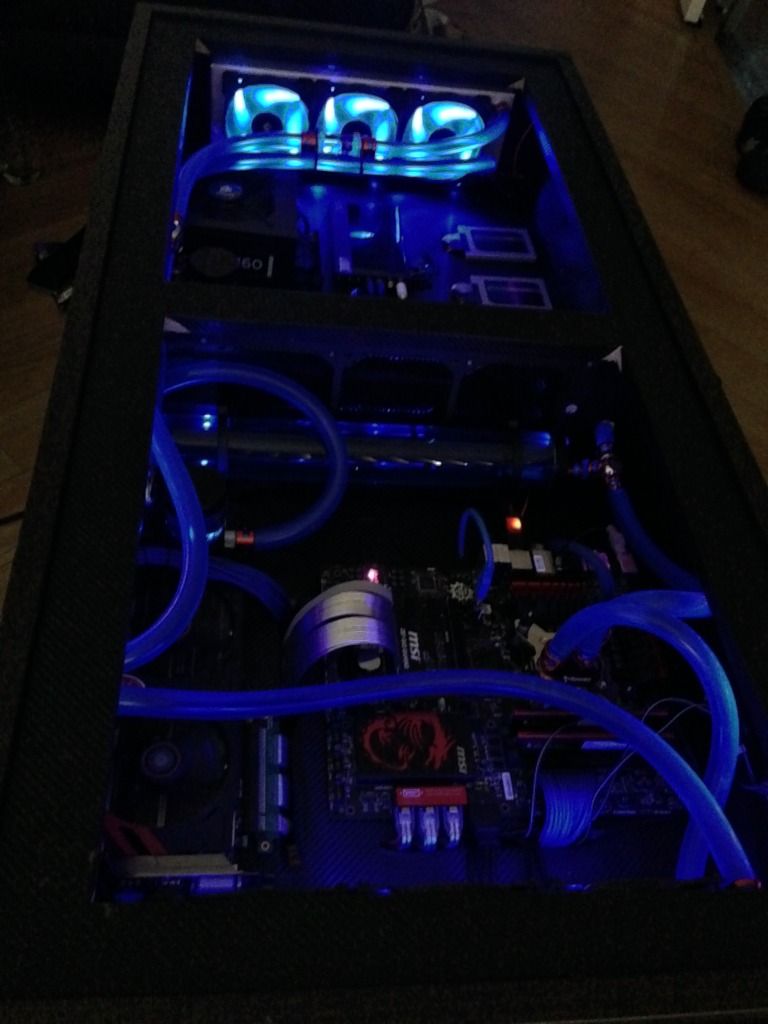
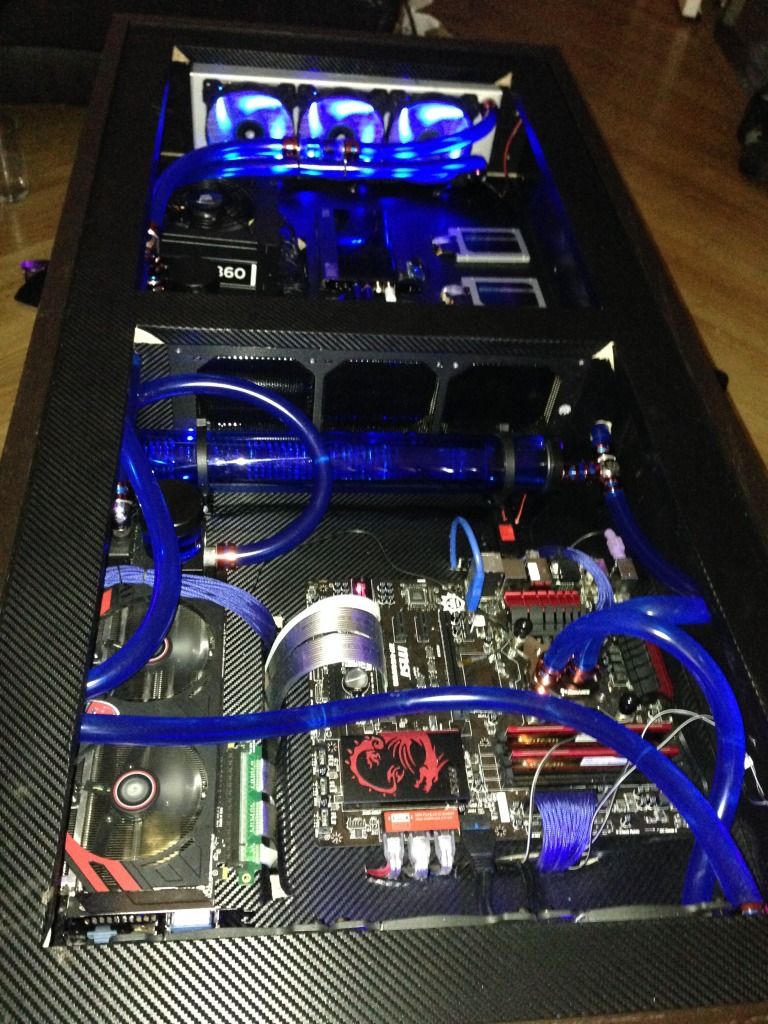
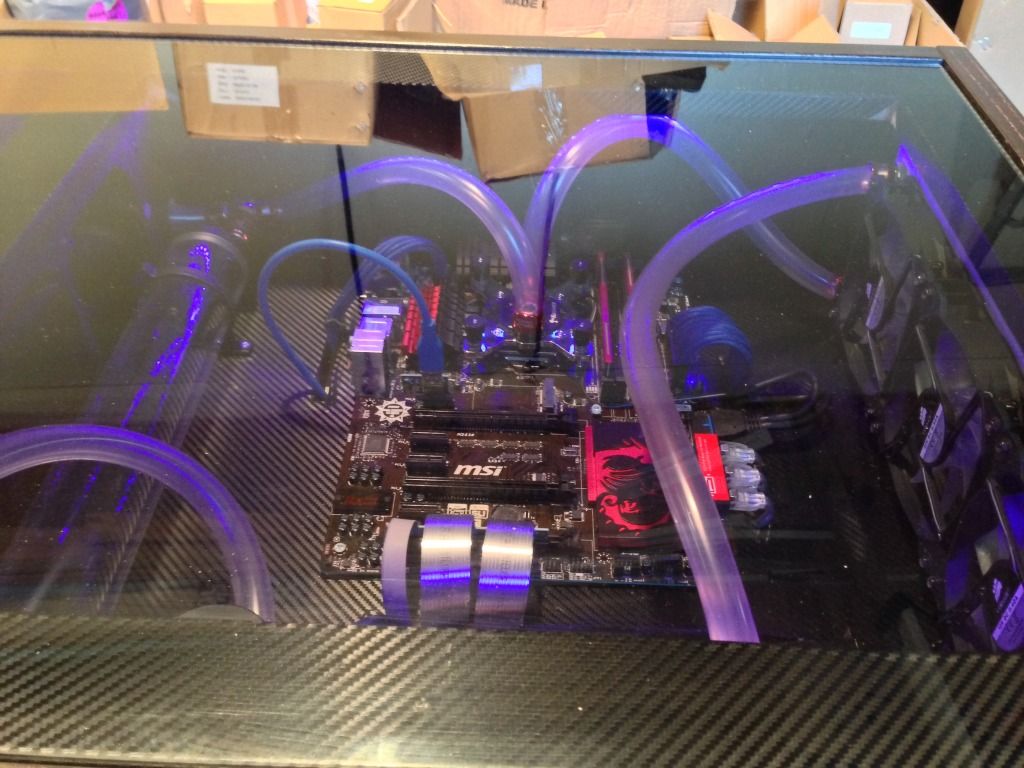
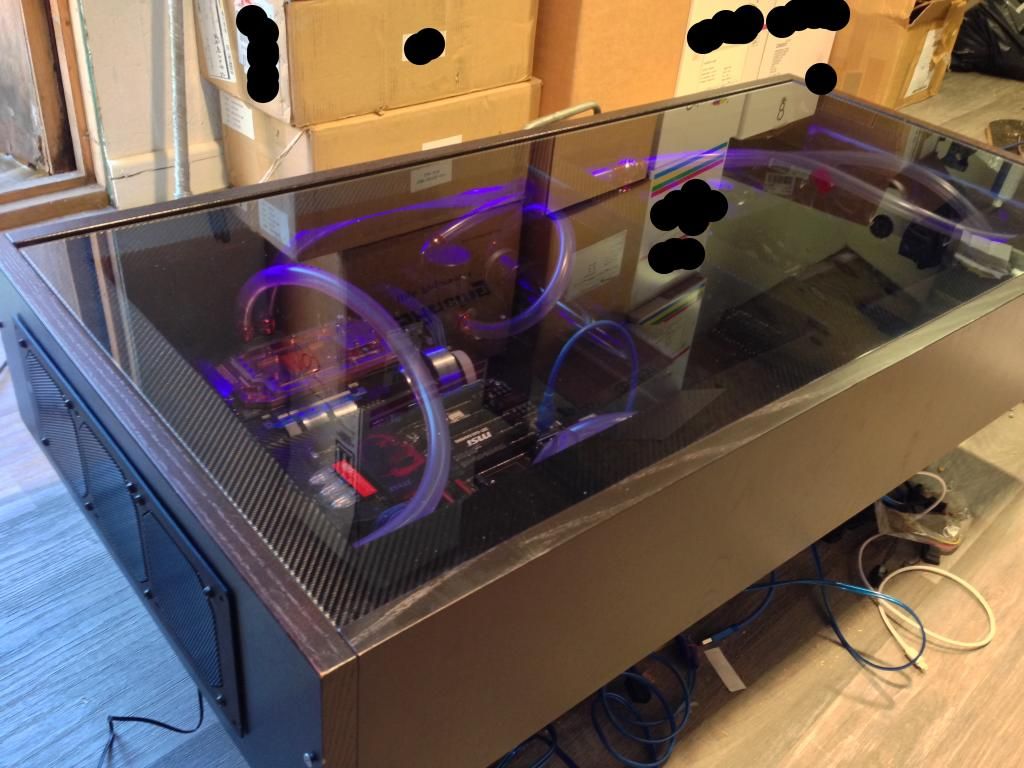
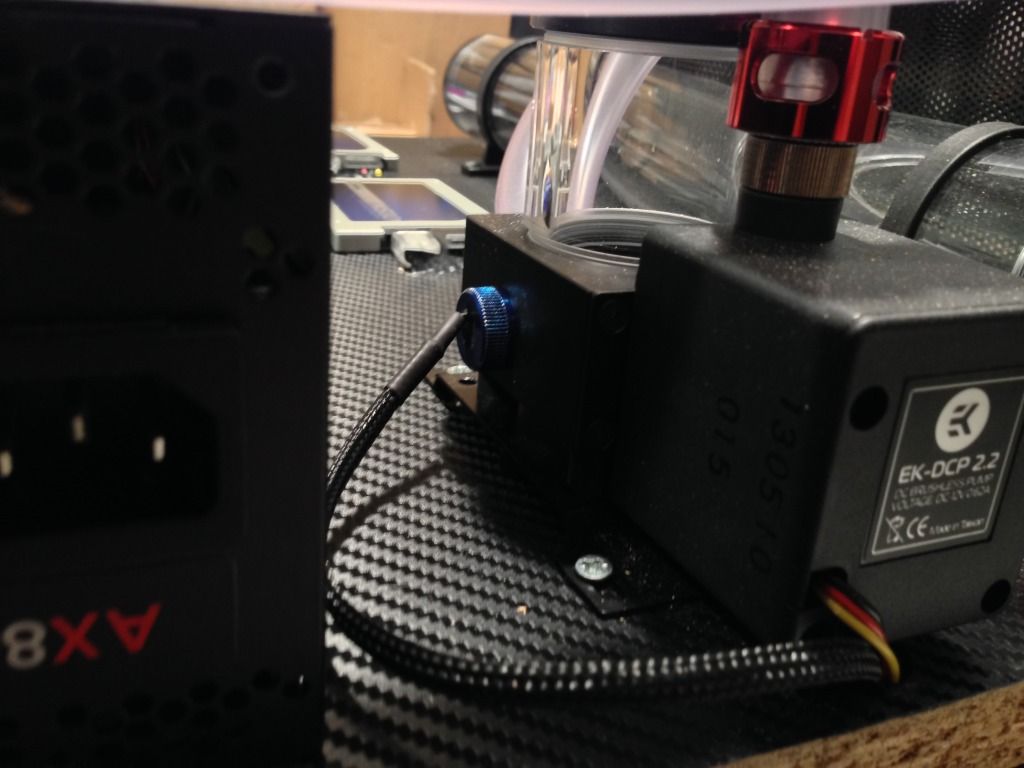
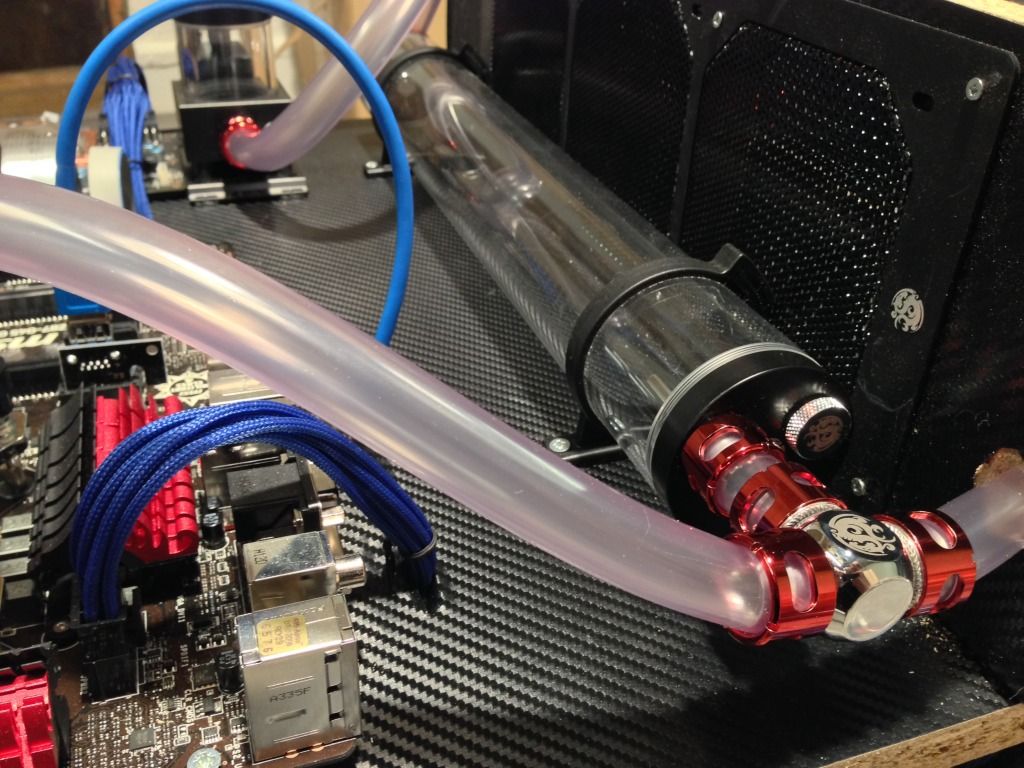
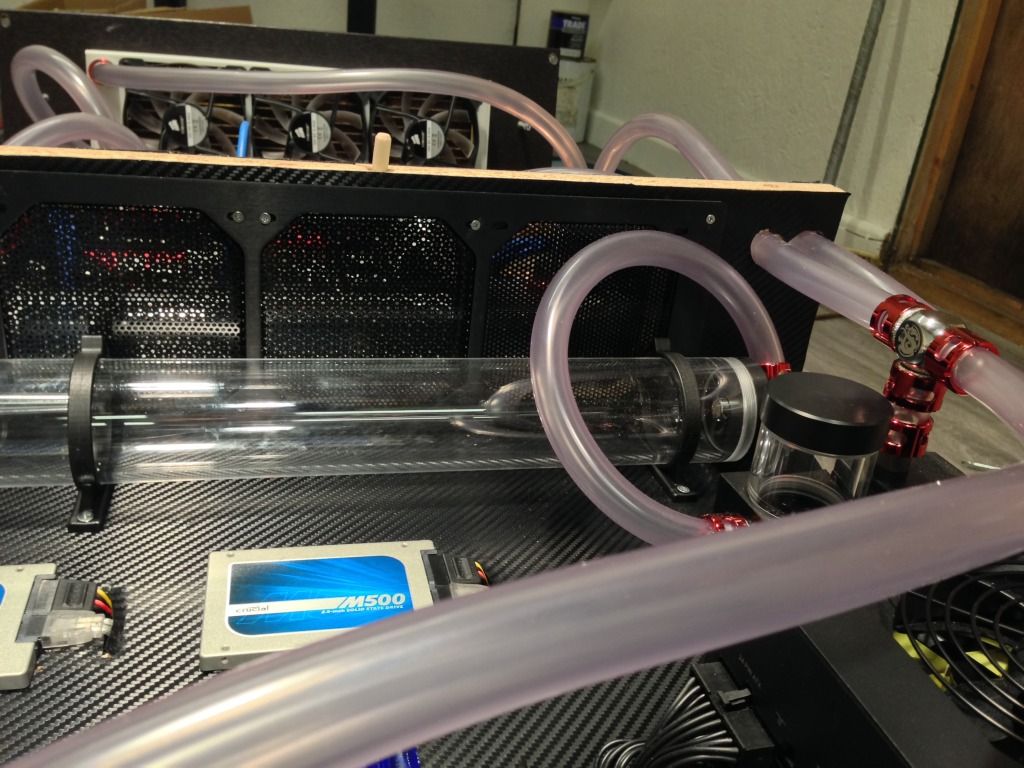
It's a blow through system so three in and three out, in the center of the table you see a grilled area which just allows air to pass through, the air is drawn over the top of the cylindrical reservoirs which in turn also aids cooling.
There are other holes in the case but this is just to allow wires to drop down into the area below so they are hidden from view.
There are other holes in the case but this is just to allow wires to drop down into the area below so they are hidden from view.
Last edited:
It was an easy build, only a jigsaw and drill needed in the tool department.
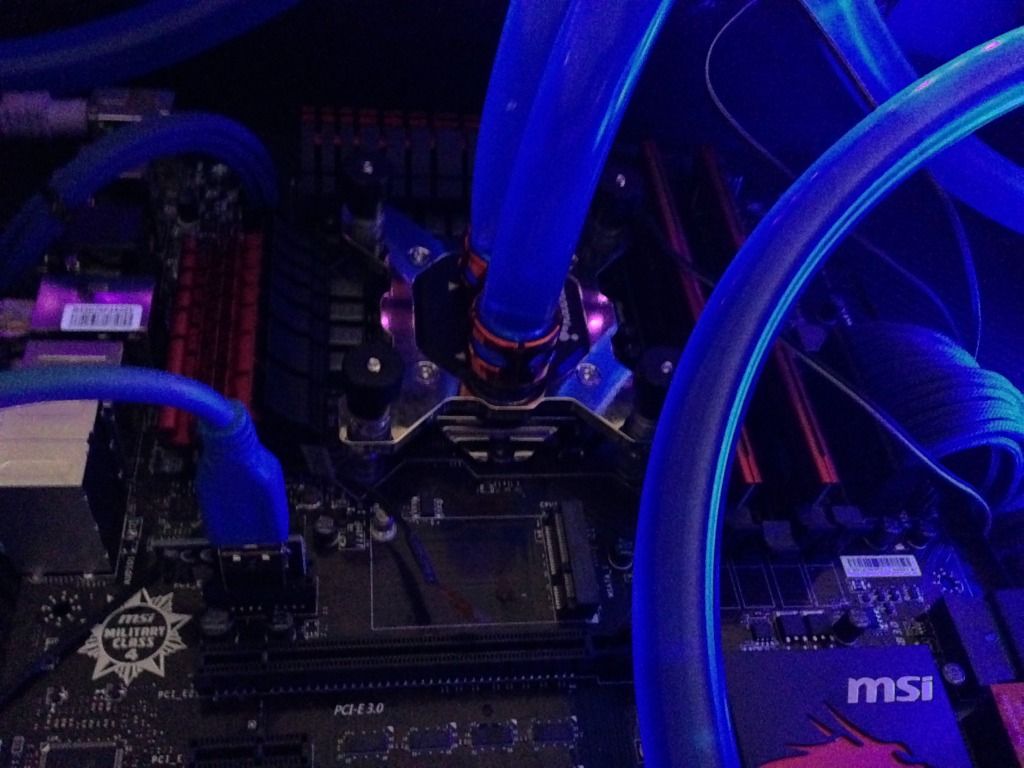
I have been running the CPU and cards at 100% for literally hours on end (with FAH programme) and even in warm weather it tops out at 60c on the watercooled card and processor, the processor temp changed to max of 80c when I fitted the fan cooled card to the motherboard because of convection heating, the fan cooled card runs at 92c and dumps a load of heat into the MB.
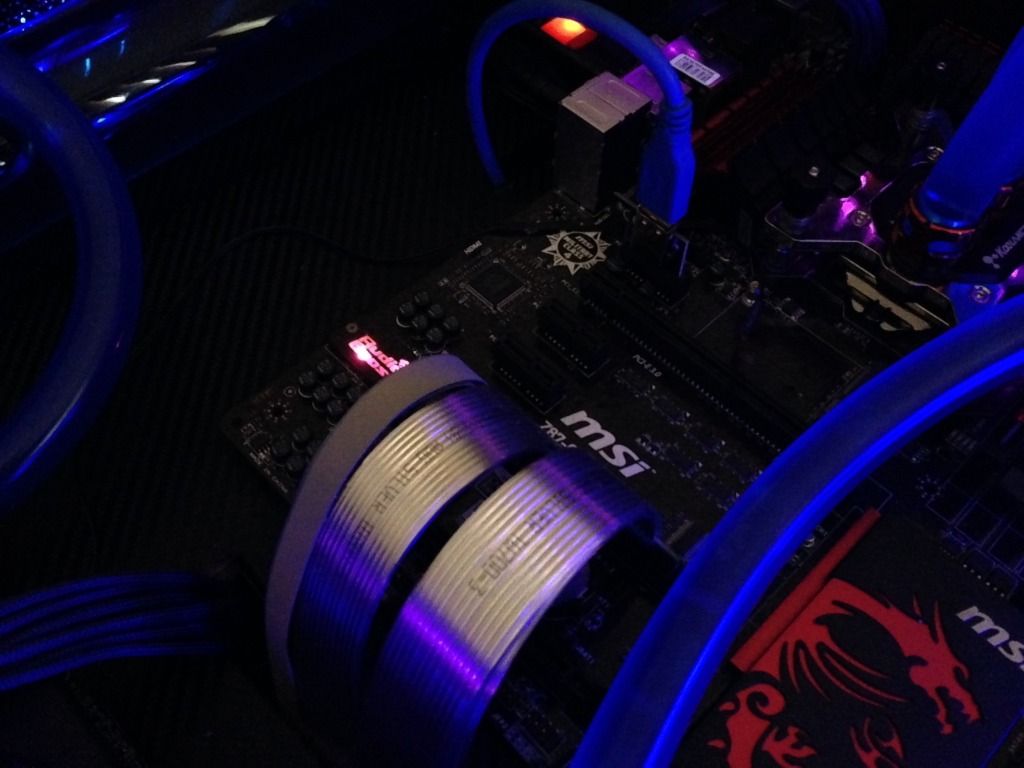
The pics really do not do it justice, When I get pics of it fitted into the new room it should look a lot better than in the pics above.


