Dremel Dream Machine!

Associate
Joined
21 Jul 2010
Posts
311
Location
Born Wolves, Live Burnley
Hi guys,

First off I apologise if you've seen this build already on other forums.

I wanted to get some hints from the UK OCers as well as the Americanos so here goes :

Back in February I decided I want to build a monster
fully watercooled new case with all new components
I was donating my old SLI rig to the father-in-law and needed something to occupy my time and then be a lasting piece of kit in my gaming arsenal.

This was my old Antec case PII 965 BE + 9800GTX+OC SLI
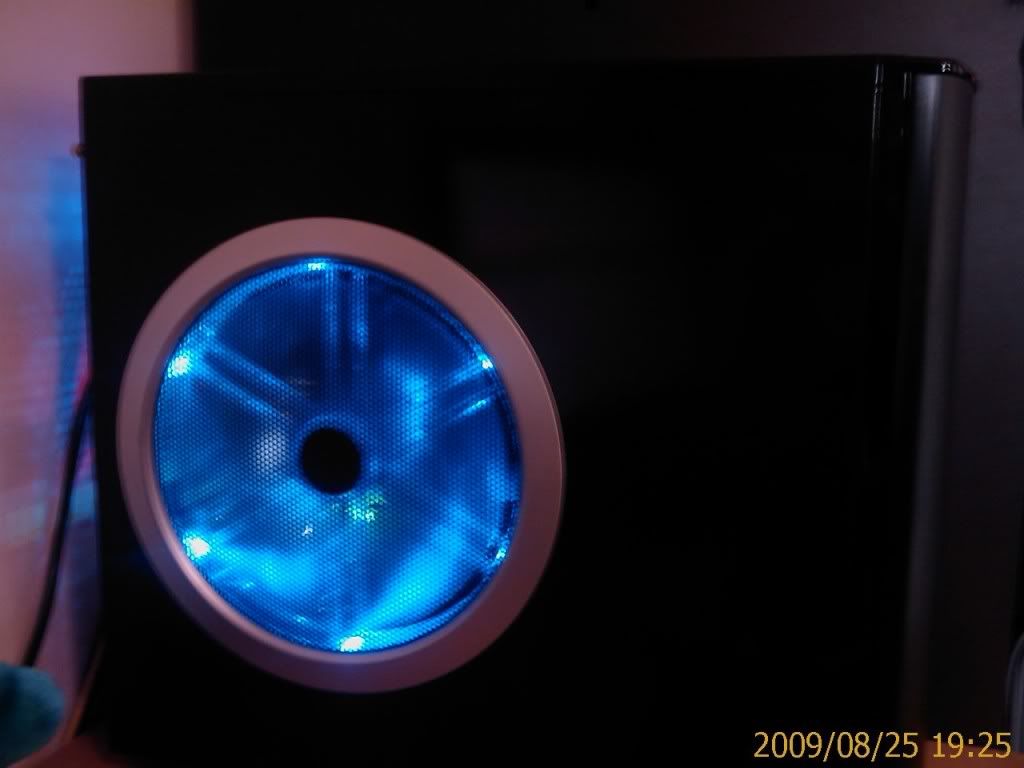
bigfan.jpg


I researched and lurked here for a while before ordering

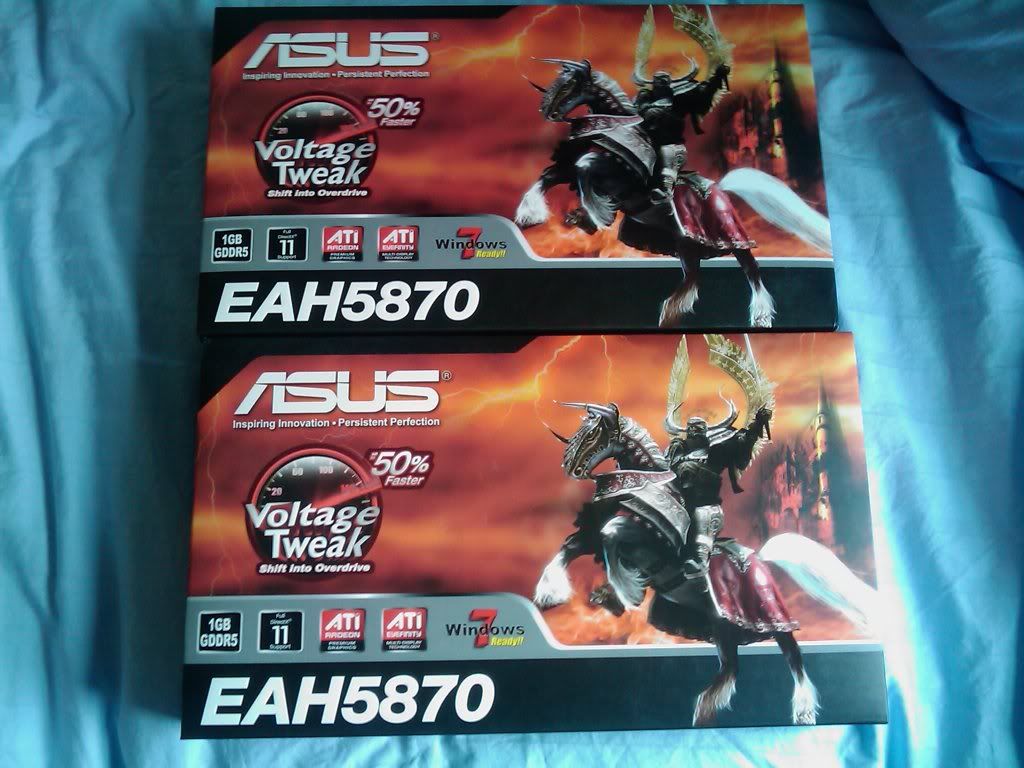
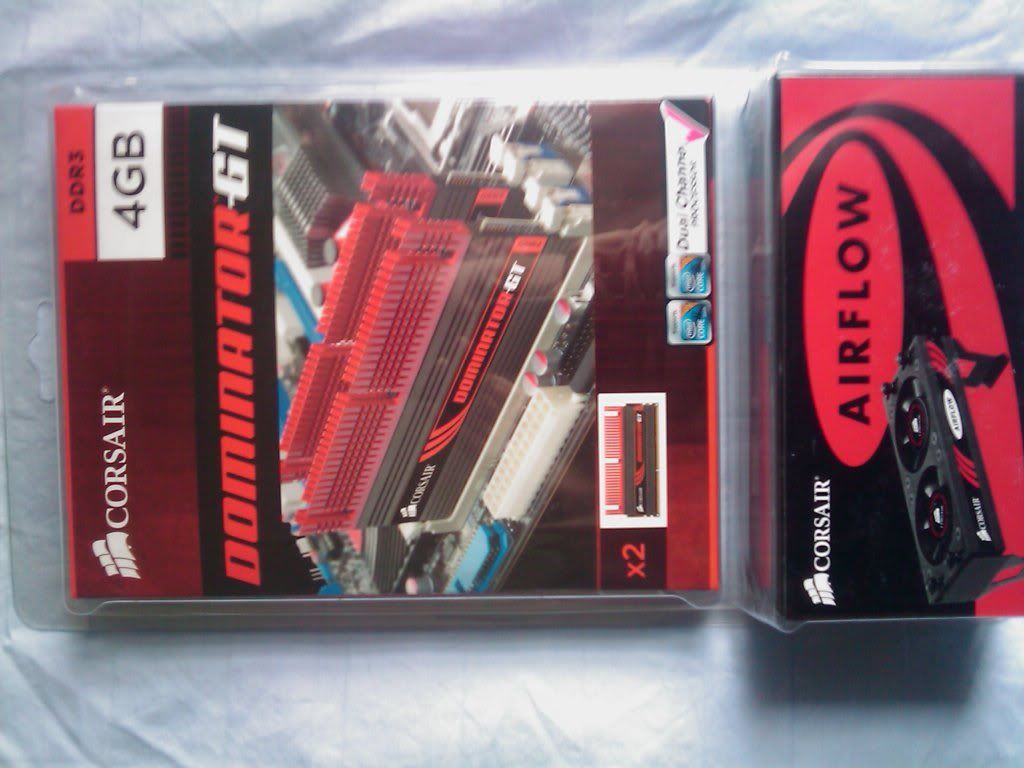
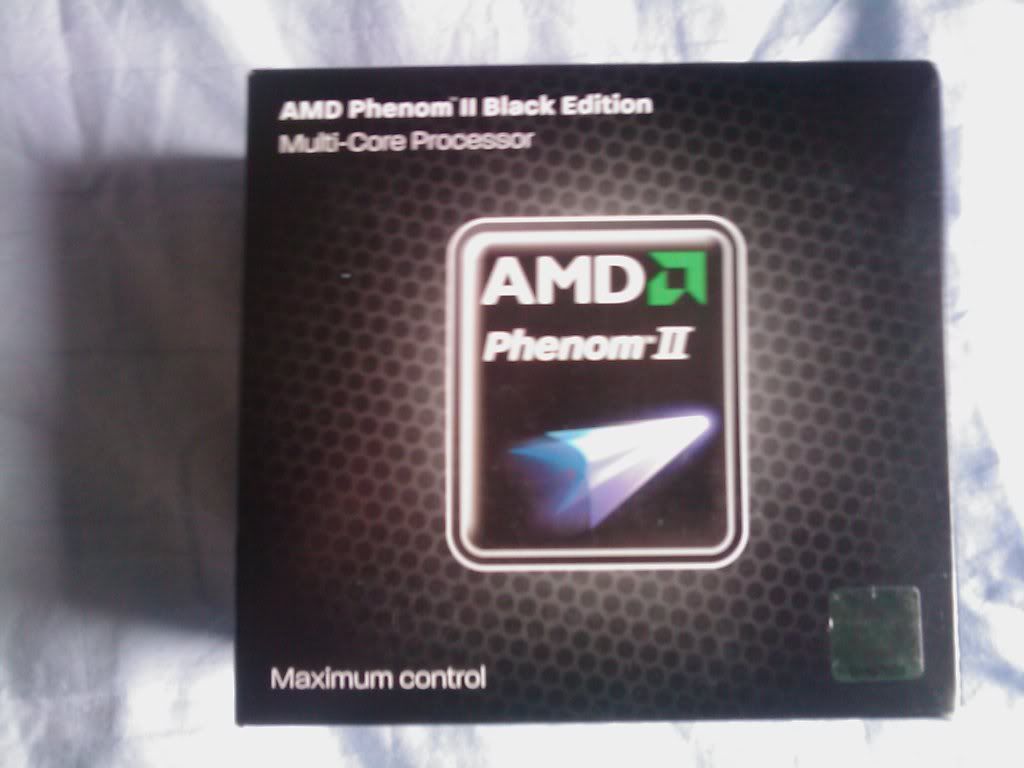
The kit arrived :
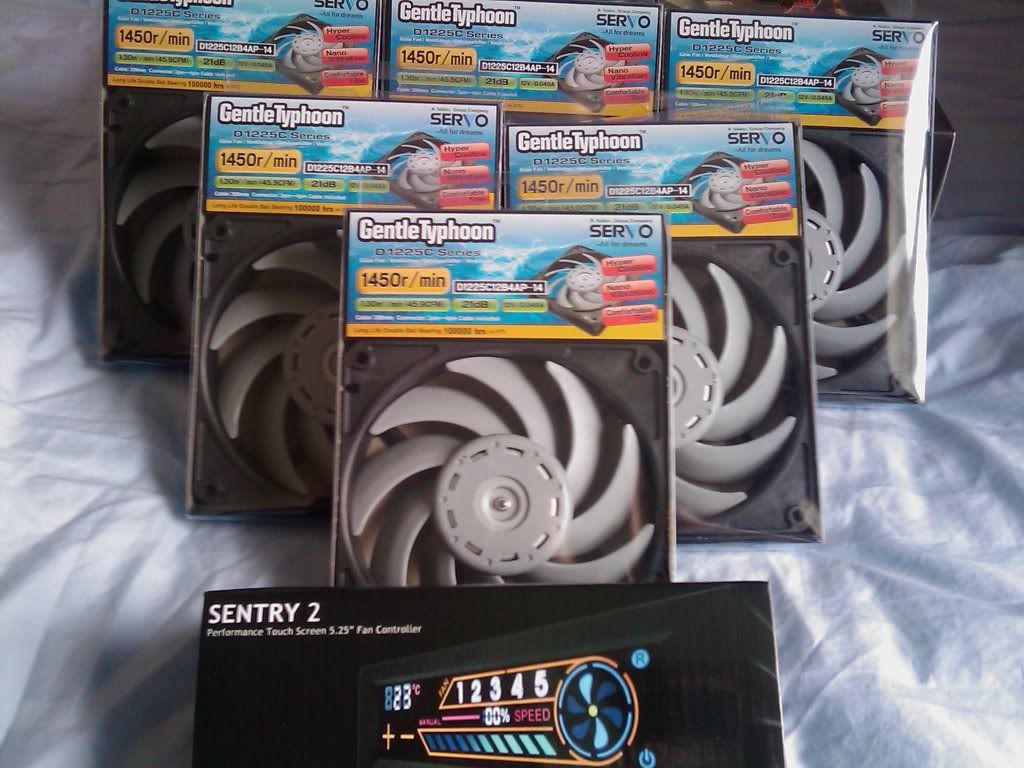
FAN.jpg

GFX.jpg

RAM.jpg

IMG_0090.jpg

CPU1.jpg


and I started to rip it up
 
The 800D is HUGE

th_800dstart.jpg


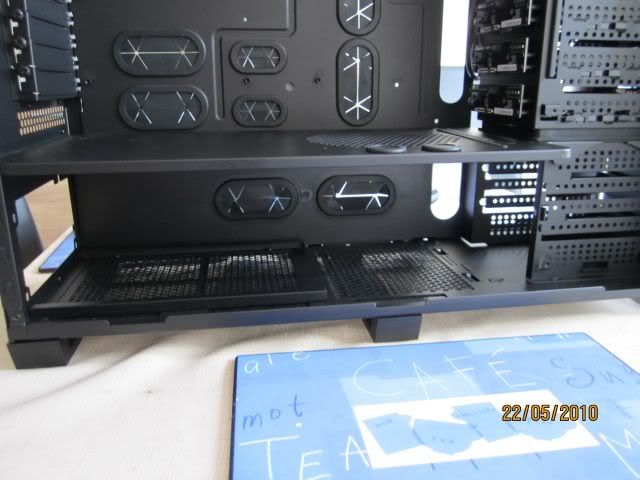
I had to fit in 2 x PA120.3 (top and bottom) and with the PSU there's no room

This is where the problems really start and I SHOULD have done some of that thinking thing...

here's what it started out like :

800dnofit.jpg


and here's me trying out the space for size ... no wai is that gonna fit in there !!

plana.jpg


Time for ACTION ... so I bugger off to B&Q and buy a dremel and some other power tools..

Fun ensues !

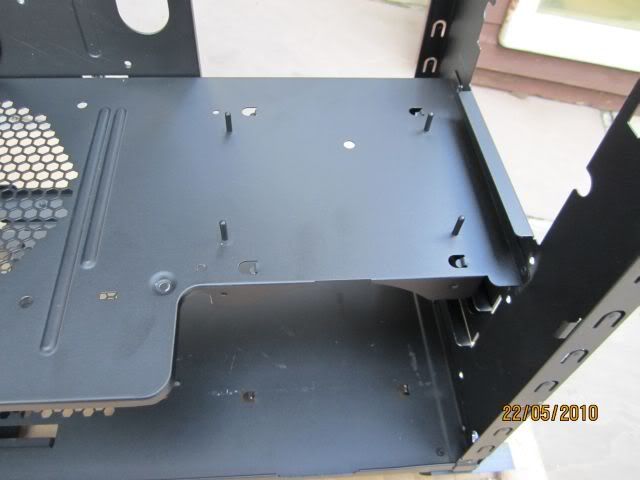
after removing the drive bays :
doireally.jpg


I thought I'd have room to use one of the hot swap HDD enclosures if IT sawed it off the rest of the bay and screwed it back into place ..
No room for the PSU or the Cables though .. so after spending a day cutting it out ..
I trashed it and will mount the backup HDD into a DVDROM bay with a chassis..
 
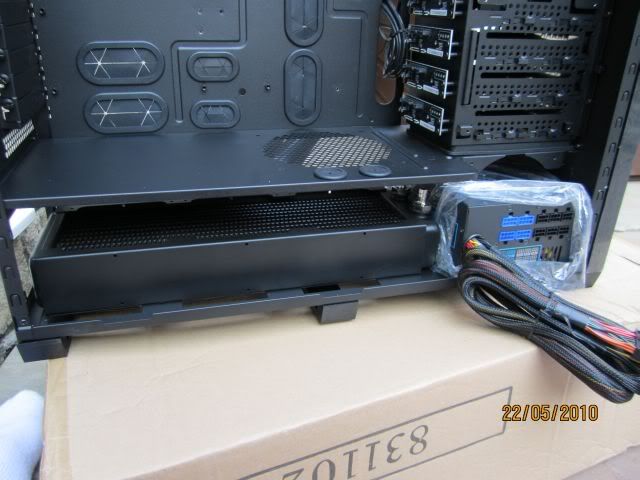
more cutting is required and then slide the PSU into position :

IMG_0101.jpg


this is upside down so you can see the fit of the RAD ..

IMG_0116.jpg


now attaching the RAD is a Whole new ball park

first off, attaching fans to them and then trying to get them to attach inside the case ..

Theres a really good reason people buy shrouds .. I forgot (or was too cheap to do it properly)

see here the screws that come with the fan ? well they are meant to screw into the fan chassis but that would involvebeinf screwed in from the opposite side of the radiator .. I think you see the design flaw there

IMG_0106.jpg


So, out with the drill .. Back to B&Q

40 x M4 30mm bolts and nuts

Drill some holes in the RAD (enlarging the exisiting screw holes as seen here )

now the Clever bit

I ACTUALLY did some thinking

If I put the fan on top of the rad and try to put the bolt through to go into the nut ... it ain't going to work .. even if i got lucky and managed to get them lined up

Here's a handy trick ............. Superglue !!! you heard it here first !

IMG_0108.jpg


put the bolt through and grab some threads ... dab glue to the top of the nut and then tighten a nut on top to add pressure
I tried holding it in place first by hand But .. I just wasnt steady enough and secondly 36 bolts would have taken me a month !!

you end up with this :
IMG_0111.jpg


funky huh !

Give it a few hours for the glue to set so that when you attach the fans there's enough traction for the bolt to start tightening wothout the nut spinning freely ...
 
here's the first fan :

IMG_0113.jpg


and the whole thing is ready to be installed ..

IMG_0114.jpg


I really complements the case as this is SO much more sturdy than just using self tapping screws .. and MOST IMPORTANT ... I didn't risk pircing the radiator at all .... I was so impressed with my ingenious idea !

now there is a choice to be made in attaching the Radiator inside the case ..

either use the self tappers provided or do the nut and bolt thing again ..

I had run out of superglue and opted for the self tappers ... ONE precaution !!
IMG_0115.jpg


I filed of the pointy bits ... Really didn't want to screw into the rad at all

here we go .. all fitted !

IMG_0117.jpg


and inside view

IMG_0118.jpg
 
OK,

the RADs are bothe fitted.. cool

I don't yet have the waterblocks for the GPUs so just the one loop for now

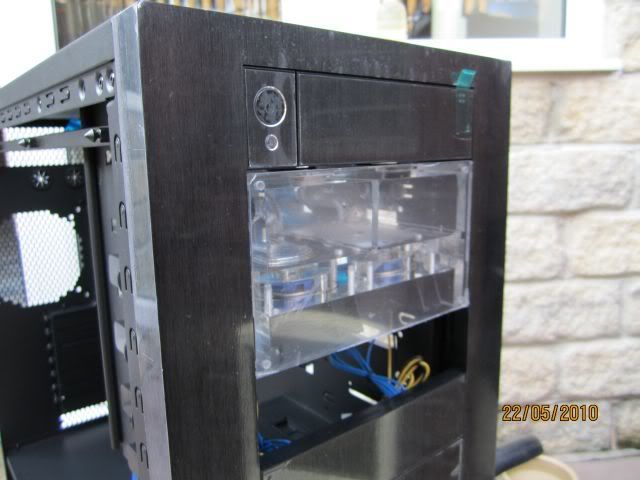
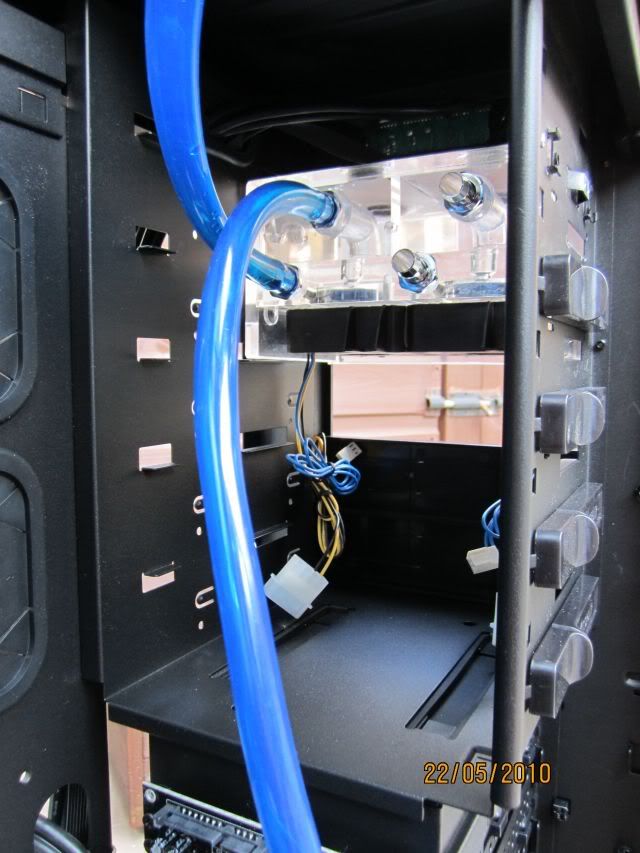
Bay res is next to be fitted in ... the 800D has some metal brackets in the DVDROM bays which blocks the bay res from fitting ... MORE Dremel later !

bayresfitted.jpg

bayres.jpg


and in she slots .. the blue tube is tust from my leak testing .. not gonna bore you here with that .. I already linked it in another thread.

PLEASE please leak test outside the case first ... better safe than wet an electrocuted !

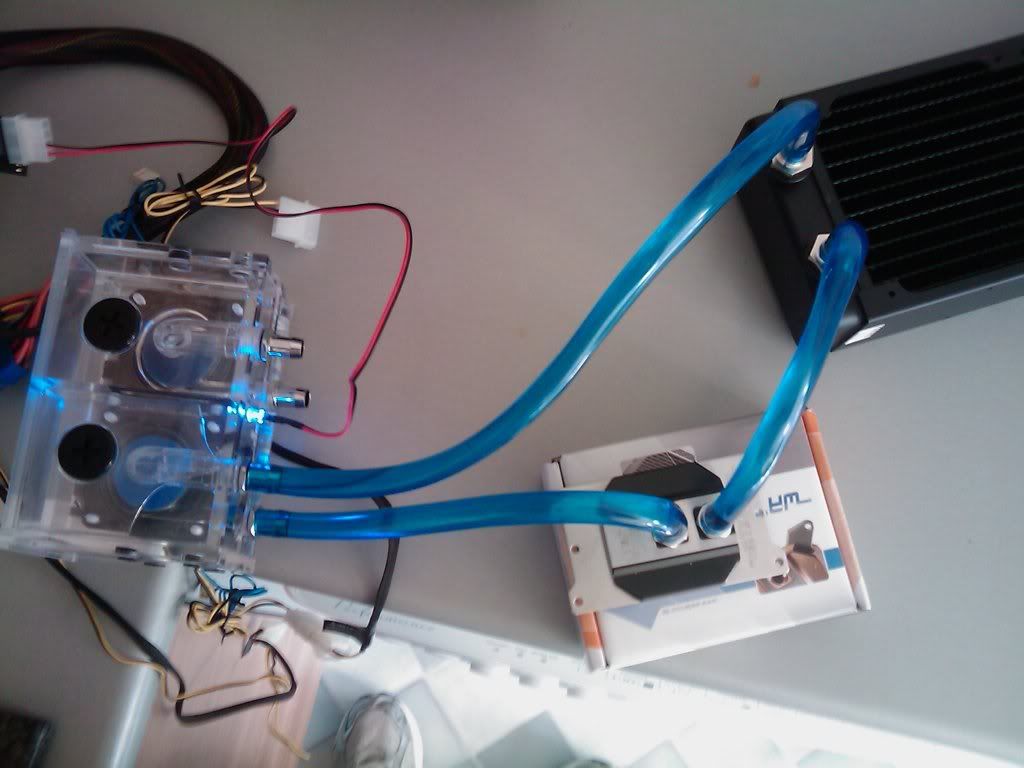
okay okay .. one piccy of leak testing

LK5.jpg


and a front end shot with lovely Blue LED

IMG_0135.jpg


now onto the scary expensive stuff

Compression fittings .. ummm .. fitted ..

IMG_0123.jpg


MAN GOO !!

IMG_0122.jpg


get rid of the horrible blue plastic bracket

IMG_0121.jpg


and lets start getting Risky !!!
 
IMG_0094.jpg


that waterblock on the NB is Copper .. I'm quite sure of it .. the down side is the barbs are not removable .. so I replaced it with the passive "silent pipe" cooler as supplied :

IMG_0120.jpg


and then attached the HEATKILLER V3.0 to the CPU and M/B

IMG_0127.jpg


IMG_0128.jpg


so far so good .. I might as well throw it in the case seeing as it's all ready now .. scared yet ?

just remember the Case is HUGE .. and the MoBo is one of the biggest form factors XL-ATX woot !

inside the case .. it looks TINY !

IMG_0129.jpg
 
RES fitted .. MoBo fitted, RADs n Fans fitted

best run some TooBs then eh ?

I got 5 metres of TFC Silver 3/8 ID 1/2 OD tubing and will use the same in BLUE for the GPU LOOP eventually ... this should match the silver and Blue theme here ..

so here's my first shot at watercooling guys !

IMG_0130.jpg


IMG_0131.jpg


Spot the deliberate mistake .. yes I know .. all that money on fittings and I hardly used any and FORGOT a drain tube .. this is going to be a problem !!

Told you I ain't good at thinking !

did some tilting the case (can't photo it .. case too heavy !!! )

and got 90% of the bubbles out

IMG_0138.jpg


see the froth in the top of the res ? coooool !

at the minute I have to top up by pulling the bay res out

IMG_0132.jpg


I have to drill more holes in the case and fit some fillports .. I have them but need the 22mm -> 1/4 in BSP ? adaptor to make it work .. then it will all be simple .. I'll probably do the drain at the same time as I fit this and the gPUs

so now I did some more leak testing in the case for 3 hours :

IMG_0134.jpg


before I was happy to carry on building it up and adding in the rest of the gear

A few things more:

Threw in the RAM and GPUS (air cooled for now)

IMG_0142.jpg


I need to figure out a way to make the heatsinks BLUE .. to match !

IMG_0143.jpg
 
You are going to love this ...

Cable management *** !!

Looks quite good at the front .. I still have a lot of work to do yet

IMG_0142.jpg


But TADAAAA ! .. a view from behind ! .. not for the faint of heart !

IMG_0144.jpg


IMG_0140.jpg


SSD Velcros to the back panel ... some LED light controller and a SHED LOAD of fan cables and other cables

.. Do'h ! what to do what to do ?!

and Yet ANOTHER Problem ..

see the PSU in the bottom .. mounted quite cleverly to the front of the case ?
IMG_0141.jpg


Well that's fine .. but ... the Damn cable won't fit under
IMG_0146.jpg


IMG_0145.jpg


the PSU is attached to the front with industrial strength Velcro .. and is jammed in against the bottom tray of the chassis ... TIGHT !

So, PLAN B ! !

DREEEMEEEEEEL !

IMG_0149.jpg


fits alreight now yay

IMG_0150.jpg


and I can run the cable outside under the legs of the case
IMG_0148.jpg


For now .. until I get some more kit .. thats me .. I'm gonna see how it goes
 
This is where we are currently at :
CPU loop has been in place a couple months and GPU's air cooled and cooking.

IMG_0189.jpg


And here' is what has turned up

IMG_0182.jpg


strip tease :

IMG_0184.jpg


NEKKID ! apart from see thru panties
IMG_0186.jpg


and to make it all look prettier

IMG_0181.jpg


someone else did this ...

IMG_0179.jpg


:clap:

more to follow as I start ripping this all apart
 
took the plunge, moment of truth time.

:cool:

starting with this -- huge block of copper and plastic
IMG_0195.jpg


then something fell off, oops

IMG_0196.jpg


mucky handed minions maded my GPUS .. yuck, needs cleaning.

IMG_0198.jpg


drop on a lump of metal and acetal

IMG_0199.jpg


multiply by a factor of awesome squared

IMG_0203.jpg


Oh hell why not, multiply by TOTALLY AWESOME CUBED TO THE POWER OF OMGWTFBBQPWN !!one!!eleven

IMG_0206.jpg


other angles
IMG_0207.jpg


and the other side

IMG_0212.jpg
 
saw this build on another forum. some really interesting ideas.
i like the psu at the front idea too

as you havent set your trust email up, would it be possible for me to move this thread into the 'Case Central' section?

we are hopefully implimenting a Project Logs sub section soon and this thread would fit in there really well. :)

That'd be fine by me thanks for looking rjk :)

TRUST MODE - Activated ! :D -- Cheeeezy !

Loosk hawt. I would have got a 90 degree PSU lead instead of cutting another hole in the case personally though...

I looked in about 5 shops for one, got home and cut the hole :p
thinking AND patience ... I have neither

He did say several times that he doesn't think about things enough :p

did I say that ? damn .. I need to think before typing
 
Last edited:
Alternative idea for the psu, how about cutting a hole in the back of the case in line with where the psu normally sits, and just poke part of it out the case to allow enough length for the 120.3? Coupled with cutting a hole in the front of the case to push the rad as far forward as it can go I don't think too much of the psu would stick out.


thought about it (for once) before starting ... the CASE is bigger than my DESK :p so can't extend stuff out the back :D

I'm quite happy with the position .. just needs a tidy up now
 
newp ! :)

so, I found the drill P

started marking out for the fillports

IMG_0213.jpg


and then let 'er rip !

IMG_0215.jpg


looks okay, theres the pre built ready to fit in

I carped meself for a minute thought i'd chopped the cables for the front panel

IMG_0216.jpg


look alright ?

IMG_0218.jpg


so someone is right, i can't resist me dremel, trying to fit the bay res in the top meant NO ROOM to fit the tubes damn it .. too tight
had to move the res down which means removing more of the CD bay rims
but it went okay

IMG_0219.jpg


IMG_0222.jpg


now the one problem i had thinking about watercooling the GPUs from the RAD under the bottom tray.. theres nowhere for the tubes to get to the barbs on the rad

IMG_0217.jpg


so, more drilling ensued

IMG_0223.jpg


should work out okay, it's in paint shop drying at present, I'll put some grommets on it and photo tomorrow

what ya reckon ?
 
I like it

Project "Dremel Dream Machine!"

and yes rjk .. I am n00b I made all the cuts with the M/B still in place,

the holes are in the 5.25 drive bays and the M/B is about 6 feet away in the back of the case, I swear somedays I could crawl up inside the 800D and go to sleep, no one would find me apart from the damn window in the side of the case :p

but took the precaution of masking tape and dust covers over everything including the rads n fans.

it was only a couple little holes :p

If I killed it, then I buy a new one .. no huge loss .. it's all in the name of science.
 
I wish I could afford to join the do or die club. :(

Although RJK with his new motherboard every week is probably keeping the economy going all by himself. :P


WHUT. 1090T on that board, and it's not overclocked?!

This guy needs training up, he's not in step with the community. :P

LOL, I have taken it to 4Ghz already BUT

I mean learn to OC .. not learn to take everything off auto and ramp up the multi to 20 ...

I eventually want to balance the sysem so the RAM speed is synced with the HTT and it's as stable and high as poss ... I have time though, gotta build the monster first :p
 
Back
Top Bottom