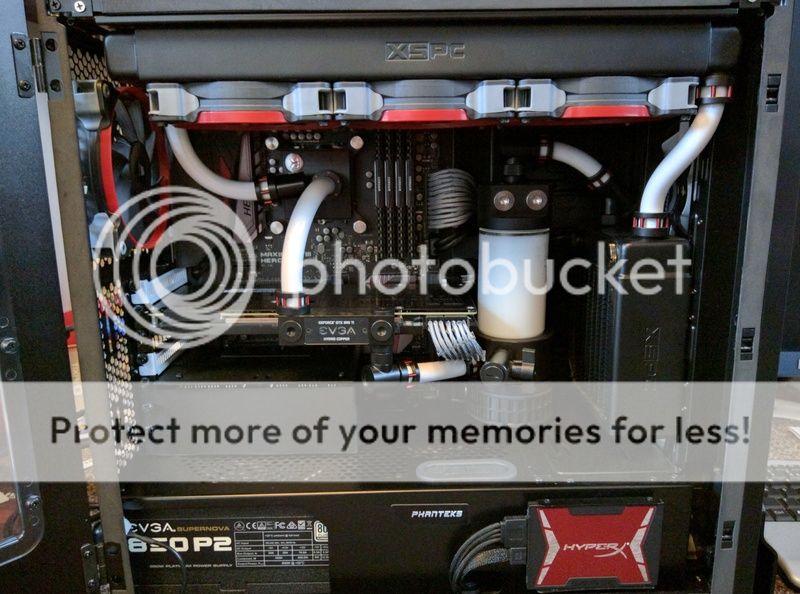
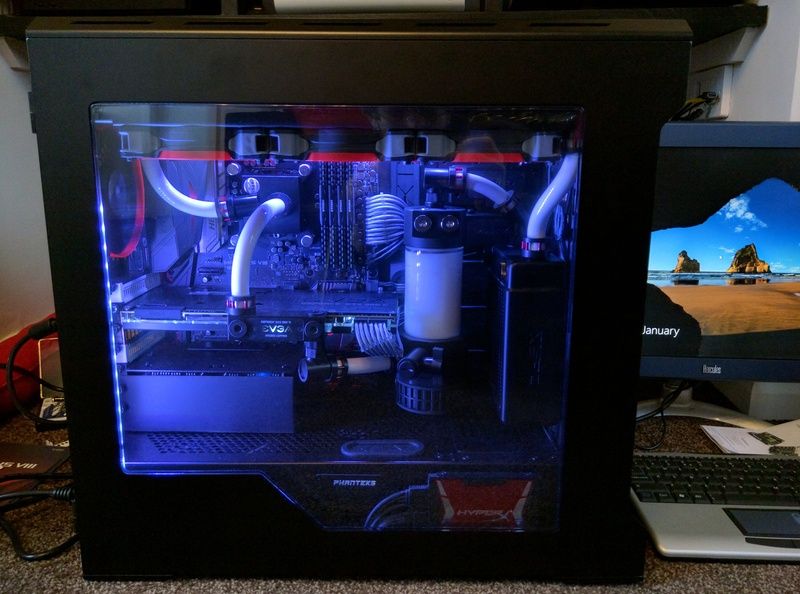
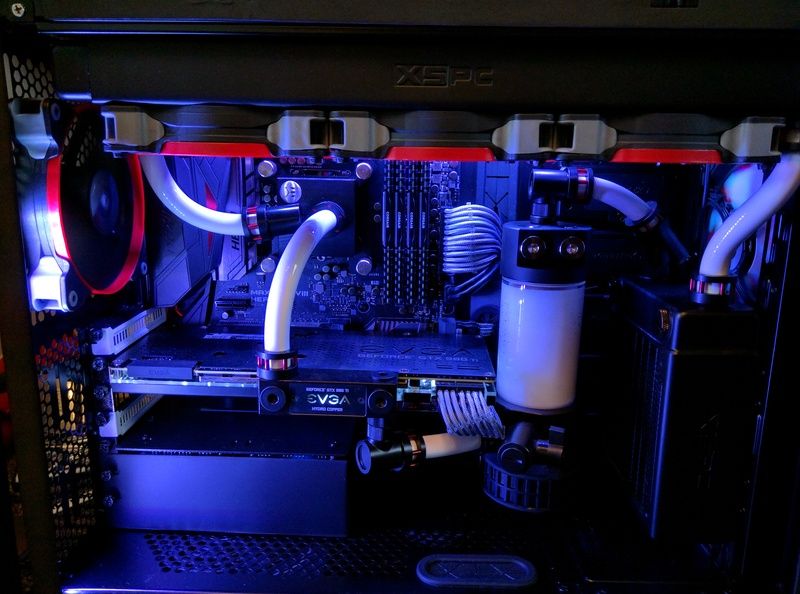
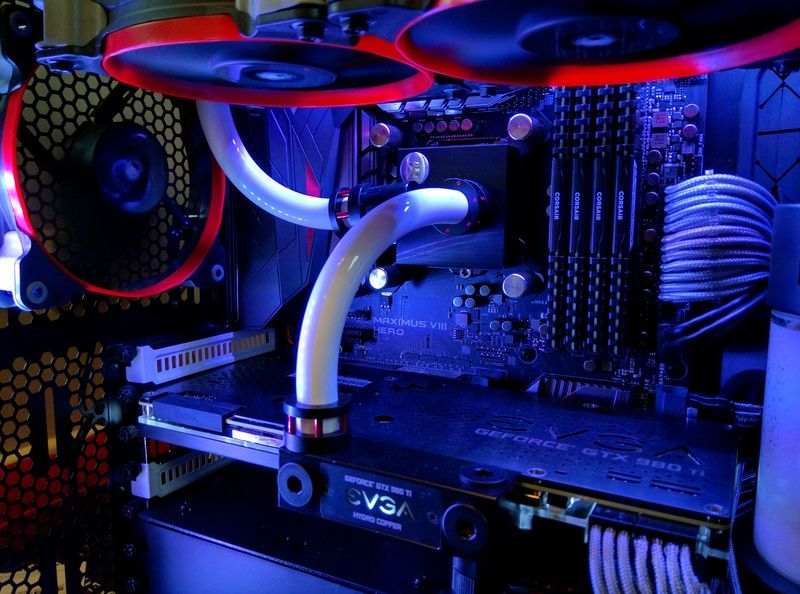
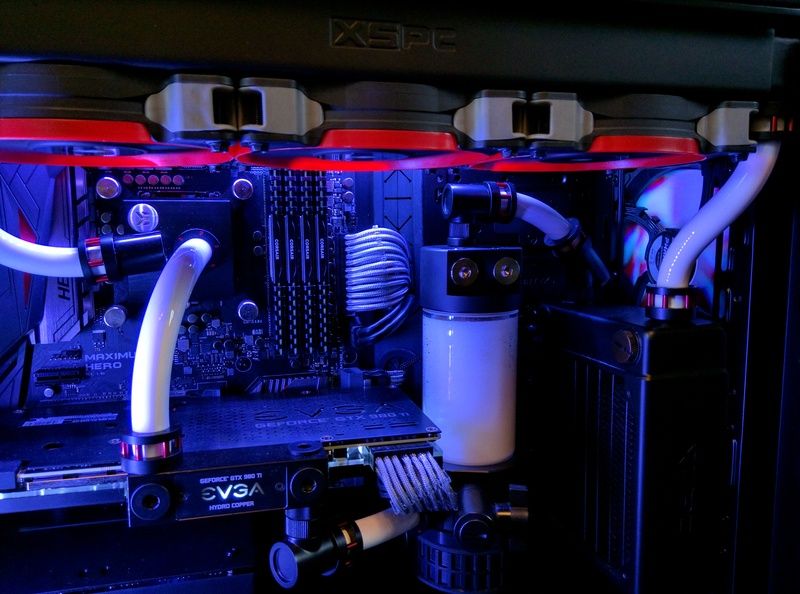
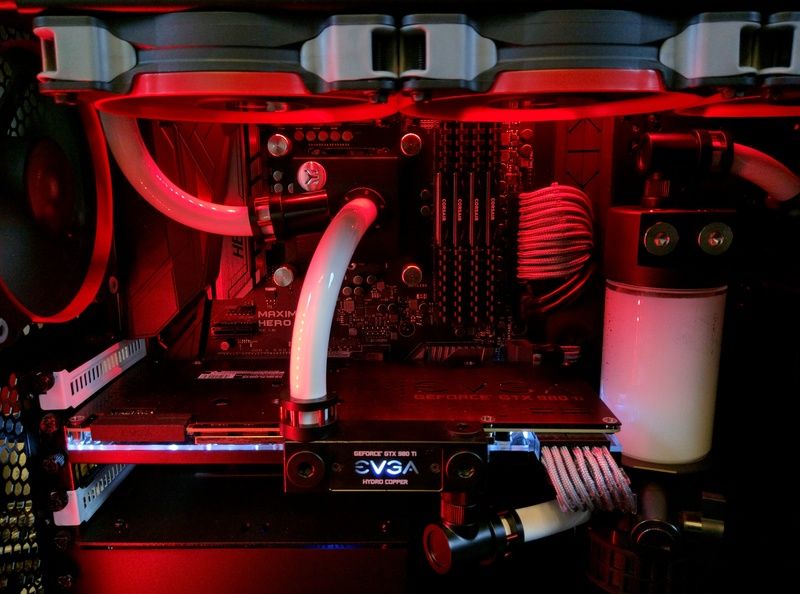
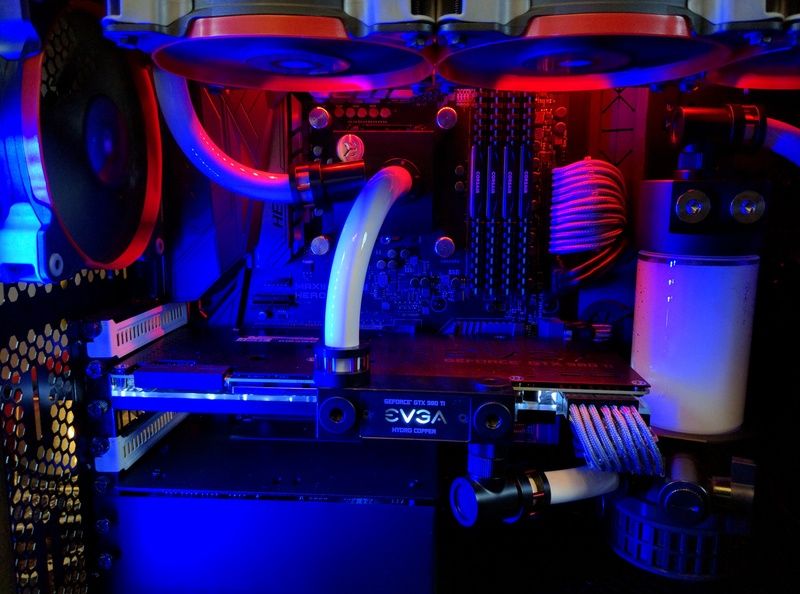
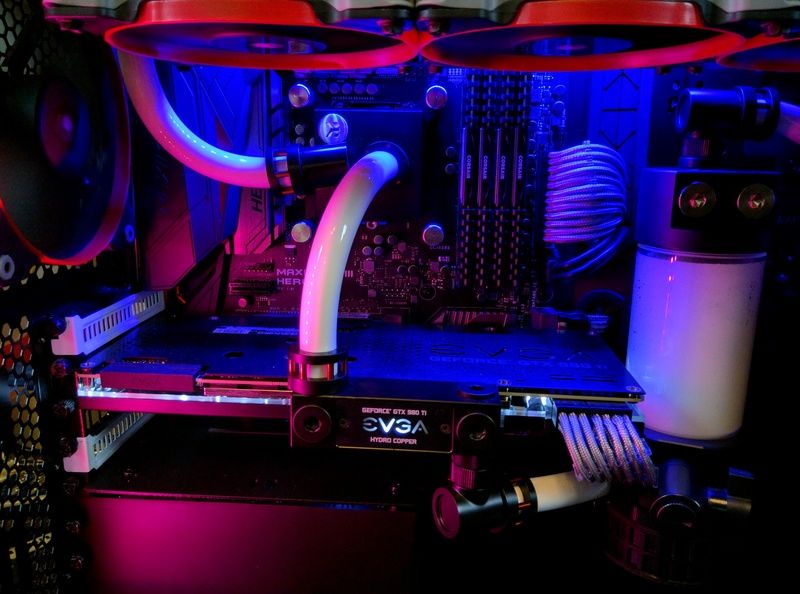
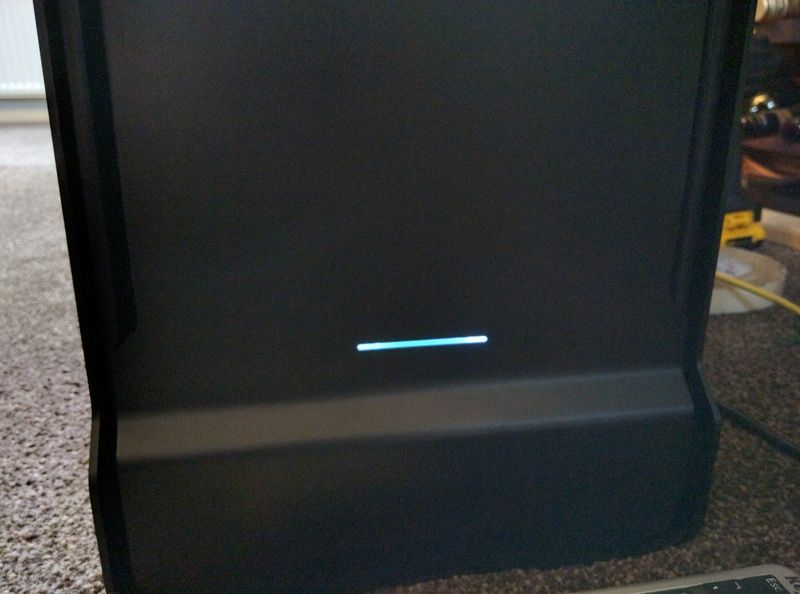
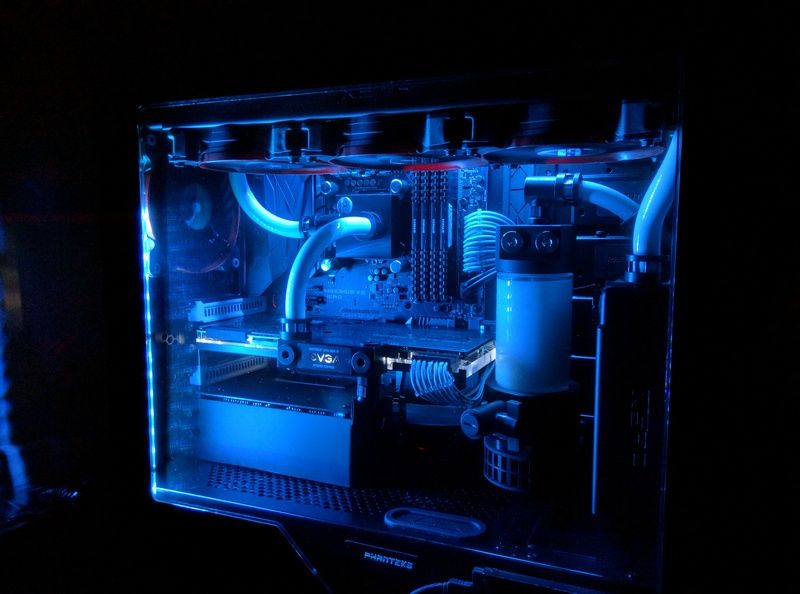
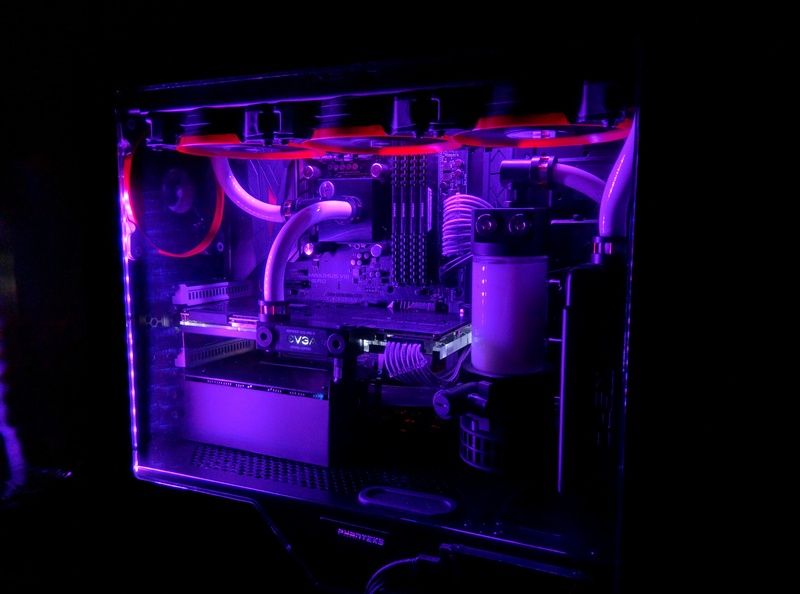
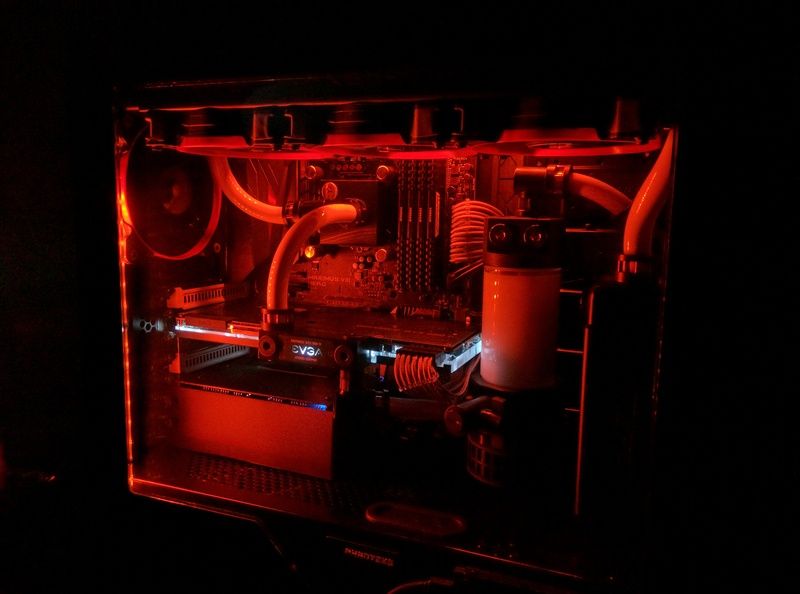
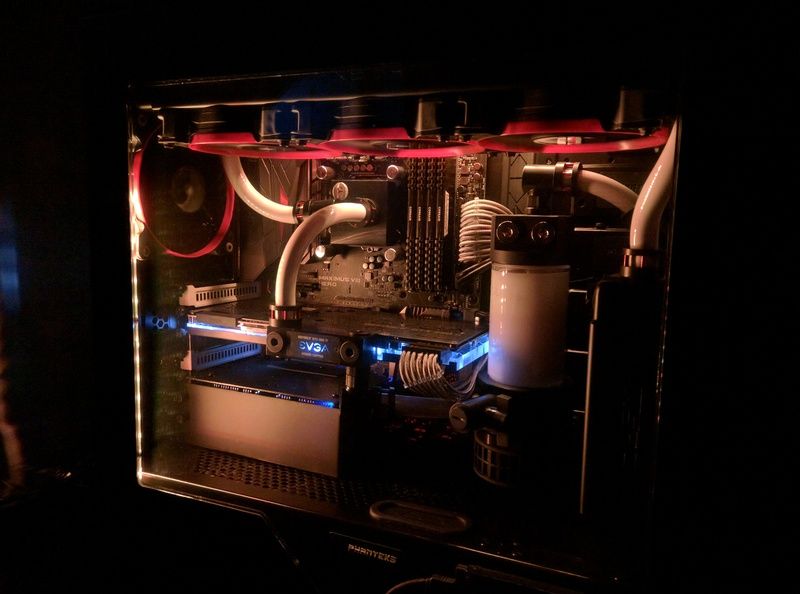
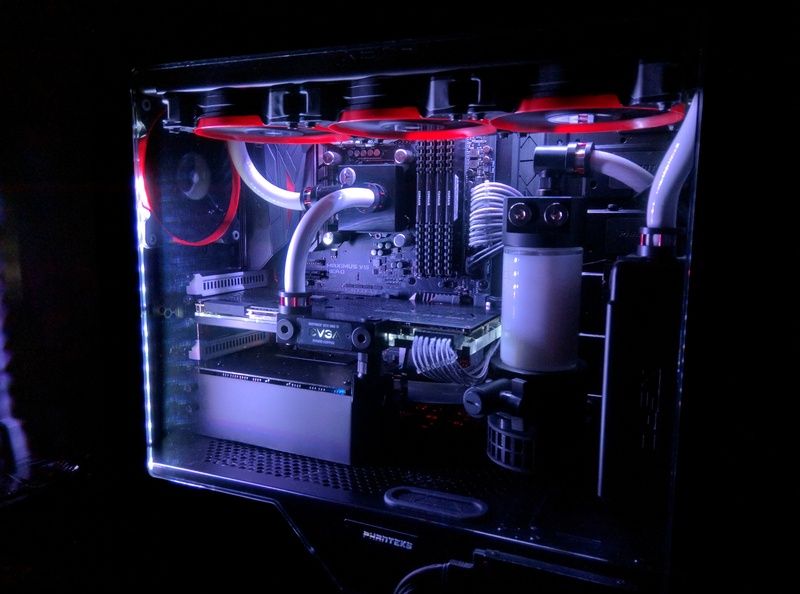
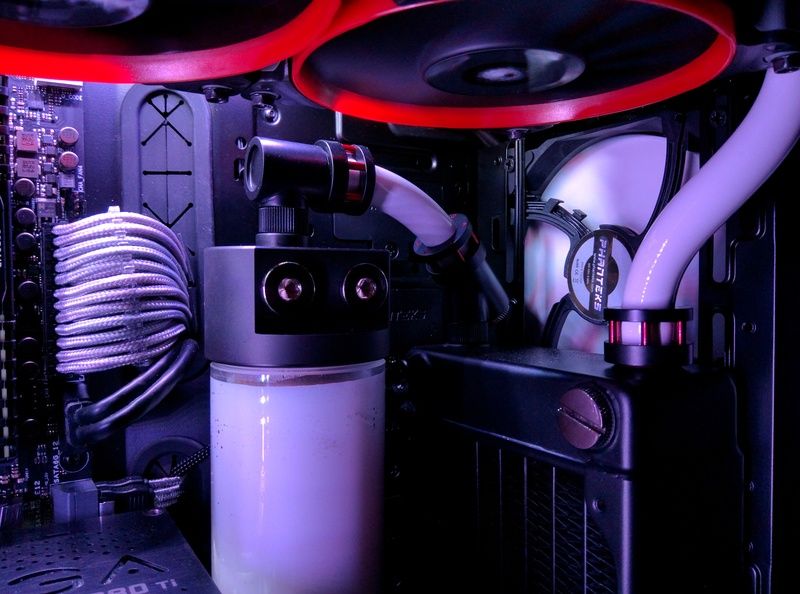
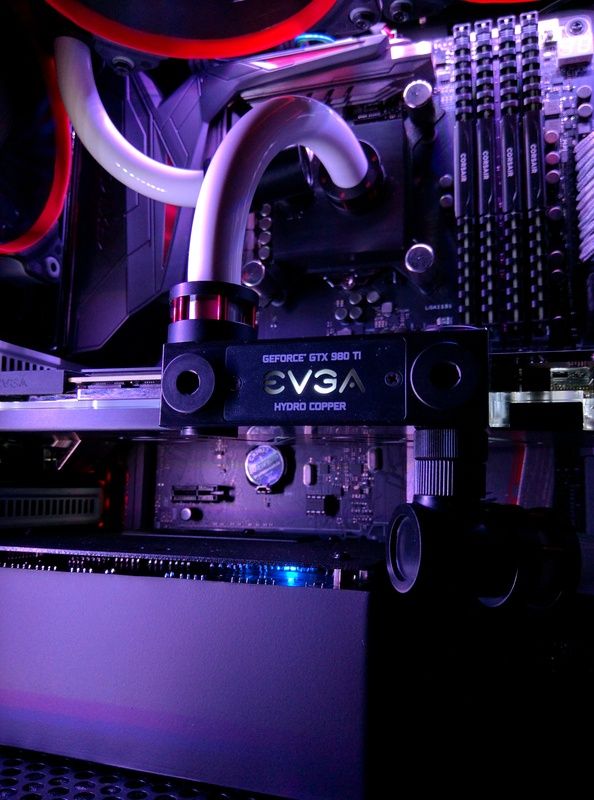
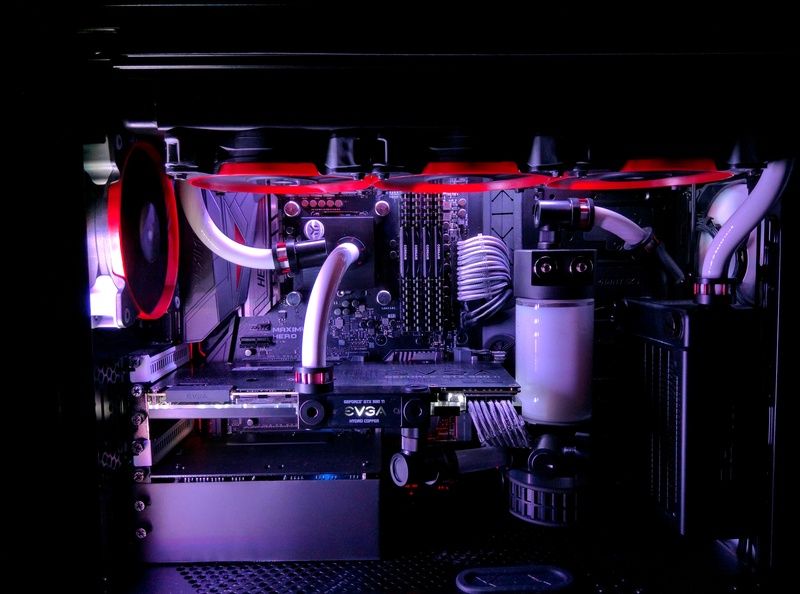
Dripping with style or floody disaster?

What are you using, acrylic?

Seriously mate, I can only dream of using such exotic materials! I have at my disposal, and I'm really not joking, a saw, a hammer, a drill, a file and an old case to cut up. Yep, we're that advanced down here in Wales :cool:

Still if it gets the job done... :)

Nice build man, I'd be interested in seeming some more bench results and stuff as I'm planning on a similar build this year. Only main different will be mine will not be a full custom loop and mobo is different. But I'll have the same RAM, M2 SSD, CPU and a 980Ti

Cheers fella, you won't be disappointed as even at stock speeds this thing is seriously fast. Currently running an i7-3770, GTX 560Ti, 16GB RAM with Intel SSD and the new one makes this thing feel positively pedestrian :)

Oh yes, and one new test below :p

+1 shroud, looks much tidier!

She's been sprayed, so will hopefully have the whole thing finished by tomorrow and finally be able to start abusing it with some GTA V :D


In a very slight update while I wait for the paint to dry, I changed the RAM to the XMP profile (3200MHz) and ran the 3DMark 11 test again with everything else the same as before. I was expecting a VERY slight improvement from the 18880 before but this can't be right can it?! Didn't think RAM speed was supposed to make any real difference... :eek:

Untitled2.jpg
 
Well it's a few weeks overdue and a ****load over budget, but good news guys & gals: SHE'S FINISHED! Sooooo, onto a quick photo update :D

New shroud in place, complete with nosing slot :p

IMG_20160109_133622.jpg


To say I'm pleased with the outcome is an understatement, was expecting at least one complete balls up!

IMG_20160109_133752.jpg


Think I made the right decision to go with 2 short LED strips, keeps the focus on the main components rather than the emptiness of the front of the case :)

IMG_20160109_133914.jpg


Mmmmmmm, tidy... *drools* :p

IMG_20160109_133933.jpg


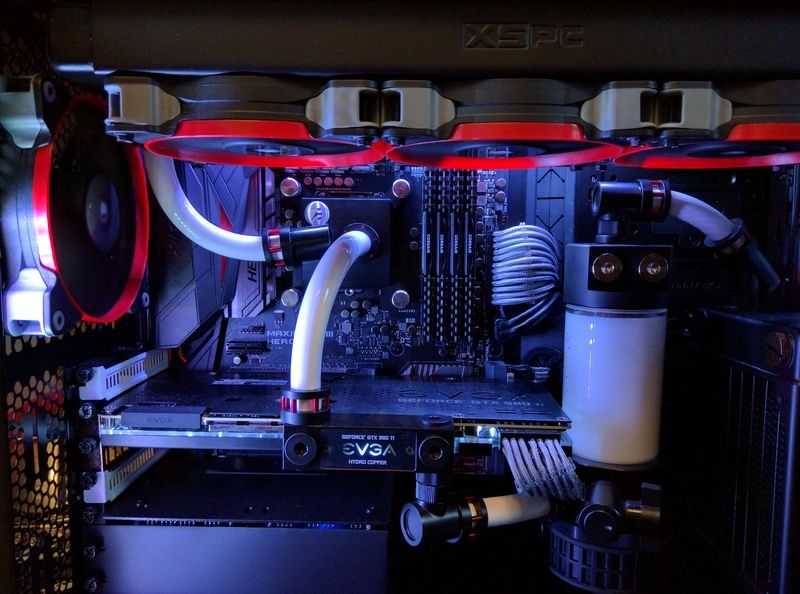
White lighting, but somehow the also white fan has red stripes on it... Didn't think the fittings were that shiny :confused:

IMG_20160109_134007.jpg


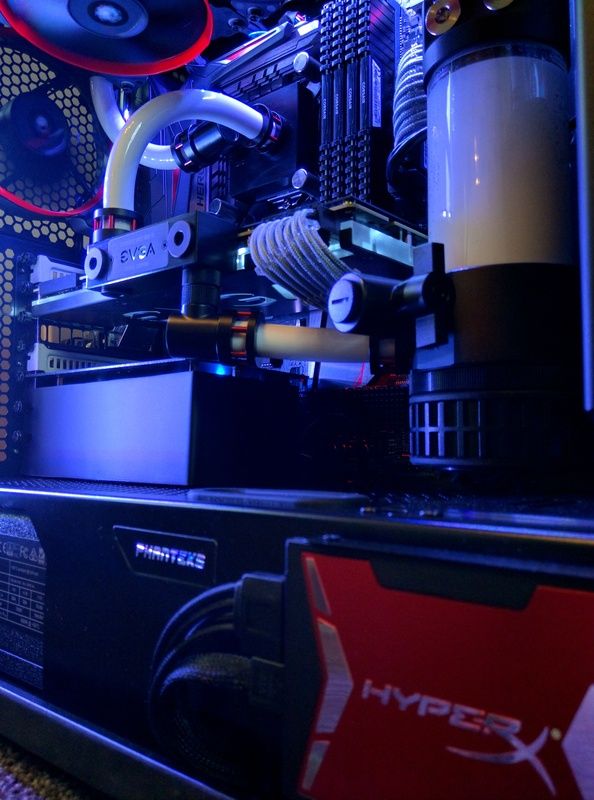
This is what happens when an idiot with a Nexus 6 attempts an 'arty' shot :D (also reminded me I need to remove the stickers from the RAM!)

IMG_20160109_134111.jpg


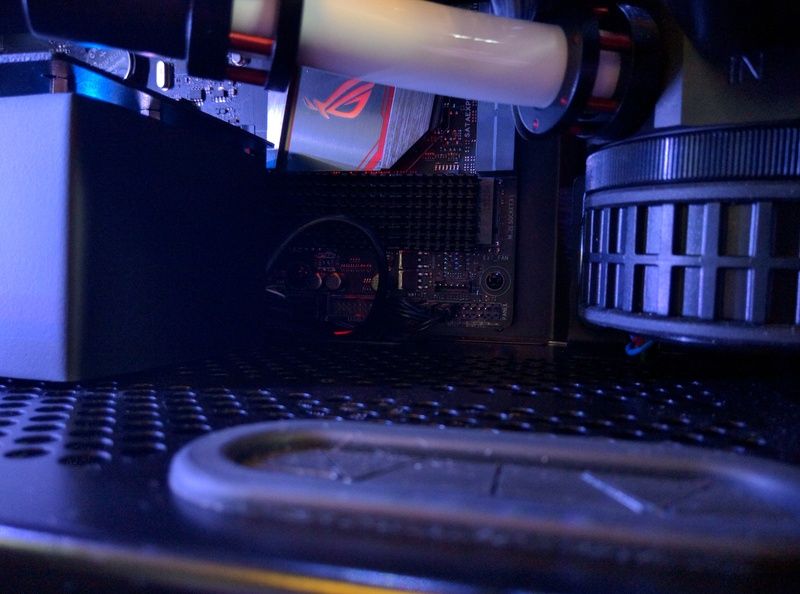
Found a stray cable lurking by the M.2. He will be removed and punished.

IMG_20160109_134247.jpg


Now time to play with some lighting :D

IMG_20160109_135425.jpg


IMG_20160109_135507.jpg


IMG_20160109_135329.jpg


IMG_20160109_135355.jpg


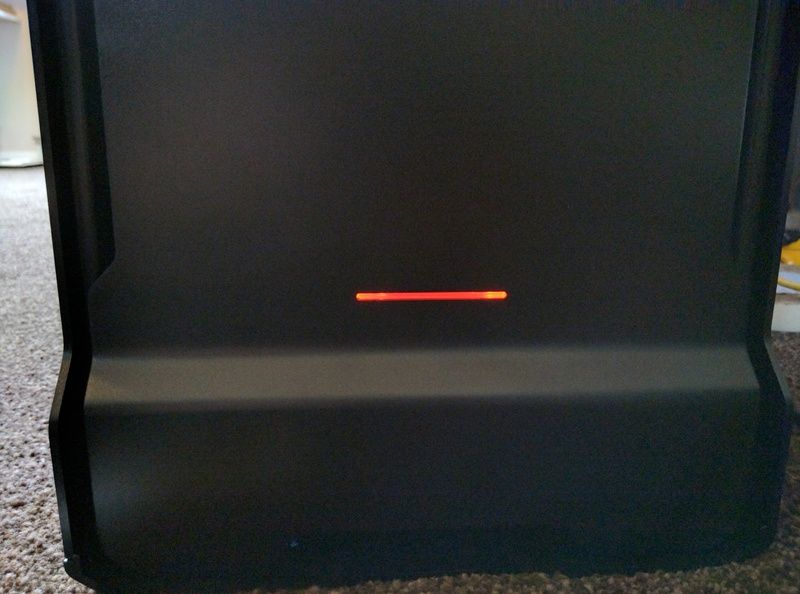
RGB module to replace the power LED is working like a charm. It's a bluish white when the water temp is cold...

IMG_20160109_134404.jpg


...Then gradually changes to bright red when it's hot :cool:

IMG_20160109_134520.jpg


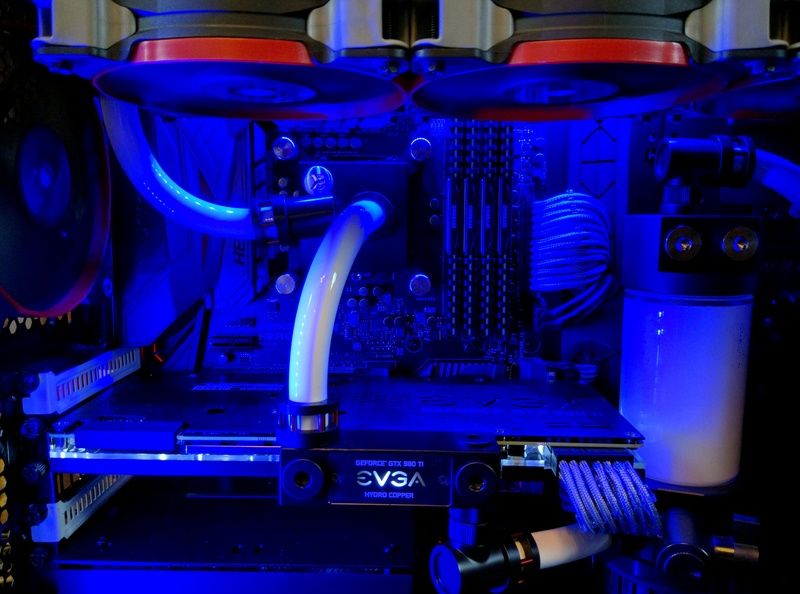
And then, after all of this playing around with lighting, my incredibly stupid brain decided to wake itself up for 30 seconds: If the lighting when set to ice white has a slightly blue tint to it, why not just knock the blue channel down a bit? And yes, that did only just click into my head after days of playing with it :( :D

BEFORE: R 100 / G 100 / B 100

IMG_20160109_133914.jpg


AFTER: R 100 / G 100 / B 50

IMG_20160109_135801.jpg


Well I guess that's it folks, finally get to chuck some games on and take it for a spin! Will upload a couple of vids to YouTube showing the lighting effects when I get 10 minutes, although coming off a Nexus they won't be brilliant!

Anyways, hope you enjoyed following the build as much as I enjoyed making it, even if lack of funds, out of stock parts, me being dull etc did make it over run by a couple of weeks :D
 
damn that looks so good. i done mine, in my rush and panic at every stage i never took photos of anything lol. i got a leak and also two of the screw standoffs on my gpu block broke one screwed right back in the other snapped. so now im in the boat of sending that back and just feel very disheartened by it so now not in any rush to finish it off lol, havent even sent the gpu block back for rma yet.

because i am doing mine in an ITX case same as yours but ITX version i actually never covered all my ports proper so cant exactly tell where the leak was from. got a slight incling its from the cpu block because i never tightened it enough maybe.

will probly have to leak test out side of case. 1st just to make sure nothing is faulty.
 
Guinness well deserved. It looks awesome :D

Very nice work overall. Love the case, absolutely gorgeous. Shroud looks Asome finished up

Glad it worked out without being a "floody disaster". Build looks splendid.

Enjoy your Guinness. :)

Cheers for all the kind words guys, very much appreciated. Many Guinness' were had, now needing an OCuK XL coffee mug full of coffee to wake up again :D

damn that looks so good. i done mine, in my rush and panic at every stage i never took photos of anything lol. i got a leak and also two of the screw standoffs on my gpu block broke one screwed right back in the other snapped. so now im in the boat of sending that back and just feel very disheartened by it so now not in any rush to finish it off lol, havent even sent the gpu block back for rma yet.

because i am doing mine in an ITX case same as yours but ITX version i actually never covered all my ports proper so cant exactly tell where the leak was from. got a slight incling its from the cpu block because i never tightened it enough maybe.

will probly have to leak test out side of case. 1st just to make sure nothing is faulty.

Damn, you really haven't had much luck mate but don't let it drag you down, get a new GPU block in it and get some photo's up :)

What's the ITX version like to build in? Love the cable management in this case, just wish they'd spent more time thinking of reservoir mountings...

Can't say I really leak tested mine properly, ran the pump for about 20 minutes with rest of the PC off but got bored after the top of the reservoir leaked, so did the rest of the leak testing / removing of air bubbles whilst I was setting the OS's up. Not exactly 'best practice' but hey, it worked out OK in the end so who's gonna judge :p
 
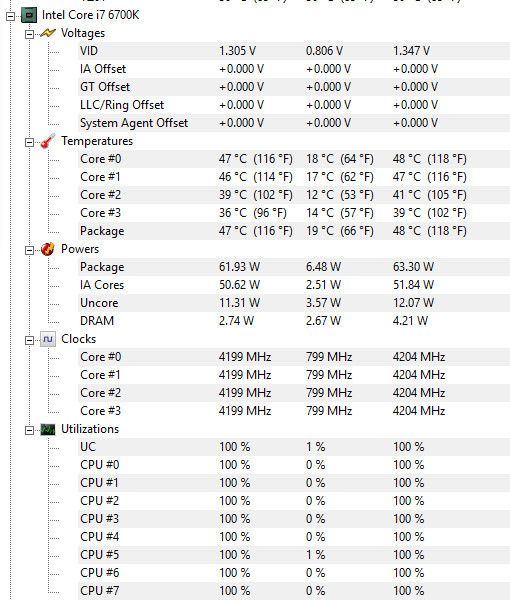
Ran a 30 minute stress test using CPU-Z with the pump set at 30% and with an ambient temperature of 19°C. Main thing I'm confused by is the massive difference in temperatures between cores... Any ideas? Cause for concern? Water temp topped out at 26°C.

Temp.jpg


Currently got the fans set up like this, so very quiet but will turn them down further if gaming doesn't get it hot...

Screenshot%20from%202016-01-10%20120623.png


Fan 1 120mm front radiator (intake)
Fan 2 2 x 120 front intake fans
Fan 3 360mm top radiator (exhaust)
Fan 4 120mm exhaust fan
 
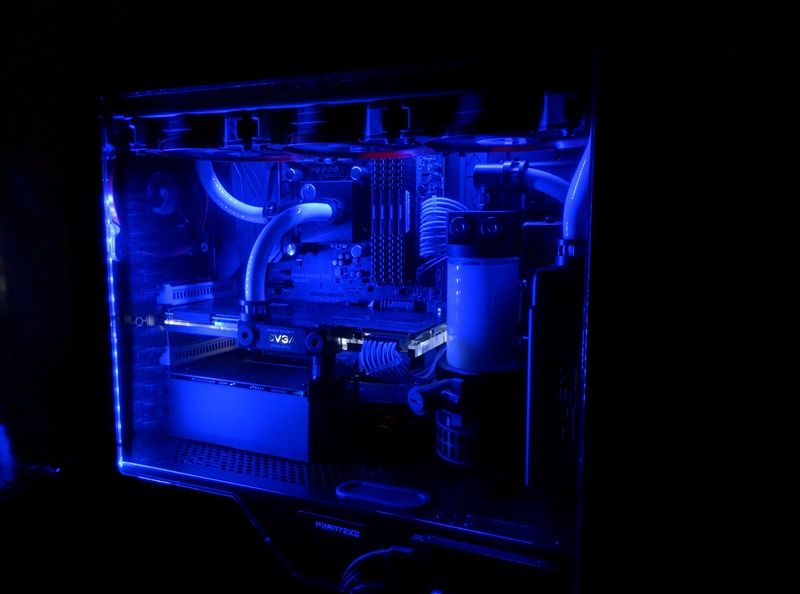
Just thought I'd post a couple of night shots with the side panel on, even if they are still taken on a crappy Nexus :p

IMG_20160110_163649.jpg


IMG_20160110_163948.jpg


IMG_20160110_163709.jpg


IMG_20160110_163755.jpg


IMG_20160110_163826.jpg


IMG_20160110_164032.jpg


As nice as the red / blue / orange etc are, think I still prefer the ice white look. Also noticed a couple of bonus's: Seems turning the blue channel down a bit has 1) Made the red of the fittings & fans 'pop' (photo's don't do it justice :() a bit more and 2) Somehow gotten rid of the red stripes on the white fan... Not sure how that works but hey, I'll take it :D

IMG_20160110_164114.jpg


IMG_20160110_164152.jpg


IMG_20160110_164251.jpg


And yes, I know, I still haven't removed the stickers from the RAM!

Right, I'll stop boring you all with photo's now and get back to lurking :p
 
Right, had a slight change of plan with the PC. Was originally going to be my new work PC as well as being used for gaming, but now looks like I'm going to continue using my old one for work and leave the new one plugged into the TV to use purely for gaming. Only issue is that when it was built I only chucked a small 120mm radiator in the front as I needed the HDD space for work, but now I'll be able to fit a 240mm radiator in the front instead... Soooo, worth swapping out for better cooling / less noise, or more hassle draining and refilling the loop than it's worth? Opinions please guys :D
 
The system looks excellent, very suave with the RGB LEDs and it looks very clean with the shroud and case covering up most of the cables. Not sure about cores though but I assume it's related to the spread of the thermal paste and the paste connecting the die to the IHS. I usually take an average of all the cores when comparing temps just to be safe though :)
 
Last edited:
The system looks excellent, very suave with the RGB LEDs and it looks very clean with the shroud and case covering up most of the cables. Not sure about cores though but I assume it's related to the spread of the thermal paste and the paste connecting the die to the IHS. I usually take an average of all the cores when comparing temps just to be safe though :)

Cheers mate, love the Aquaero but it really was a bugger for cable management! Very impressed with the Aqua Computer RGB LED's though, even with 2 short strips they're more than bright enough, and the software for customising them is near perfect :) Not quite so worried about the different core temps now tbh, seen people on here with more than double the difference between cores so guessing it's nothing too serious! And as you say, as long as the average is OK... :) After a few hours of GTA V with all settings maxed out I'm getting a max of high 50's for CPU and low 40's for GPU, with water temp at around 35°C, so now just need to decide whether or not to swap the 120 radiator for a 240 / 280... :p
 
Are you able to say where you got the 'bars' heatsink for your SSD or at least what it is sold as? Just struggling to find a single heatsink that's vaguely the right shape. Also, what did you stick it on with and did you take off the Samsung labels first?
Cheers.
 
Really nice build OJ46, pics look fantastic! How long do you play with the rgb lighting before you actually get down to gaming? ;) Excellent work fella!
 
Are you able to say where you got the 'bars' heatsink for your SSD or at least what it is sold as? Just struggling to find a single heatsink that's vaguely the right shape. Also, what did you stick it on with and did you take off the Samsung labels first?
Cheers.

No worries mate, I found both types on eBay, just search "25mm heatsink" and there should be a few to choose from. Just be aware that A) You need some thermal pad to mount it (some come supplied with the pad, some don't) and B) make sure it's 25mm wide, not 25mm high as I very nearly balls'd up on this! The silver / grey bars one is a few mm too long so would either need to be ground down a bit or mounted over the screw with the M.2 already in place, but if it's of any use to you just chuck me your address and I'll happily send it to you along with spare some thermal pad I've got here :) Oh yes, and definitely remove the sticker first!

Really nice build OJ46, pics look fantastic! How long do you play with the rgb lighting before you actually get down to gaming? ;) Excellent work fella!

Cheers Luggs, definitely got a bit distracted by the lighting but I'm boring now and just leave it on ice white... Apart from the RGB power LED which I seem to play with constantly, like an OCD child with a new toy! Doing something a bit nicer than my usual aircooled build was definitely worth it though, especially as the Mrs let me keep it under the TV in the living room for big screen gaming :D
 
I've posted this in 'Graphics Cards' but thought hey, may as well ask on here in case someone different sees it and can help...!

Hey all, just wondering if anyone could explain what's up with the clock speeds I'm getting using an EVGA GeForce GTX 980Ti Hydro Copper.

The clocks as advertised are:
- Core Base Clock: 1140MHz
- Core Boost Clock: 1228MHz
- Memory Clock: 7010MHz

But after an hour or 2 playing GTA V with everything on ultra, the max clocks I'm recording (using GPU-Z) are:
- Core: 1530MHz
- Memory: 3505MHz

Now I'm obviously more than happy with (although slightly confused by) the core clock, but I'm struggling to understand why the memory clock is reading so low. Any ideas? Faulty card? Cheers guys!

EDIT: Scrap that, I'm a moron and for the 20th time in my life seem to have forgotten what DDR stands for... *Faceplants desk in disgrace* :(
 
Last edited:
No worries mate, I found both types on eBay, just search "25mm heatsink" and there should be a few to choose from. Just be aware that A) You need some thermal pad to mount it (some come supplied with the pad, some don't) and B) make sure it's 25mm wide, not 25mm high as I very nearly balls'd up on this! The silver / grey bars one is a few mm too long so would either need to be ground down a bit or mounted over the screw with the M.2 already in place, but if it's of any use to you just chuck me your address and I'll happily send it to you along with spare some thermal pad I've got here :) Oh yes, and definitely remove the sticker first!

Cheers OJ. Ebay don't seem to have any the right size at the moment. I have managed to find one roughly the right size from an electronics component distributor. It's something like 21x100 so a bit long. Rather than cut it down, I'm planning to drill a hole in the heatsink large enough that I can heatsink so that (un)screw it with the heatsink on. Just need to find some adhesive tape now. OCUK are out of stock :-( Can't get a temp reading off the 950's as they're behind Intel RST. Have got a probe on the controller chip but don't want that sandwiched between chip and heatsink. Thinking I might be able to tape the probe on the backside of the PCB under the controller chip to get a before and after.
 
Back
Top Bottom