Some of you may remember my Mini P180 build which hosted a crossfire micro atx board, 2 x 5870's and a phenom 955 chip (see sig).
Well it's time to upgrade and go complete water! After much help from Cleeco, i've chosen my parts and ready to head down to the shop to collect my components") .
.
Parts used in the build:
Case: Antec Mini P180
Phenom 955BE @3.8ghz
8GB crucial 1333 ram
MSI 890GXM-G65 board
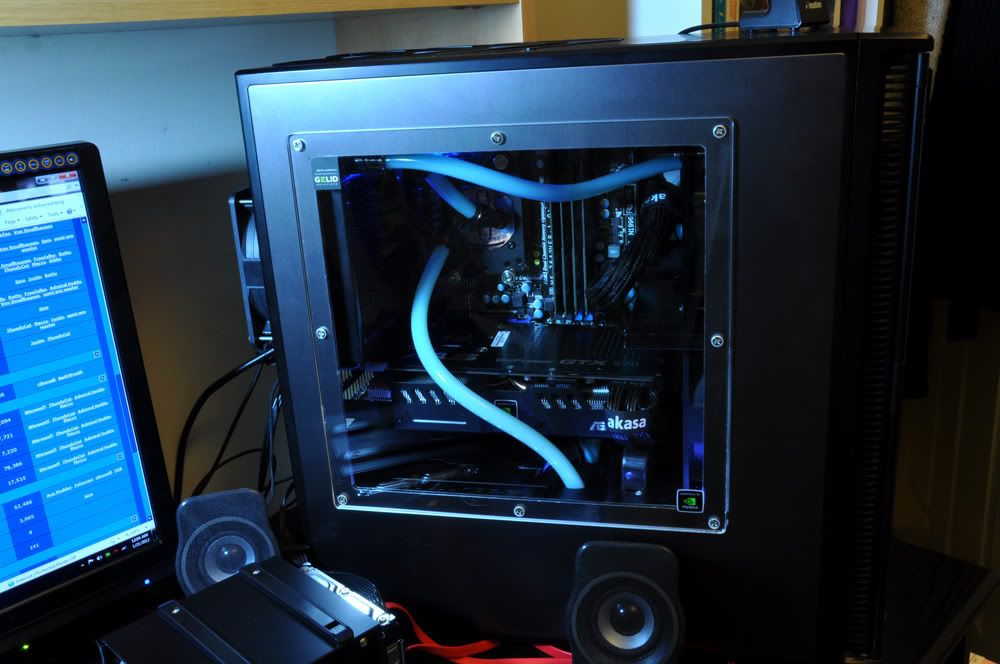
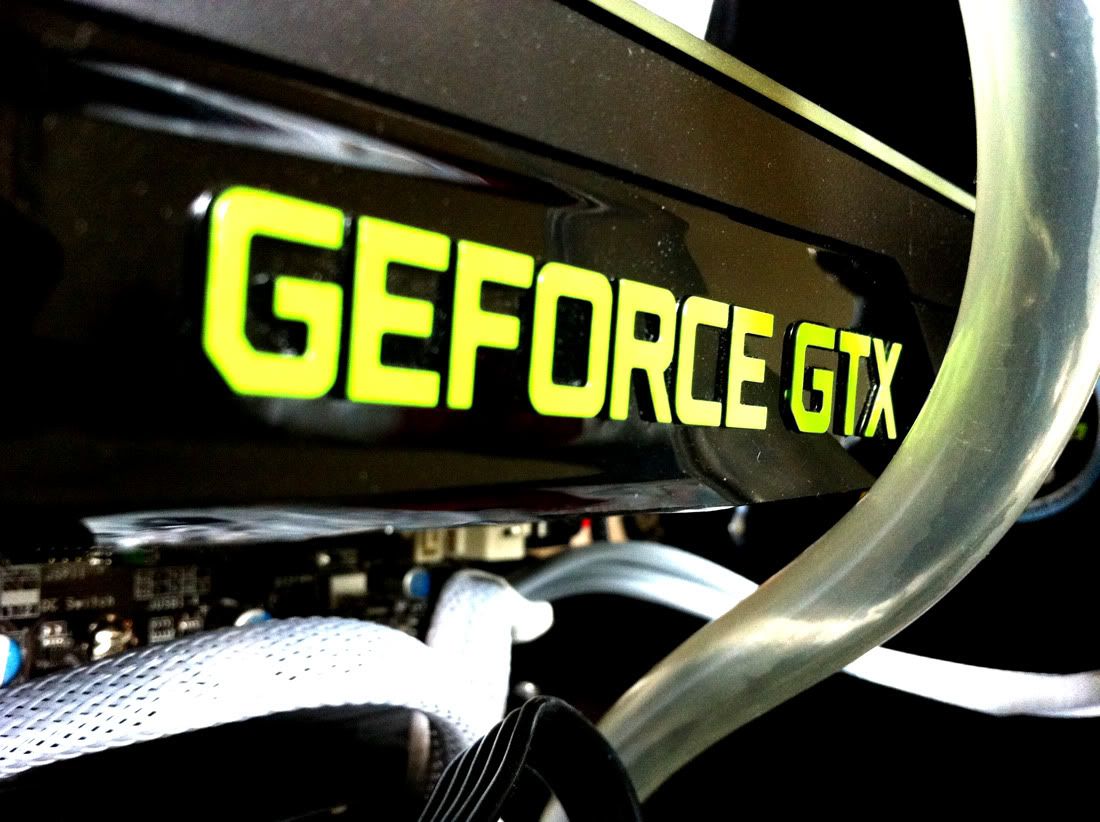
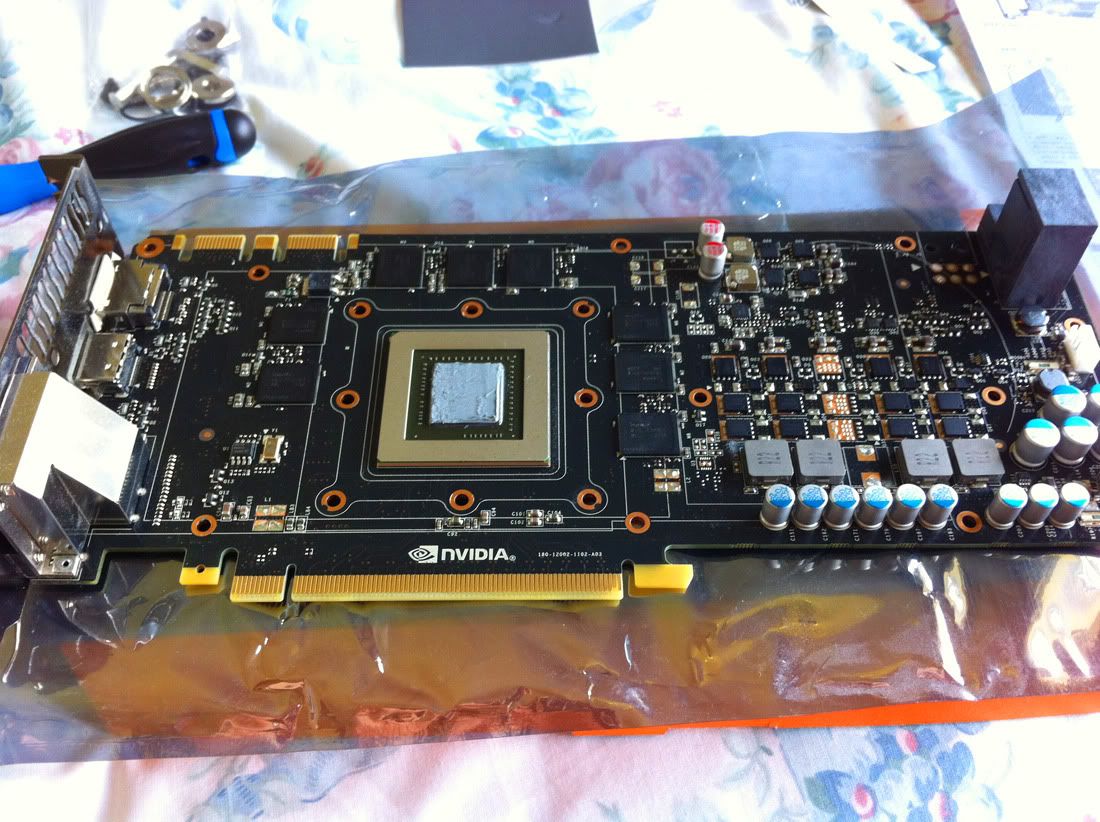
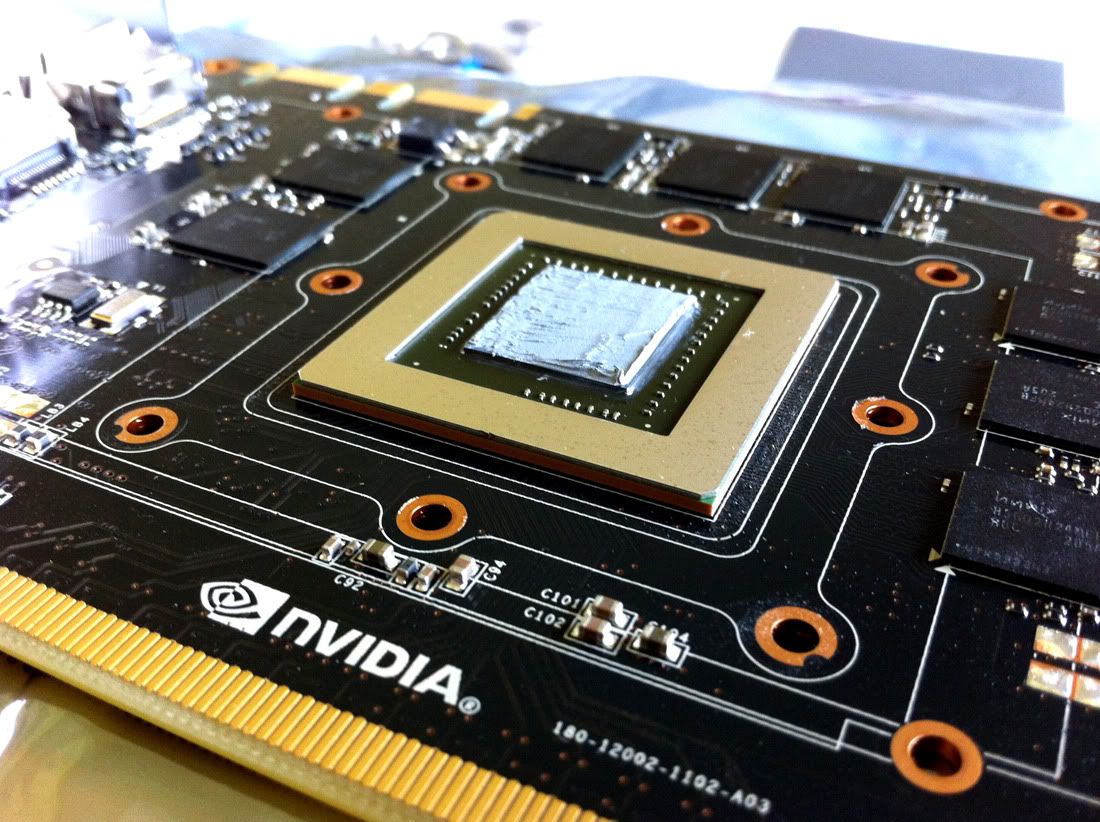
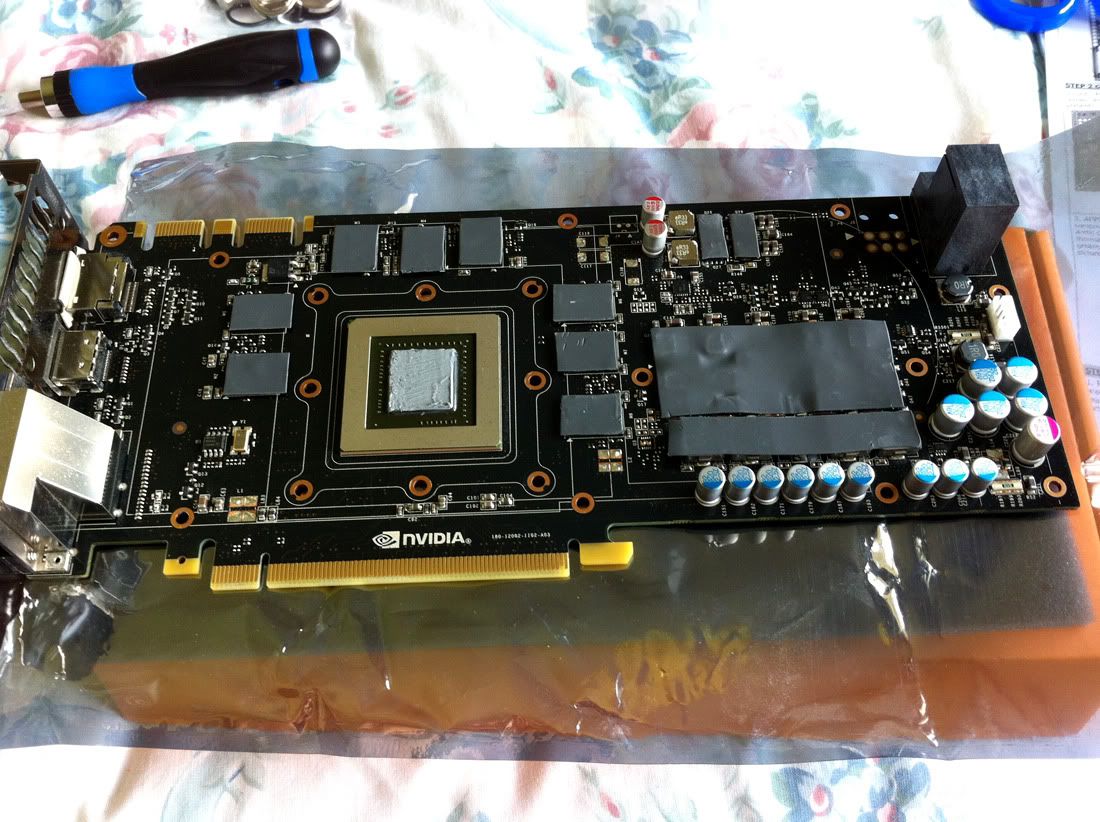
ASUS GTX 570 Direct CUii edition with back plate
ASUS CD/DVD RW drive
2 x 1TB HDD's (samsung and seagate)
1 x 500GB WD Black
Watercooling components:
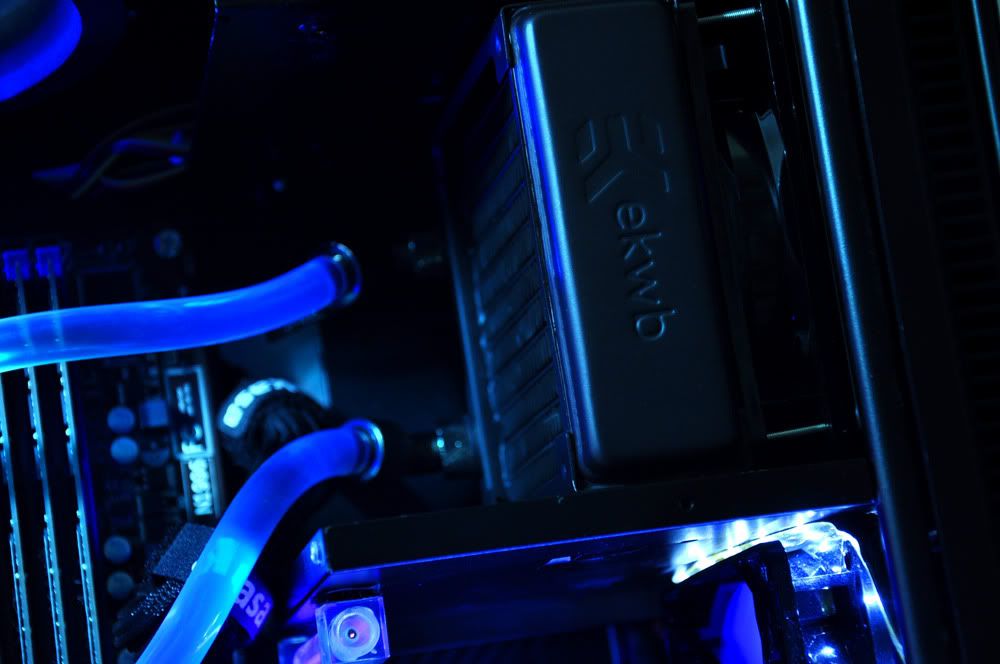
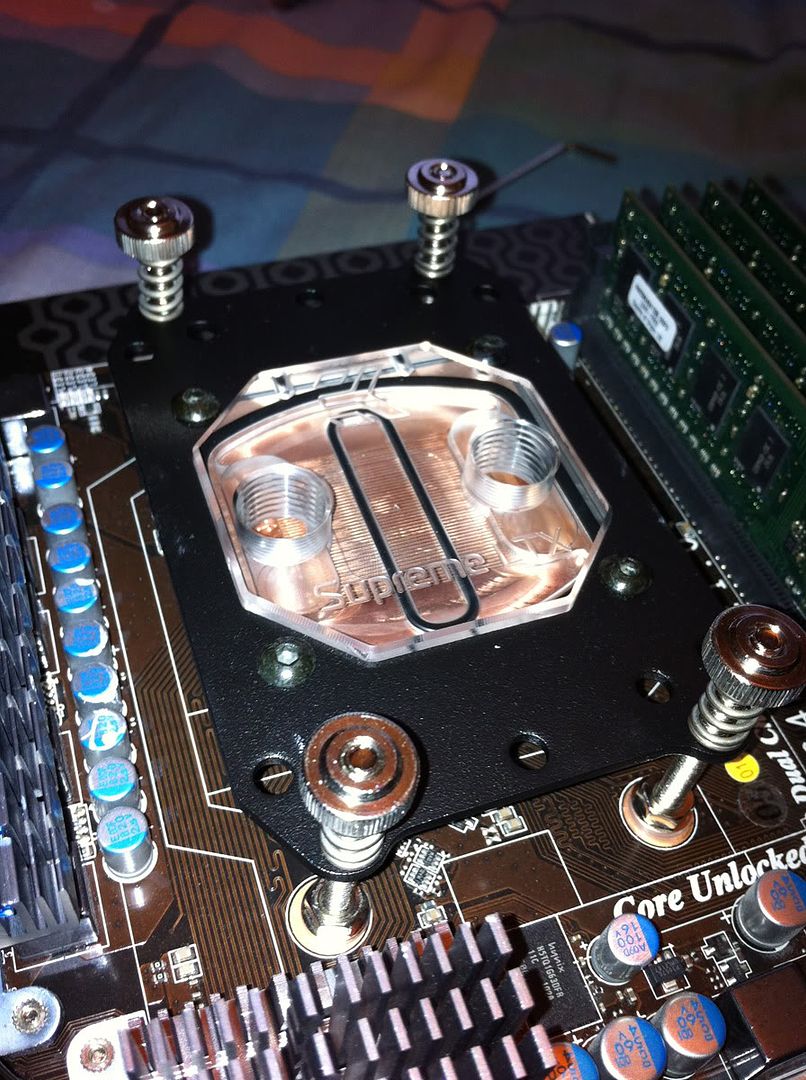
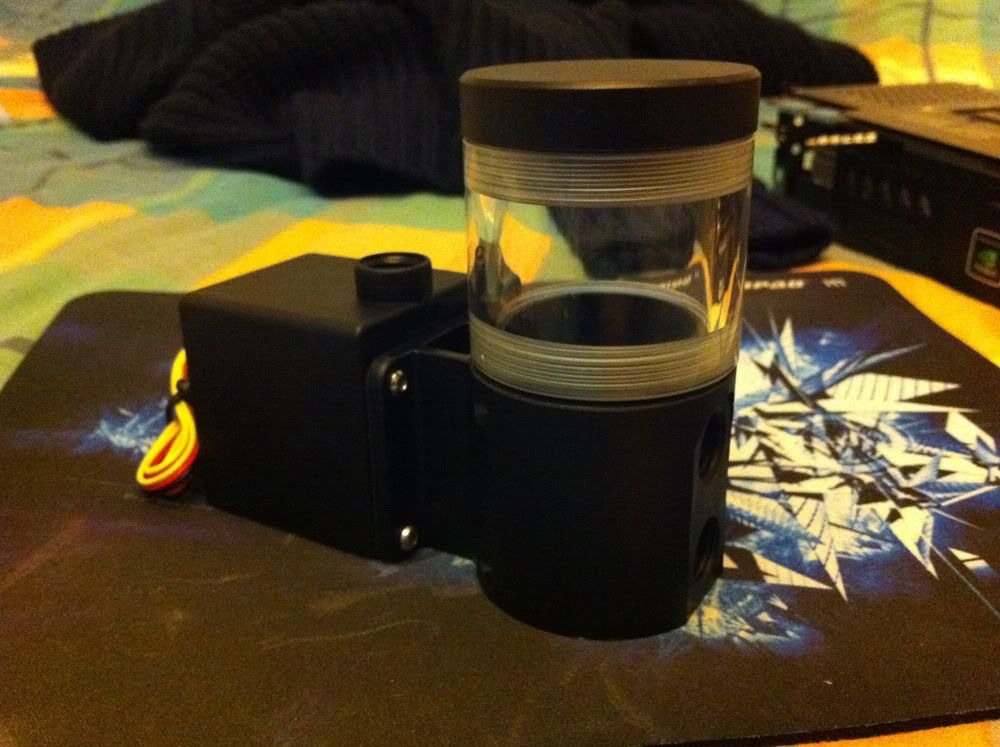
EK H30 Supreme LT 120 kit
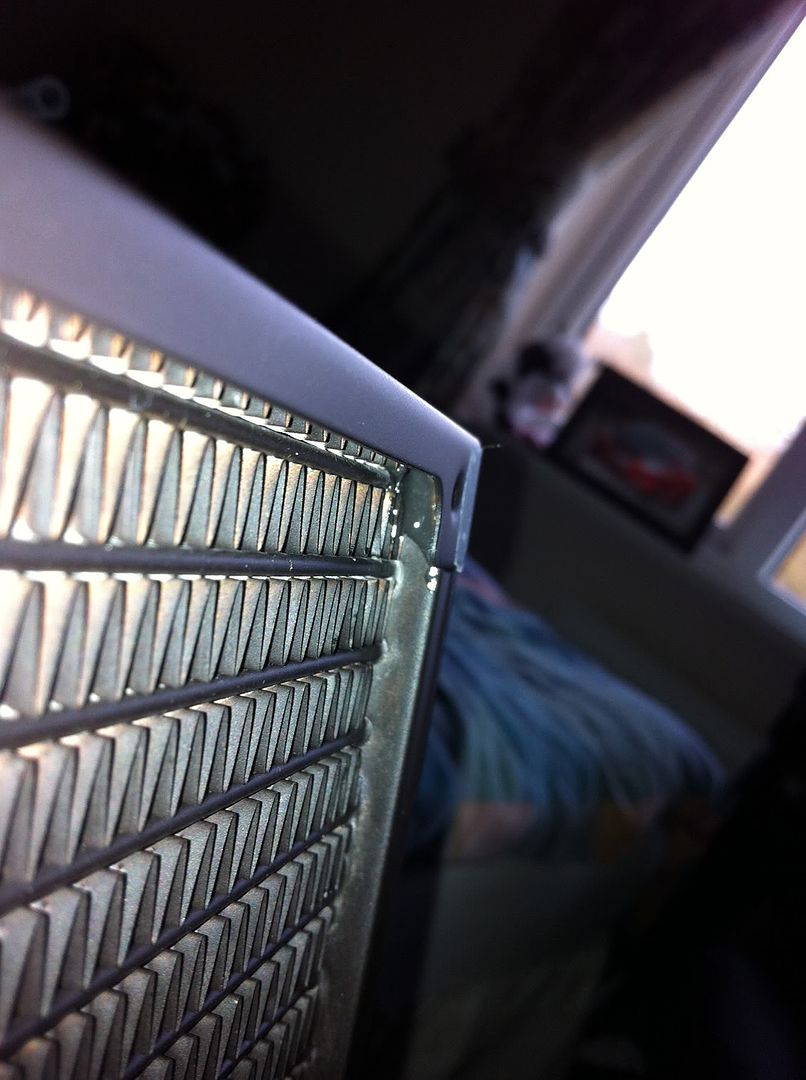
EK-CoolStream RAD XT (120)
TFC Hot UV White Tubing 2M (3/8" ID and 1/2" OD)
EK-PSC nickel Compression fittings 10mm (G 1/4") - 8 in total
FANS:
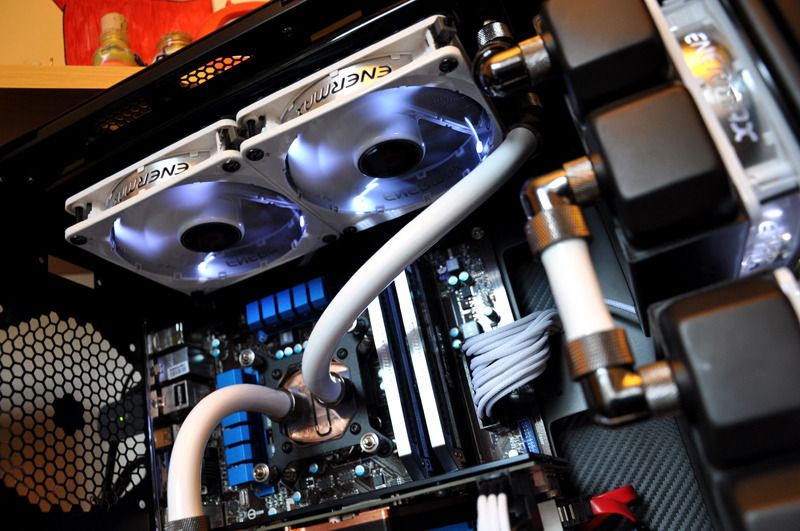
3 x Gelid Wing UV 12 fans
2 x Sharkoon SE 120 modular fans (1200rpm)
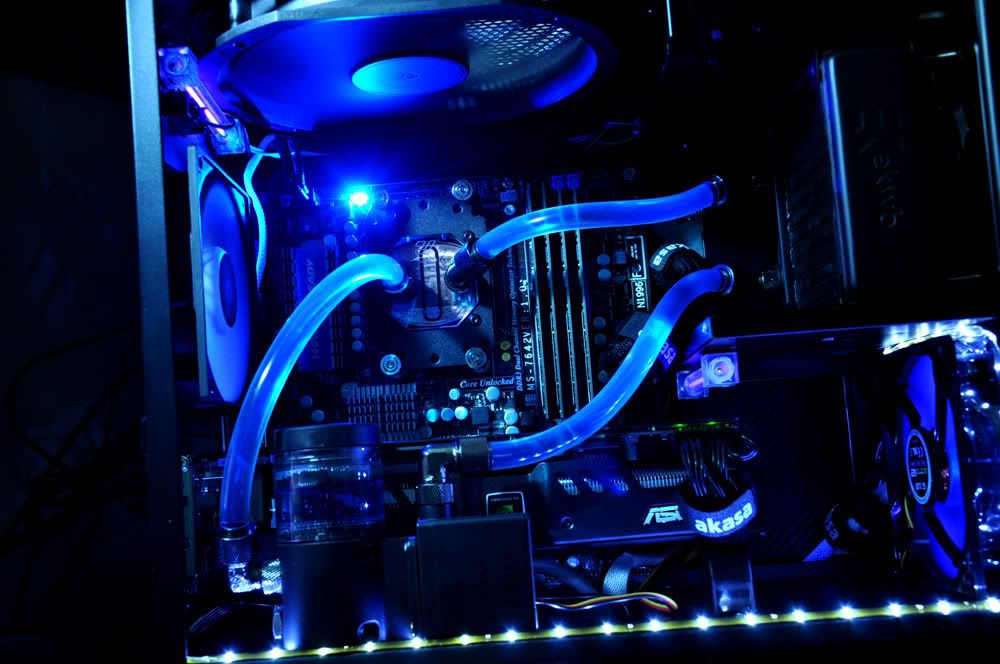
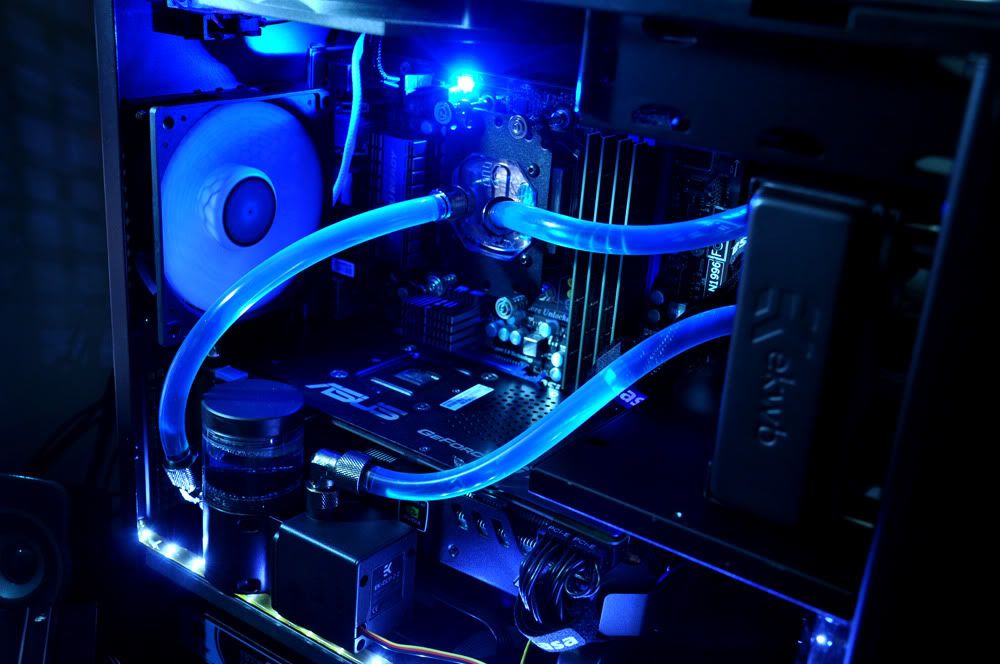
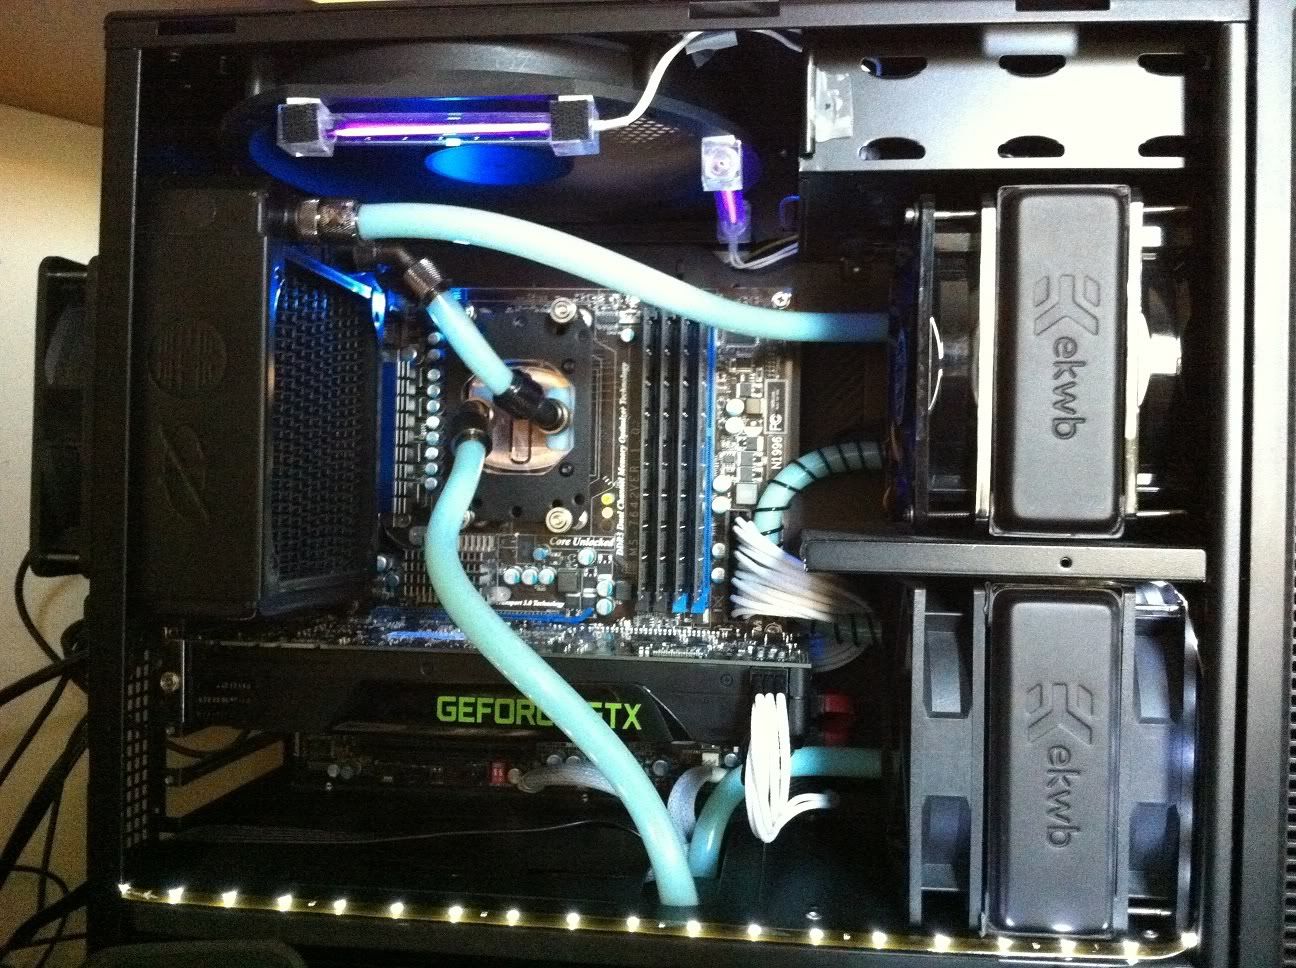
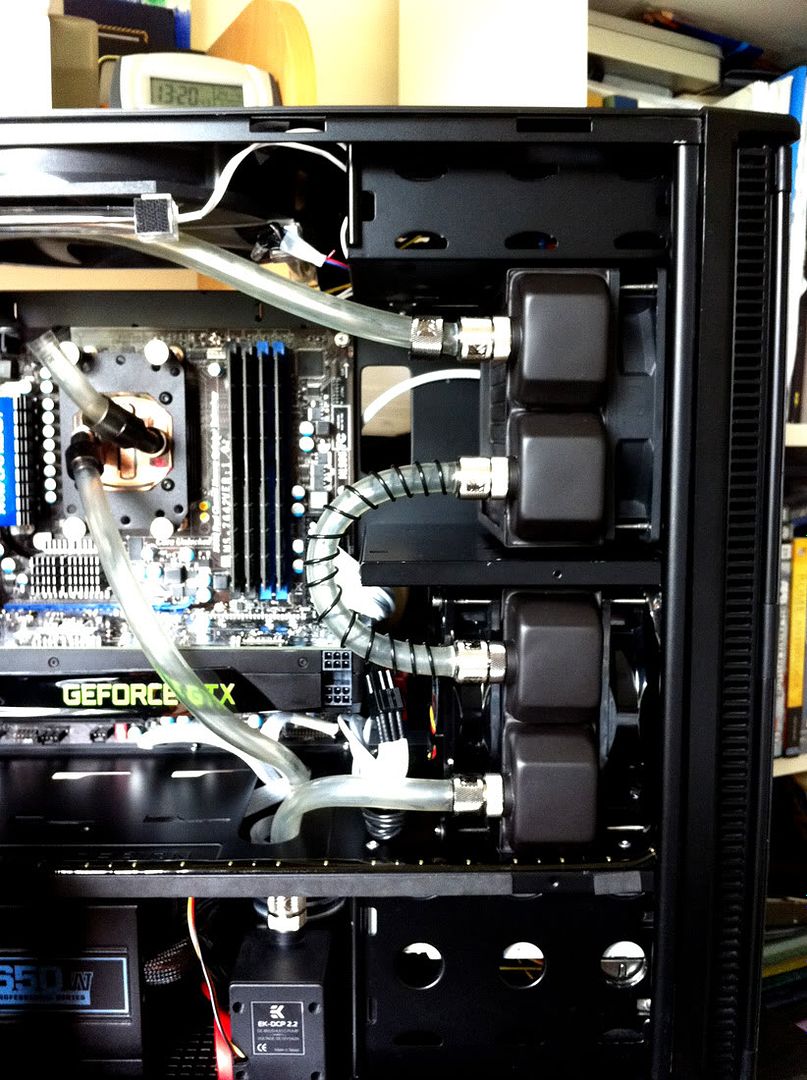
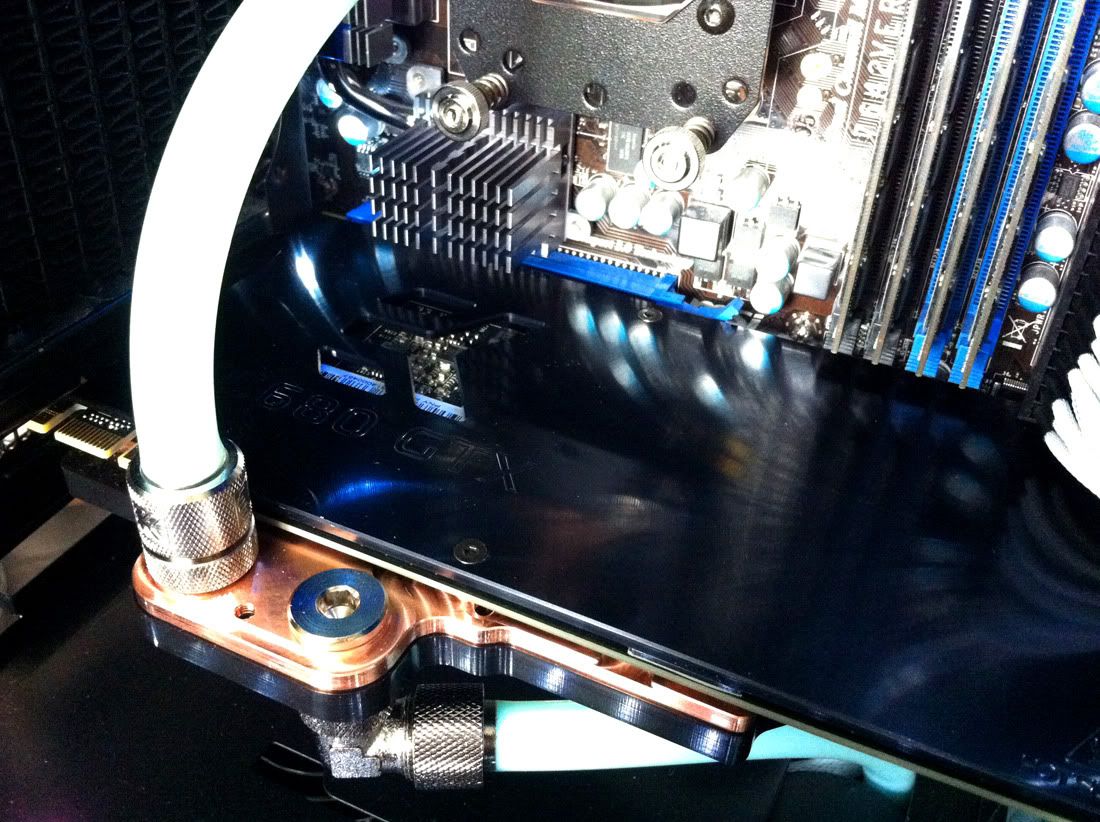
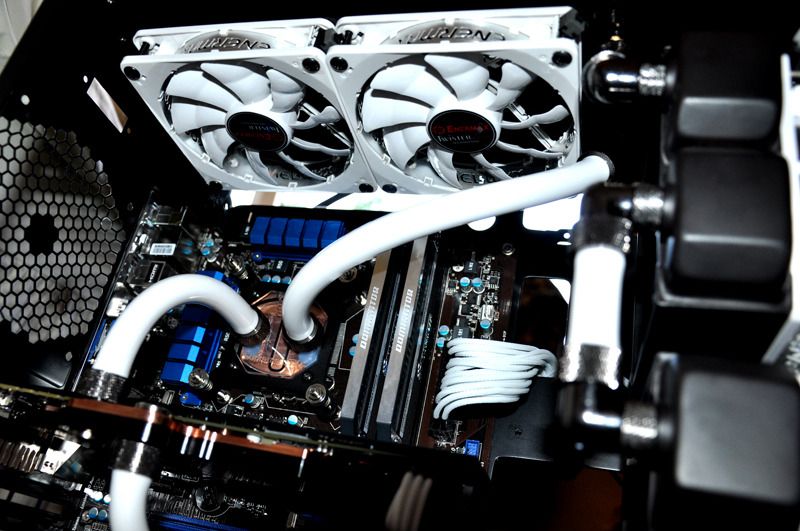
So my loop will consist of 2 x 120 Rads and cooling only CPU for now. In brief it will go like this:
RES --> PUMP --> RAD1 --> RAD2 --> CPU --> Back to Res.
My only concern is whether my tubing will be flexible enough to bend around from Rad1 to Rad2 since Rad2 will be sitting directly above Rad1. I'll take a picture when i'm home to explain this better in detail.
Any other advice or help please post and comment! I'm open to Any suggestions that you might have.
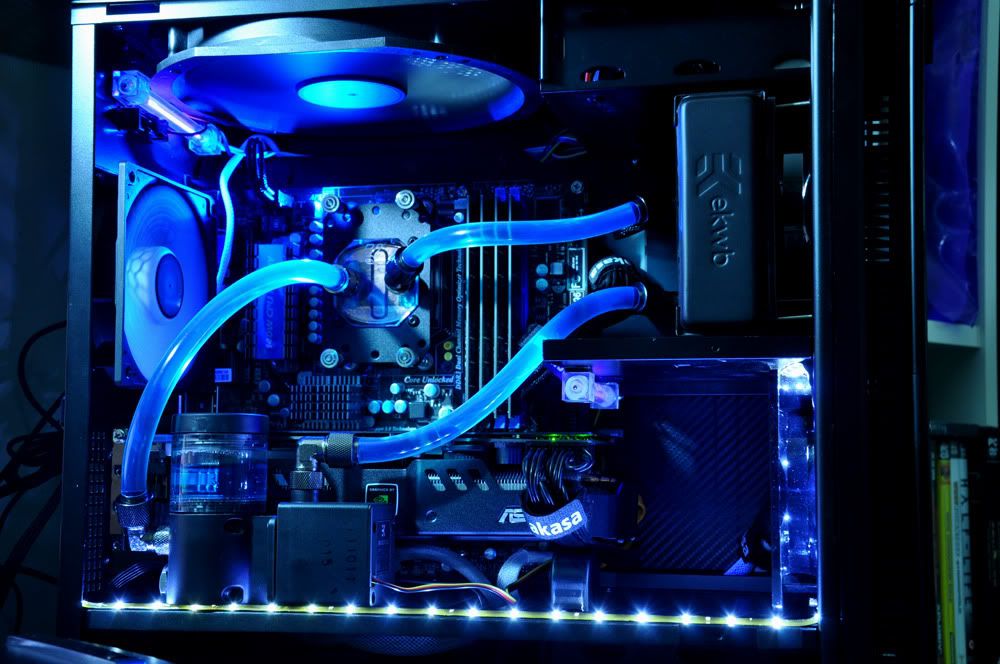
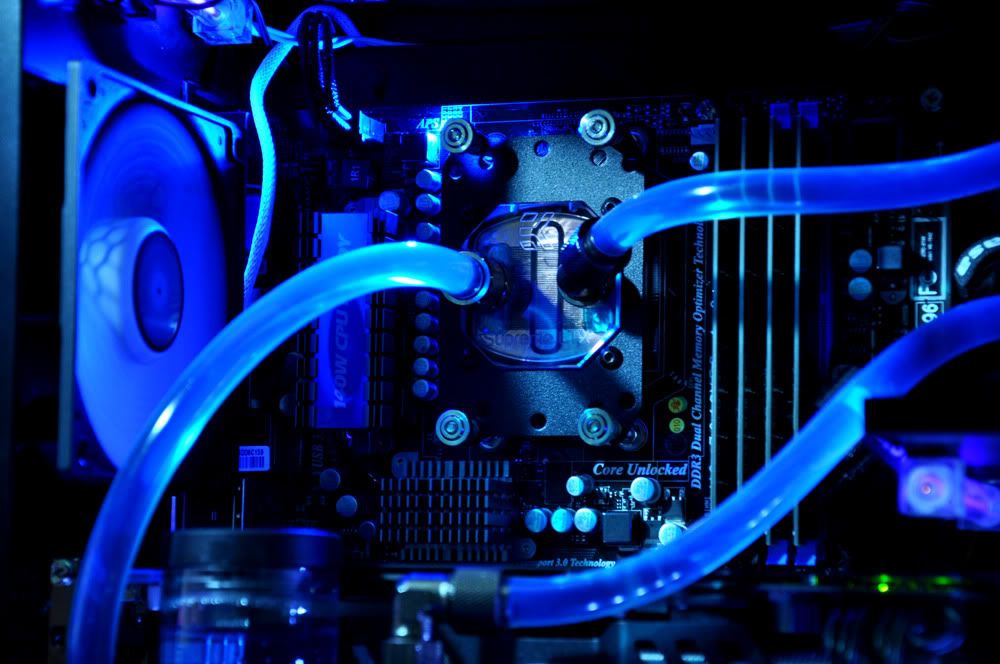
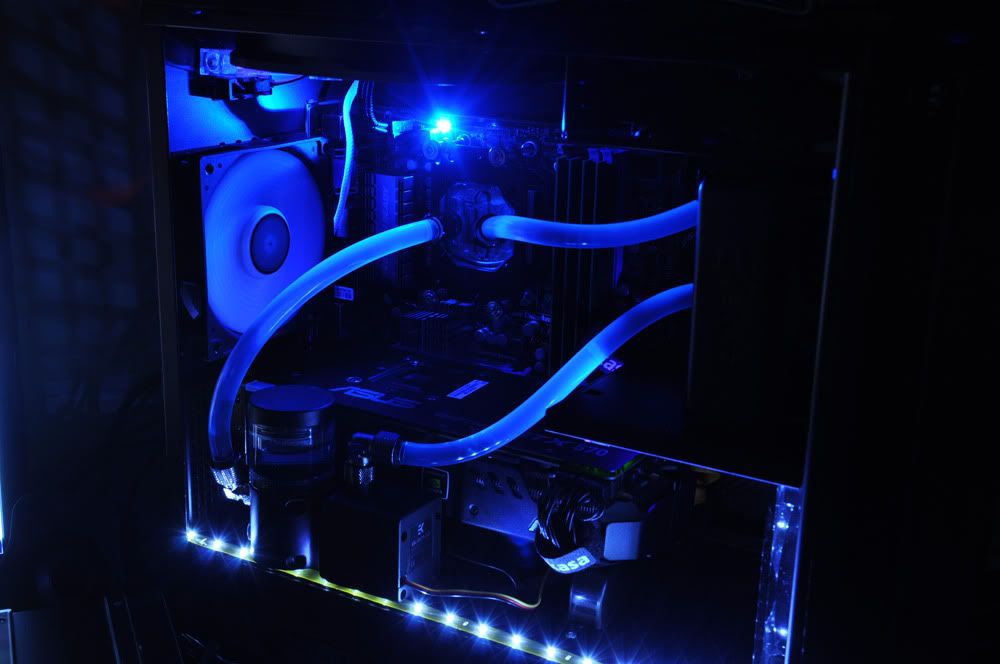
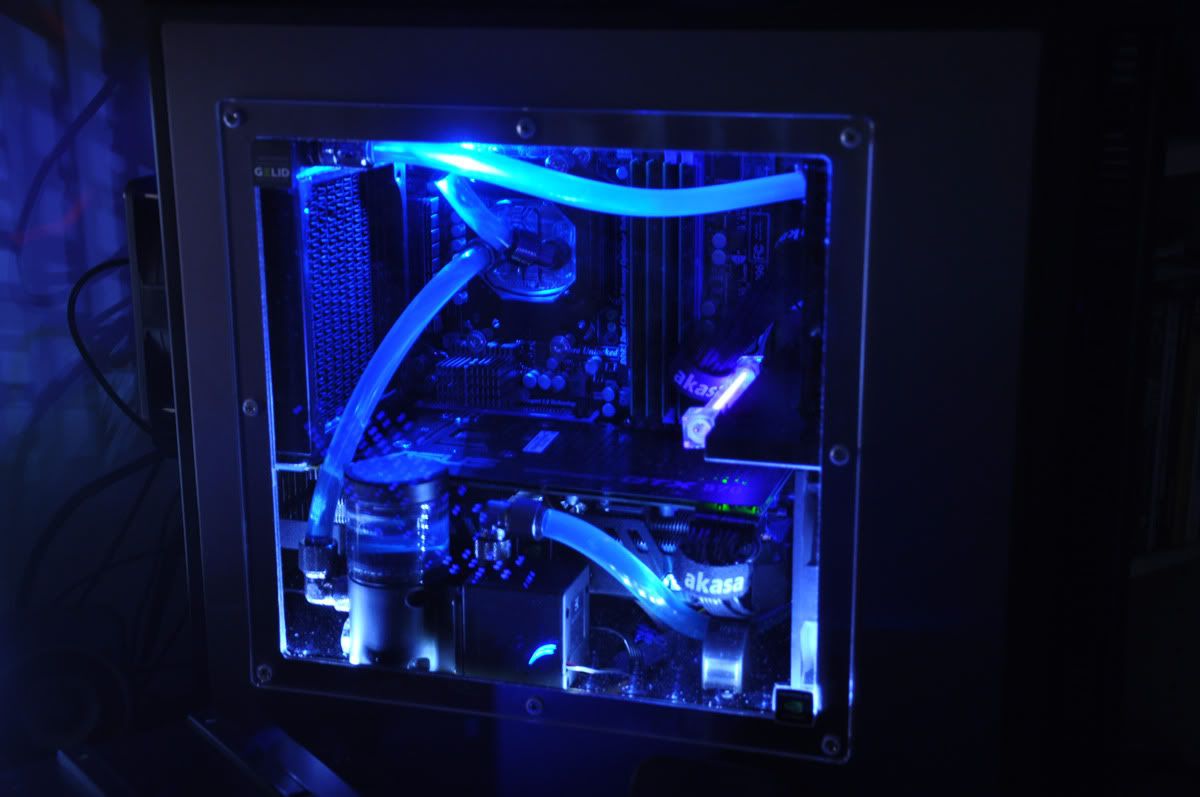
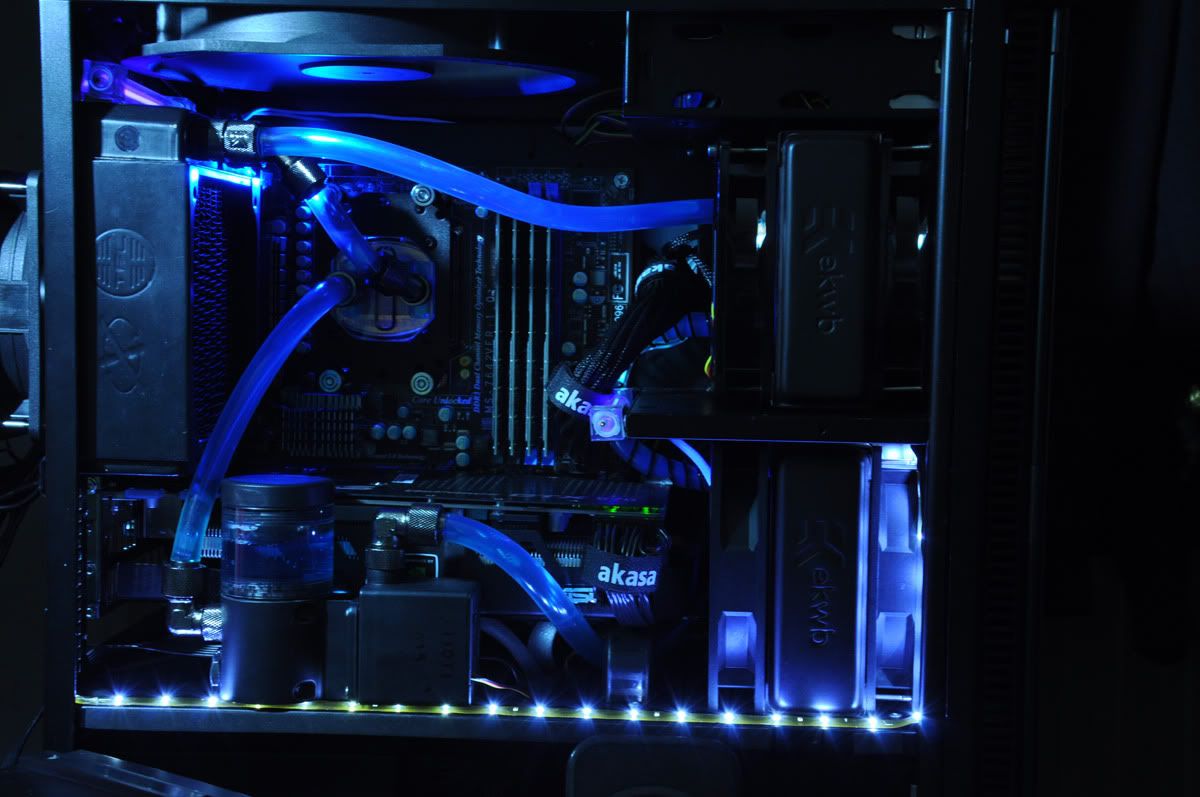
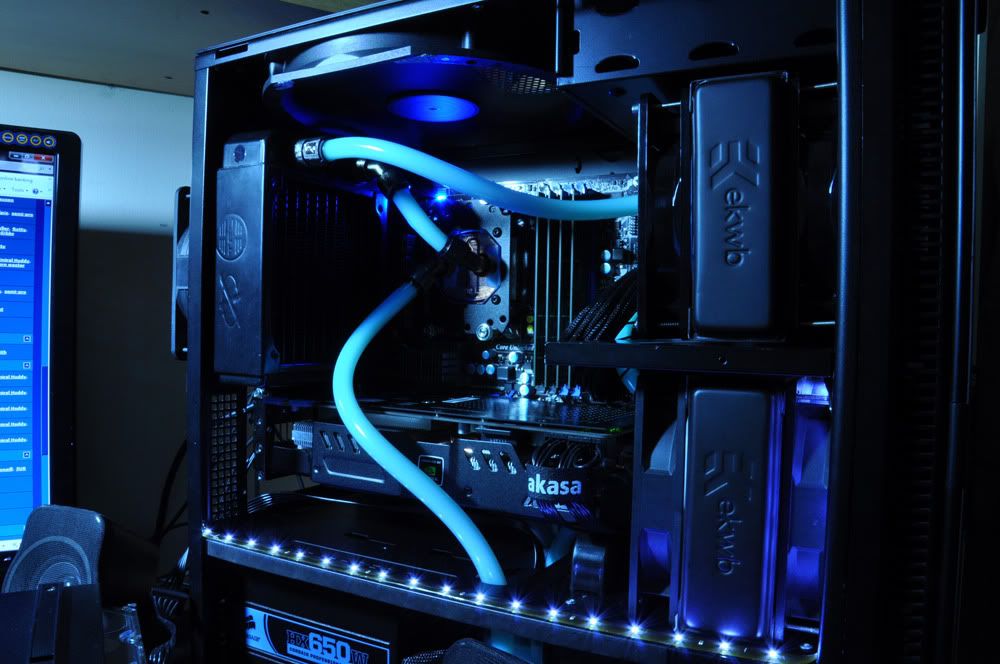
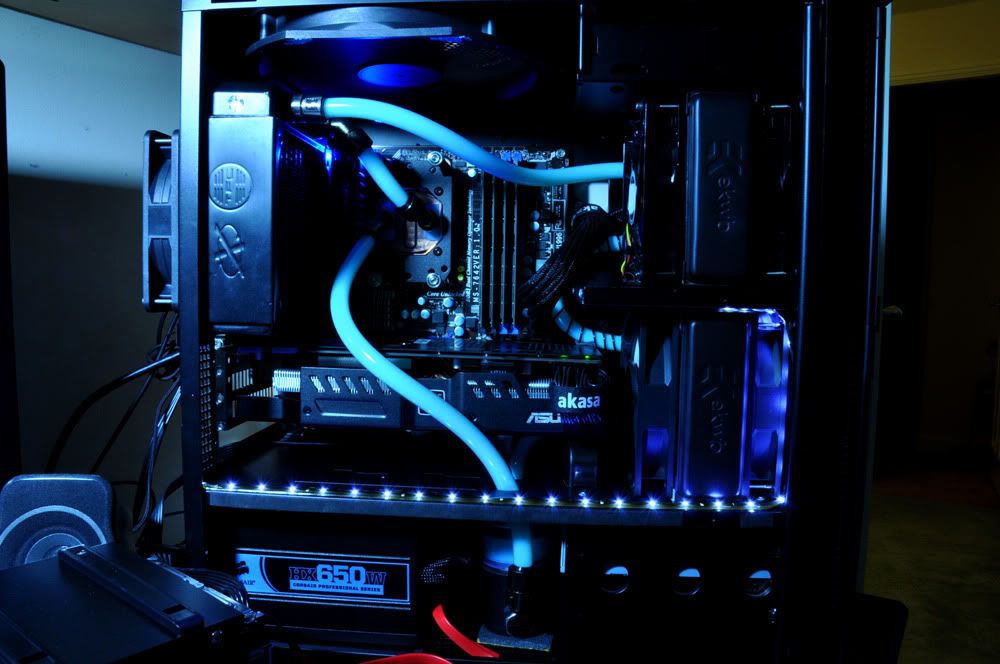
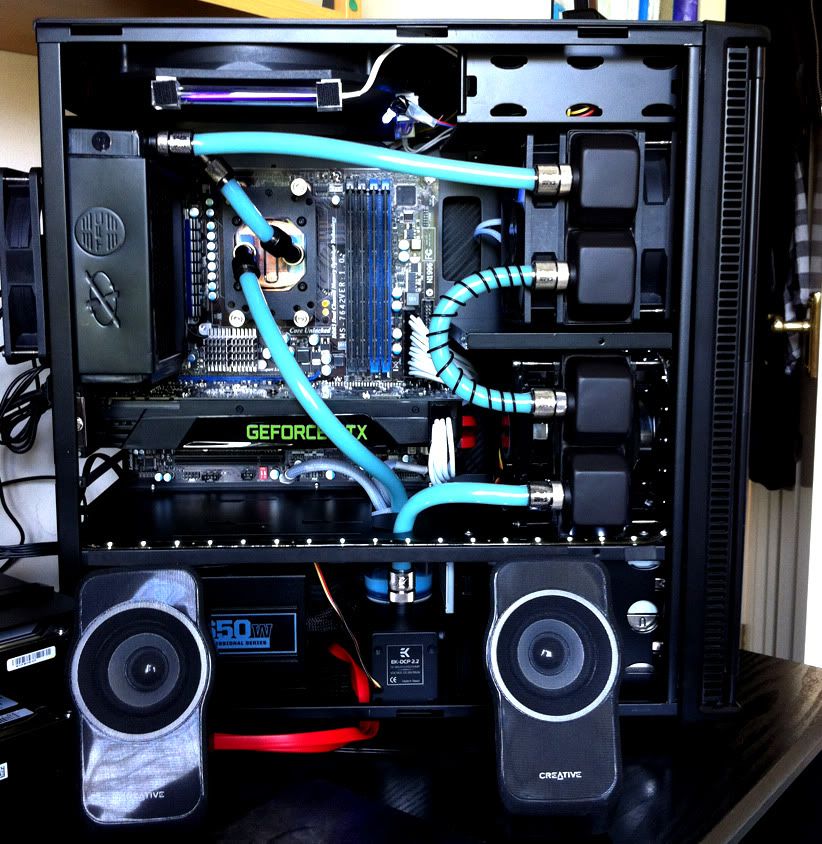
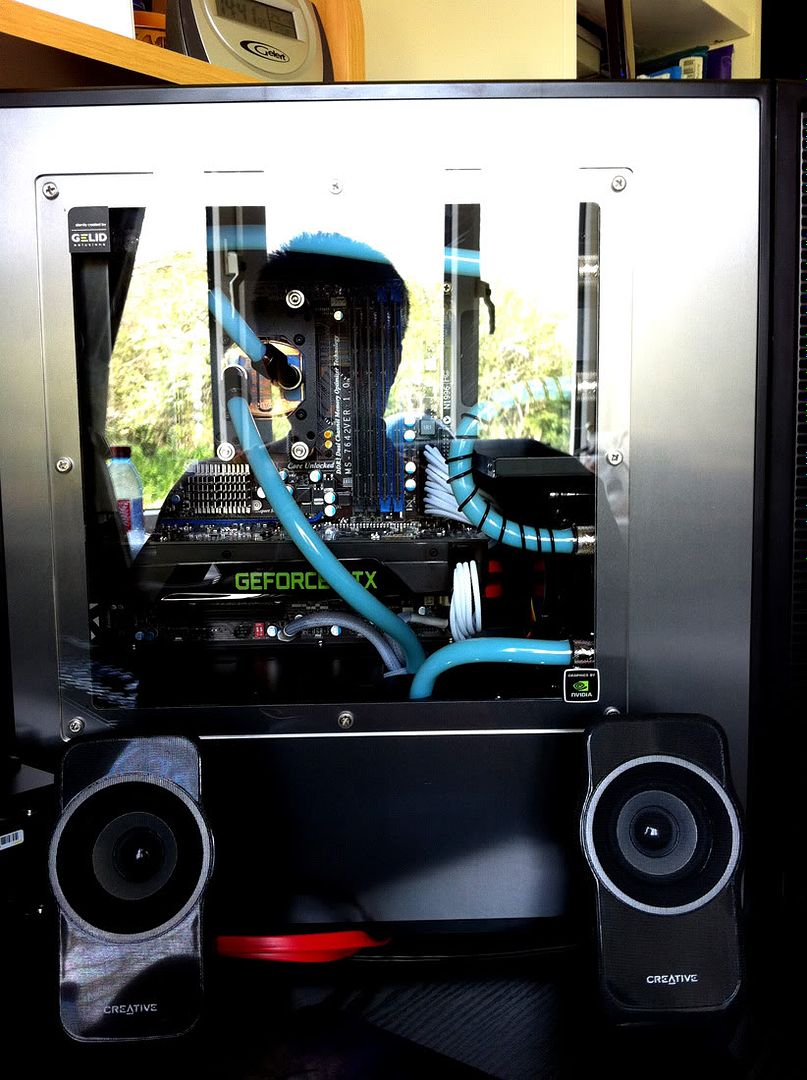
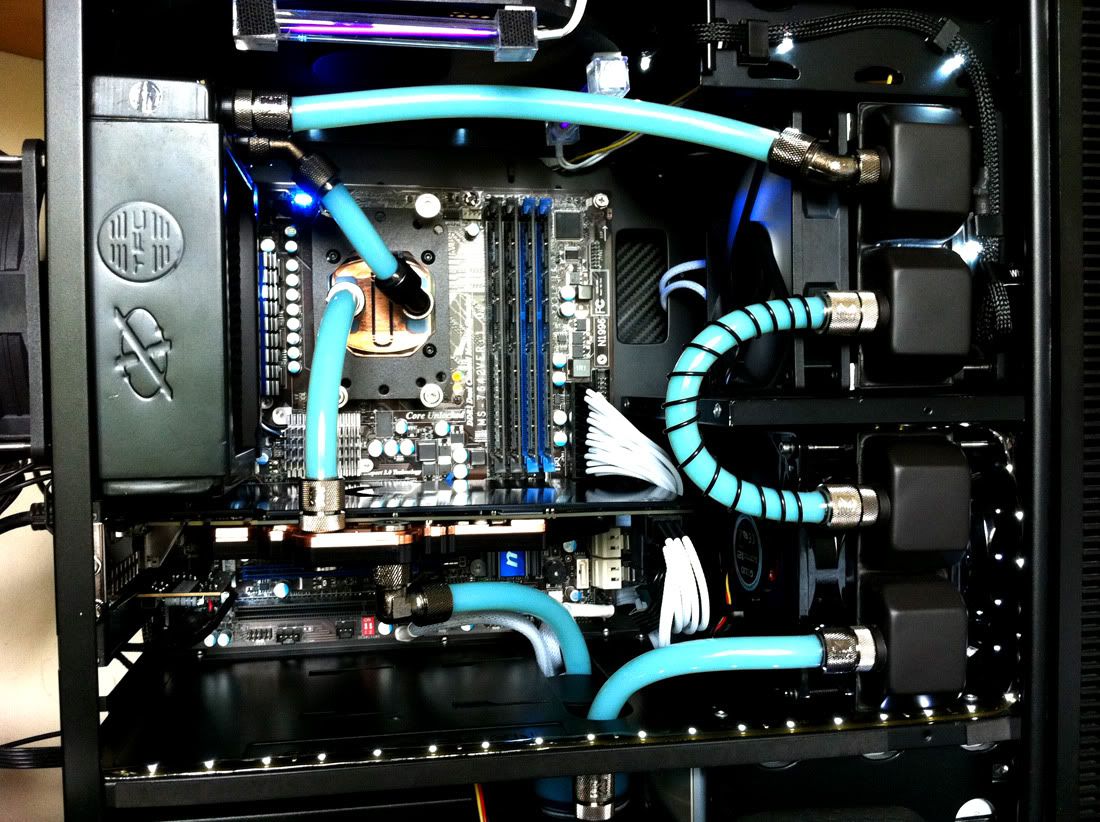
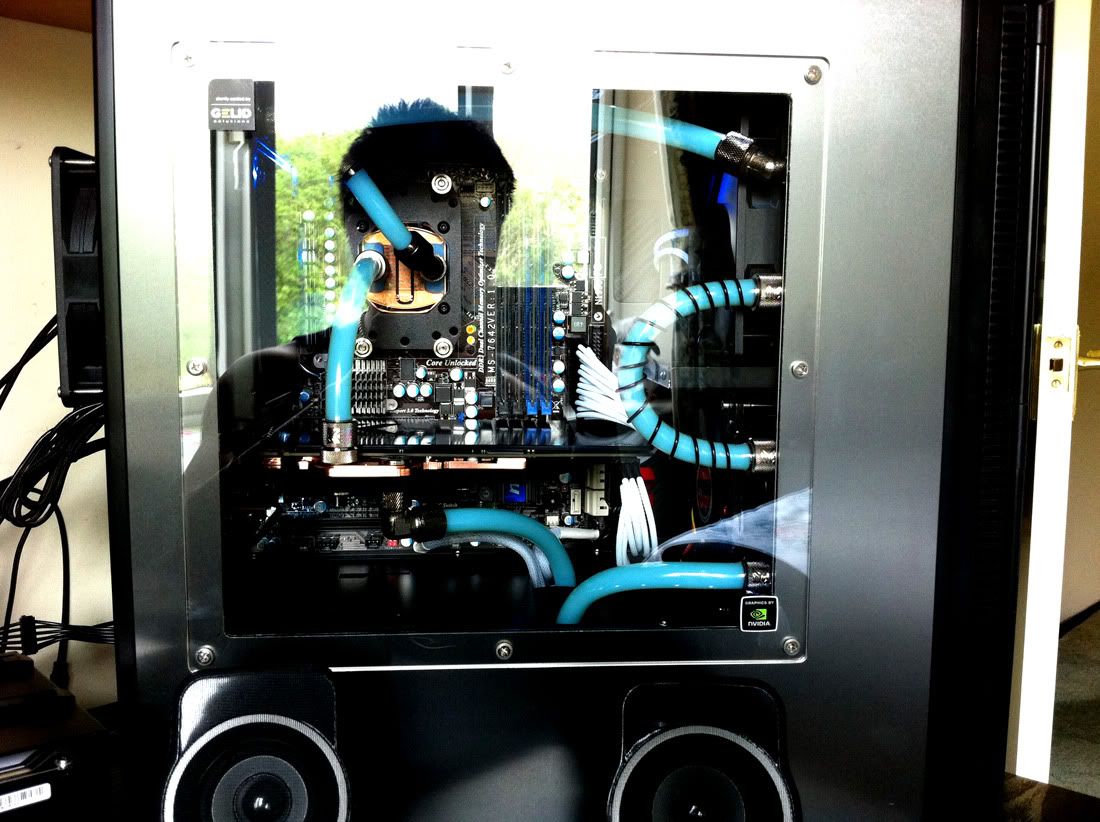
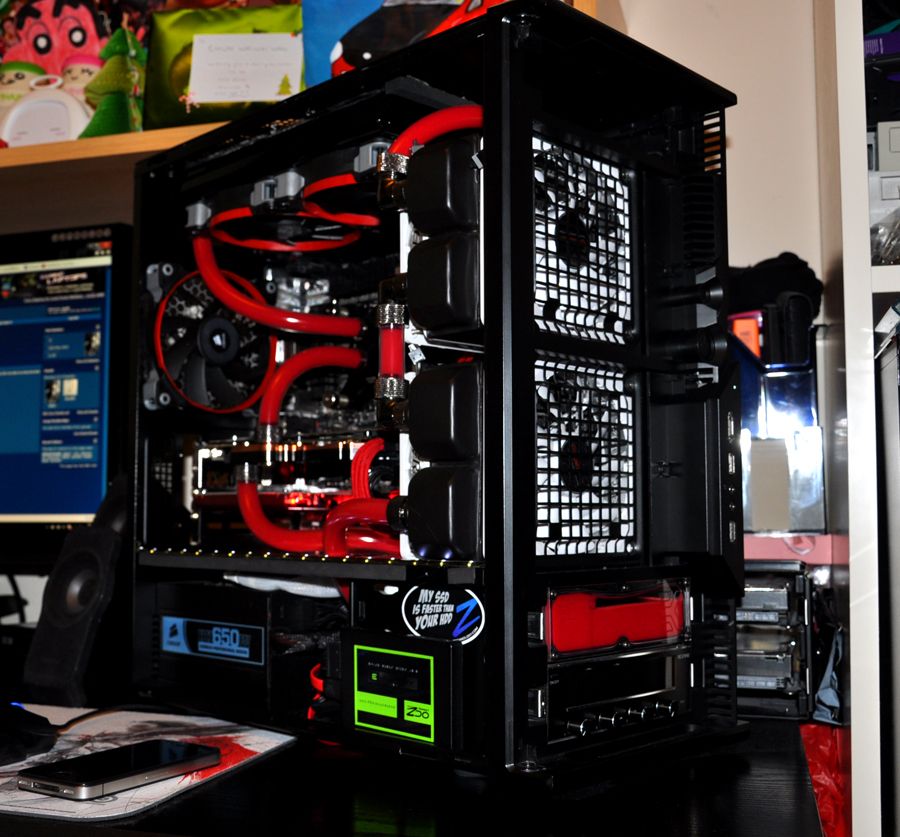
And Nearly a year on! This is what i have ended up with so far
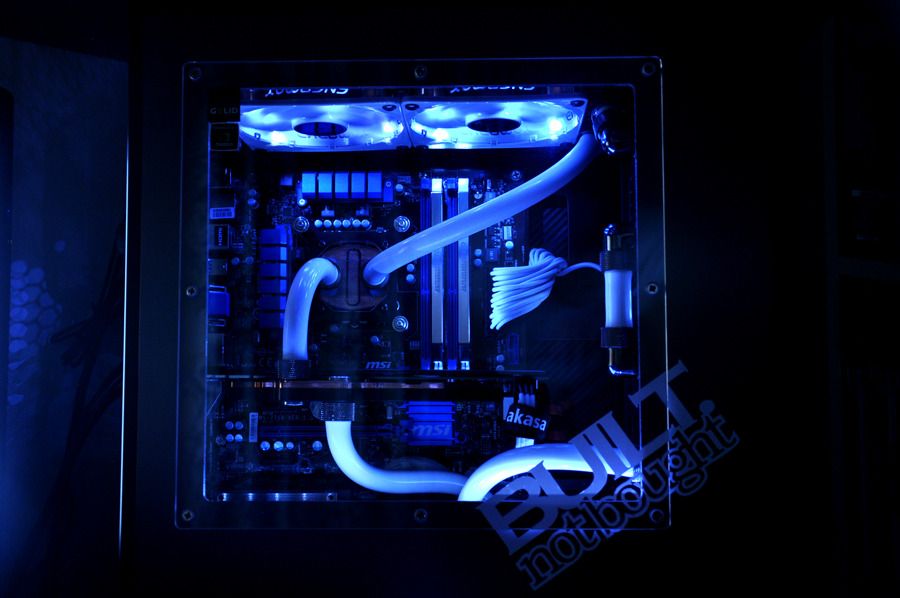
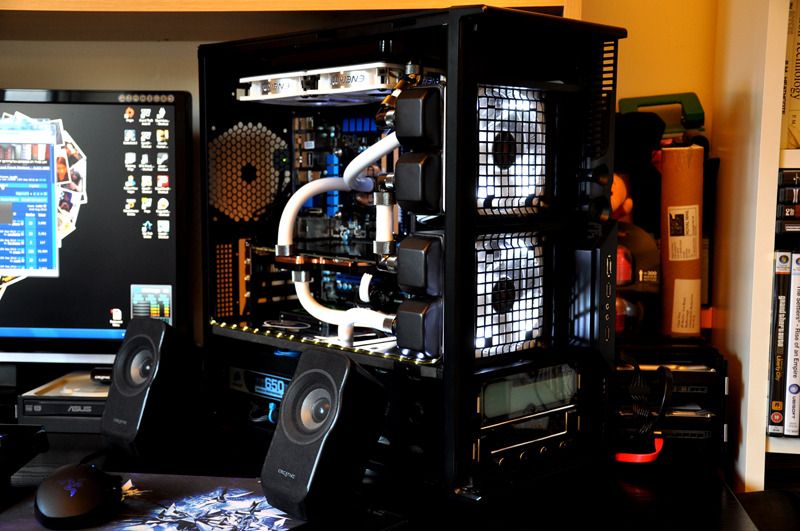
Updated Pics for November 2012!
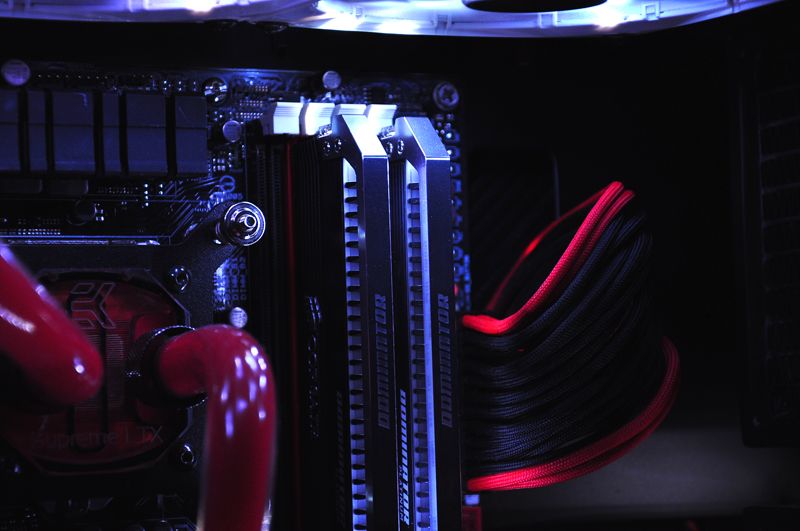
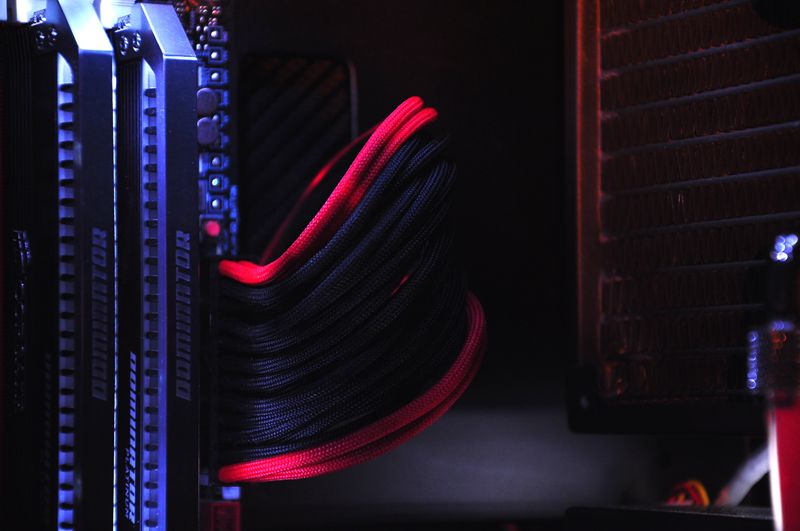
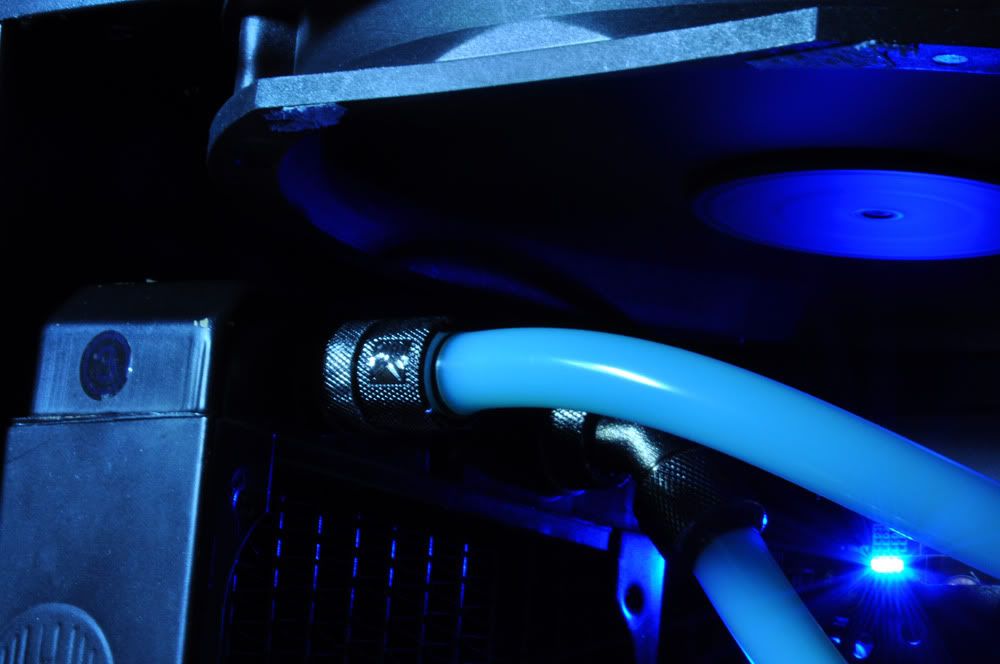
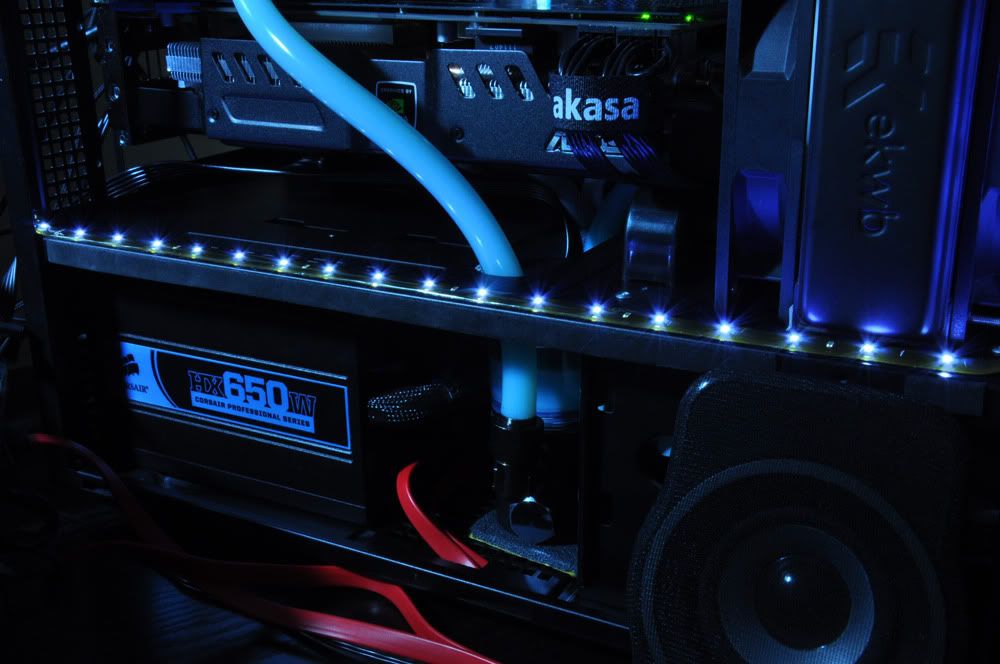
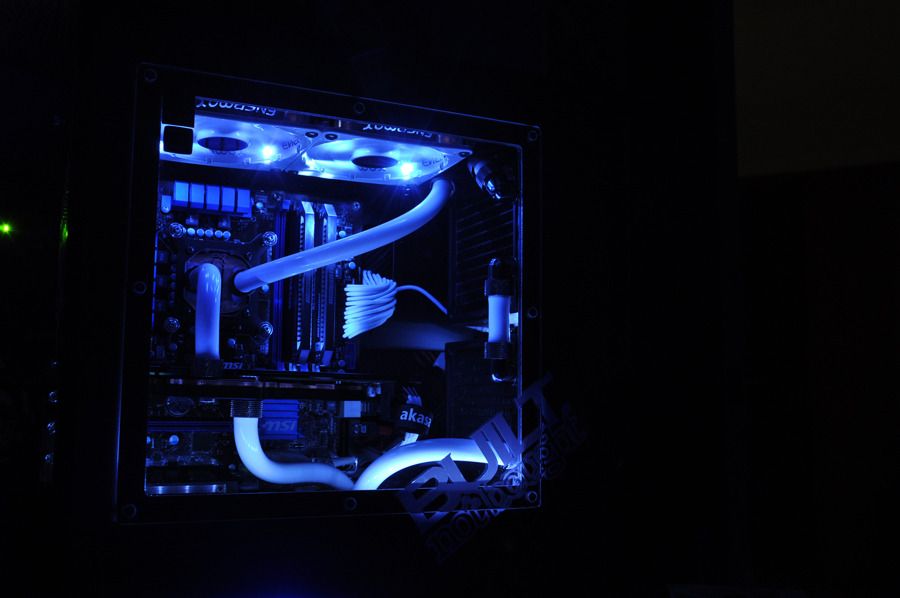
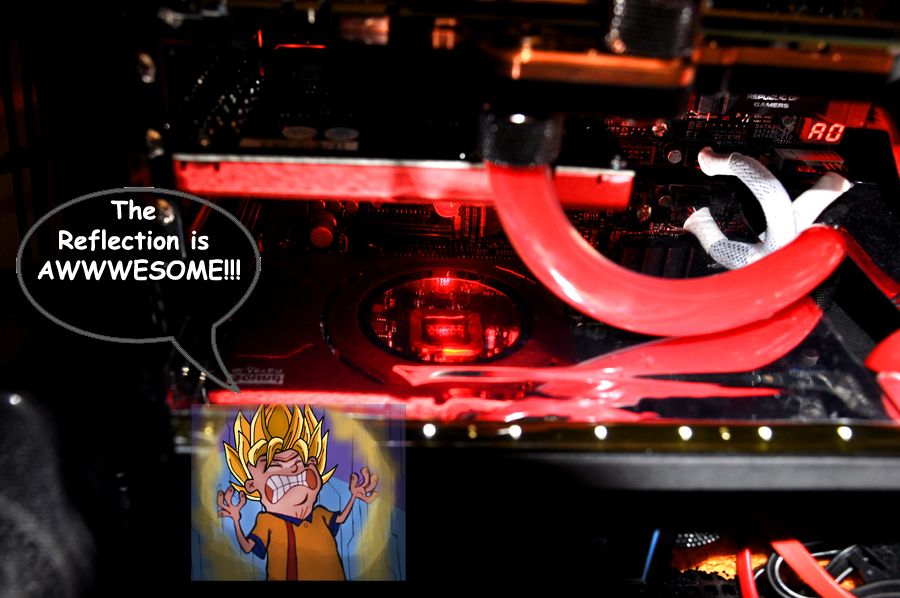
More Artsy pictures to come soon
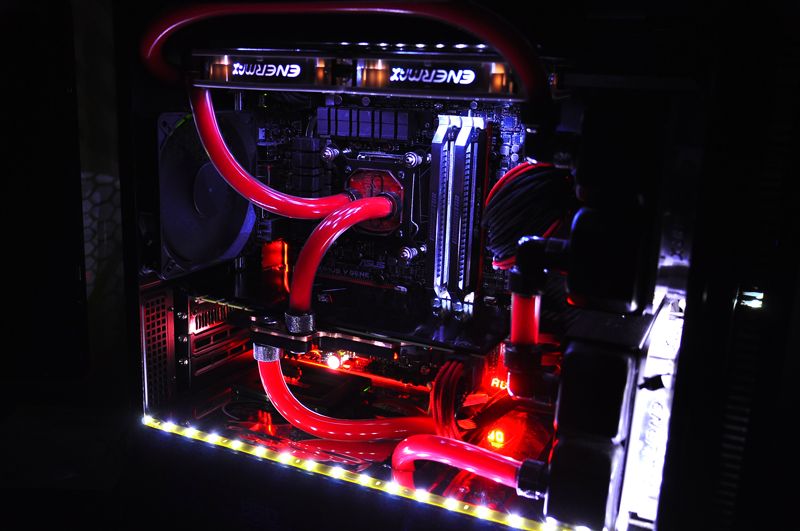
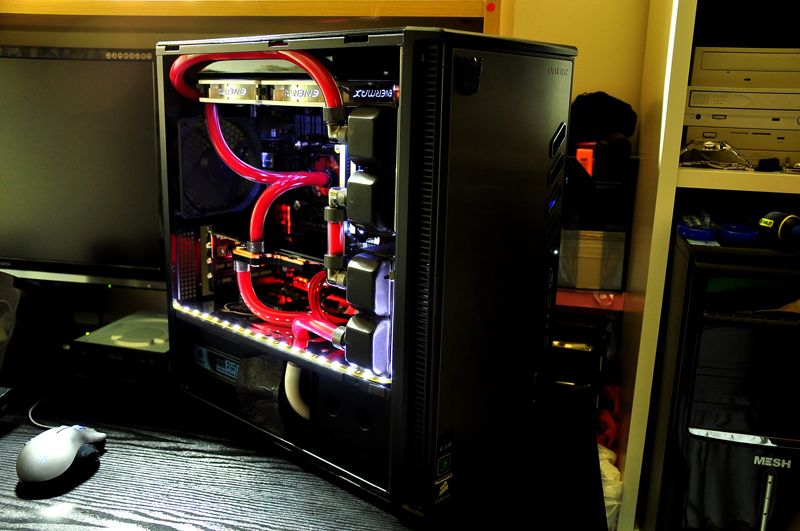
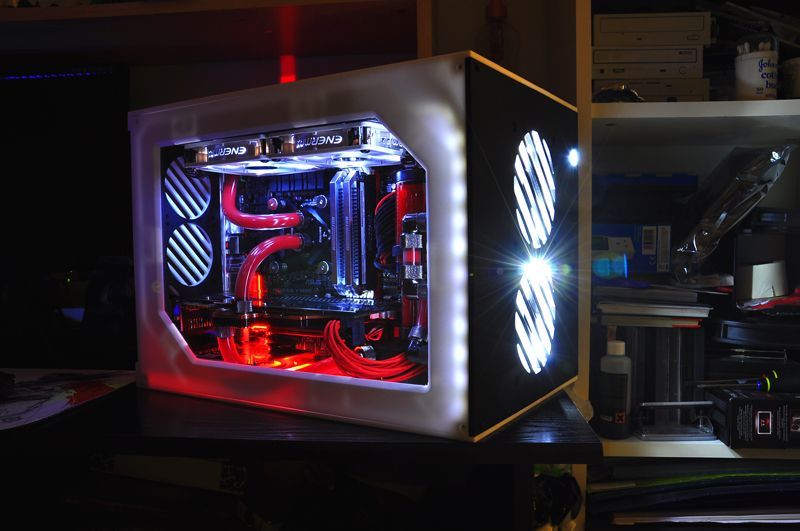
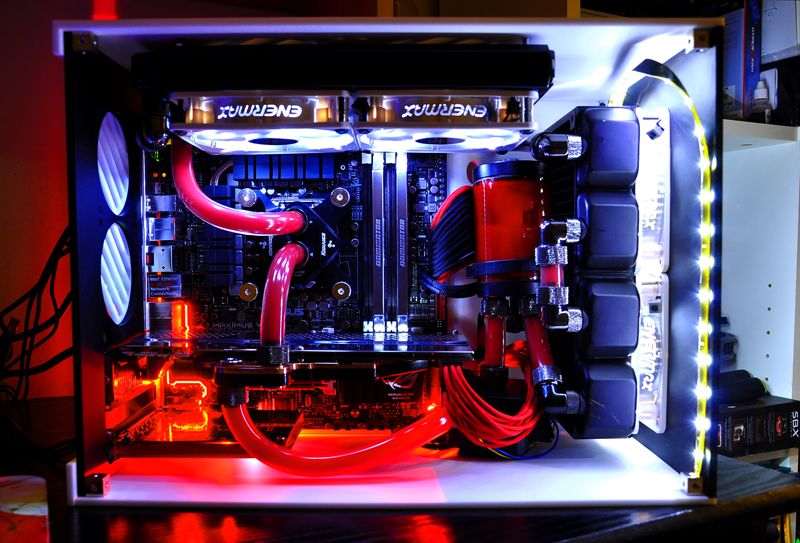
Pictures for 2012!

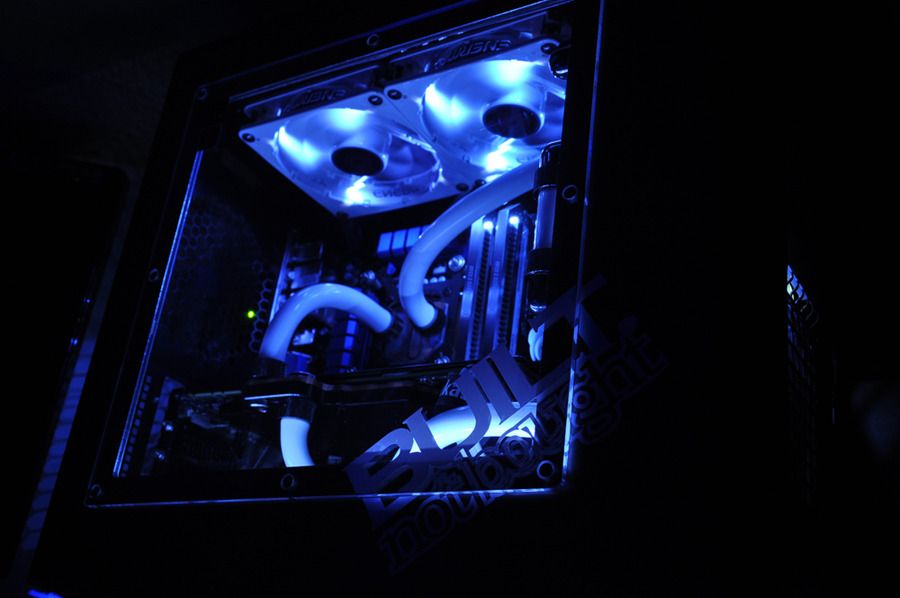
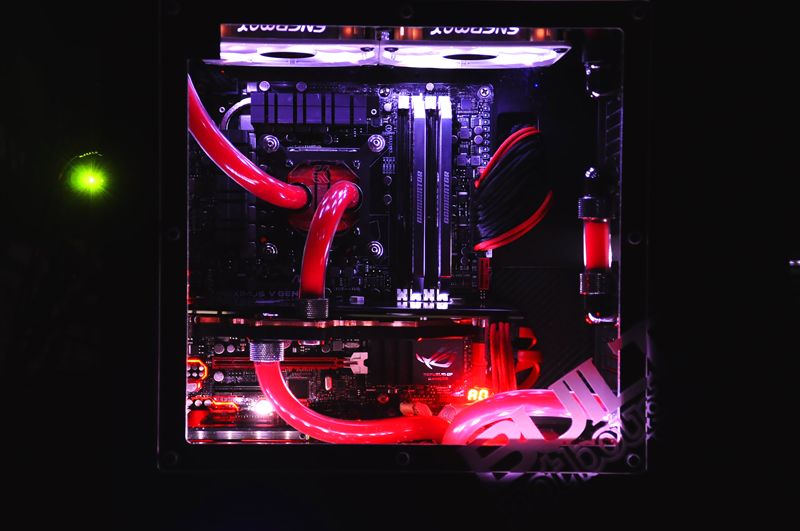
Pictures for 2013!
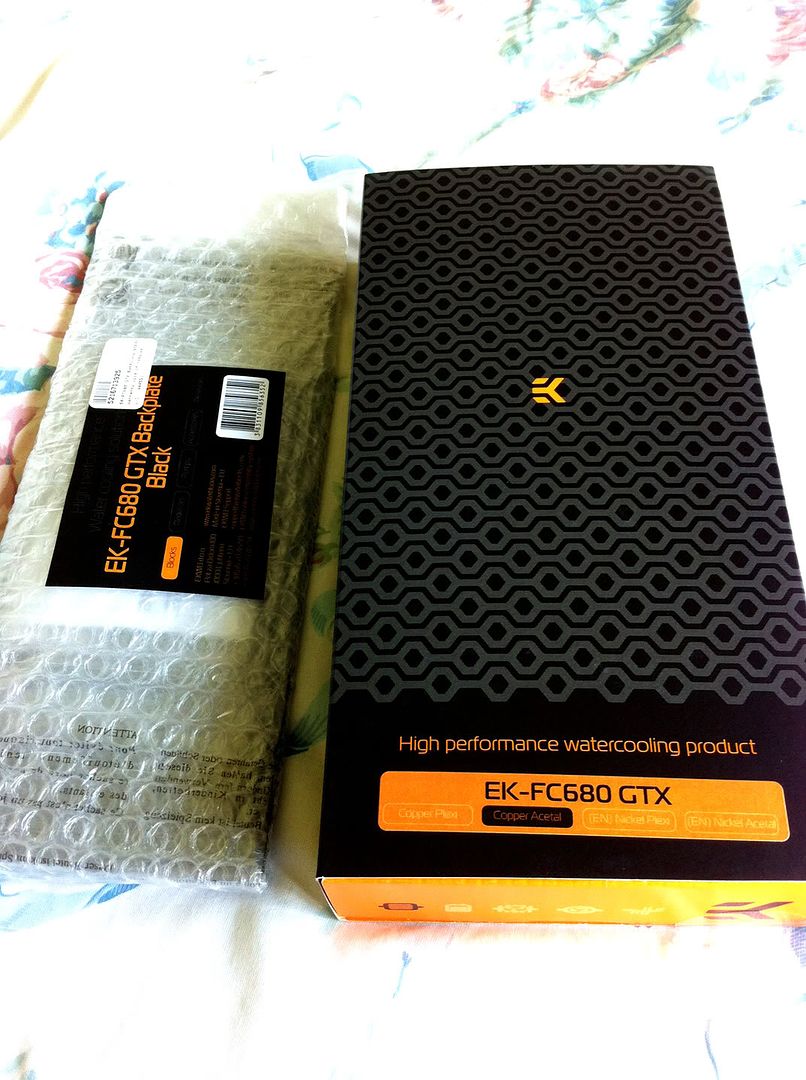
New components:
Parvum Systems S1.0 Case
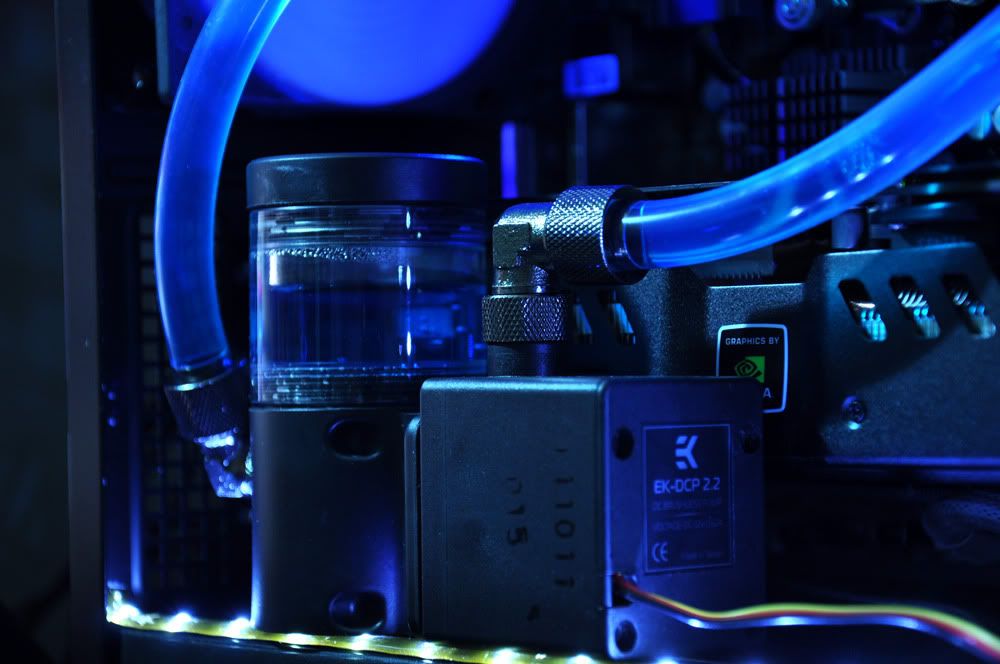
Bitspower Multi-Z 80mm Reservoir
Creative Z Soundcard
Seasonic X850 modular PSU.
Well it's time to upgrade and go complete water! After much help from Cleeco, i've chosen my parts and ready to head down to the shop to collect my components
.Parts used in the build:
Case: Antec Mini P180
Phenom 955BE @3.8ghz
8GB crucial 1333 ram
MSI 890GXM-G65 board
ASUS GTX 570 Direct CUii edition with back plate
ASUS CD/DVD RW drive
2 x 1TB HDD's (samsung and seagate)
1 x 500GB WD Black
Watercooling components:
EK H30 Supreme LT 120 kit
EK-CoolStream RAD XT (120)
TFC Hot UV White Tubing 2M (3/8" ID and 1/2" OD)
EK-PSC nickel Compression fittings 10mm (G 1/4") - 8 in total
FANS:
3 x Gelid Wing UV 12 fans
2 x Sharkoon SE 120 modular fans (1200rpm)
So my loop will consist of 2 x 120 Rads and cooling only CPU for now. In brief it will go like this:
RES --> PUMP --> RAD1 --> RAD2 --> CPU --> Back to Res.
My only concern is whether my tubing will be flexible enough to bend around from Rad1 to Rad2 since Rad2 will be sitting directly above Rad1. I'll take a picture when i'm home to explain this better in detail.
Any other advice or help please post and comment! I'm open to Any suggestions that you might have.
And Nearly a year on! This is what i have ended up with so far
Updated Pics for November 2012!
More Artsy pictures to come soon
Pictures for 2012!
Pictures for 2013!
New components:
Parvum Systems S1.0 Case
Bitspower Multi-Z 80mm Reservoir
Creative Z Soundcard
Seasonic X850 modular PSU.


Last edited:

 .
.