Liquid Art: From Mini P180 to infinity...

some cable braiding for internal cables and i think I may wait on the Corsair SP LED fans I heard were coming out. Also need to get that window done at some stage. May get either some acrylic or some metal to cover up the mid plate a bit better than it looks stock hate that sliding thing on it. Finayl got my Specta Pro 200mm fan for roof also got some of them new noctua cable extensions ect.

That's quite a lot of stuff to be waiting for bud! Take it you won't be building your rig up anytime soon :(. But I suppose it's a good thing, summers here! Our PC's get damn hot!!!

Update on the accelero for those that are interested, increase in ambient temps has caused crashing, even though the core temp doesnt get hot and the vrm's are lower than a stock card theres clearly something on there thats getting hotter than it likes, I have put the stock cooler back on and now the card is stable again so looks like decent airflow over the card is needed, not the ram though as thats had heatsinks on it....

Looking for some decent heatsinks to stick to stuff..

I was actually gonna give this cooler a try.. I wanted the Accelero Hybrid 2 but they're out of stock at the moment. Are you sure you got passive coolers on all of the VRM's and memory chips?

Jay, you certainly have a talent for builds. Another stunning build bud and hats off to ya. Nice one :)

Thanks Underboss! Hoping to get some sponsorship at some point to really get the ball rolling.
 
I was actually gonna give this cooler a try.. I wanted the Accelero Hybrid 2 but they're out of stock at the moment. Are you sure you got passive coolers on all of the VRM's and memory chips?

As the kit comes there is nothing for the GPU side of the card, everything is on the back, and yes, all hot sections have the supplied thermal pads on them and all screws were nice and tight.
I even went as far as to put some heatsinks on the RAM as I had some spares.

Machine was running fine for however long its been since I installed it but since the weathers started to pick up the machine started to fall over while mining on my "bench" (and I use the word lightly), I then put it in my main rig with a fan flowing air over the card and it was still falling over when mining or playig BF4, I put the stock cooler back on and its fine again now, even though the VRM and GPU temps are higher than they were with the Acellero fitted.

Theres clearly some airflow on the GPU side of the card with the stock fan fitted that is keeping something cool enough to keep it stable, but whatever it is its something without a sensor on it so its not easy to track, my plan is to just grab some heatsinks and go from there..


For now...
Must have been something on that board that needs airflow over it like you said. I wonder what it could be though other than the VRM's and memory chips. Can't think of any other thing that could get hot enough for it to stop working. Strange one!
 
XSPC PHOTON 170 With HDD Cage Mounting Mod


Recently purchased a new reservoir out of necessity simply because my bitspower one had cracked and webbed to the point it started to leak! Quite surprised by it cos it worked perfectly fine up until now..


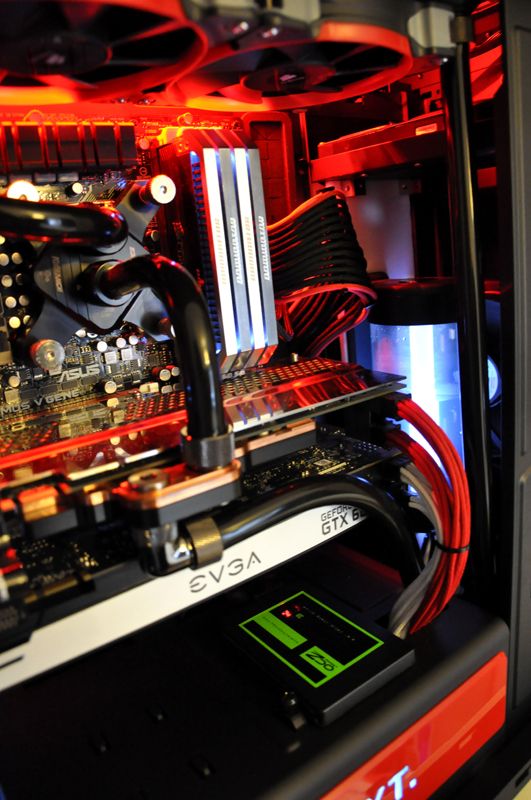
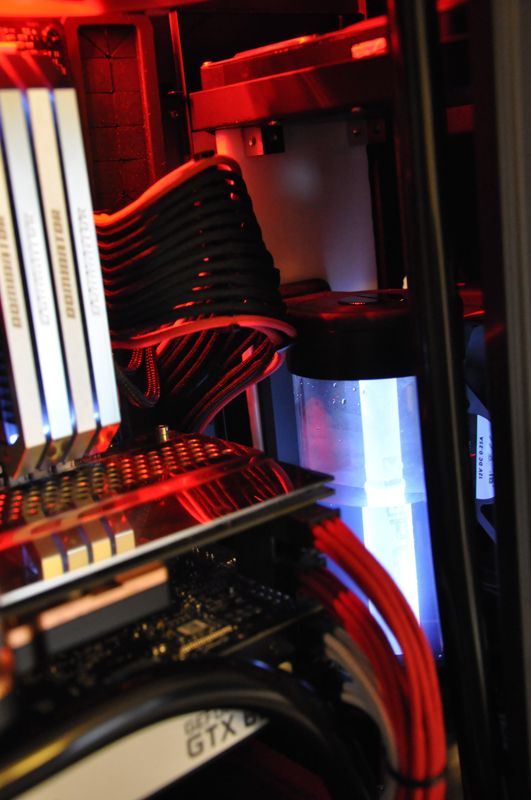
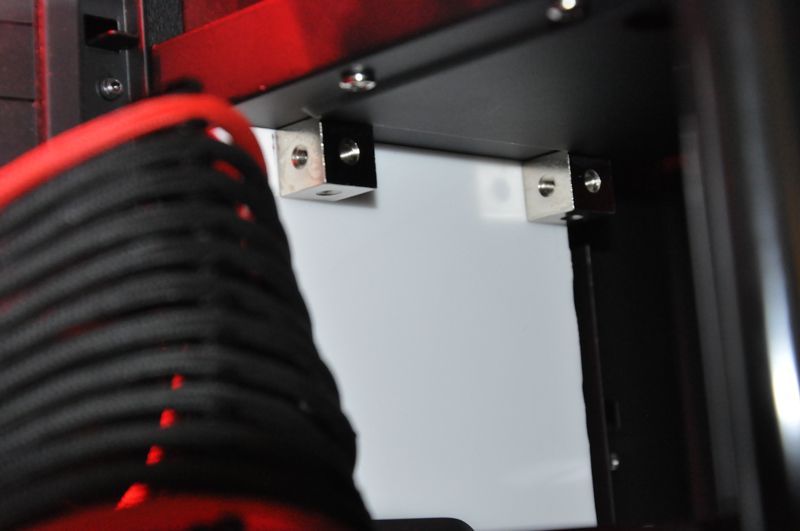
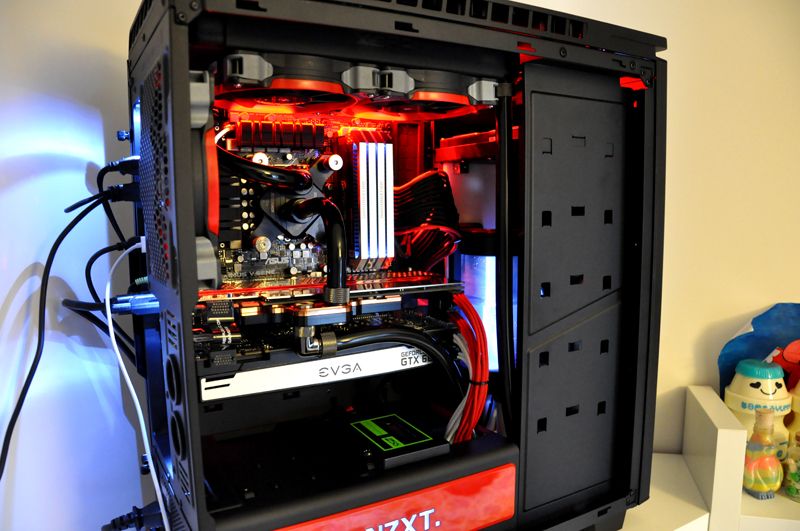
Anyway I needed to mount the XSPC Photon reservoir into my case and I didn't fancy mounting it on the HDD cage like some others have done. Mounting it on the Fans infront of the radiator wasn't ideal either so I opted to make a custom acrylic mounting board which would attach to the underside of the HDD cage that comes with the H440 case.


After taking measurements over and over again and making sure it would fit into the gap next to the motherboard, I surprisingly didn't encounter any hiccups! Infact it worked out pretty well fits snuggly!


I used an old Piece of Acrylic from my Parvum S1.0 that had broken and used it to make the mounting board for the reservoir. Cut it to size and drilled the corresponding holes to mount the reservoir. Fitted the pump directly beneath it as well which lined up perfectly.


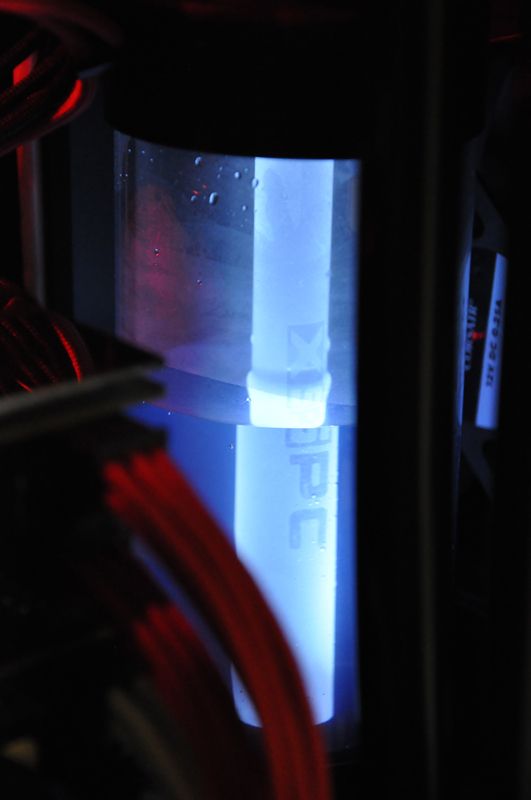
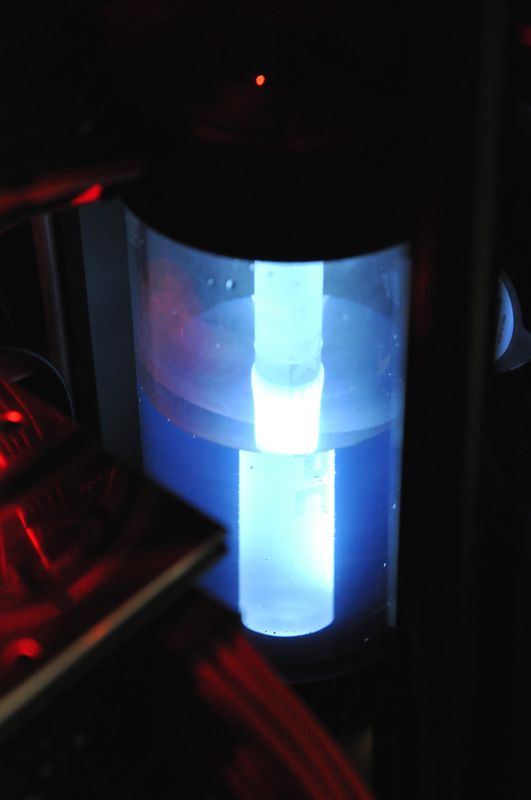
The Photon is a very heavy reservoir for it's size but expected since the main tube is made of glass. It's very sturdy and solid and you can really feel the build quality in it. It's definitely gonna be something that I will be reusing in future builds, come upgrade time.


Now for some juicy pictures as per usual :p


The Little Cubes that come with the Parvum Cases are great for doing this kinda thing! I really wish I knew where they got them from! The stuff I could make lol.
 
Last edited:
:) thank you!


Just bought a D5 pump to go into the system as my DDC doesn't seem to be pushing fluid round at a decent flow rate.

Can anyone recommend a good pump top?
 
Wow they look the bomb! How much does the kit cost? I take it we'll be looking around the £80 mark for bitspower stuff?

Im just figuring out how i would mount it as the inlet and outlets are reversed compared to a DDC pump so i can't mount the D5 flat unless i use angled fittings.
 
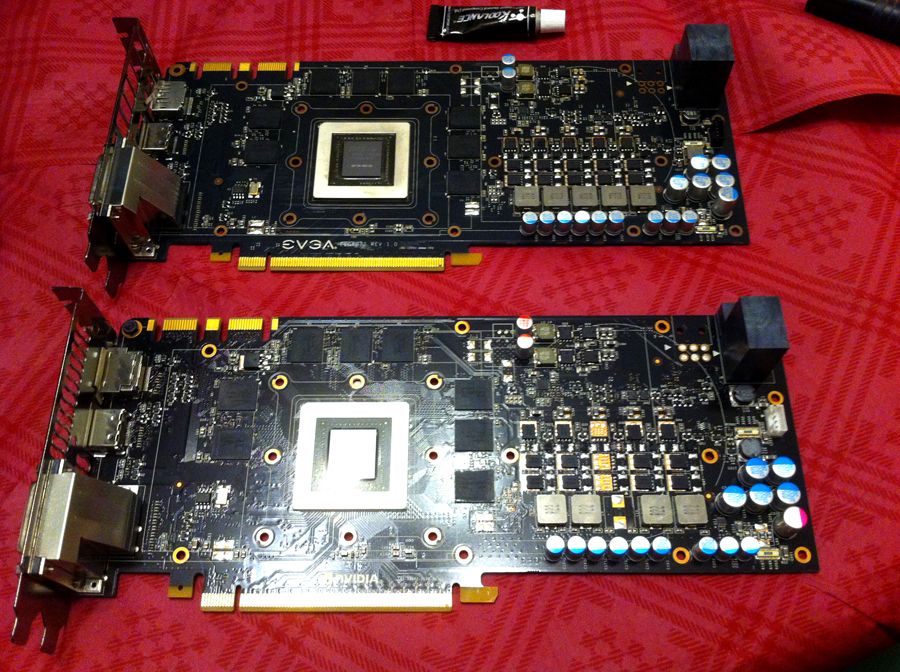
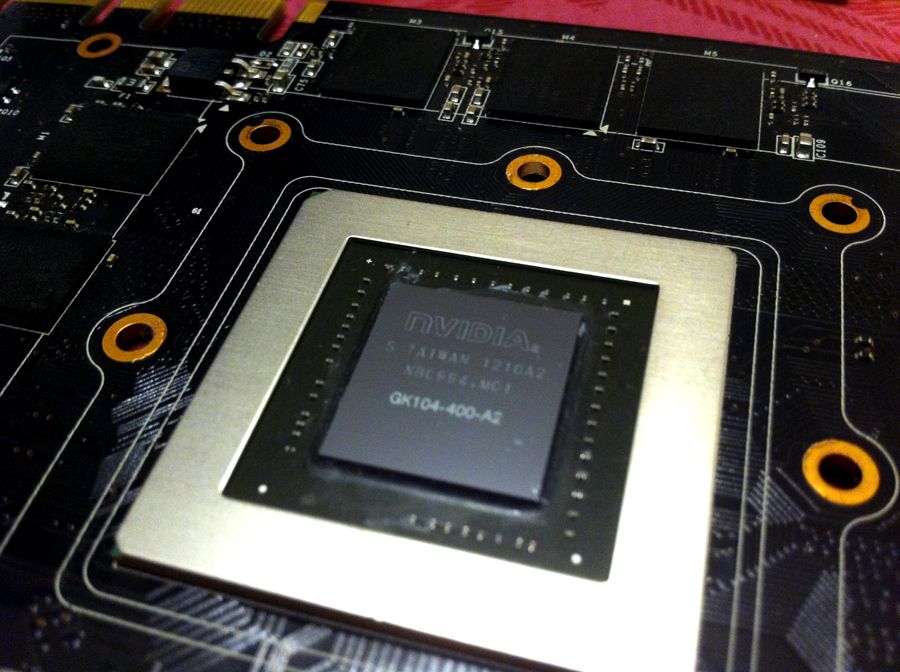
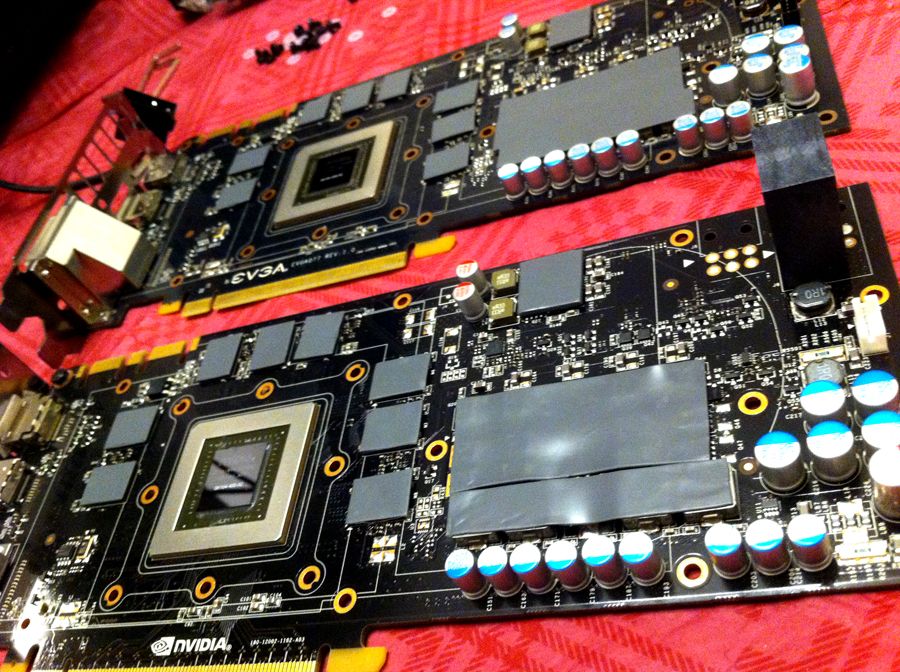
After waiting and waiting for a second waterblock to appear in the market... it never happened. So I decided to take the plunge and buy 2 brand new waterblocks that just so happened to appear in the watercooling clearance section!


My recent purchases are:


EK Water Blocks EK-FC680 GTX+ CSQ Full Cover Waterblock - Acetal + Nickel x 2

XSPC Acetal Top for Laing D5 (Multiport) x 2

XSPC D5 Vario (Body + Screwring) From MM x 1


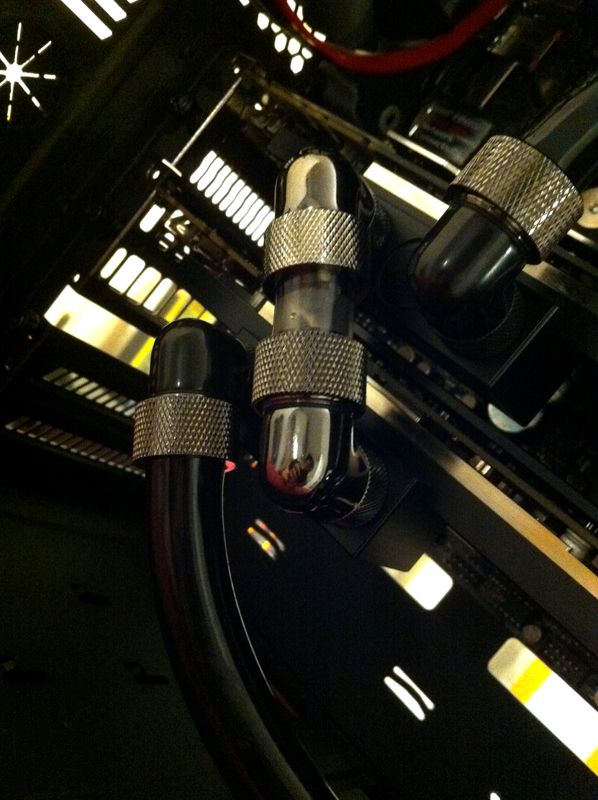
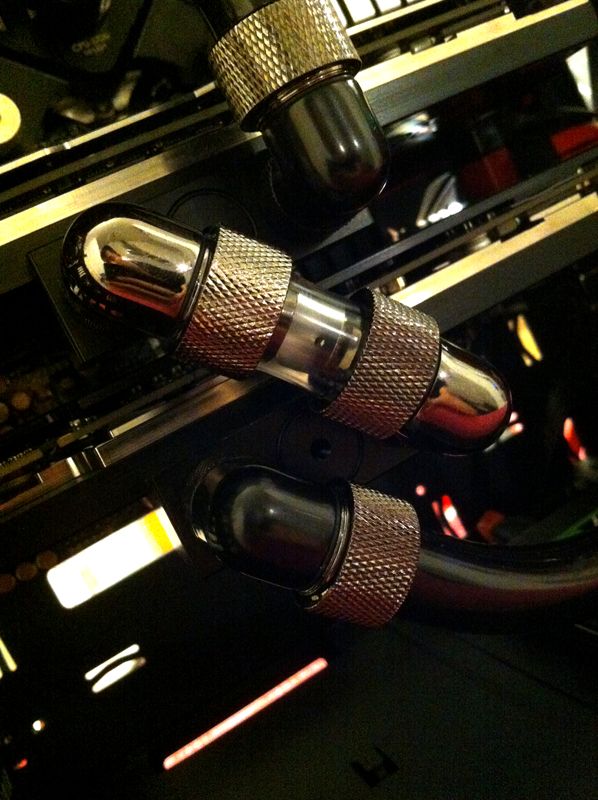
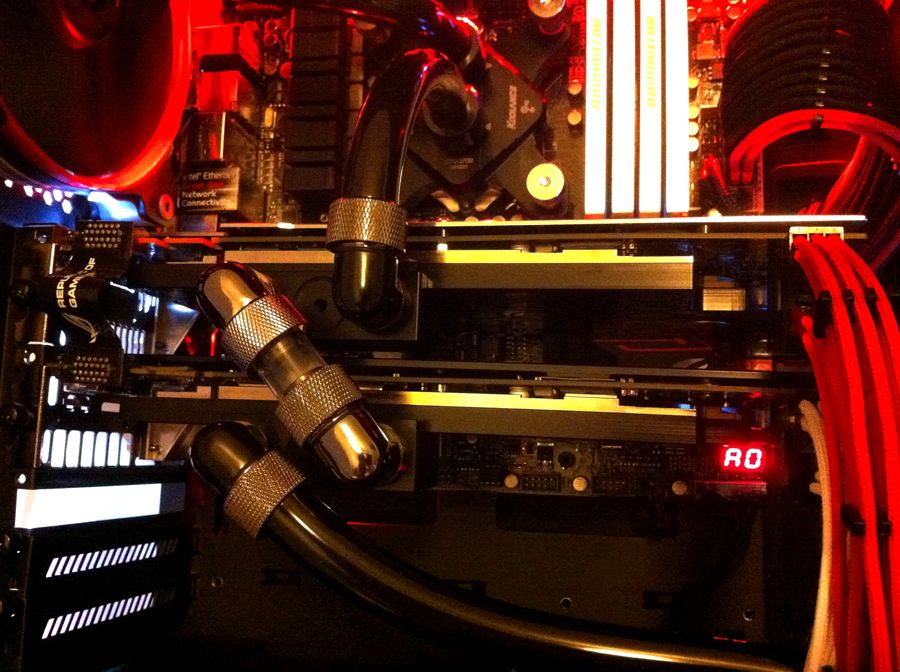
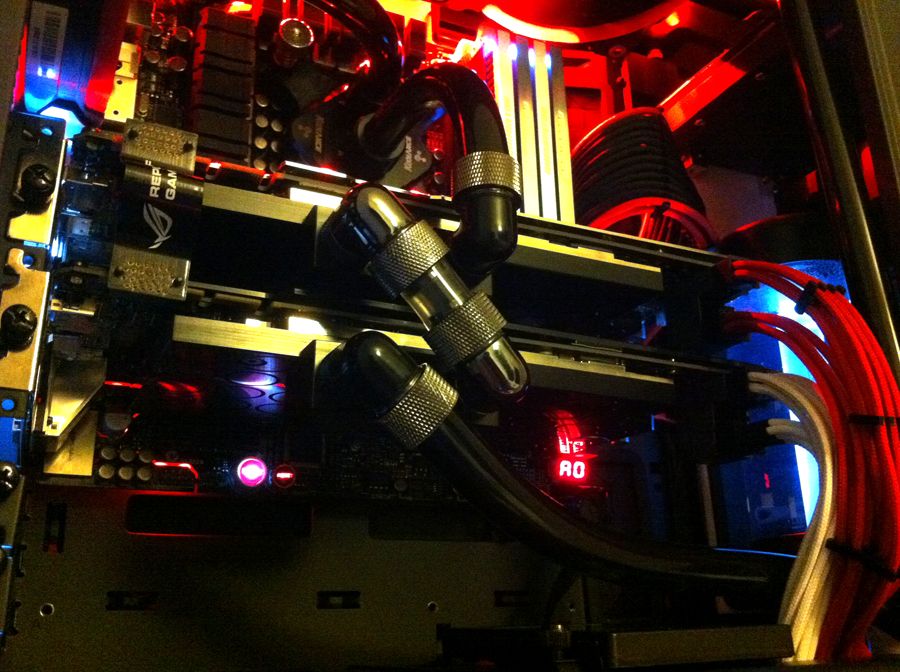
The only thing missing was the SLI bridge to connect the 2 cards together... but I wasn't sure which one I needed. I was impatient and wanted to crack on with it so ended up retro fitting it with tubing and angled fittings instead.. which to my surprise came out pretty well :eek:! The 2 EK CSQ blocks are not by far my favorite looking blocks but they do perform really well. Both cards at stock will idle around 29C and both top out at 58C. I think majority of that heat is actually coming from the CPU which now gets rather toasty because of the added heat. I decided to down-clock for now to 4.2ghz using stock voltage to maintain a good heat level below 70C.


My experience with the D5 is.. damn its a good pump! Even at it's highest setting, it is still whisper quiet compared to my old DDC unit. I'm currently running it at its higest setting '5' for maximum flow rate. It's such a good pump and performs superbly! I read online that by changing the pumps speed I can use this to bleed the air from my system which worked a treat! After a couple of tries, my system was fully bled.


Anyway, onto some pictures as usual :)


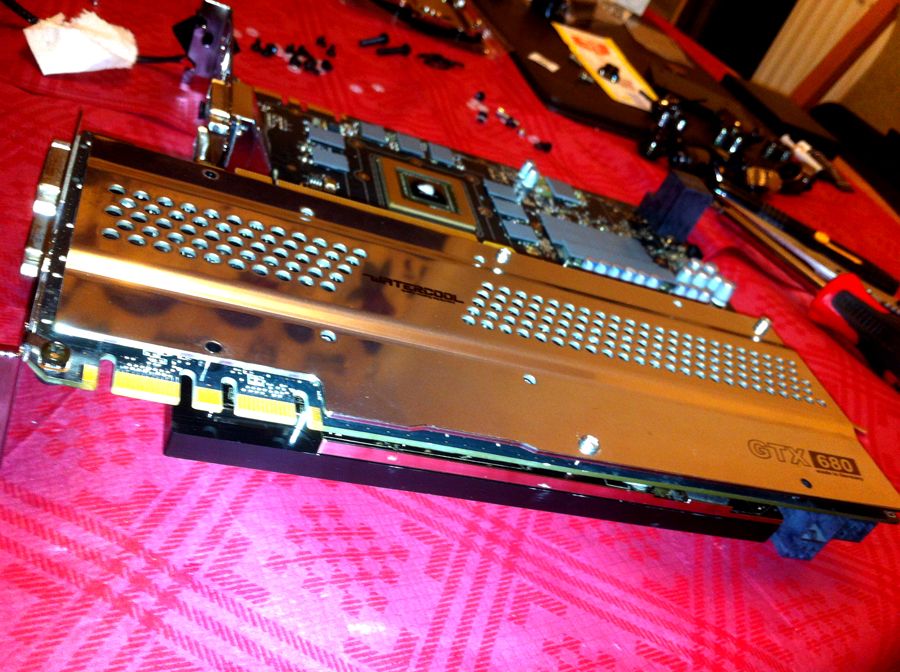
Both Cards prepped for thermal pads and grease!


Back plate fitted to one of the cards


Clean Tubing! The angle worked really well this way, surprised myself at this stage!


I had a spare GTX 680 EK backplate laying around so used it on the EVGA card. Fit's perfectly :)


No more updates for awhile now I think, not sure what else I could possibly do to it until upgrade time comes. Could do with a shorter SLI Connector but finding it hard to locate a short one.
 
Back
Top Bottom