My desk project

Soldato
OP
Joined
18 Oct 2002
Posts
8,016
Been busy the last couple of nights on this, but keep forgetting to post progress updates!

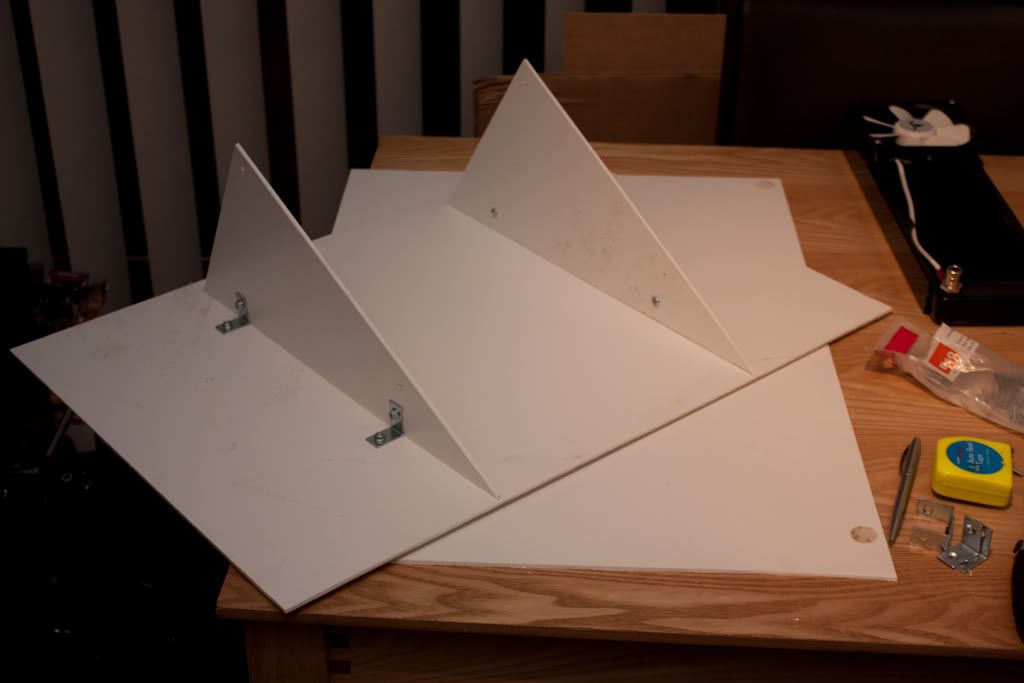
The next task after my last update was to re-measure the angled base, and add the extra on so that the radiator and fans would actually fit!

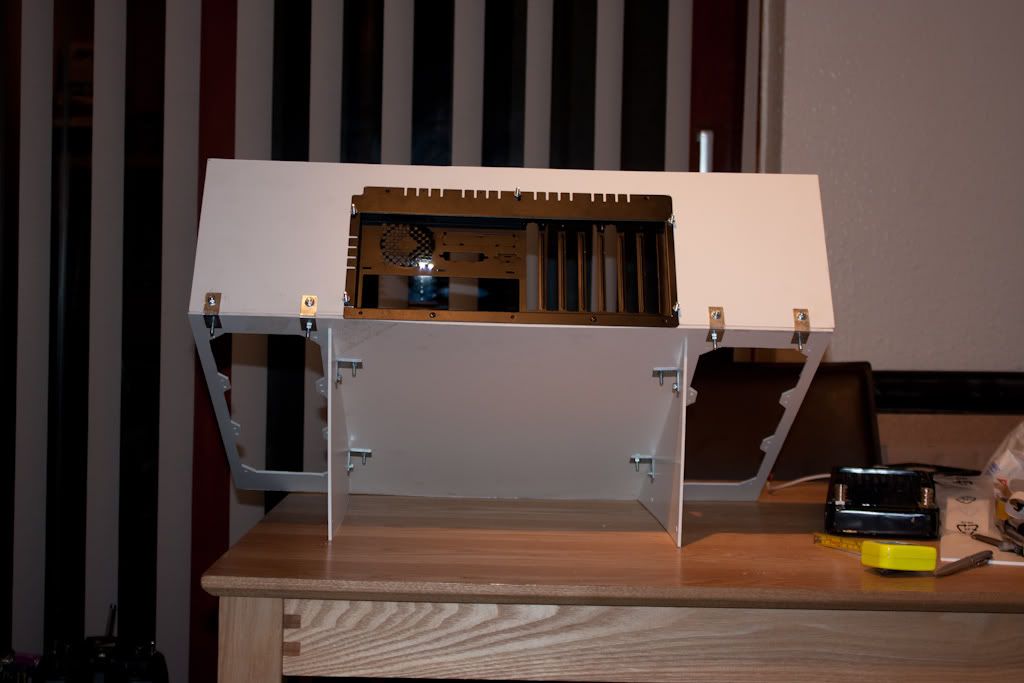
Once I'd done that, I attached the two additional 30 degree triangles to the underneath of the base, and had a trial fitment.

IMG_3678.jpg

IMG_3680.jpg


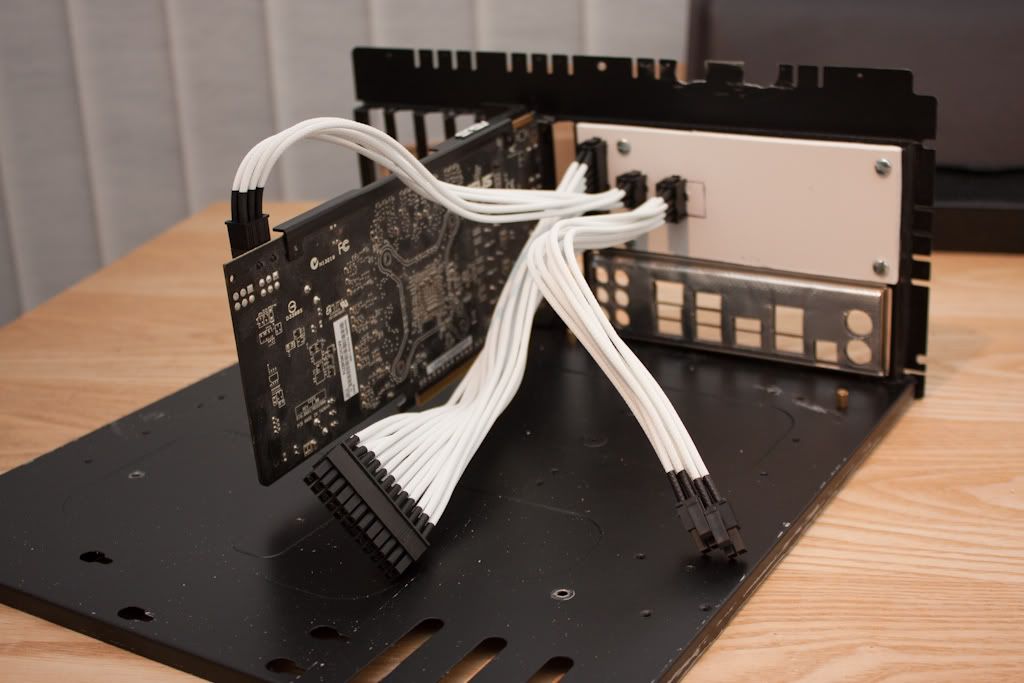
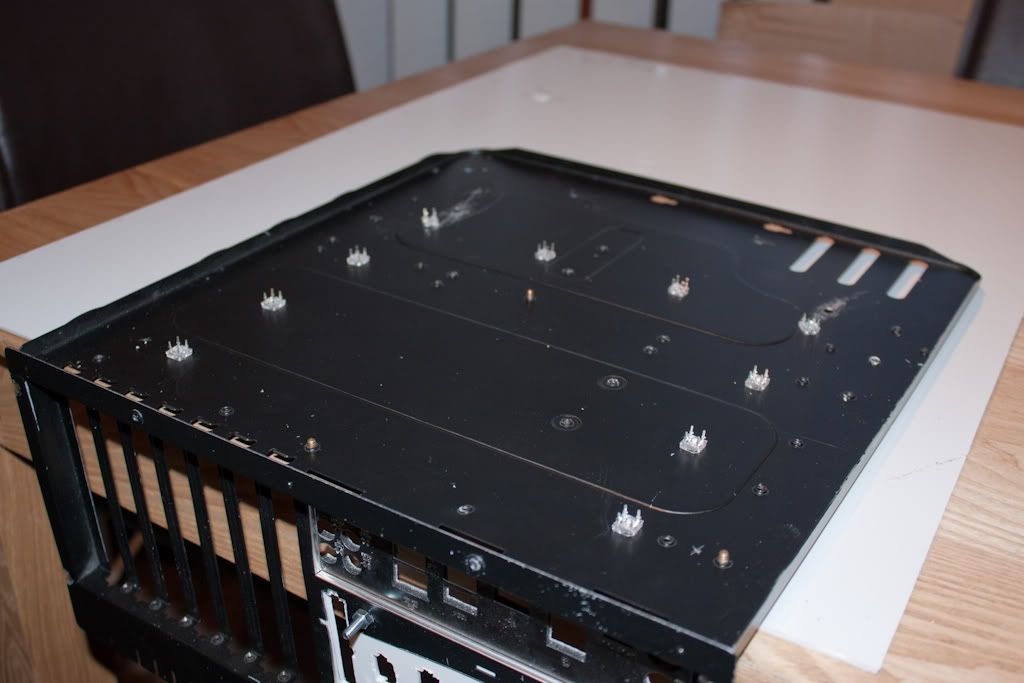
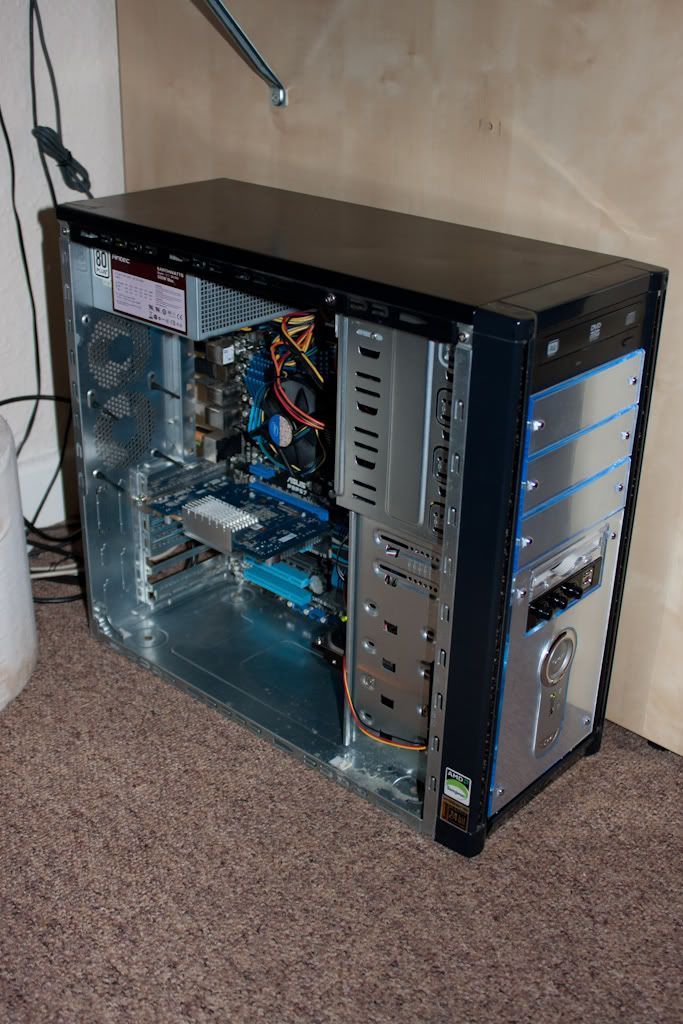
Before I could move onto the next step, I needed to strip my current case down, and remove the motherboard tray. Therefore, I needed to re-home my PC temporarily, so I borrowed an old case from a friend, and transplanted my stuff - and as fitting the standard cooler back to my 6850 would have been more hassle, I have thrown in a 7300GT to give me some form of graphics!

IMG_3711.jpg


With the motherboard tray free, I could see how much space I'd have (as we've seen before, even measuring everything in SketchUp it wasn't quite right!)

IMG_3685.jpg


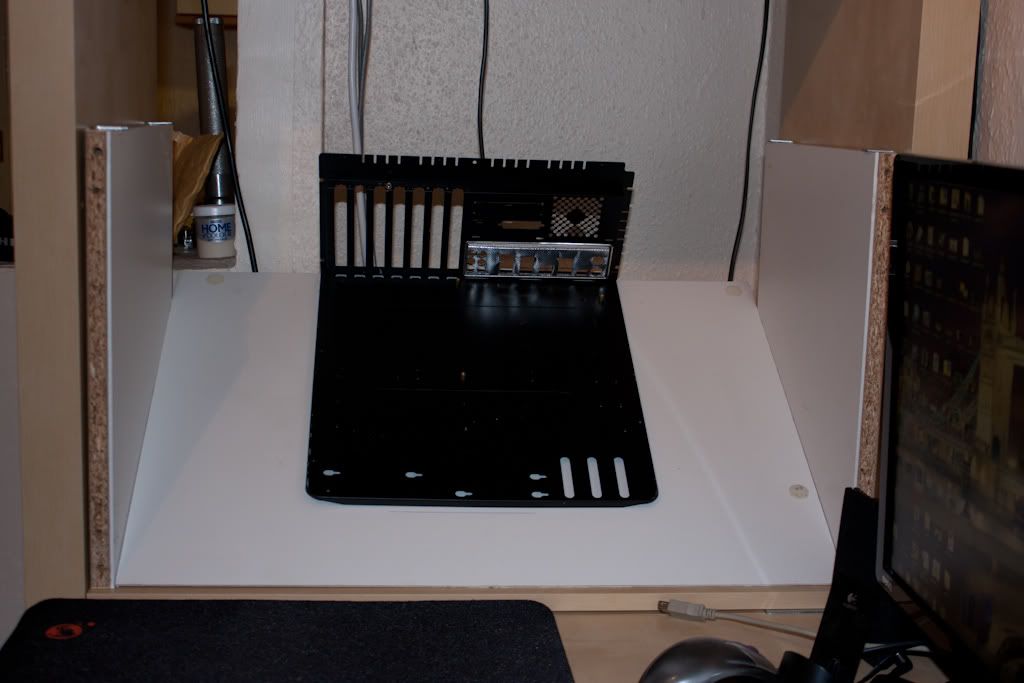
Looks like I'm going to be good there for putting the roof piece on :)


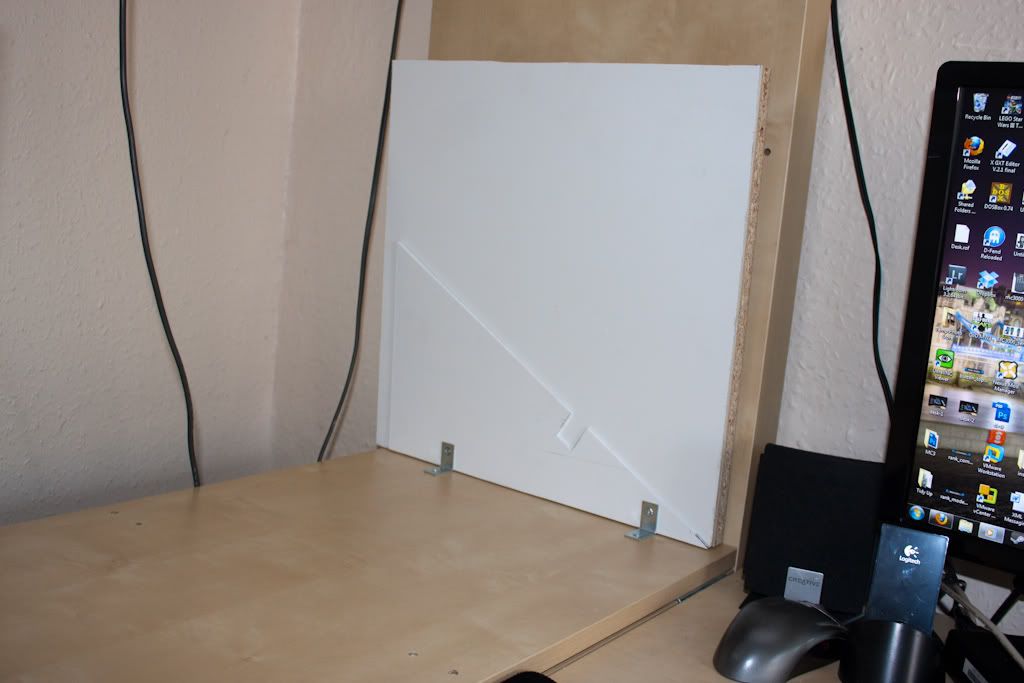
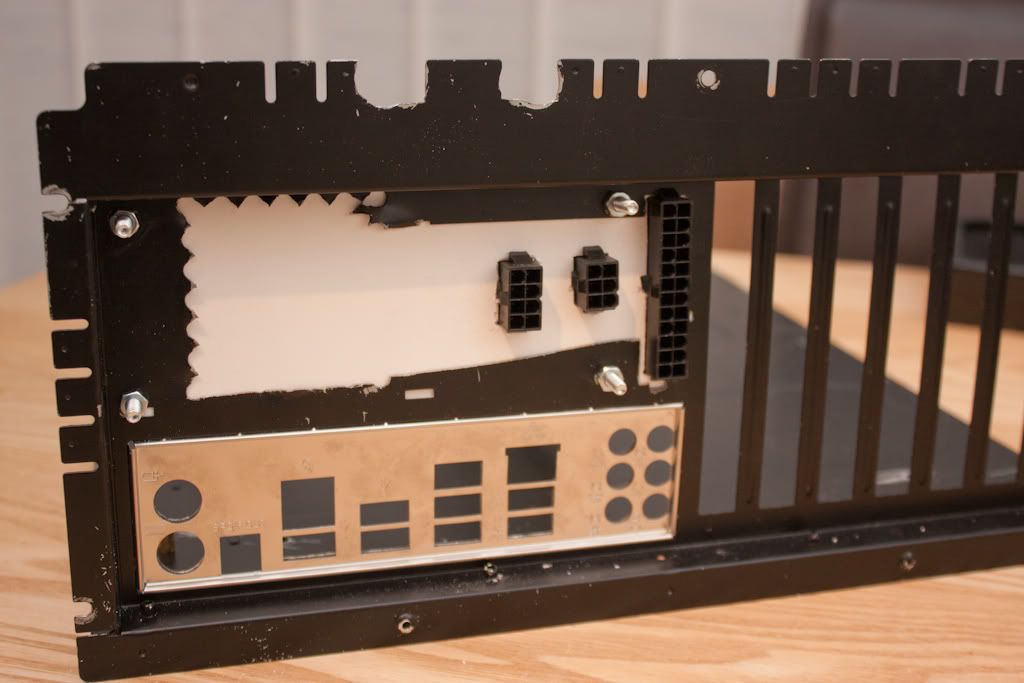
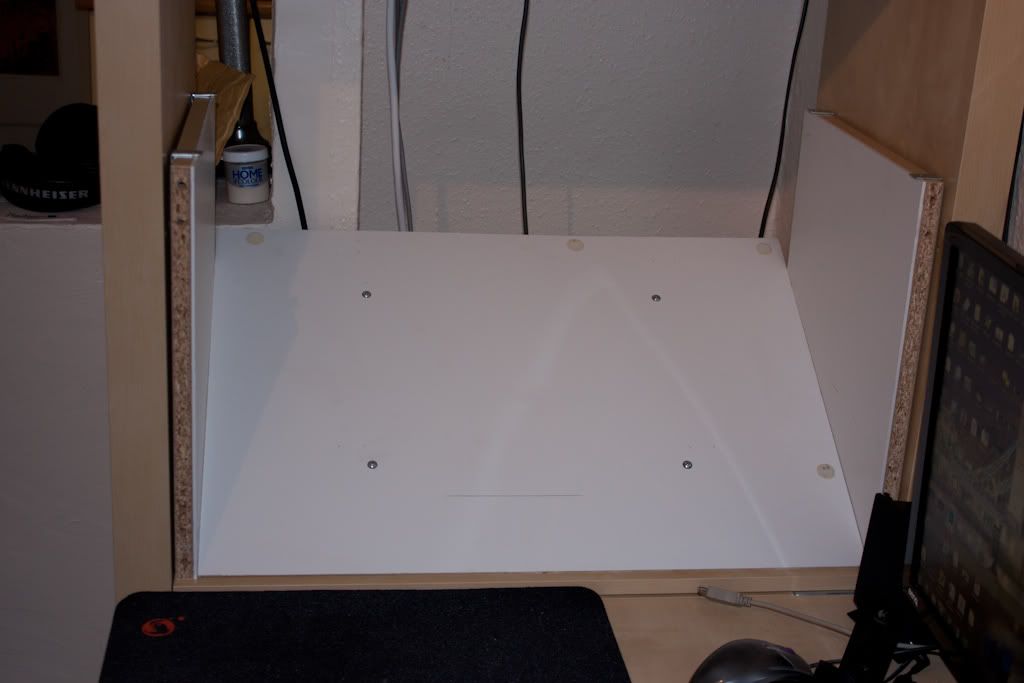
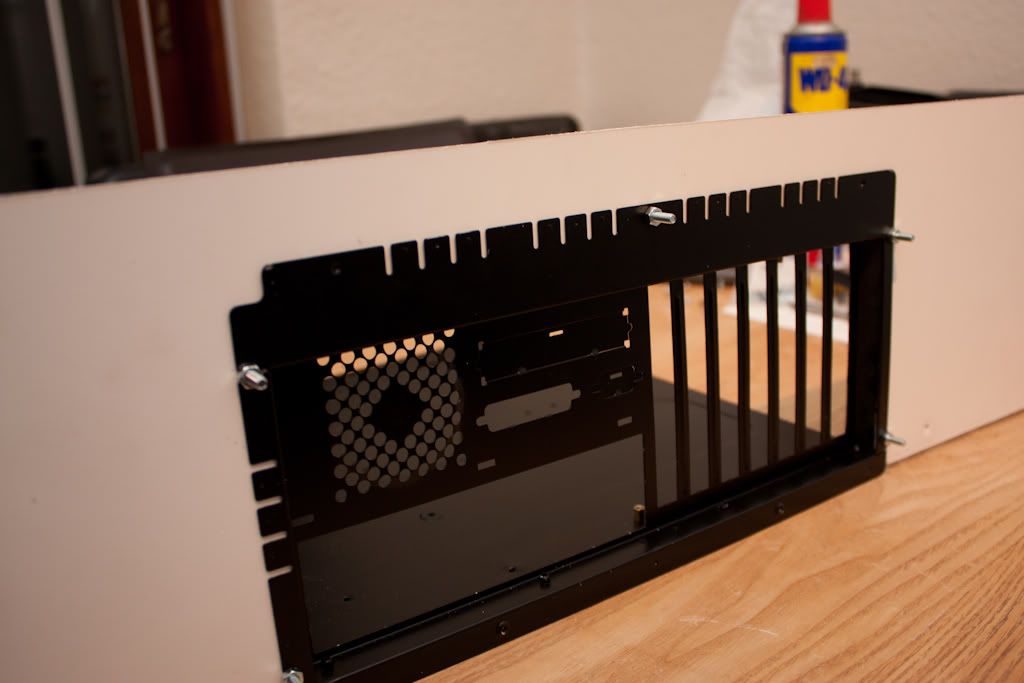
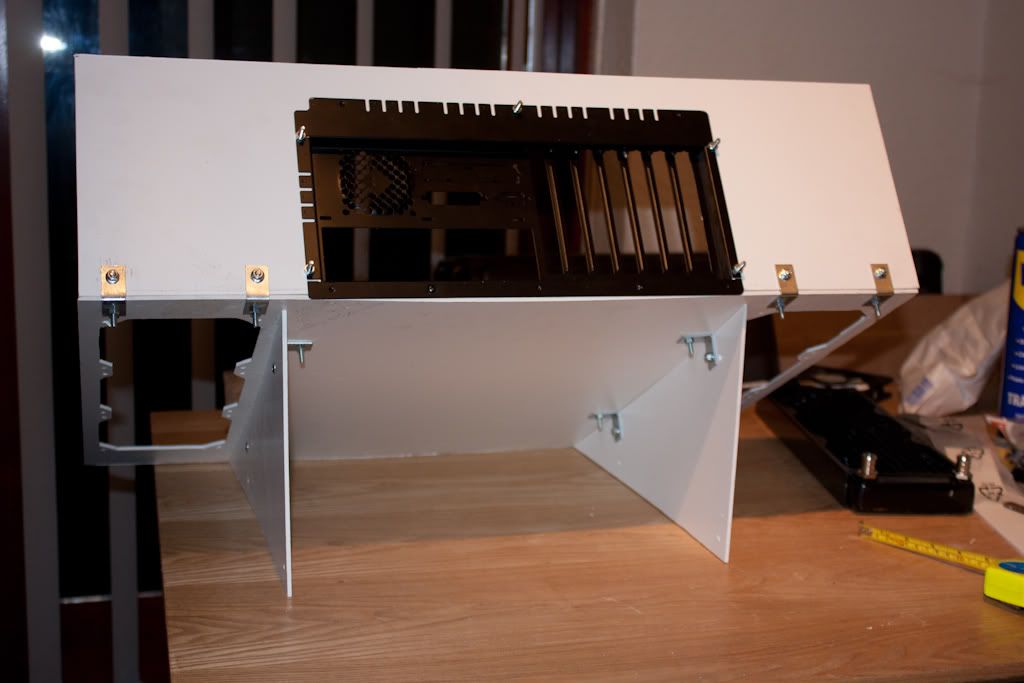
I then began to make up the piece to go at the back. I decided to make it the same shape as the original case would have been, so that I can attach the motherboard tray using the same mounting holes as on the original case.

IMG_3703.jpg

IMG_3705.jpg


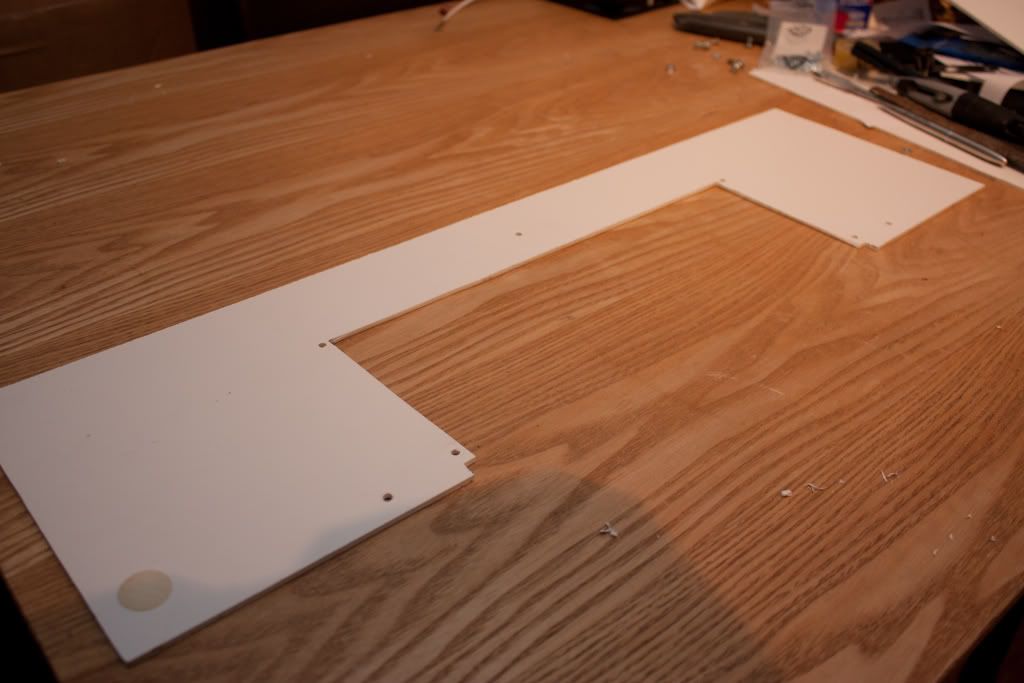
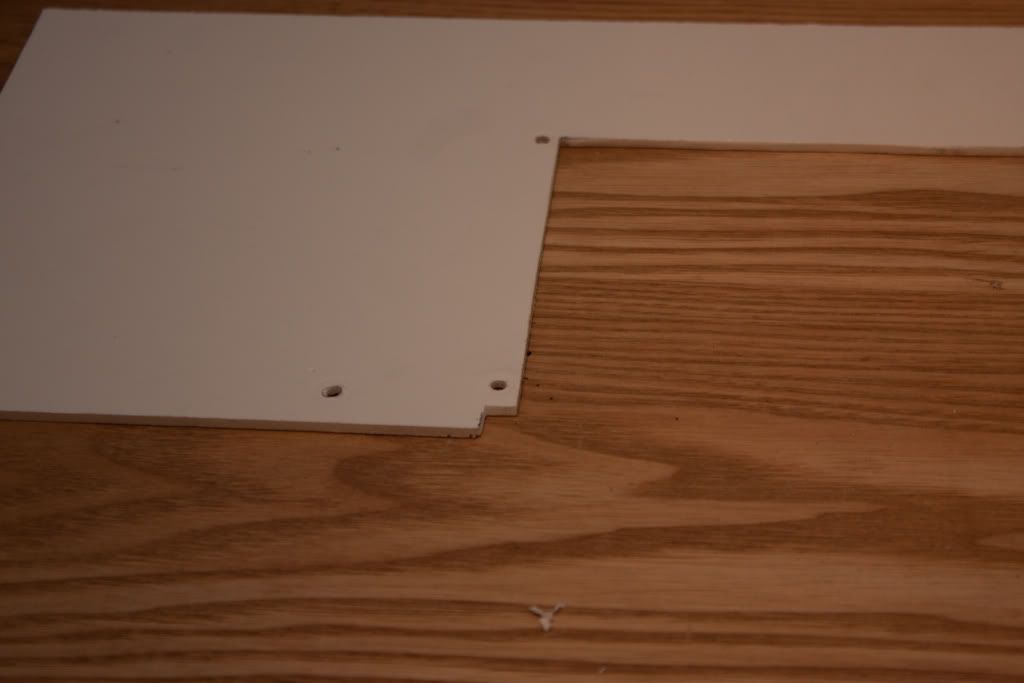
And then affixed the motherboard tray to it.

IMG_3701.jpg

IMG_3702.jpg


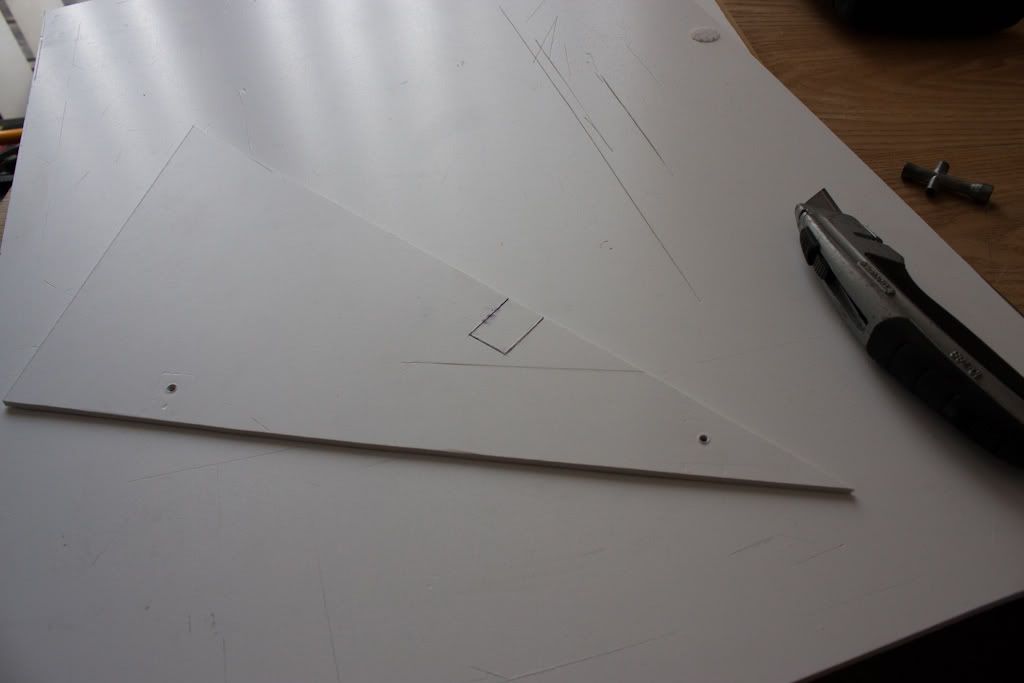
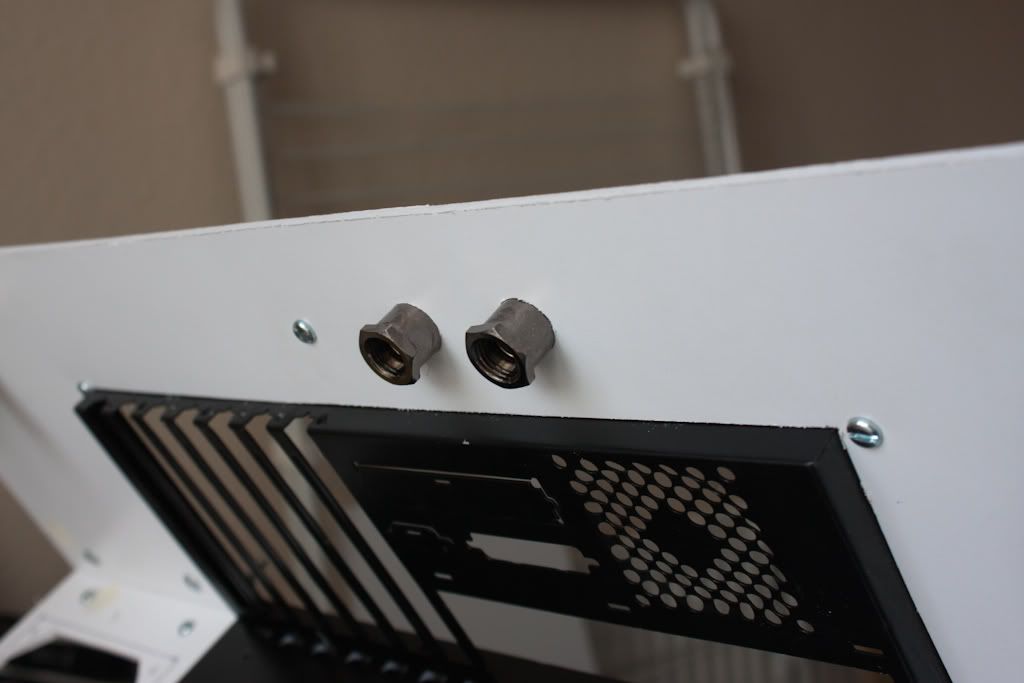
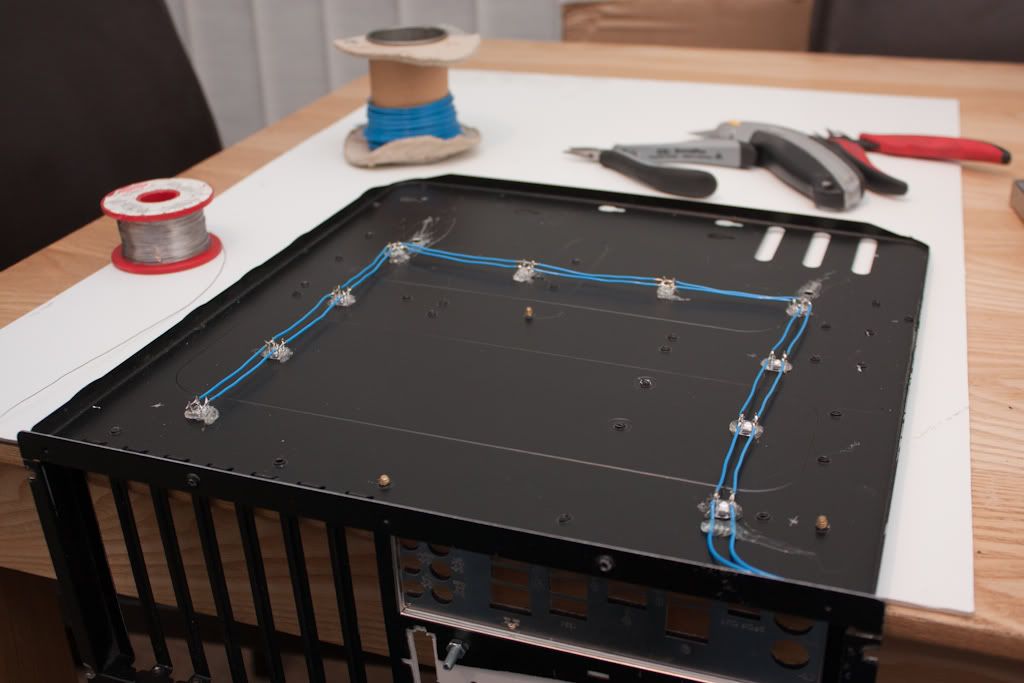
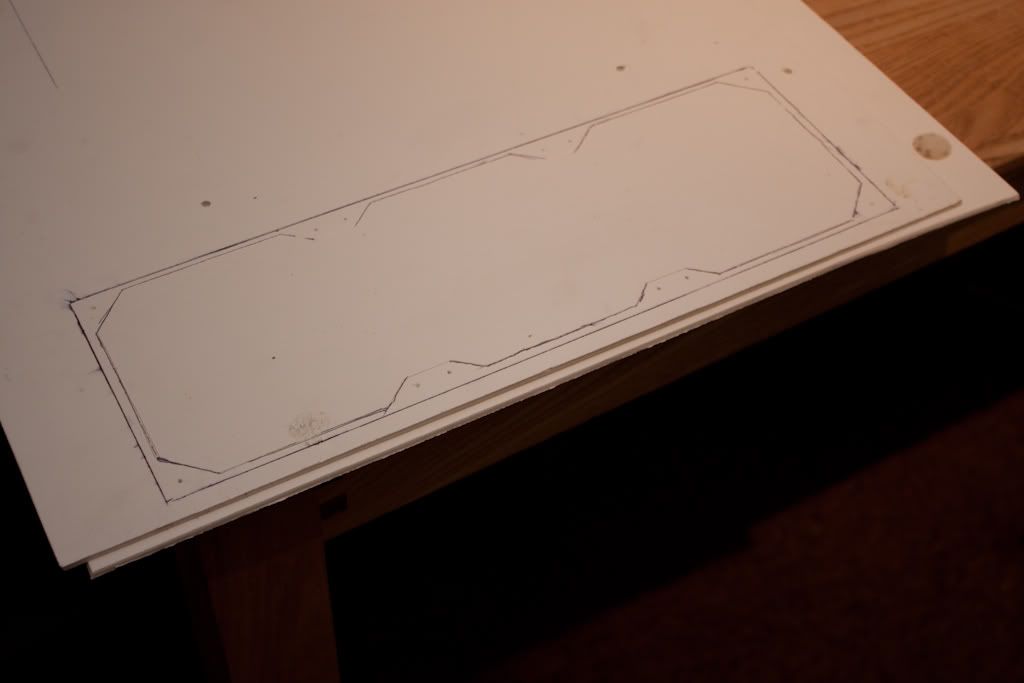
Next, using a template I found on the internet for marking up a 360 radiator, I marked, and cut/drilled in the appropriate places.

IMG_3695.jpg

IMG_3694.jpg


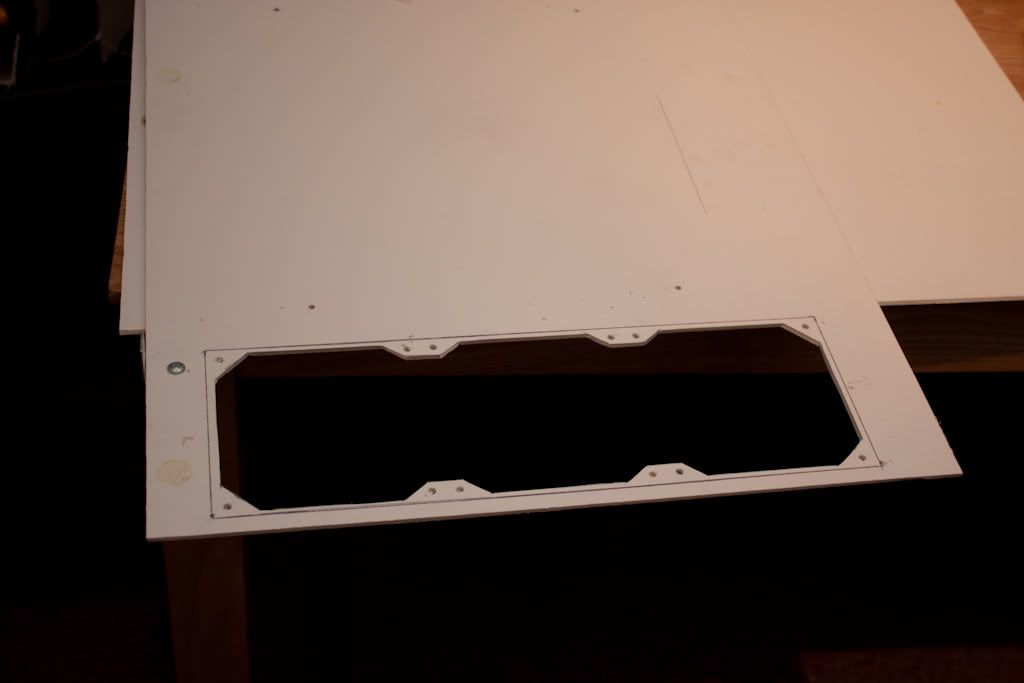
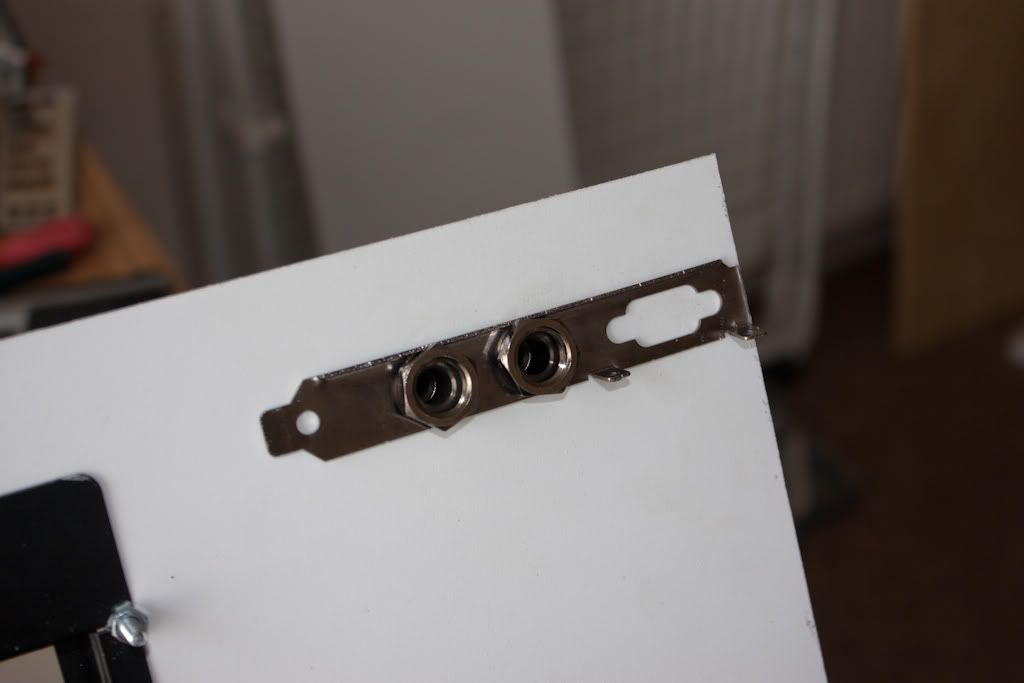
Repeated on the other side, I then put these bits together.

IMG_3700.jpg

IMG_3712.jpg

IMG_3713.jpg


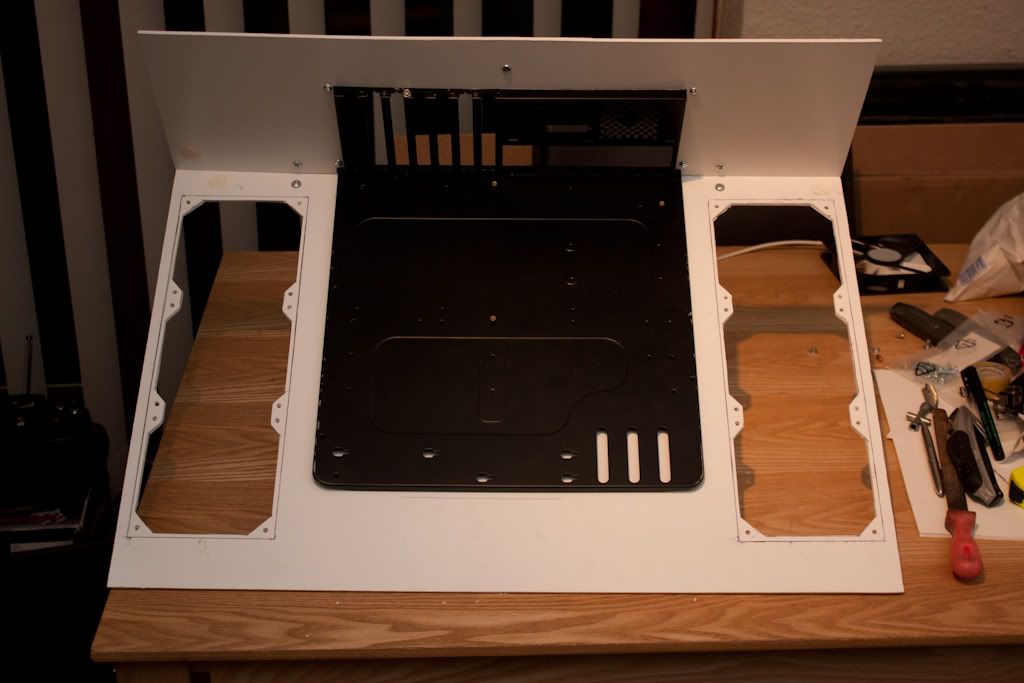
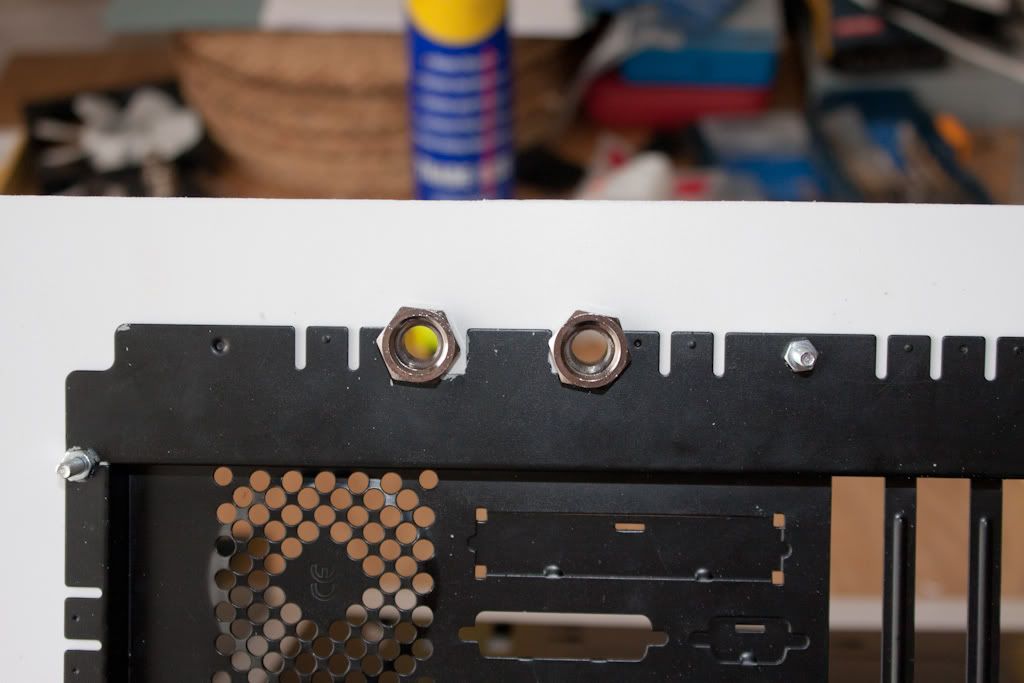
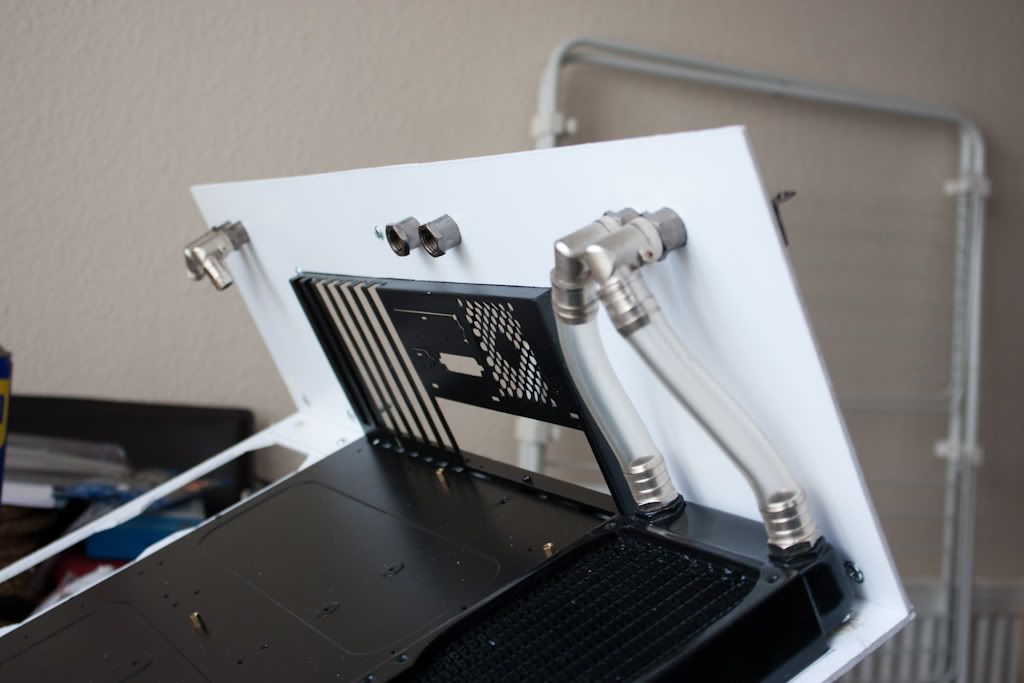
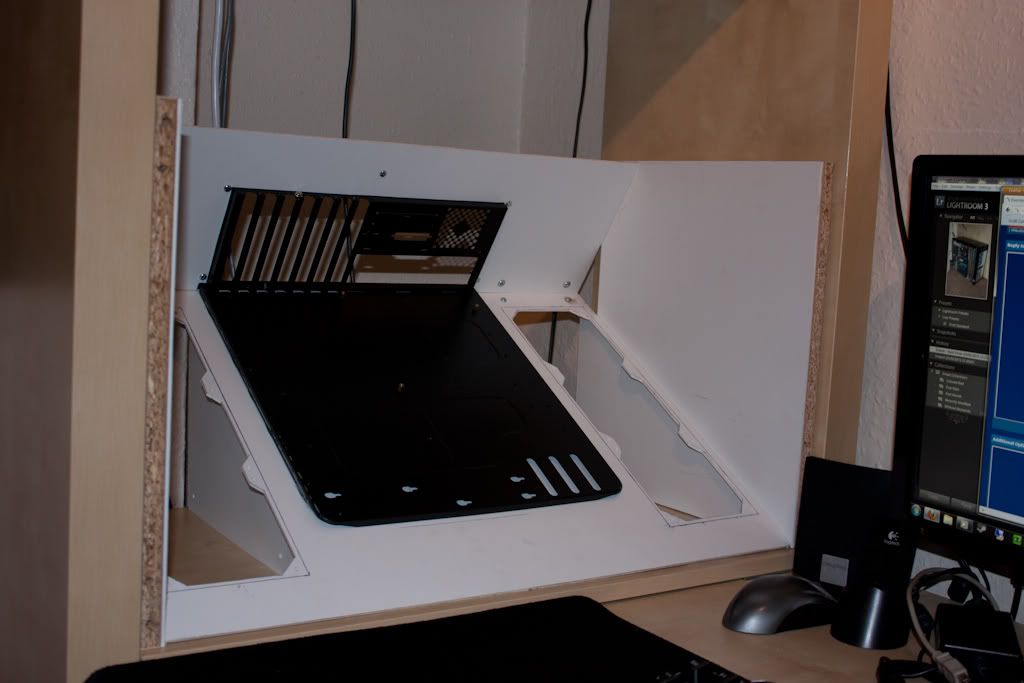
And, of course, tested it in-situ.

IMG_3714.jpg

IMG_3715.jpg


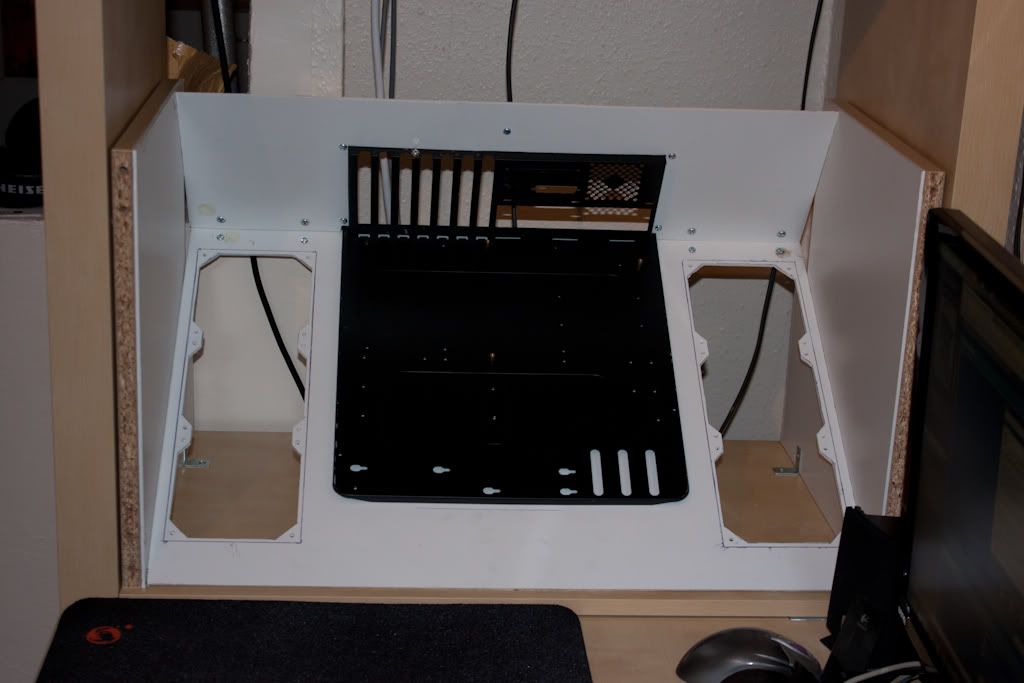
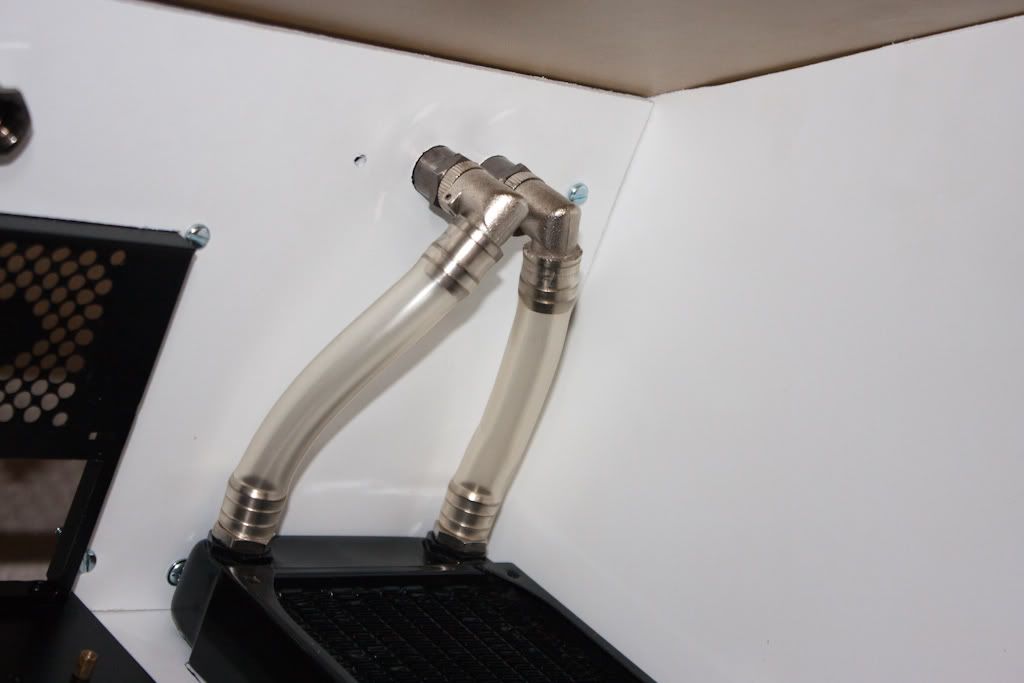
Next on the list is to re-do those side bits to fill in those little gaps in the corners - that's for another night though!
 
Soldato
OP
Joined
18 Oct 2002
Posts
8,016
As mentioned last time, the first thing to do is to remake the side pieces so that they're big enough to fill the corner from where I didn't quite measure it all up properly in the first place!

IMG_3718.jpg


I also chopped a small section out from the triangular bits to take another of the 90 degree brackets, which will secure the angled floor piece, utilising one of the holes for mounting the radiator.

IMG_3716.jpg


I was browsing on OcUK a couple of weeks back when designing this, and what made me decide to route the pipework as I have is because I was able to pick up a couple of PCI covers with through-bulkhead fittings with G1/4" threads. So a minor modification to cut off a right-angle that turned the wrong way...

IMG_3720.jpg


And with a further two going through the top of the motherboard tray...

IMG_3719.jpg


A small change to the design, by having them closer together, rather than apart, but I think it looked a little too "clinical" with the straight runs of pipe, there's a couple more on it now. That, and it made securing them much easier, because the PCI blanking plate is a lot thinner than the plastic - trying to clamp it to the plastic would have meant it wouldn't have sealed properly.

IMG_3722.jpg

IMG_3724.jpg

IMG_3725.jpg

IMG_3728.jpg

IMG_3730.jpg


I've decided to offset the central to one side so that I can put another pair of bulkhead fittings offset to the other side at a later date - will assist if I decide to go for dual-loop (or even decide in the next couple of days to feed the graphics card from that second pair of bulkhead fittings!)
 
Soldato
OP
Joined
18 Oct 2002
Posts
8,016
I ordered some extra barbs, some cheap ones for the rear that won't be seen, and a couple of EK ones for the visible bits which match the barbs I've got everywhere else already.

So, I wrapped a little bit of PTFE tape around the threads to aid the seal, and affixed as necessary.

IMG_3732.jpg

IMG_3735.jpg

IMG_3736.jpg

IMG_3741.jpg

OcUK cheapies on left, EK on right.
 
Soldato
OP
Joined
18 Oct 2002
Posts
8,016
I will only be having the 6 fans - and as the "case" will be otherwise sealed, I've decided on 3 being "intake" fans and 3 being "exhaust" fans.

This way, I should have fairly even airflow through the case, which will hopefully allow the components which aren't watercooled (RAM, motherboard, graphics RAM) to get some airflow over them to provide some cooling.
 
Associate
Joined
23 May 2011
Posts
276
This is incredible, and inspirational. I want to do one now :(

I need to stop looking at this stuff and things like Murderbox when I have no money :D
 
Soldato
Joined
23 Apr 2010
Posts
11,890
Location
West Sussex
I'm impressed.

What I am most impressed by is the fact you don't have a workshop with a hundred grand's worth of tools in it, yet have managed to be quite original.

Modding is sadly all about money now. How much you spent on materials and the tools at your disposal which is sad, because that isn't what modding was ever about.

It's a sad day when snobbery overtakes hard work.
 
Associate
Joined
19 Apr 2009
Posts
169
Location
Staffordshire
I'm impressed.

What I am most impressed by is the fact you don't have a workshop with a hundred grand's worth of tools in it, yet have managed to be quite original.

Modding is sadly all about money now. How much you spent on materials and the tools at your disposal which is sad, because that isn't what modding was ever about.

It's a sad day when snobbery overtakes hard work.

+1

I second that!
 
Soldato
OP
Joined
18 Oct 2002
Posts
8,016
I needed a neat way to bring the power cables from the power supply, which will be underneath the motherboard, up to the various components.

Without having anything useful like rubber grommets like many of the cases you can get nowadays, I had to think of something else... so, I decided to bring the cables in through the back using some NZXT extension cables...

IMG_3746.jpg


The cutting out of the metal panel is a little rough around the edges at the moment, but I only have a hacksaw available - I'll eventually get a file in there to tidy it up a bit and remove those sharp edges!

IMG_3745.jpg

IMG_3744.jpg


Not that the edges will be seen from the front, though...


I saw on here someone had set up a load of LEDs under their motherboard which provided some lighting, which I liked, so I decided to copy the idea, utilising some of the Superflux LEDs left over from when I did my Prelude headlights and taillights back in 2007.

LEDs laid out in place
IMG_3748.jpg


Now glued in position and soldered up.
IMG_3750.jpg
 
Back
Top Bottom