My desk project

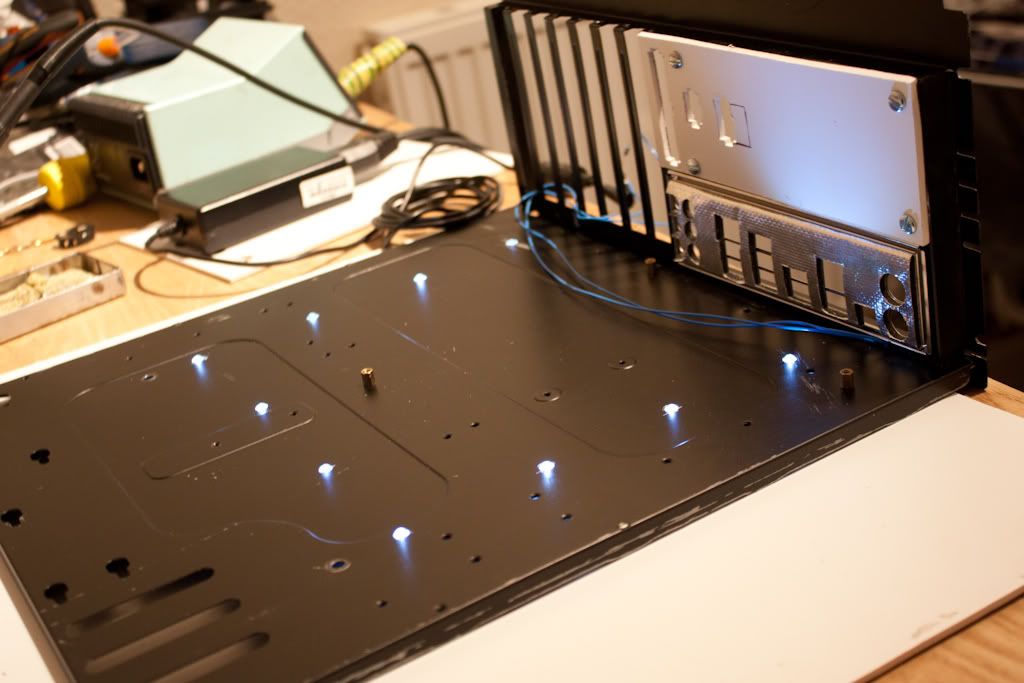
The LEDs were hooked up to a power supply to test out with an old motherboard in place.

IMG_3751.jpg

IMG_3757.jpg


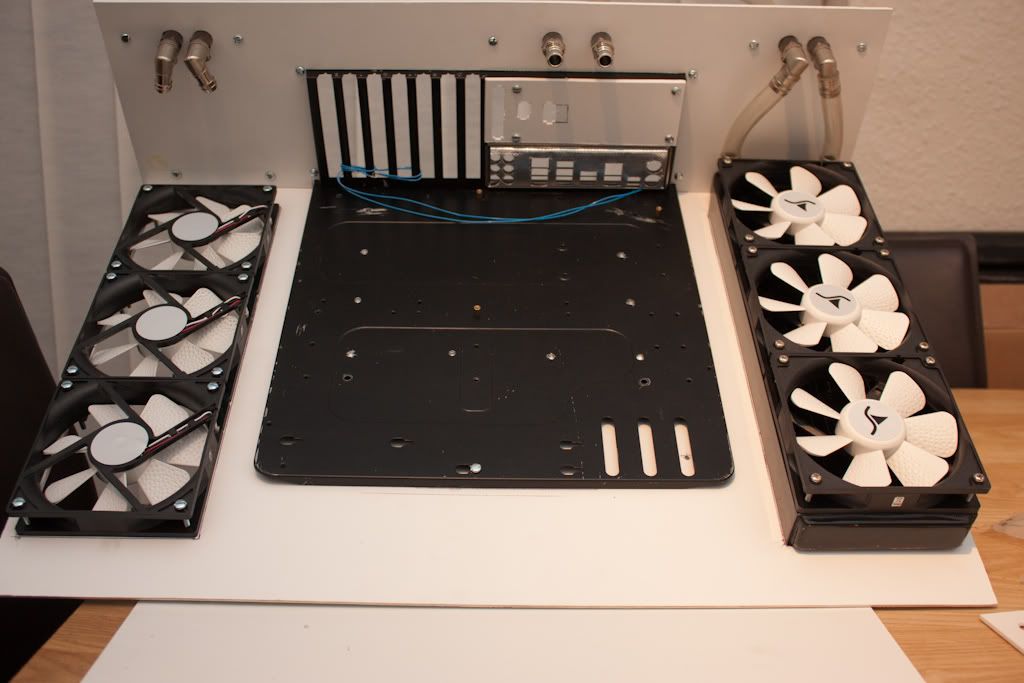
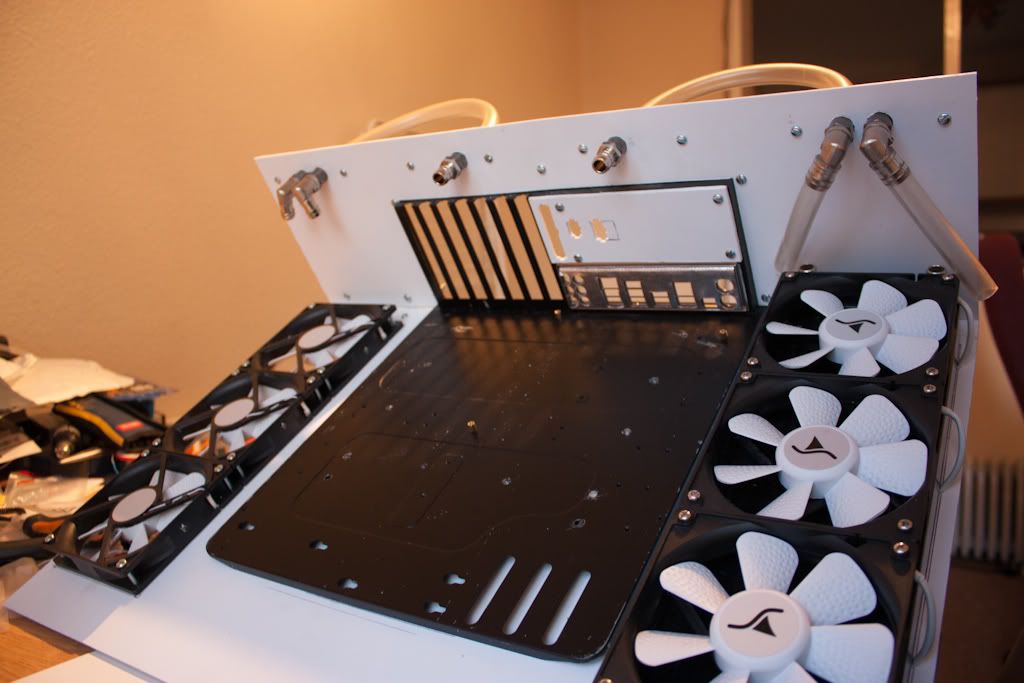
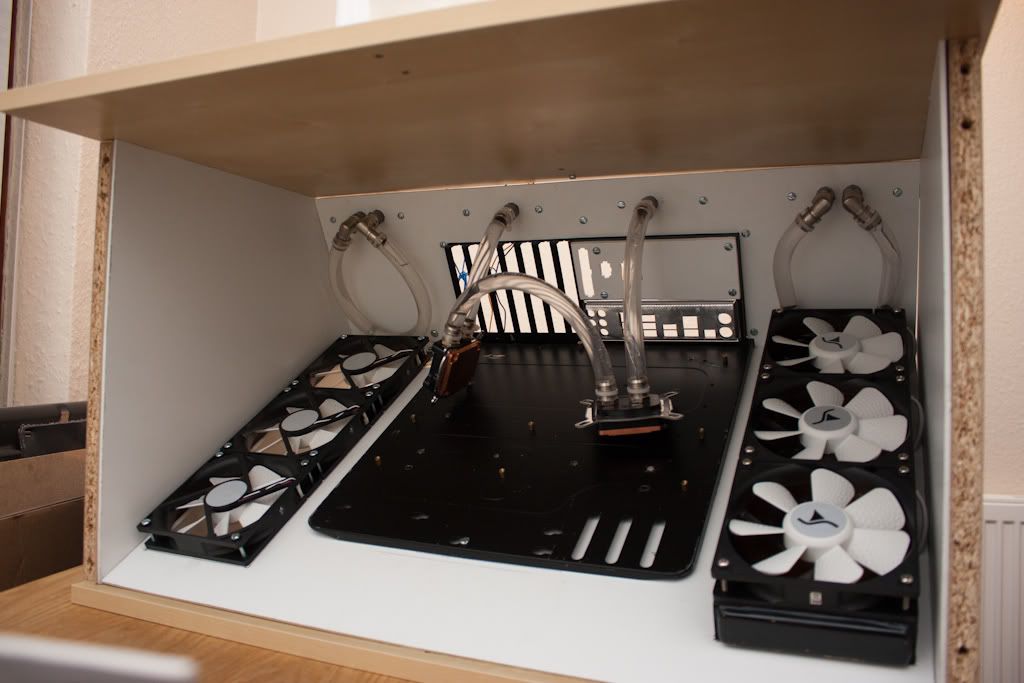
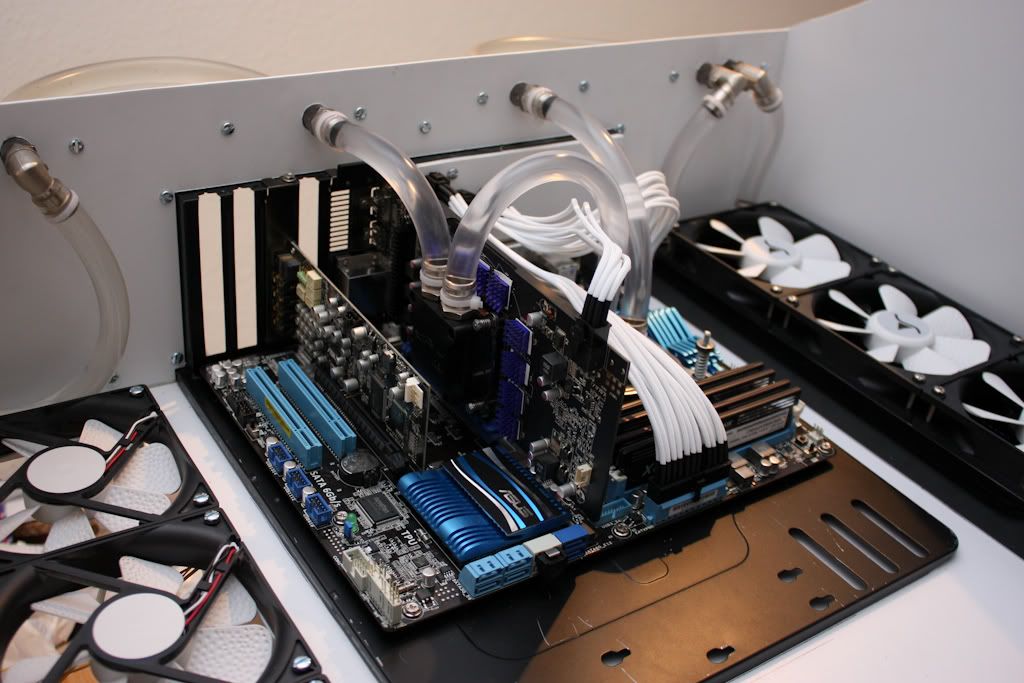
Next up, I attached the fans and the one radiator I've got.

IMG_3759.jpg

IMG_3761.jpg


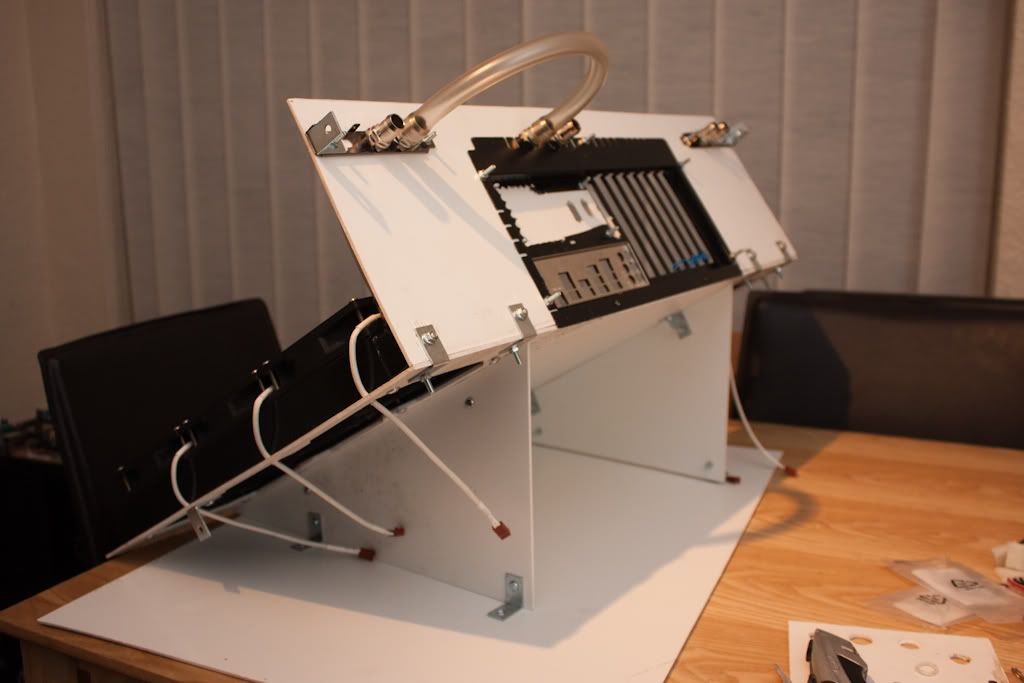
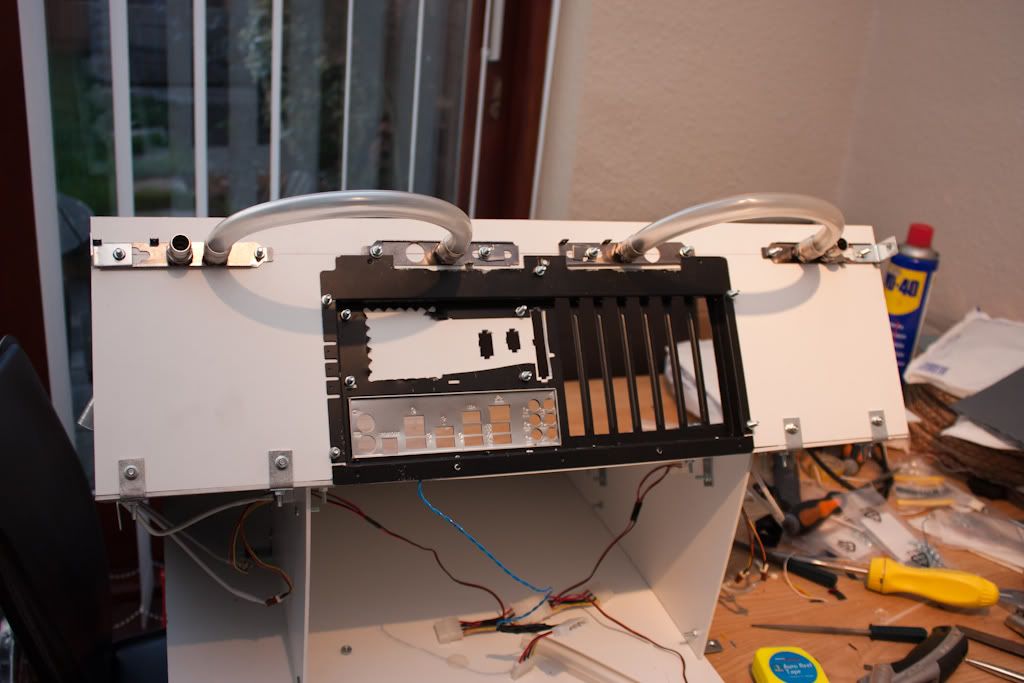
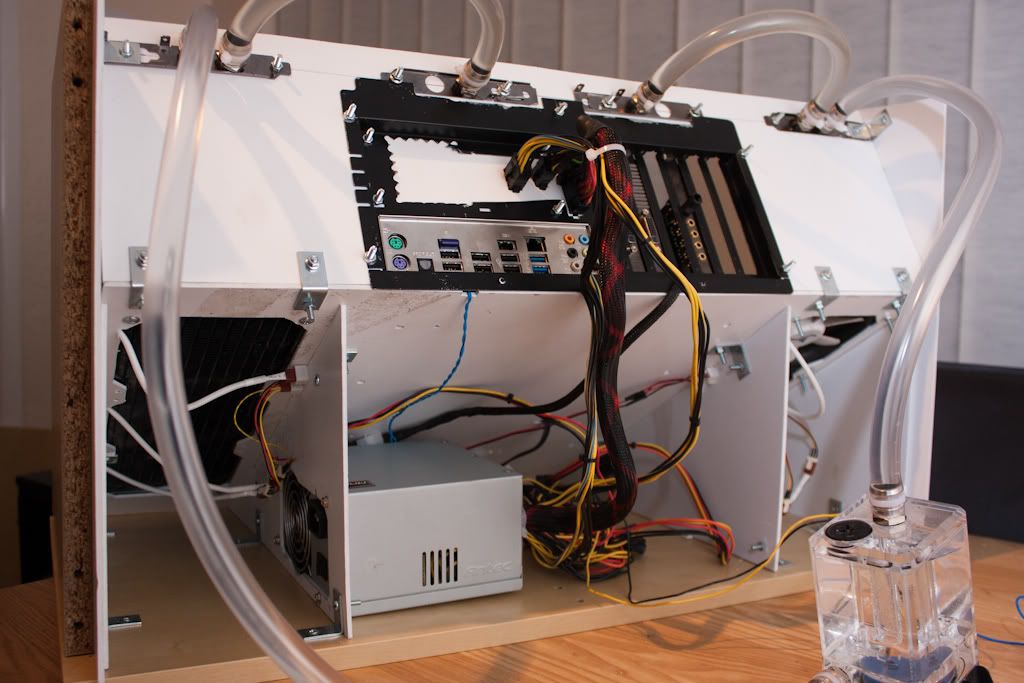
And made a start on some of the "not to be seen" pipework round the back - some more tubing is on it's way because I've not got any more long enough bits left over from my old case!

IMG_3760.jpg
 
Loving this build, always liked the idea of building in to a desk, but this is great because it actually puts everything on display at the same time.
 
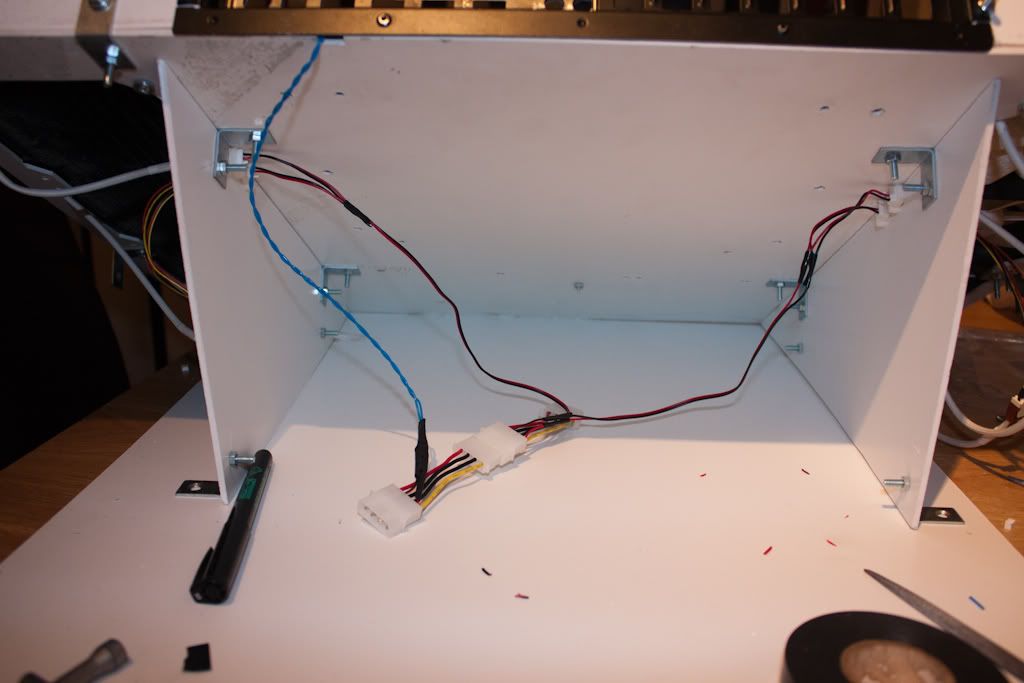
When I purchased my 2 additional Silent Eagle fans 2nd hand, they didn't come with the 4-pin molex to 3-pin cables, so I didn't have enough to plug in all 6 fans.

Therefore, I got myself a couple of 3-pin fan splitters, and wired up the power feeds to the 6 fans. I also finished wiring up the power for the LEDs under the motherboard to another 4-pin molex adapter.

IMG_3765.jpg

IMG_3766.jpg


I've got an Asus Xonar D2 sound card to go too, but this takes a floppy-style power connector. I've struggled to find a white braided power extension which will match the NZXT cables I've got for the motherboard and graphics card.

I did, however, have an old (dead) power supply knocking around, which had some black braiding on some of the cables, so I've butchered it to make myself a power cable for the sound card.


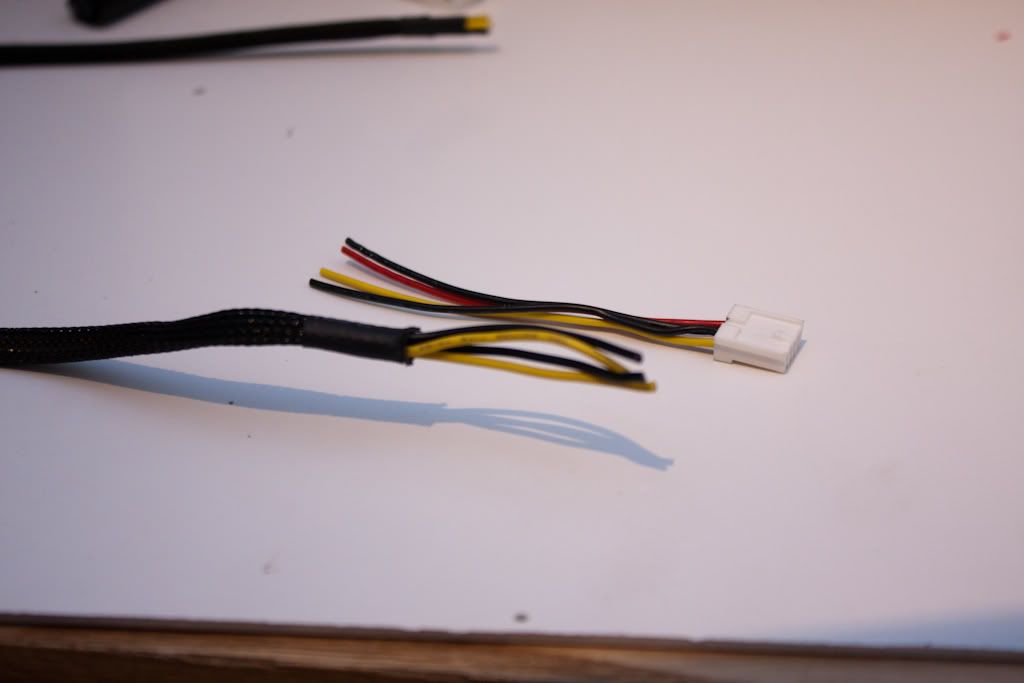
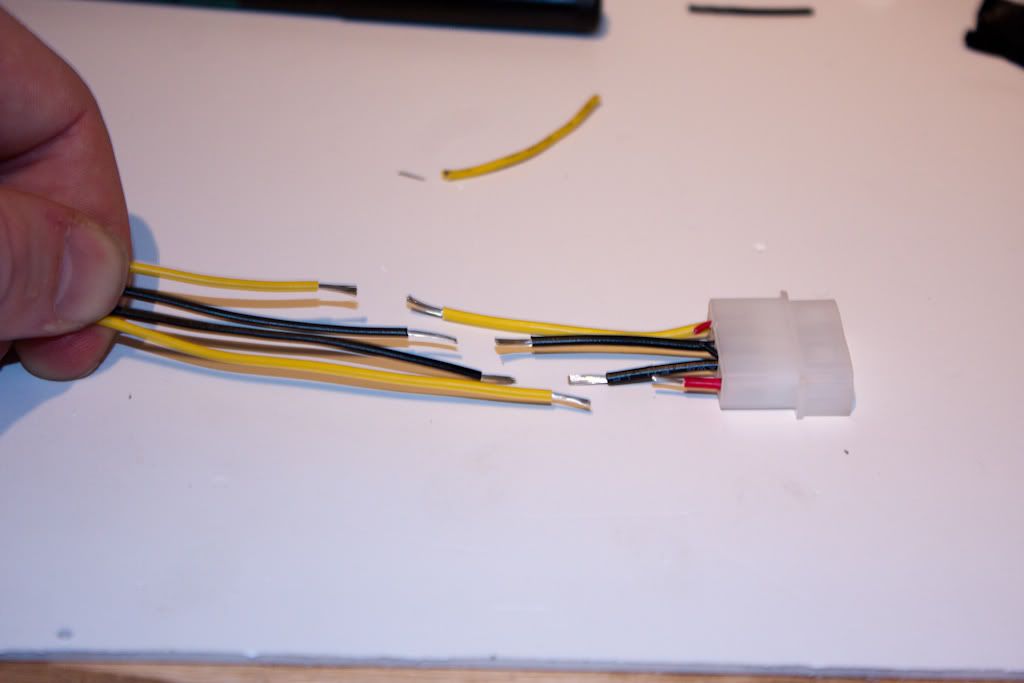
So... take two bits which require joining...

IMG_3767.jpg

IMG_3769.jpg


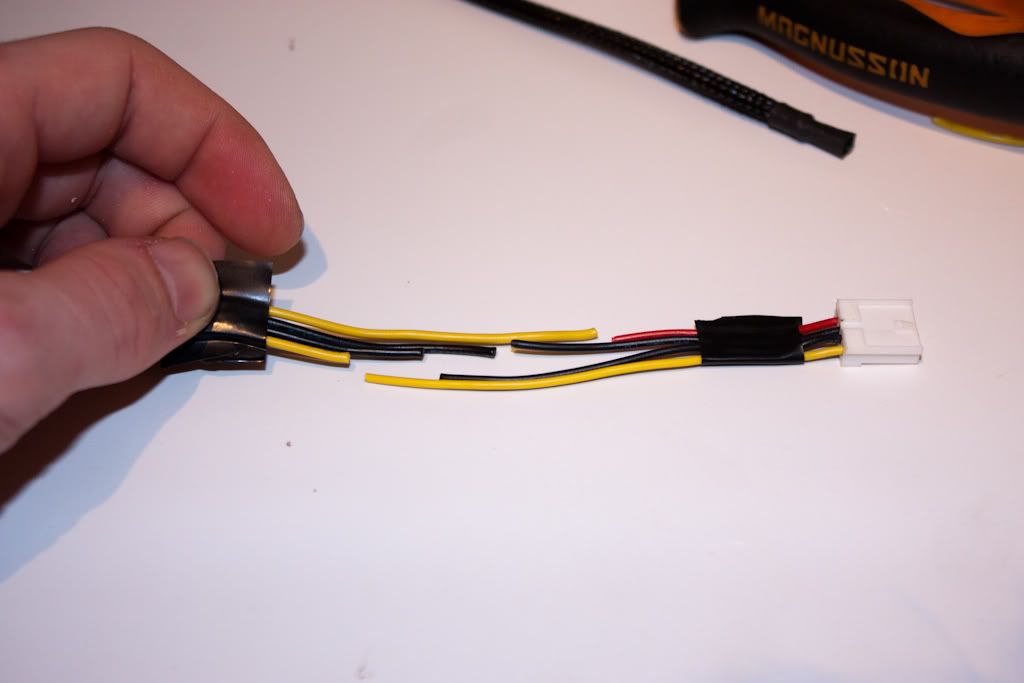
Cut down one set of cables to length...
IMG_3771.jpg


And do the equivalent on the other set...
IMG_3772.jpg

IMG_3773.jpg


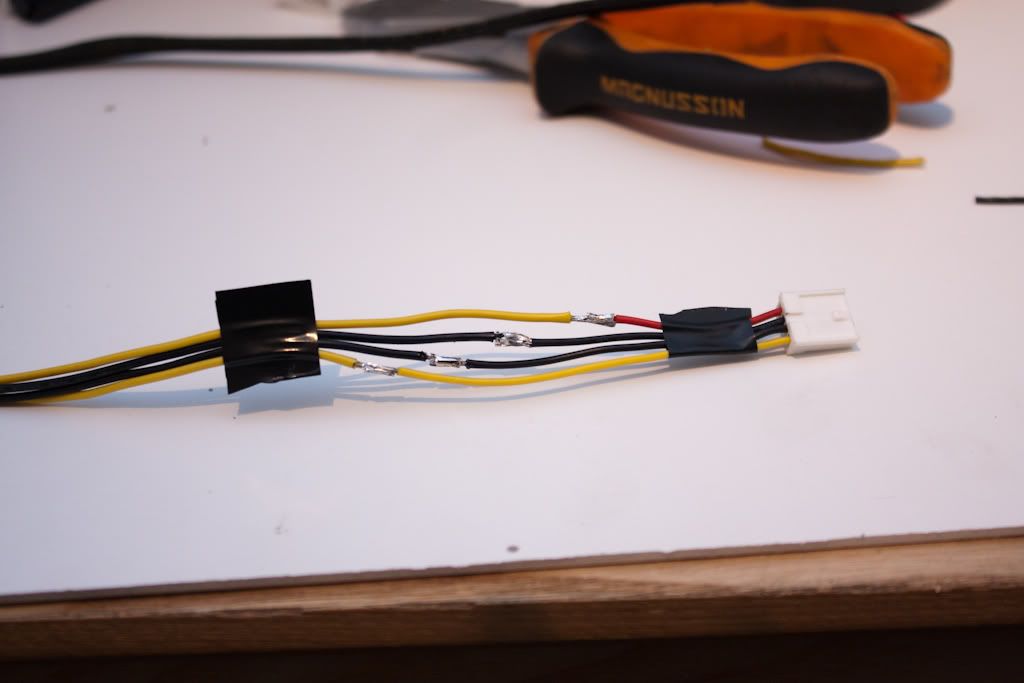
Solder together...
IMG_3774.jpg


Wrap with electrical tape (I didn't have any heatshrink available) - note that even now with the solder and tape, there's not a single large bulky bit - that's why the joins were staggered...
IMG_3775.jpg


Repeat for the other end of the cable...
IMG_3776.jpg


And one completed extension cable...
IMG_3778.jpg


That should do for now - until I can find one in white!
 
Wow this build it looking awesome, its a desk pc but different from the usual glass top desk style ones. Really looking forward to how this turns out.

Re the sound card power cable, I have couple feet of mdpc-x white braid left over from my build if you want it :)
 
No problem, trust me your address and I will get it posted asap, prob Monday as got to work tomorrow. Do you need any heat shrink with it? I can put some black in if you need it to match the pre braided ones you have already (though do have some white left over too if you want that instead)

haha just saw you already trusted me, it is left overs so don't worry about it :) Probably about 2 foot or so I have left over, just let me know how much you want / need and about the heat shrink and I will get it sorted out.
 
Last edited:
No updates for a few days, but I've not been slacking off!


I wasn't happy with the back panel, putting bits in & out over the last few days has highlighted that the bulkhead barbs being attached to the motherboard tray wasn't the best of ideas - so I decided to do it again, and I took that opportunity to spread out the barbs a bit more evenly.

IMG_3780.jpg

IMG_3781.jpg


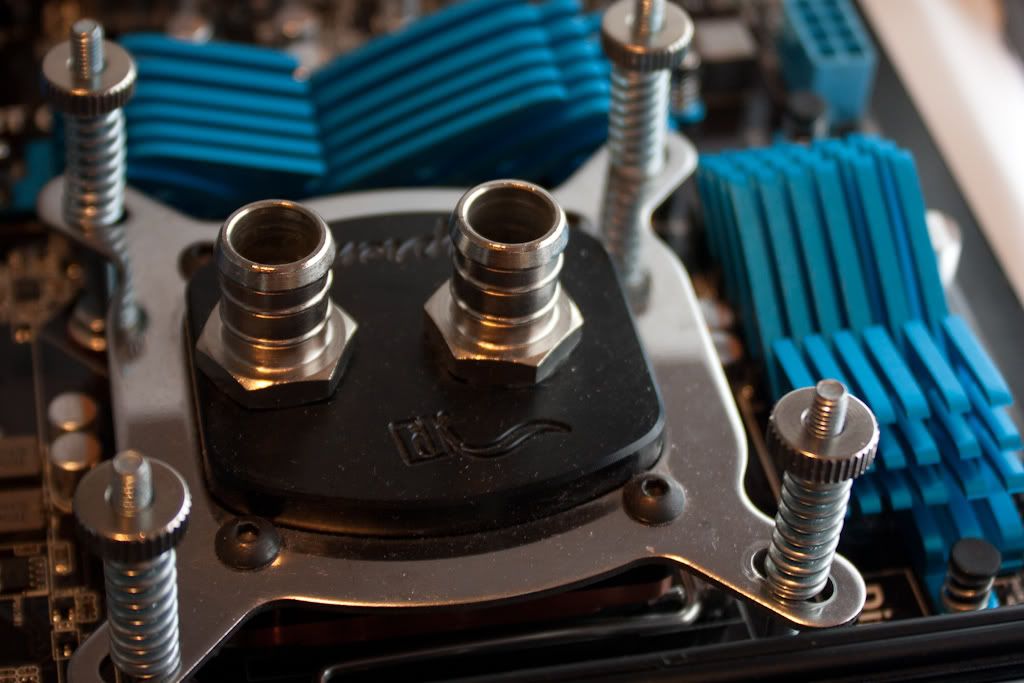
Next stage was to then begin connecting up the components again, so a couple of gratuitous shots of the graphics and processor blocks :)

IMG_3788.jpg

IMG_3789.jpg

IMG_3787.jpg


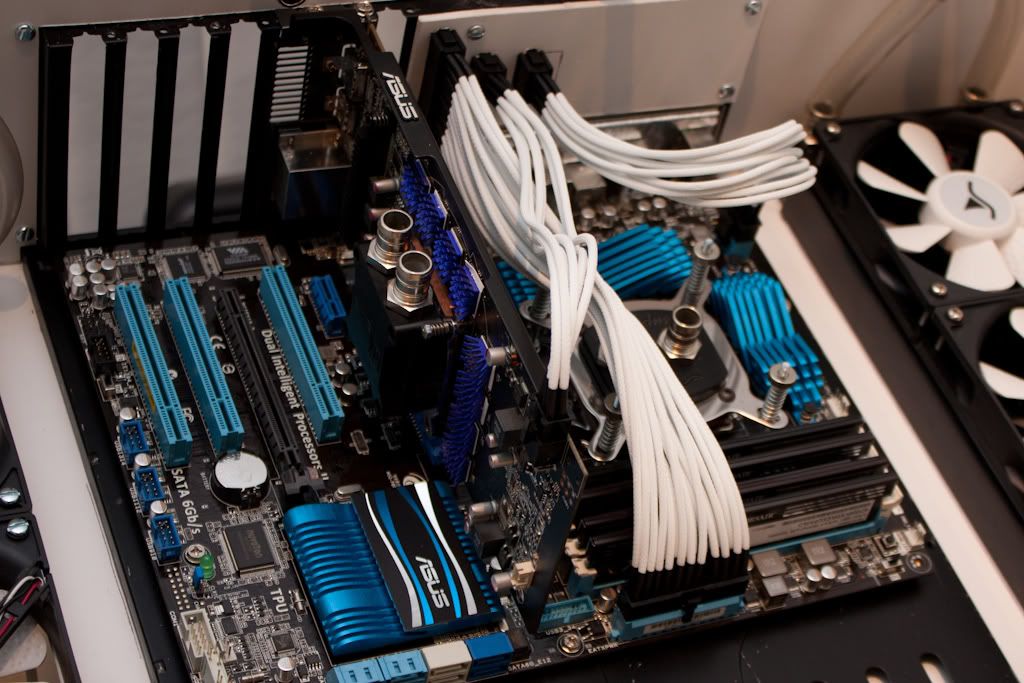
Next up, the power cables to the motherboard and graphics card.

IMG_3790.jpg

IMG_3791.jpg


Once those were in place, I could see where the tubing can run between the blocks and the bulkhead.

IMG_3796.jpg


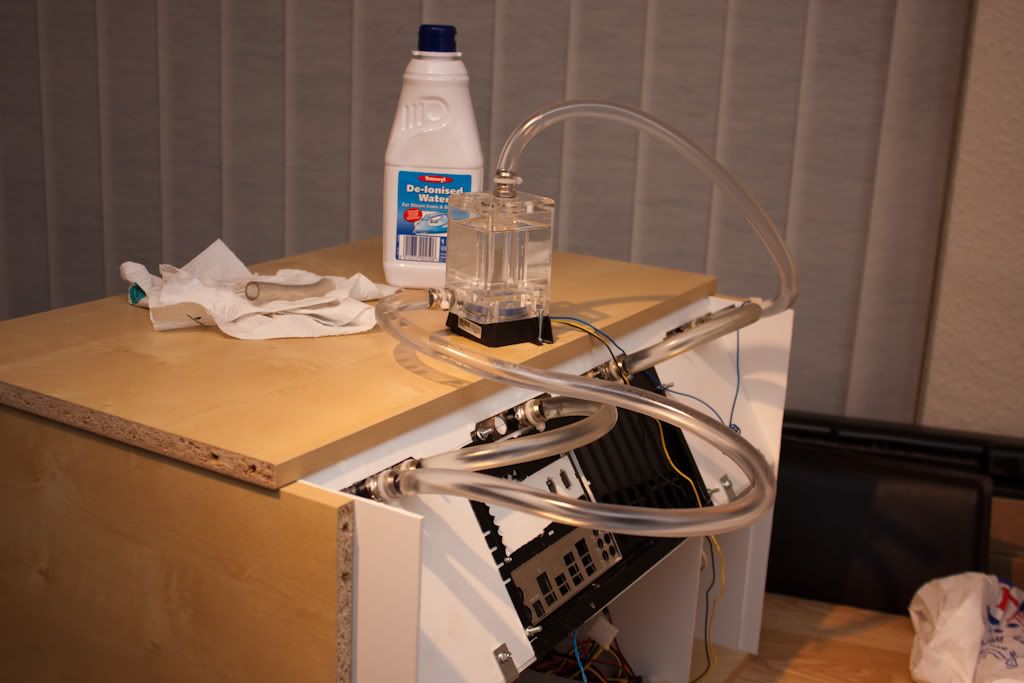
All the electrical bits were removed, and I began to fill the loop and leak test.

IMG_3797.jpg

IMG_3798.jpg


Just under 24 hours later, and not a drop leaking out, and no more bubbles of air flowing around the loop, I was ready to put the electric bits back in place!

IMG_3805.jpg


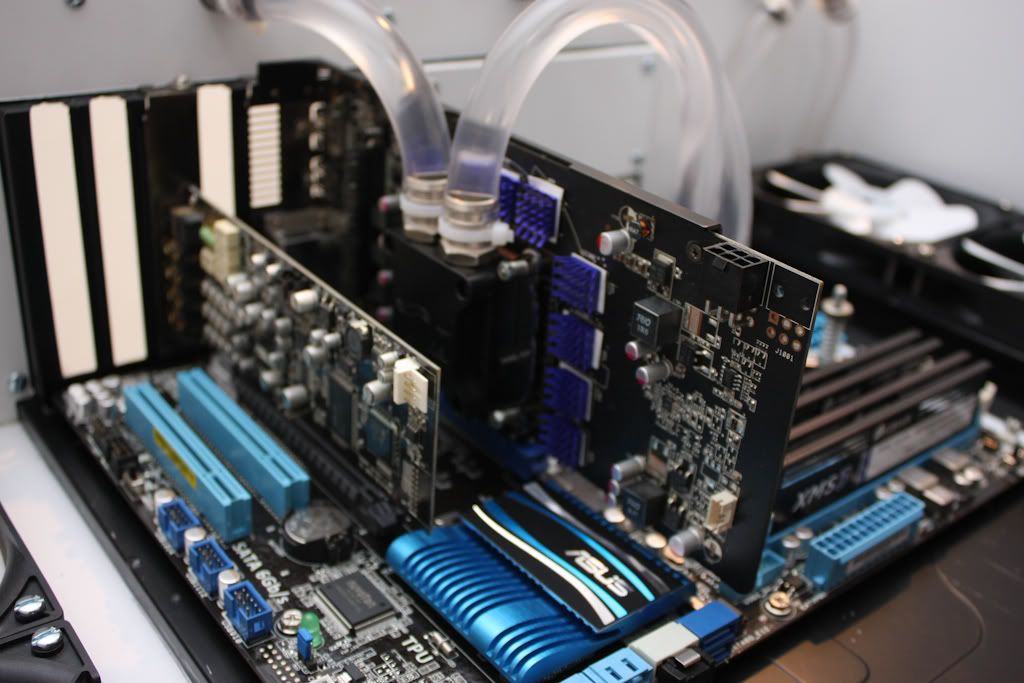
Here's my Asus Xonar DX sound card that was in my HTPC - I've swapped it out with the D2X I was going to put in this - the DX is smaller, so doesn't hide the graphics card as much - I thought that would be a bad thing to have it in the way blocking airflow to the heatsinks on the graphics card memory.

IMG_3806.jpg

IMG_3807.jpg


Wires back in place, and next up was finding a way of mounting the power supply.

IMG_3811.jpg


The wires are untidy, unfortunately I've not got one of those lovely modular power supplies, so I've got to have every cable, rather than just the ones I need!


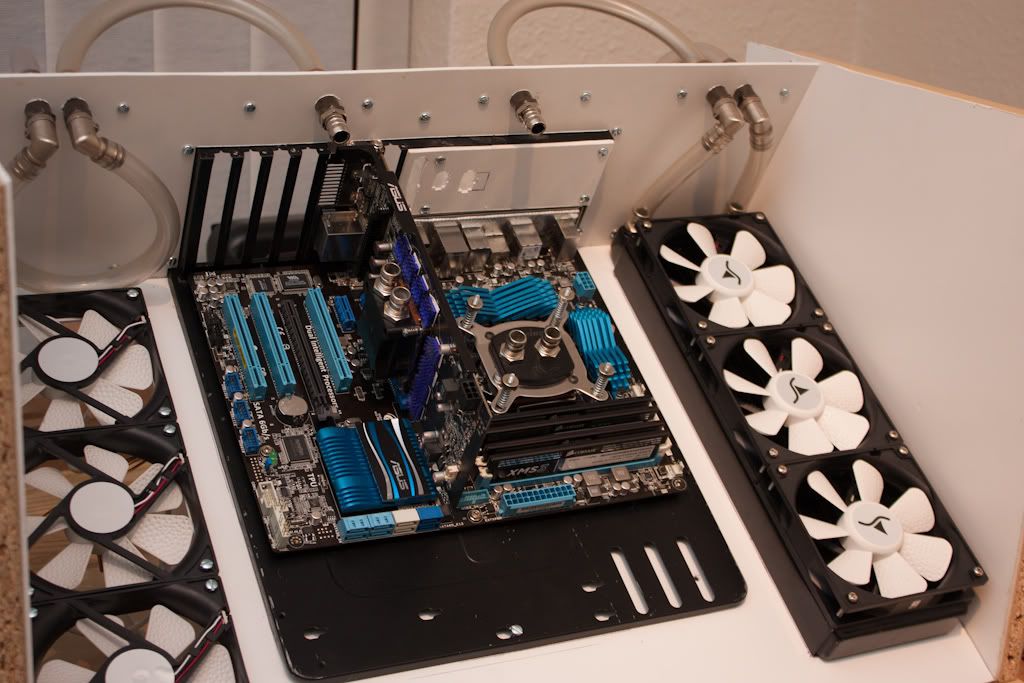
Finally, it went into it's location, and it's currently up and running, and allowed me to type up this update using it.

IMG_3829.jpg


I'm getting a bit of a breeze from those fans on the left because there's no front panel to direct the airflow at the moment, but other than that, I'm happy with how it's turning out! :)
 
Back
Top Bottom