MrSix said:They look like pretty good welds, A little large, but at least they'll be strong!
Thats what flap disks were invented for
")
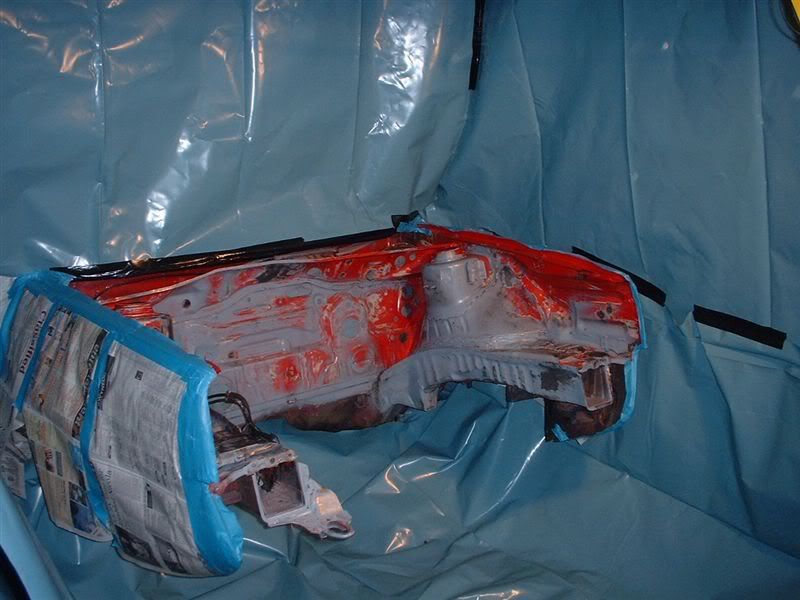
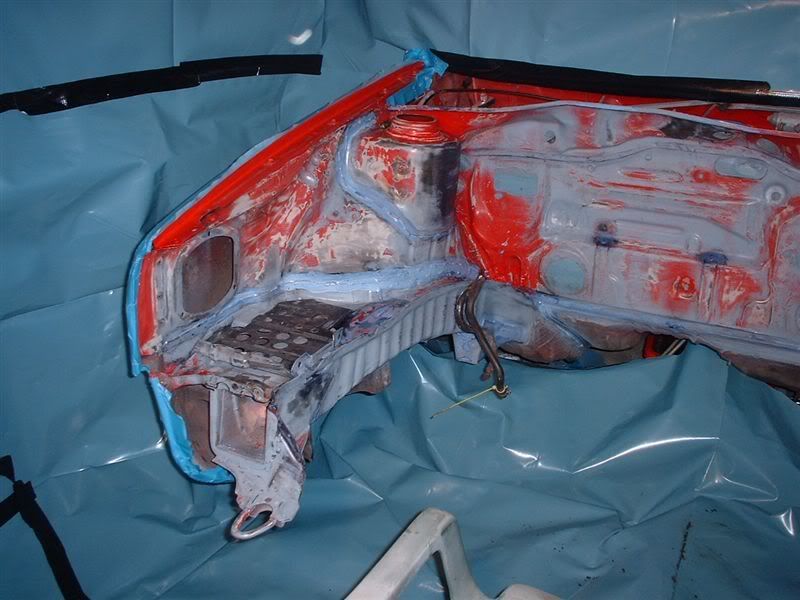
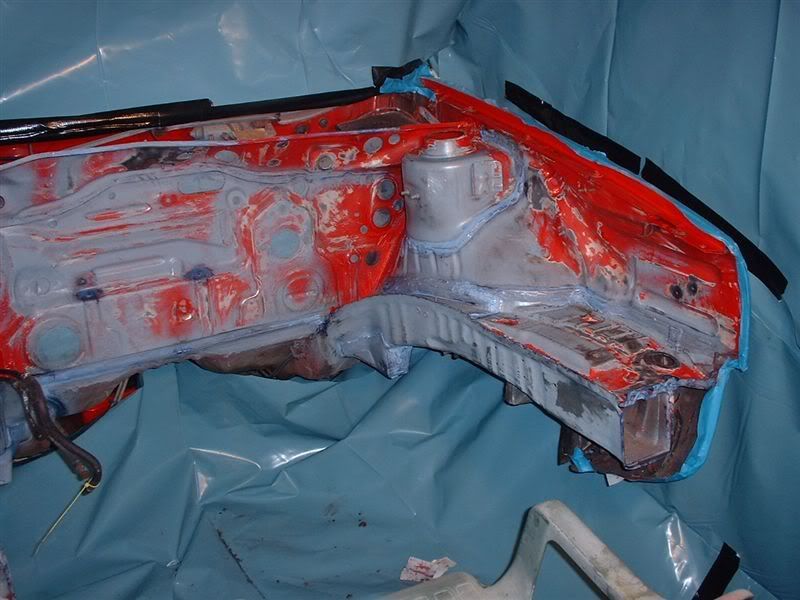
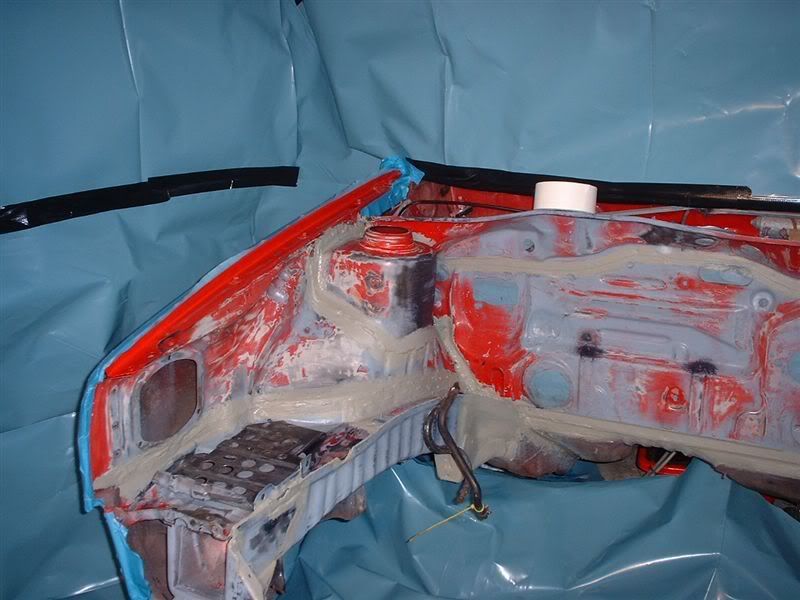
Tonights update
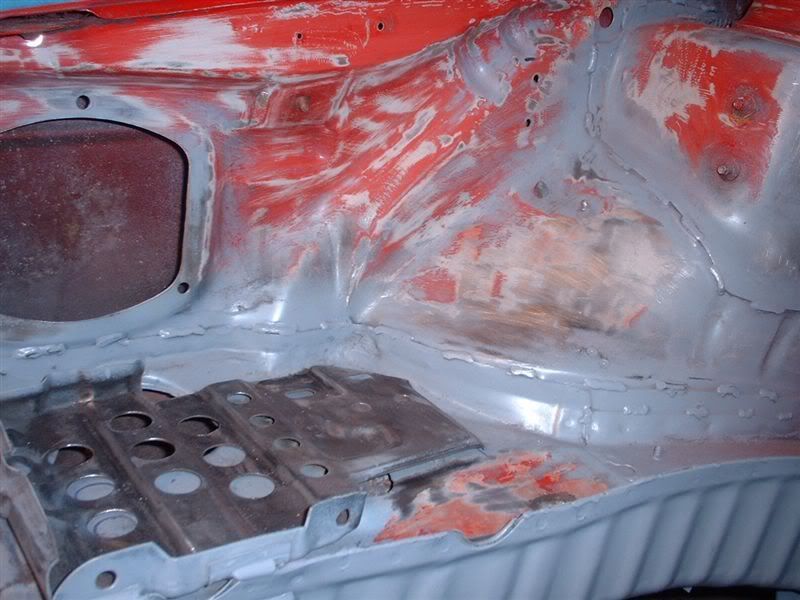
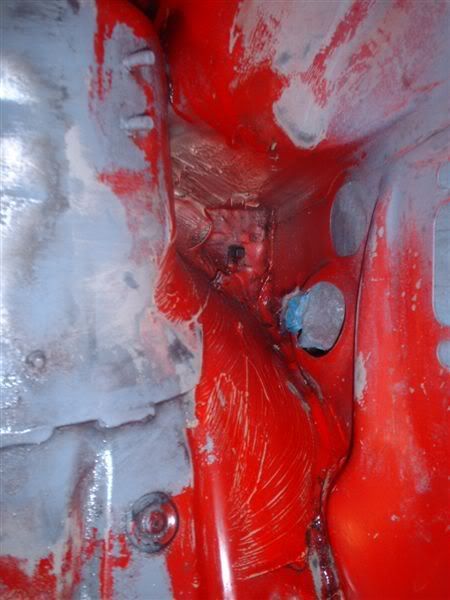
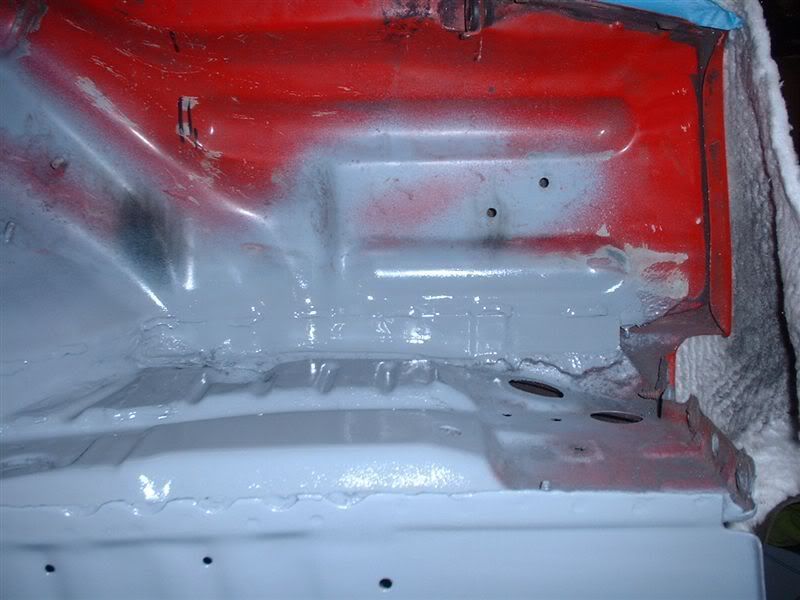
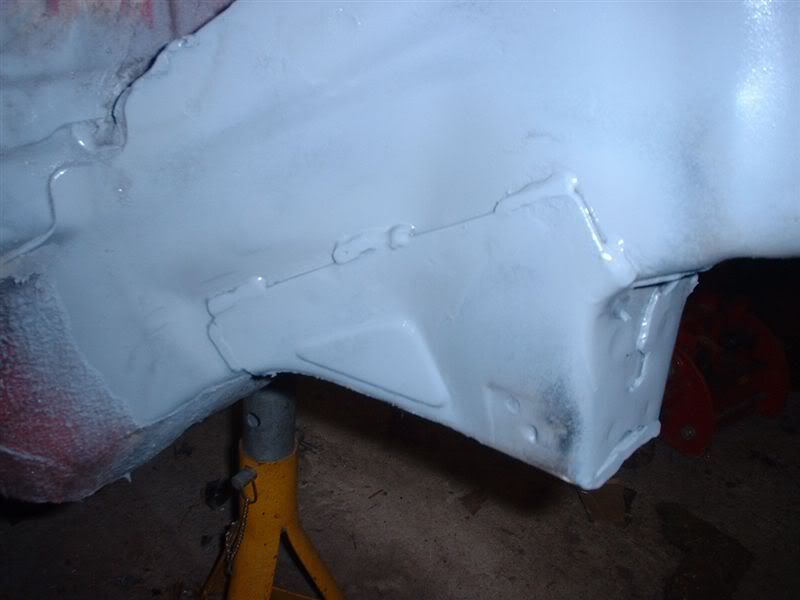
Welds dressed and covered in a *very* good coat of primer to ensure it ran into the seams for protection. All this will be covered in seam sealer once everything is rubbed down.
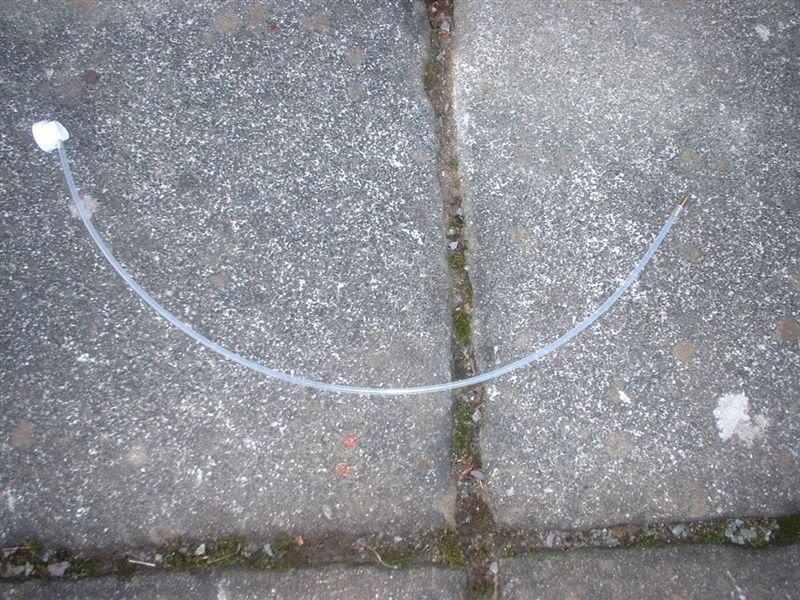
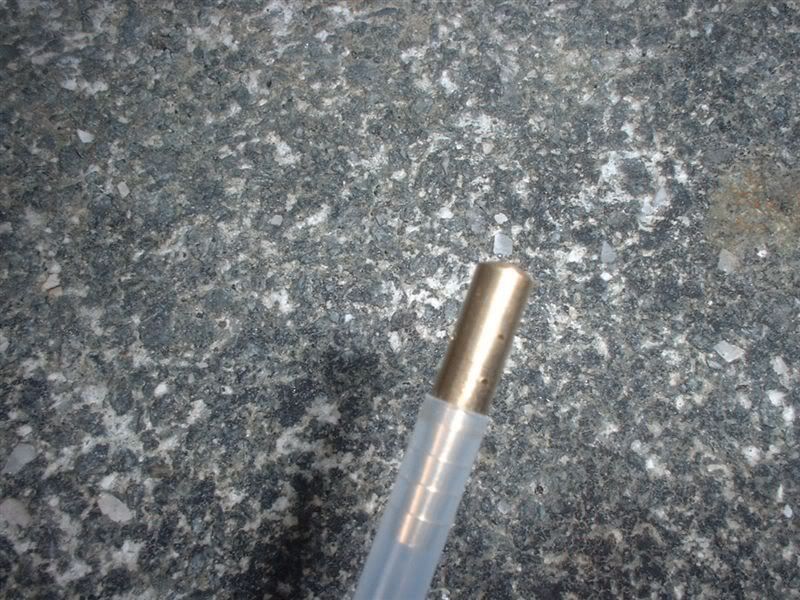
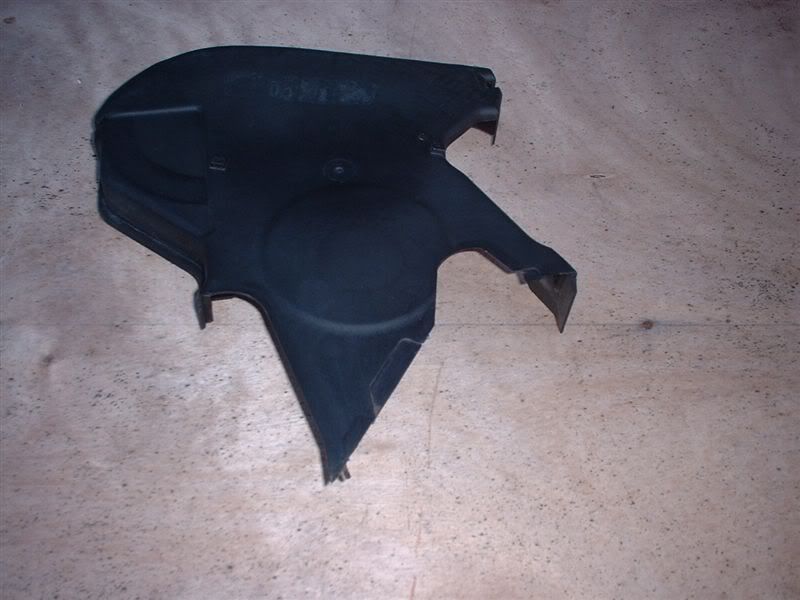
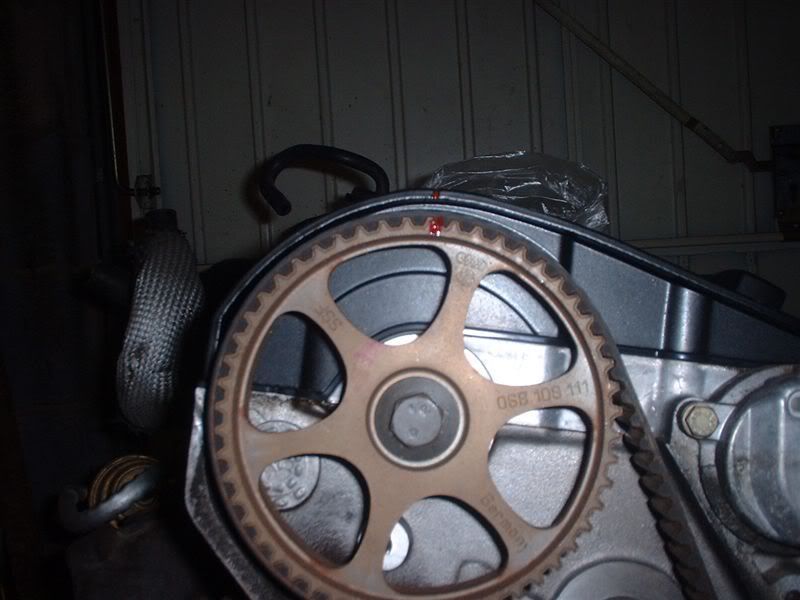
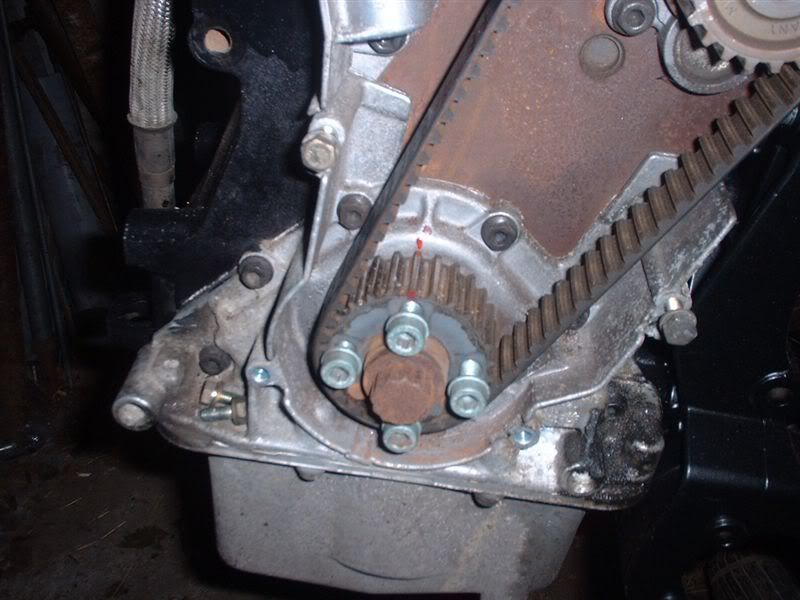
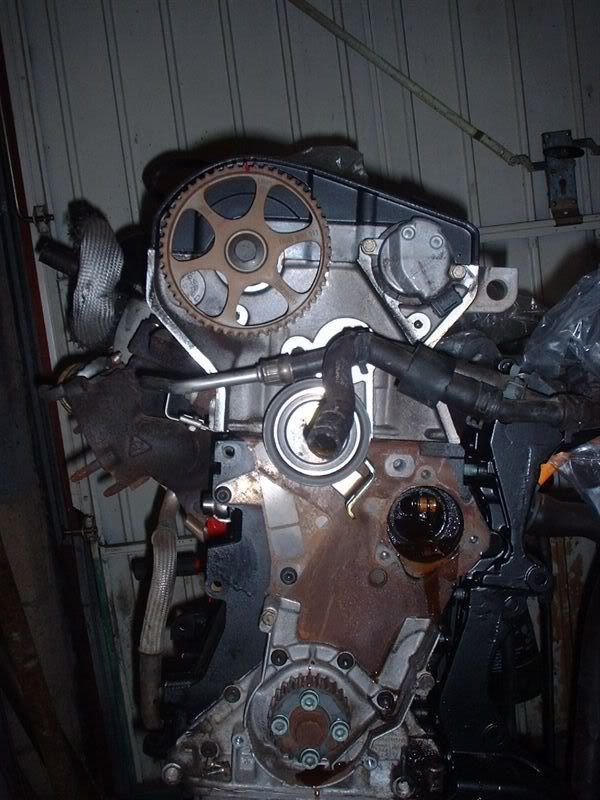
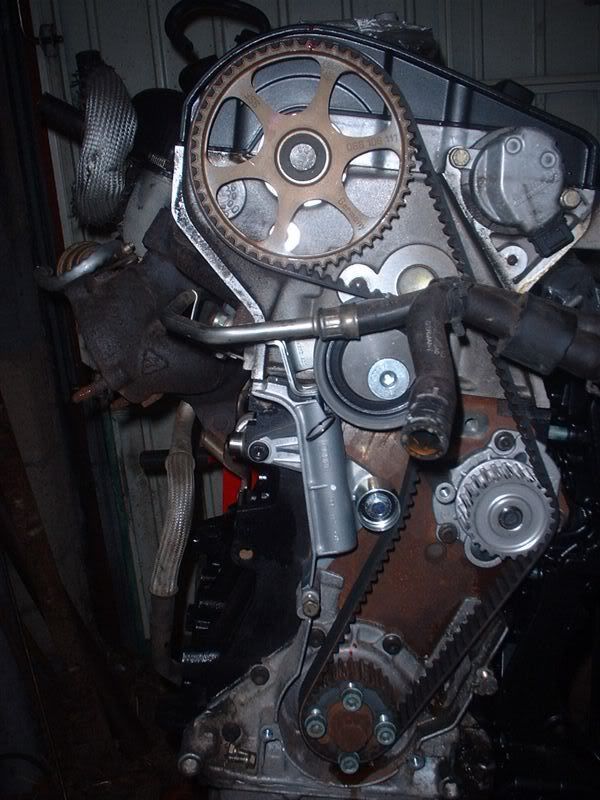
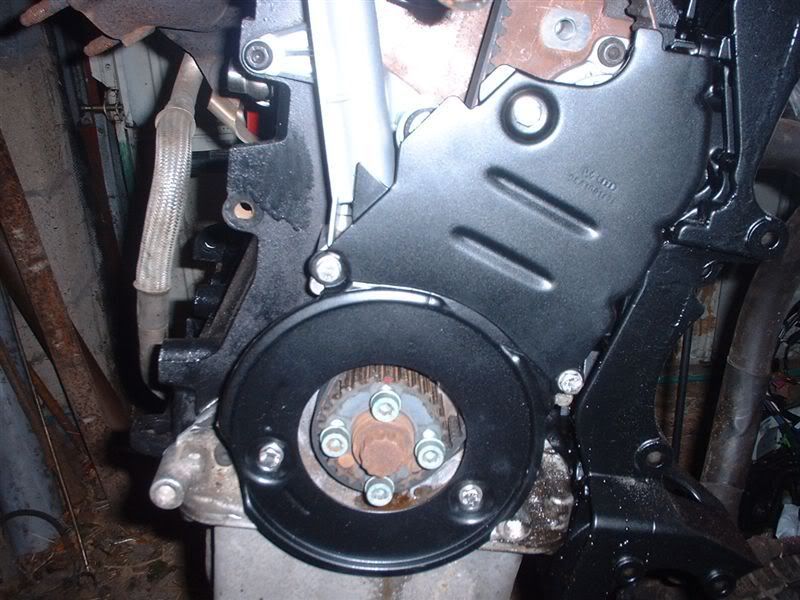
Then I started on the cambelt on the Leon engine
Marked the top and bottom timing marks

")