My Golf Project

  • Thread starter Thread starter L1J
  • Start date Start date
Vinyl paint is good :D

Quick lunchtime update

Cleaned lots of bits this morning, all the trim, bumpers, interior plastics, steering rack etc

Few pics

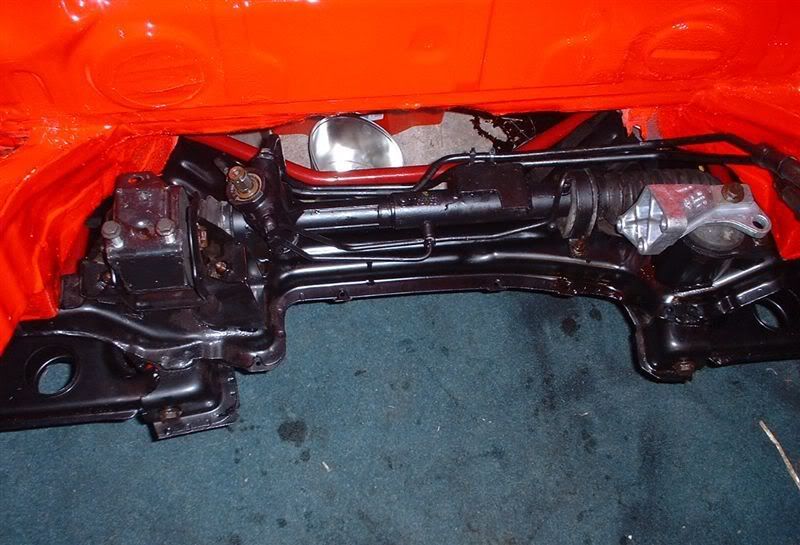
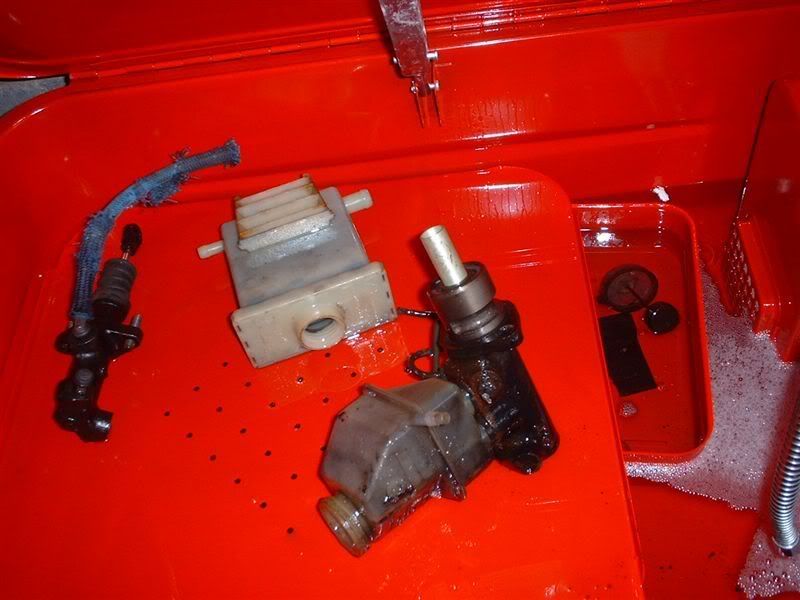
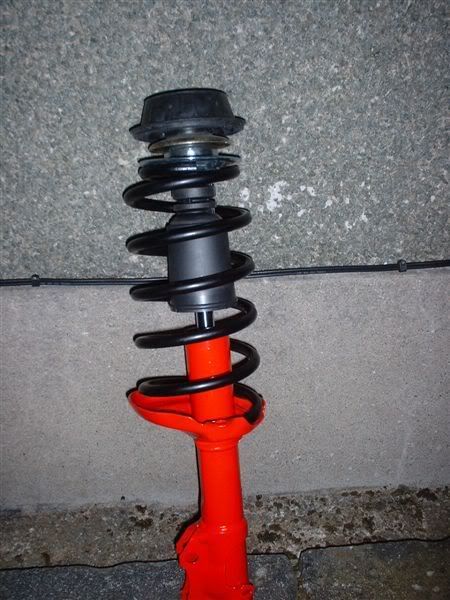
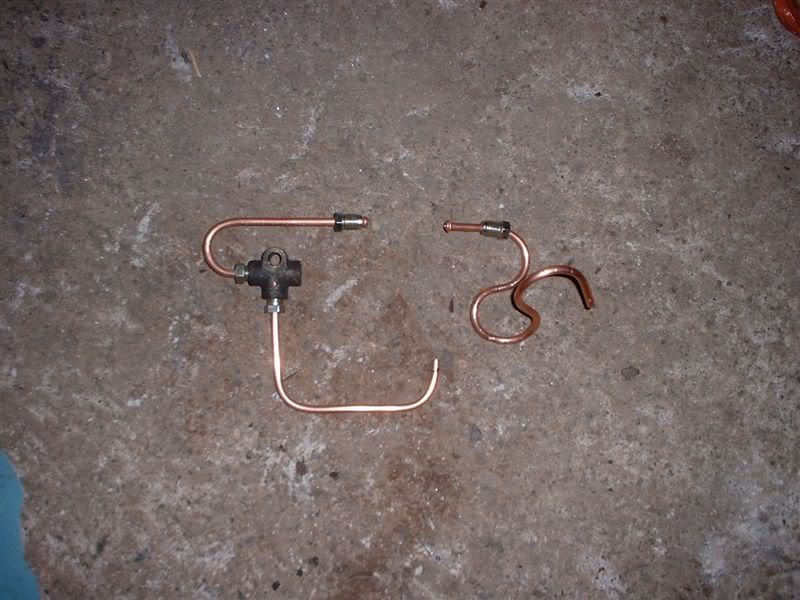
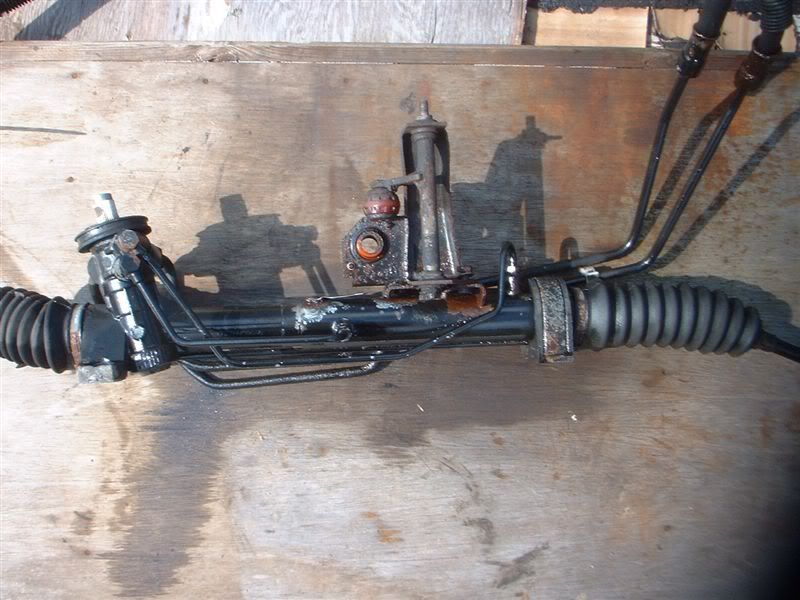
Steering rack, which will be painted later on

DSCF0376.jpg


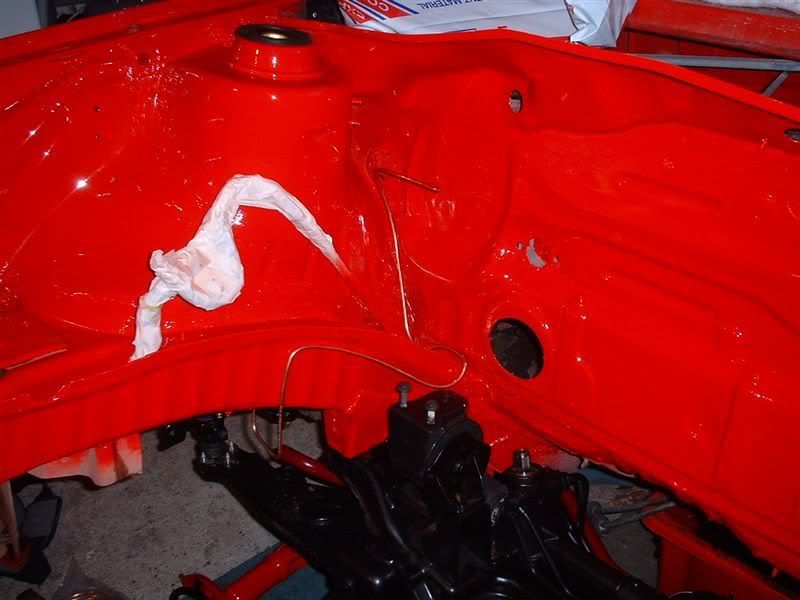
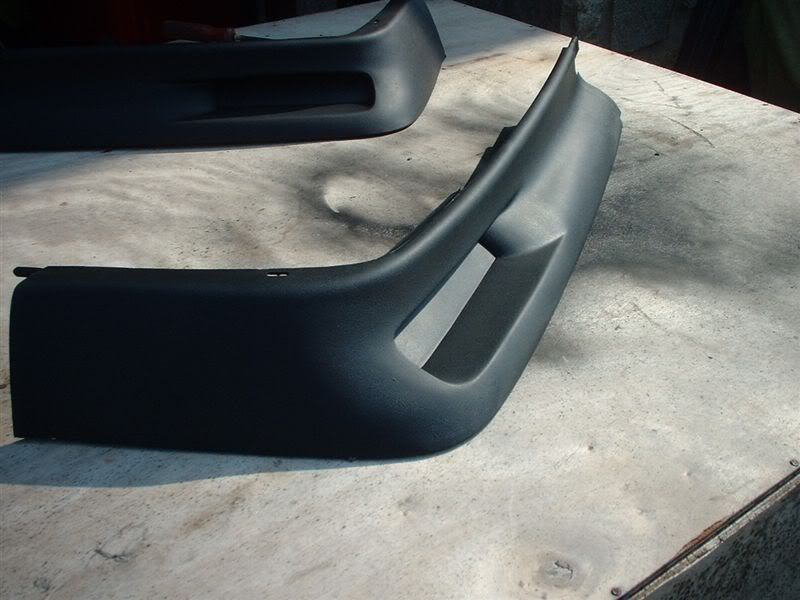
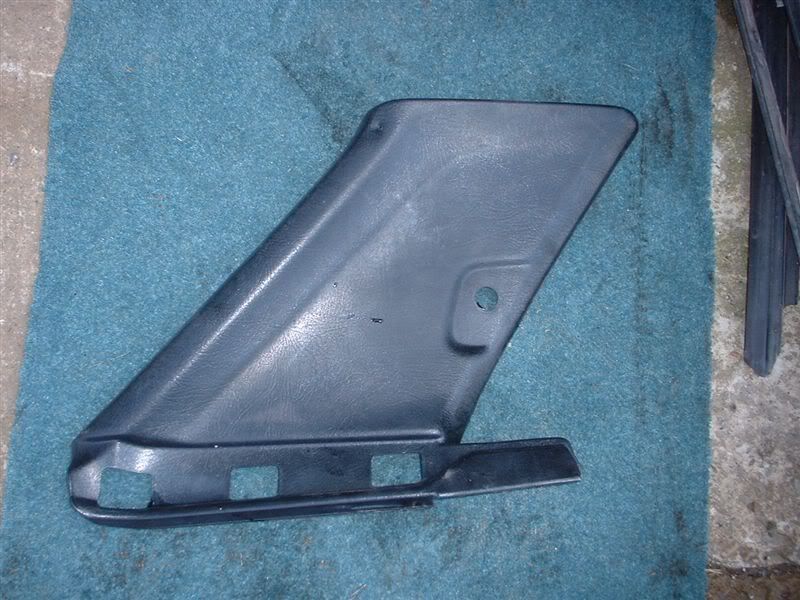
Interior panels, need a clean with panel wipe now and then a coat of vinyl paint

DSCF0377.jpg


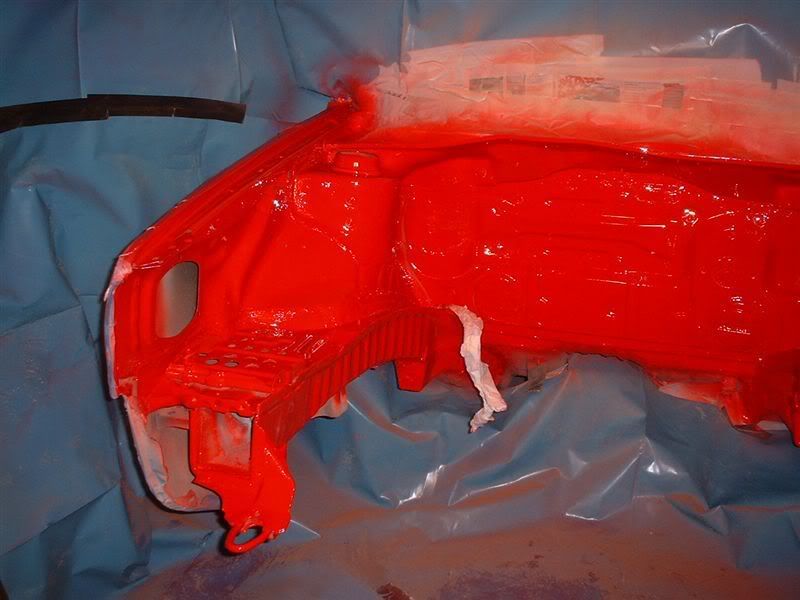
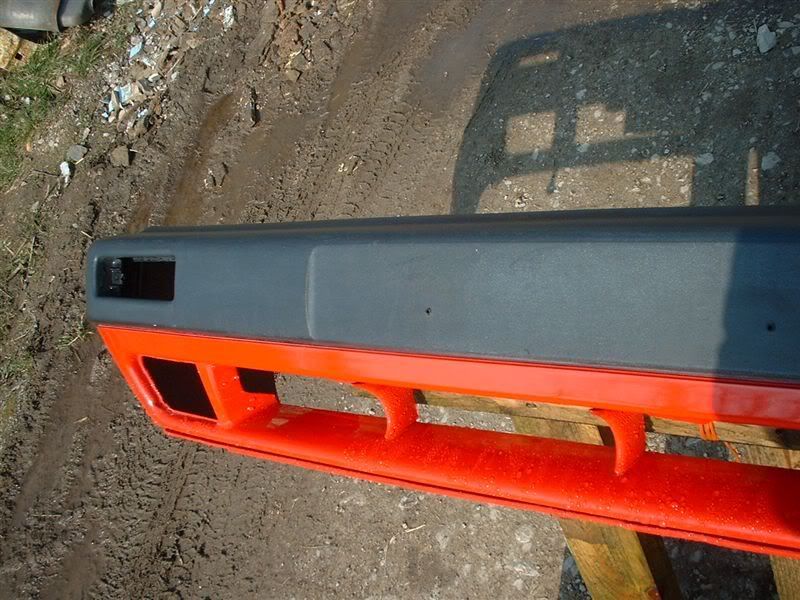
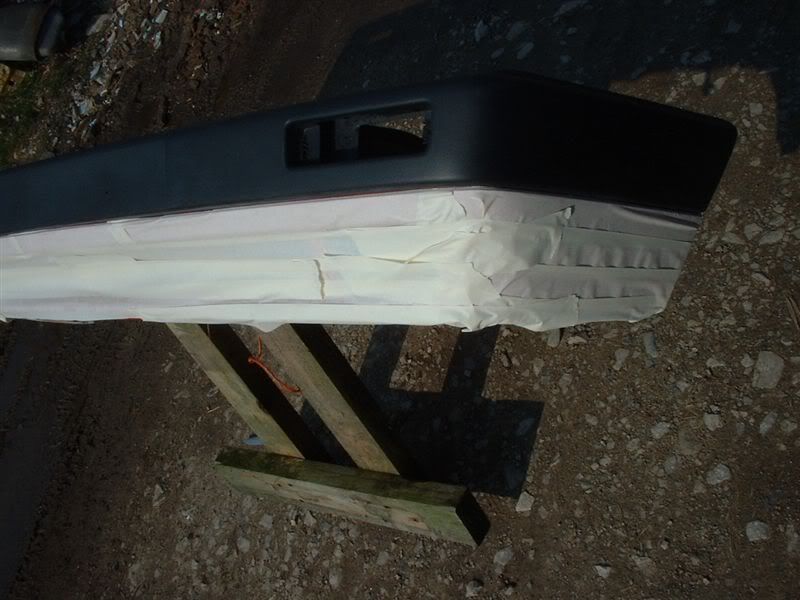
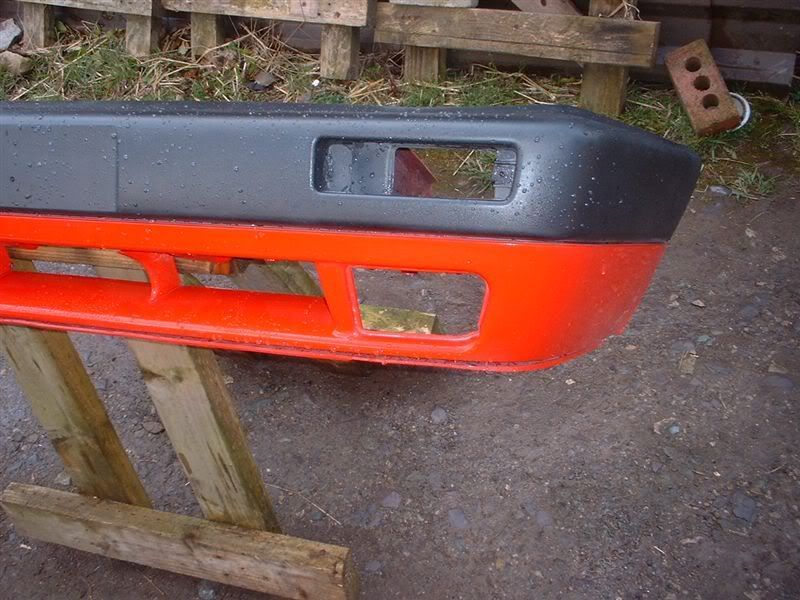
Front bumper, looks like the plastic has been treated with something before

DSCF0378.jpg


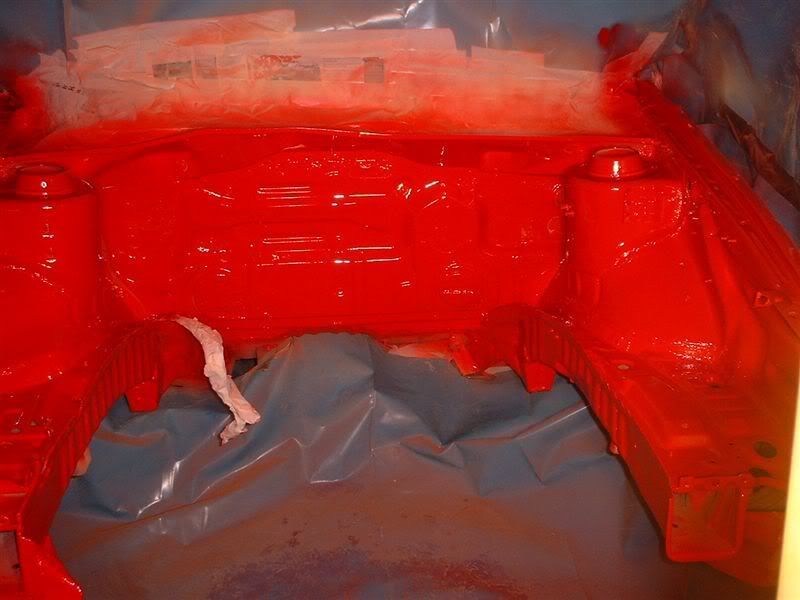
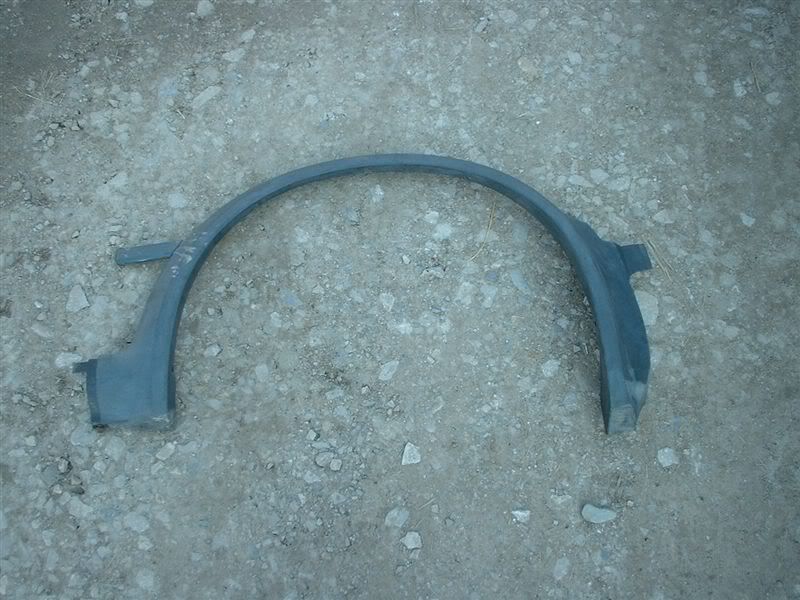
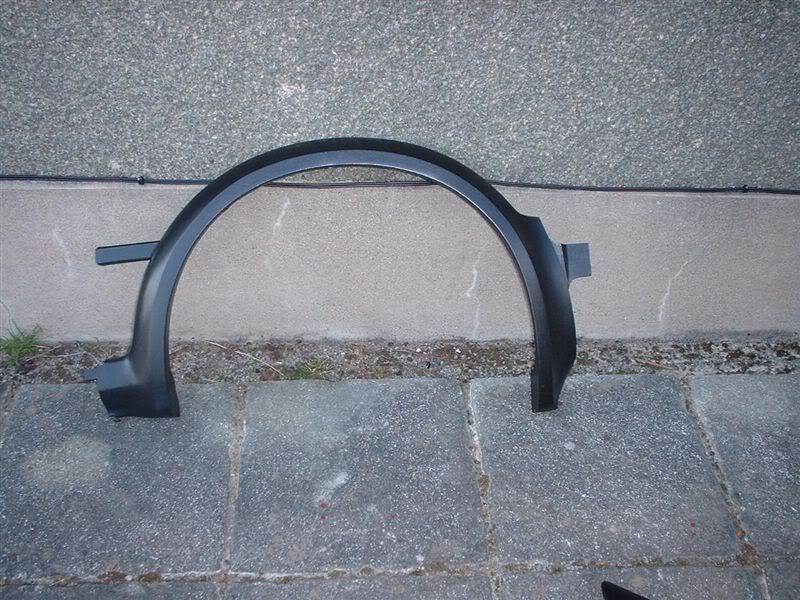
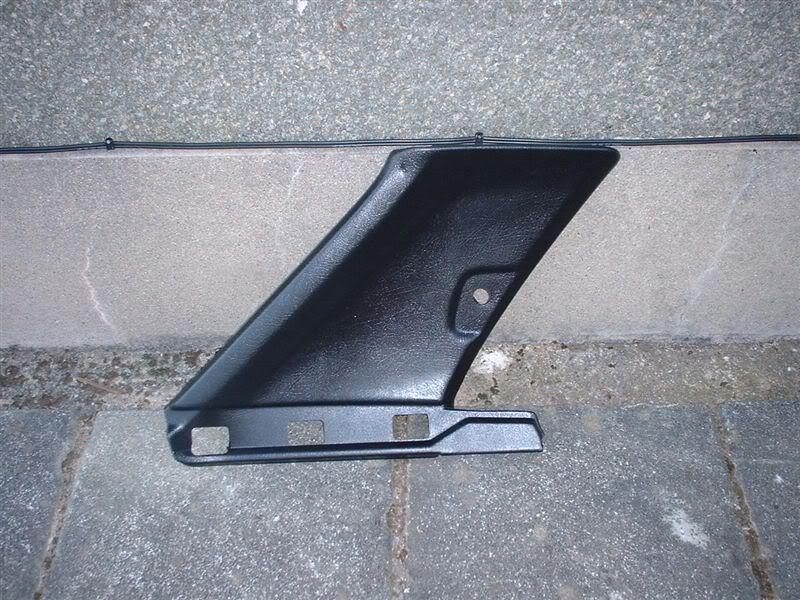
Plastic wheel arch before, an after shot to follow tonight

DSCF0372.jpg
 
tonyyeb said:
Plenty of time for the Project then! Nice one! Are you married?

Just come out of a long term relationship, my mates are calling the golf therapy ;)

TripleT said:
Interested?

I know it's a good project but it's not THAT good is it?!

LMAO :D

After shot of an arch

DSCF0382.jpg


Interior panel

DSCF0383.jpg


Both done with Vinyl Paint

Just heard a scooby pull up outside, painters here :) more updates later!
 
Captain Kirk said:
You don't work in Welwyn Garden City by any chance? The guys in the factory at my place work 4 on 4 off, very jealous!

No, I'm based in North Wales!

Jonny ///M said:
Looking at they pictures would flexible vinyl pain work on faided black bump strips? My dads look grey on one side and more black on the other(parked on a hill with one side in the shade)

It should work on any plastic.

Update:

I have a smile about six foot wide on my face :D

It looks so much better with paint, really feel it coming along well now and that the past weeks work has been worth it.

Amazing sense of achievement and satisfaction :D

Before pics

DSCF0384.jpg


DSCF0385.jpg


DSCF0386.jpg
 
After :D:D

DSCF0387.jpg


DSCF0388.jpg


DSCF0389.jpg


If there wasn't a post limit on smilies this line would be full of them!

A BIG thanks to Alan for spraying it, top coat coming soon.
 
Some parts that were collected or delivered this morning

Brake pipes and fittings

DSCF0390.jpg


Brake pipe flaring tool

DSCF0393.jpg


Turbo gaskets, studs etc

DSCF0394.jpg


As I'm going to be running standard springs I thought some uprated anti roll bars would be a good idea.

Eibach kit

DSCF0391.jpg


Track rod ends, new front bump stops, thermostat, oil filter and steering rack boots

DSCF0392.jpg


To do list for today:
Replace Golf steering arms with the Passat items
Clean and paint rack
Play with flaring tool!
Construct a relayed headlight wiring loom
 
begbo said:
OMG, I so would love a beast like that looks awsome. What power you plan to be running. Standard springs, why after so much work?

Power target is about 210 BHP with similar torque

Standard springs should deal better with our roads up here, its being built to be used. The ARB should reduce the body roll when cornering and the suspension should be able to do its primary job of absorbing bumps and keeping the wheels on the tarmac!

If I'm not happy with the setup its an easy job to change everything.

I want it to be fast, not feel fast because it has hard suspension that throws you all over the road :)
 
timbob said:
Excellent! Building a car to be used properly on the roads it should be used on! What's happening with the dampers, using Bilstein OEM spec ones?

Shocks will be Koni top adjustables, so damping should be good :)

Spent most of this afternoon building a relayed headlight system. The Golfs standard lighting is terrible with a volt drop of 2V from the battery to the bulb terminal. Im going to be running thicker wires to each lamp, minimising this volt drop. For reliability each lamp will get its own relay. Normally on a golf when you switch on main beam, dip switches itself off. I wanted both to stay on when main beam was selected so I'm using 4 diodes.

Started by wiring one side (dip, main beam, spotlight)

DSCF0396.jpg


Nearly finished, needs some soldering, heat shrink and cutting the alloy plate down to finish. Black cables are supply to the relays, red are feeds to the lamps.

DSCF0398.jpg


Close up of the relays and diodes

DSCF0399.jpg
 
Lopéz said:
Very neat loomage there Mr Jones. You can do one for the Supra when you get a spare 10 minutes.

10 minutes :p

Suprise update, dont think any of you will be expecting this one tonight :D

It's been painted under the bonnet!

DSCF0405.jpg


DSCF0406.jpg


DSCF0404.jpg


Again a HUGE thanks to Alan for the paint work.

I can start putting it all back together Thursday.
 
andybtsn said:
Amazing project, dont suppose you'd be interested in this becoming something of an article for a mag? Nothing professional but could become so, its for my girlfriends journalism degree.

Send me an email with some details about what she wants etc jonesol1{at}hotmail.com

Thanks for all the support guys, it's great to see it all coming together at last :D
 
hominid said:
Just one thing really, will the paint be sufficiently hardened after only a couple of days? I would take it very carefully as it'll most likely be very delicate for a couple of weeks, especially if you haven't had it in an oven.

Paint should be ok, will mask some potential contact areas with cardboard before putting everything in gently... :D
 
Todays update:

Had some help tonight so managed to do quite a bit.

Rear sub frame, painted steering rack, uprated ARB, engine mounts and wishbones in place

DSCF0409.jpg


DSCF0410.jpg


DSCF0407.jpg


Chassis legs sprayed with Dynax Wax, every crevice we found was given a good spray

DSCF0411.jpg


Big thanks to Bob for the help :)
 
mark66 said:
Excellent! Must be a good feeling starting to put stuff back in now! Amazing what a bit of paint can do, even the steering rack looks great :D

Each night when I check my OcUK mail folder I am chuffed to see more updates from you with yet more photo's for us to see, keep up the great work, we are all really enjoying seeing this car come together for you!

It feels really good putting stuff back together :)

Realised about 30 minutes ago I needed to paint the hubs before pressing them into the bearings tomorrow. So a dash to the garage for a quick painting session followed!

Hubs after the soaking in the deox bath, really impressed with this product.

DSCF0412.jpg


Two quick coats of high temprature paint on the non contact surfaces

DSCF0413.jpg
 
Lots of running around done today, getting parts, ordering bits, taking drawings to the machinist etc

Managed to do a few bits on the car.

Brake Servo before:

DSCF0416.jpg


Brake servo after a good going over with the wire brush attachment, will be painted tonight.

DSCF0414.jpg


A few bits in the parts washer. Degreaser was picked up this morning, it's made by Morris Lubricants.

DSCF0415.jpg
 
Firestar_3x said:
Nice update :)

Looking good!

Thank you :)

Hubs are now pressed into the bearings

DSCF0418.jpg


Shocks all cleaned up and ready to be assembled tonight, these were also sprayed the other night and now match the bodywork....

DSCF0420.jpg
 
Tonights update:

Front suspension struts assembled

DSCF0423.jpg


Played around with the pipe flarer and bender

DSCF0422.jpg


Tried to make a brake line, not happy with it at all, will try again tomorrow.

DSCF0421.jpg
 
[huzeeee] said:
I am very sorry to burst your little google search bubble my friend, but it appears the rest of the world is actually wrong as any real physicist/engineer will agree with me. The spring absords the shock and the damper removes the energy from the compresssed spring. The real name for it is critical damping- this is where and oscillating system is bougt to rest at its natural position in the shortest time possible.

An engineer has targeted the info in this thread so everyone that reads it will have some understanding of what's going on. Rule number one in communication, consider who the information is intended for. I'm trying to keep things simple here so that 99% of whoevers reading it will understand. As a damper is commonly revered to as a shock absorber (as proven by andi) I think its appropriate to use it here.

I agree with you that its actually a damper, I've even mentioned damping in a previous post somewhere. The spring is a means of storing the energy in order for the damper to dissipate this energy through friction.

Everyone happy now? :)

Suspension update to follow tomorrow ;)
 
Little update

Did the front bumper this afternoon

Before:

DSCF0426.jpg


Bumper masked and then given a good wipe and clean with a scouring pad and panel wipe

DSCF0429.jpg


Bottom trim front bumper before (New from VW)

DSCF0428.jpg


After:

Bumper all assembled and painted with vinyl paint, again very difficult to get a good shot of the finish in direct sunlight.

DSCF0433.jpg
 
helpimcrap said:
looking good... what do you think your doing on here posting updates???

get back out there and get working.... :p

:p

Another update!

Mainly painting today (weather is far too nice to be stuck in the garage!)

Starter motor prepared for paint, wire brush, degreaser, panel wipe

DSCF0438.jpg


Brake servo given a rub down before a second coat

DSCF0439.jpg


Flywheel after a bath in the parts washer followed by a day in the deox bath

DSCF0442.jpg
 
Starter motor, clutch master cylinder and brake servo given a coat of paint

DSCF0440.jpg


DSCF0443.jpg


DSCF0441.jpg


I really must stop putting off these brake lines..... :D
 
Back
Top Bottom