My Golf Project

  • Thread starter Thread starter L1J
  • Start date Start date
tonyyeb said:
Get on with it ;)

Yes Sir!

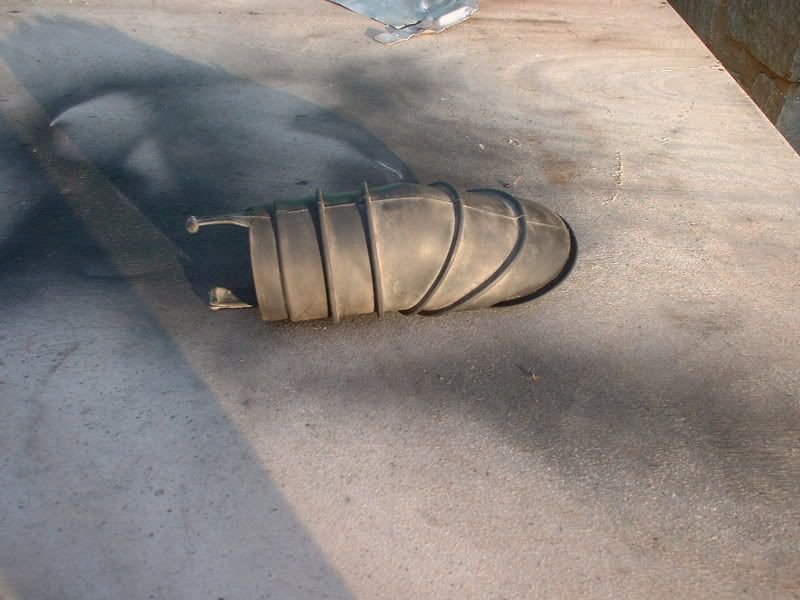
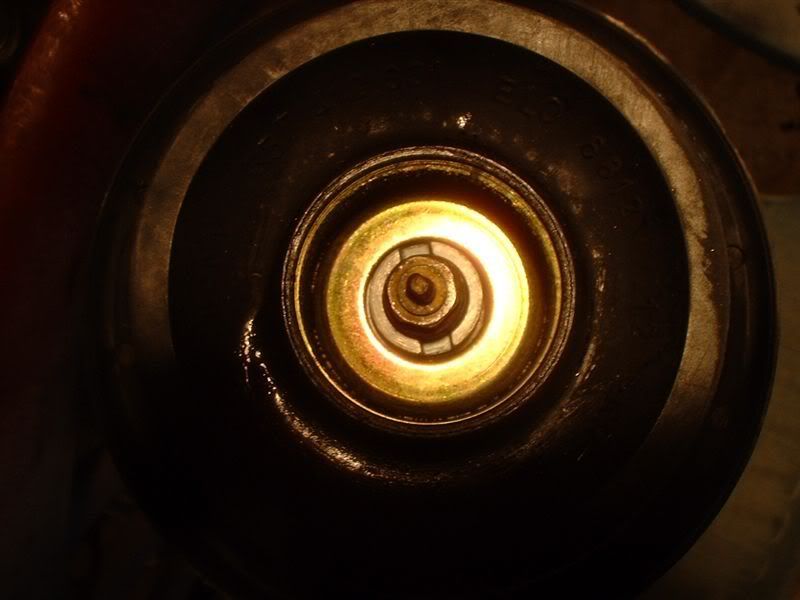
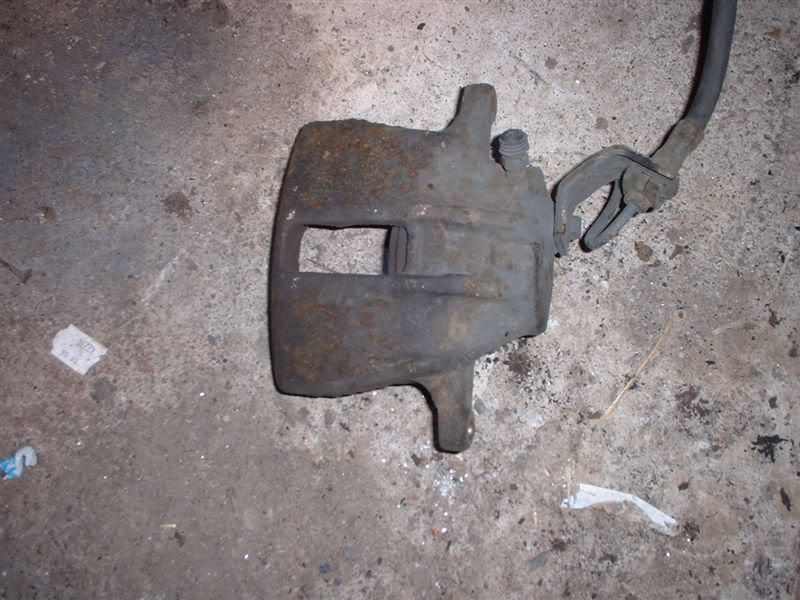
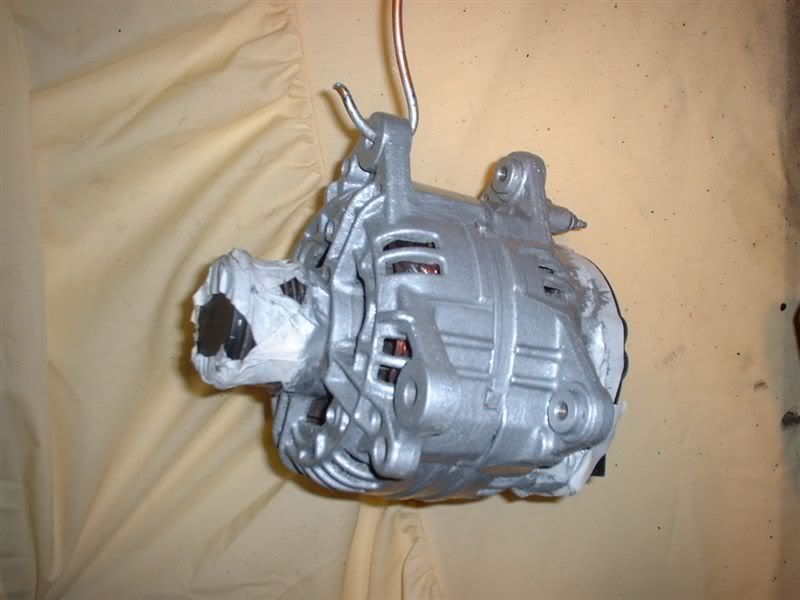
Removed the old turbo from the leon engine tonight:

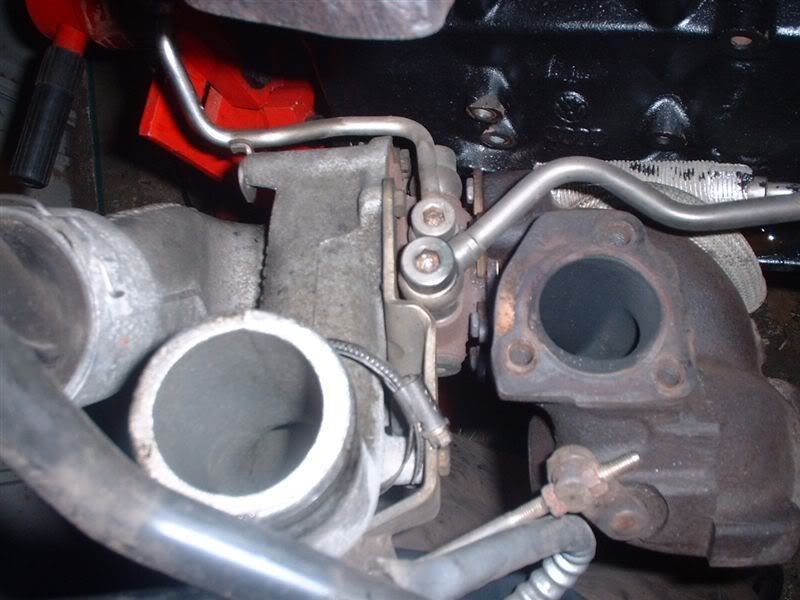
Before, old rusted small thing!

DSCF0445.jpg


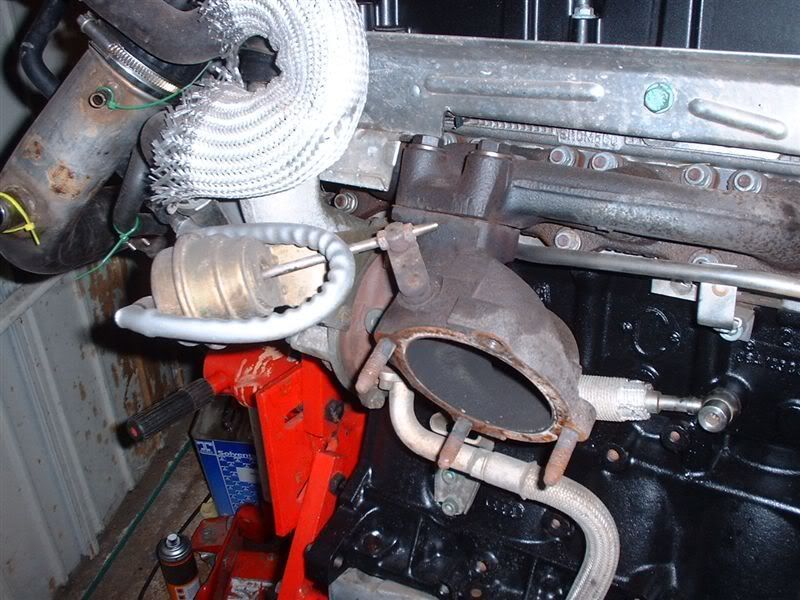
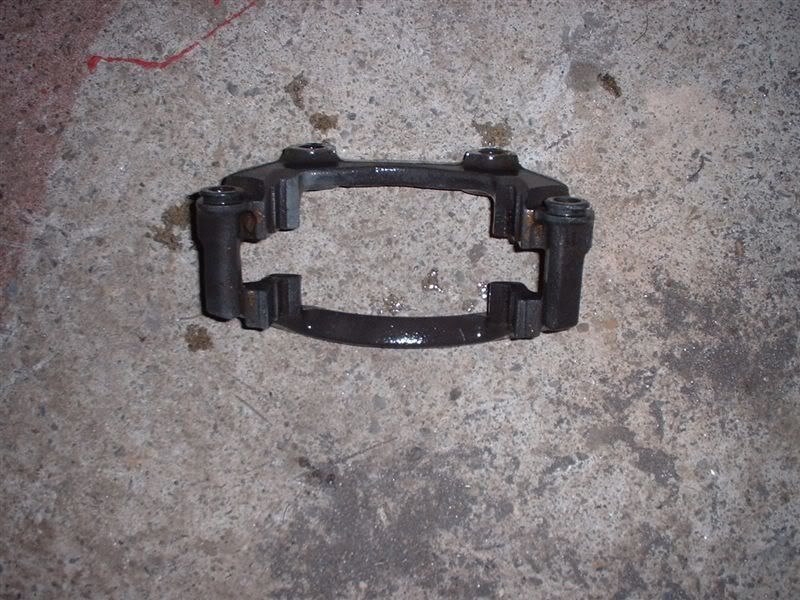
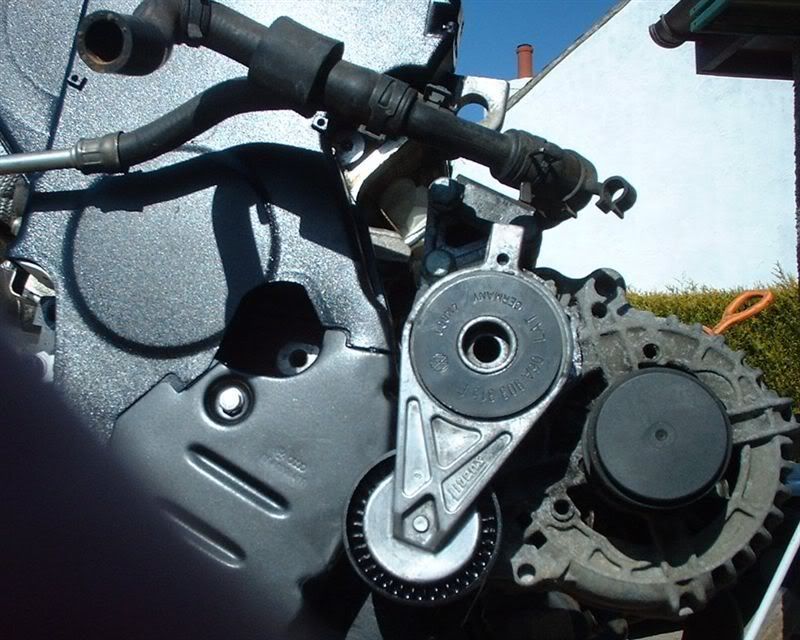
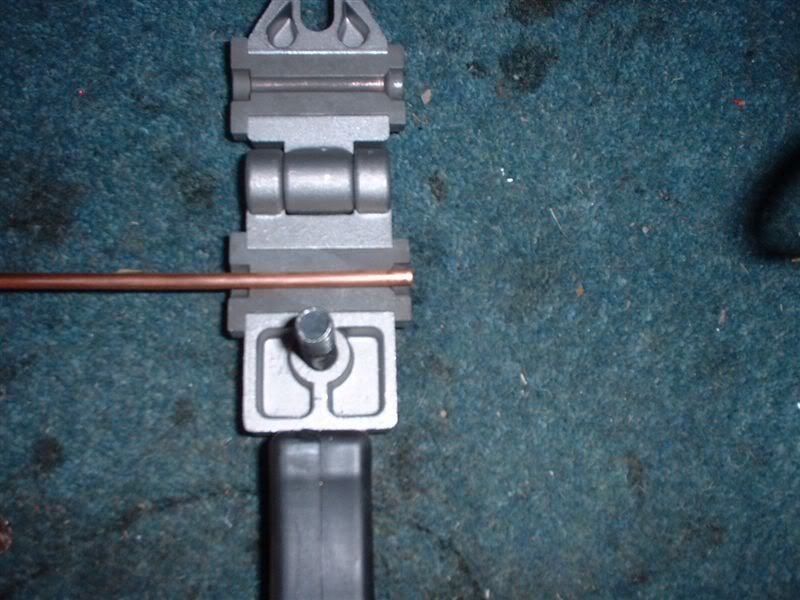
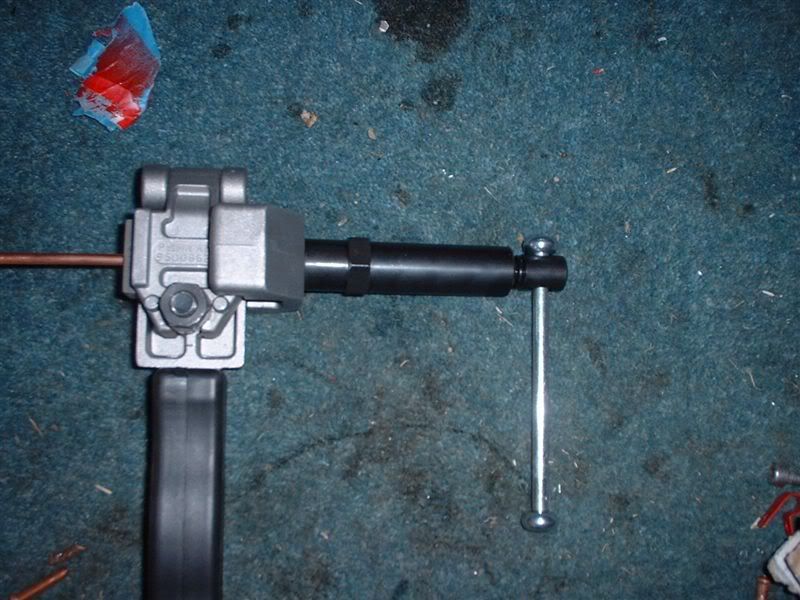
Oil and water pipes that needed to be removed

DSCF0451.jpg


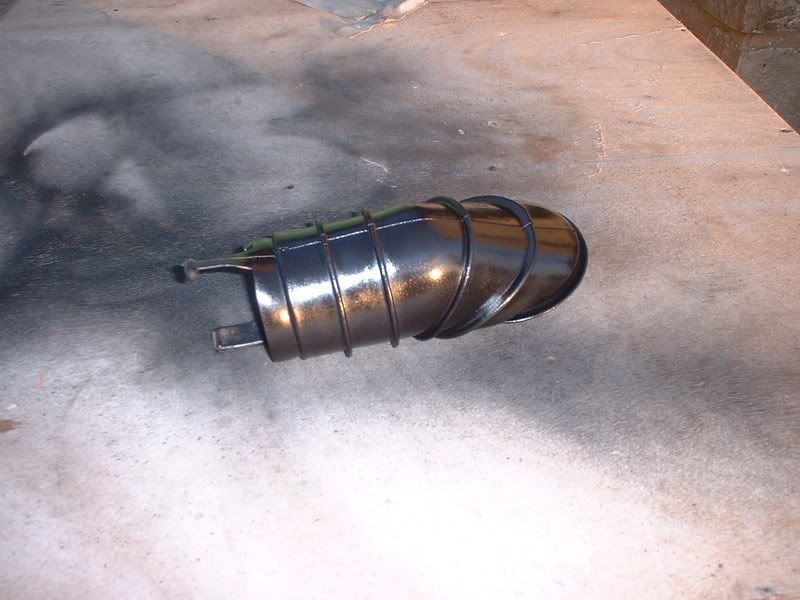
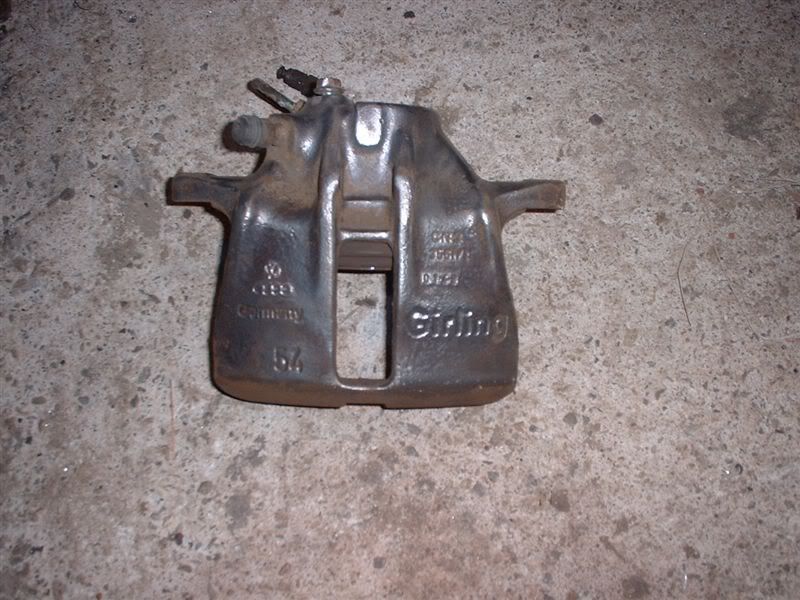
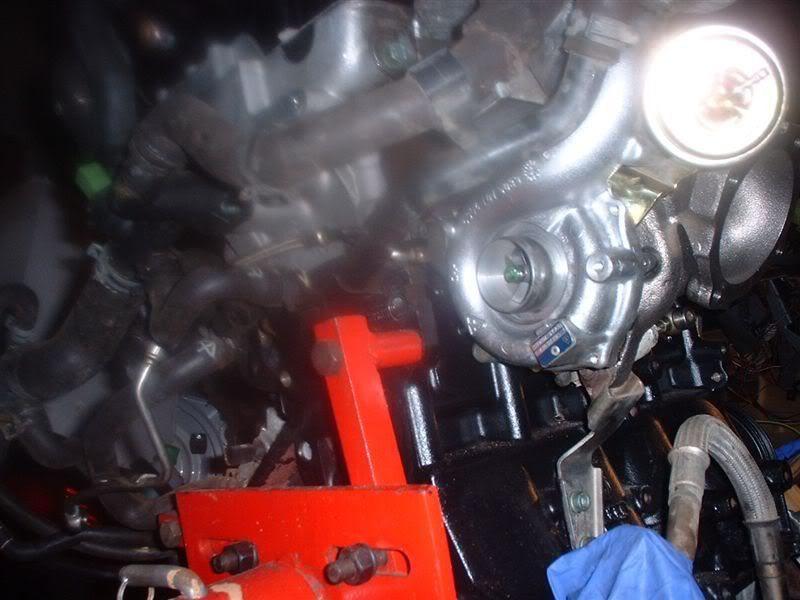
New small shiny turbo in place, excuse the smudge must have got some oil on the camera!

DSCF0455.jpg


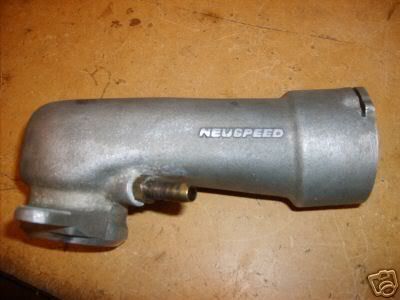
Whilst *gently* tapping the intake pipe back in place I managed to do this

DSCF0454.jpg


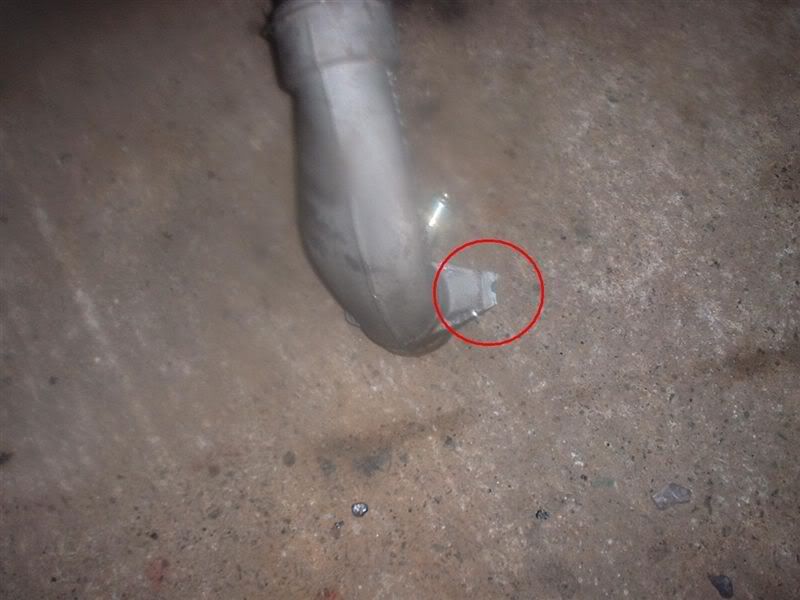
Will have to find another one monday or make an alternative out of silicone pipes or similar. Not bad thats the first breakage in this project!
 
Last edited:
Thanks guys, streching it a bit though!

Firstly an explanation on flaring brake pipes, so you know what I'm on about!

Brake pipes need a flare at the fitting end in order for them to seal. This flare needs to be created using a special tool. When the fitting is tightened up, the flare is compressed against a surface which creates a seal.

Length of brake pipe

DSCF0461.jpg


Pipe placed in the flaring tool

DSCF0462.jpg


Pipe clamped down and hydraulic wind down tool attached to the clamp, as the handle of the wind down tool is turned a specially shaped section forms the flare at the end of the pipe

DSCF0464.jpg


Wind down tool removed and clamp opened

DSCF0465.jpg


Finished article complete with male fitting

DSCF0467.jpg
 
Todays update:

Was up early this mroning, quick visit to work and came back home determined to sort these brake lines out. No idea why I was putting it off to be honest, was pretty simple once I actually thought about what I was doing and bent the pipes by hand using the former from a bending tool.

DSCF0460.jpg


DSCF0459.jpg


I need to clip them in place, they will look much better then.

Tip: When flaring brake pipes, remember to put the fitting on before flaring! :D
 
hominid said:
Looking good so far..

Another thing that I did think about was the engine, I might have missed it, did you think about replacing the big/main end bearings and oil pump on the new block? I did this just a precaution on my build just so that I knew I wouldn't have problems which meant an engine out job. If the engine is guarenteed very low millage then I doubt it would be worth worrying about but might be worth thinking about as it only takes a few minutes with the engine out.

It has crossed my mind but due to the time I have available I'm going to risk it. Hopefully all will be fine. If it goes it's a reason to put a decent built block in there!

Little wiring update:

Before

DSCF0471.jpg


A section that needs repair after removing the alarm

DSCF0469.jpg


Both ends cut out so I could solder on to fresh cable

DSCF0470.jpg


Soldered and heat shrink for insulation

DSCF0472.jpg


Loom taped up and ready to be installed, it's amazing how much tape that took to do.

DSCF0473.jpg
 
Finished the headlight realy loom this afternoon, some cable ties missing from the pic below.

DSCF0474.jpg


All I need to do now is integrate it into this loom and get it all taped up similar to the other loom above.

DSCF0475.jpg


Not looking forward to that task! Will probably start it tonight...
 
Lew said:
L1J i take it you do this for a living (motor mechanics) ?

What a great project wish I could do a quarter of what your doing

No as mentioned by others in the thread, my department looks after production machinery in a food factory. I'm more desk based these days which made me want to do something practical at home. It's not actually that hard once you get in to it, I think it's just the confidence you need to tackle it.

Lopéz said:
Nope, he chops up dead animals and talks through his nose for a living.

Go fix your Supra :p ( I dont think anyone is going to get the nose thing ;))

Liverpool-Lad said:
What turbo did you use?

I used a K03S turbo, hopefully should be good for about 210 BHP
 
Liverpool-Lad said:
Ah, so standard then.

The engine I got had a K03 unit on it, they run out of air at high revs. As it's being built to be used I though an upgrade to a k03S unit would be better as they hold on to the power longer through the rev range.
 
Slacking today!

Ordered the following form GSF and VW:

CV joints
Throttle cable
Anti roll bar drop links
Brake sliders

Turbo inlet pipe
Hydraulic pipe for the clutch

I ordered a tool last week to tighten some nuts on the suspension struts, it should arrive tomorrow so I can refit the front suspension.

I've found some decent edging trim for the heat shield from automobiletrim.com

DSCF0476.jpg


Caliper carriers have been soaking in deox, they will be painted soon.

DSCF0477.jpg


Work is a bit hectic this week, so I'm not going to have much time off until next week. Dont expect any massive updates for a while ;)
 
Quick experiment tonight with vinyl paint. Decided to try it on a faded steering rack universal joint boot.

Before

DSCF0478.jpg


After, colour doesnt look even in the pic due to sun shining on it

DSCF0479.jpg


Pleased with that, no piece of pastic or rubber is going to be safe under the bonnet now!

Managed to win this on ebay earlier, it's a bigger turbo inlet pipe to replace the one I broke the other night. Bargain at £56 including postage from the US :D

Normal second hand prices in this country seem to be around £100

NeuspeedPipe.jpg
 
Todays update:

Brake carriers out of the deox bath and given a clean ready for paint tonight

DSCF0483.jpg


My slotted nut tool arrived today

DSCF0488.jpg


Needed it to tighten this nut in the suspension strut

DSCF0485.jpg


Parts arrived from GSF, Golf mk2 carb throttle cable, CV joints, brake lines and larger brake master cylinder

DSCF0480.jpg


DSCF0481.jpg


Suspension struts will be fitted tonight along with the new anti roll bar drop links.

Once the brake caliper carriers are dry the wheels can go back on and the car can be dropped off the axle stands.
 
6thElement said:
Have you kept a track of your budget and spending or is that too scary?

Its up to about 6k so far, there's a post in this thread somewhere with a breakdown of it all!

Guybrush said:
What is the bore size of that master cylinder, and how much was it?

22.2mm it's a standard fit for a GTi 16V, G60 etc. It was £43 from GSF.

Smokey McPot said:
eurgh, goodrich lines

I had no end of hassle with them on my Willaims. Hope you get on better with them

It should be simple as all the metal brake lines are being replaced at the same time.
 
Another update:

Carriers painted with high temp paint

DSCF0489.jpg


Suspension strut in place, going to need assistance tomorrow with the two strut/hub bolts as I dont watch to scratch them...

DSCF0490.jpg


You can just about see the ARB drop links in this pic under the strut, eibach do not supply bushes to suit the thicker ARB in the kit so I had to make a 18mm bush fit a 22mm anti roll bar! Lots of grease required.

DSCF0491.jpg


Arches will be given a good coat of underbody sealer tomorrow before everything is put in place.
 
Ali-Longden said:
Wow - this thread is amazing! What an car and what a job! Absolutely superb.

Its the same engine thats in my car. Mine produces 225bhp could you not have got an old tt turbo and used that or are there other differences?

Keep up the good work!

The TT has a K04 turbo, which when mapped should give about 270bhp. I think the K03S turbo I've used and 210bhp will be enough for a front wheel drive car!

I can upgrade to a K04 if needed but I'd rather the car has a good balance of power, handling and brakes compared to all out power!
 
markyp23 said:
Hi mate,

I'm following this thread with keen interest! I don't know cars well (ok, don't know them at all!) but it's absolutely fascinating. Any chance of a couple of pictures to "summarise" it by showing the whole car (or is it completely in bits at the moment).

All of the pictures look amazing and I wish you all the best with the rest of the project! Wish I was able to do something like that!

Pics of the whole car would show a *really* messy garage and a big lump covered in sheets and a quilt on the roof!

Once it's rolling I'll put it outside and take some decent photos of it, early next week hopefully.
 
Update:

Removed the plastic inner wheel arches tonight and gave everything behind a really good coat of wax

DSCF0500.jpg


DSCF0495.jpg


Fitted the braided hoses

DSCF0499.jpg


Started to prepare the front brake caliper for paint

Before

DSCF0497.jpg


After, needs a little more work before paint tomorrow

DSCF0502.jpg
 
Afternoon update:

This arrived this morning from the US, total including postage was £26!

DSCF0503.jpg


I'm going to fit it here, behind the blank for the choke. Will have to fabricate some brackets later on.

DSCF0508.jpg


Trial fitted the altenator, tensionner and power steering pump to the Leon engine. They will be painted tonight.

DSCF0505.jpg


Washer bottle bracket fitted and washer pipes re routed to suit the new location

DSCF0509.jpg
 
mark66 said:
What is a Proportioning Valve? Does it allow you to alter the brake bias?

As said by everyone else, yes it does. I'm going to use it on the rear brake line, it will allow me to change the amount of pressure that reaches the rear brakes.

I'm determined to keep the Golf as standard looking as possible so I didnt want the bias valve on show. As mentioned in my last post the bias valve was going to be insatlled where the manual choke would be.

Dash was already out, so made this a lot easier! Rear of where the choke would be located:

DSCF0511.jpg


Bracket cut and bent out of the way, dash cut slightly to allow the knob to pass through

DSCF0512.jpg


Dash brace modified to mount bias valve on to it

DSCF0514.jpg


Valve in position with some fabricated alloy brackets

DSCF0515.jpg
 
Back
Top Bottom