

You are using an out of date browser. It may not display this or other websites correctly.
You should upgrade or use an alternative browser.
You should upgrade or use an alternative browser.
Need for Speed Time Trial Championship ** Season 2 ** (Multiplatform)
- Thread starter NIKAZ
- Start date
More options
Thread starter's posts
Can I get some help please. As soon as I take control after the countdown, my wheel pulls left and right a bit in a straight line (more so at high speed) making it hard to control. I guess it shouldn't be like that? I've messed around with deadzones and sensitivities but I don't really know what I'm doing. Is there one particular setting that might stop the pulling, is it the wheel having too much sensitivity? Does adding % give more deadzone and sensitivity?
What are your current settings?Can I get some help please. As soon as I take control after the countdown, my wheel pulls left and right a bit in a straight line (more so at high speed) making it hard to control. I guess it shouldn't be like that? I've messed around with deadzones and sensitivities but I don't really know what I'm doing. Is there one particular setting that might stop the pulling, is it the wheel having too much sensitivity? Does adding % give more deadzone and sensitivity?
For a wheel 'Speed Steering Sensitivity' should be set to 50% or there a bout's
Sorry, I think I misread on first read. Do you mean, with your hands off the wheel, your wheel pulls left then right?
Last edited:
What are your current settings?
For a wheel 'Speed Steering Sensitivity' should be set to 0% or there a bout's
Ah I seem to have sorted it now. Actually, speed steering sensitivity on 0%, and now I've put it to 100% which seems to have pretty much got rid of that pulling. I've got steering deadzone on 0% and steering sensitivity on 30%. Still not sure if this is ideal yet though.
edit: I might try your suggestion of 50% as well.
Here's an explanation of the various controller settings;
A quick definition is provided below to help determine what's good to touch or best-left unaltered. Don't forget to use the DEFAULTS option if settings get tweaked too far.
Steering Deadzone - The smaller the value the smaller the deadzone. For steering wheels it is recommended to have this value at 0%. | NOTE: These next few deadzone settings for a gamepad are best-left unaltered.
Accelerator Deadzone - The basic description for all the deadzones are the same. For the initial range of motion no input is reported, and then starts when the end of he deadzone has been reached. On top of these additionl recommendations can be added.
Brake Deadzone - As above - For the initial range of motion no input is reported, and then starts when the end of he deadzone has been reached. On top of these additionl recommendations can be added.
Steering Sensitivity - This setting adjusts how sensitive the steering across the input span. With 50% sensitivity it is equally as sensitive at the beginning of the range as at the end of the range. This can make the steering feel twitchy on a game pad, thus it is recommended to have a lower sensitivy setting which makes the steering a bit less sensitive for small inputs. For a steering wheel it is recommended to have this setting at 50%.

If you use less than 50% sensitivity the axis will be less sensitive from 0% input to 50% input, but will be more sensitive from 50% input to 100% input, in comparison to 50% sens. The inverse is true for higher sensitivity than 50%. So you are actually adjusting the linearity of your controller axis. Its way more difficult for my brain to adopt to the non linear steering than it is having it at 50%, and adjust the steering lock in the car setup itself. This is why I always advocate 50% axis sensitivity if you are using a steering wheel. Speed sensitive steering will move the steering wheel output towards the low sensitivity graph as a function of car speed; the higher the speed the less sensitive the steering becomes towards the start of the axis.
Acceleration Sensitivity - Same as above, a value lower than 50% means the input is less sensitive in the beginning of the input span.
Braking Sensitivity - As defined above. If the default setting is not responsive enough (may well become car & performance specific), it's recommended to make slight adjustments & test.
Speed Steering Sensitivity - This setting reduces the sensitivity of steering at speed. A high value applies maximum effect to make the car stable to drive down straights with a gamepad. Lowering the value will make the car feel sensitive and twitchy at higher speeds. For a multiturn steering wheel it is recommended to set this value to 0%, for other wheels a value around 50% is recommended.
Inverse Shifting - Reverses the default controller shift buttons.
Camera Y Axis - Inverts the R-stick camera movement in game.
Wheel Lock - This determines how much of the available turn to turn lock to use for the steering wheel. On consoles this is set in degrees measured from lock to lock. On PC it is set as a percentage of the steerings wheels available lock. This can be fine tuned to suit the players preference, with less lock giving more sensitive steering, with too much lock the car will feel unresponsive.
FF Strength - Determines the strength of the force feedback effects, 0 means effects are muted, 10 gives the strongest effects.
Last edited:
Thanks a lot Nikaz, that really gives me a better understanding. I tried 50% on speed steering sensitivity and it wasn't bad at all. I've changed to 65% which feels a bit smoother.
No problem. Remember you can change the 'Steering Lock' in advance tuning specific to the car. More lock (slider right) for tighter tracks, less lock (slider left) for more flowing tracks. With a wheel I'd of thought left of middle would be better as you've more degrees of turn than a pad which I use.
Also consider the drive of the car. FWD cars need more lock than RWD for example. You use the power in RWD to get the back end round, you can't easily do this in FWD.

How much down force are you using inam?Slight improvement but still loosing back end a lot for no reason!!!!
<snip>
And your front & rear toe settings?
No problem. Remember you can change the 'Steering Lock' in advance tuning specific to the car. More lock (slider right) for tighter tracks, less lock (slider left) for more flowing tracks. With a wheel I'd of thought left of middle would be better as you've more degrees of turn than a pad which I use.
Also consider the drive of the car. FWD cars need more lock than RWD for example. You use the power in RWD to get the back end round, you can't easily do this in FWD.
Ah, ok. Before reading your post I'd set lock to the right at 85 which seems to help me get round some of those corners a bit easier but since I'm generally struggling to hold this track down and not spin out with any sort of speed above 80mph, I'll try anything else.

Btw, I've been experimenting with dabbing the handbrake to drift around corners, you know so that the car sort of turns at an angle, should I be doing that? I can sort of do it on some corners, but others it's a disaster and spins completely out of control, lol.
How much down force are you using inam?
And your front & rear toe settings?
Front down force = 17
Rear down force = 18
Front toe = -10
Rear toe = 10
Front ride height = 105
Rear ride height = 115
Front down force = 17
Rear down force = 18
Front toe = -10 > +0.30
Rear toe = 10 > -0.30 to -0.50
Front ride height = 105
Rear ride height = 115
Down force is OK
Front toe change as above. -ve values reduce turn-in ability, promote straight line stabilty (no weaving on fast straights). Imagine your standing on a pair of ski's. Touch the front of the ski's together keeping your heels apart. The front of the ski's are closer together than the back of the ski's, that's -ve toe or toe-in. Adversely, backs closer than front is +ve toe or toe-out. Toe-out promotes turn-in as the inside wheel is already pointing towards the direction of the turn. Although toe-in is preferred for straight line stability, using small amounts (+0.10 to +0.50) of toe-out has little to no negative effect here in this weeks combo due to no significant straights.
Rear toe change as above. Basically the opposite of Front toe above. If you're experiencing the 'loosing the rear end syndrome' to reduce/combat the effect we need to get the rear end working in a way to promote understeer in the rear only. One way to achieve this is adjusting the rear toe value to toe-in. Remember toe-in doesn't promote turn-in, it promotes straight line stability.
Ride height is OK. I'm at max height & still scraping the floor.
Try that to begin with. Reduce tyre pressures to around F 28 R 29, that may help a little
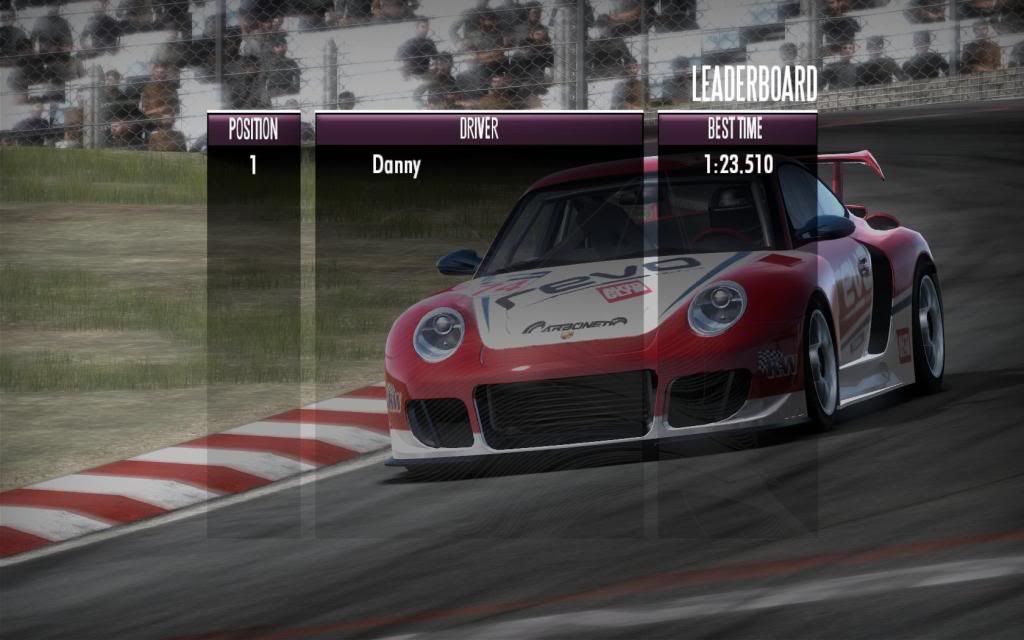
Well after an hour of trying to stop the damn thing sliding every which way but round the track I think I've got it working for me.
Not quite up with the 1.23's but I'm happy for a first go. Have to say I've never liked this track, the first corner always gets me
Ayway, initial time:

Nick
Not quite up with the 1.23's but I'm happy for a first go. Have to say I've never liked this track, the first corner always gets me
Ayway, initial time:
Nick
Ah, ok. Before reading your post I'd set lock to the right at 85 which seems to help me get round some of those corners a bit easier but since I'm generally struggling to hold this track down and not spin out with any sort of speed above 80mph, I'll try anything else.
Btw, I've been experimenting with dabbing the handbrake to drift around corners, you know so that the car sort of turns at an angle, should I be doing that? I can sort of do it on some corners, but others it's a disaster and spins completely out of control, lol.
What ever you feel comfortable with but personally I'm not using the handbrake on this combo. T-2 is the corner to get right @ Brands. You can lose a second quite easily getting wrong.
Brief guide to T-2 & T-3
T-2 you can break quite late. When the racing line turns red break hard about one car length into the red whilst dropping to 2nd gear then ease of the brake whilst turning into the apex. Try not to ride the apex, sort of kiss it if you know what I mean. When the racing line starts to turn green you'll be inclined to floor the throttle DON'T. Ease on the gas letting the car ease out to the outside on the exit of the corner first and when you can see the next corner T-3 apply gas fully.
T-3 looks relatively simple and can be if your exit from T-2 is good. After a good exit of T-2 you should be heading for the right hand side of the track (little if any repositioning of the car should be required} for T-3 approach. Drop to 3rd gear and brake on the yellow {just before red} and once again kiss the apex. Accelerate out the corner still in 3rd changing up to 4th just before the breaking point of T-4.
I responded to inam with some settings you can try to help with the rear stepping out, but throttle control is still needed with this car.
Last edited:

Cheers nikaz, I was wondering how to deal with those corners, that T-2 is a bugger! I'll drop down to 2nd gear for that then. Well, I tested the works converted scirocco on this track and found it so much easier to handle, so that proved to me that the porsche needed some upgrades to tame it's handling, which I've now done and it's much better. I can actually drive it now. My first proper attempt, not very good, but hopefully will get into the 1:20's by saturday.

Brands Hatch GP Circuit


Overview of the first three corners

T-1 - Paddock Hill Bend
You should still try and brake in a straight line – almost away from the turn – where you still won’t be able to see the apex. That's important because the temptation is to aim for one that is visible and this will be too early. Be patient and aim for an apex just out of sight to the right, then drive the car towards it. A little practice and you’ll find you can keep your foot hard in it while first the apex comes sweeping towards you, followed by the exit kerb - which you can just rub with the two outside wheels and listen to the satisfying rasp from the ripples in the concrete. That also says you are using all the circuit, but not the part beyond.

T-2 - Druids Bend
The classic line at Druids is to brake in a straight line while staying right over to the left then start the turn as late as the circuit will allow before aiming at a point about three-quarters of the way round the corner. The alternative is to head diagonally across the road almost as soon as you are under the bridge, then mash the brakes almost in a straight line as you head for an apex just before the halfway point round the turn. That helps load up the front and reduce the understeer, after which you have to hassle the car and give it as much power as it will take until the corner opens out

T-3 - Graham Hill Bend
Over to the right as soon and as smoothly as possible, negotiate the slight kink on the downslope, then brake. Graham Hill Bend is one of those corners where if you can get the car turned slightly early and loaded up by the middle, the outside wheels weight up and grip harder and help you carry extra speed towards the exit, while the inside ones float over the kerb. If you attempt this technique without the required degree of confidence – or don’t manage it effectively - though, the car will run wide and bounce over the exit kerbs
T-4 - Surtees
The turn in point at Surtees is at the end of the kerb on the right hand side of the circuit. You can get away with an earlier turn in but both have advantages and disadvantages.
T-5 - Hawthorn Bend
A late turn here is important to open the corner out but be careful on the exit as there is little room for error. A very fast 4/5th gear corner.
T-6 - Westfield Bend
The run into Westfield's is very fast. It is important to take the apex because if you are slightly wide here it will force you even wider on the exit.
T-7 - Dingle Dell Corner
Taken blind and you need to be very aggressive here, taking a lot of curb.
T-8 - Stirlings Bend
This corner is heavily cambered and you can carry quite a bit of speed through it.
T-9 - Clark Curve
Bring the car back to the left for the fast approach to Clearways using the bridge to judge your braking point. This corner drops away and you can have quite a lot of under steer here. It's pretty quick and you need to set the car up here so that there is a good balance as it leads on to the long front straight.
Images & info courtesy of Evo, wikipedia & me
Overview of the first three corners
T-1 - Paddock Hill Bend
You should still try and brake in a straight line – almost away from the turn – where you still won’t be able to see the apex. That's important because the temptation is to aim for one that is visible and this will be too early. Be patient and aim for an apex just out of sight to the right, then drive the car towards it. A little practice and you’ll find you can keep your foot hard in it while first the apex comes sweeping towards you, followed by the exit kerb - which you can just rub with the two outside wheels and listen to the satisfying rasp from the ripples in the concrete. That also says you are using all the circuit, but not the part beyond.
T-2 - Druids Bend
The classic line at Druids is to brake in a straight line while staying right over to the left then start the turn as late as the circuit will allow before aiming at a point about three-quarters of the way round the corner. The alternative is to head diagonally across the road almost as soon as you are under the bridge, then mash the brakes almost in a straight line as you head for an apex just before the halfway point round the turn. That helps load up the front and reduce the understeer, after which you have to hassle the car and give it as much power as it will take until the corner opens out
T-3 - Graham Hill Bend
Over to the right as soon and as smoothly as possible, negotiate the slight kink on the downslope, then brake. Graham Hill Bend is one of those corners where if you can get the car turned slightly early and loaded up by the middle, the outside wheels weight up and grip harder and help you carry extra speed towards the exit, while the inside ones float over the kerb. If you attempt this technique without the required degree of confidence – or don’t manage it effectively - though, the car will run wide and bounce over the exit kerbs
T-4 - Surtees
The turn in point at Surtees is at the end of the kerb on the right hand side of the circuit. You can get away with an earlier turn in but both have advantages and disadvantages.
T-5 - Hawthorn Bend
A late turn here is important to open the corner out but be careful on the exit as there is little room for error. A very fast 4/5th gear corner.
T-6 - Westfield Bend
The run into Westfield's is very fast. It is important to take the apex because if you are slightly wide here it will force you even wider on the exit.
T-7 - Dingle Dell Corner
Taken blind and you need to be very aggressive here, taking a lot of curb.
T-8 - Stirlings Bend
This corner is heavily cambered and you can carry quite a bit of speed through it.
T-9 - Clark Curve
Bring the car back to the left for the fast approach to Clearways using the bridge to judge your braking point. This corner drops away and you can have quite a lot of under steer here. It's pretty quick and you need to set the car up here so that there is a good balance as it leads on to the long front straight.
Images & info courtesy of Evo, wikipedia & me