[Project] Black & Blue

Soldato
Joined
31 May 2006
Posts
7,564
Location
West London
I started this project some time ago with only one three hour slot a week put aside
to work on the build. To be honest that's not fare on the reader, so now I'm nearly finished
I'm rewriting it into 3 sections.

1) Clean Installation.
2) Loop Evolution
3) Enclosed Colouration.

All three have their own separate intertwined stories and reasons within by build.
And over the time it's taken me to finish, the bias of the three has shifted more
than once. But enough of the waffle here's where i am now.
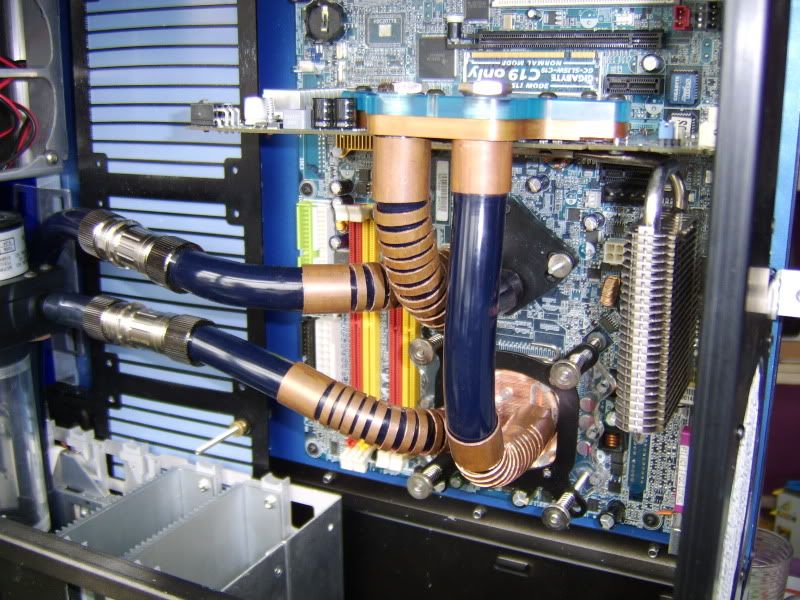
tubes2.jpg


Case: Lian Li S80B
Motherboard:GA-P45T-EXTREME
CPU: E8200ES
Ram: 4Gb G.Skill Ripjaw
PSU: Yestico 550-FL (Fanless)
GPU: Sapphire 3870 (blue pcb)
Boot drive: 2 x samsung slc ssd's RAID
Data drive: WD Black
Media drive: Seagate Barracuda

Pump: D5 with EK rev2 X-Top
Block: Xspc Edge with EK top supreme top plate
Block: EK full cover 3870 blue edition
Block: EK NB
Rad: Thermochill PA120.3
Tube: Feser black UV
Barbs: Primochill ghost (1/2 inch metal version)
QC's: Koolance VL4 (extreme flow)

Clean installation

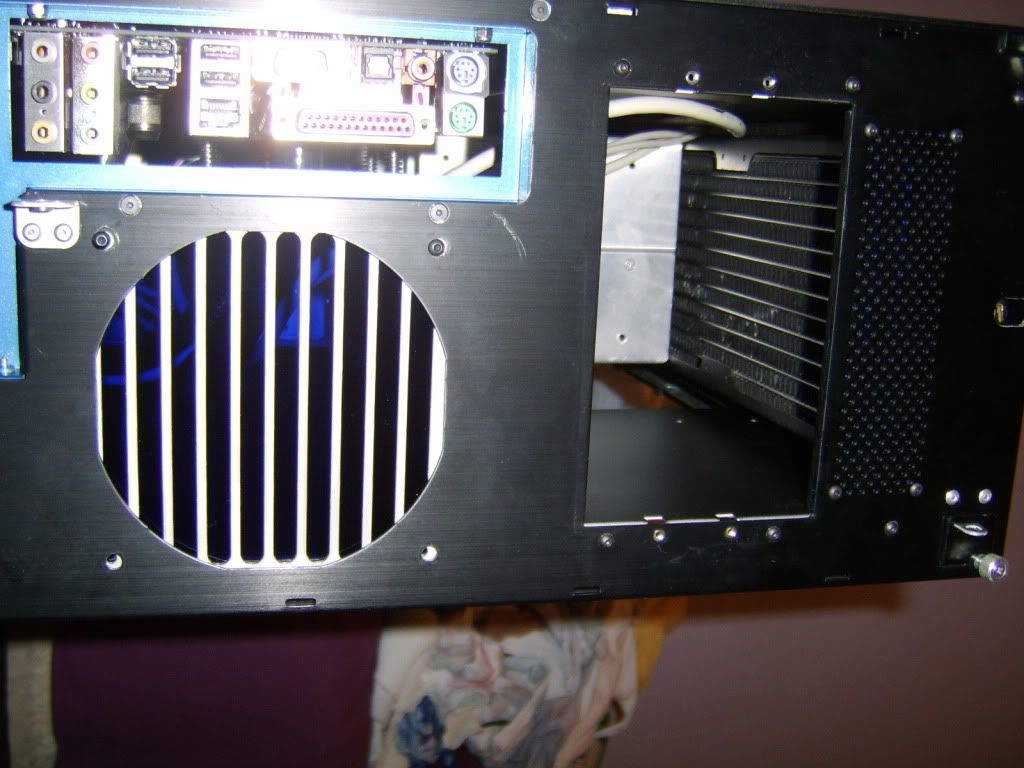
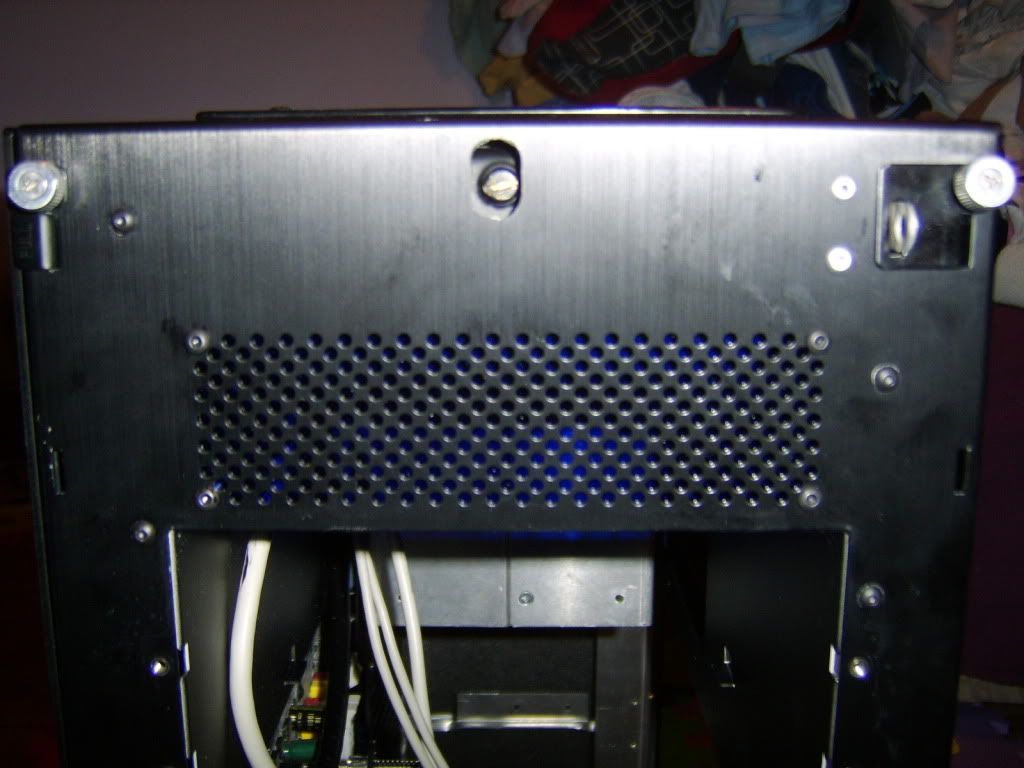
The S50 is a large case without much room. And very little cable management.
It is equipped with three 120mm fan spaces which is rare for a case of this age.
But its sound reduction features all use up space. The double box takes 40mm off its width.
And the enormous void above the psu is just crying out to have a 120.2 or larger rad installed.
However if a triple is used then you lose optical bays. At lease two is not three of the four.
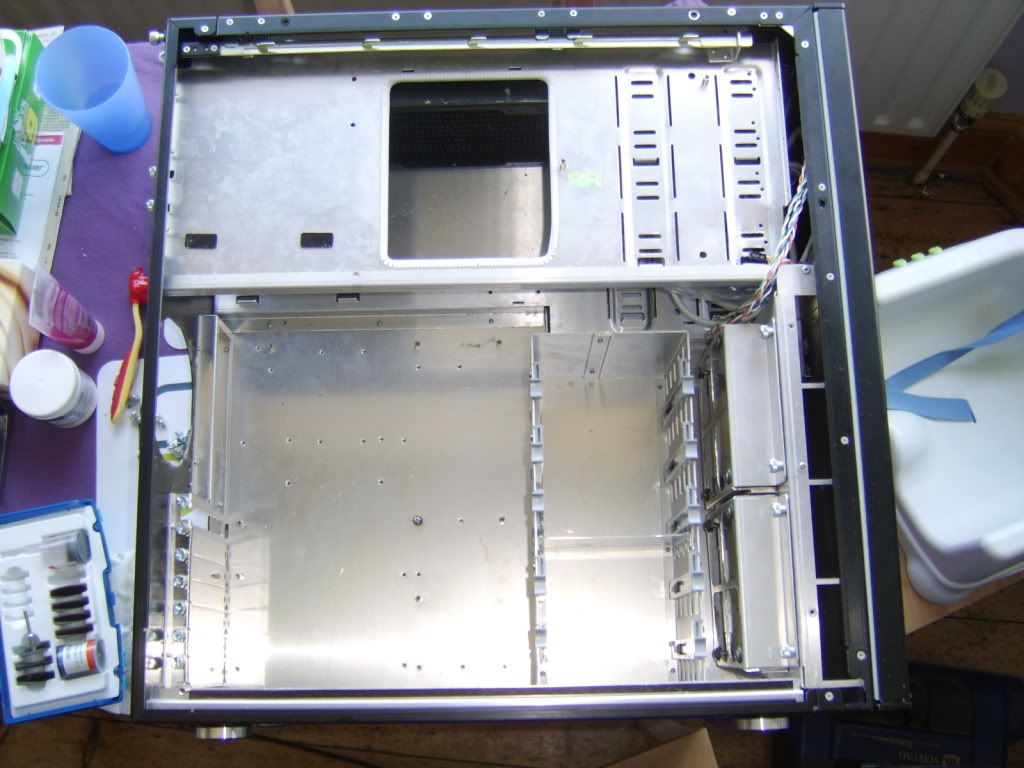
Case1-1.jpg

internal panels removed to show internals and PA in roof
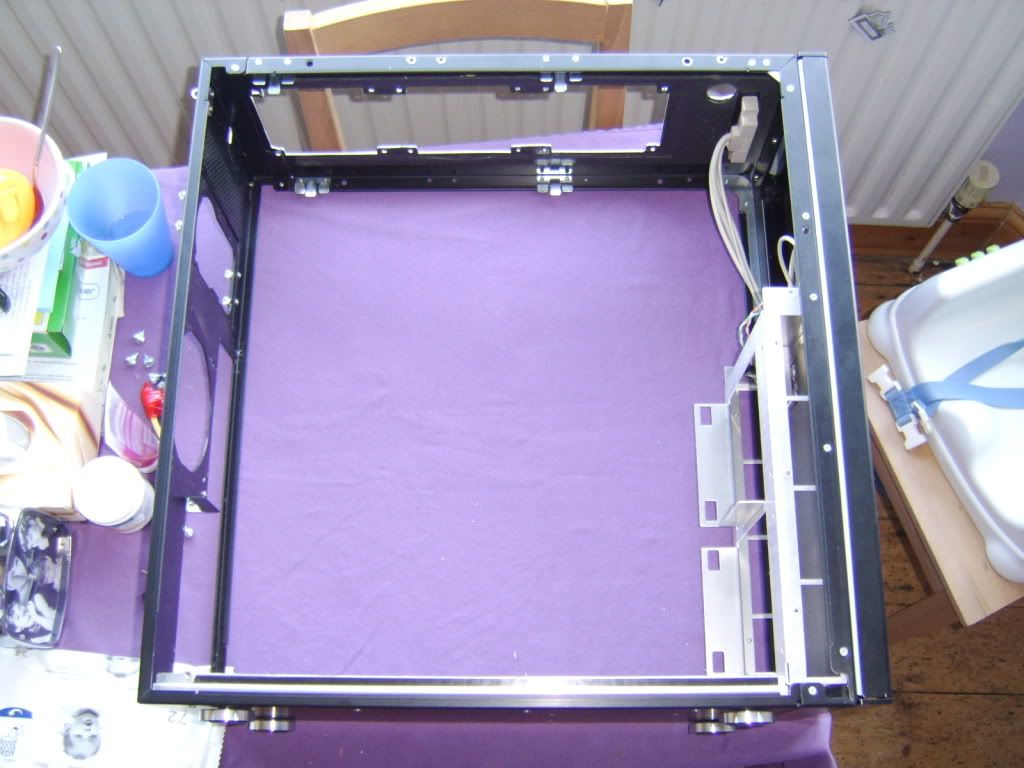
case5.jpg

Striped down

I couldn't not have a dvd drive and a normal one just would fit with my loop layout what ever i did,
but it was then that i considered a slimline laptop drive. This would fit if mounted with the tray vertical, like a wii.

[image coming soon]

My first option was to use some foam and bungee it to the side.
This worked, but as the design progressed this changed into it being mounted into the hdd rack
in it's now location. This was moved early on to improve air and water flow.
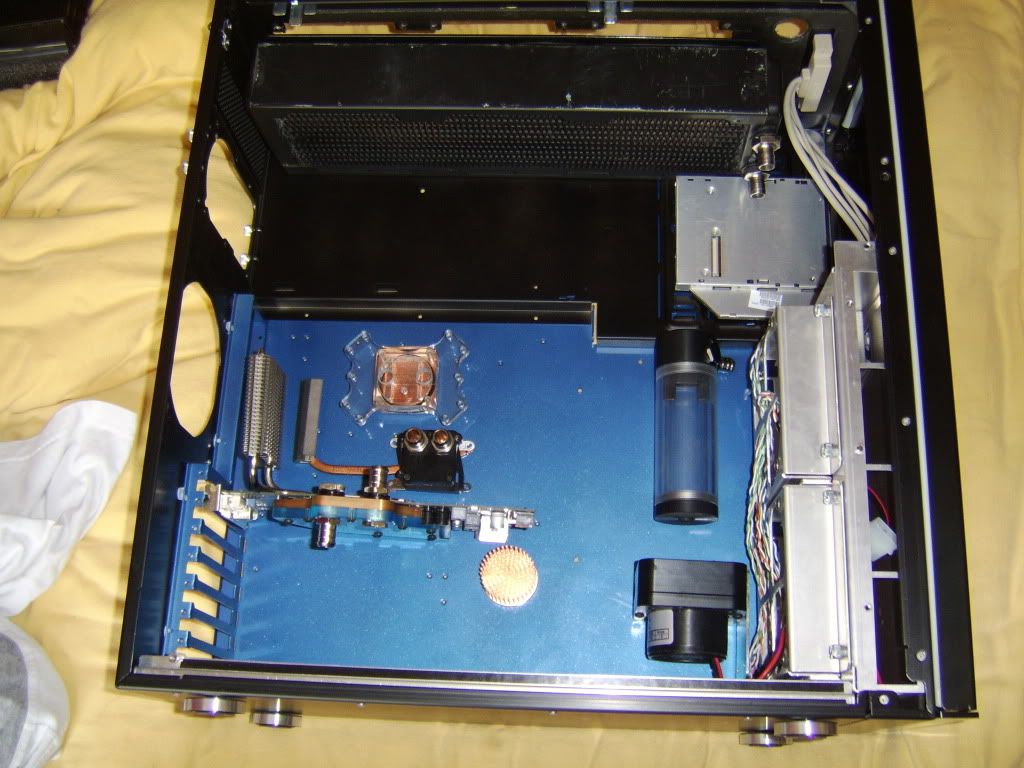
inside4.jpg

Early mock up

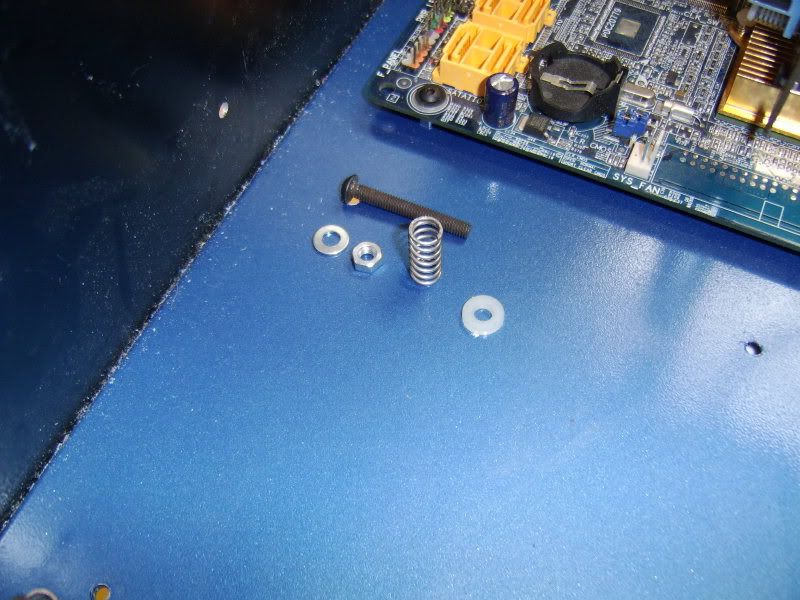
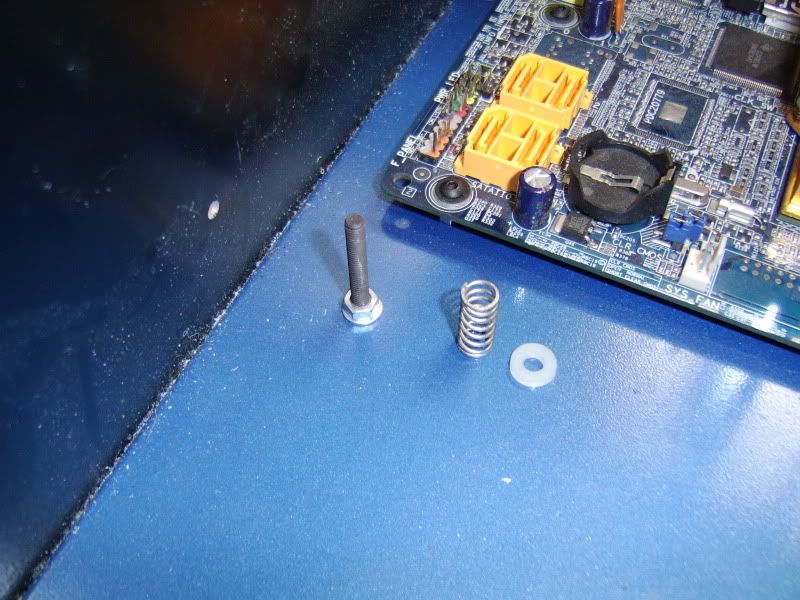
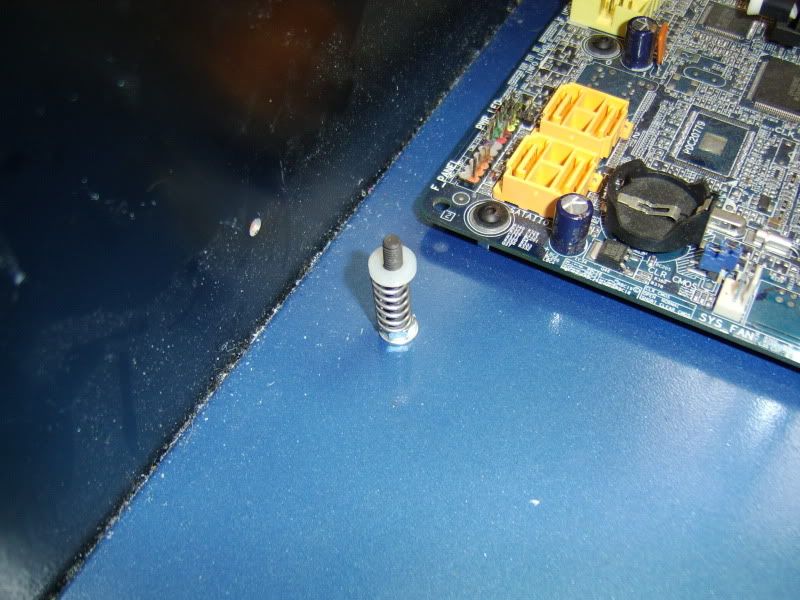
nutsbults.jpg

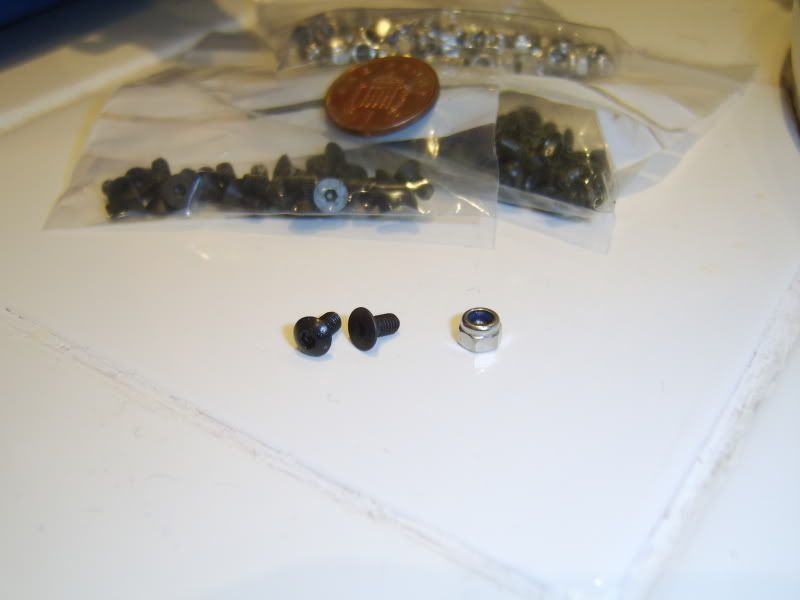
after painting case reasembled with nylock nuts and button head allen bolts
 
Last edited:
stockairflowpath.jpg

HHD cage

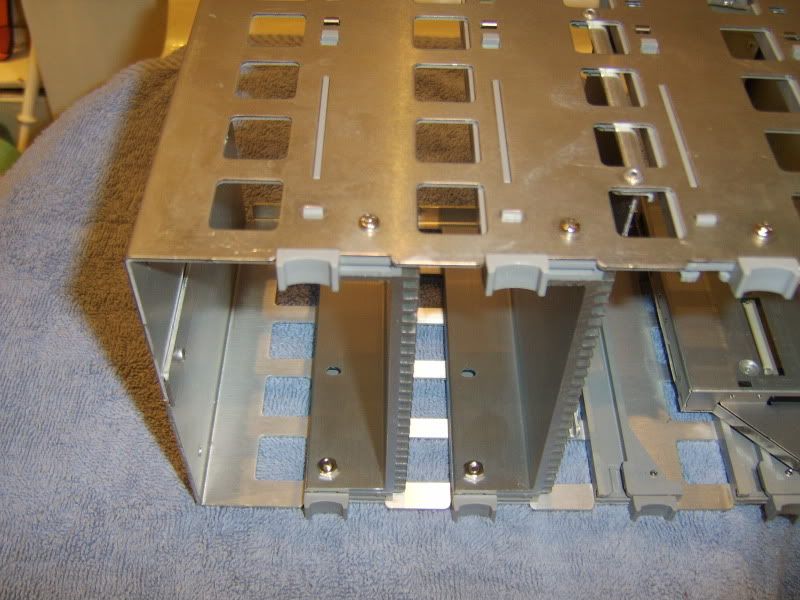
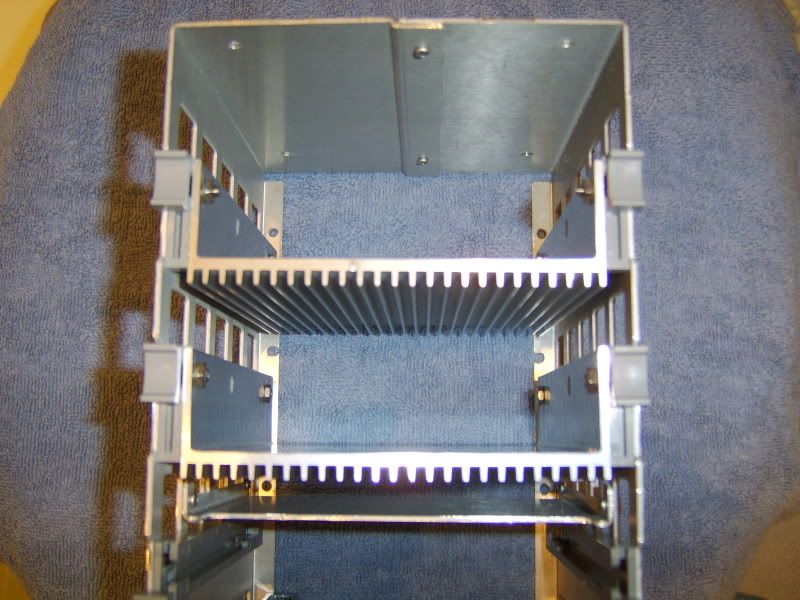
The HHD cage holds five drives all in their own aluminum heatsink trays. The cages sides have
large square holes cut into them to allow air too pass across but with the trays filled there is
little actual room left. However seen end on the free area is much larger and that gave me an idea

rotatedpath.jpg

More 'free' area

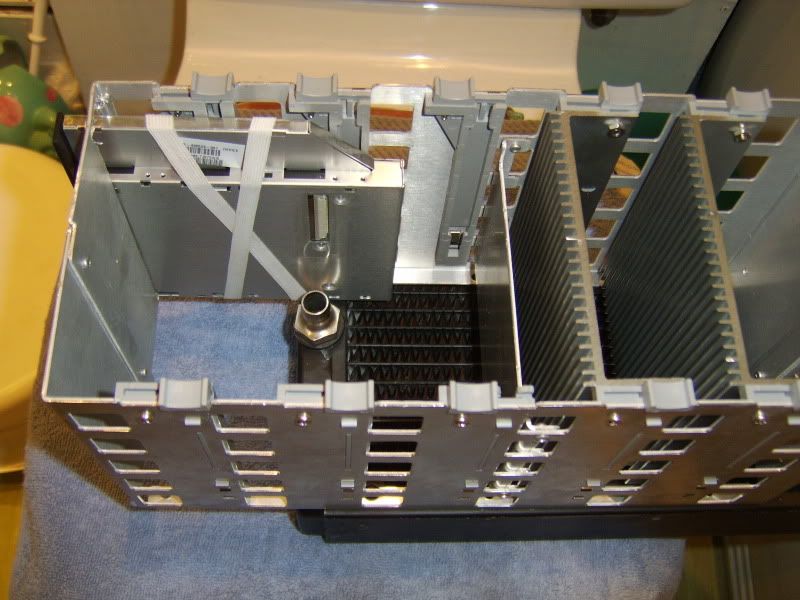
Why not mount the hhd cage under the rad. There was plenty of room, and the trays were still
accessible by sliding them straight down. (like a gun's magazine) I only needed three trays,
my two ssd could share one, and the remaining space was ideal to mount the slimeline drive.
But would it fit

connectedtorad.jpg

She fits

tested, marked out drilled and fitted via neopreme washers with the pa own self tapping screws.
Needs a paint job now but Result!

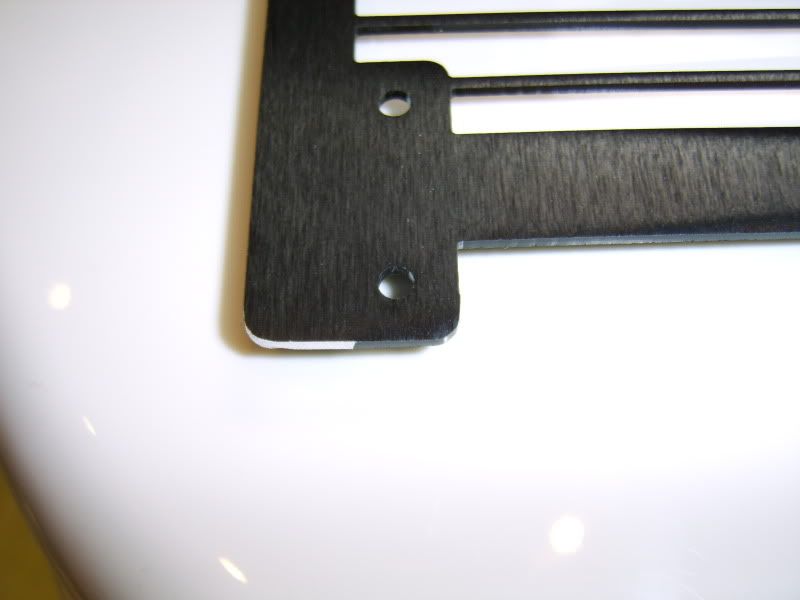
I could have routed the wires behind the mobo tray (like mose cases) but that would block
the air path so instead I'll need something internal. An old rad grill gave me idea, check it for
size and no cutting required.

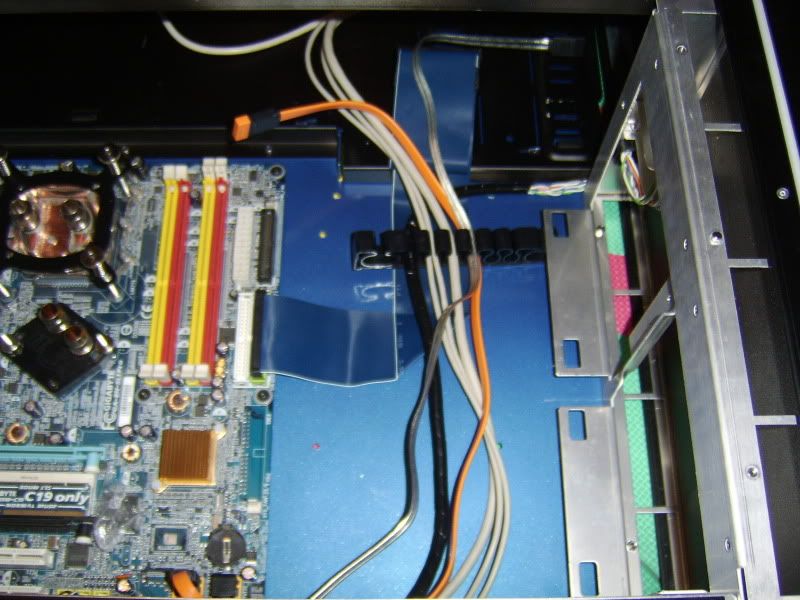
cablesunder.jpg

Cable run

A week or two later when thinking about effective routing of cables and to braid or not to braid.
I didn't want the various coloured wires showing through the rad grill, i also didn't realy want
to spend all that time braiding or making full length copper coils (my original idea) so remembering
the excelent work done by mr.bristol and lighting halo on some one else grills.
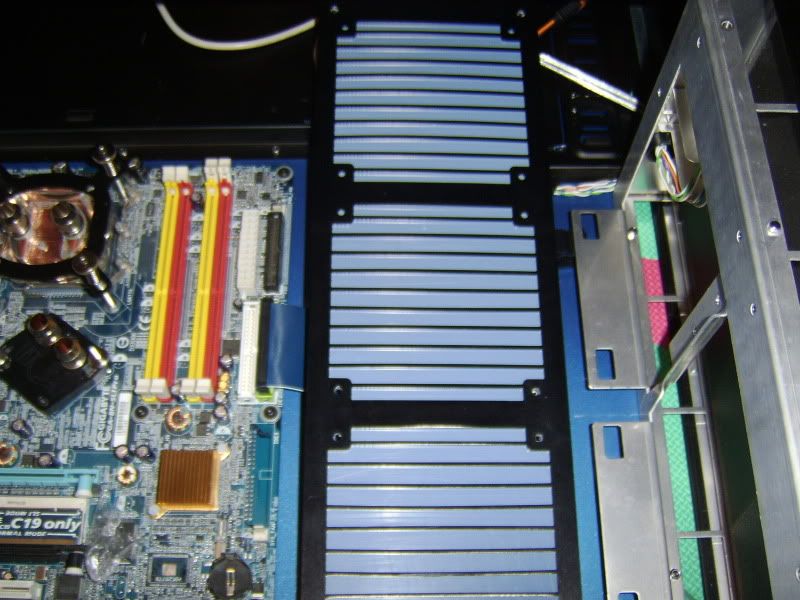
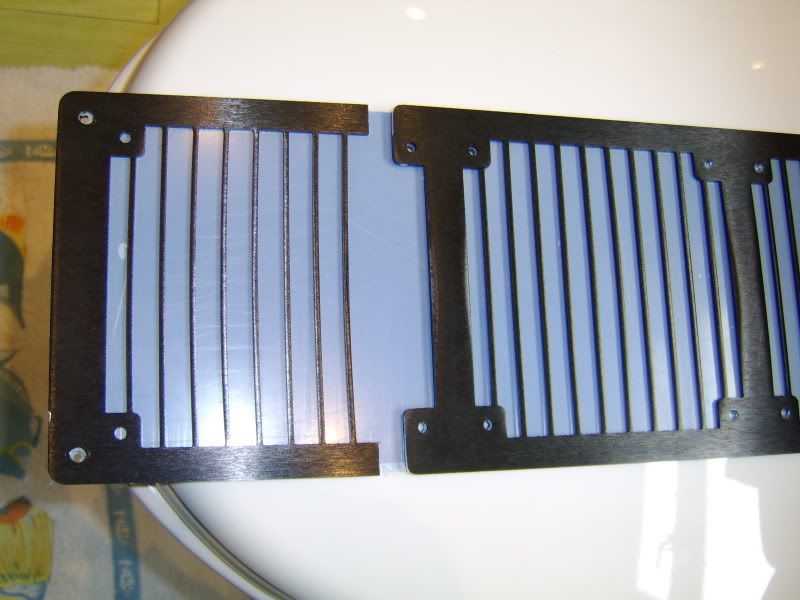
Where a 5mm flurescent perspex grill is used below a metal grill. I decided to use a solid sheet
so the spaces between the grills would have a translucent blue backing. Using the LL
cable tidy strips, the wire would all be seen as siluetes behind the blue. there the wires leave
the grill i will apply a little spiral rap, with a copper twist to finish.

cablesover.jpg

All hidden, protection to be remove in final shots

As the hhd cage is simular in width to the rad there is a large area for cables to run between
them and the inside panel of the case. This hidden horizontal path ties in with the rad grills
vertical path meaning almost all the cables can be accommodated.
The remaining ones will be hidded under the mobo.

Tube routing is mostly orthogonal with the return path from cpu block to rad being extended
slightly to accomodate this vertical/horizontal bias. I accept this as a slight compromise
and may return to a long sweeping curve in my final layout. But with the quick release fittings
mounted above the grill for easy access and away from my hardwear it made more sence,
even if not the most efficent route. (see first image)
 
Last edited:
unlockandload.jpg

QC's unlocked and HHD trays out

Tube routing is mostly orthogonal with the return path from cpu block to rad being
extended slightly to accomodate this vertical/horizontal bias. I accept this as a slight
compromise and may return to a long sweeping curve in my final layout. But with the
quick release fittings mounted above the grill for easy access and away from my hardwear
it made more sence, even if not the most efficent route.
 
Last edited:
Really shouldn't post long streams of text late at night.
So lets start again.

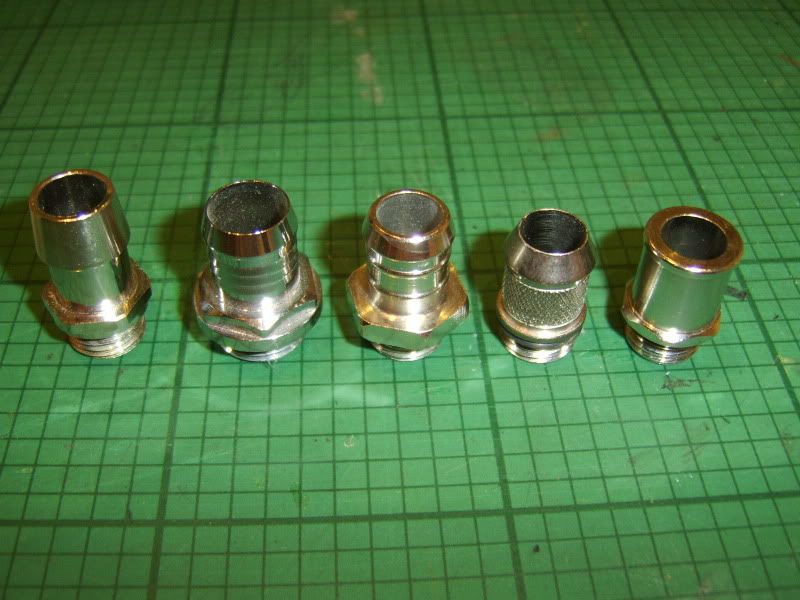
I like 1/2 inch barbs, for two reasons, one you get the best unobstructed ID and two
they work with almost every tube available.

barbs.jpg

left to right: D-tek high flow, Bitspower, EK, Primochill ghost. DD perfect seal

Some are slightly better that others in specific roles and for this build i'll be using primochill
metal ghost fittings. Not to be confused with primochill plastic compression fittings of
the same name. Ghost barbs are shorter and don't have the hex bolt section of most barbs,
so are completely hidden by the tube.

hexend.jpg

EK (Left) and primochill (right) with tube, clean cut required.

The rotary 45's fittings from bitspower achieve high ID's and look good, but are expensive.
I wanted something different to accommodate the small radius turns of a full mobo loop
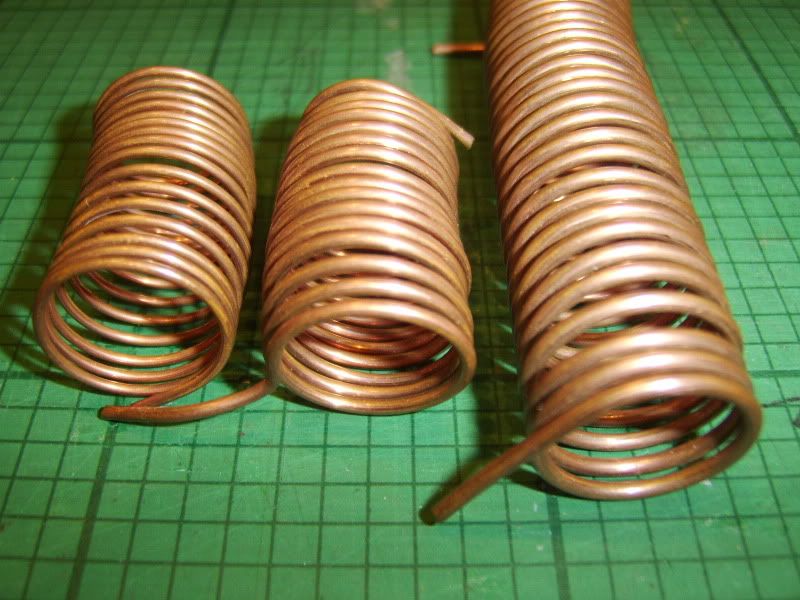
and ideally made of copper. I made a few prototypes of copper wire coils, in different thicknesses.
These did the job of an anti-kink coil but didn't hold their shape, so I needed something else.
For the final coils I had planned on using copper winding wire as its sleeved to stop the
oxidization and may still get some.

coils.jpg

1.0mm 1.5mm 2.0mm copper wire prototype coils.
 
So off to the plumbers merchant to buy a meter of copper pipe.
22mm (OD) is the nearest standard size pipe that 3/4 OD tubing will fit, it's not millimeter
perfect but just right for my needs. The feser tube I'm using is a little oversized
~20mm OD so the small amount of clearance will aid fitting and positioning.
I should say at this point that copper comes in different strengths as well as thickness.
I'm using 'hard' copper pipe as it will be in small sections, but it's a pig to cut.
Half hard and soft are the other standard strengths.

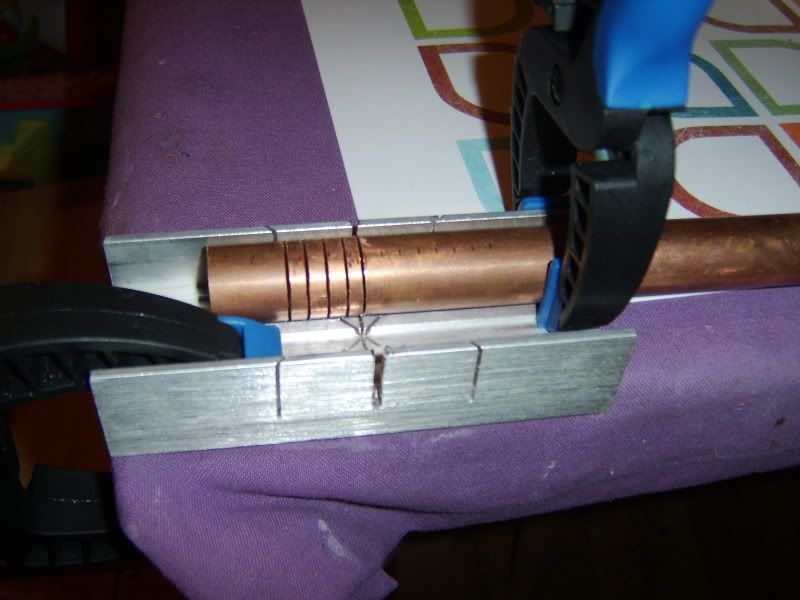
tools.jpg

Tools, miter block, junior hacksaw, file and clamps.

startcuts.jpg

Tube locked in position, perpendicular cuts at 5mm intervals.

rearcuts.jpg

12 cuts complete, pipe rotated and re-sawn so that start and finish points align.

fullycutandbent.jpg

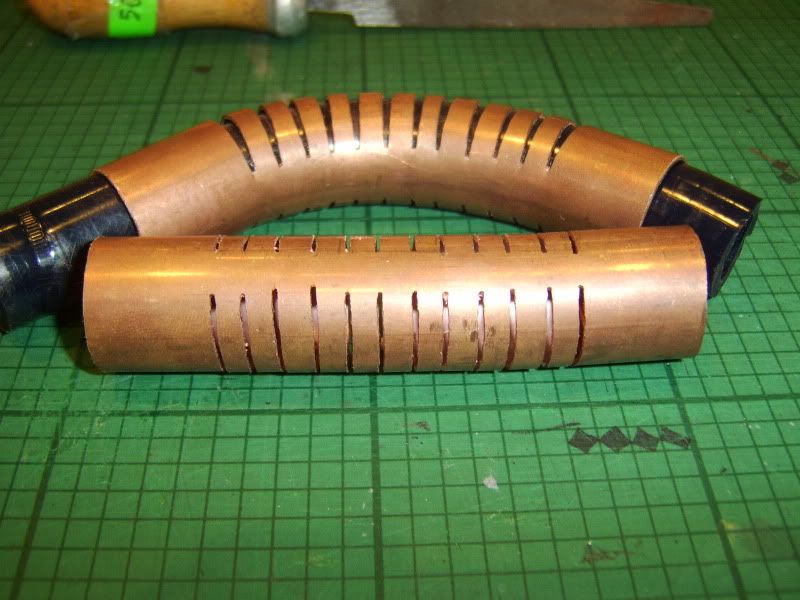
All edges filed with a slight chamfer.

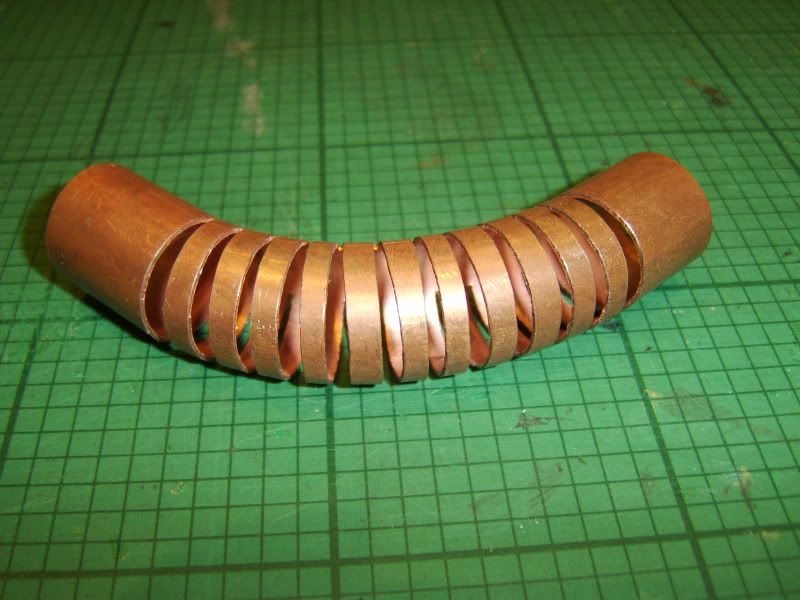
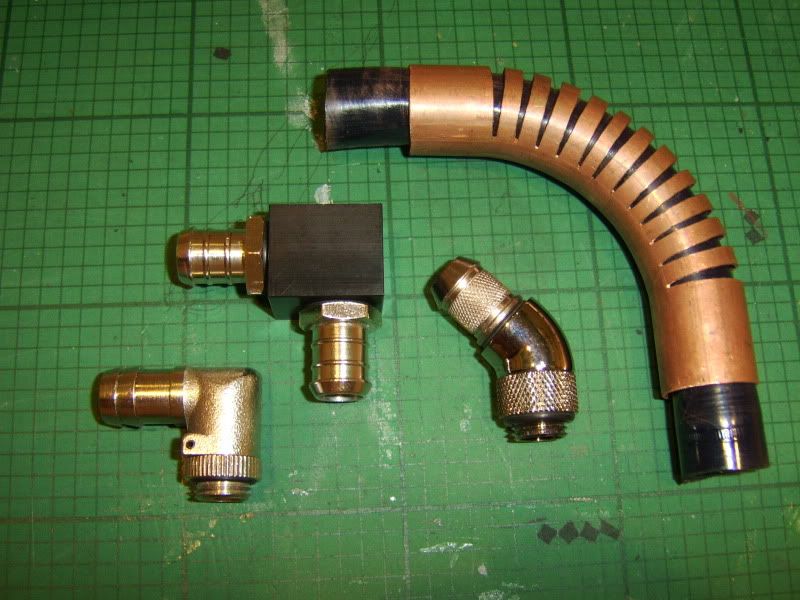
bends.jpg

Threaded onto tube and bent to shape. Bitspower 45, generic 90 and delrin 90 with barbs, shown for comparison.
 
Nice work

I like what you have done with the copper tube, it could look very good if you kept it consistent and colour coordinated it well. For example, painting them all white, with the black tubing would look very nice, although that wouldn't really go with the whole blue theme. Just an idea though.

I'm not really a fan of the copper coils though, they look a bit messy for me. Id keep it consistent and go for a clean look.

Just my thoughts so far. I really do think that copper tube in the final pic could look fantastic in the right circumstances though :)
 
Thanks guys

The coils are my old idea, will be the copper sleeves only on the tube in the finished build.
And when you see the EP45T-extreme in the build you now why I went with copper pipe :D

In the last week I've been working on the Perspex blanking plates with reasonable success.
The previous time I’ve used Perspex I was sawing too fast (with a fine tooth laminate saw)
and cracked an edge. This time I’ve been much slower, carefully using a junior hack saw to get
the panels almost square. Then a file and sand paper for the edges. Panels completed so far inc.

Cable tidy cover, rear fan blank, front fan blank, low level air baffle, top vent blank and the optical bay cover.
There are only the two high level air baffles to go now, but I’ve run out of Perspex :(
I’m considering using acoustic foam instead here as the DVD drive will be the loudest part.
And the baffle are to stop air cycling not as directional elements.
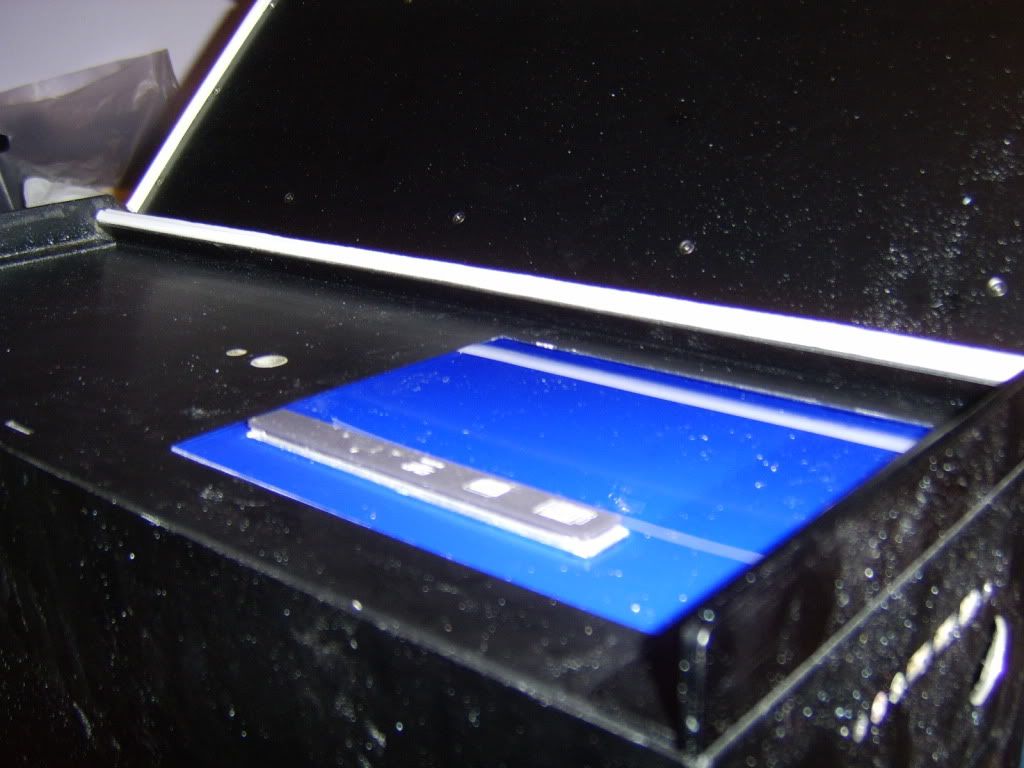
I was going to make the front panel with aluminum but I’m pleased with the Perspex one I’ve made,
but can’t stop myself of tweaking it some more.

Now for the images (that my wife deleted, will upload new ones soon :()

Rear fan and top vent blanks.
I needed to get a few 10mm bolts for here as the 6mm i used on the case were not long enough.
Should have got 8mm really but i didn't measure before my 2am order.

rear1.jpg


rear2.jpg


Rear of case
Grill still to be painted and no i/o shield but it's starting to take shape.

rear3.jpg


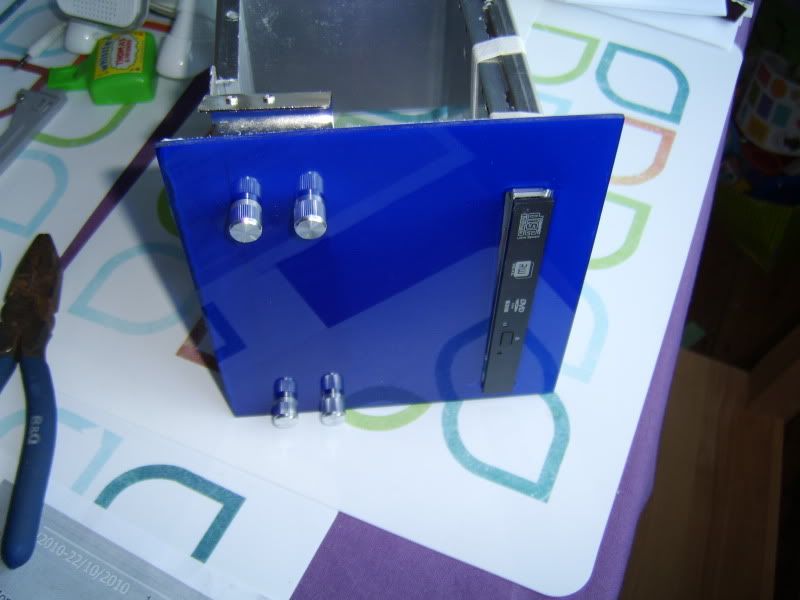
Front panel.
I used a card template here as well, to get the optical drive hole in the right place.
Ideally the drive should have been higher but I would need to use a thin radiator to
achieve that. As it's a passive loop this was never an option due to needing 12 or less FPI
The rectangular hole was made the tried and tested way of drilling a hole and threading the
saw blade into it. Internal edges finished with a file to remove any rough bits.

Frontpanel.jpg

protection still stuck on reverse which is why it looks so light under camera flash

I'm not into case lighting but the GA-P45T-Extreme is covered in what looks like
a hundred LED's so the front panel should glow with the door open.
Only have a few more parts to make this week so the next up date should be soon.
 
Last edited:
Front fan blank.
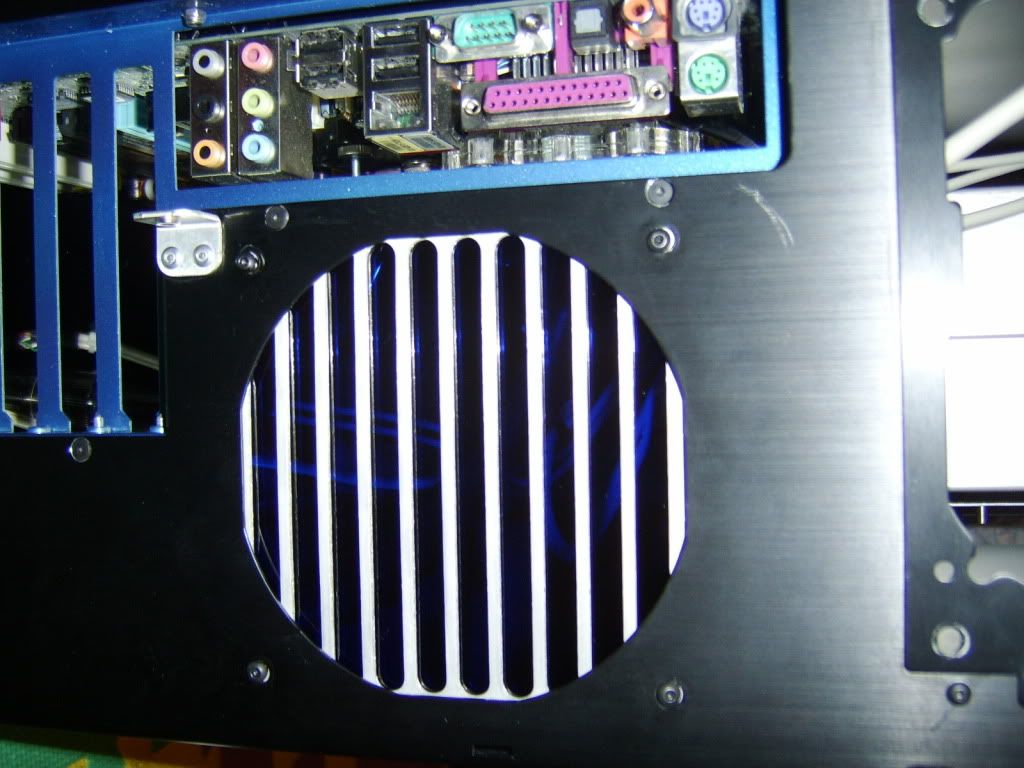
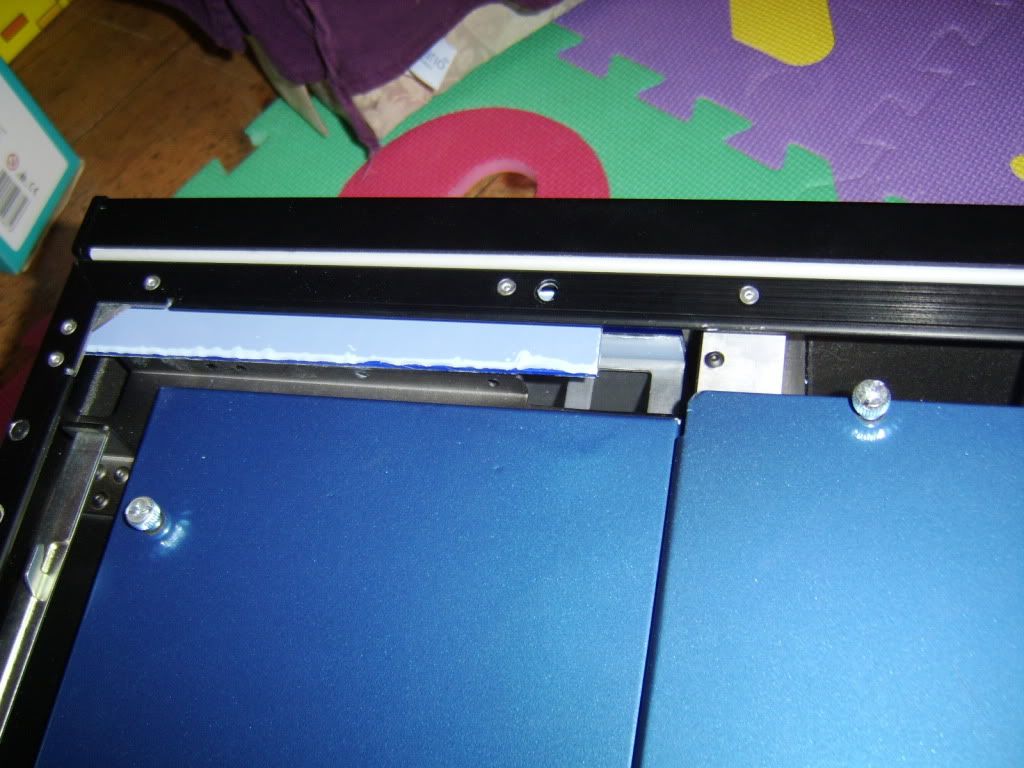
By far the trickiest panel was the fan blank under the pump. The aluminum in this area is at
different levels and twisted on one edge. The anti-vibration fixing also passes through the
panel but don't touch it. Needed to do a few card templates to make sure it was right
before cutting the panel. As with the air baffle, these are key to directing the limited
air flow on a single path out via the rad. The air flow is based on assisted stack ventilation.
It works well as long as your air path is linear. This is similar to cases with 'wind tunnel'
front to back systems but vertically and with less air flow.

fanblank1.jpg


fanblank2.jpg


fanblank3.jpg


the missing parts need to block of the vents here (left hand side).
The vent on the right hand side, feed the fan (above the thumb screw).

missisngbaffle.jpg
 
Last edited:
Been a while I know, been busy getting the savoy hotel ready for it's grand opening on the 10.10.10
but I have made a little progress.

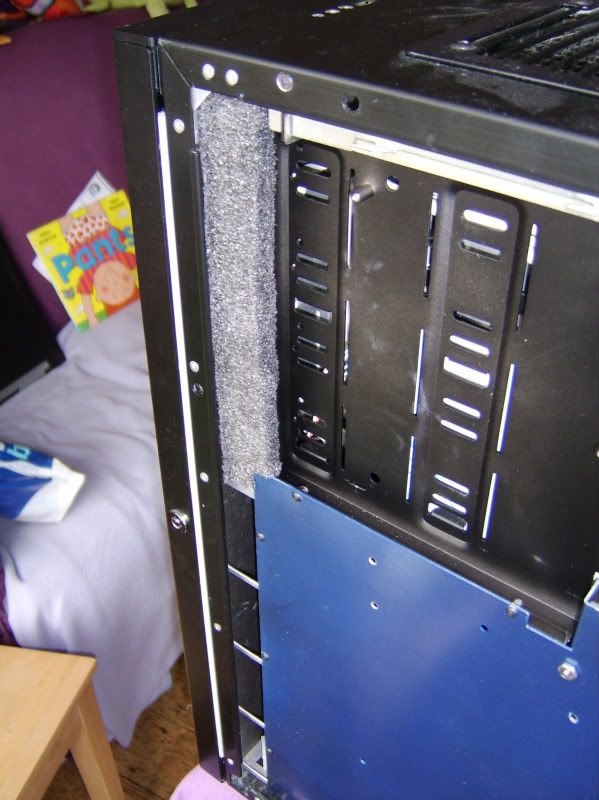
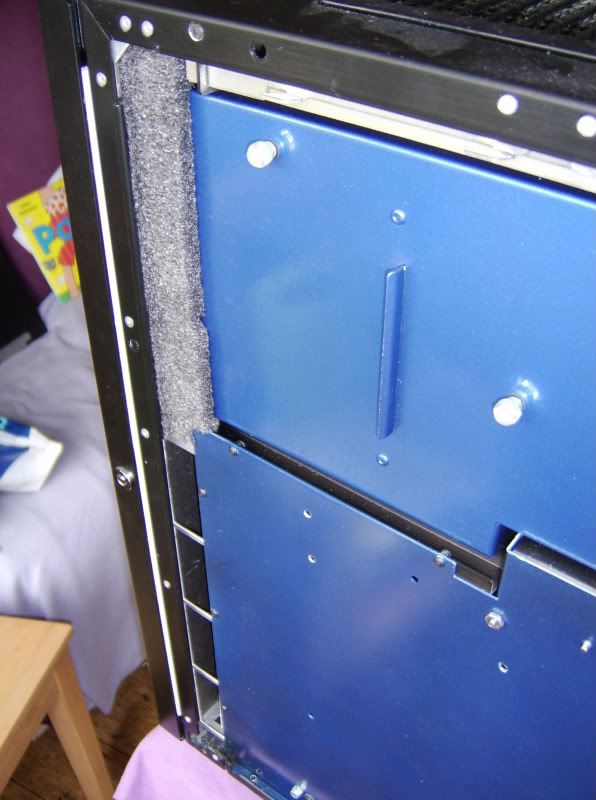
Air stops have been fitted - used open cell foam to help the acoustics and mold round the various metal flanges.

Here's the left hand side - looking toward the front of the case.
The foam has been shaped to slot round the lower fixed mobo tray panel
It also has a groove so the top (bay fixings cover) panel can slide under.

airstop2.jpg


Both panels installed.

airstop3-1.jpg


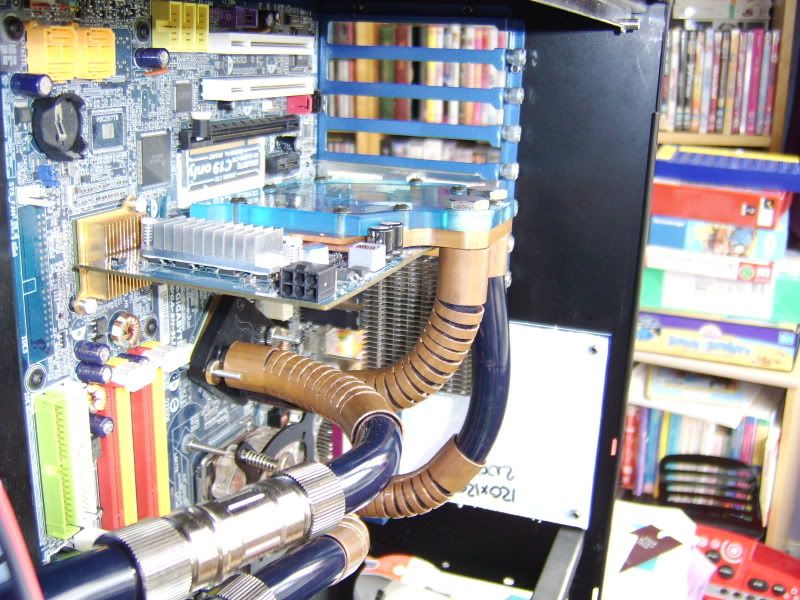
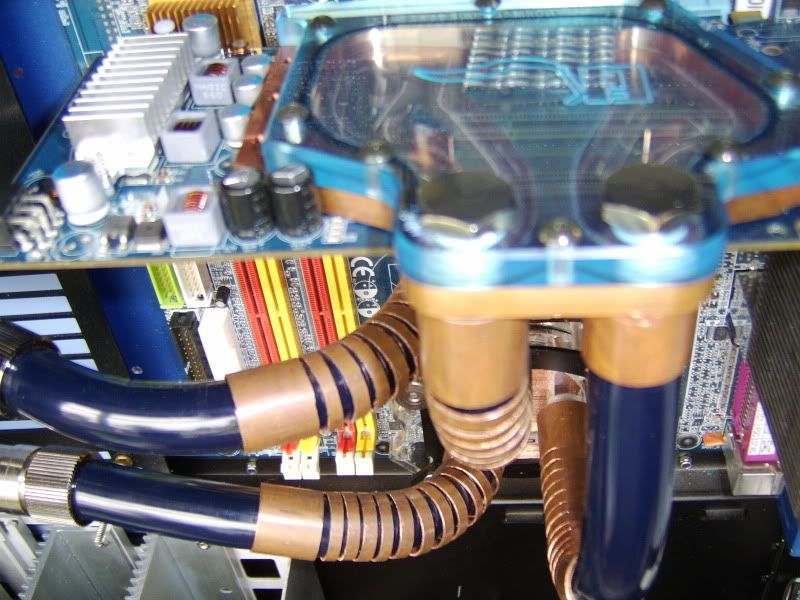
The other area is around the blocks - it was always my intention to use the copper pite sleeves on all the tubes
but they take so long to make with hand tools.

Anyway here's the completed look with the dead test board
the EP45T-Extreme I'm using in the final build has a LOT more copper :)
Case is upside down btw.

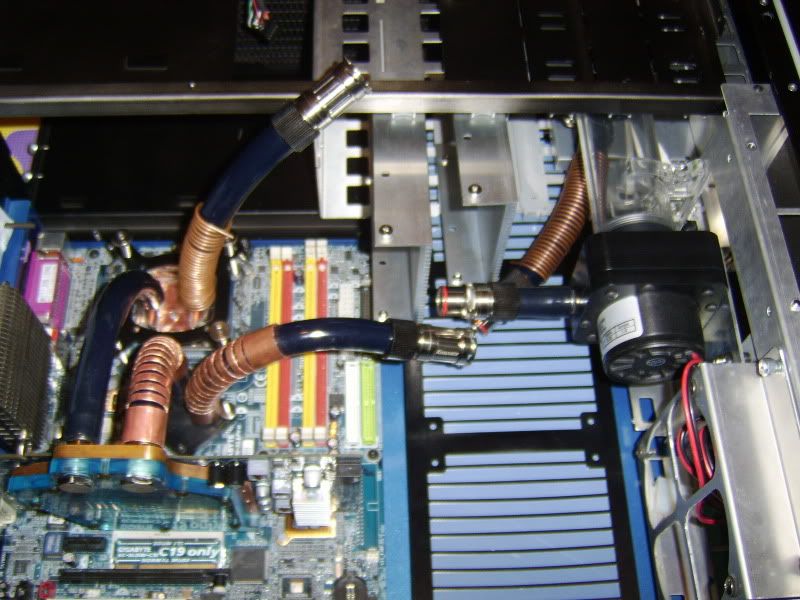
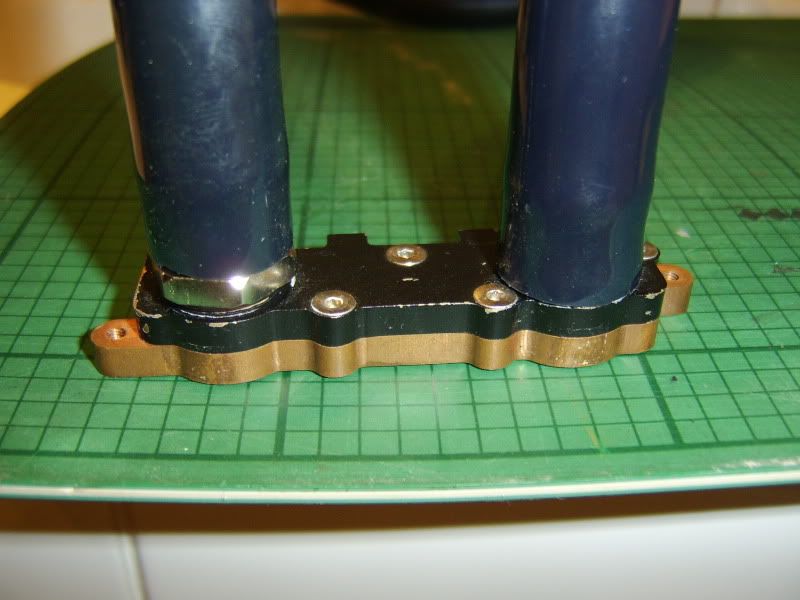
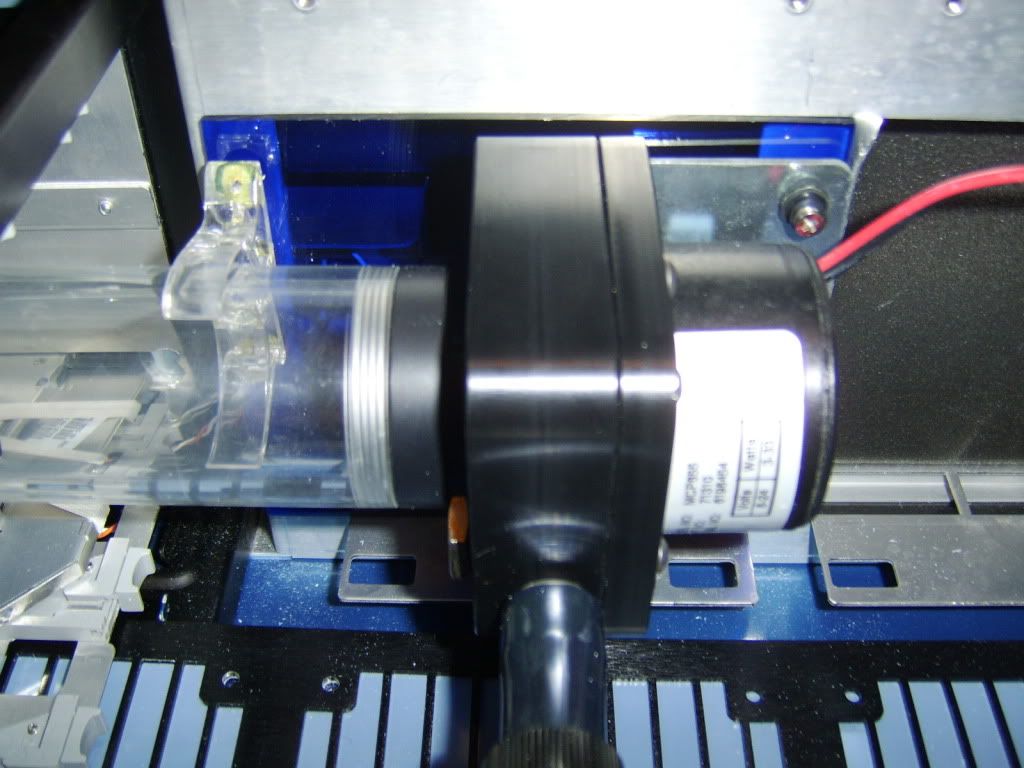
tubes1.jpg


Feser black tube looking dark blue (which is just what I wanted)
but may get some blue anyway as the build colours are a lot lighter than orginally planed

Added a little 2cm copper collar to the second gpu block tube - didn't look right without
Doh! should have been 2.5cm to match, how did I miss that - oh well, measure twice and cut once next time...

tubes2.jpg


Blue EK full cover block visable - very tempted to get the blue HF supreme top to match :)

tubes3.jpg
 
Last edited:
Thanks guys - and condenser - don't give me ideas :D

Few more pic for you all.

After trying to reinstall the tubing to the fill port and rad I decided to cut the top off the orginal HHD cage.
I say cage top - in it's current possition it sits just behind the optical bays covers.
This give me much better access to the three barbs under the cases roof via the bays fronts.
Making sure 1/2 tube is fully fixed on 1/2 barbs is a must, have just the thing in my bit box for that final squeeze.

Laptop drive visable in it vertical position, the holes you see are used to fix the cage up into the roof mounted rad.
Second post shows you what it was like.

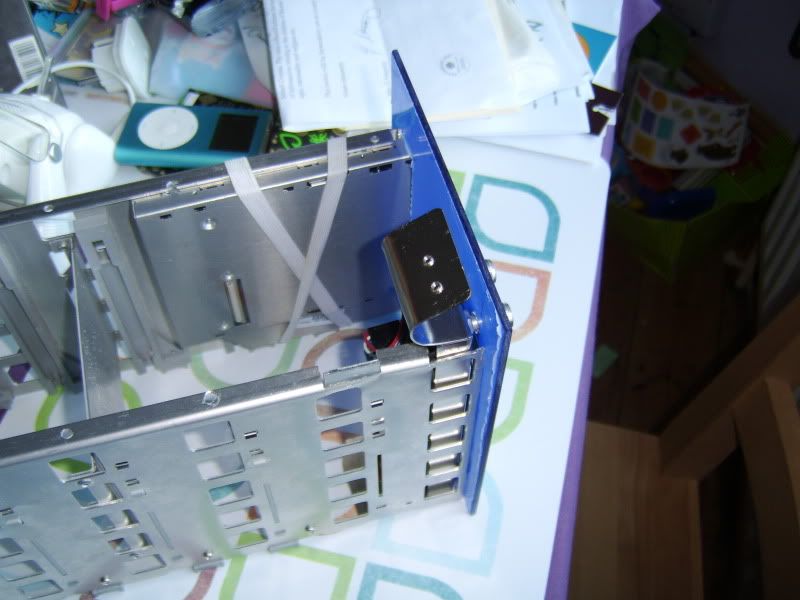
cage1.jpg


Small cuts used to make a new flap so that the tube to the fill port is now straight.
Would have work fine without this but in for a penny in for a pound.

cage2.jpg


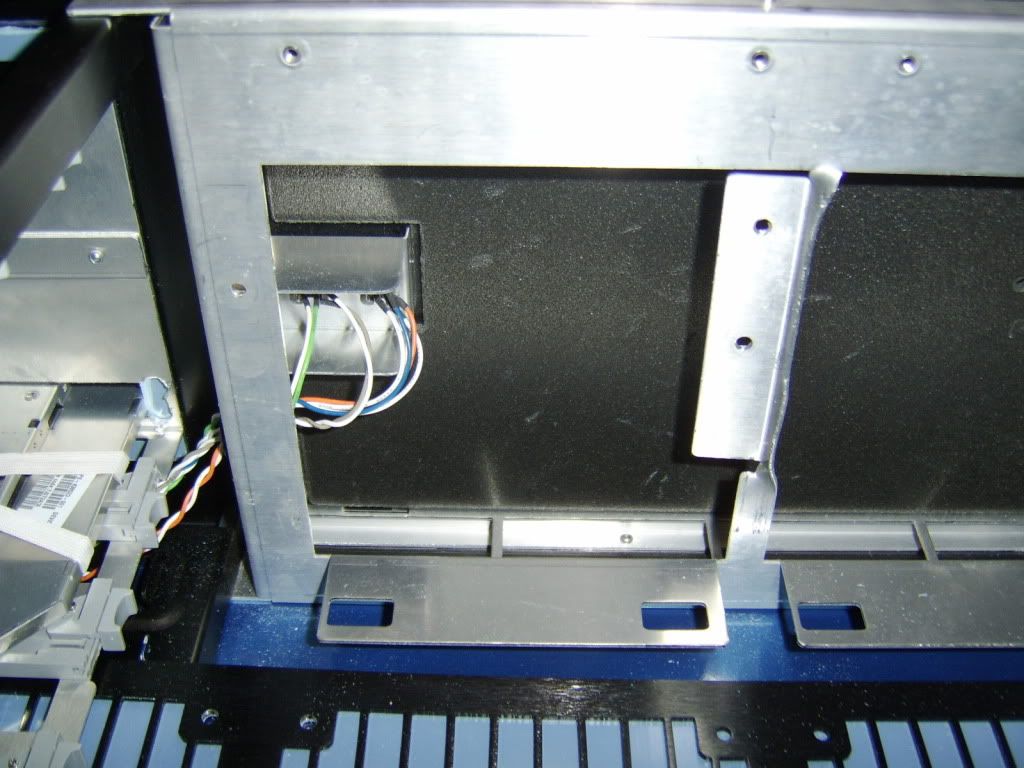
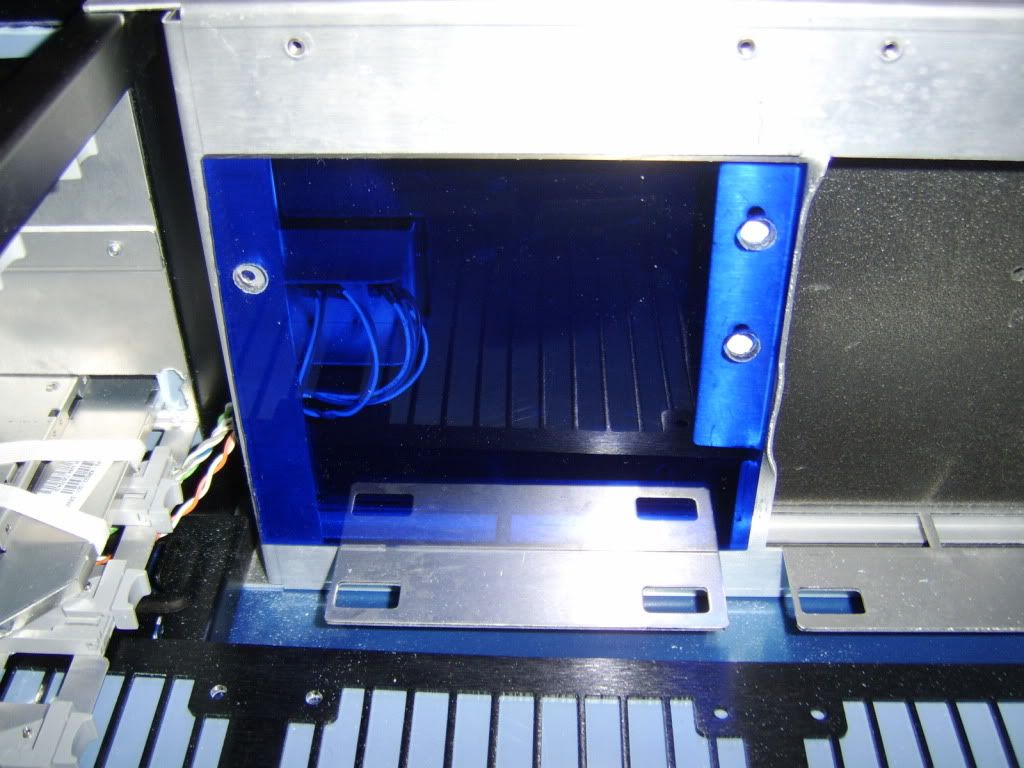
While I was at it a new addition to the build - a stealth fan / temp panel.
Scythe kamameter hidden behind the front acrylic panel

cage4.jpg


Bit more cage cut away, and the kamameter's fixing plates bent back and out of the way.
I could have cut these - but do like to make my mods reversable if possable.

cage5.jpg
 
Last edited:
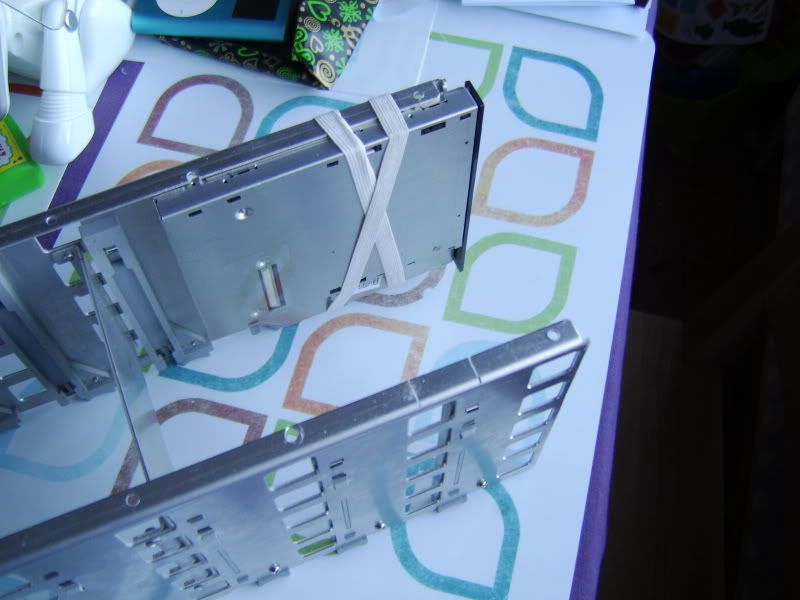
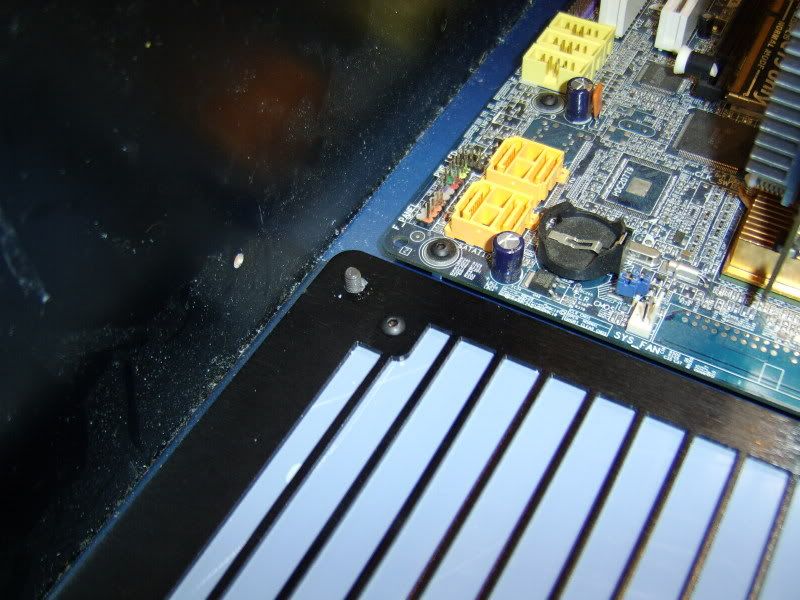
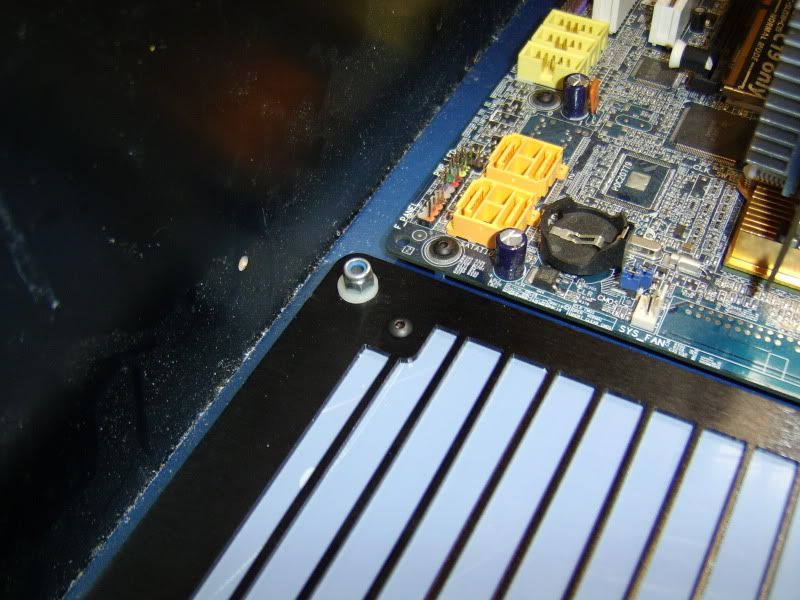
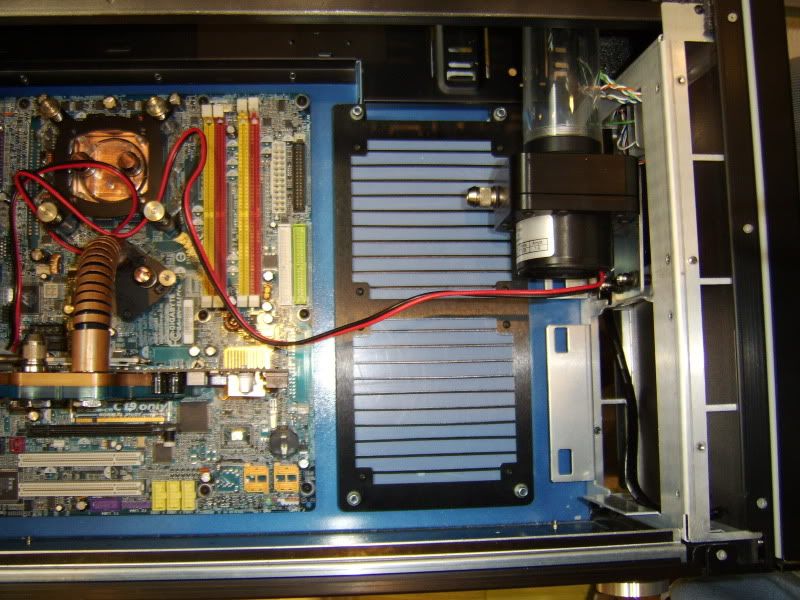
grillin1.jpg

Grill in place

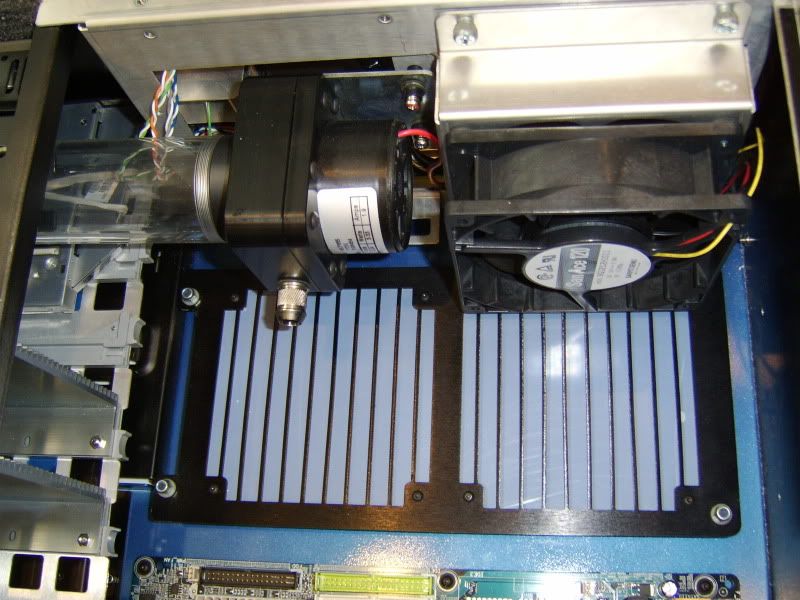
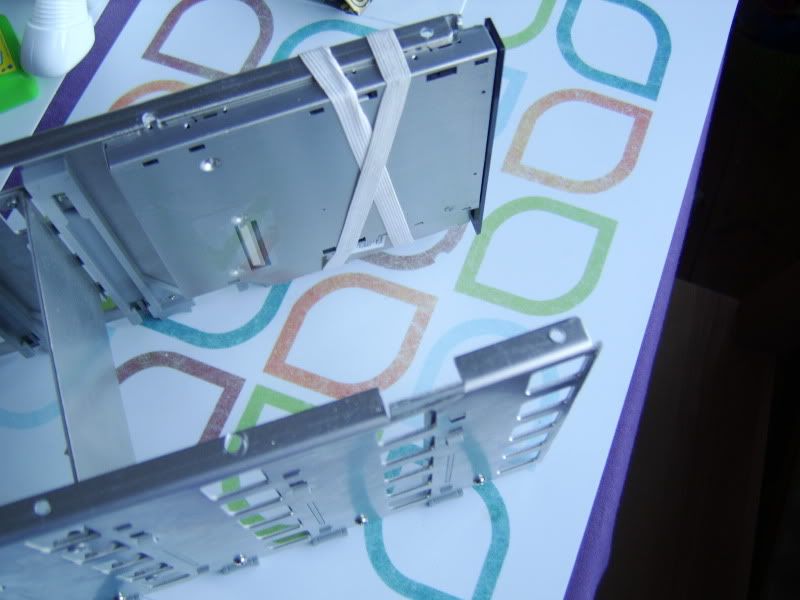
grillin2.jpg

Other direction with HHD cage and 'the fan' in place.

I'm not sure my NoiseBlocker M12-S2 would be up to the job, as it has low static pressure. (I will try)
But just in case I've a San Ace 9G1212H1011 and BigNG as a plan B :D
 
Last edited:
Looks great mate..

I dont suppose you have any of those delrin 90s lying about do you :)

Ive got to agree the ghost barbs are the best i have used but im using the ghost compression on my current build (mainly due to costing £1.50 rather than wanting to) will let you know how they fair.
 
Back
Top Bottom