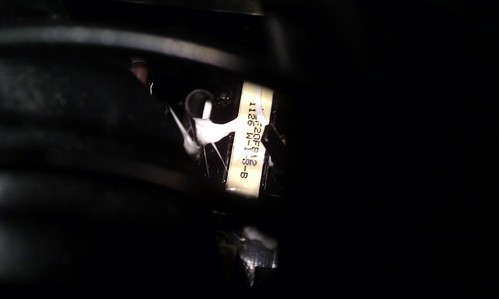
Project : Evolution : TJ07 : By Avathar77

ok,i'm working on my baby today.now i got an xspc rx360 rad with vipers and an xspc rx240 with 2 vipers to put in.i want to put both in the bottom but it's very tight.with my bitspower black sparkle 45 degree fittings they just won't fit.too wide,any ideas?

hmm 90 degree fittings then?
You are using 2 "fat" RADs! and with fans for both! there will not be enough clearance with 45 fittings.
 
Looks very nice!

Note on the Dremel Cutting disc issues.

Try and use them at 45 degrees to the cut.

Even with this however, you'll find that often they break and snap. Supposedly the speedclic attachment discs are much better.

However personally after seeing a guide on the dremel cd about cutting through thick metal, I just double up my discs. So I put two on at once. I have to be more careful with cutting with them, because obviously they create a wider cut, but I haven't had any issues with one breaking on me so far!

kd

Going to order some more cutting disks and steel cutting disks. I think I may have to cut my own window :eek:
 
Small Update again!

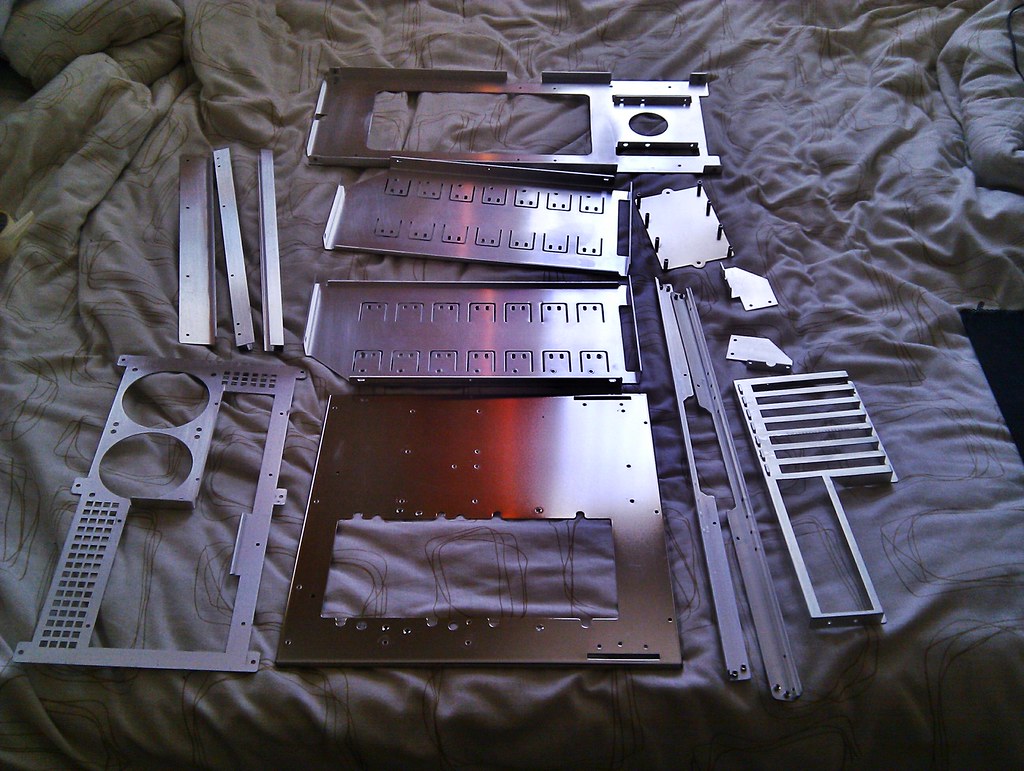
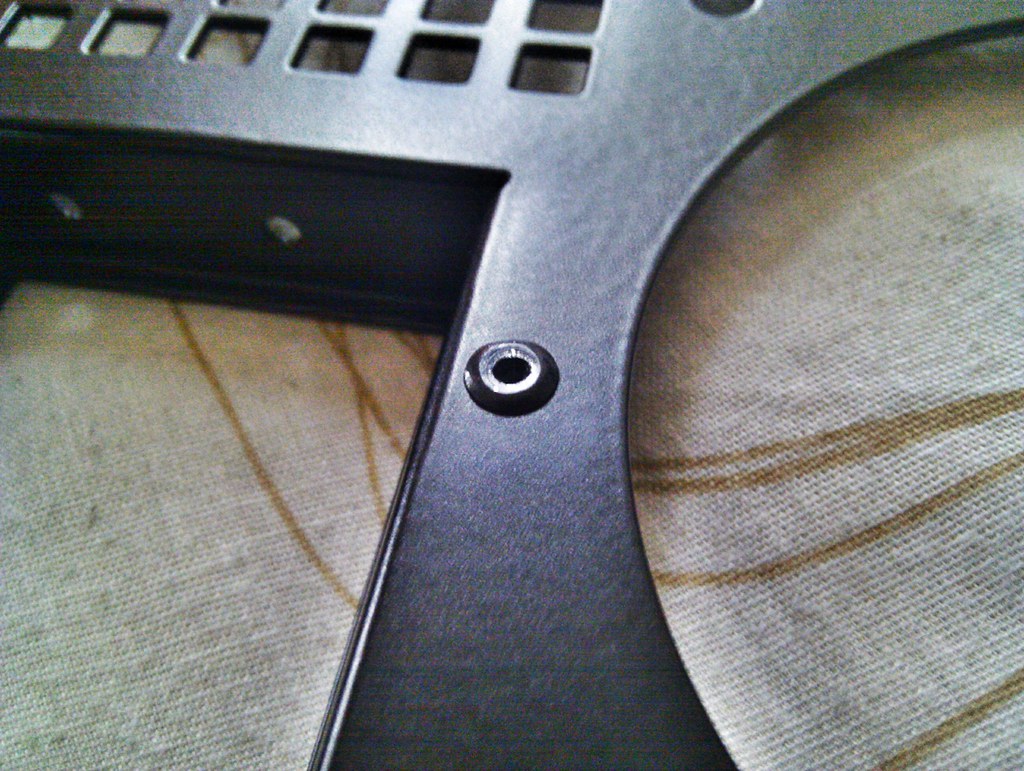
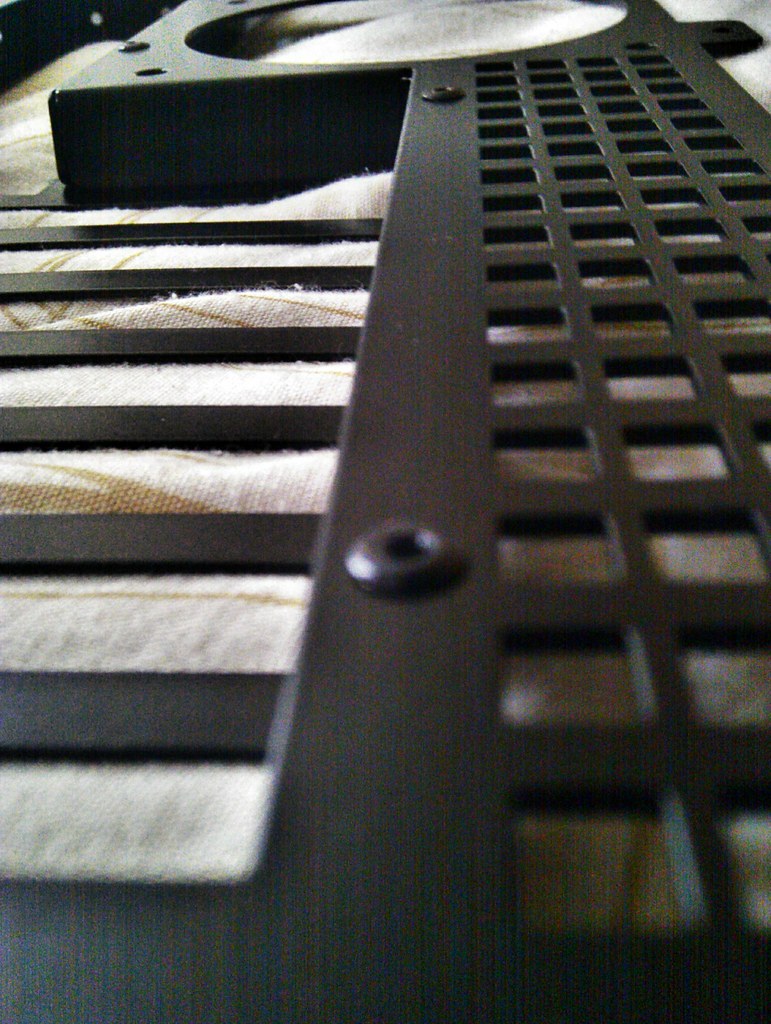
Yesterday I drilled all rivets and separated the parts for Powder Coating.
Took all of them after giving them a good clean and wash, but had to come back again as I forgot the PSU cover! Mrs Avathar was not happy ;)

6287099434_7a9427a9ab_b.jpg


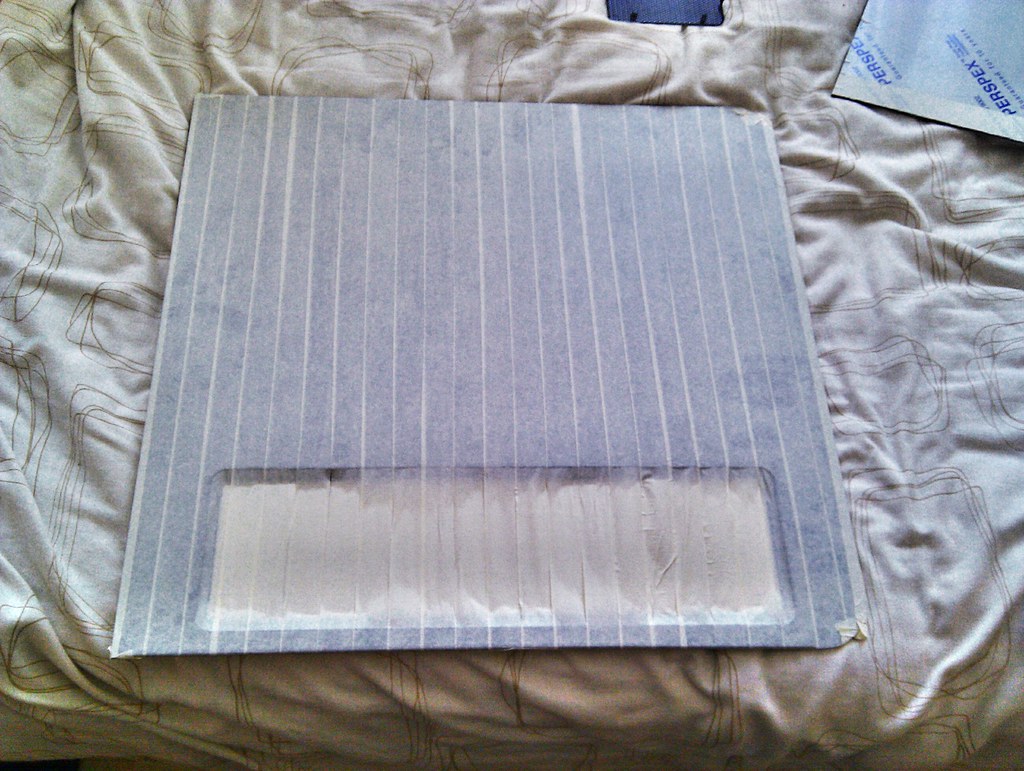
and Taped the Side panel to cut a window!
I still have to wait for some more cutting disks, I could have started with the remaining disks but weather was not good to work out side:(

6287098726_cc550763ec_b.jpg
 
ok,i'm working on my baby today.now i got an xspc rx360 rad with vipers and an xspc rx240 with 2 vipers to put in.i want to put both in the bottom but it's very tight.with my bitspower black sparkle 45 degree fittings they just won't fit.too wide,any ideas?

It will have to be 90's and even then you may struggle. I have a rx240 and sr1 480 int he bottom and just about squeezes in with 90 fittings on the rad.
 
I've just found out about the need for 90's when running dual rads, thought I could do it without them but it is just too tight. A couple in a loop won't reduce flow by much anyway.
 
mate you NEED the reinforced dremel discs.

don't buy em from a shop they are hideously expensive, use google to find alternatives:)

These will not shatter and you will have a far more pleasant experience cutting things

Man I loved the look of the original Koolance 360, and you have a 370! i'd use that

good to see EK sorted you out, they're ignoring me atm:(

Yep I made a mistake and already ordered resin disks :( But they were so cheap so I can order some the reinforced disks as well.

Why are EK ignoring you? I contacted them directly and they were very helpful, It was Gregor who helped me out. But the return shipping took about 2 weeks!
After the nickel issue, I have a dislike about EK plating. Just personnel preference i guess. So I have made up my mind to use Koolance blocks.
 
Need to finish this off quickly as I can't live with iGPU graphics any more!

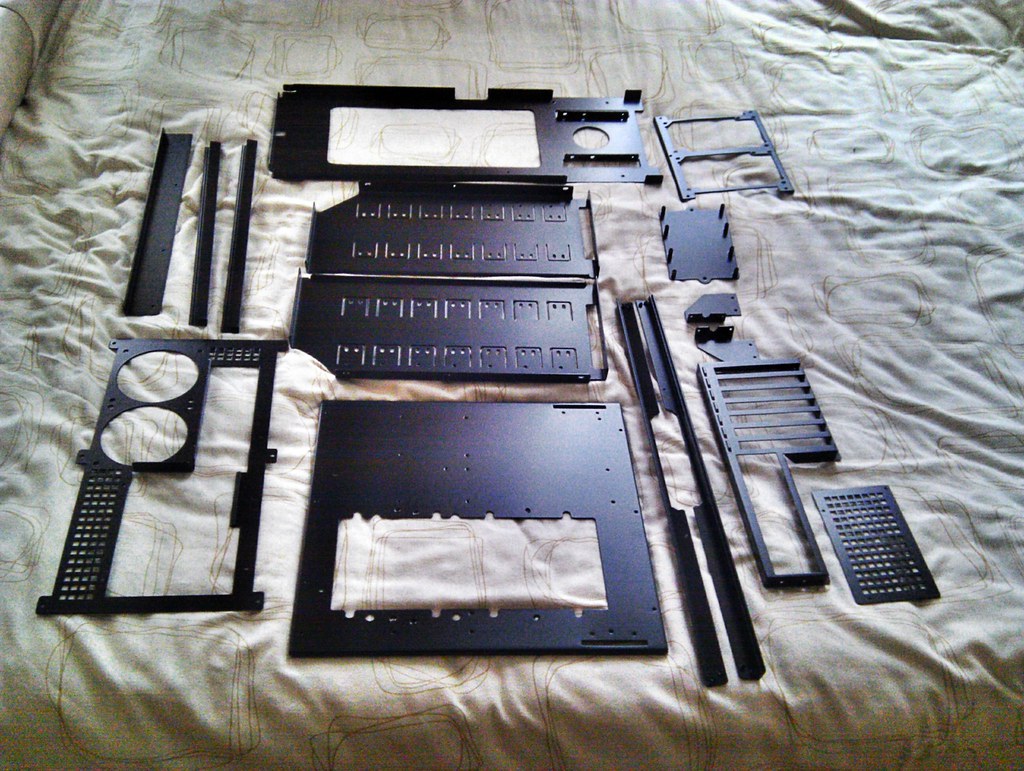
Got my internal parts powder coated yesterday! yey! :D

New PSU arriving today as well!

Pics will come soon.
 
Arrrrgh! so annoyed with "Yodel" right now.
Took a day off from every thing to collect parcels, got one from DHL but yodel is saying they tried delivery and no one home! bunch of XXXXXXX!
 
So NO PSU today as well! :mad:
Apparently yodel doesn't have my contact details(Phone or address) to deliver it! They are saying the shop I bought it have not given it to them and the shop saying they have sent 3 times!

Anyway while I was waiting for the PSU I took the time to do the riveting.

These are the internals all powder coated.
Cant take any detailed pics as today was a very dark and rainy day. But powder coating came up better than I thought!


6310172597_95e0570ffc_b.jpg


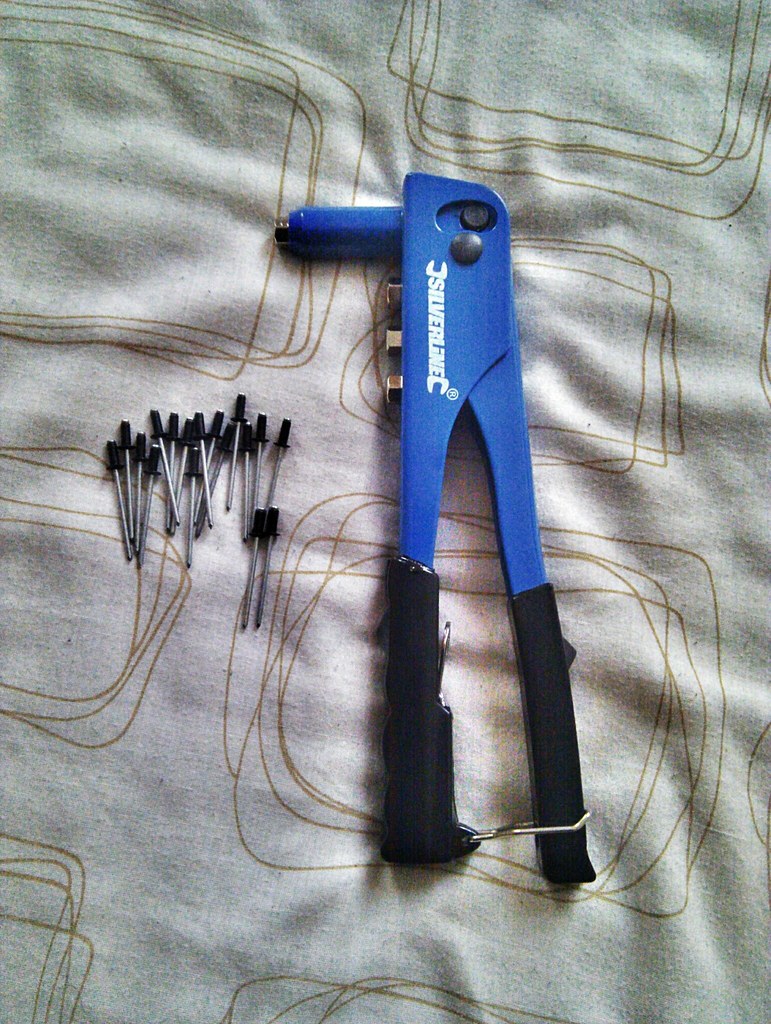
Rivet gun and 3.2 rivets.

6310692110_7574e97662_b.jpg


Paint on the rivets are going off easily so I had to be careful when fitting them.

6310693110_0857820936_b.jpg


6310171623_21377c1d1a_b.jpg


Did some more work but couldn't take any more pics as it was already dark. Oh how much I miss the summer!
More updates tomorrow.
 
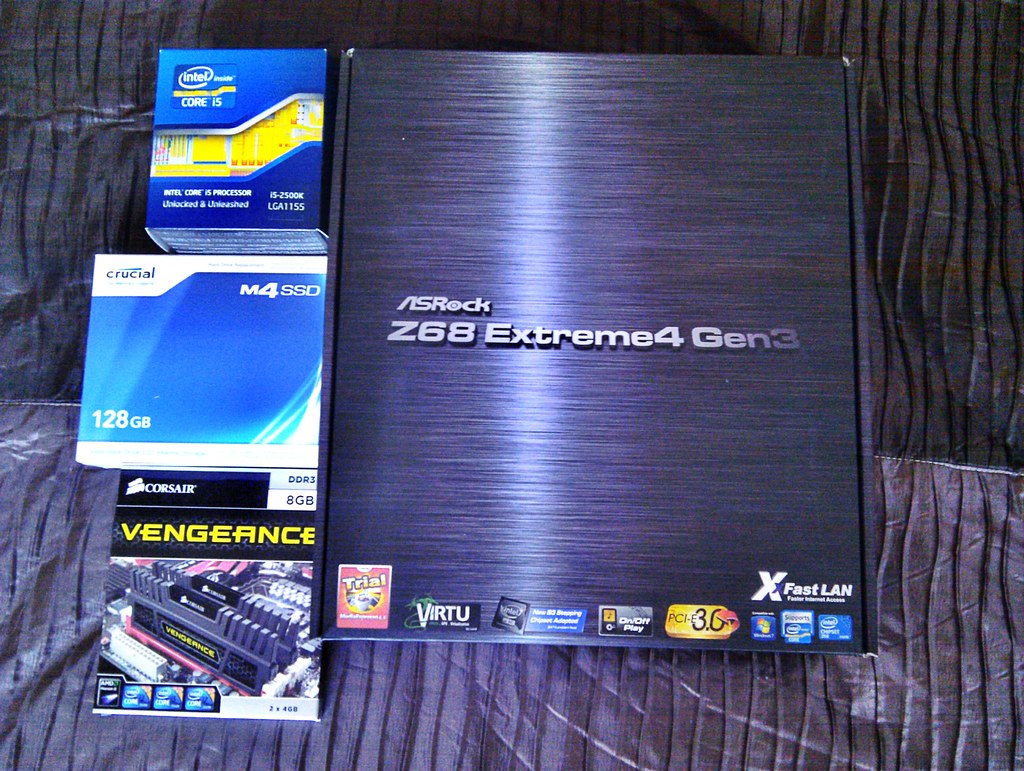
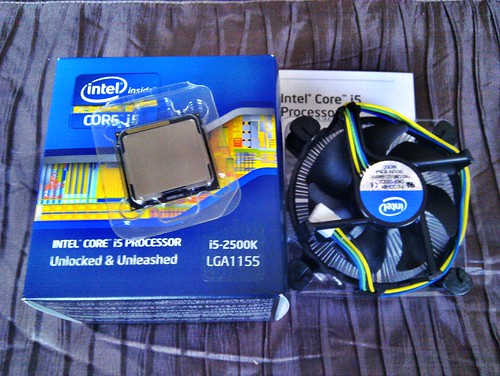
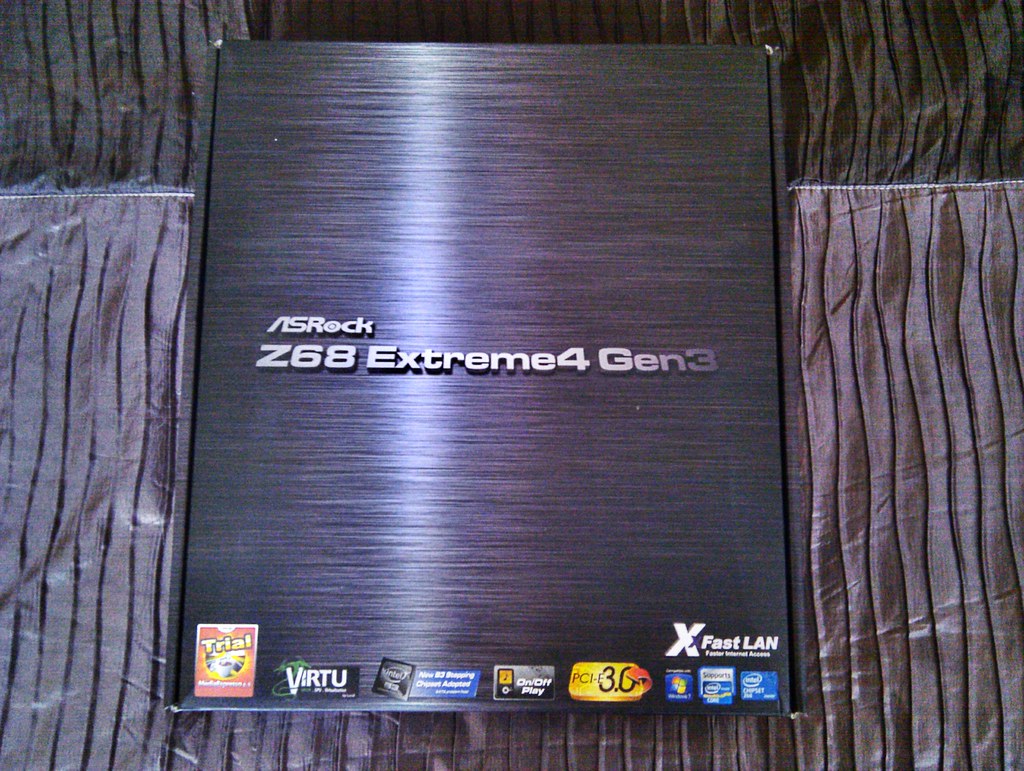
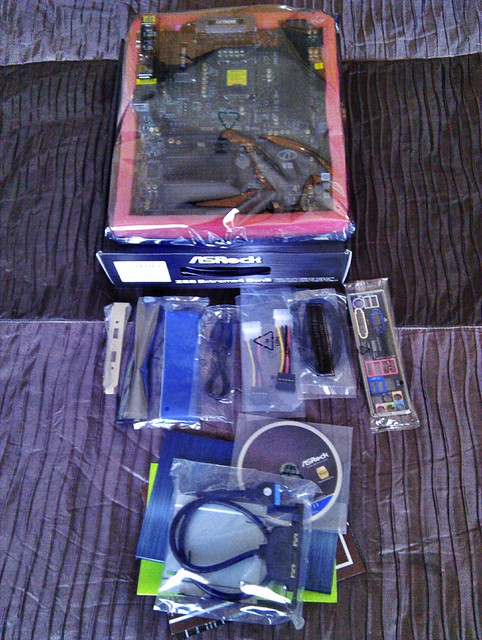
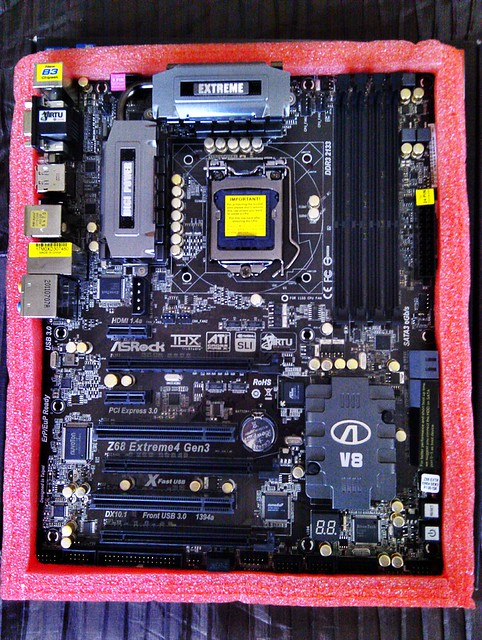
Got some new toys :D

I got them some time ago(ordered a day after AMD bulldozer release) but didn't upload any pics.

6322375796_ae3f7e854c_b.jpg


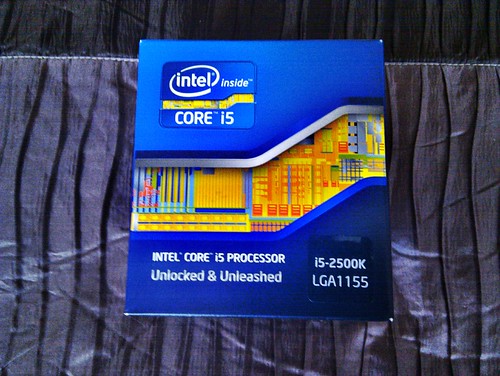
i5 2500k

I was indecisive of 2600k or 2500k but as I have little to no use of HT and by the reviews I read, it will hinder the overclock and/or gaming performance, I settled for a 2500k

CPU HSF is tiny compared to the Q6600 stock HSF that I am used to :)

6321850837_df55ac148d.jpg
6321854823_ee77d21ed3.jpg


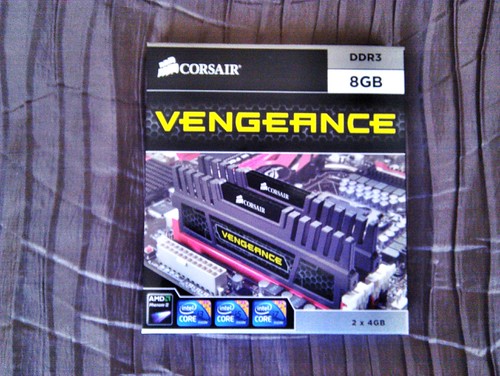
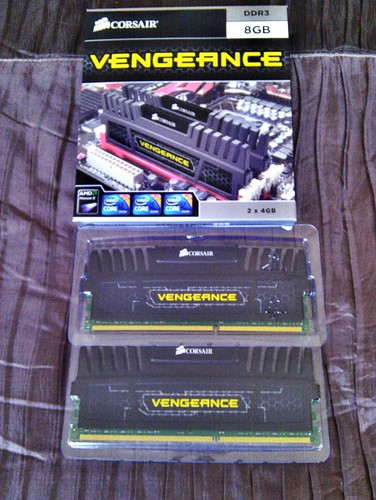
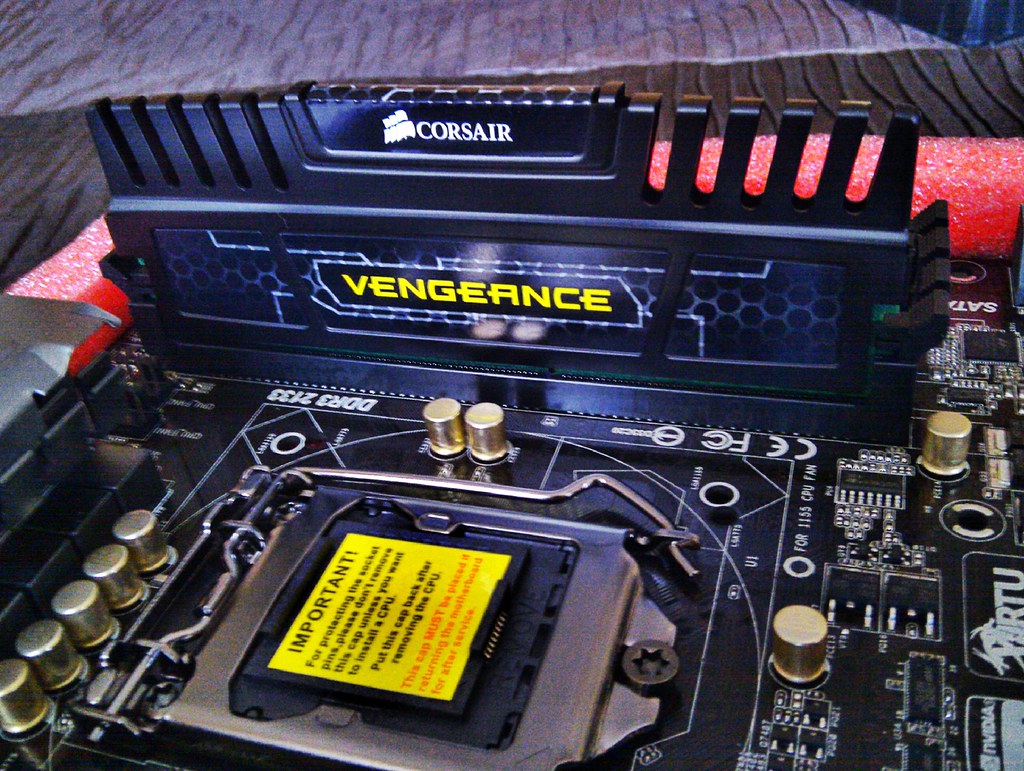
My choices were between this and the two low profile variants(White and jet black) of vengeance ram.

6321851799_8b87962fcb.jpg
6322379770_05bf13d374.jpg


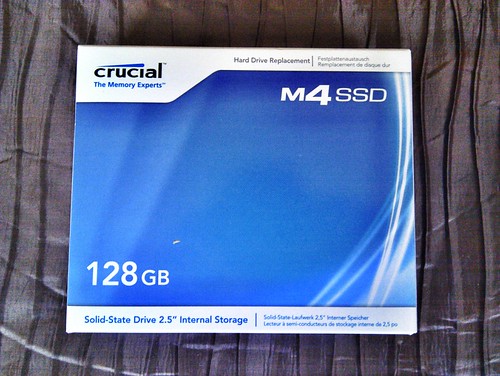
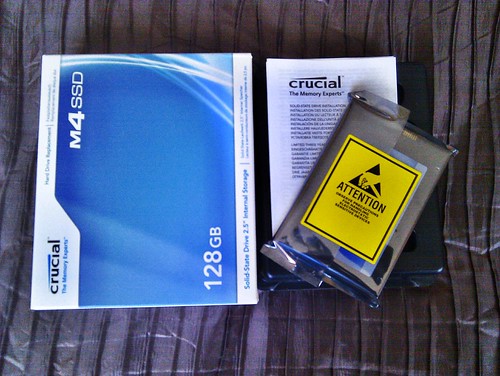
Original plan was to have 2 of these SSDs!
1 for the OS and My documents and the other for Games.
I have a 1 TB NAS drive down stairs, near the router so no HDD sounds.
But my unfortunate encounter with the PSU meant I had to allocate some money from the build to a new PSU.
So sadly only have funds for a single 128 GB SSD now, I am still undecided on putting back my 1TB Samsung F3 as the secondary drive for now.

6322376878_43c4f2c006.jpg
6322379204_576310aba5.jpg


6322377946_91edd7d5d4_b.jpg


6321852929_541a8d17d9_z.jpg
6321855659_5a481c555f_z.jpg


6321857167_1b72af3093_b.jpg


Some more stuff on the way :D
Should be with me in couple of days!
 
Last edited:
Nice stuff. Looking forward to the rest of the build. I also have the same Vengeance RAM and think they look great with the high profile heatsink.

Tempted to pick up a 128GB M4 myself for steam games especially with current HDD prices but I must resist! Currently have OS running on a Vertex 3 and a couple of games and apps on it too. Just can't help eyeing up all those SSDs. :p


Thanks :)

With the ram I was going to get white low profile Vengeance sticks but changed my mind the last minute as I am thinking of changing the Black-White colour scheme in the future ;)
SSD is the most noticeable upgrade I have seen to this date! Going from Q6600 @3.4GHz to a 2500k (stock) was nothing compared to the responsiveness you get from a SSD!
 
So many things have been done but didn't have time to update!


Fist I got some more new stuff

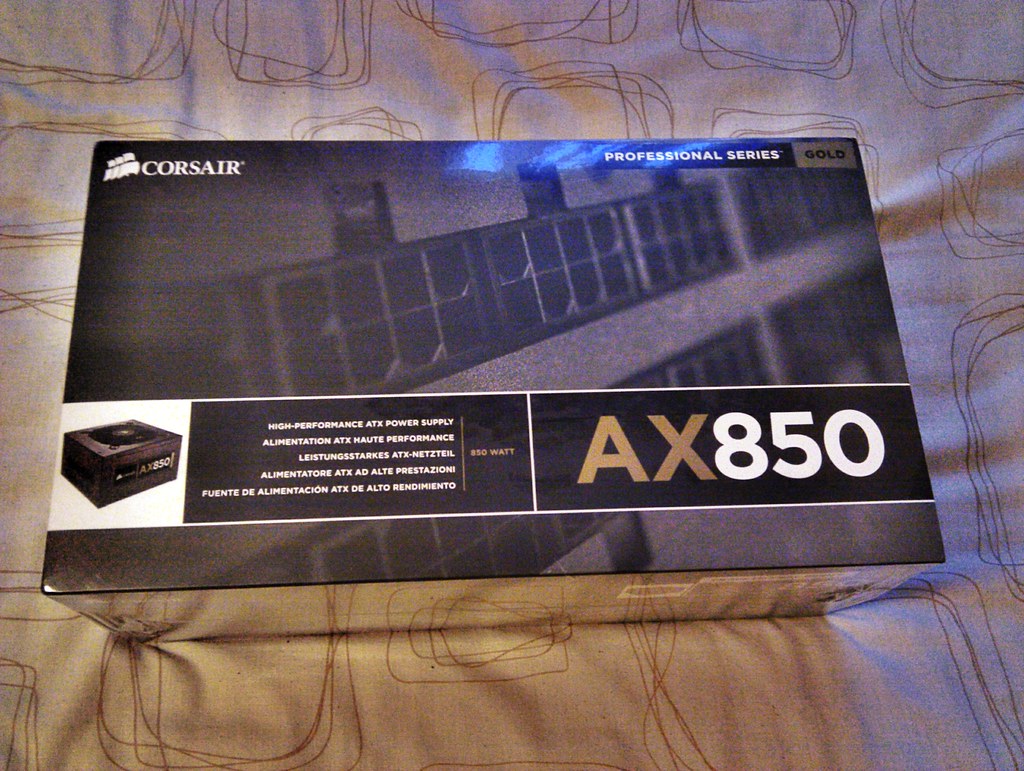
Corsair AX850 PSU! 80 puls Gold rated.
Amazing build quality and lots of cables.
I was worried and reading the reviews again and again because the fan would not spin! Only spints up for a second when turning on and off, but it turns out that is "normal" :)

6338913516_6af651ddd7_b.jpg


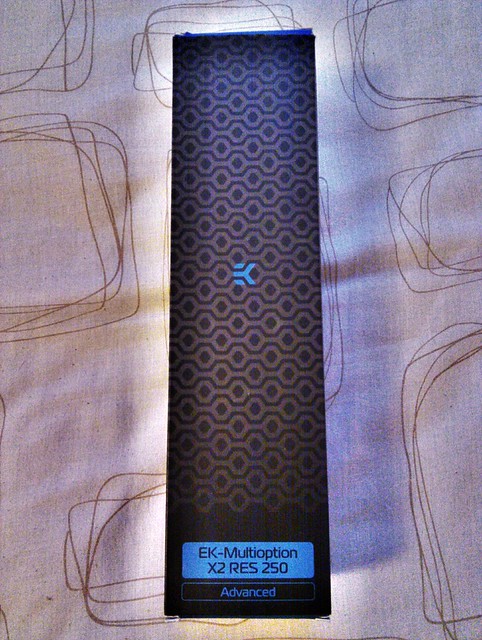
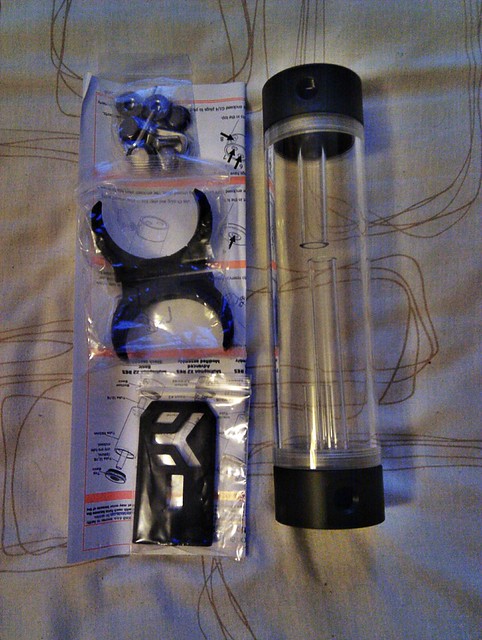
EK Multipption X2 250 Advanced

6338920618_f1de6e2463_z.jpg
6338921340_977e7b92f5_z.jpg


This is the best bit IMO
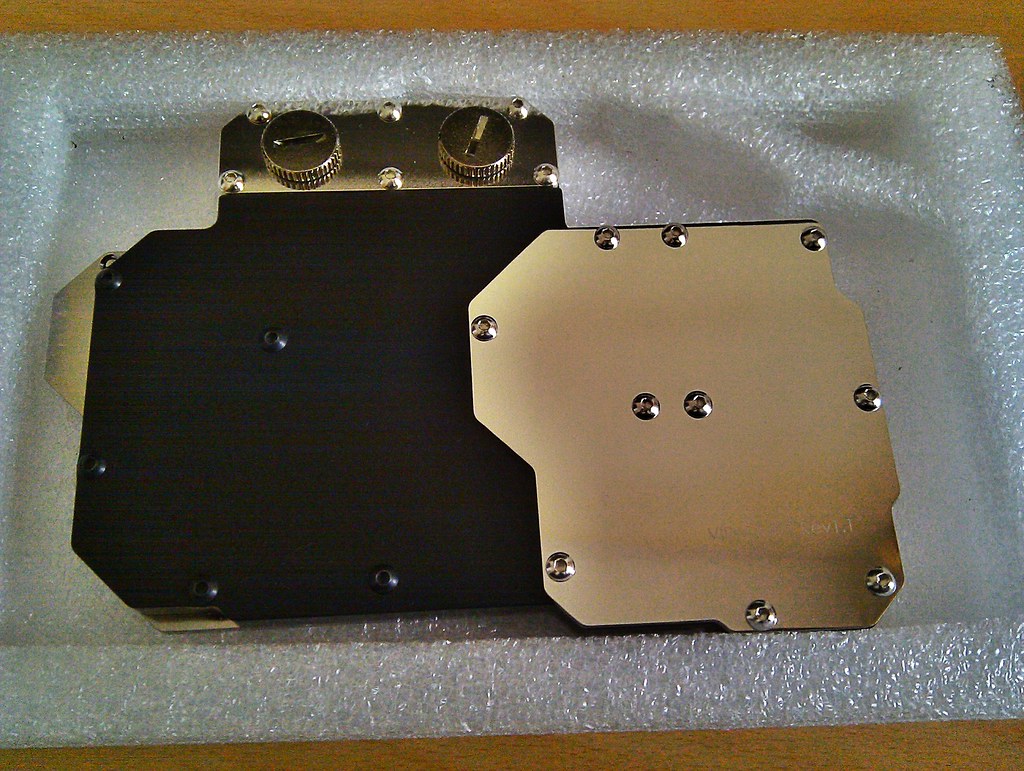
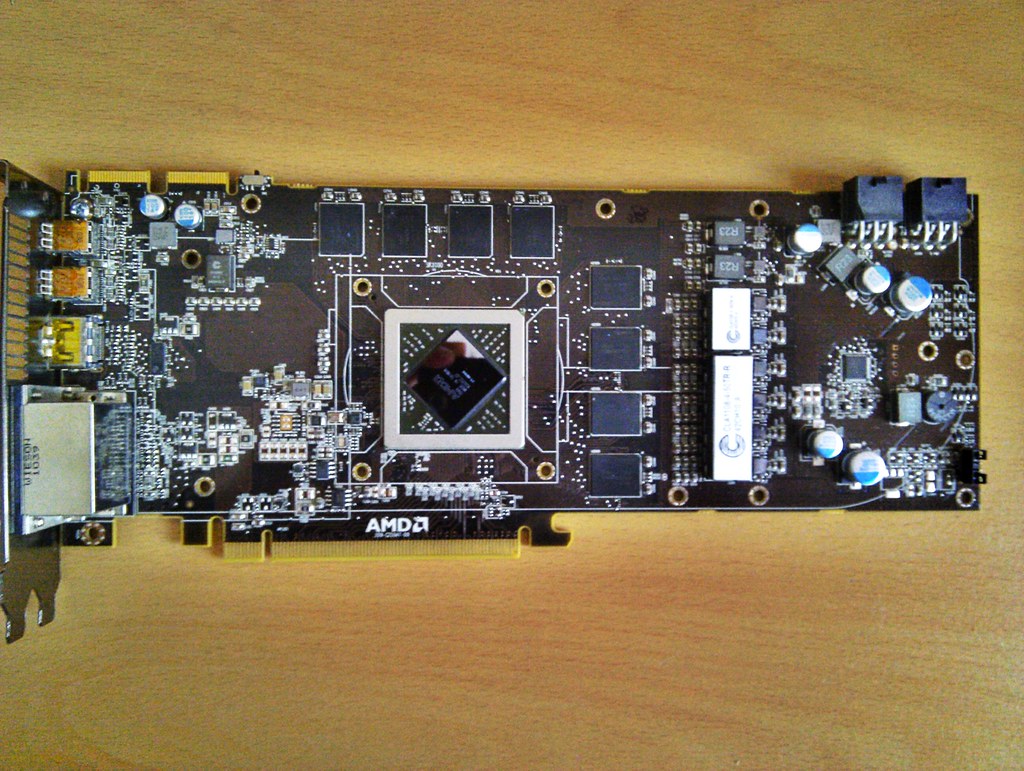
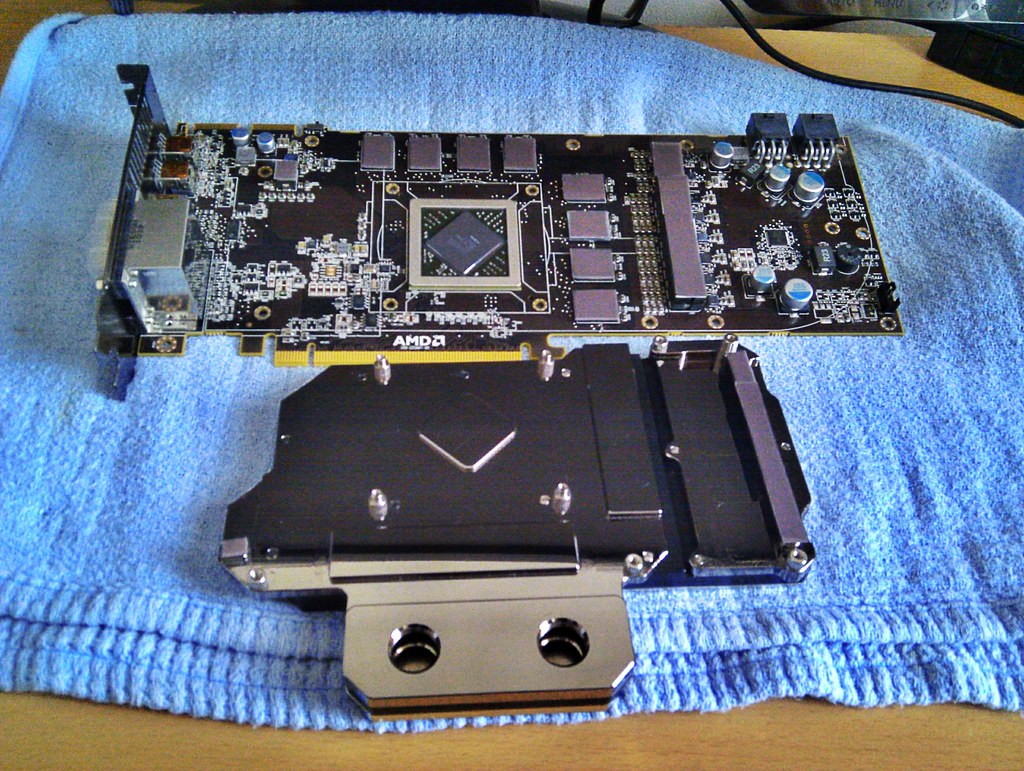
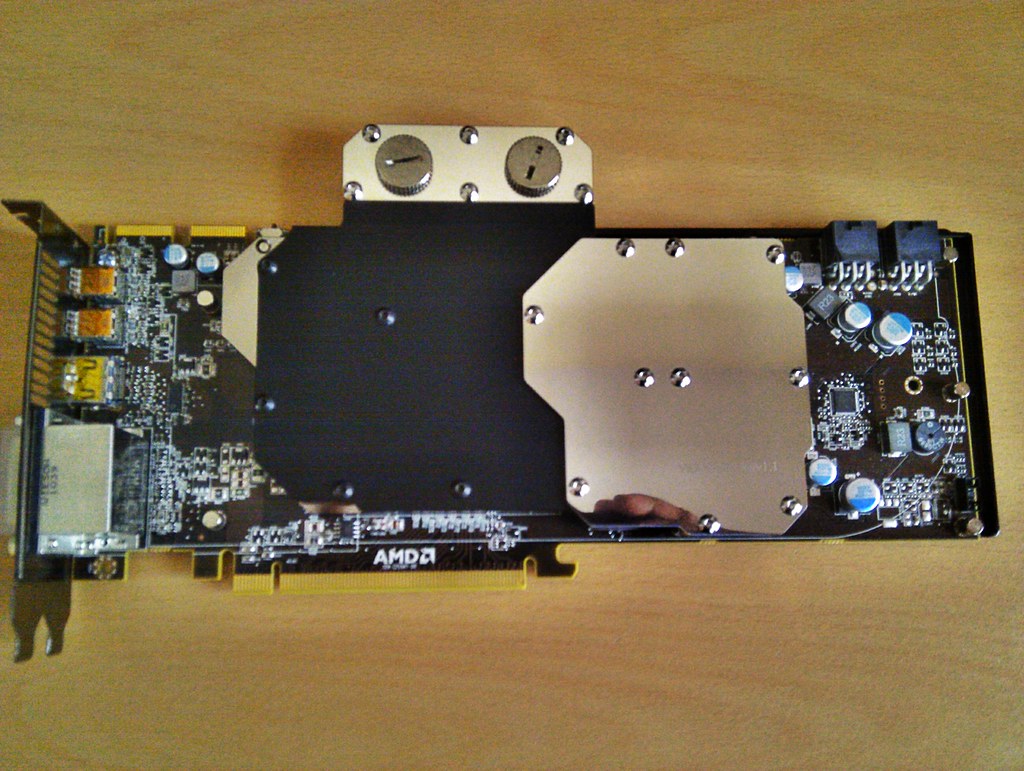
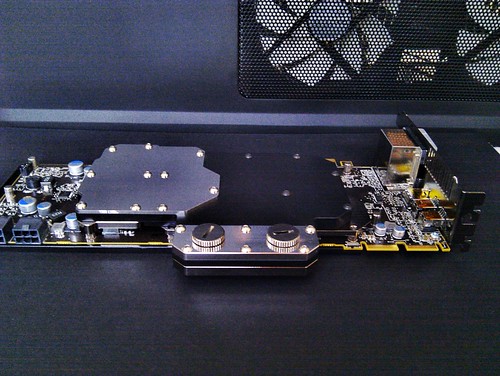
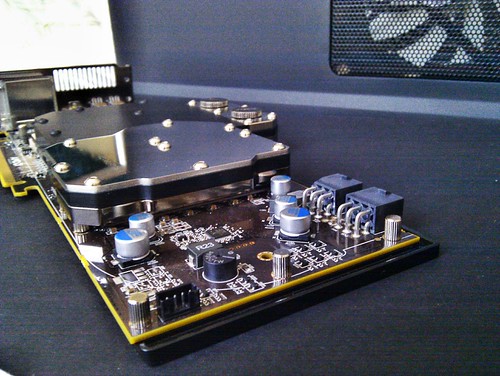
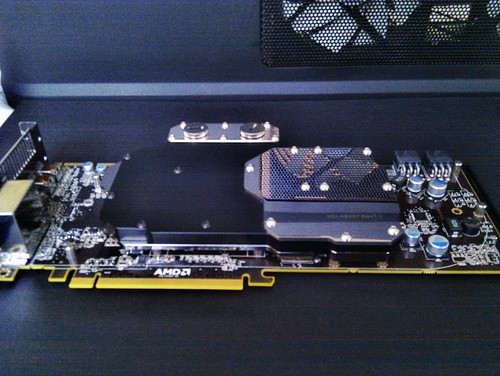
Koolance VID-AR697 Rev 1.1 for my Unlocked HD6950!
So yeah a lot of changes from the initial plan :D

6338161915_5211407dfe_b.jpg


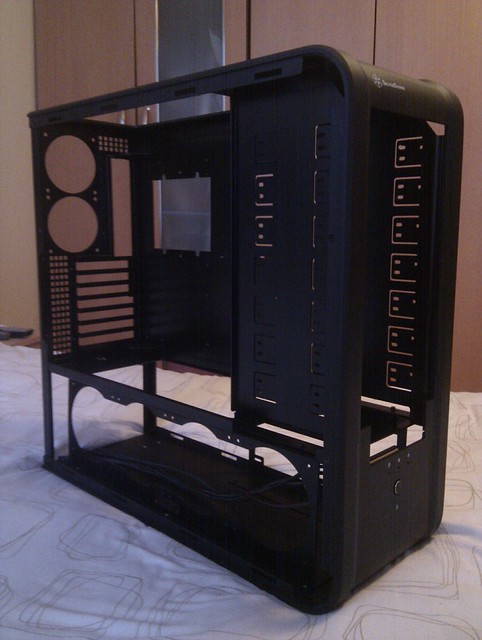
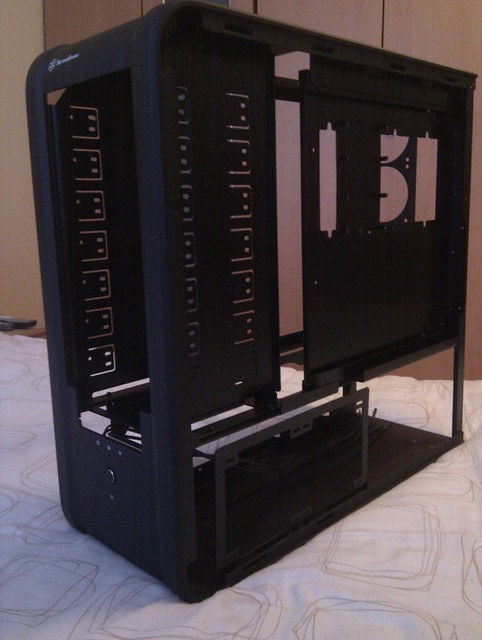
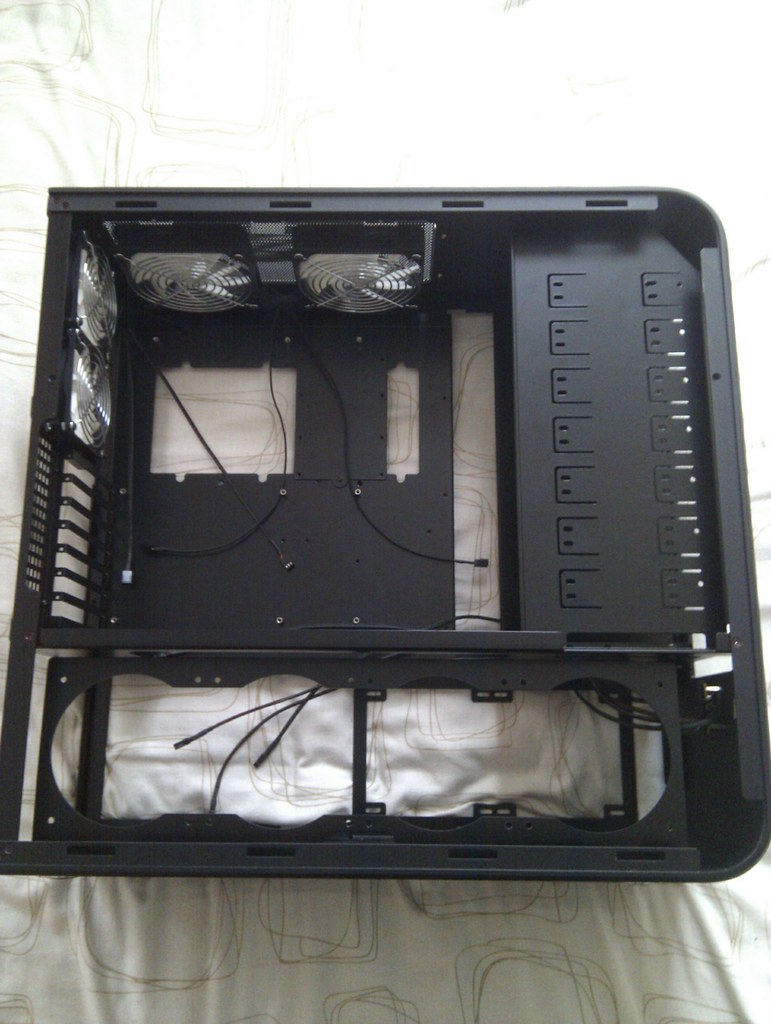
I started by assembling the case

6338167321_da57035105_z.jpg
6338166867_9233774836_z.jpg


I used Arctic F9 fans for the two rear 92mm fans and F12 fans for the two top 120mm fans.
Also fixed the 480 and 240 RAD Stands.

6338920010_cfbd1f47b7_b.jpg


Had to remove the already installed core only GPU block and clean the GPU.

6338162415_85e7b43b63_b.jpg


Cut the thermal tape and ready to apply MX-2

6338915350_8b3056144e_b.jpg


And all done!

6338163955_2916c26b7b_b.jpg


6338917242_898f46e167.jpg
6338164575_f74d5f9949.jpg


6338165821_b9361c781c.jpg
6338166491_931f0de22f.jpg


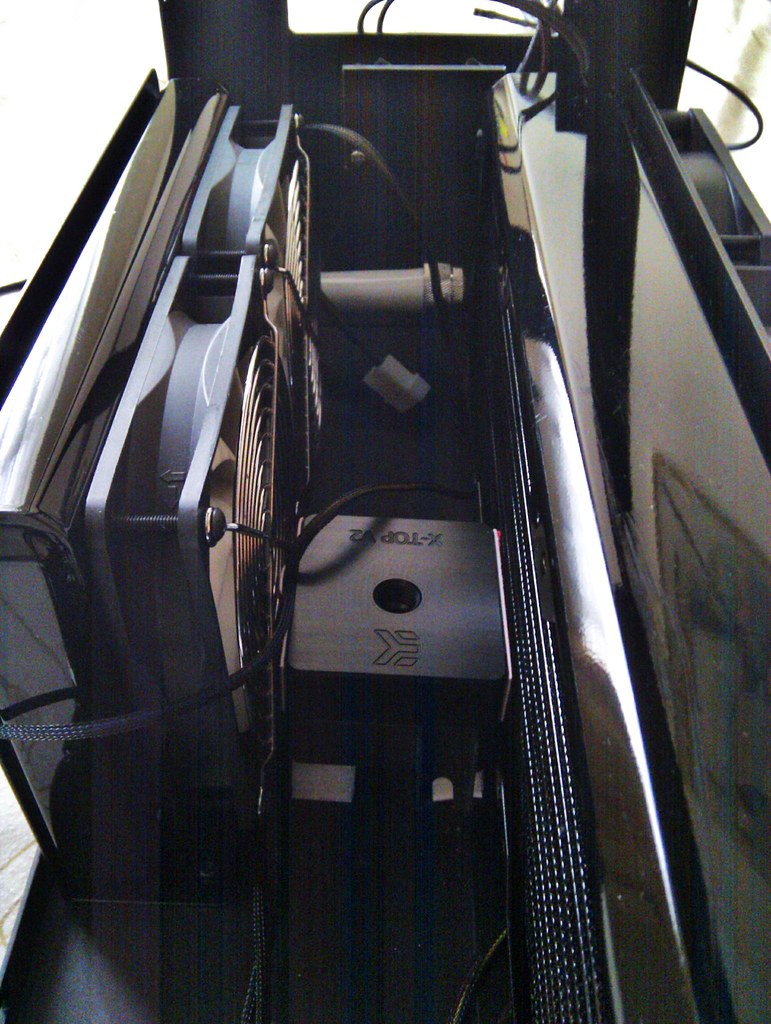
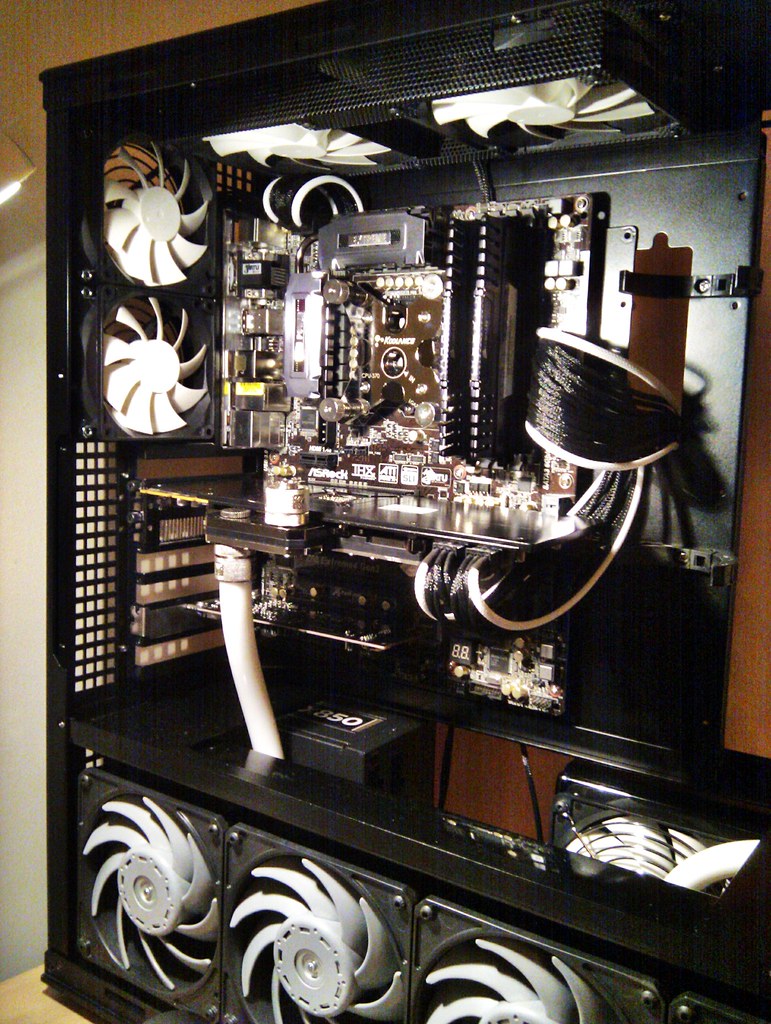
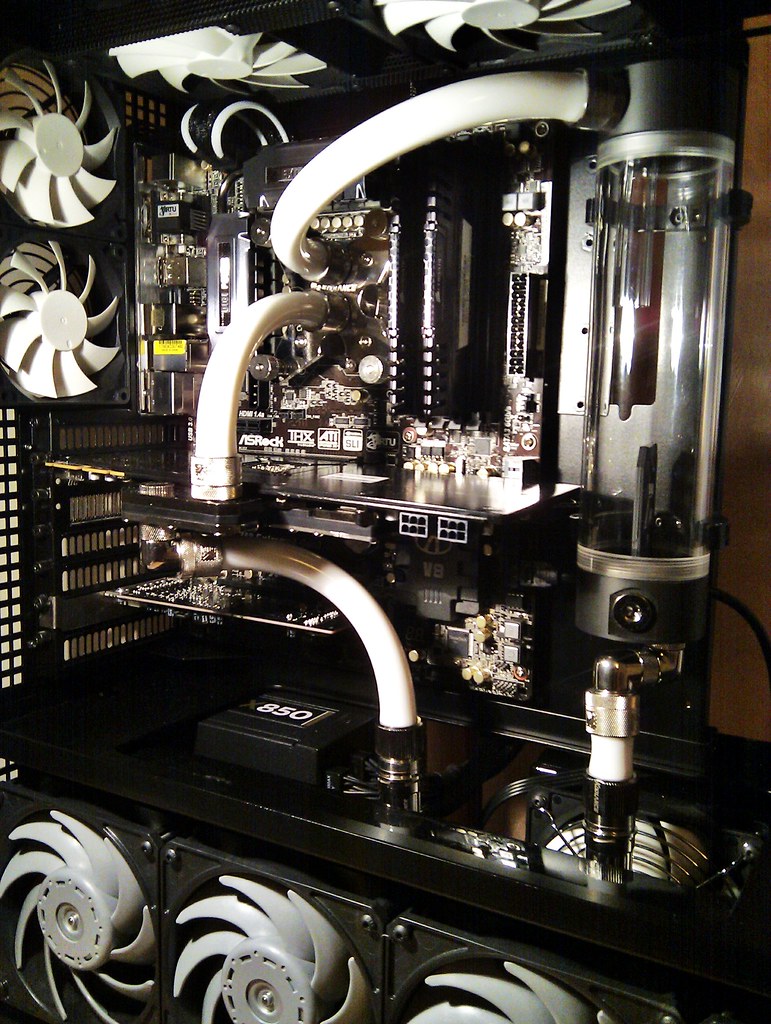
This is how I am going to put the 2 RADs and the pump.
Whether the MCP355 is strong enough for the task is yet to be seen! I do hope it will.
It took me 2 attempts to get the tube between the 2 RADs fit correctly.
Pump is sitting on 4 "Feet" made out of foam to absorb vibration (if any), also it allows air flow under the pump.
Foam feet also helps when detaching the QDC which is going to be connected between the RES and the Pump.

6338172803_90dd8aa128_b.jpg


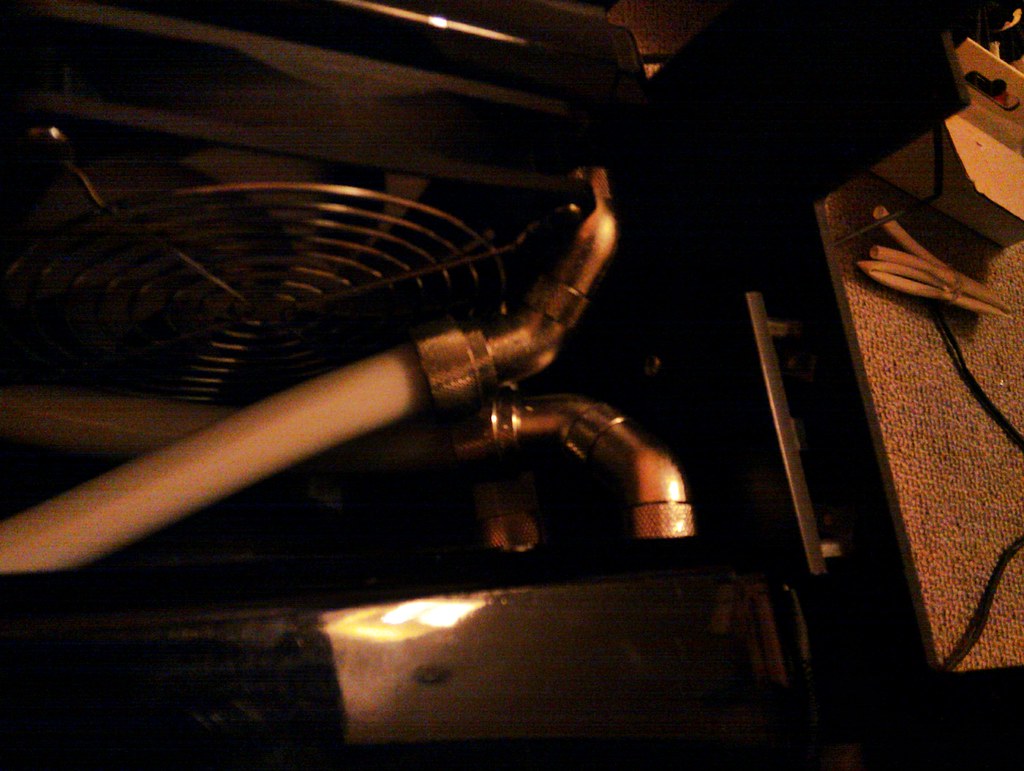
Connecting the tubes to the RADs was difficult than I thought.
I had to use 2 x 45degree angled rotary adaptors on each RAD.

6338921800_848a0338a2_b.jpg


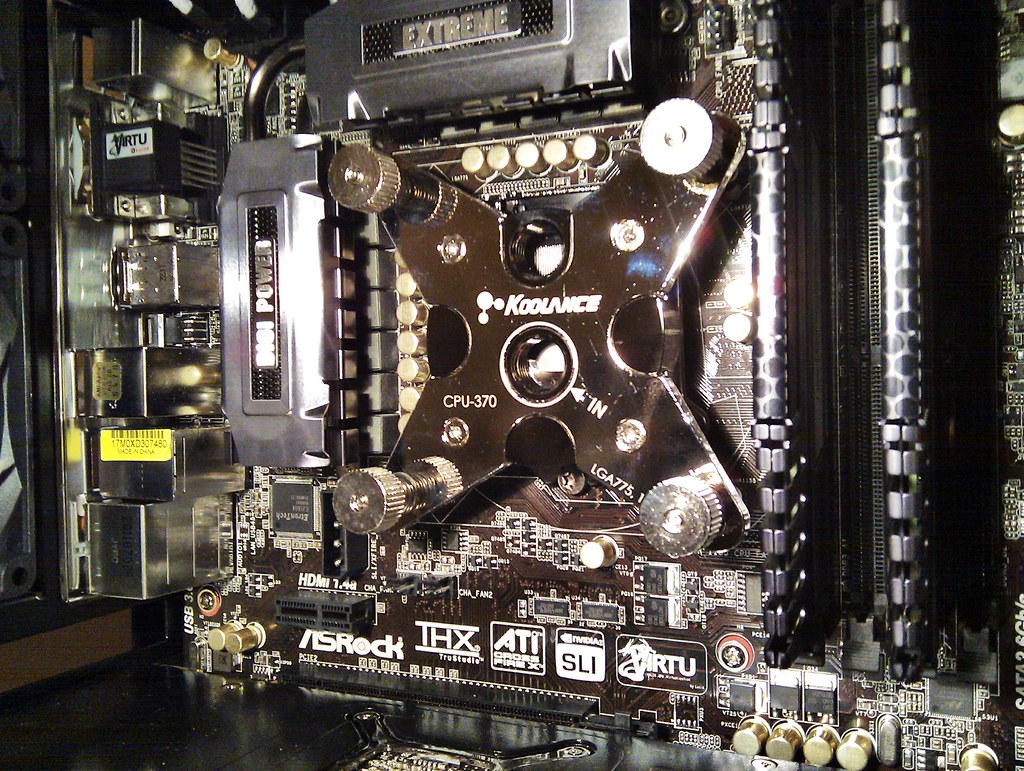
Here is the Star of the show!
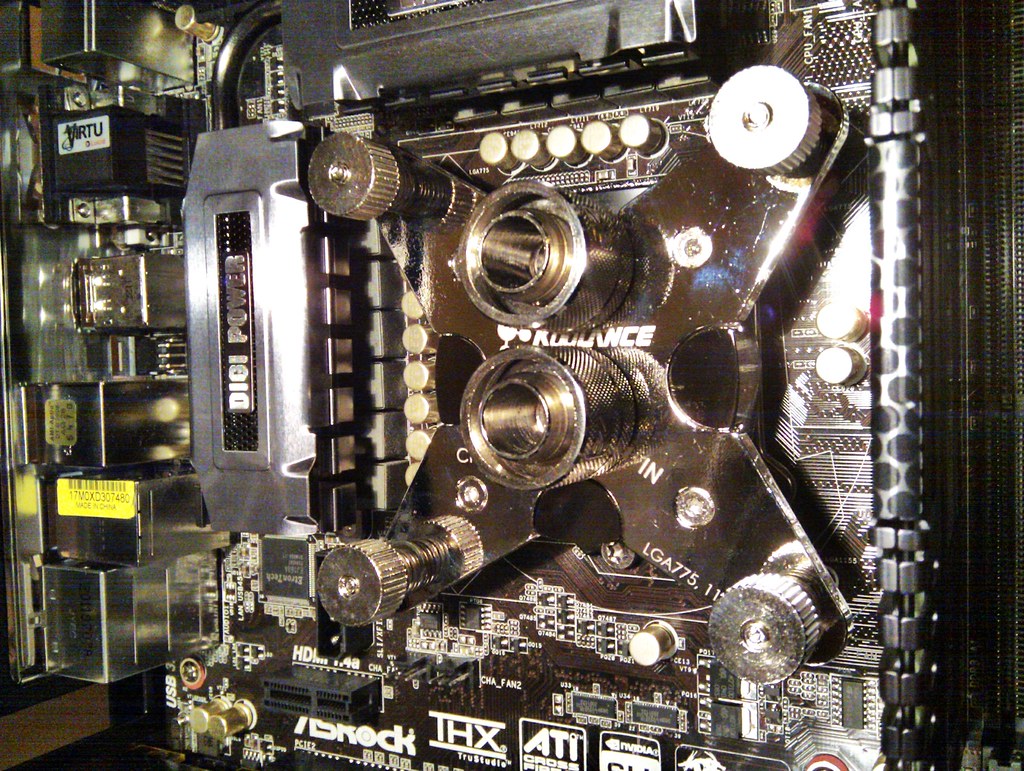
Koolance CPU-370.

6338922514_3a6ec28bf5_b.jpg


I do like Koolance blocks but not their compression fittings! :)
BitsPower is nice but don't have a house to mortgage or sell :D
That makes way to EK fittings.

6338171087_ba7a59e03a_b.jpg


Fixed the the AP-14s for the GTX480 RAD in push and 2 more Arctic F12s for the GTS240 RAD also in push.
Removed the fan grill on top and rear fans as I thought they look better this way.
Placed the New PSU and tried out the 8-pin, 24-pin and 2 x 6-pin power extensions. Didn't want to go overboard with braiding the extensions - only the outer wires are braided in white.

6338925642_3d029a63cb_b.jpg


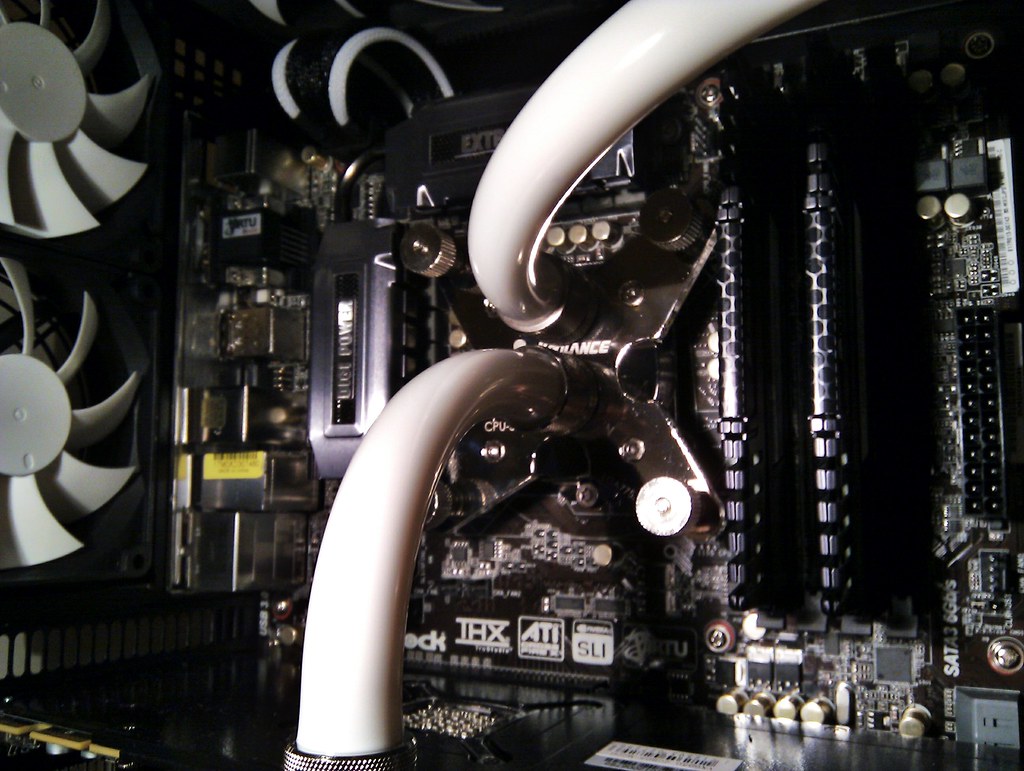
Tubing on the CPU block.

6338171569_bd51d9634f_b.jpg


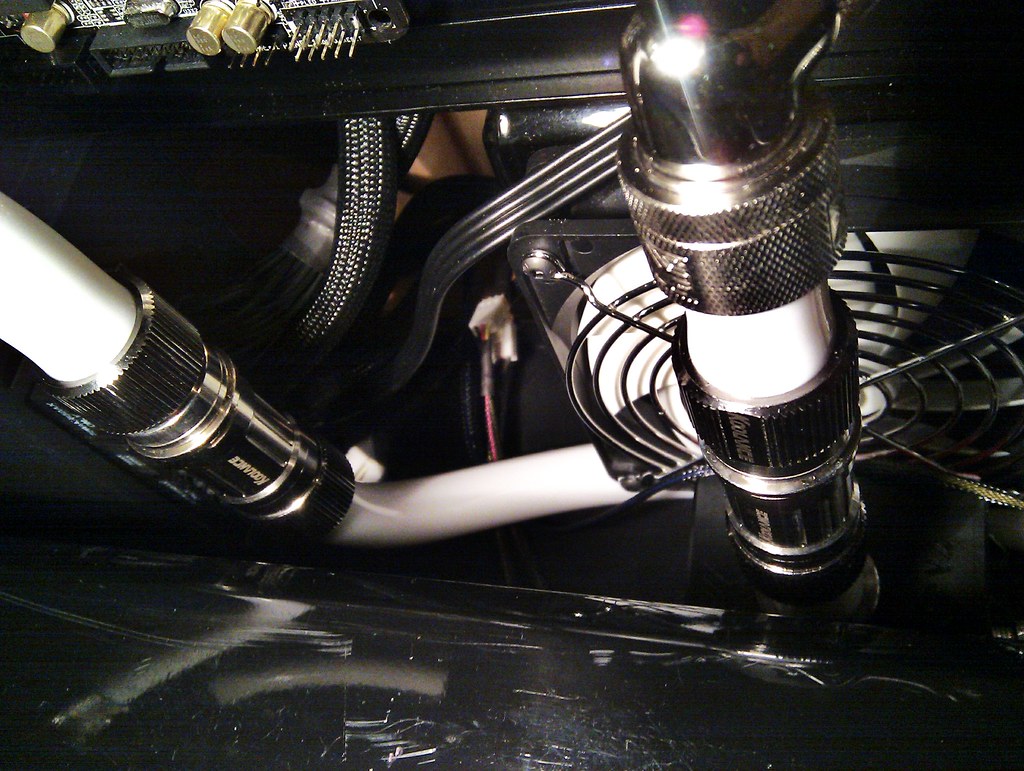
2 x Koolance VL4 compression fittings!
One from RES to Pump and the other from 480RAD to GPU.

6338924608_bd048bfd2b_b.jpg


By using these QDCs I can remove the whole motherboard tray without draining the loop! Very handy for maintenance!
I had to use 2 x 90degree rotary adaptors between RES and the QDC, to get it in a straight(sh) line with the pump. I could have moved the RES by raising the RES holders with something but I couldn't find anything solid :)
Also used another 90degree adaptor on the GPU block.
I tried my best to not use any 90 degree adaptors as I think they will reduce the flow!

6338926258_8580a96c92_b.jpg


And then it was time for the filling up and leak test! :eek:
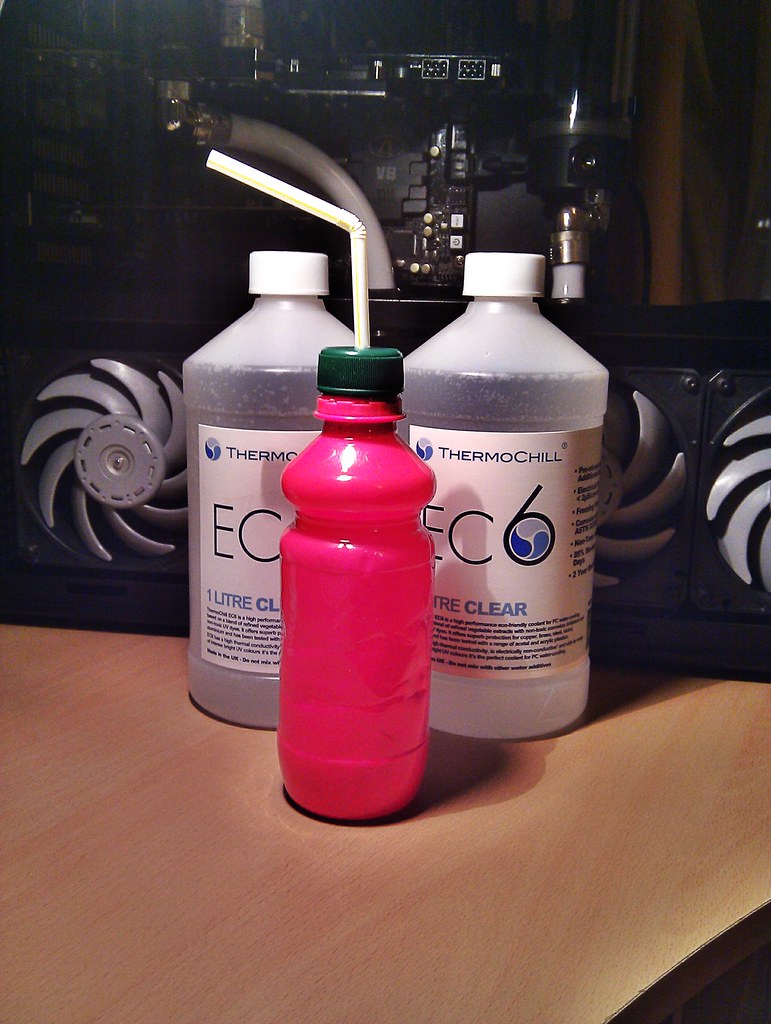
I got 2 bottles of EC6 "Clear" and had to dig out my old trusted-DIY fill bottle :D

6338928062_a3958c7581_b.jpg


So far I have used about 1200ml of liquid and still doing the leak test.
Going to let it run over night and let the bubbles go out.
Will update soon with the rest.
 
Just seen this thread.
Koolance all the way !!! ;)
Can't wait to see what temps you will get :)

Oh I wish I could get this block for mine gpu...
 
Had a small problem!

I was just about to finish the lealk test after about 20 hours of running since last night.
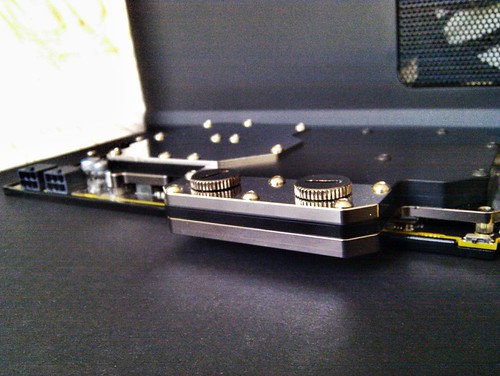
After watching a movie with my wife I came upstairs to check on the PC and saw this.
6342389180_4b7ee1c382_b.jpg


Well it was more than this but in a panic I didn't reach for the camera first :D

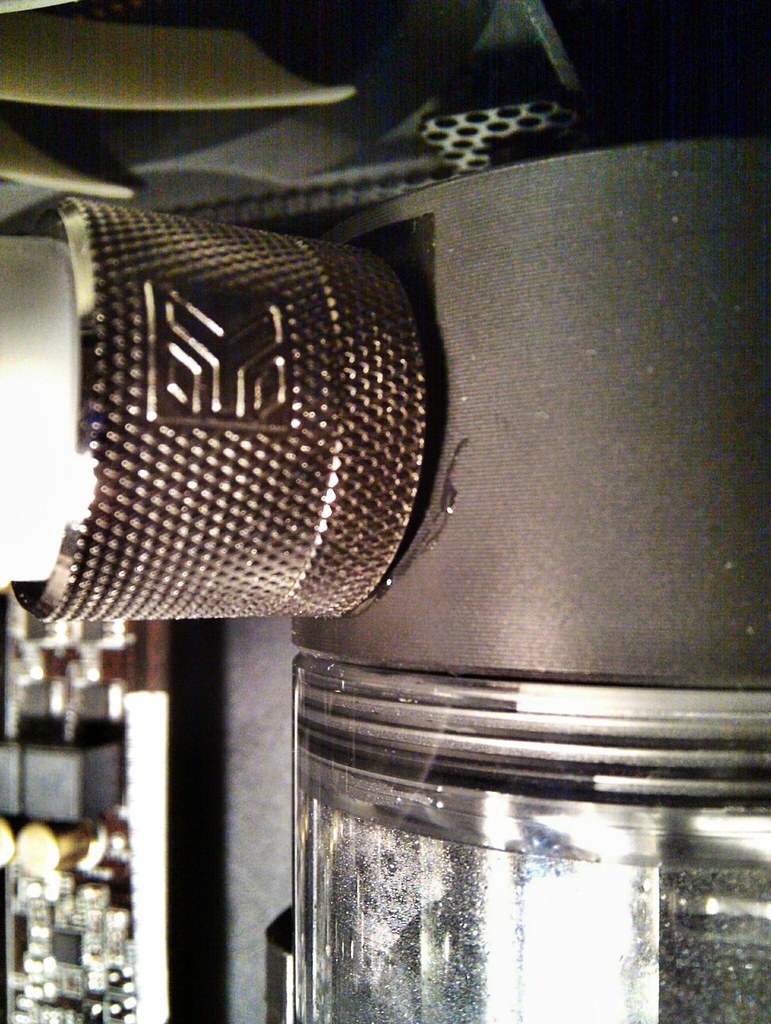
About 10-15 drops of EC6 has leaked from between the compression fitting and intake of the RES, it had gone down the RES and a small puddle of liquid was sitting on top of the Pump! :eek:

My guess is that the EK RES's top intake is not big enough to fit 1/2"ID 3/4OD fittings!

So I had to do a partial drain using the QDCs! Installing the QDCs already paid off! I would prefer not having a leak and doing the draining but it was much easier with QDCs.

After disconnecting and taking out the mobo tray, I drained the RES and replaced the compression fitting with a 45degree angled one.
Also modified the tubing coming from the RES to the pump so it is more straighter.

6341642809_c69d01536a_b.jpg


Doing the leak test again now, going to let it run till morning this time.
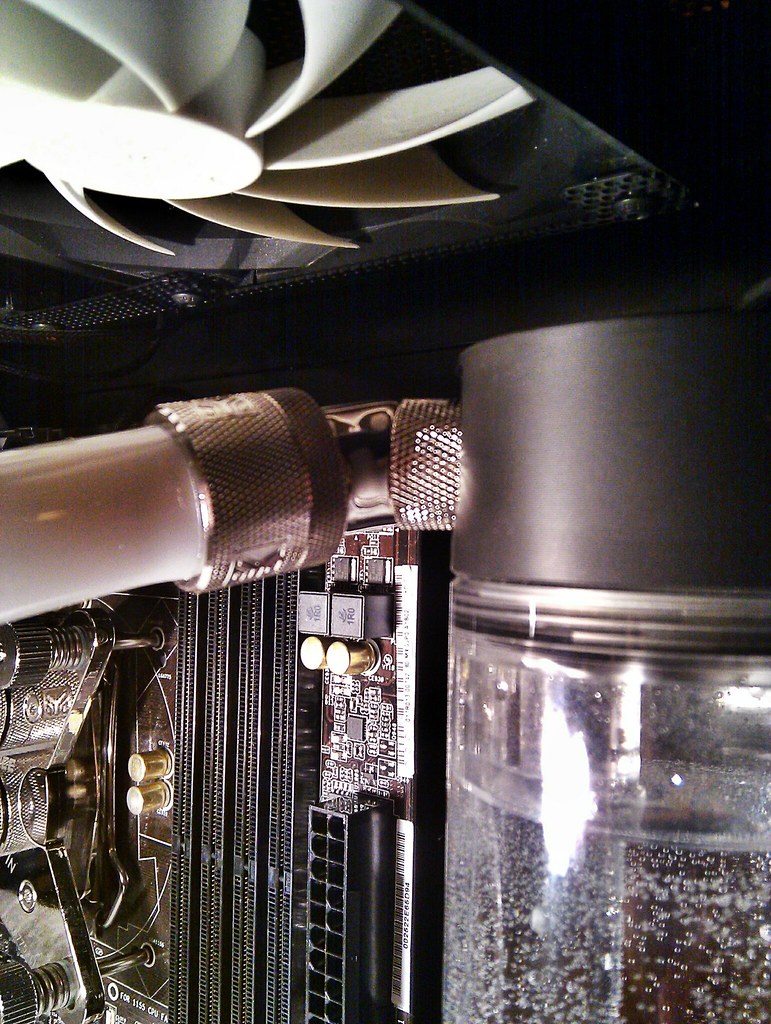
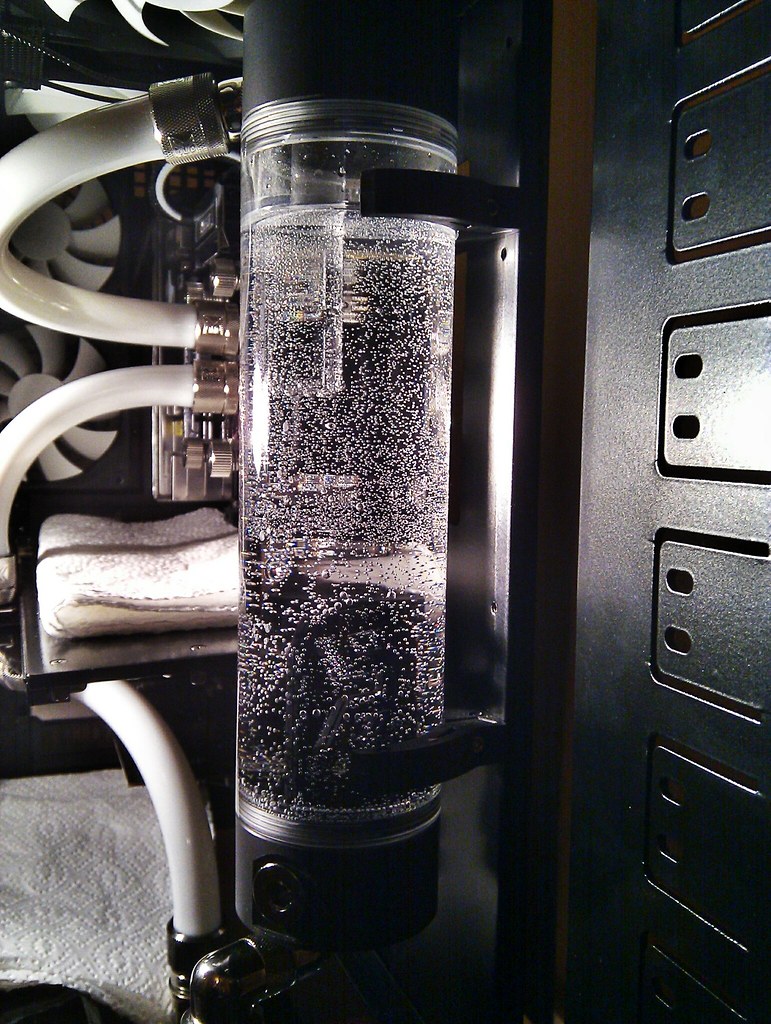
RES is filled with micro bubbles.

6341643527_cc8ac22647_b.jpg


I don't think I will be able to finish the cable management in the back the way I wanted. I was having a go before this leak happened and I realised I may have to make some 3-pin fan extensions if I want the wires to run "pretty", or I just finish with what I have for now and do it next time.
After all, there is a reason why I called this "Evolution : TJ07" ;)
 
Small update:
Well all the bubbles have gone from the RES! Yey!
Samsung F3 HDD is the most loudest part in the PC when the F12 fas are at minimum speed.


I was playing around with some overclocking, but I feel Sandybridge and Z68 have taken the fun out of it! I remember how it was with my P35 and Q6600!
Now all it took was to simply set the auto 4.6 or 4.8 profile on the Mobo setting and it is on!
I tried tweaking the voltages a bit but it is already at its best I think.

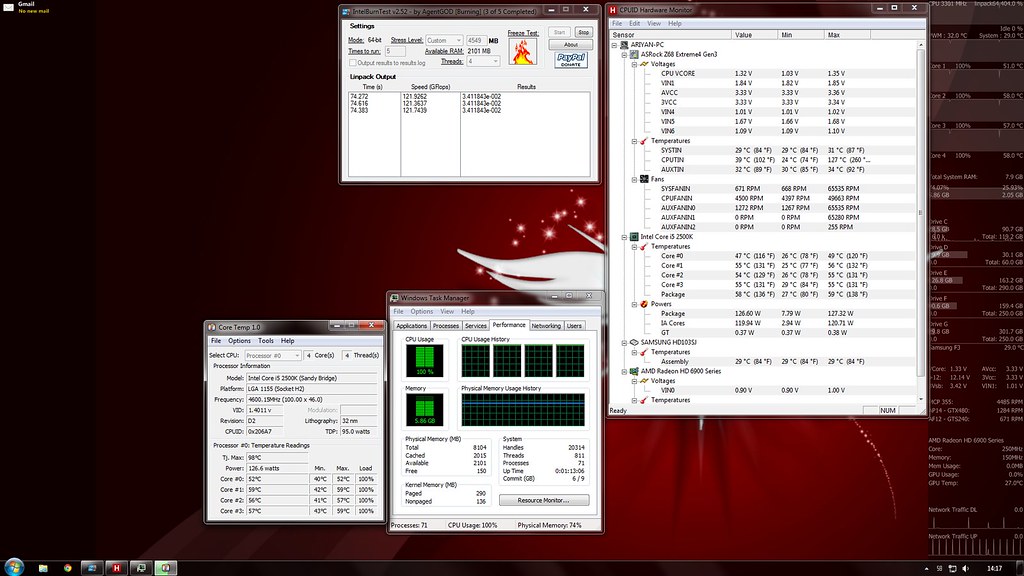
Ran IBT and Prime95. IBT gave the highest temp readings so far

6430344557_e5588a79e1_b.jpg


CPU @ 4.6GHz all Auto settings
Room temp 22C
F12 fans at minimum and AP14s at max because I can't hear them.

Idle 25-29C
Full Load 49-57C
CPU block is seated properly but no idea why cores reporting a big deference in temps:confused:
@Idel there is about 4C deference in the lowest core and the highest
and @load it is about 8C!
I may try to reseat the CPU block in time.


GPU OC was same as before. But had bit better results.
HD6950 unlocked shaders
Core 1000MHz Mem 1375 @ 1250mV

6368679351_aa8e13f1bb.jpg


Some bad news now:
Seems like my luck with PSUs - or the lack of it is continuing:eek:
My brand new AX850 developed a fault just after 7 days of use!
I heard a "POP" sound! but this time there was no smoke or sparks! and no I didn't put anything inside :D
PC didn't start so I had to take it out and connect a backup PSU to see if every thing else is ok.

So far every thing is working fine but I dont feel safe to run the PC with a £20 650W unbranded PSU.
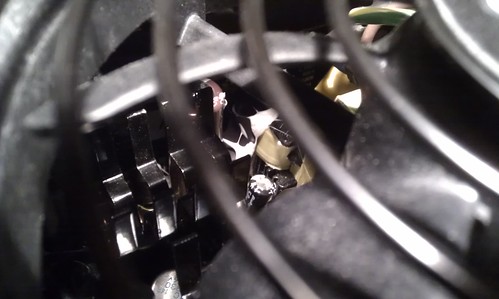
Upon inspecting the Corsair PSU, I could see some "things" splashed all over other components and even on the fan blades. I think it is a blown capacitor but I may be wrong.
it is very hard to get a good pic from my camera phone, so this will have to do.

6430422083_ffa56c6b6d.jpg
6430421783_9ae9f1cfb5.jpg


So I have sent the PSU back to the shop yesterday and they have approved the RMA today!
But now they don't have stock for the AX850 so I have to wait or have to get something else:mad:


Also I am thinking of doing some major changes to the build.
I may have to drain the loop again, but easy task because of the QDCs.
I am thinking of removing the GTS240 RAD. I think just the single GTX480 is enough to run the system at good temps. Most of the time I was running both RADs with all the fans off, while watching movies and browsing, and the temps only risen by 3C in the CPU.

This will also give better placement of the pump and I will be able to remove 2 of the 90 degree rotary fittings, which all together I think will improve the flow rate.

I still have to work on the side panel window, Mid plate and the front plate.
It is very cold out side now so don't feel like using the dremel outside(can't use it indoors as I might be kicked out by Mrs Avathar)
Also thinking about a new fan controller or a switch panel. I have a Zalman ZMFC 1 Plus but I would like to turn the fans off completely.

So yeah, many things to be done, and not much time to do them....
 
Back
Top Bottom