Project: Fallen Angel

It's not for sale cheeky!! :)

Oh well, worth a shot :) Really looking forward to see the results of this case, I loved your previous builds and I think I will like this more as it is done on a 'normal' case. I love red and black colour schemes and to hear that you are putting carbon fibre film in there too is like :eek:
 
The plan is to do the motherboard tray in carbon, maybe some other bits. I'm not sure yet what to do with the floor of the case but I've ordered som e vinyl and if it doesn't look right I'll probs just get the frame powercoated. It needs to be matt though as a shiny floor will attract dust.
 
I certainly hope so! Hopefully get some fans and vinyl to play with this week :). Supplier of braid that I want is out of stock so the psu is gonna have to wait for the moment but theres no rush for that yet.
 
Small Update:

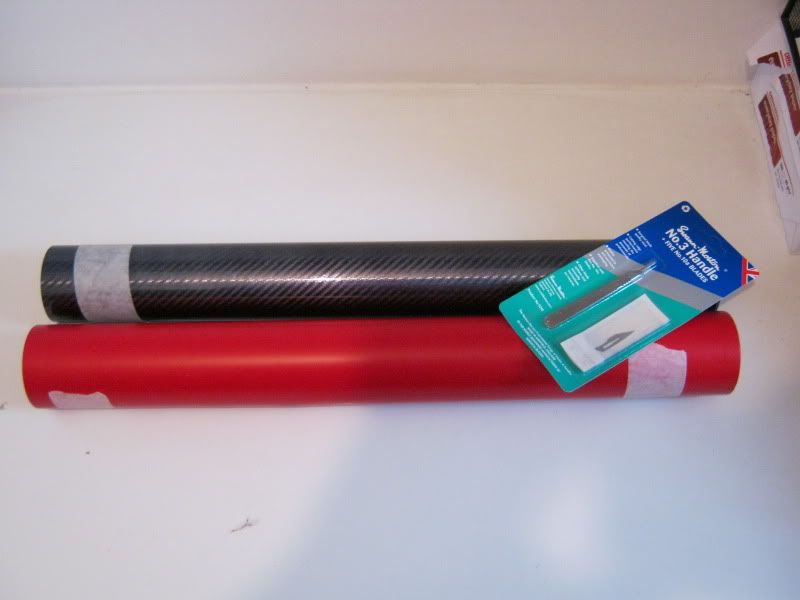
Package arrived this morning with some modding material.

carbon2001.jpg


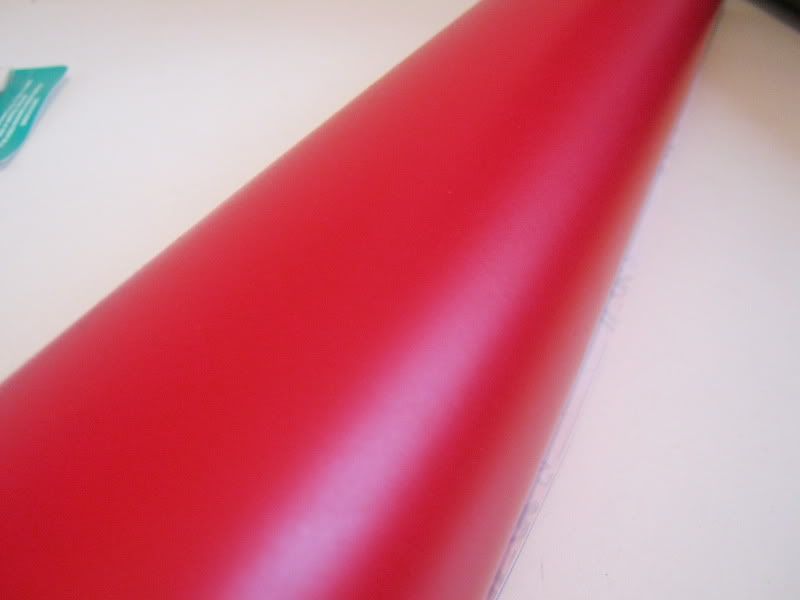
Satin 'deep' red

carbon004.jpg


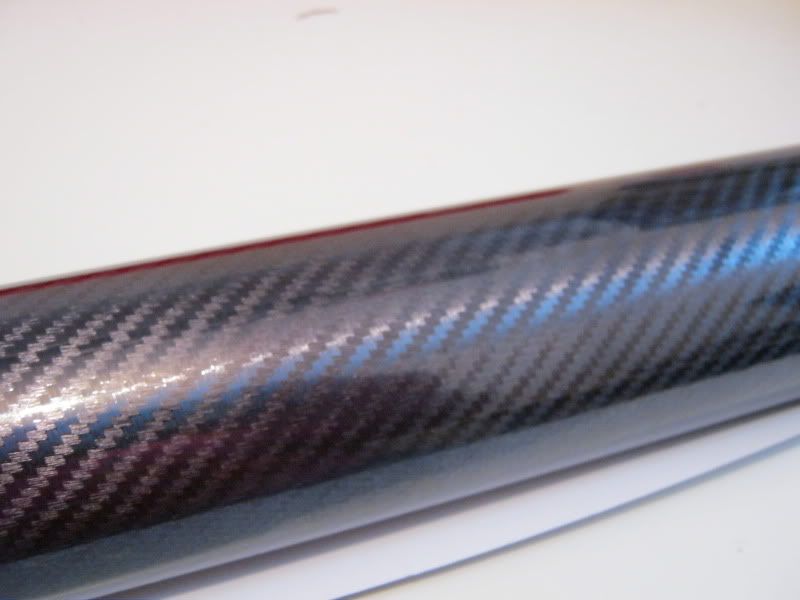
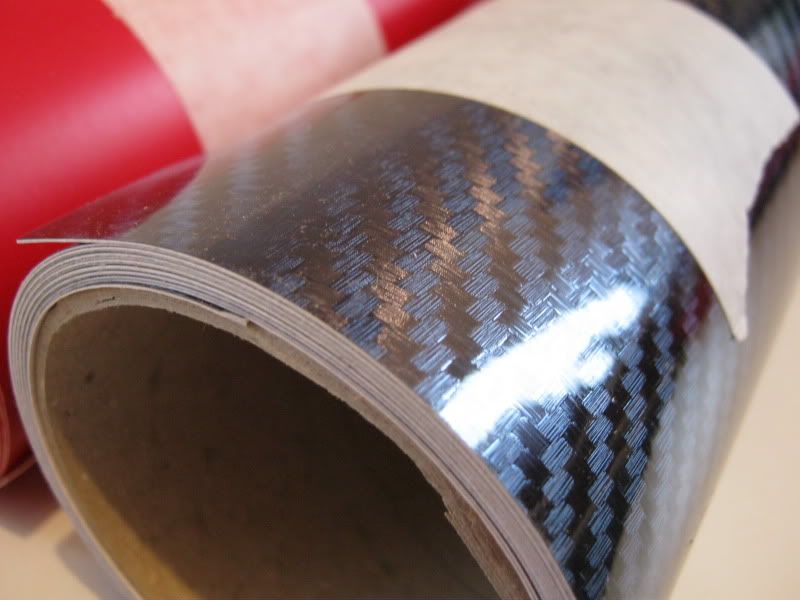
Carbon Fibre

carbon2005.jpg


carbon003.jpg


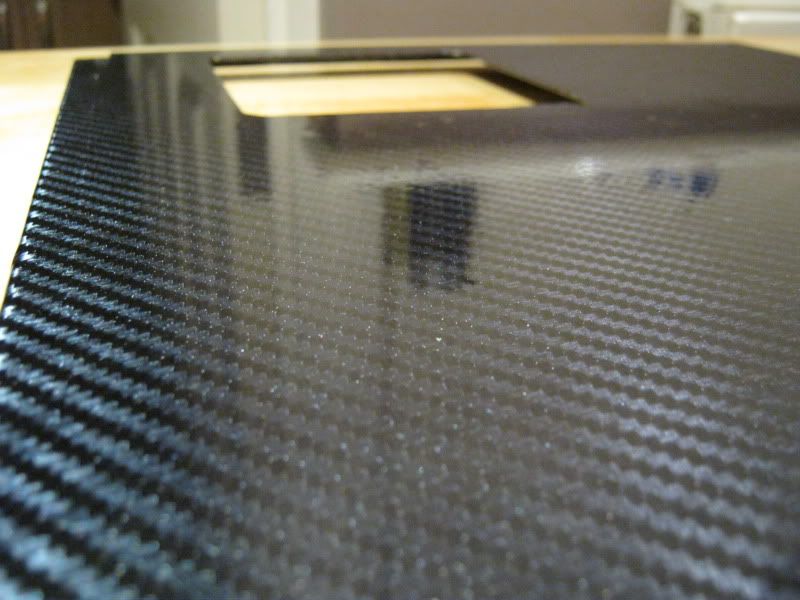
I ordered the smooth glossy carbon fibre as 3M Di-noc is matt and embossed like the real thing (thanks Peter :)). I'm hoping the glossy finish will reflect light better as where I want to put it it needs to do just that. The downside of course is that light reflection will show up every imperfection as well as dust accumulation which is going to cause me some headaches no doubt.

Not sure what to do with the red yet, I guess it depends how easy it is to mould to the aluminium surface and rolls around the edges.

If all else fails I have a powdercoater to fall back on but I'm trying to do something a little away from the norm aswell as 'doing it myself' rather than pay someone to do the mod work.

Looks like I have some hard work infornt of me so I had better crack on :).
 
Another small update - more goodies arrived:

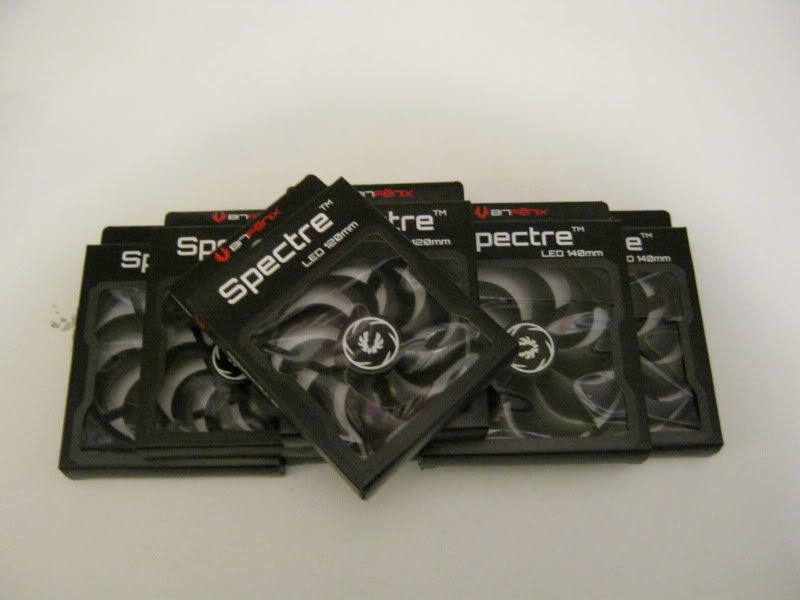
First up the fans.

4x140mm and 3x120mm Bitfenix Spectres

lighting001.jpg


Unfortunately the cables arn't pre-braided but that will soon be sorted ;)

lighting004.jpg


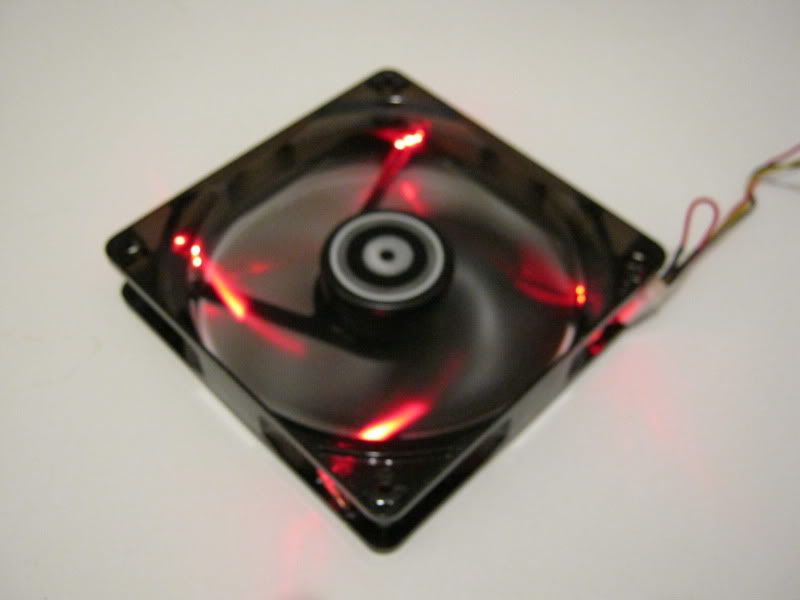
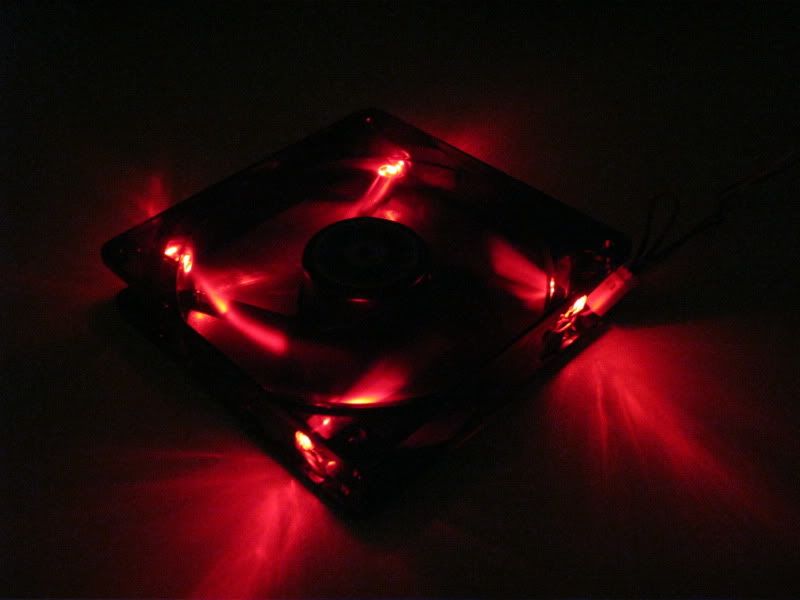
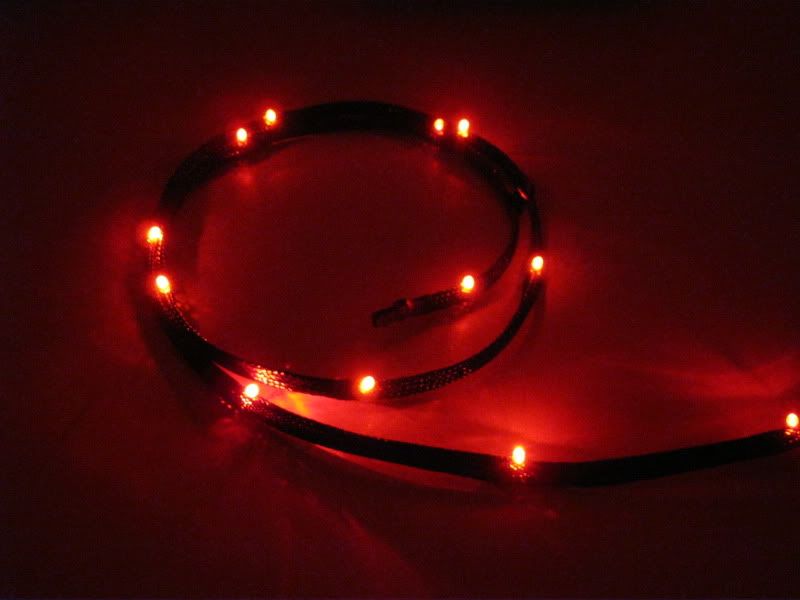
Nice red glow from the red LEDs:

lighting005.jpg


lighting006.jpg


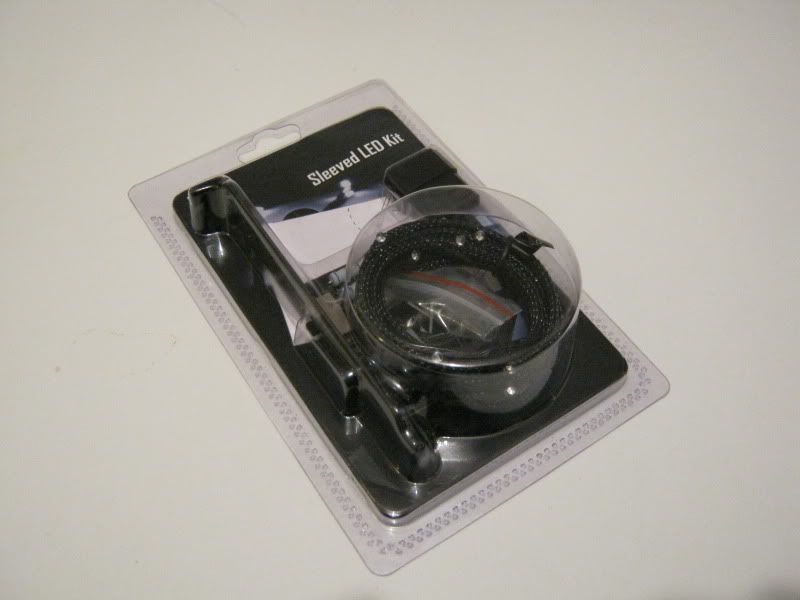
Next up are the NZXT leds:

lighting003.jpg


lighting007.jpg


lighting008.jpg


I'm more than happy with the fans considering the price which are surprisingly very quiet, especially the 140mm ones. The only thing I may change is are the 120mm fans for the CPU HSF. While they look great in darkness I feen they may be a bit too understated during the day. Considering switching these out for some sickleflow fans (red blades) but I'll wait and see what they look like when mounted first.

I'm concerned about the overall length of the LED cable so that might need to be lengthened, again I'll try it out and see how it goes. I am however pleased that the LEDs are 3mm as opposed to 5mm which will prove usefull ;).

Gonna start building this weekend time permitting.
 
I had the same problem with my choice of LED length too w3bbo, will definatly go 200mm next time. Really good build quality with the NZXT LEDs though and great little pci card with all the buttons.:D
 
2m would be too long for what I have planned, we'll see how it goes I guess. I do like hte pci thing it's just the short molex connector that may cause some problems.
 
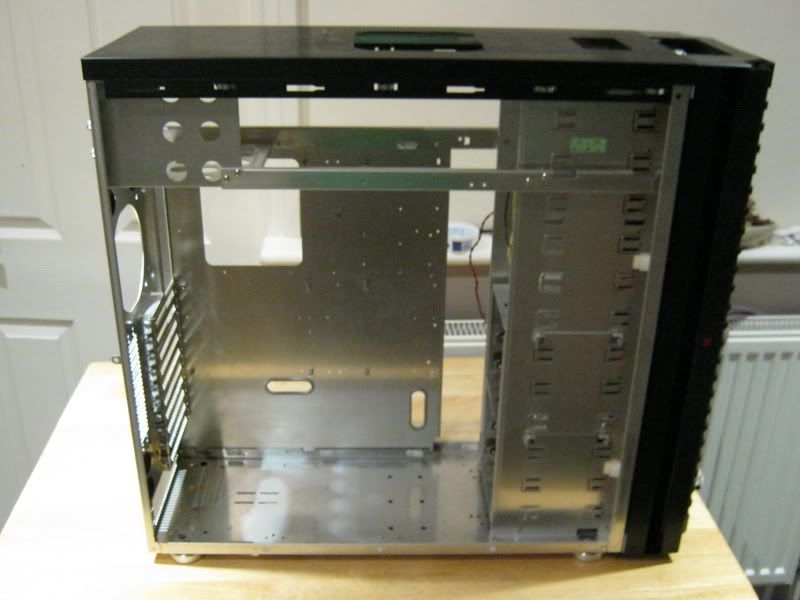
Motherboard tray:

Here's how the tray looks in situ:

motherboardtray002.jpg


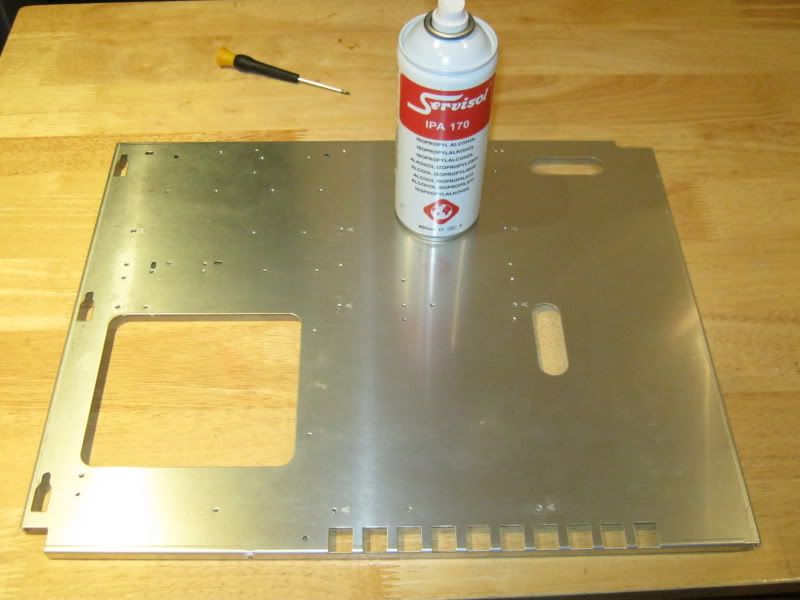
Tray removed and cleaned with IPA to remove and grease/fingerprints that may affect adhesive:

motherboardtray003.jpg


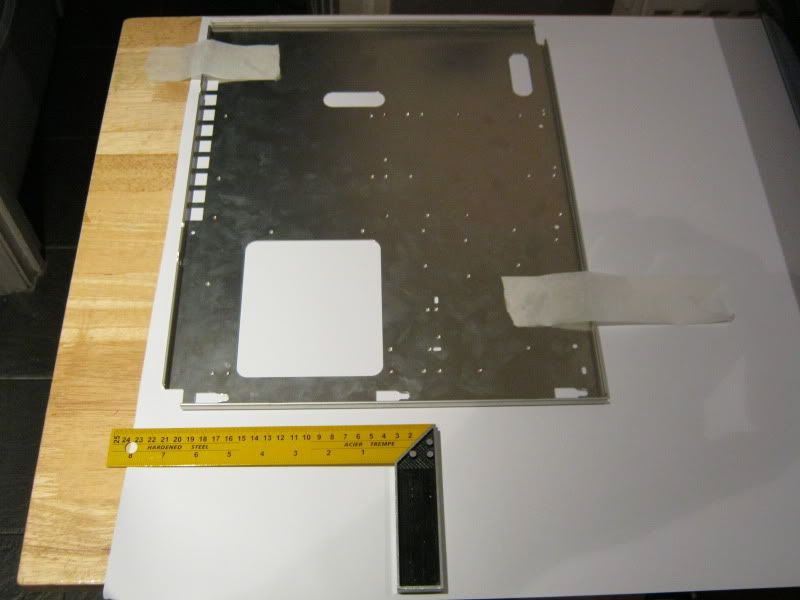
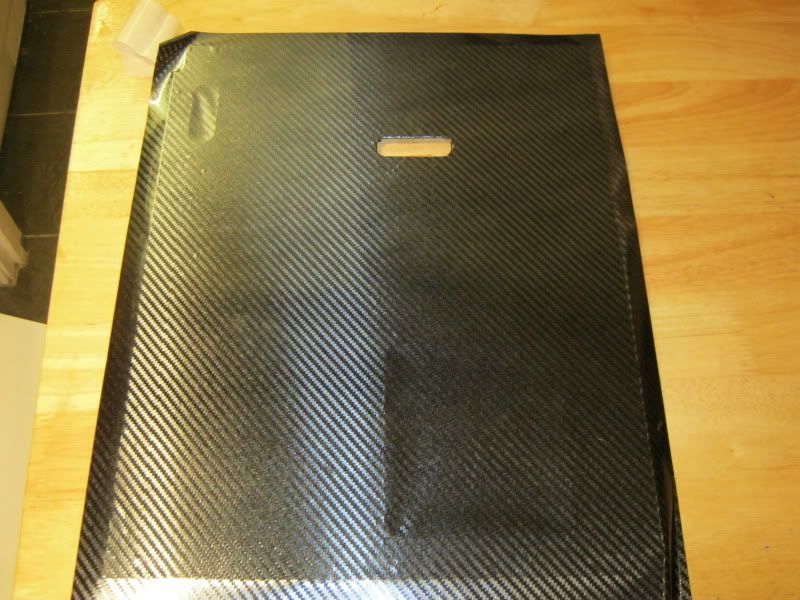
Template cutting:

motherboardtray004.jpg


Removal of bubbles. I was gutted with initial application due to the severe bubbles that wouldn't budge, hardly noticable in the photo but it looked like woodchip wallpaper so these had to be 'popped' with a pin; very therapeutic truth be told :D:

motherboardtray005.jpg


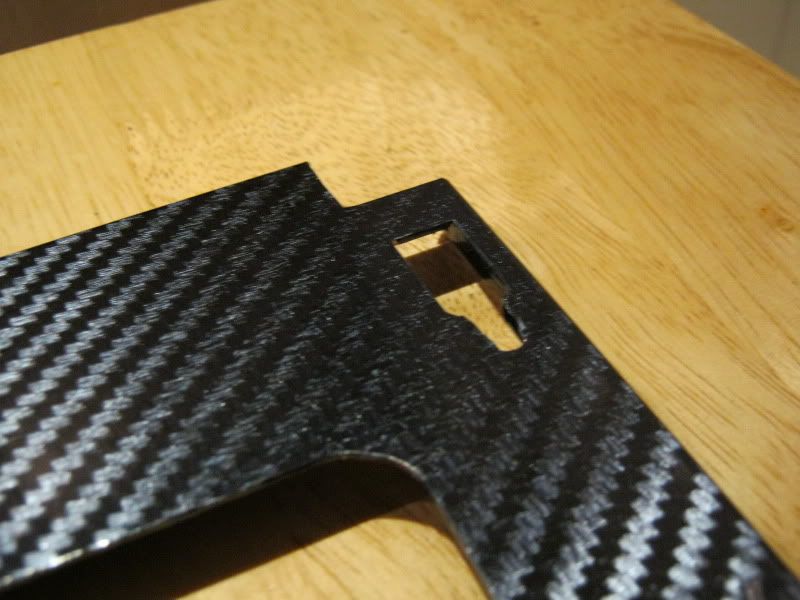
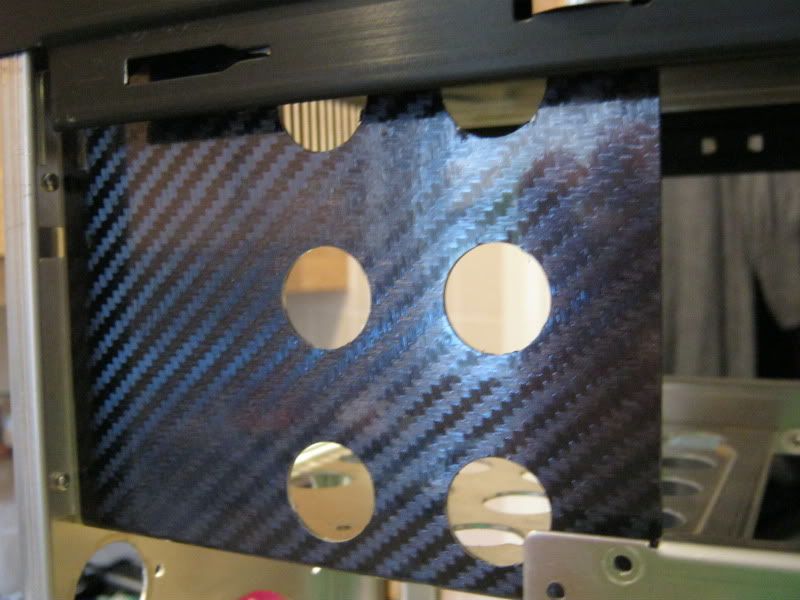
Motherboard tray mount holes: Odd shapes which made it extremely difficult to get the edges right but looks ok:

motherboardtray015.jpg


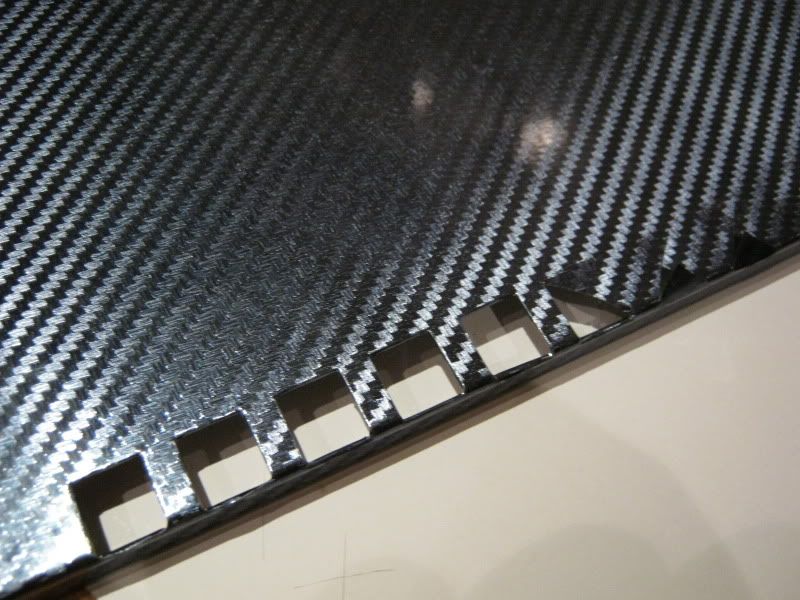
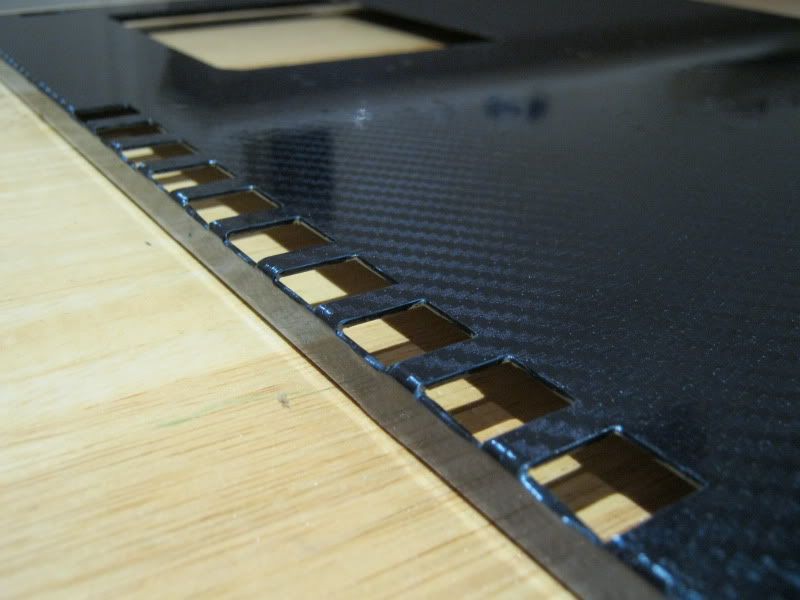
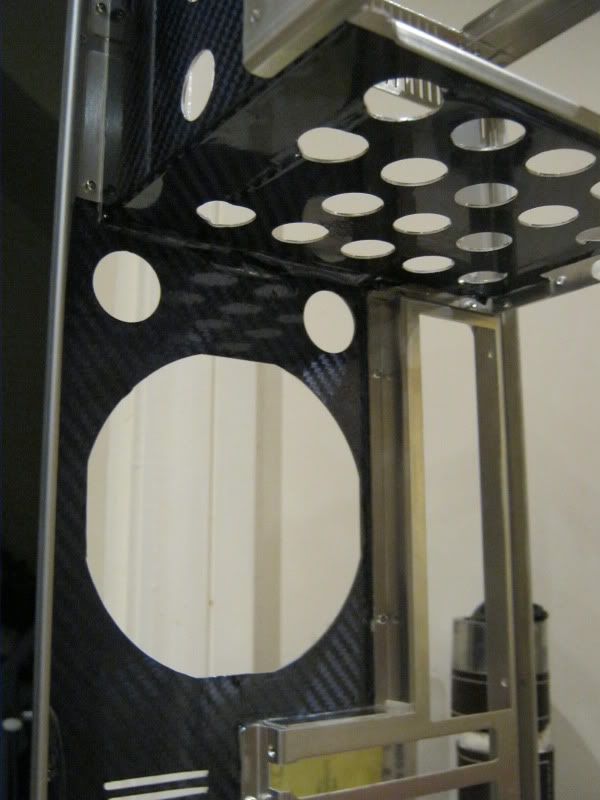
Next up: Cutting the cable holes and pci slots!
 
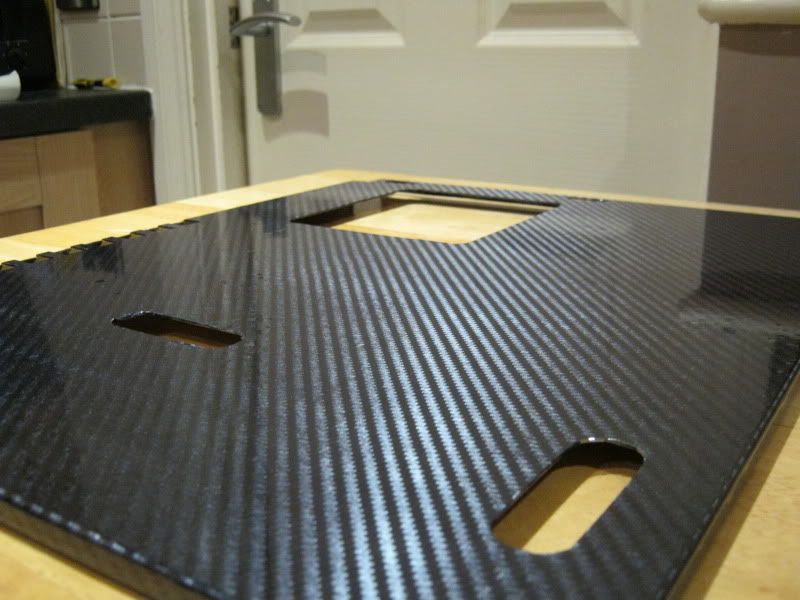
How ******* fiddly was this to do?!:

motherboardtray011.jpg


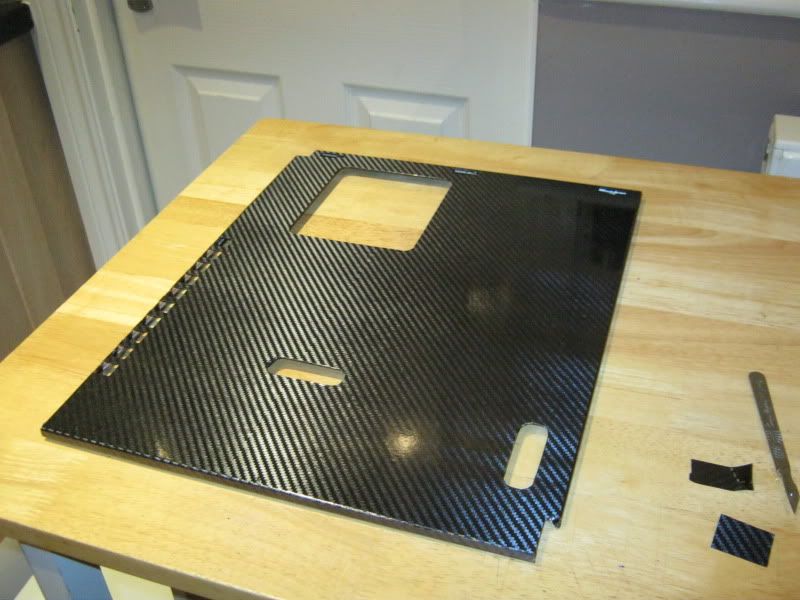
Outcome worked out well though:

motherboardtray014.jpg


Most of the bubbles have been worked out now. There are a few slight 'bobbles' but these are the screw holes which I'll be leaving covered for the now:

motherboardtray007.jpg


All, done (for now)

motherboardtray016.jpg


motherboardtray013.jpg
 
Managed to get a fair bit more done today.

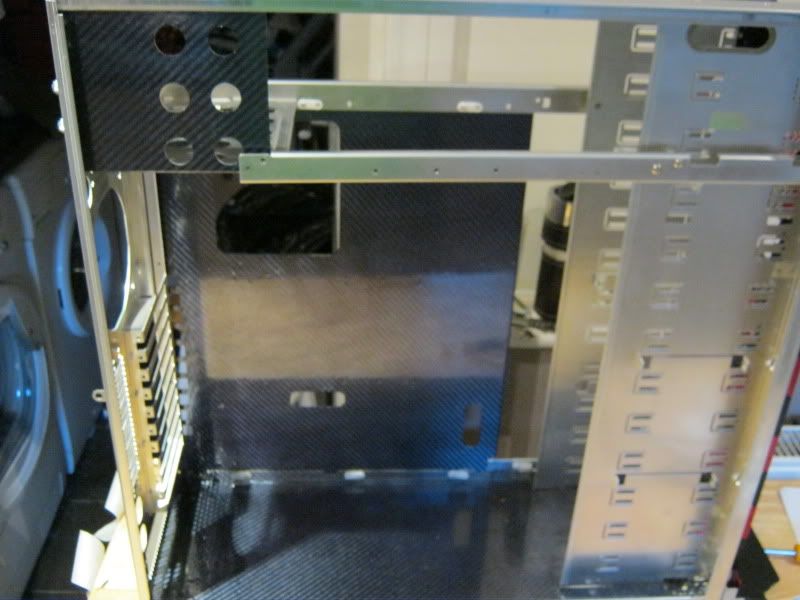
Base of case.

I was undecide whether to go red vinylwhich was the original plan but it look a bit 'flat' and didn't work really well so I went for carbon again:

morecarbon009.jpg


I came across a few probles thanks to LianLi's excessive amount of screw holes which made the surface a little uneven in places. It's pretty much masked by the carbon but noticable close up. A few pin pricks and a heatgun made the job a hell of a lot smoother though.

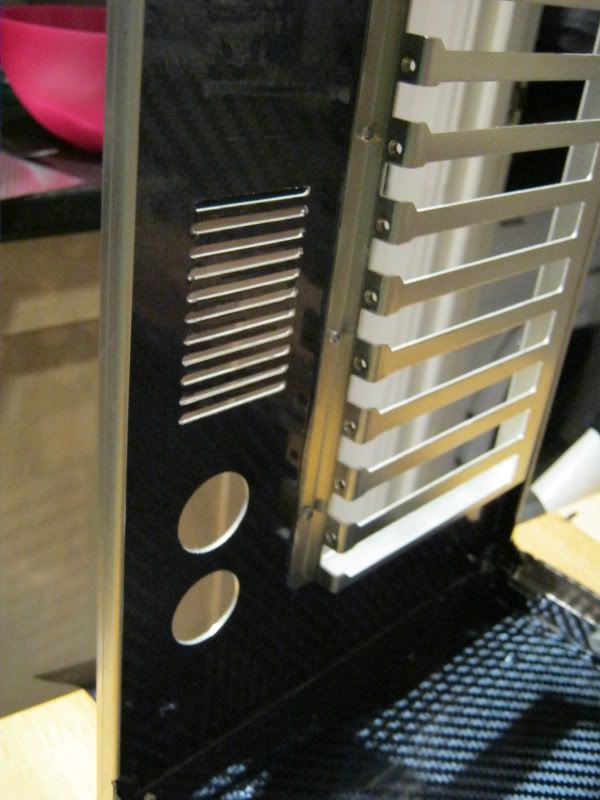
PSU bracket.

In hindsight the whole job would have been so much easier had I had a pop-rivet gun but I havn't got one to hand at present so I had to cover everything in situ which took a hell of a lot more time (more thn it would just going out and buying a rivet gun!).

morecarbon005.jpg


The vent holes were easier to cut than I imagined thanks to a scalpel but were still a little fiddly to manage a clean cut.

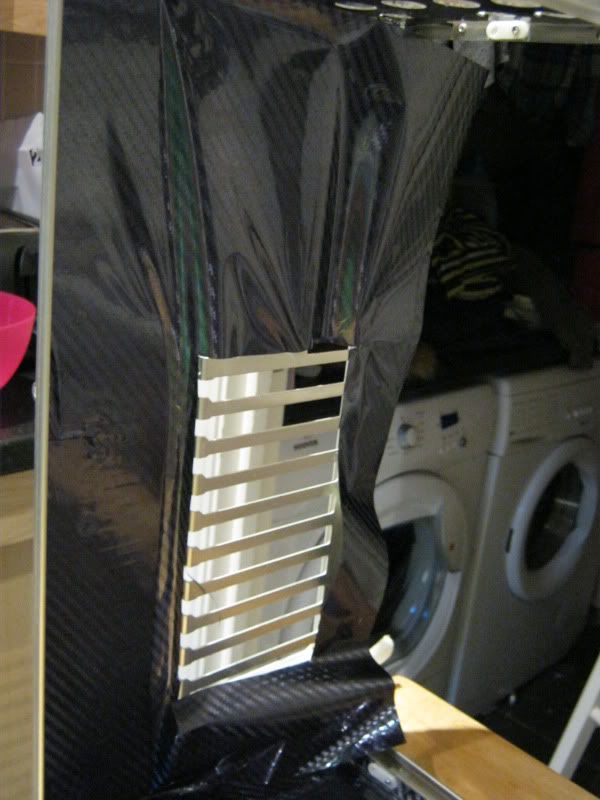
PCI BAckplate. I was really dreading this part as there were so many holes and rivets as well as rolled aluminium to cover it was always going to be a nightmare. Depsite drawing a template, you can see what I was up against:

morecarbon010.jpg


The Vinyl is pretty much like a large section of sticky tape so you have to be real carefull of creases or worse, it folding up against itself. Once in position though it was a case of using the heatgun to spread the stretch the vinyl into position and de-bubble the piece:

morecarbon011.jpg


morecarbon013.jpg


More to come...
 
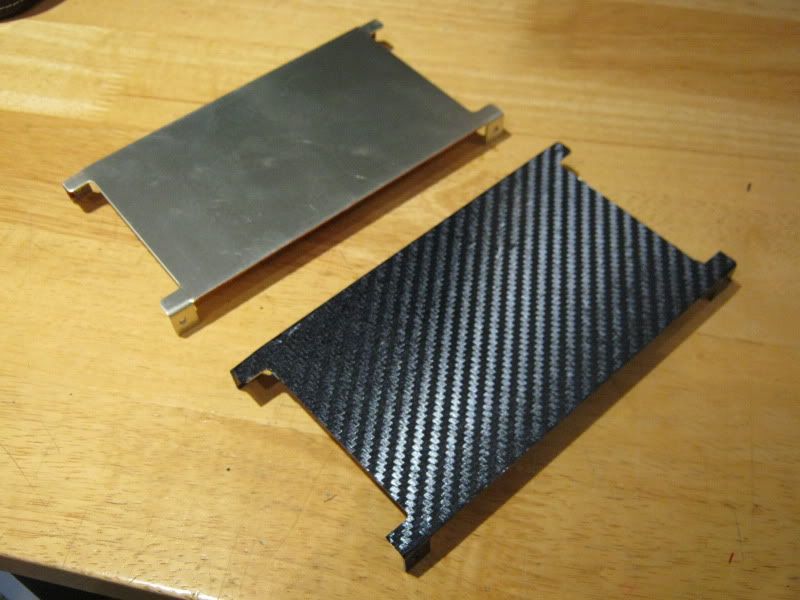
Next up, the HD tray.

A doddle to do after the pci backplate:

morecarbon008.jpg


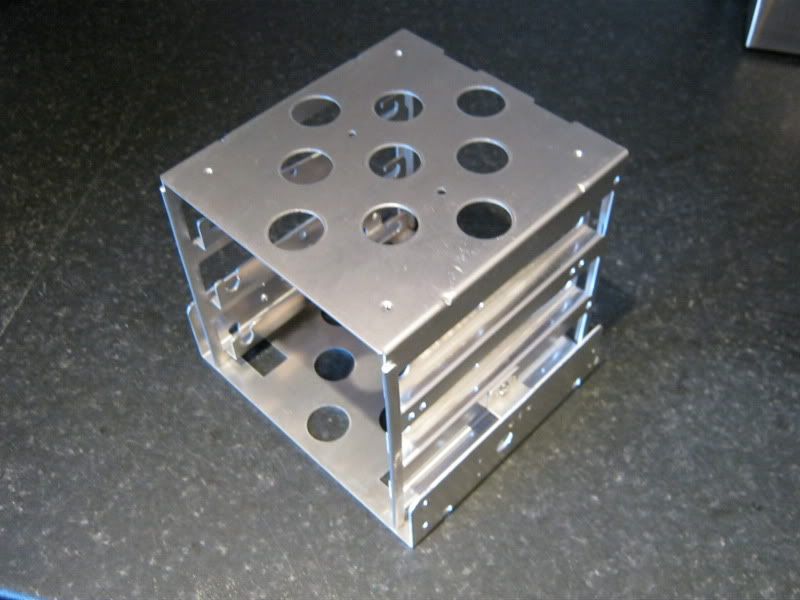
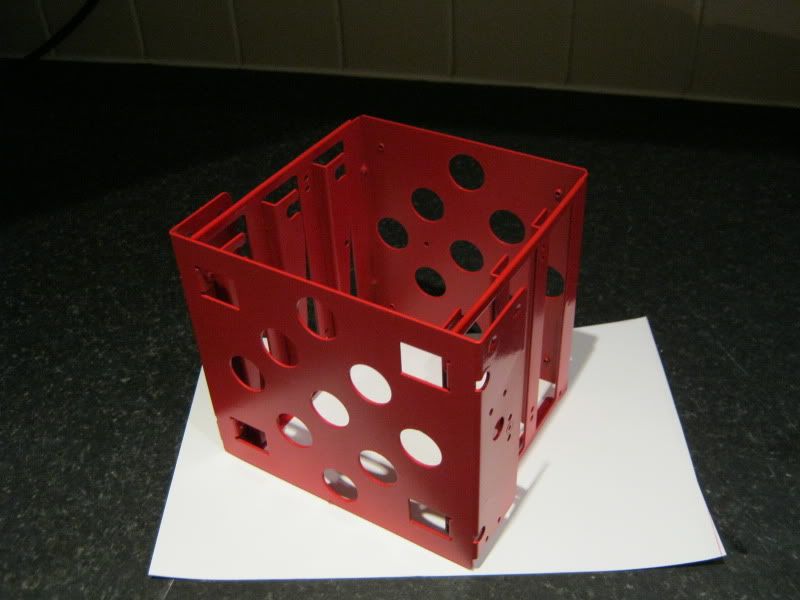
The HD brackets themselves would be nigh on impossible to cover effectively in vinyl so these were sprayed 'rampage' red :):

morecarbon004.jpg


hdbay001.jpg


Might get a bit more done tonight, hoping to get the 5.25 trays sorted. Alcohol is calling though so perhaps best I put the scalpel down for the night lol.
 
nice vinyl webbo, looks harder to work with than di-noc but you did a good job:)

can't believe I inspired someone!

you should have seen my tsunami build, needless to say, i've come a long way in just two cases:D
 
Back
Top Bottom