Project: ケイ - Watercooled Threadripper

Associate
Joined
8 Sep 2013
Posts
86
Location
UK
Lucky Boy...
Just read the thread from start to finish whilst looking for general inspiration, some real nice work in a crammed case,
Particularly interested in how you photoshopped the sleeving colours, can a nube numpty do it ? (I have NO photoshop skills at all) seems like a cracking way of coming up with a scheme.

anyway, awesome job, and Glad it seems t have survived :)
 
Associate
Joined
31 May 2007
Posts
12
Location
Round there
I just was browsing internet and found your build and I am amazed every post you have NO clips on your pipes.

was going to post DUDE TIGHTEN YOUR PIPES, then you had a leak.

Nice build
 

Kei

Kei

Soldato
OP
Joined
24 Oct 2008
Posts
2,750
Location
South Wales
Lucky Boy...
Just read the thread from start to finish whilst looking for general inspiration, some real nice work in a crammed case,
Particularly interested in how you photoshopped the sleeving colours, can a nube numpty do it ? (I have NO photoshop skills at all) seems like a cracking way of coming up with a scheme.

anyway, awesome job, and Glad it seems t have survived :)

Thanks all, I think i've been unbelievably lucky to have had all the kit survive that leak.

As to photoshopping the cables, you need to find a basic image of a black/grey braided cable to work on. Once you have one, you just need to create a new layer and change the blend mode to something like color, soft light or overlay. (blend mode is a drop down menu on the layers window that will say normal initially) Select a colour from the picker and use a paint brush to paint over the original braid. (the change in the blend mode allows you to see the braid on the layer underneath whilst changing the colour of it via the layer above) If you want multiple colours, you may need to use more than one layer to allow you to adjust the colours individually without affecting the others. When painting make sure you select the right layer before starting. (undoing something can cause the selected layer to change) To adjust the colour without having to repaint it, you can use hue/saturation/lightness tool or replace colour and adjust the hue/saturation.
 
Associate
Joined
8 Sep 2013
Posts
86
Location
UK
Thanks for that walkthrough.... I appreciate the effort !!
I have gone on to find a sweet sleeve four chooser on .net but it doesn't offer the exact pattern I want so might use a combo of that with your suggestions...

Thanks again.
 

Kei

Kei

Soldato
OP
Joined
24 Oct 2008
Posts
2,750
Location
South Wales
Upgrade inbound!

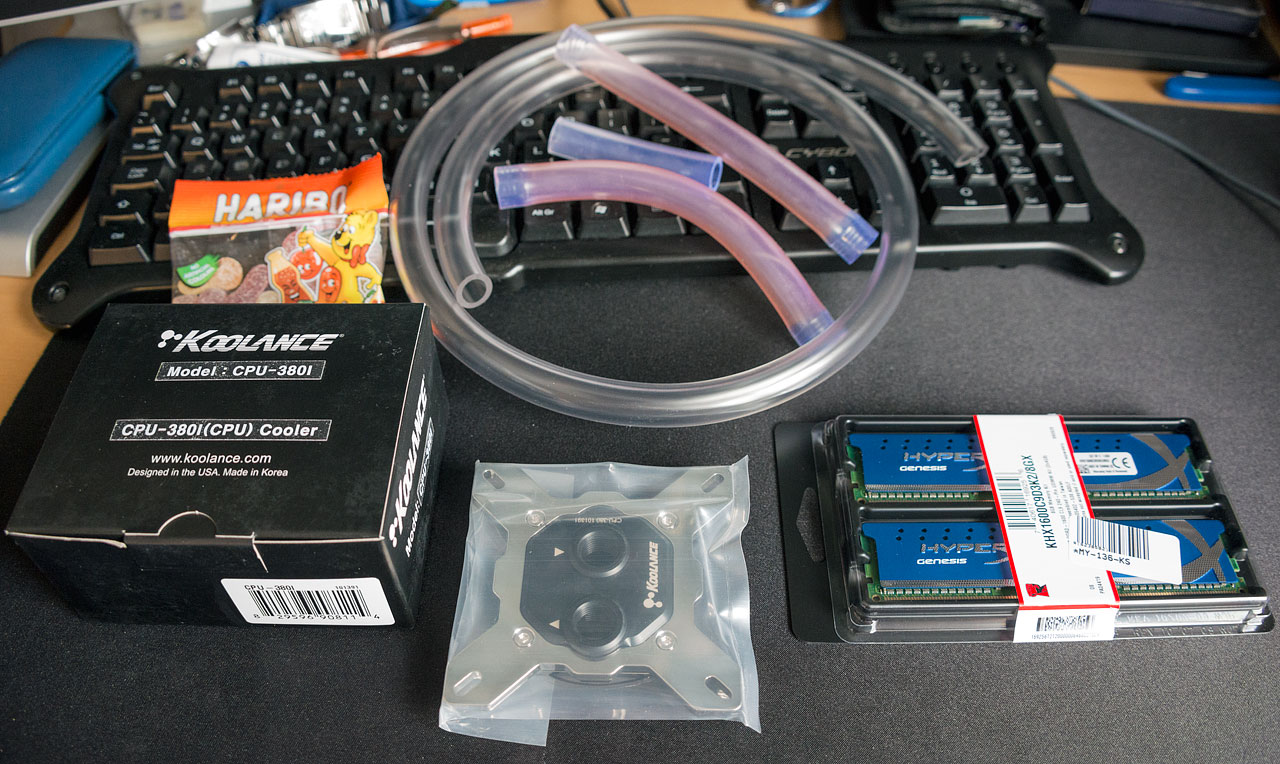
First part has arrived this morning, just got two more bits to arrive today. I've now got the Intel waterblock, an additional 8GB of hyperX genesis in blue to go with the grey i already have and 1m of xspc clear hose. (i've put some xspc UV hose to show the difference between old uv, fresh uv and fresh clear)
12066940074_6b2cee31ae_o.jpg


I've just fitted the new ram into the current system to see how well the new ram plays ball with the original set. I've fitted it so that they are in grey+blue channels. It wouldn't boot properly at first, but after a few tweaks it's now running fine. I've had a closer look at the xmp profile for them and there is only one difference. tRFC is 128 on the grey set and 208 on the blue set. Everything else, including the product code is the same. I'm Hopeful that it shouldn't affect their performance in the intel system.
 

Kei

Kei

Soldato
OP
Joined
24 Oct 2008
Posts
2,750
Location
South Wales
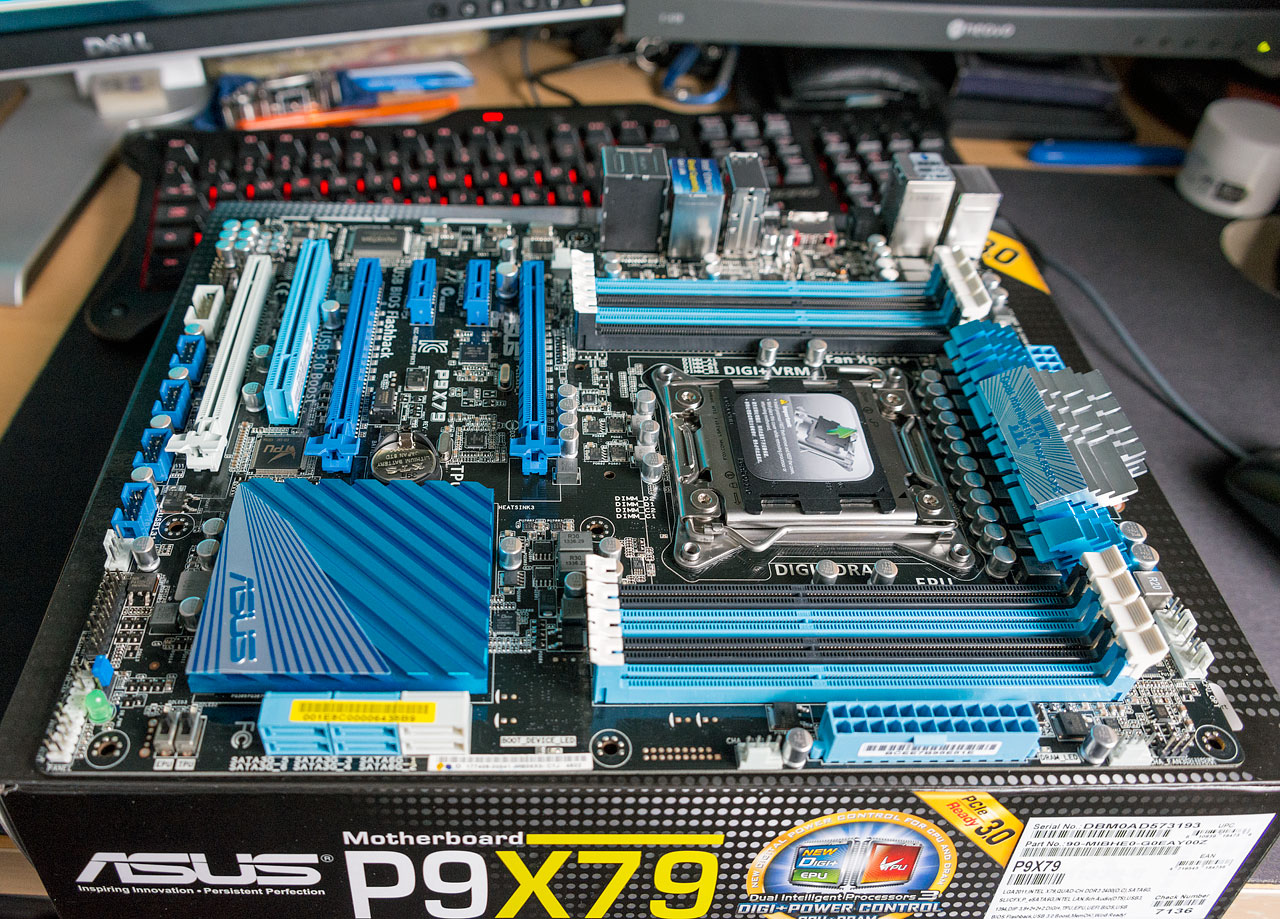
Cpu arrived whilst i was in work. Spent the entire evening so far draining and dismantling everything.
12076194134_cdca2fc75f_o.jpg


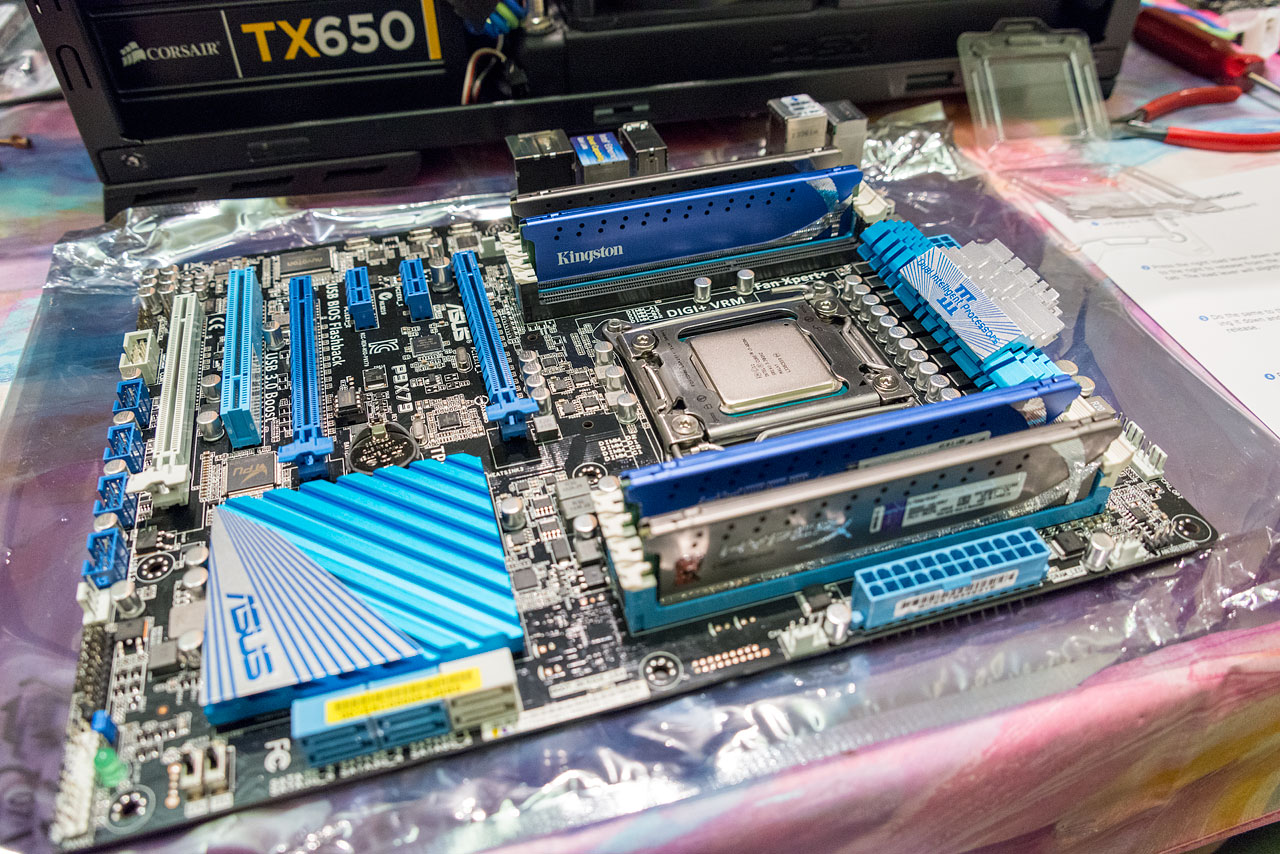
Motherboard, cpu and ram built ready to go in.
12076099993_1225c26a65_o.jpg
 

Kei

Kei

Soldato
OP
Joined
24 Oct 2008
Posts
2,750
Location
South Wales
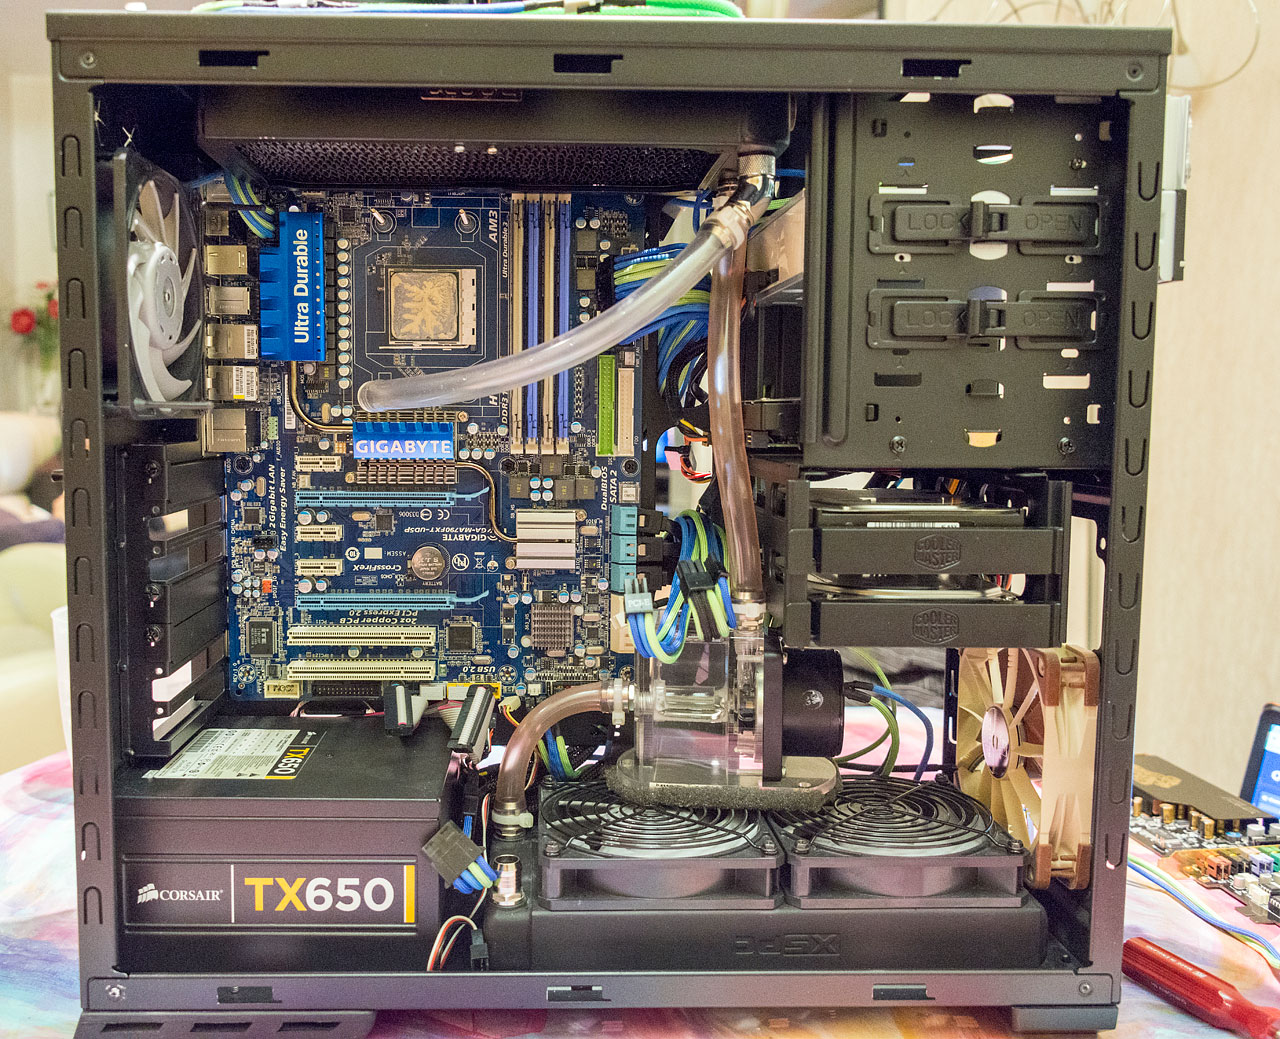
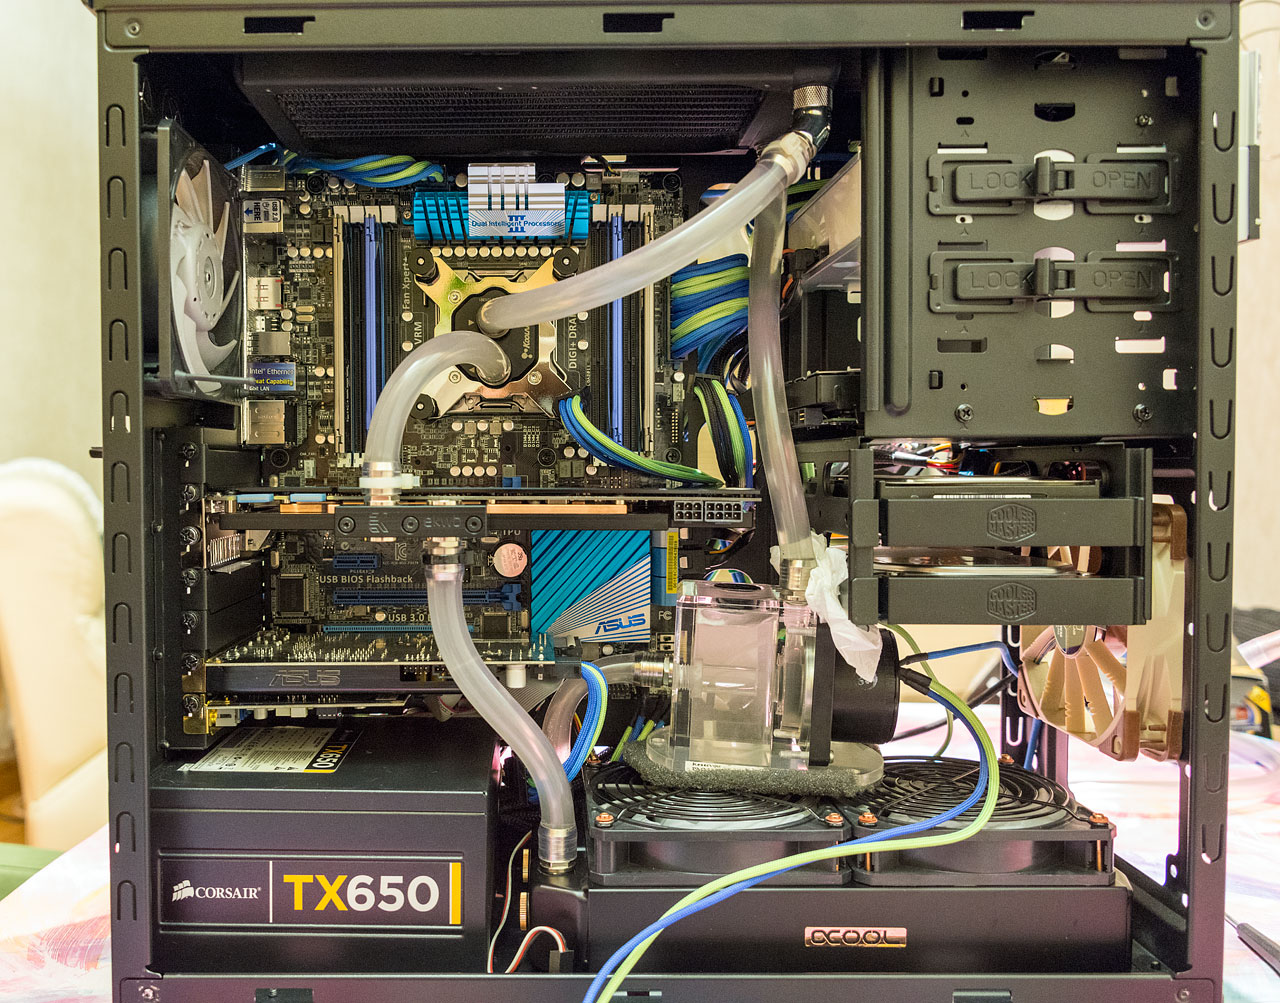
Last update of the day. Finally finished turning taking it all apart and shifting it around. Had to use washers on the alphacool bolts as the heads were smaller than the fan guards. The reservoir is a bit tight at the bottom now that the thickness of the bottom radiator has increased. Might need to use some foam under the drive cage to stop it making contact and making the case resonate. Most of the bleeding seems to be done and i just need to check for leaks in the morning. I'm hoping i won't need to use the bios flashback procedure to get it to boot tomorrow, but i've got the latest bios on a usb stick ready just in case.
12077829423_7c3123edff_o.jpg
 

Kei

Kei

Soldato
OP
Joined
24 Oct 2008
Posts
2,750
Location
South Wales
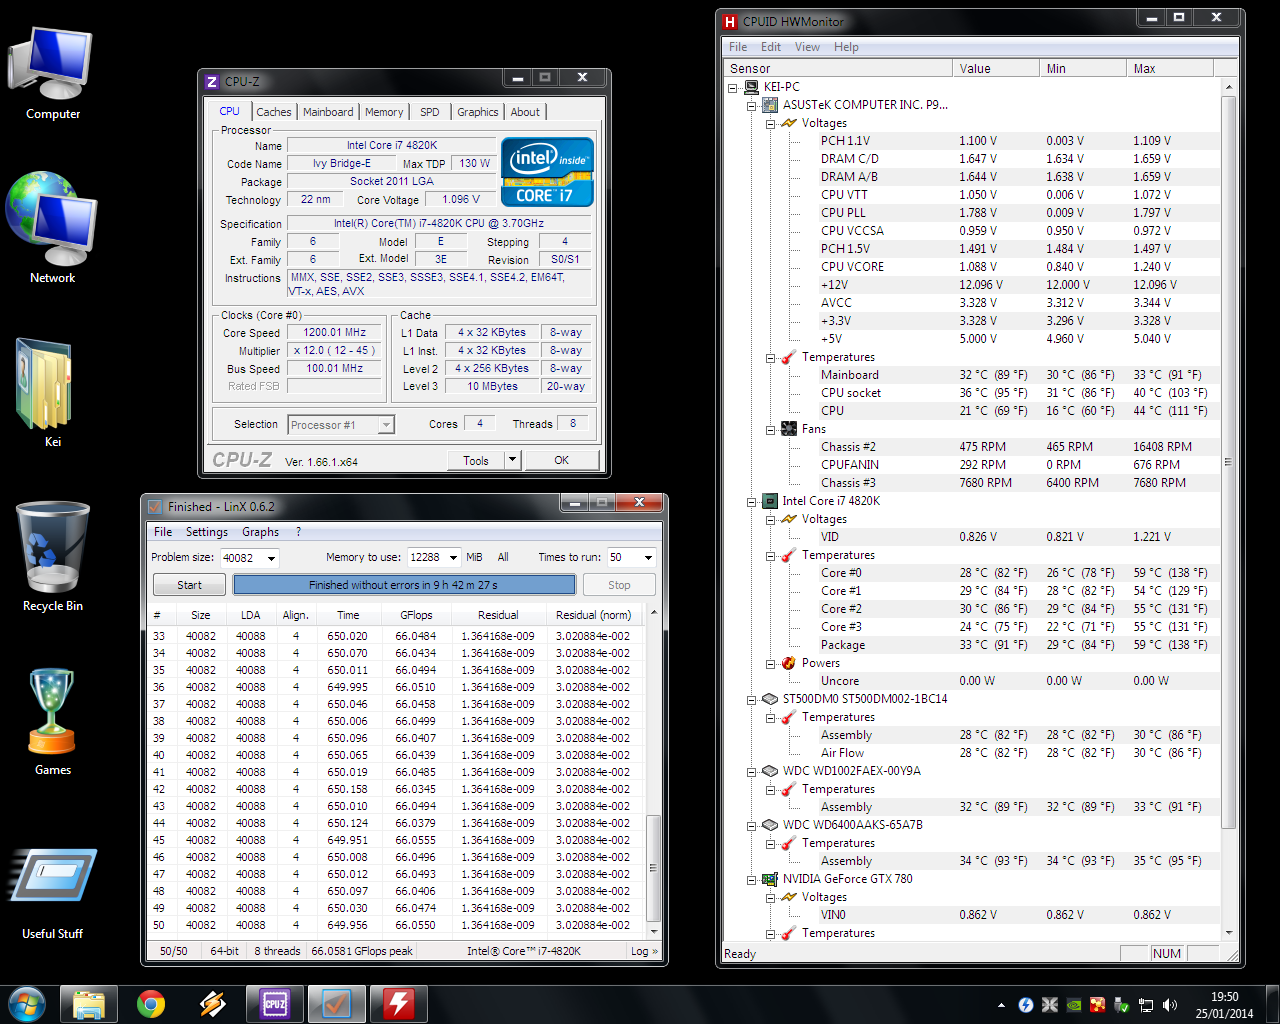
Finally finished bleeding it this evening and got it up and running ok. Runs like a dream on my original windows install and is even faster to boot. Presently got it clocked up to 4.5GHz using a multiplier of 45 at 1.216V and it seems stable. Temperatures so far have averaged mid 50's with one core peaking 59. I'm extremely new to overclocking with intel so it's going to be a steep learning curve.
 
Last edited:
Soldato
Joined
5 Sep 2011
Posts
12,812
Location
Surrey
Glad to hear nothing was damaged. Just brisked over this whole thread and was thinking how far it's come from start to finish! I also thought you were asking for trouble with the lack of barbs though! Brave man but lesson learnt ;).

Looks fantastic though mate. I had a PX79Pro since launch day up until recently and it's one of the best motherboards I've ever owned.
 

Kei

Kei

Soldato
OP
Joined
24 Oct 2008
Posts
2,750
Location
South Wales
Yeah, lesson well and truly learned. Even if people think 7/16" over 1/2" barb is safe, i'd rather not take the risk of not having a clamp as the tubing swells over time anyway and the warm temperatures just allow the tubing to loosen.

Here is how the overclocking has gone so far. My unfamiliarity with intel hasn't helped me with refining it but at least it's reliable so far. Just wondering how far i can get the chip to actually go.
12123139586_28fc58335c_o.png
 

Kei

Kei

Soldato
OP
Joined
24 Oct 2008
Posts
2,750
Location
South Wales
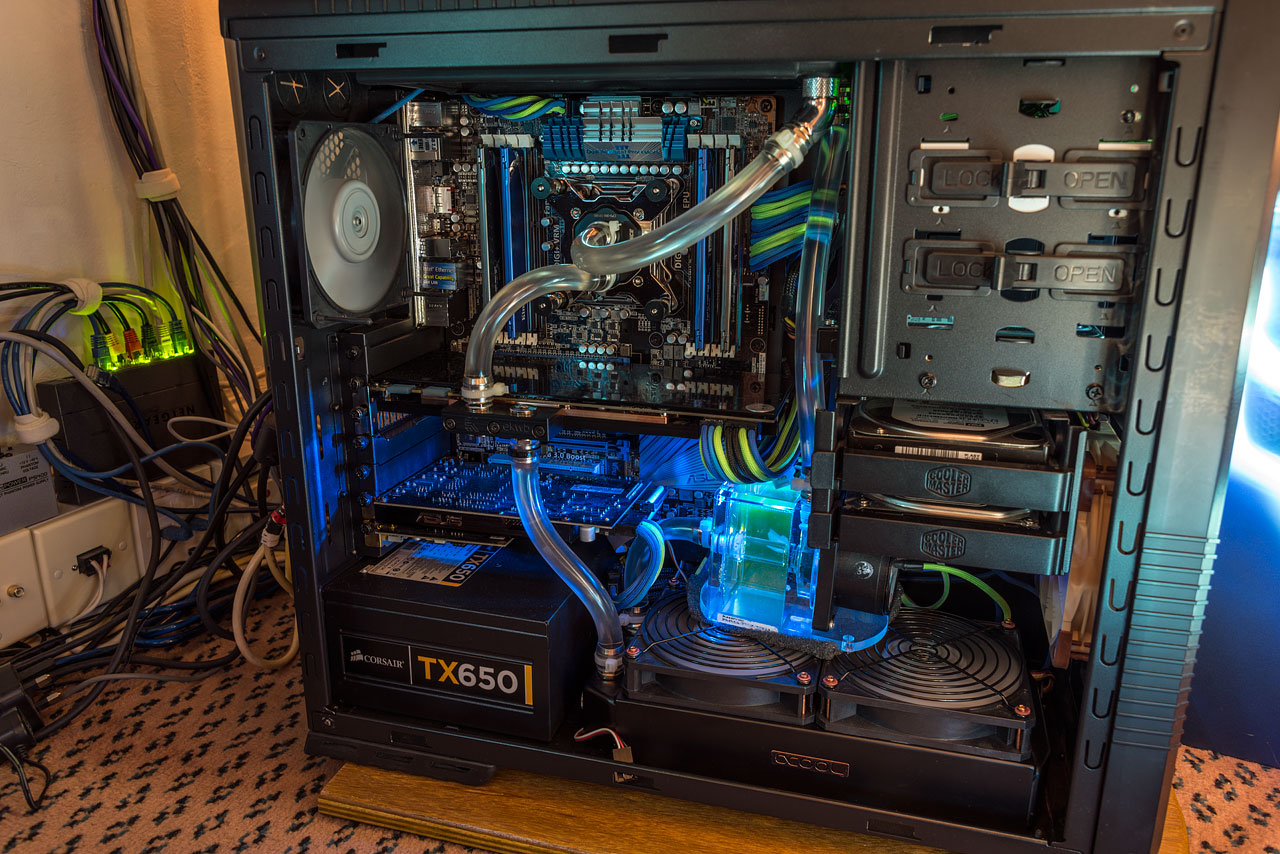
Slight lack of lighting since i took the cathode tubes out but i'm glad i managed to get one of the old asus blue colour scheme boards as the new gold colour is vile and i've never been a fan of the ROG red/black colour scheme.
12180722326_63db9ea161_o.jpg
 
Associate
Joined
13 Aug 2008
Posts
221
Looks really good, the braiding really goes perfectly! The orange of the power supply would annoy me but that's just me, what are your long term plans for the cable ties?
 

Kei

Kei

Soldato
OP
Joined
24 Oct 2008
Posts
2,750
Location
South Wales
I'll stick with the cable ties for now as they aren't too obvious, might change the clear(ish) ones for black. I've been thinking about changing the case since i moved to water cooling as it is very cramped in the 690.
 

Kei

Kei

Soldato
OP
Joined
24 Oct 2008
Posts
2,750
Location
South Wales
Major update coming over the weekend provided my deliveries arrive tomorrow. Got the following bits coming:-

Phanteks Enthoo Primo
Alphacool XT45 480mm radiator
XSPC photon 270 reservoir
Aqua computer D5 pump top
2m of primochill 7/16" advanced LRT
4x additional 45° fittings
1x 1/2" barb sealing plug
 

Kei

Kei

Soldato
OP
Joined
24 Oct 2008
Posts
2,750
Location
South Wales
Not much good news from today. Part of my order didn't turn up which i can only assume is down to stock issues as two of the items which were showing as in stock now show as out of stock. (not ocuk, as they don't sell alpha cool radiators)

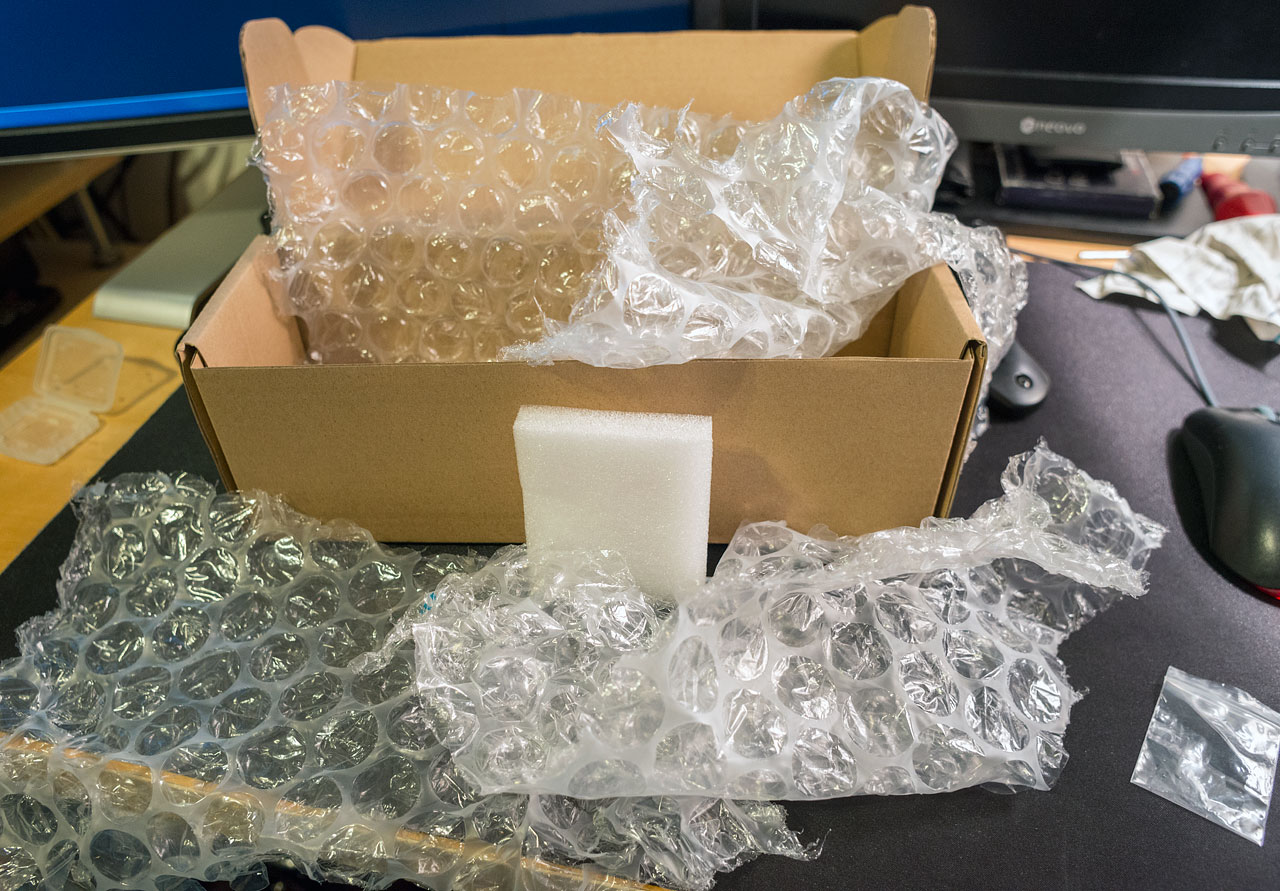
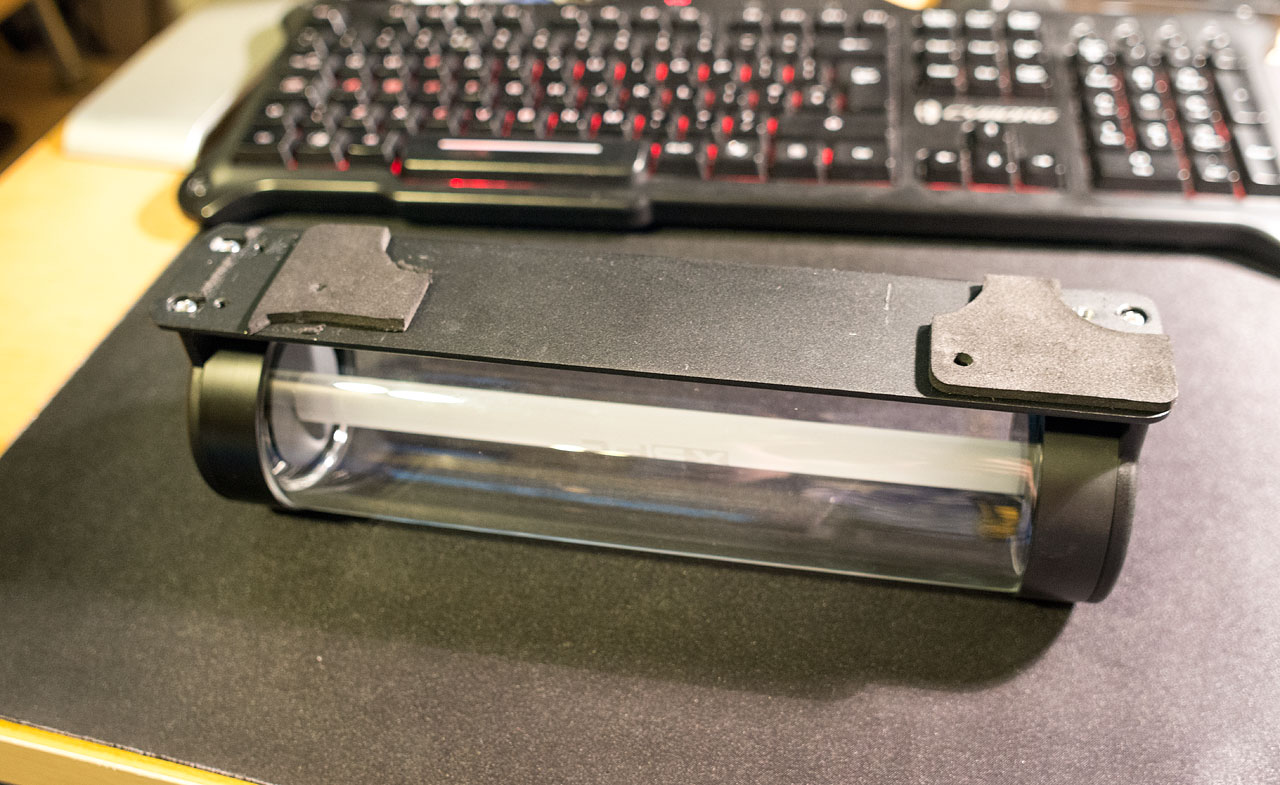
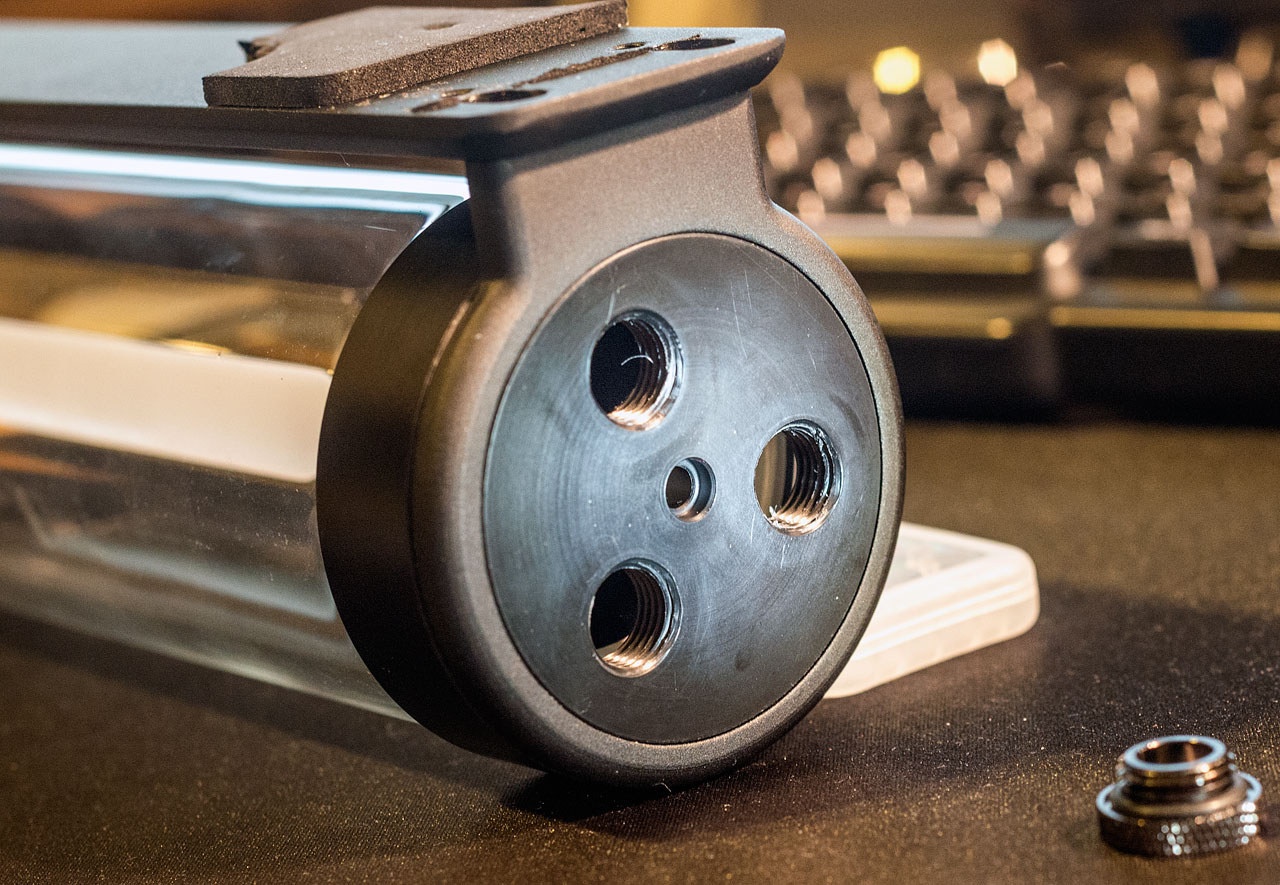
Second bit of bad news is that the xspc photon 270 reservoir that arrived is obviously a returned item that was well abused by the previous buyer. I'd say that it was in poor shape for a b-grade item. The box was pristine, but there was only one piece of the original packing left inside and just jammed with bubbled wrap. There were also no bolts or LED in the box either, just an empty zip lock bag.


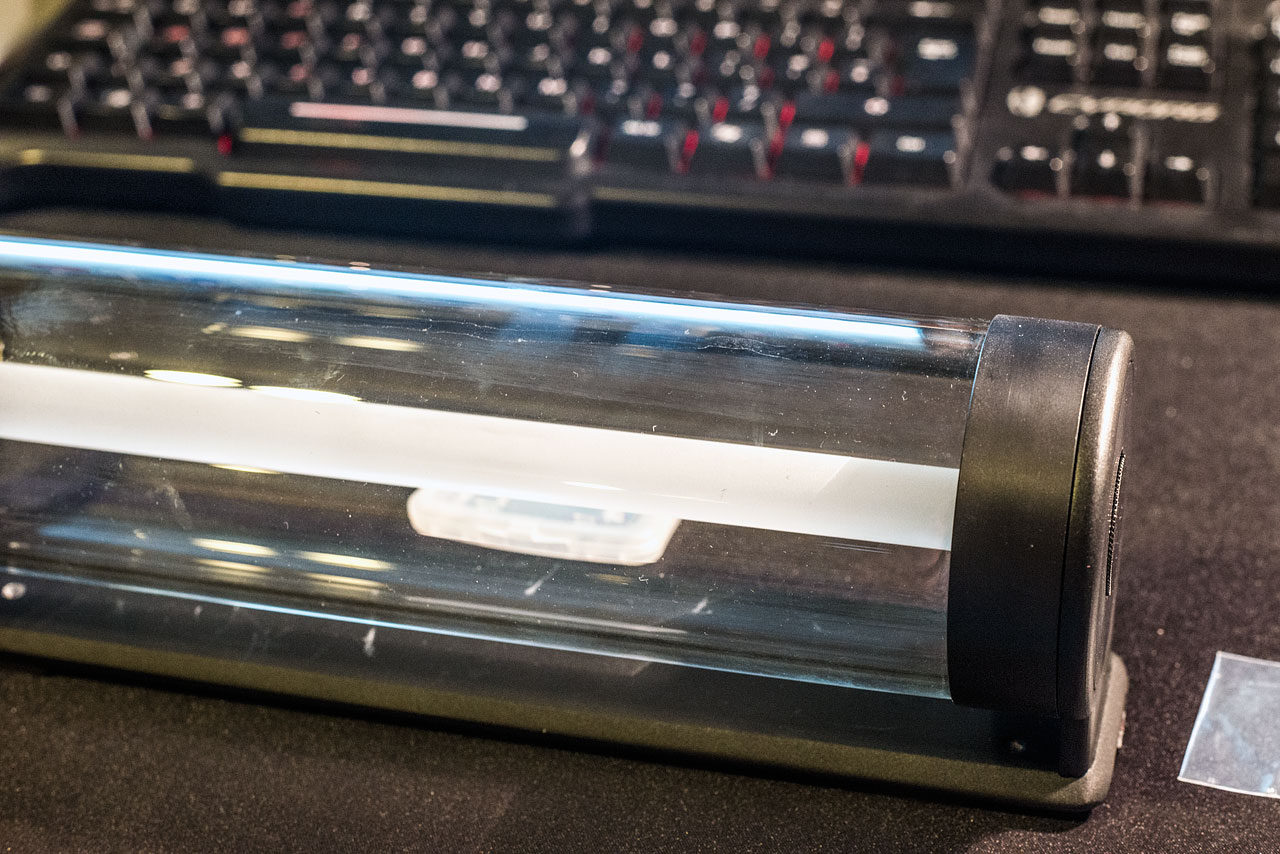
The res itself, whilst still in one piece has foam bits stuck to the back, watermarks inside and a fair amount of debris, damaged threads on two of the ports and to top that off, the mounting has been drilled.


The hole in the mount at the left of this image shouldn't even be there. The watermark runs the length of the glass and the debris is easily visible


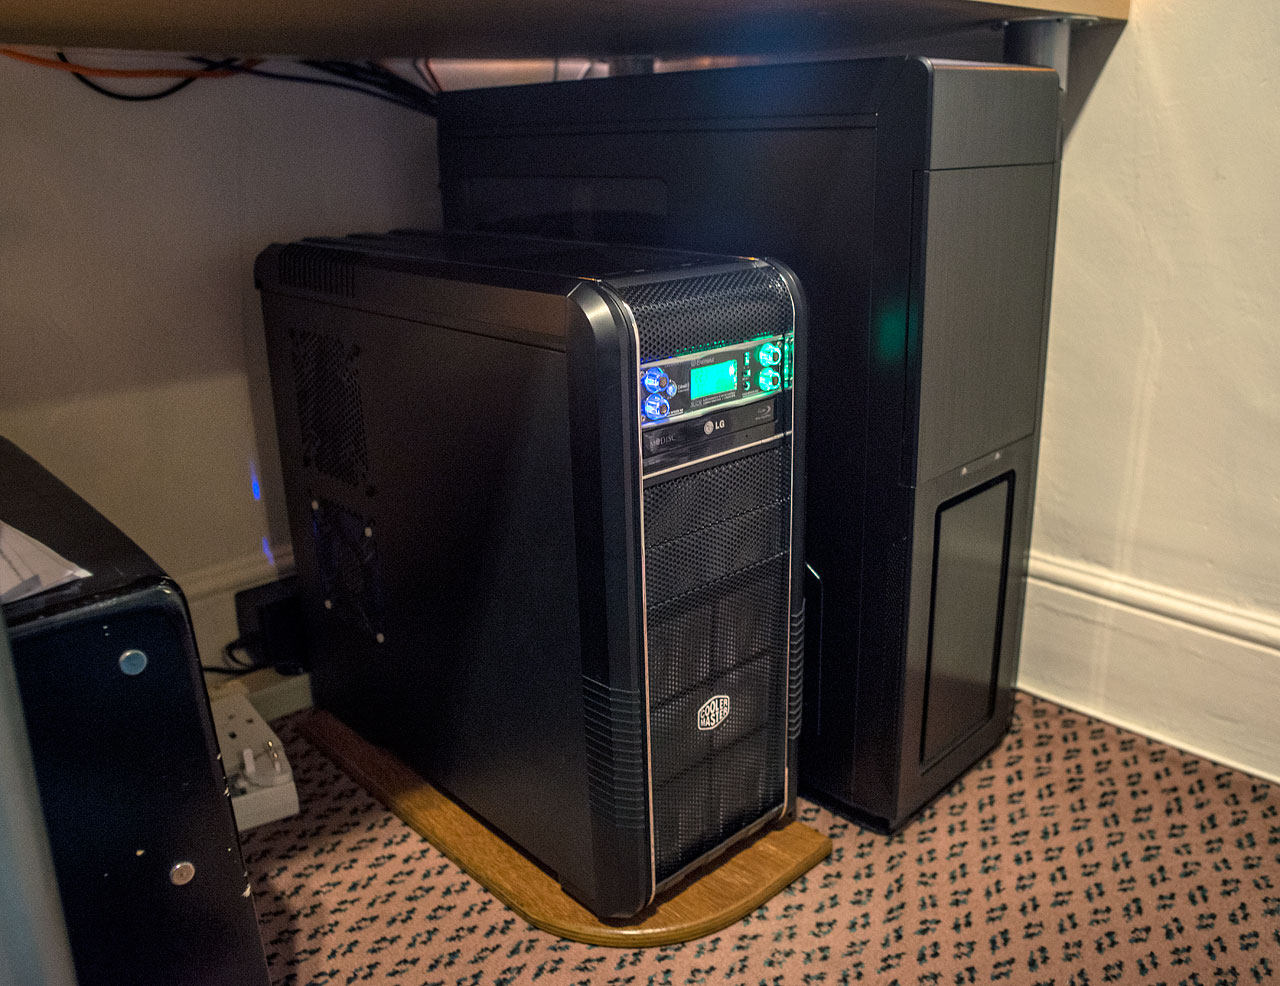
Anyway, that aside, the good news is that the case arrived and is perfect. It is certainly heavy and my god is it big. Borderline too big, it completely dwarfs the old cooler master.


Sadly as i don't have the 480mm radiator, any extra fittings and no fresh tubing, i can't do anything with it over the bank holiday which is exceptionally annoying.
 
Back
Top Bottom