Project:- Liquid Skeleton

Associate
Joined
2 Jan 2009
Posts
1,737
Location
Lincolnshire coast
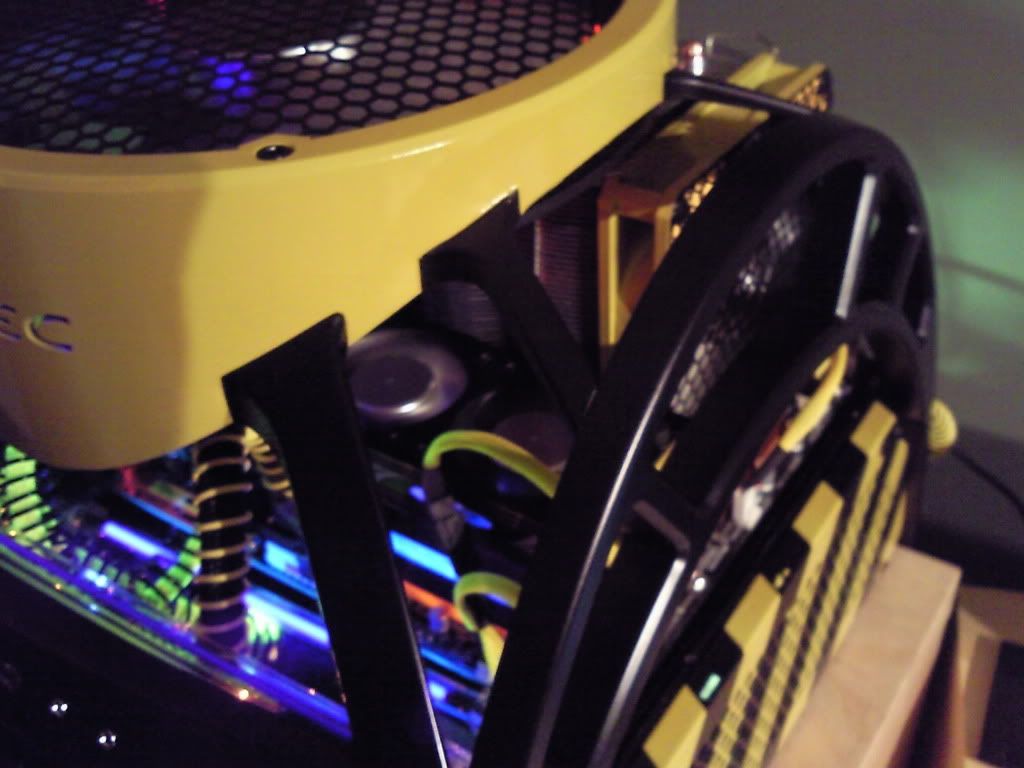
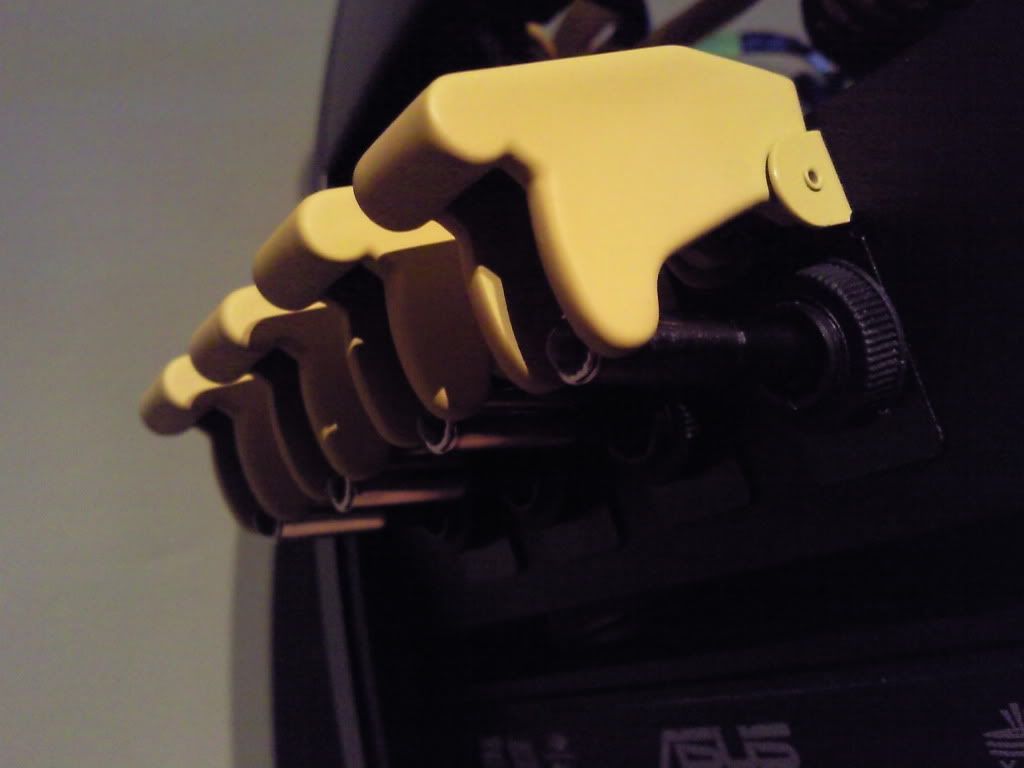
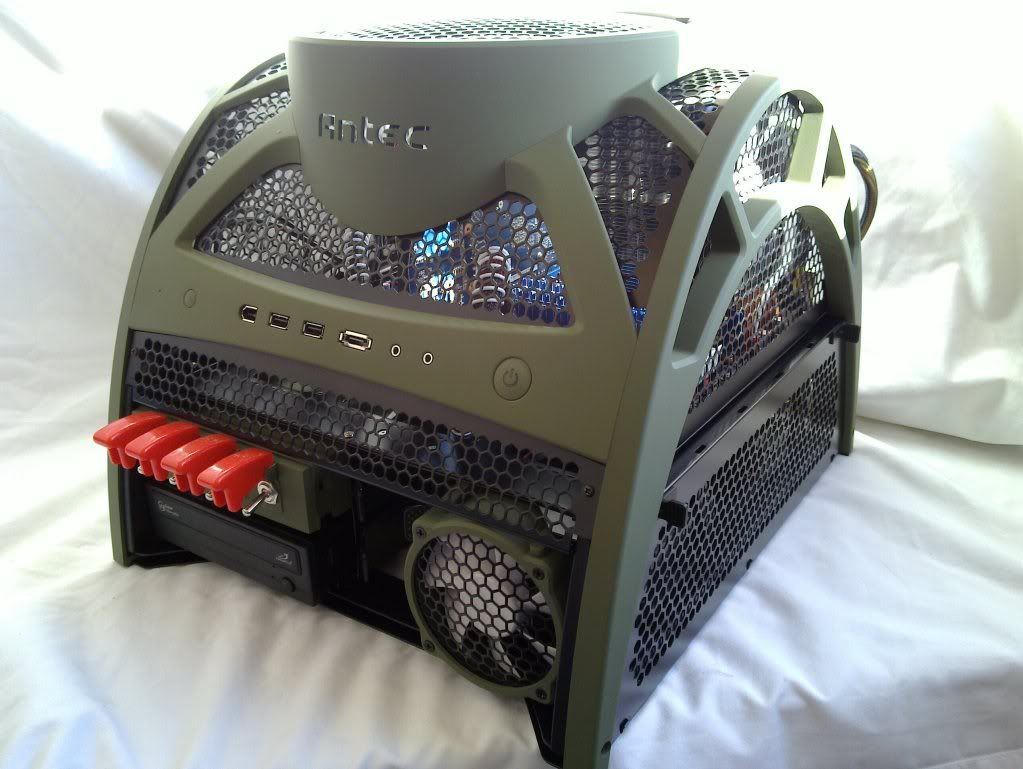
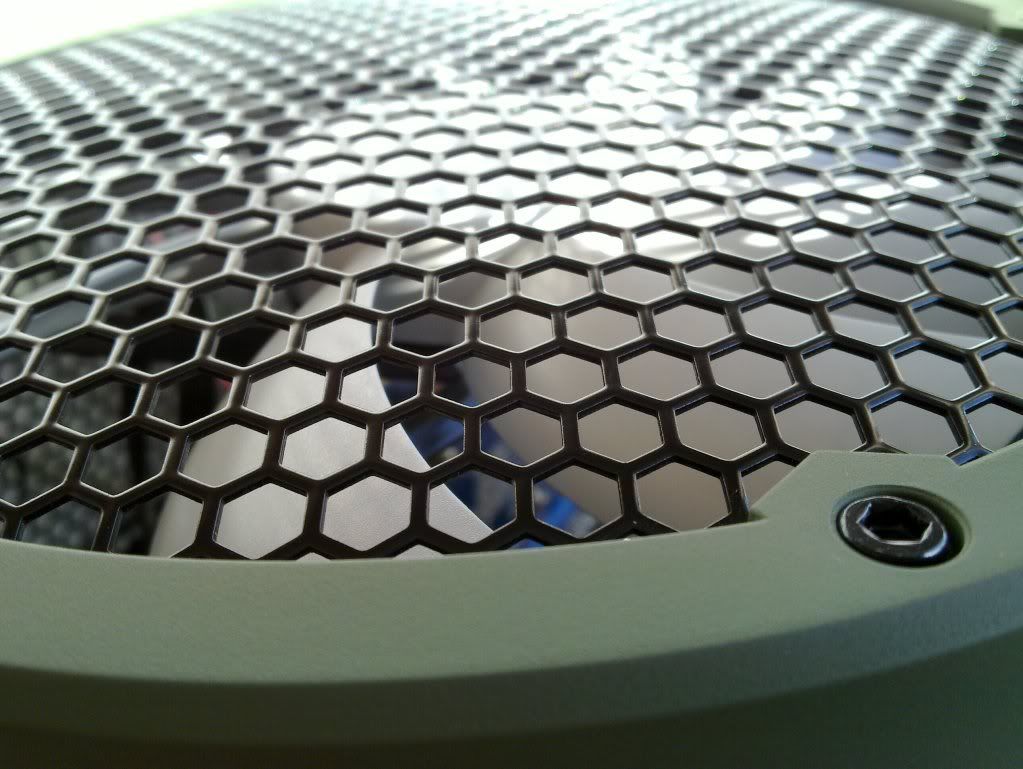
I've been a huge fan of this case since it first came out, and have modded a few in the last year or so.

I was origianlly going to carry this project on as an extension of my previous thread

http://forums.overclockers.co.uk/showthread.php?t=18059119

But have decided that as it is essentially a whole new project I would start a new thread. (aside from the fact I might actually use a fresh Skeleton, haven't decided yet)

So the other mods, incase you missed em.
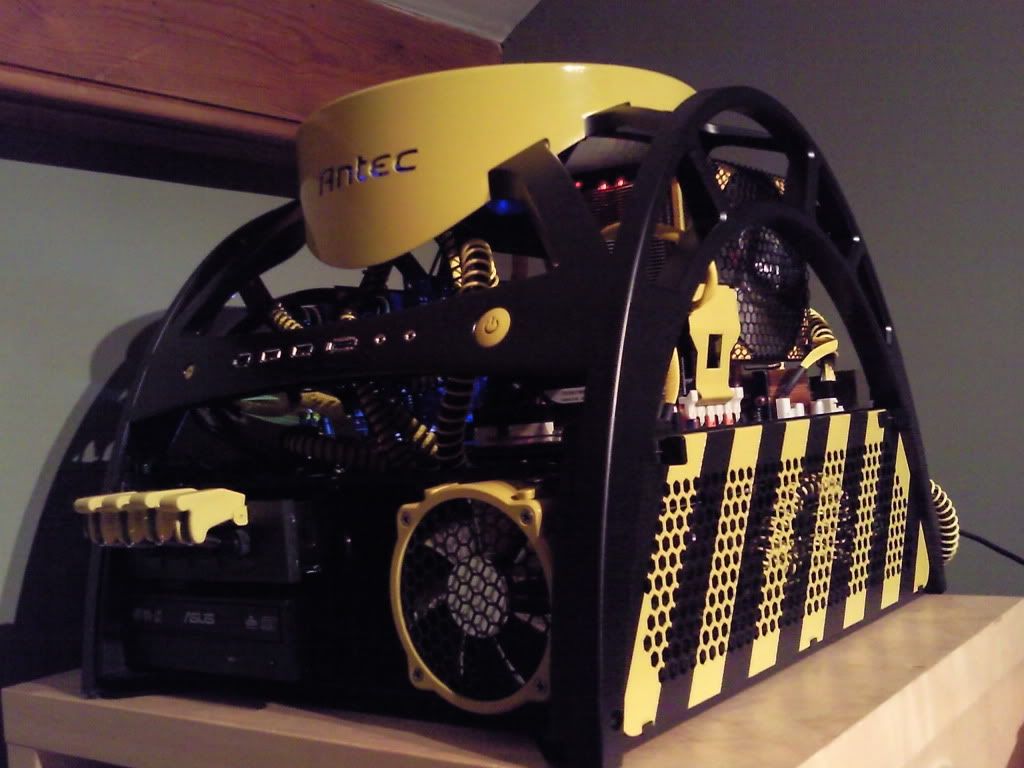
Photo0557.jpg


Photo0549.jpg


Photo0565.jpg


20100509_037.jpg


20100509_036.jpg


20100509_038.jpg


Having completed these two mods I decided I wanted to see what could be done with Water cooling.

With regards to installing the kit, unlike other cases there is no well trodden path (Pump goes down here, res over there. pump up there etc)

So a bit of a challenge, but also a blank canvas to work with.


Most parts have been ordered and have arrived, so should be able to get underway fairly soon.


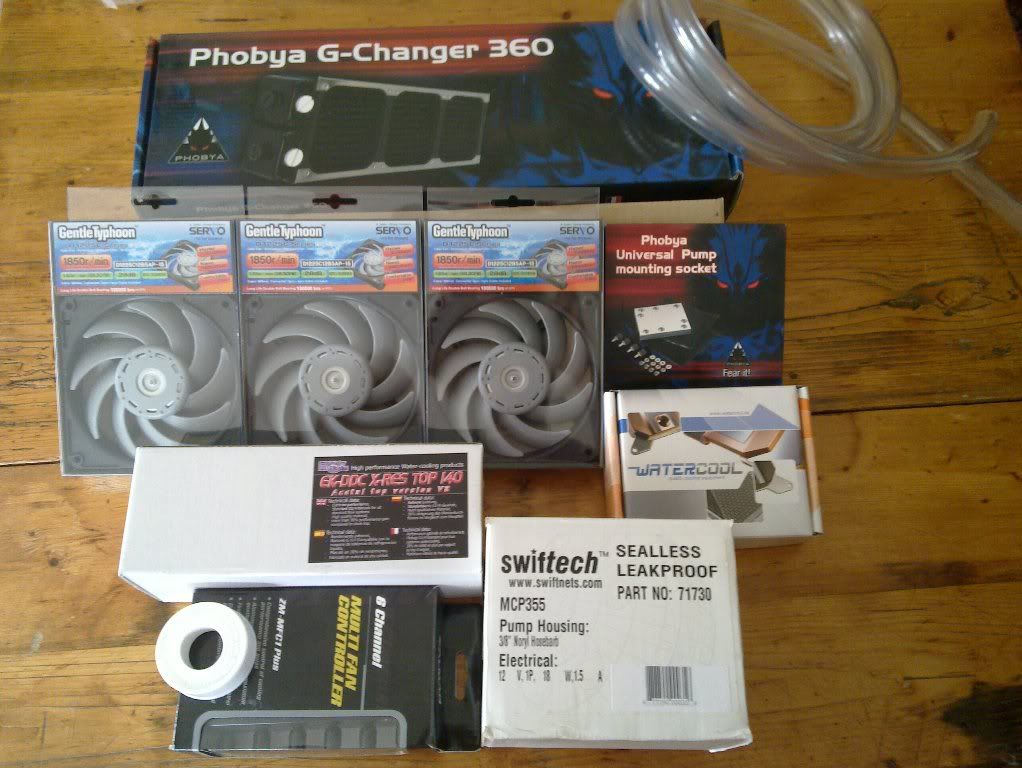
So to the goodies.

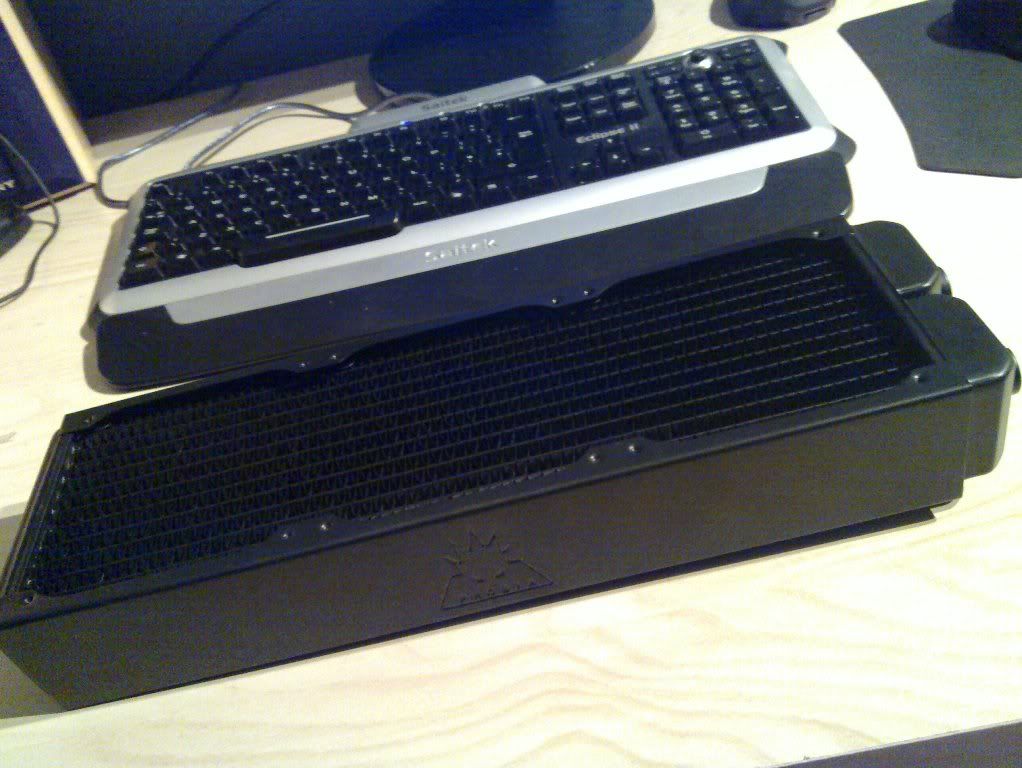
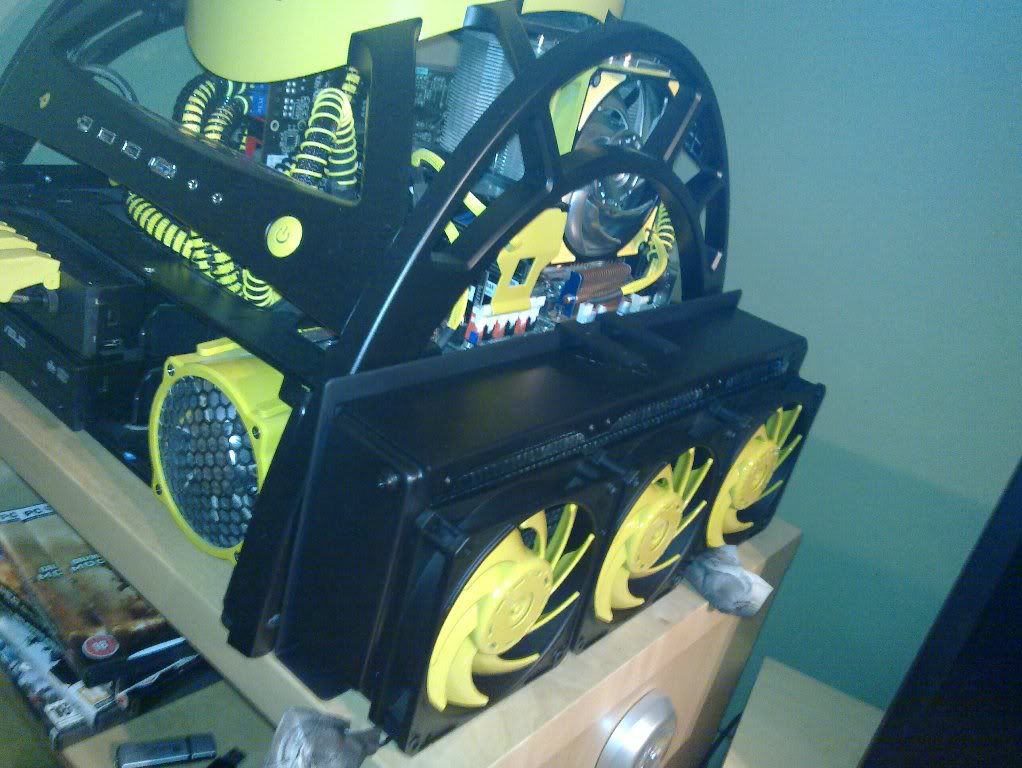
Going to be using the Phobya G-Changer 360mm Radiator Rev 1.2 as my Rad Got a few ideas of how to mount this monster of a Rad. In hind sight maybe should have gone for a 240 but hey size matters right guys!!!

Watercool HeatKiller CPU Water Block LGA1366 Rev. 3 Copper

Swiftech MCP355 Laing DDC-Pump 12V DDC-1Plus 18W Ultra

EK-DDC X-RES 140

Primochill PrimoFlex Pro LRT Clear Tubing

Scythe Gentle Typhoon 120mm Case Fan - 1850 RPMx3

A few more bits and bobs to come, But i've got enough toys here to be going on with.
20100806_006.jpg
 
Need abit of advice re tubing

having originally got 1/2 ID 3/4 OD, cos i likes the chunkyness and high flow ratesi'm now not convined its not too big. i think i can make the curves i neef to through use of angled fittings.

would i be better going to something a bit smaller and if so would i really be able to make much tighter curves and would i lose much flow
 
OCD-OC

I live in quite a rural area so unlike a big city, not too many places I can go to feel toobs

i'd have to look at toobs on line (probably best not at work!!!!) and then work out which ones i think id like the feel of and....

ask for them to slip me a length......


fnnnnnaaaaaaaaarrrrr

seriuosly though who's good and who's bad. i think your saying the thinner stff kinks easily, but then if its thinner does it bend more easily also (stop it now)
 
Cheers mate e-mail in trust.

What did you use in yours?

Currently struggling with the urge to do the GPU while i'm at it. only thing stopping me is thinking how long until I get a new GPU and therefore need another block.
 
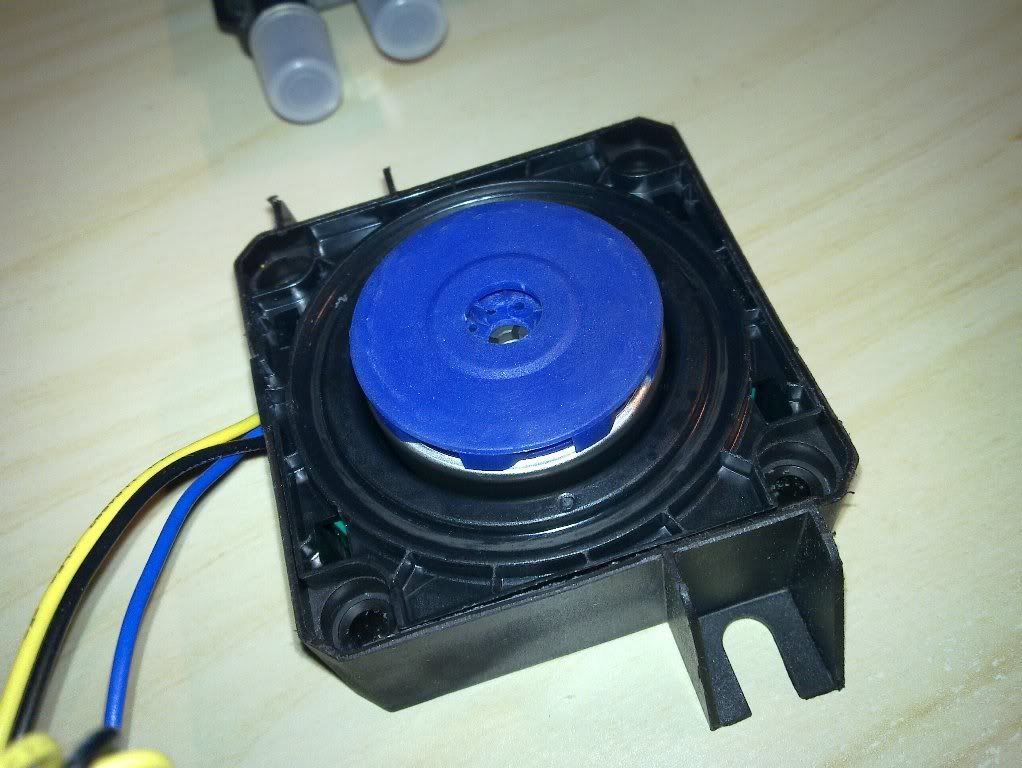
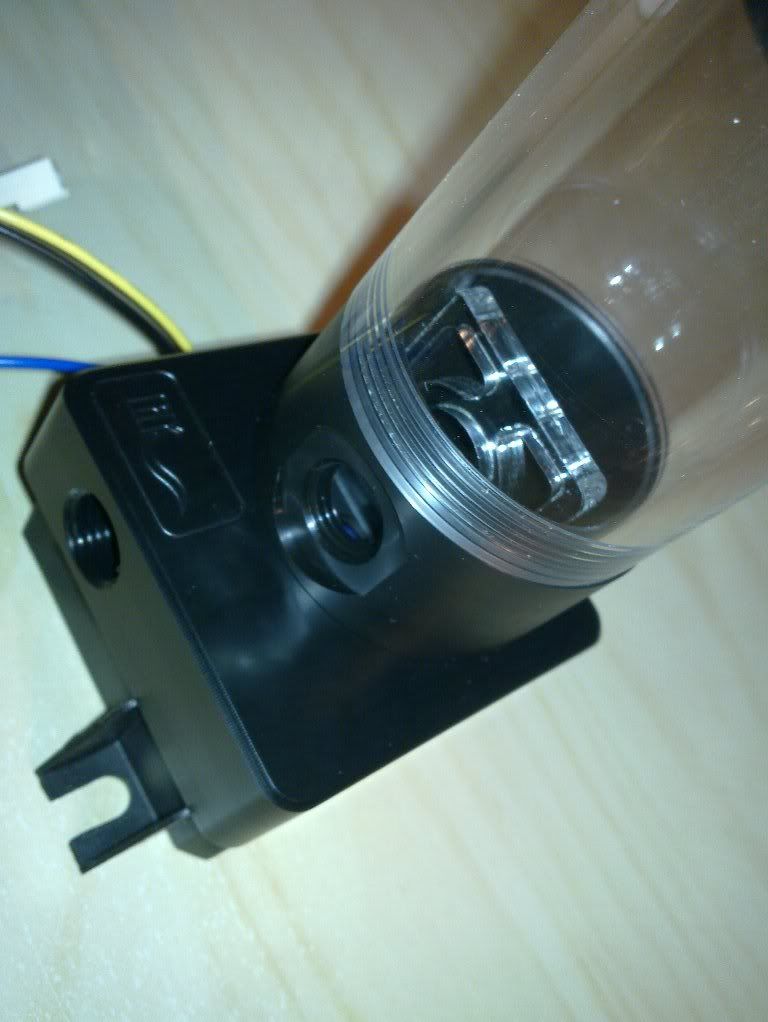
Did a bit of a test assembly of the pump tonight just to see how it will look and start to get an idea of how it will all go together (still unsure) I will be taking all apart again to braid wires etc.

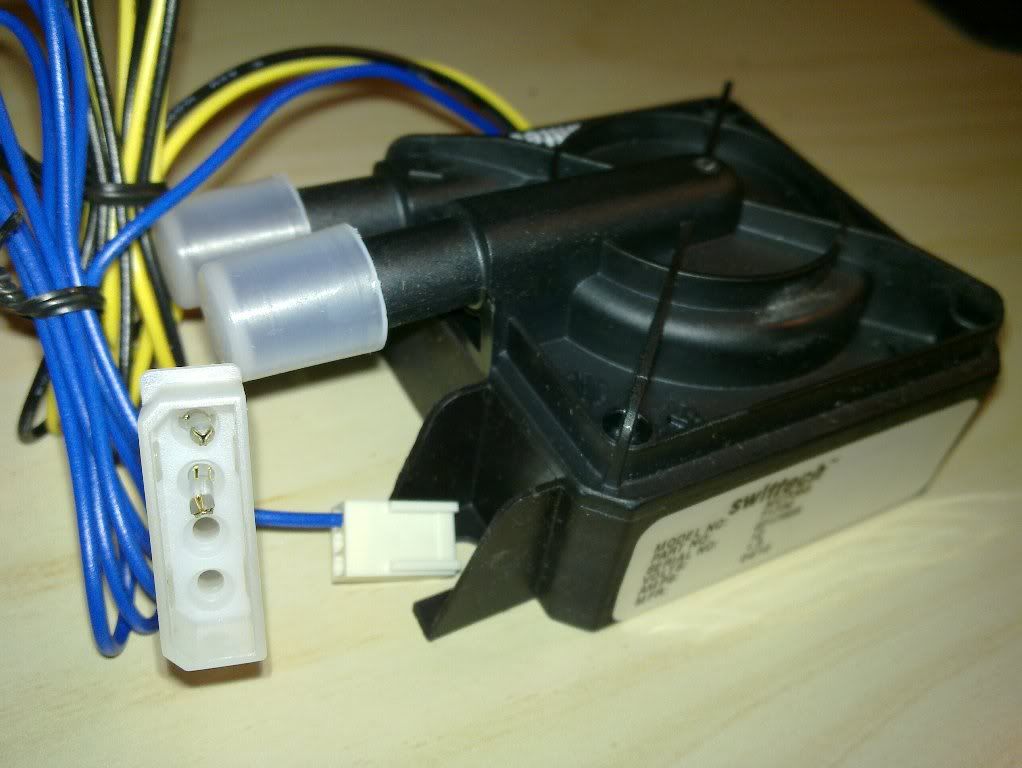
The pump: Swiftech MCP355 Laing DDC-Pump 12V DDC-1Plus 18W Ultra

20100808_001.jpg


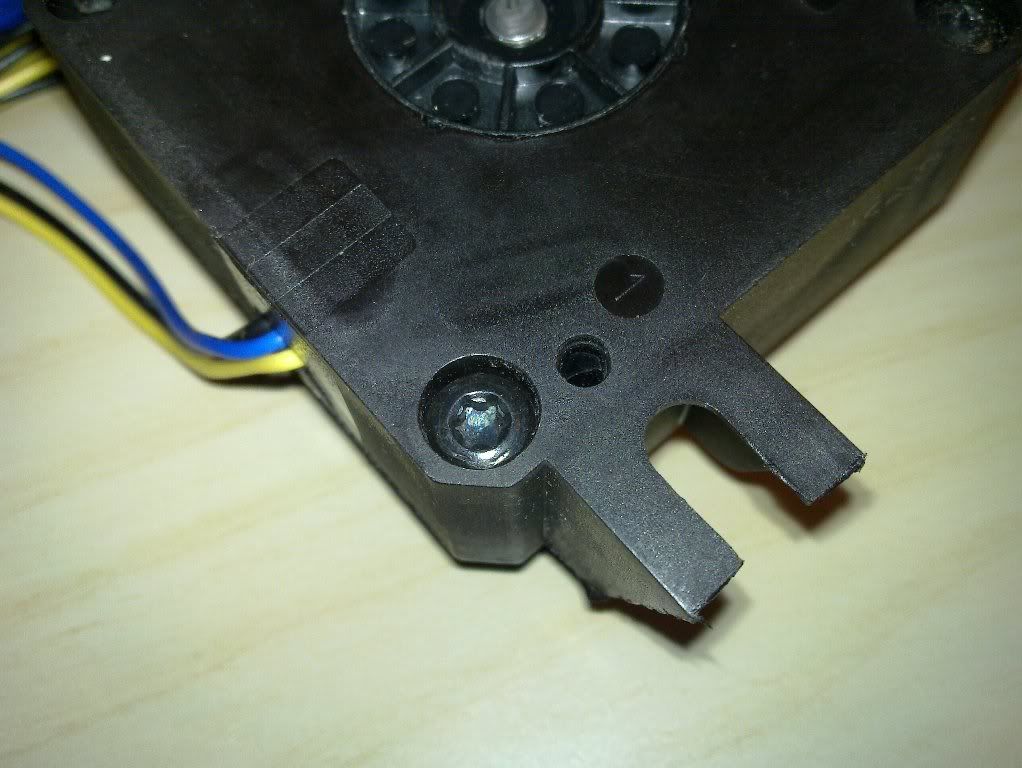
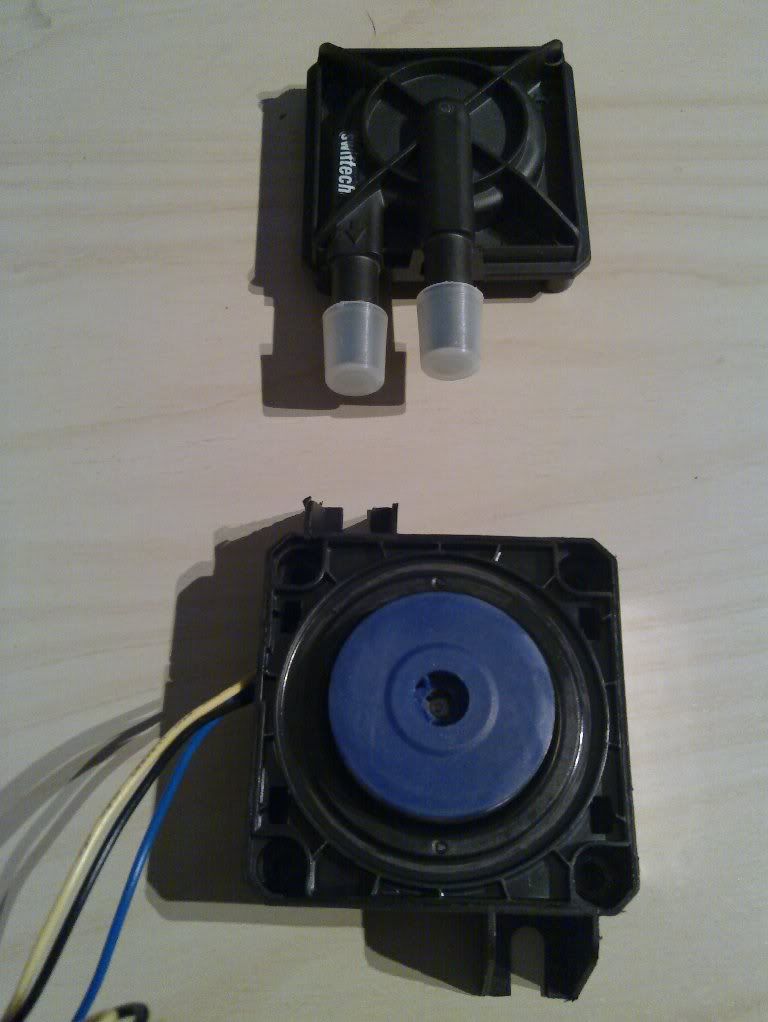
Didn't realise the base of the pump was secured with these.

20100808_002.jpg


How annoyed would I have been if I didn't happen to have the right drive head to fit. I'm not sure what it's called and it took me 1/2 an hour in the garage and a lot of swearing to find it (remember boys swearing is bad).

Anyway 30 mins and a few choice words later

20100808_003.jpg


20100808_004.jpg


And finally attached to the res

20100808_006.jpg


The instructions are kind of amusing as they tell you to use "gentle force" to tighten the bolts. What the heck is gentle force??? It's either forceful or its gentle!!! How can it be both???

OK rant over on with business.

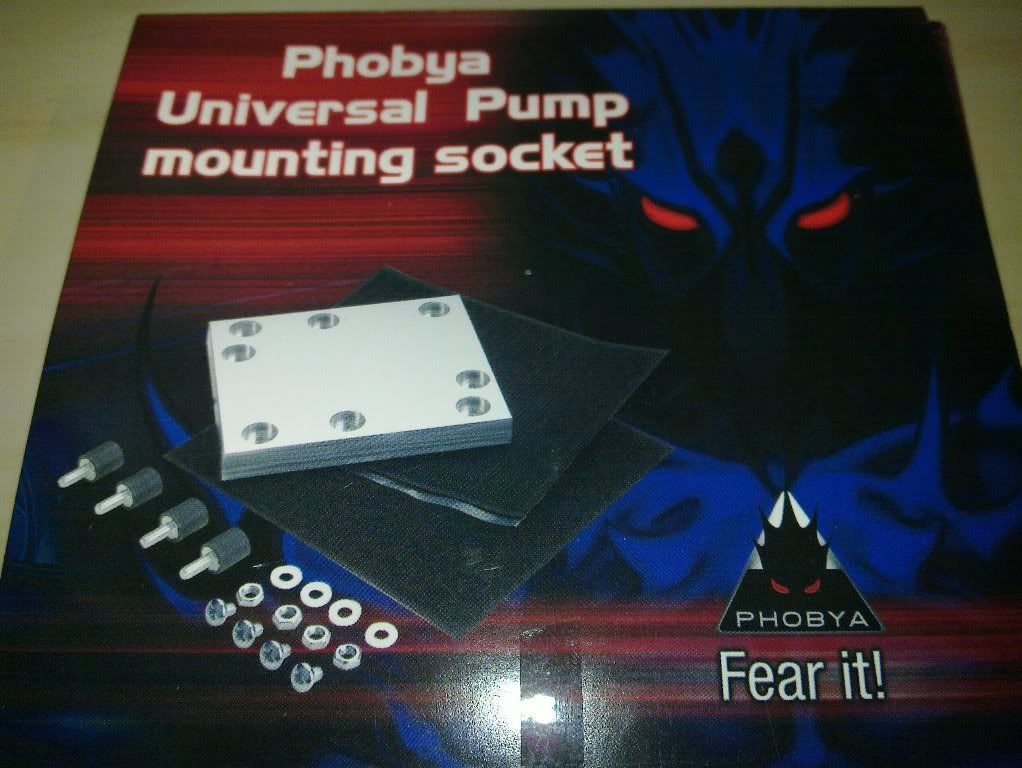
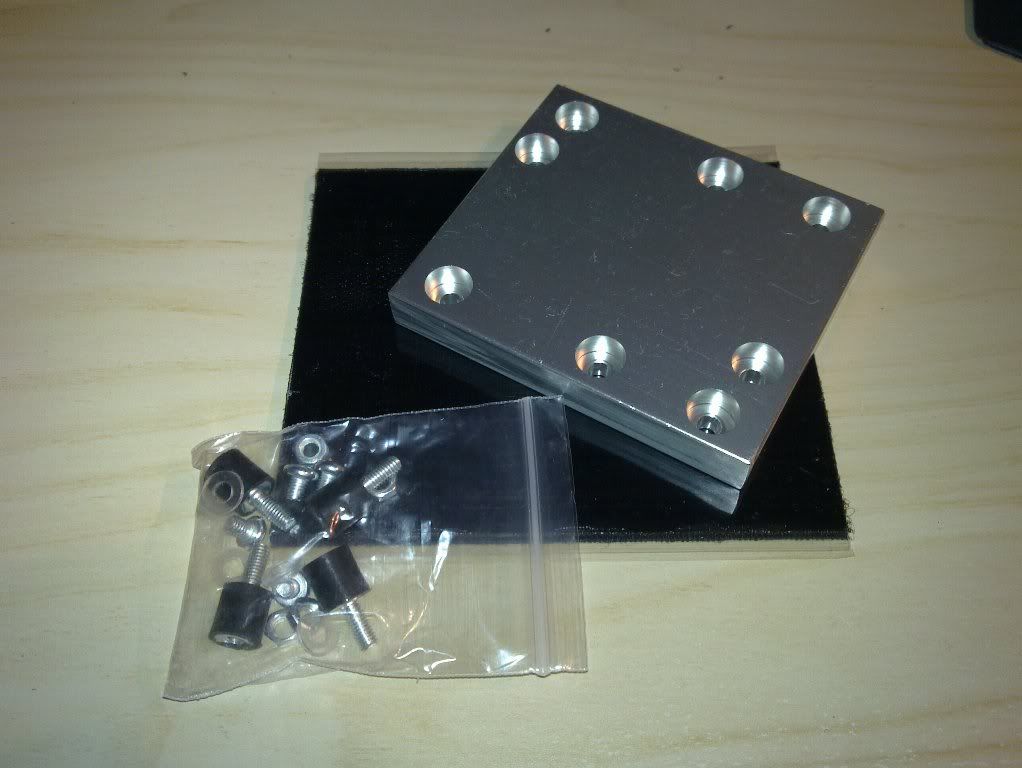
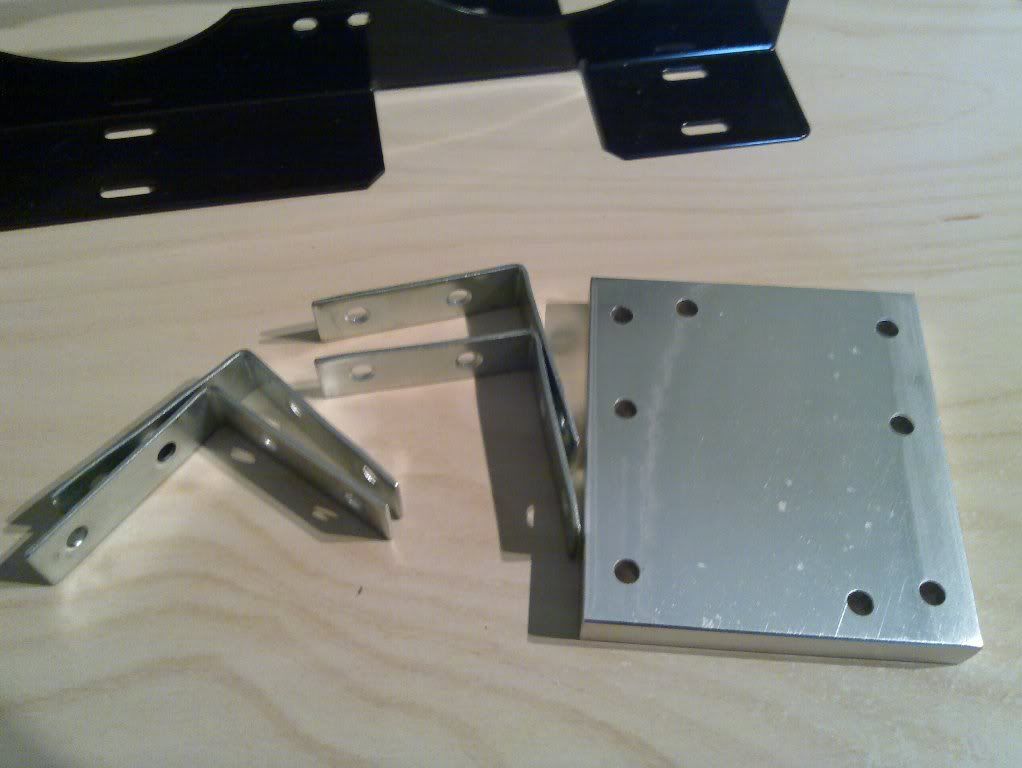
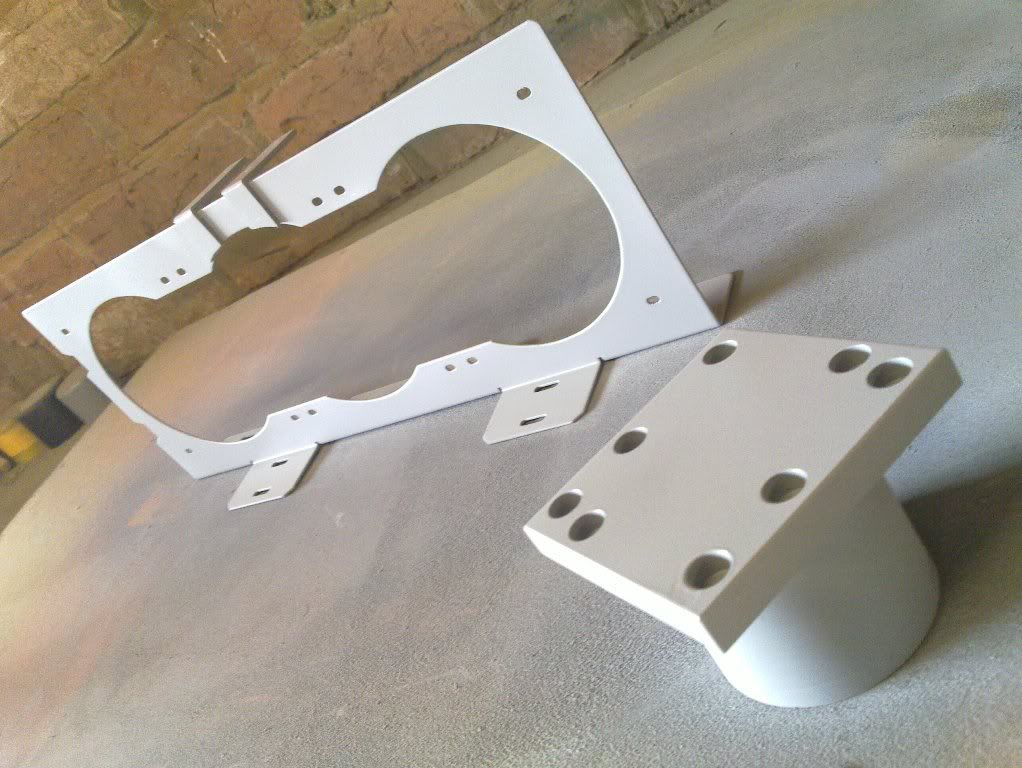
Got myself a rather nice machined pump mounting plate. It's made by Phobya and will accept pretty much any pump you care to bolt to it. Comes with all the nuts and bolts you could ever need and a shock absorbing velcro mat to put underneath. The plate itself is made from a single piece of fairly thick steel and has that nice quality machined feel about it. (i'm a bit of a sucker for a nice machined billet of steel).

20100808_007.jpg


20100808_008.jpg


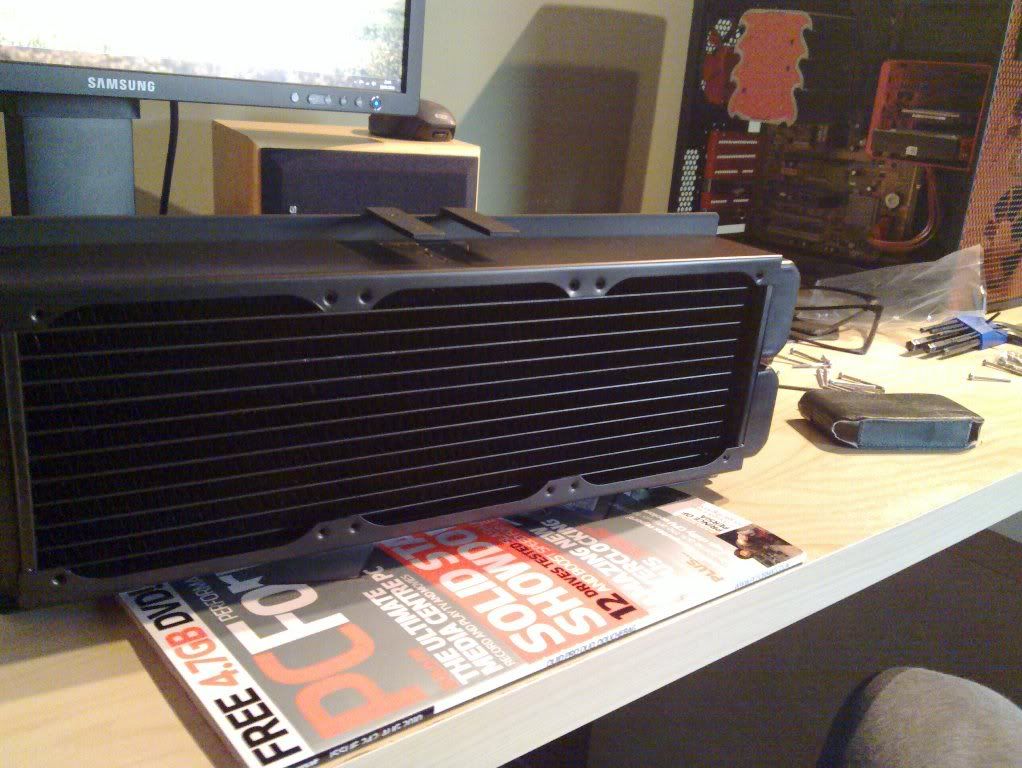
And finally the Radiator. The Phobya G-Changer 360 v1.2

Bit of a beast, totally dwarfs my keyboard. Still, should do a good job of keeping the temps down.

20100808_010.jpg


Haven't totally decided where and how i'm going to position it and the res/pump. Open to suggestions. I'll get some pics of a few options together and see what you think
 
Sorry for the delay in updates.


Anyway i've now pretty much worked out where everything is going and although I still don't have the all important fittings i've not let that stopp me cracking on with things.

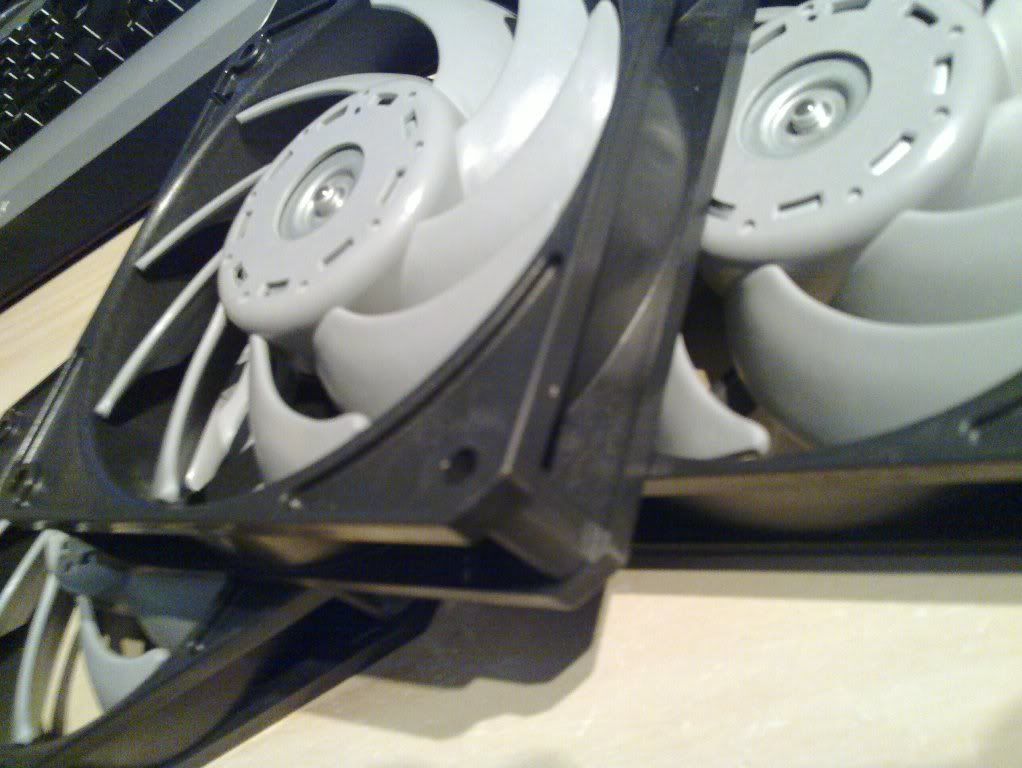
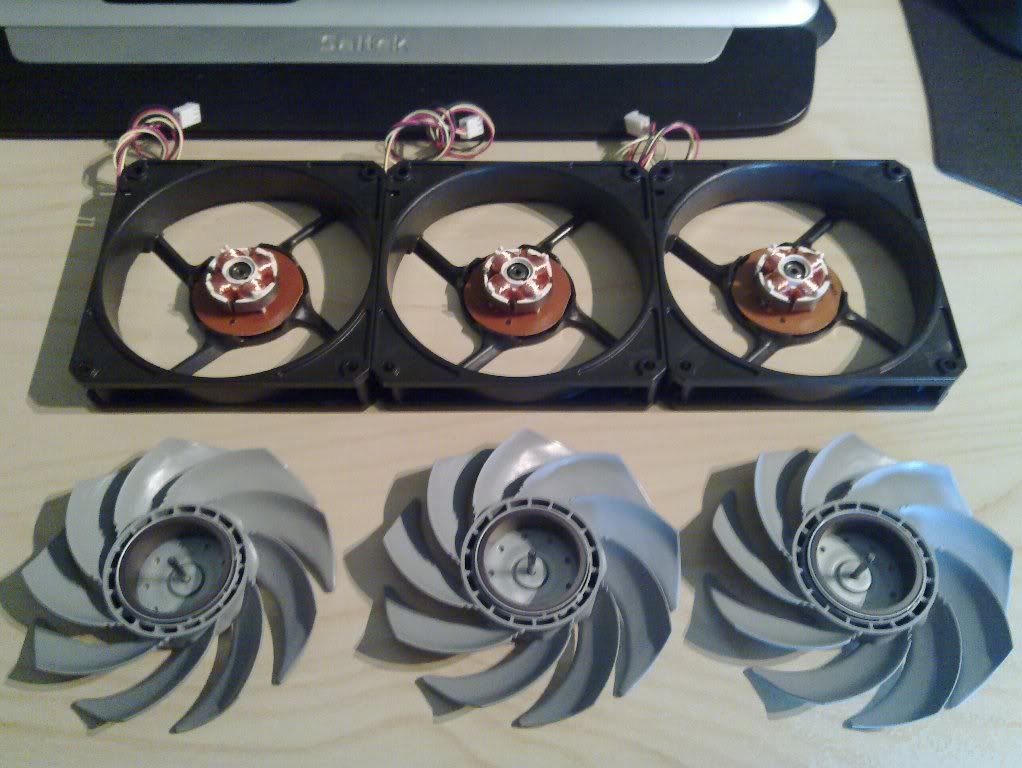
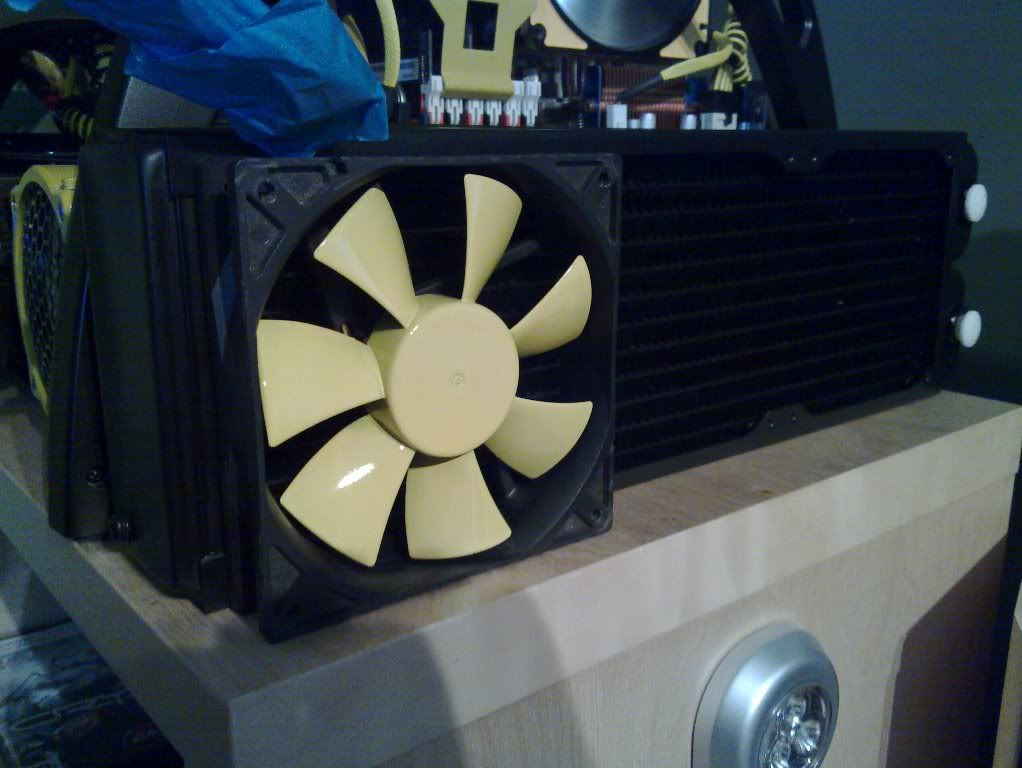
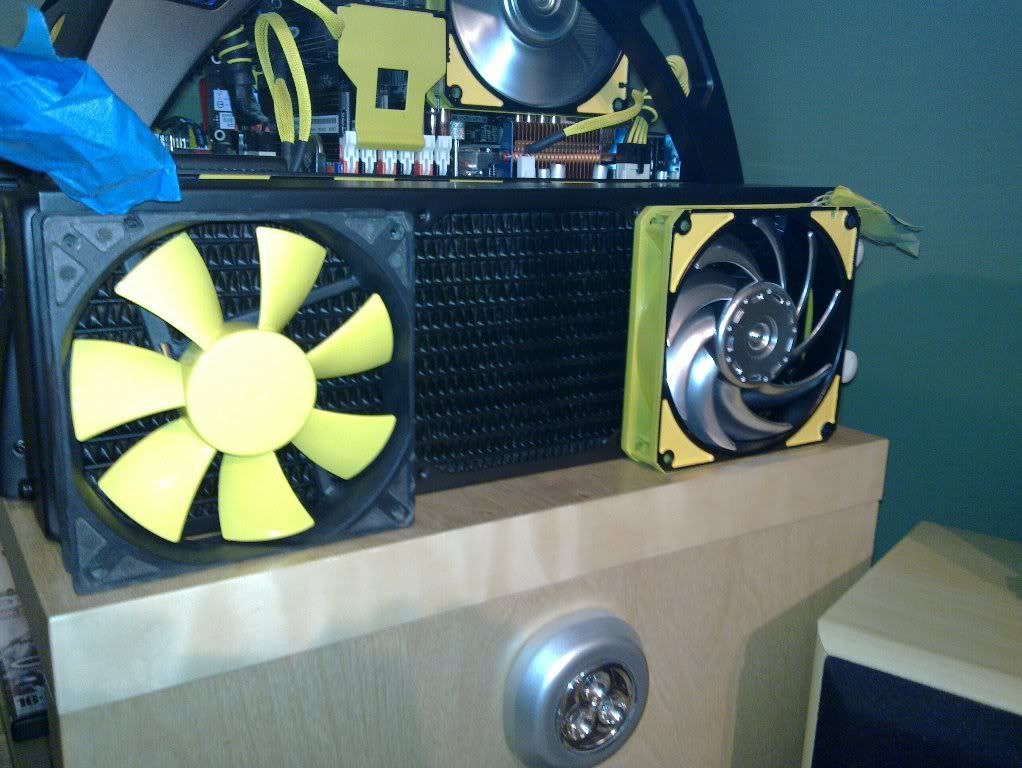
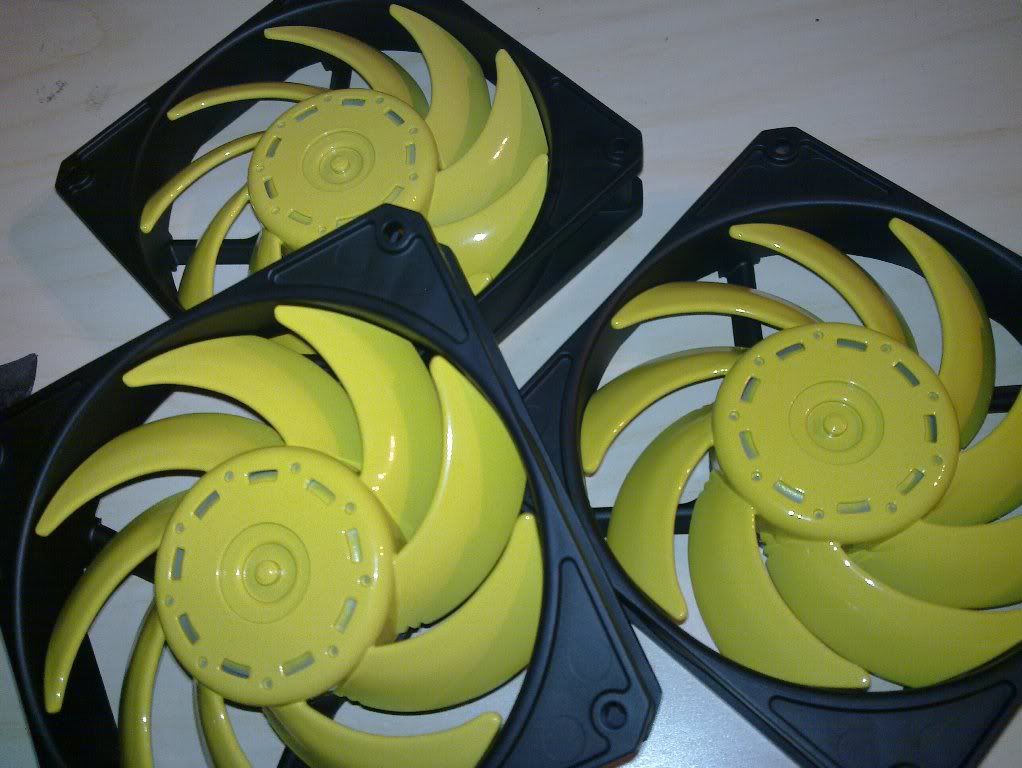
£ scythe gentle typhoons will be used to move air over the RAD. They're going to be painted up in keeping with the theme of the Black and yellow Skeleton Mod as this is my everyday PC.

20100810_004.jpg


20100810_016.jpg


20100810_034.jpg


20100810_027.jpg


20100810_035.jpg


What i need now is a bit of help deciding on the colour scheme for the fans.

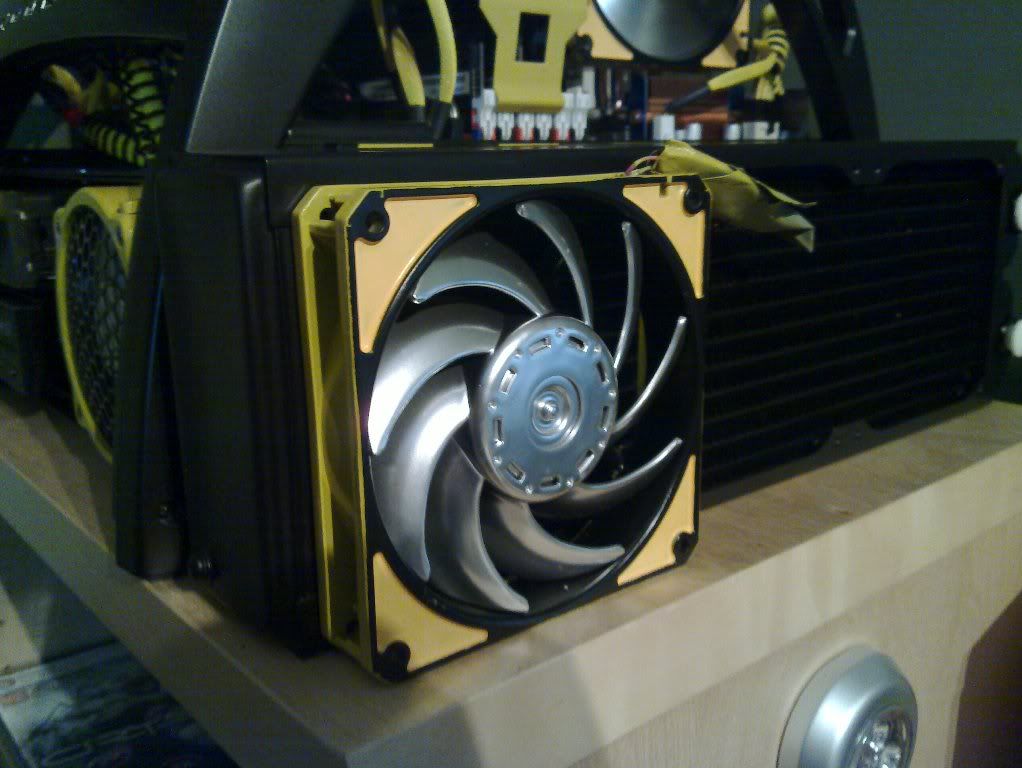
When I did the original build I did the fan blades silver with a black inner cowling and a yellow frame

Like this

20100811_018.jpg


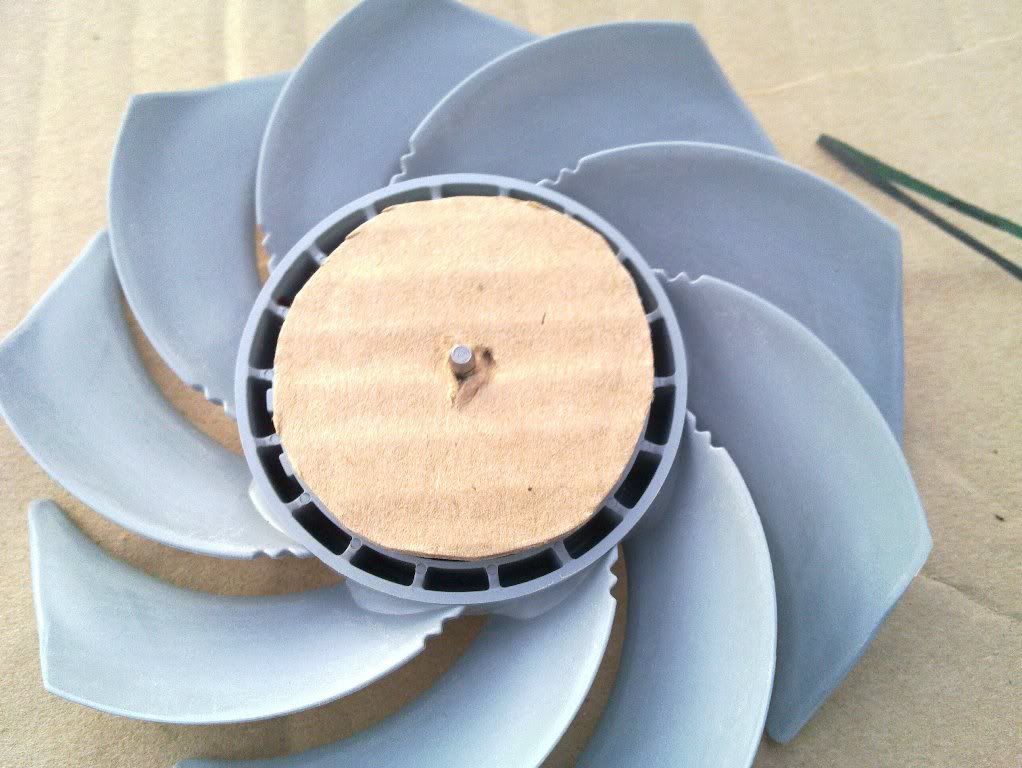
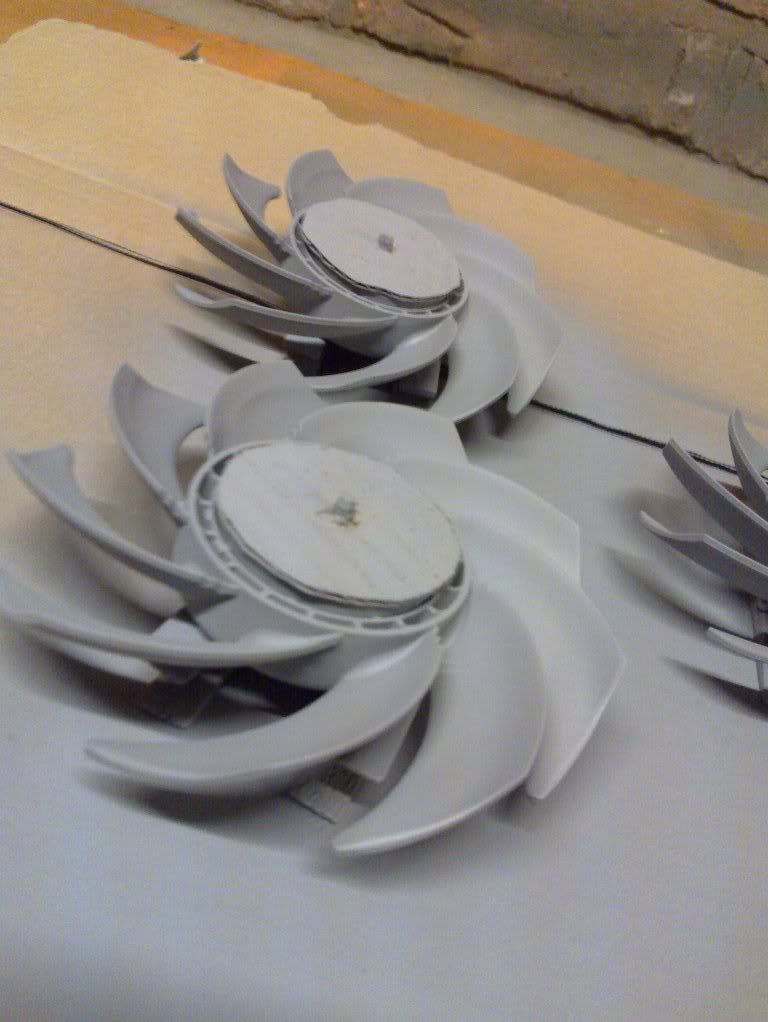
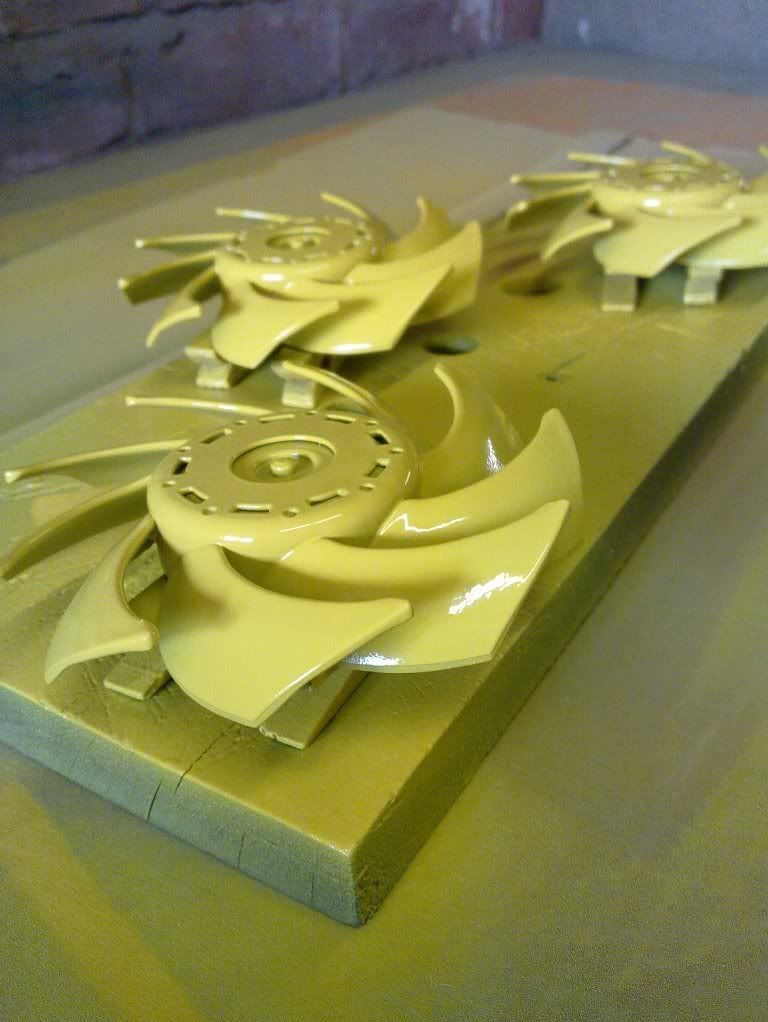
However I'm thinking this might look a little busy so have quickly sprayed up an old fan to show another idea i'm thinking of.

20100811_009.jpg


20100811_017.jpg


20100811_016.jpg


What do you think guys. I'm thinking the silver one might look a little too busy. haven't sprayed the actual fans up yet so not a problem either way.

I'd appreciate your thoughts.
 
Cheers guys

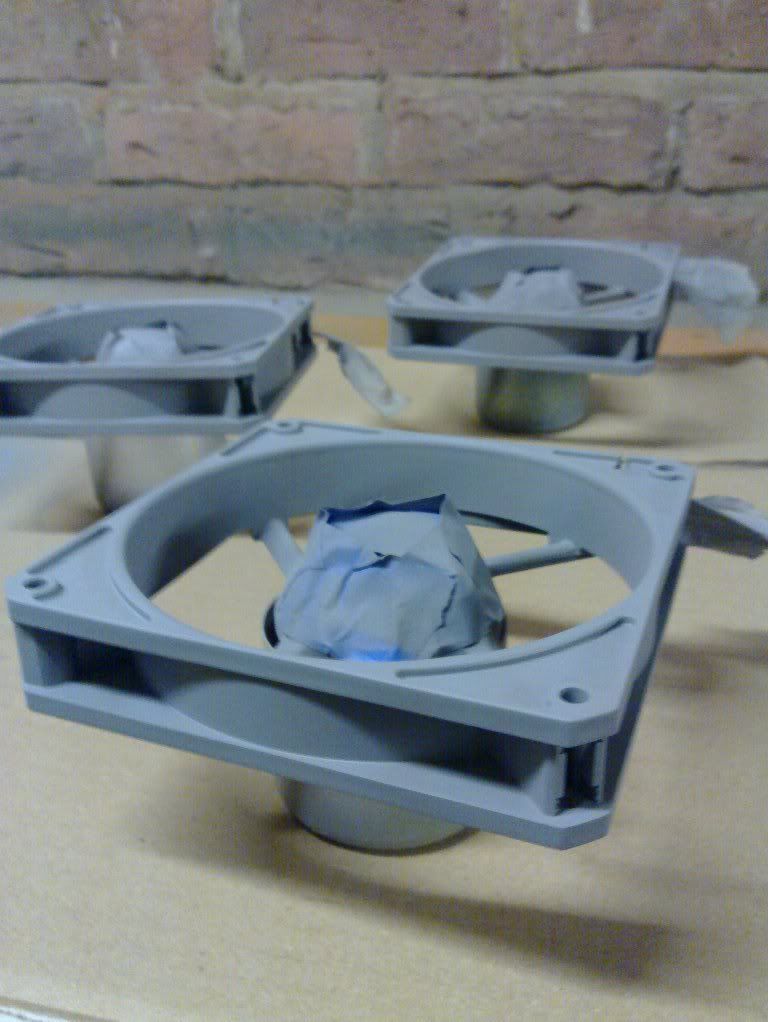
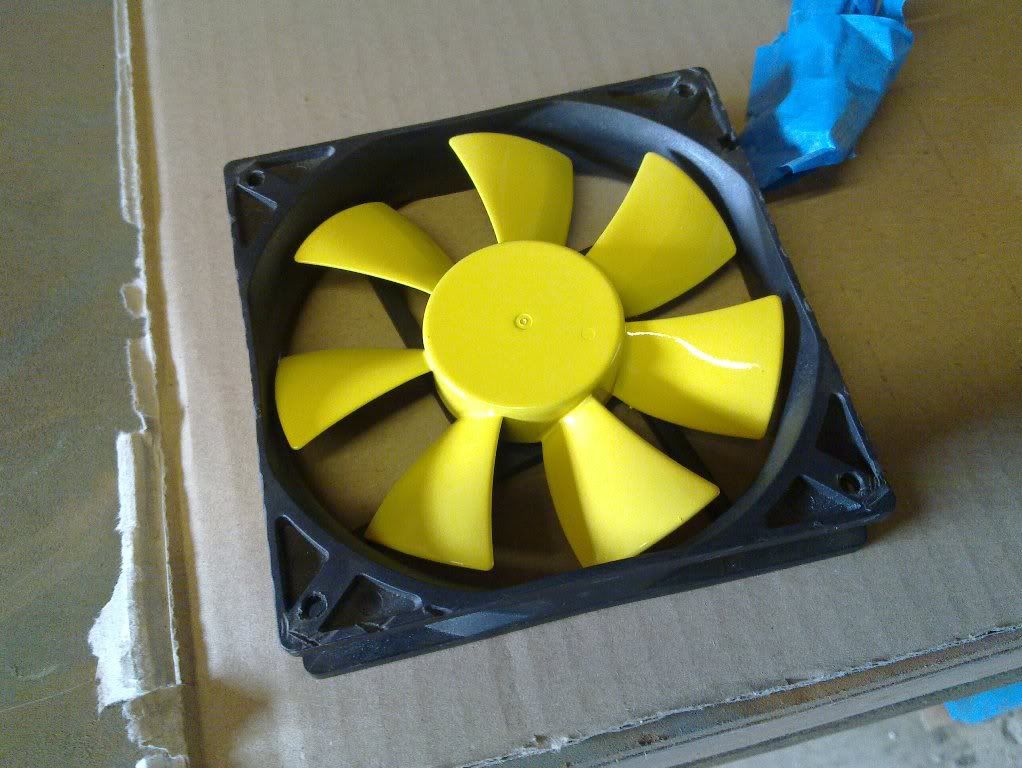
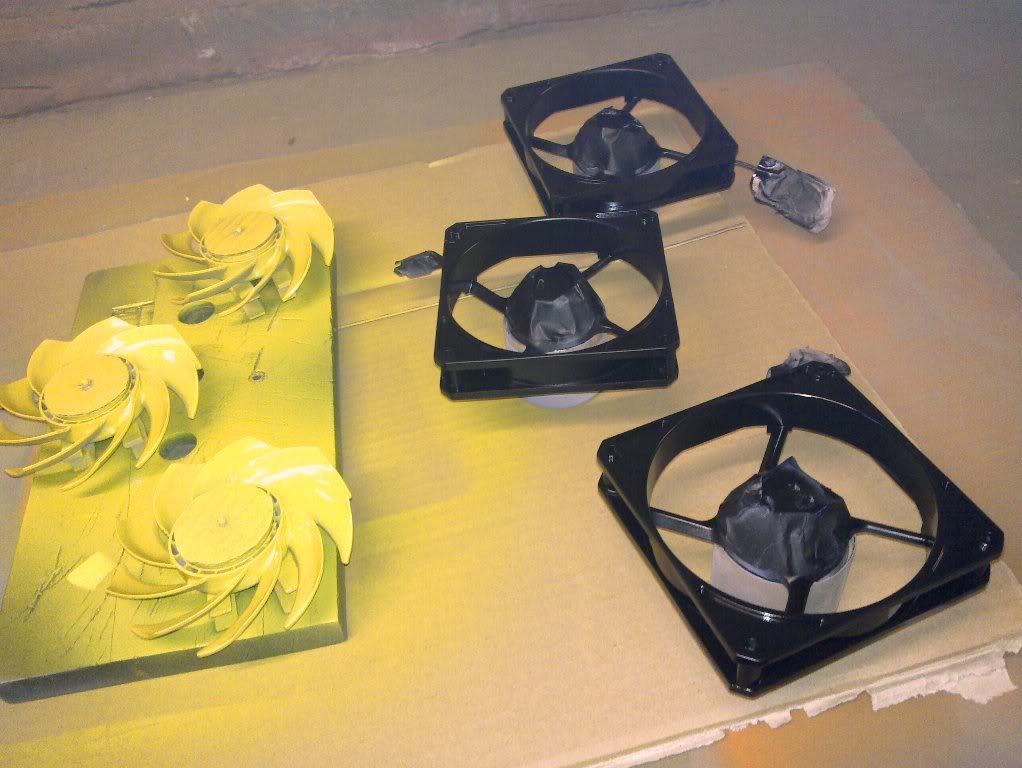
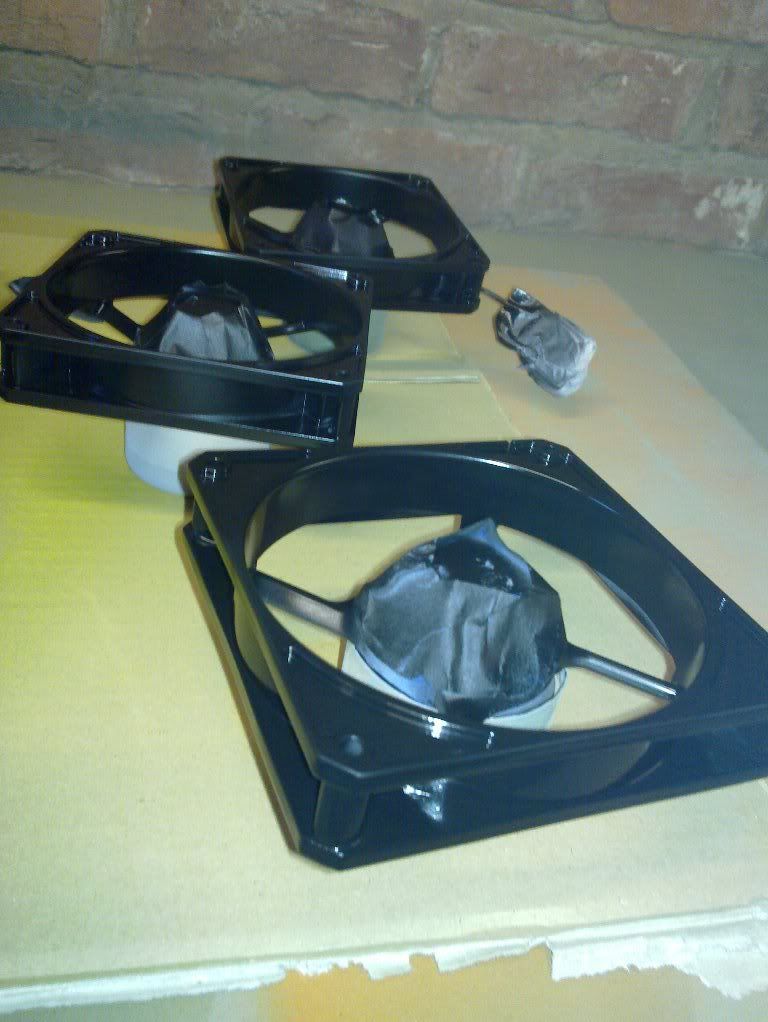
Just finished puting base coats on, i've gone for yellow blades and matt black cowling.

Tealc, Love the new sig. And yes, you're obsessed, but in a good way.
 
Last edited:
Bit of an update.

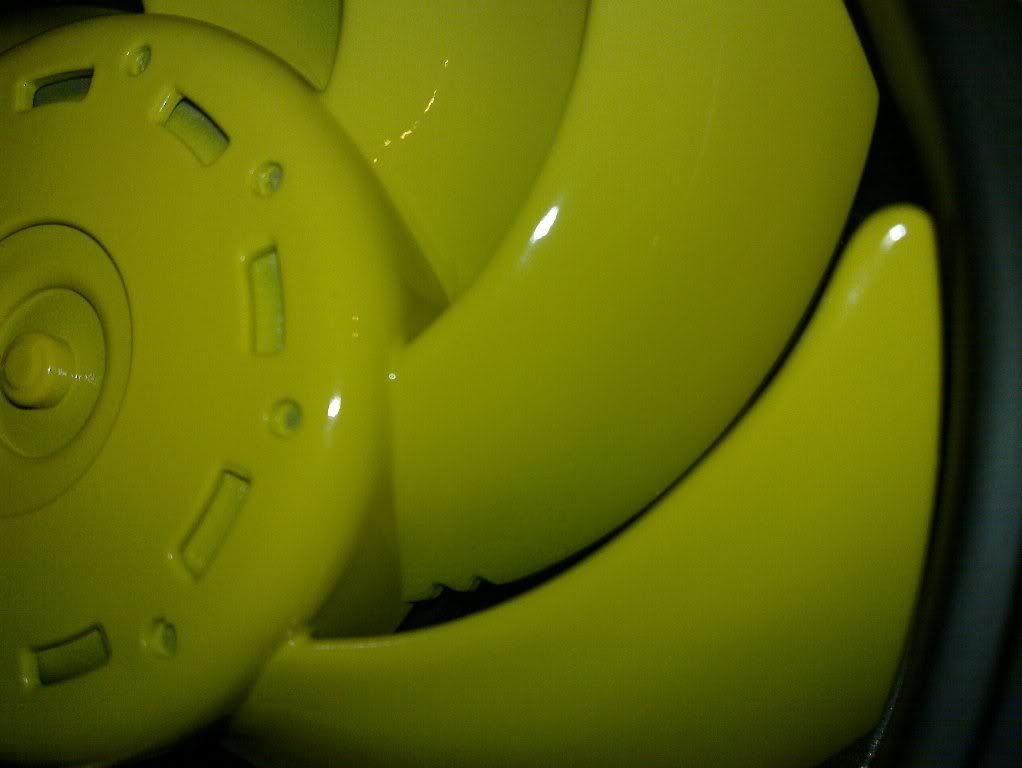
Painting is going well, although the pictures don't do the yellow justice in all of them. It's quite a vivid "warning" yellow, but in some it looks more like a rather pretty Buttercup.

I've given up hope of finding yellow tubing and think yellow dye in clear might look a little like pee, so have decised to go for black instead, most likely with yellow anti kink.

first top coats of both surfaces of fans. of rear of fans

20100811_026.jpg


20100811_025.jpg


20100812_004.jpg


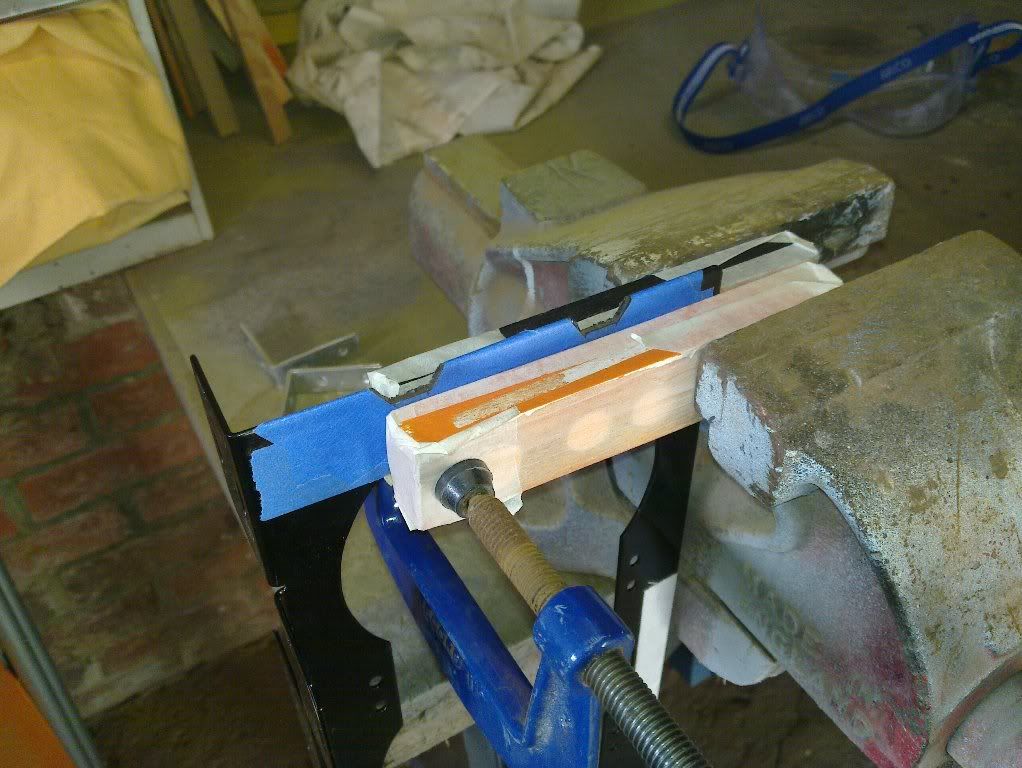
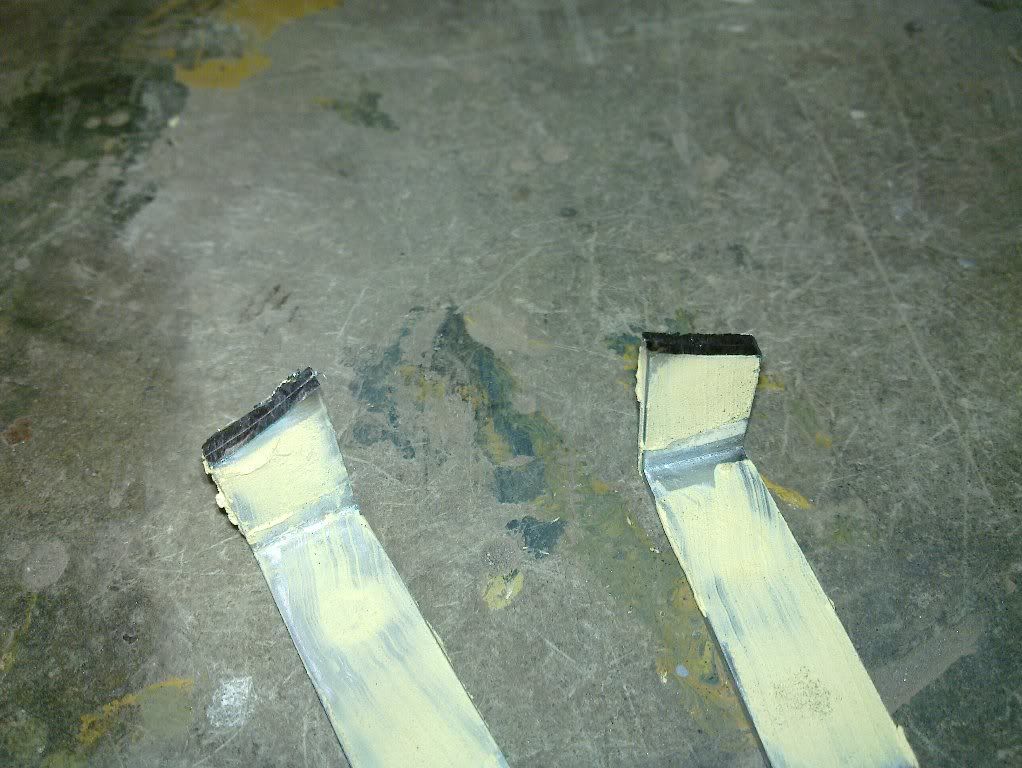
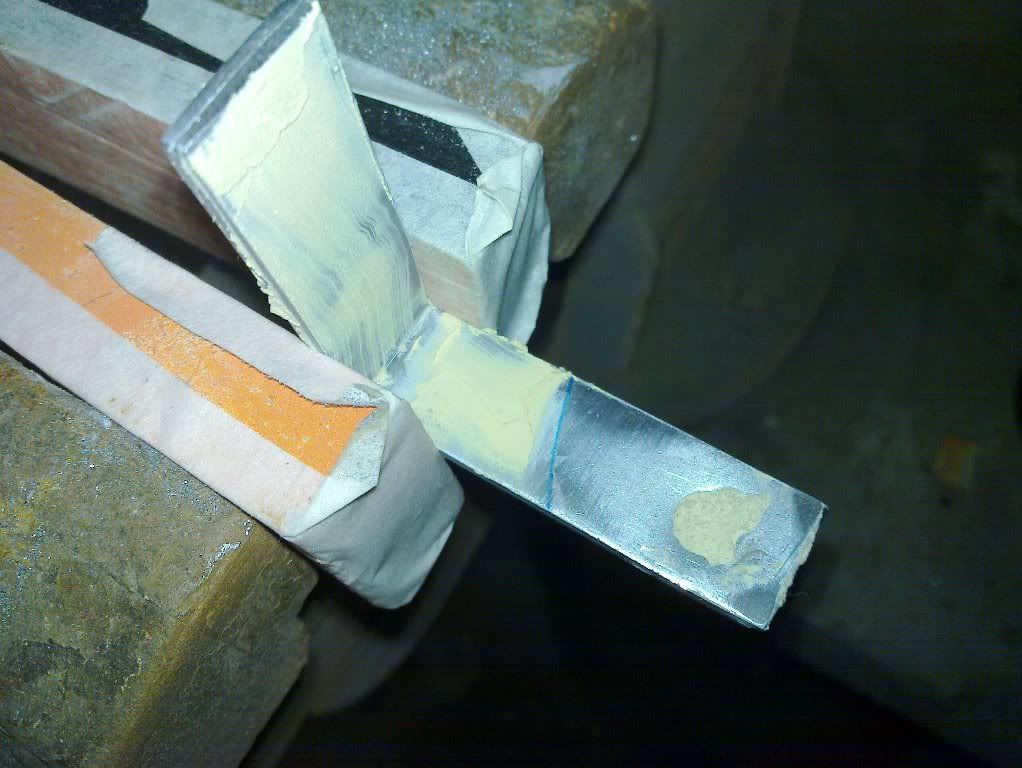
Been busy in the garage this afternoon. With the drying fans safely out of the way i've set about fabricating part of the bracket that will support the res.

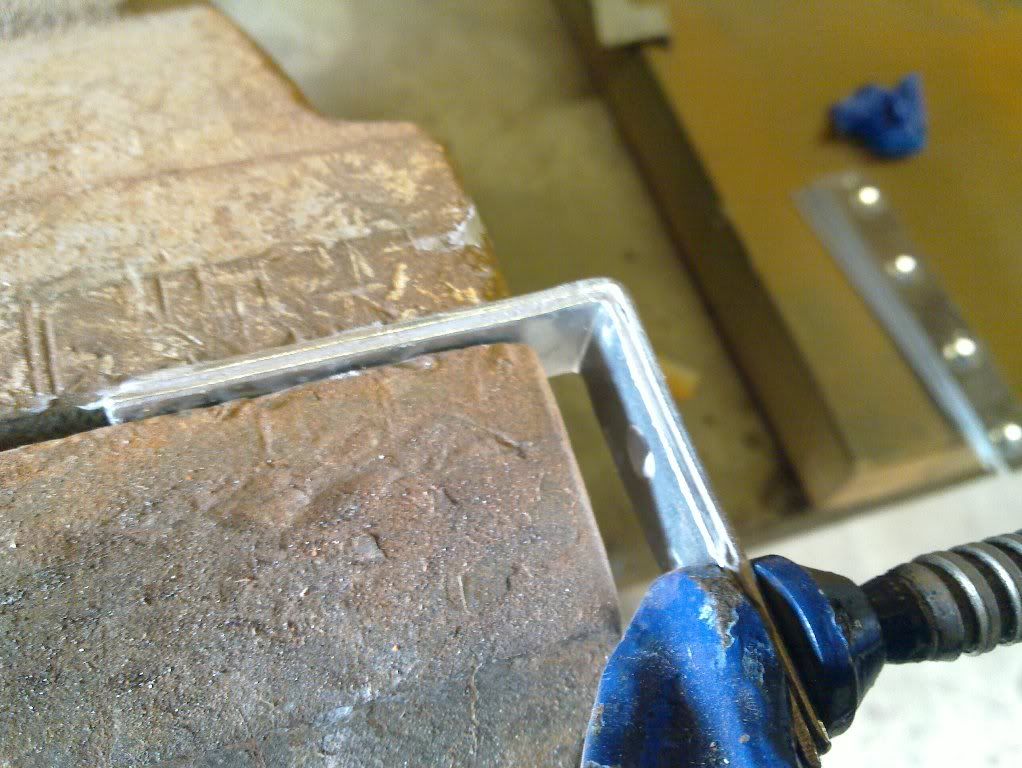
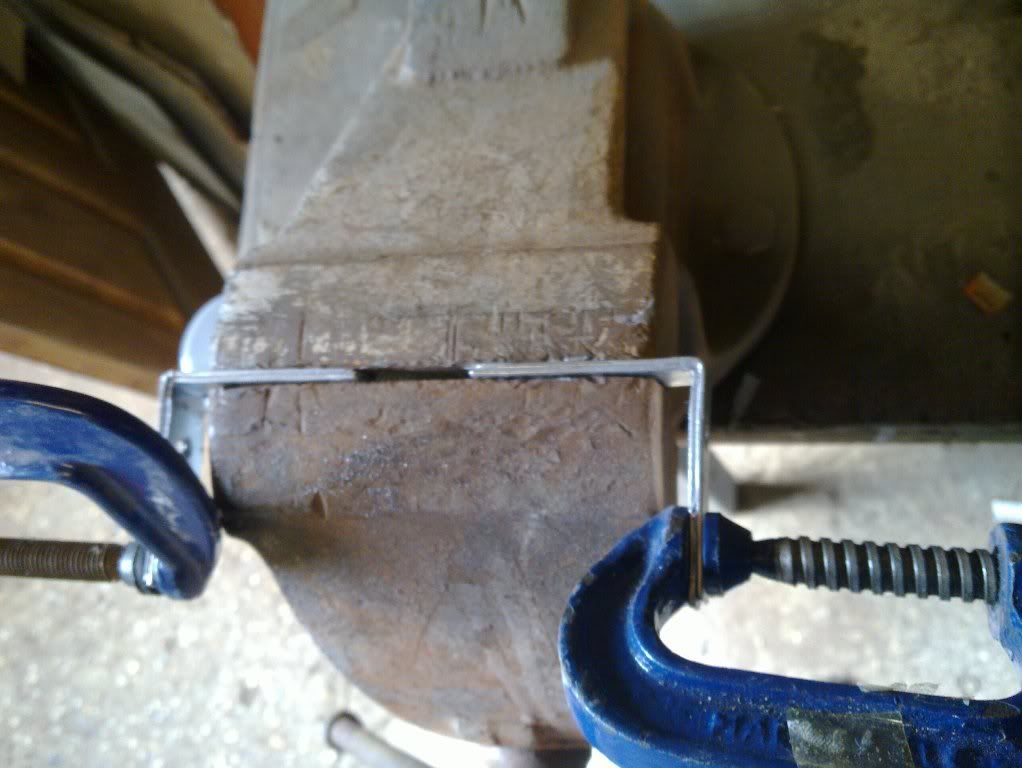
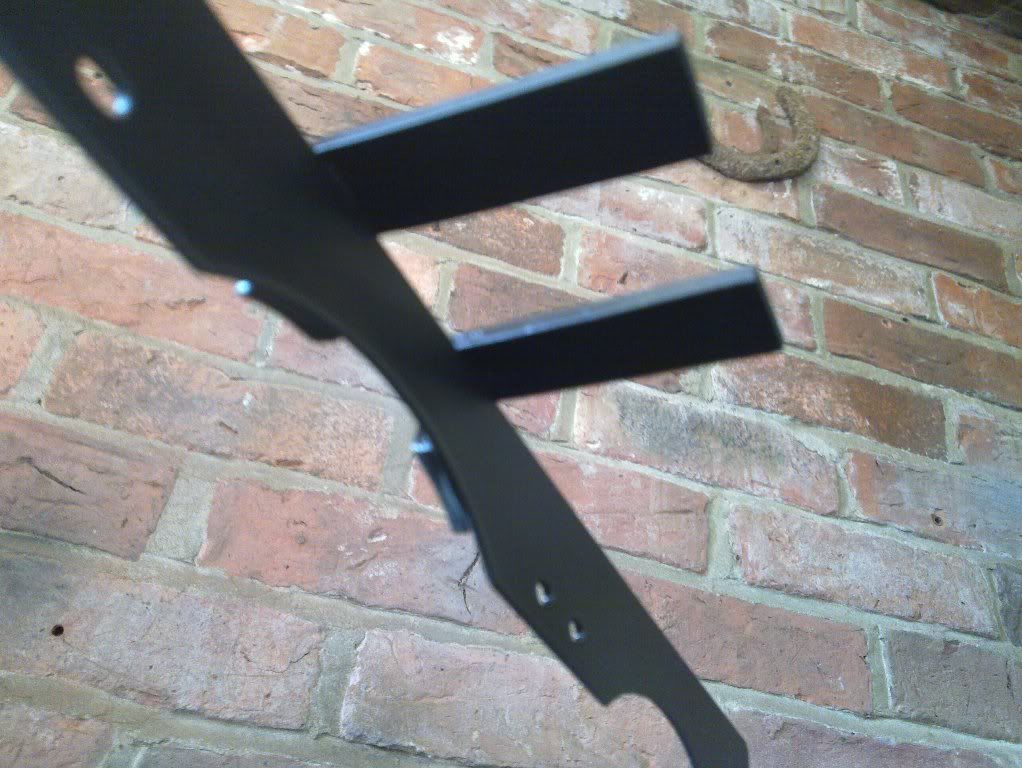
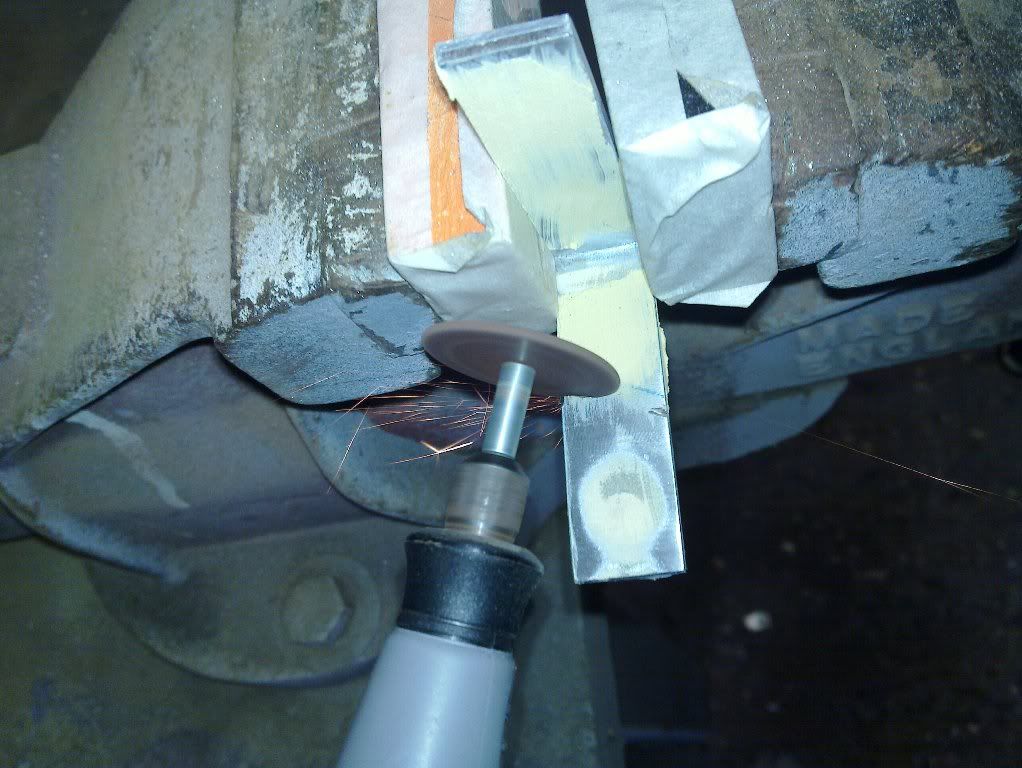
It's essentially 90 degree angle steel although as it's not very strong i've bonded 2 together. when set I will re drill new holes in the places I need them.
20100811_003.jpg


20100811_011.jpg


20100811_010.jpg


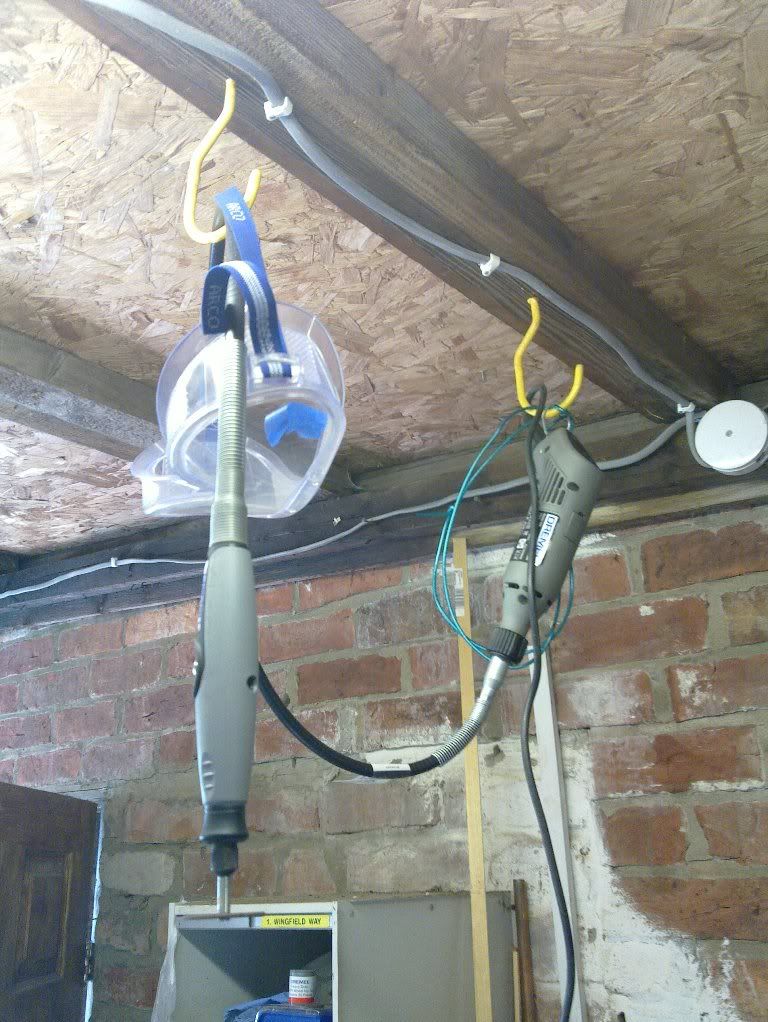
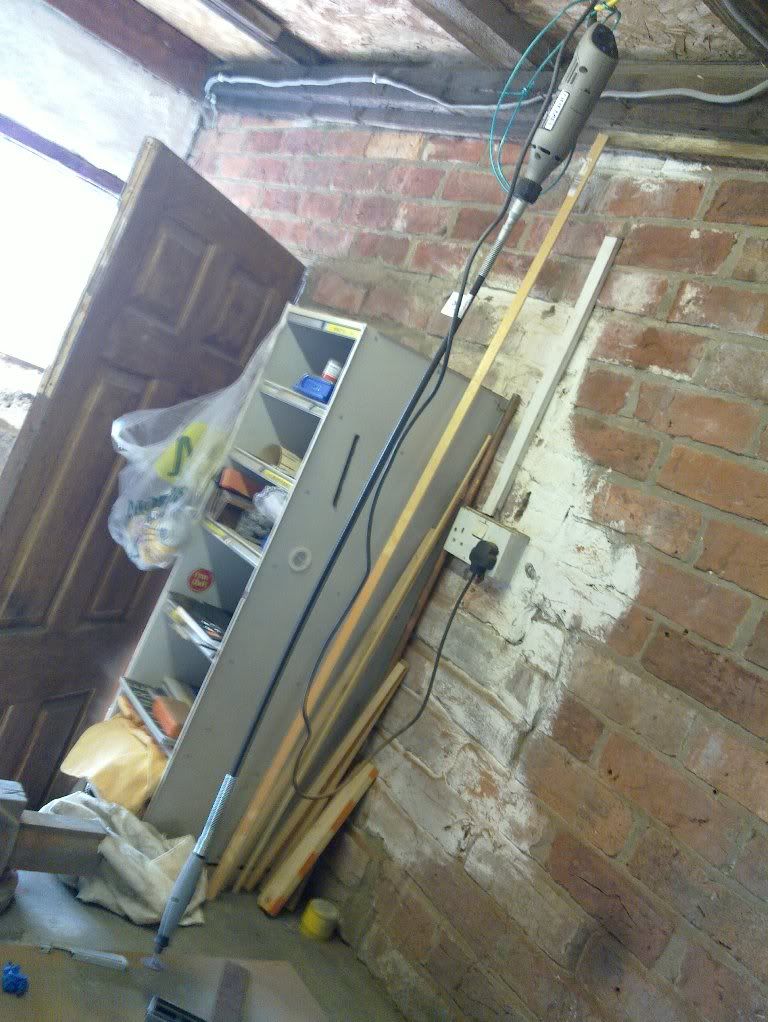
Ceiling mounted Dremel I set up for my last project (carboot). I have a feeling I'll be playing with this at some point. Try to contain yourself OCD-OC, I realise this must look like dremel pron to you.

20100811_012.jpg


20100811_013.jpg
 
Bit of fabrication today

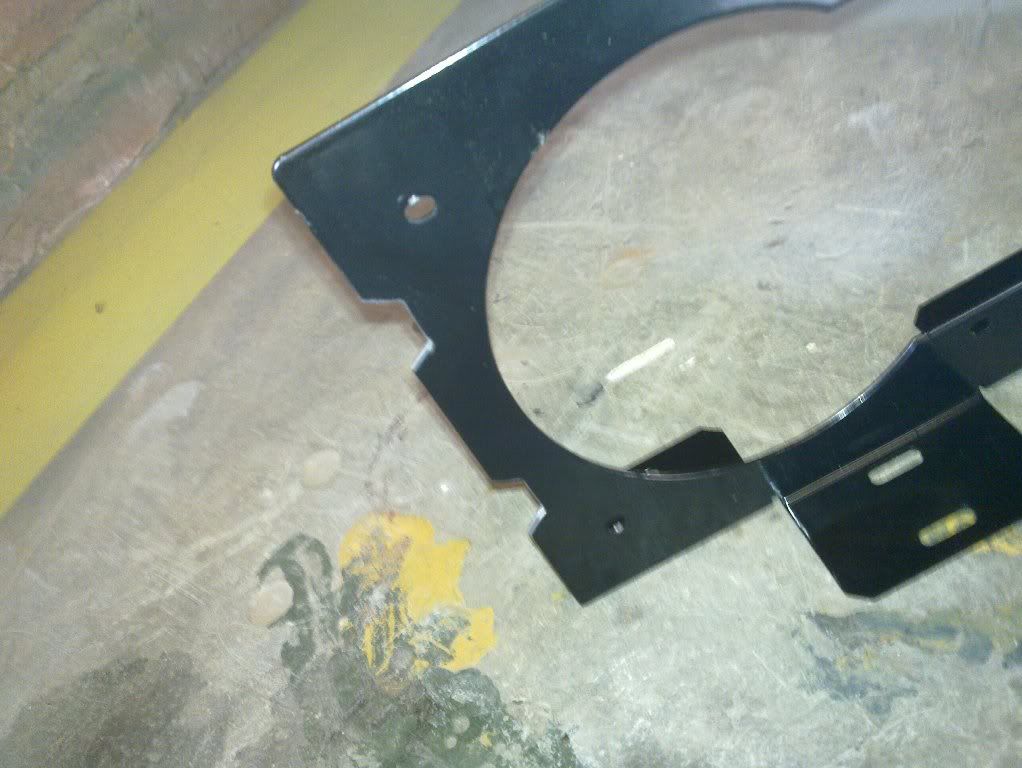
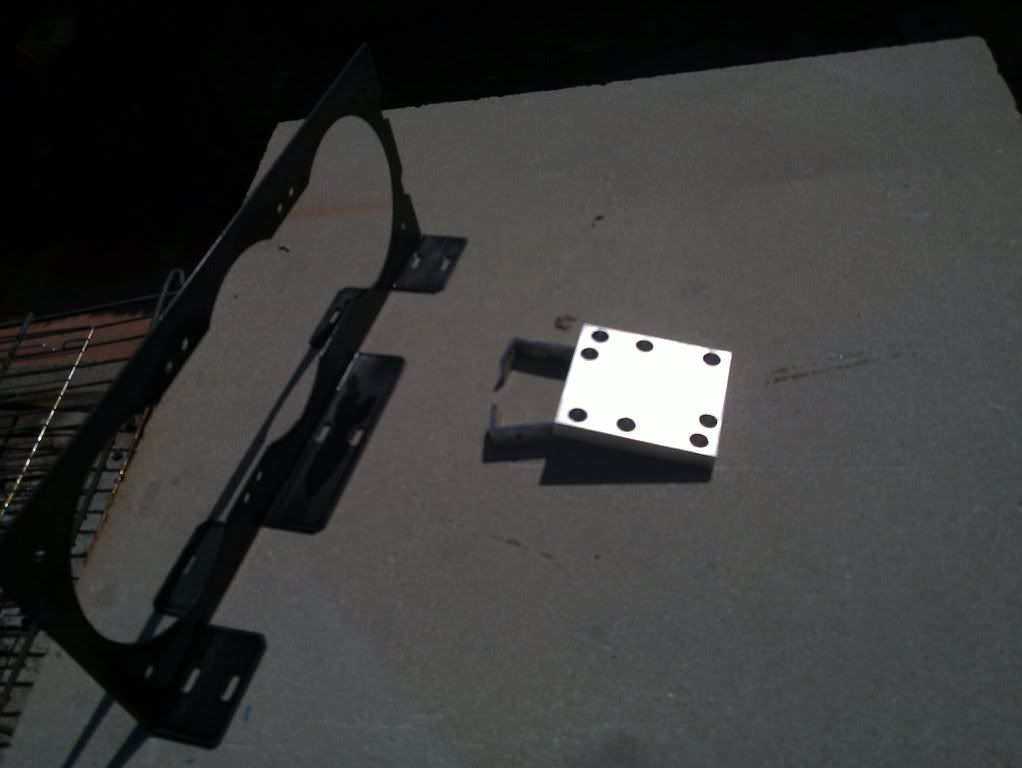
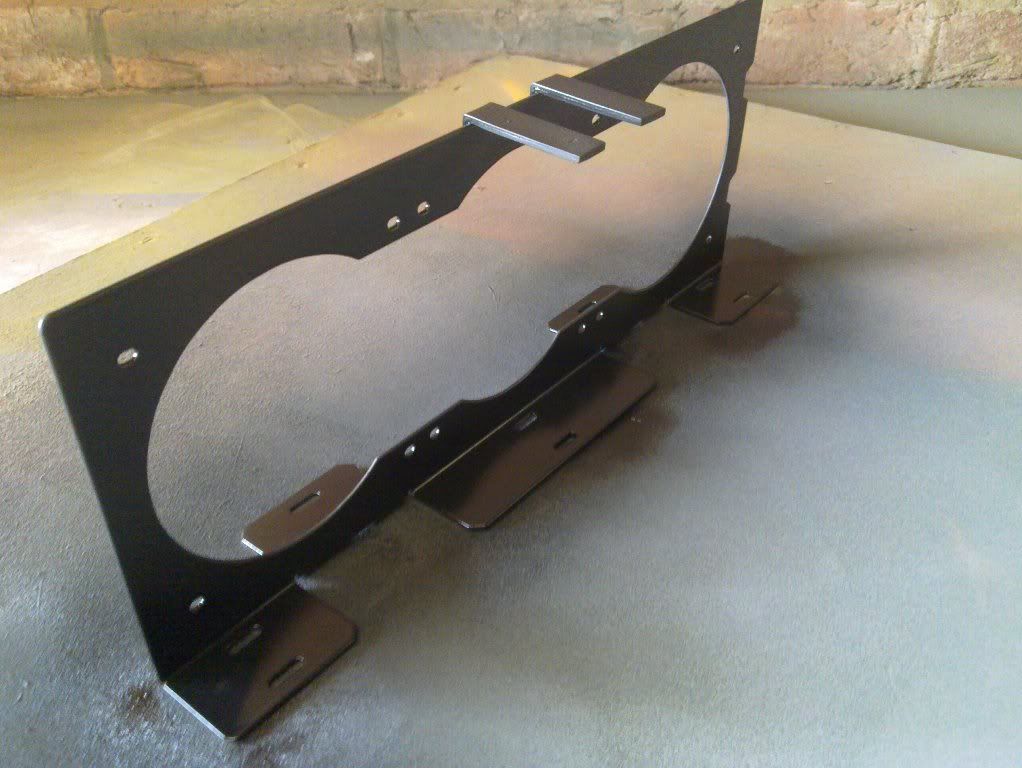
After a lot of umming and arring the plan is to use the Phobya fan mounting bracket to aid in mounting the rad and fans onto the side mesh side panel of the Skeleton. (not convinced the mesh panel is up to taking the weight on its own).

I'm also going to be using the Phobya universal pump mounting plate to secure the pump. I'm aiming to fabricate a bracket to secure the whole lot to the rear of the rad mounting bracket and rad assembly.

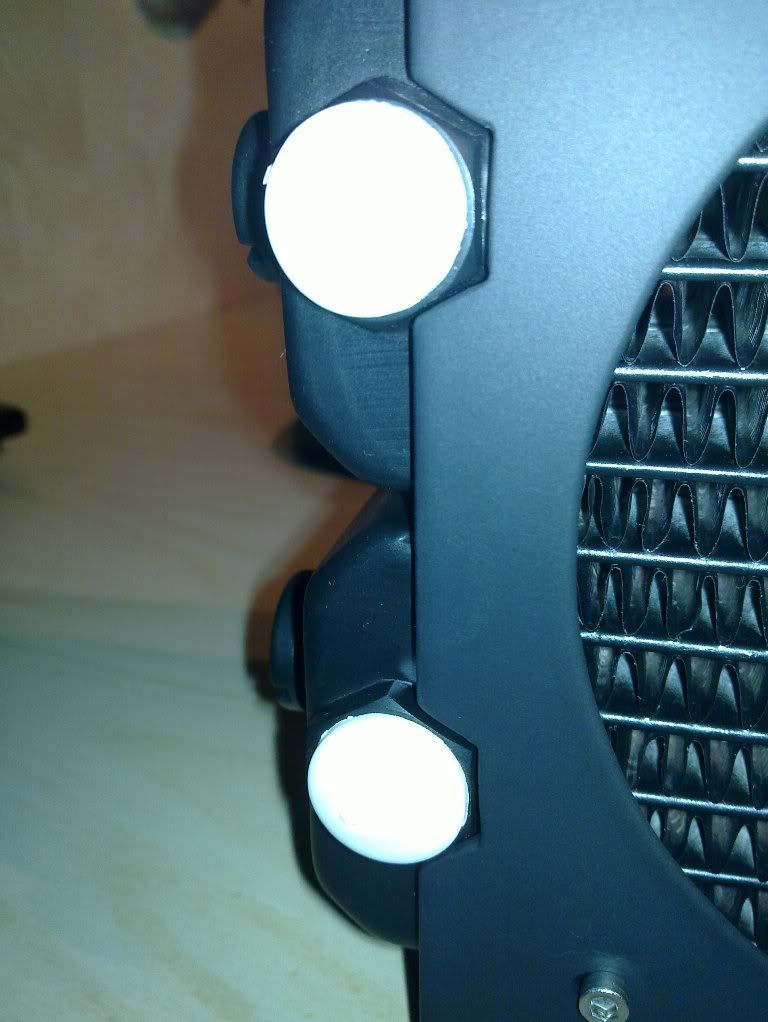
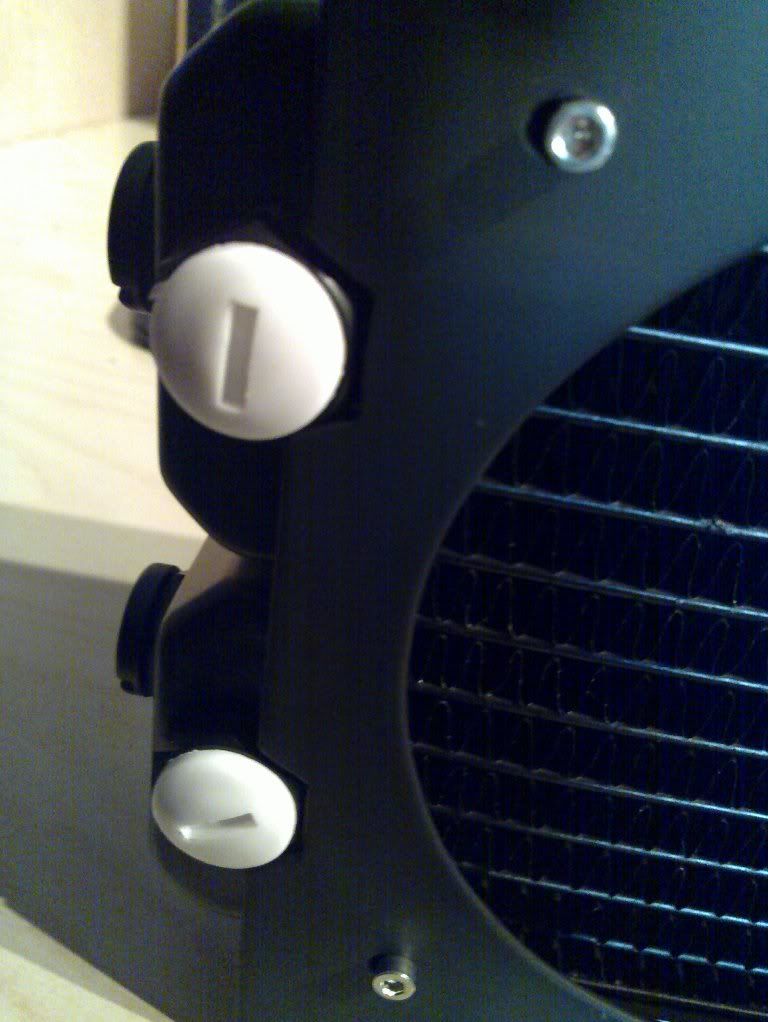
The Phobya rad has ports on both the side and the bottom, which gives it good flexibility. Only because I want to use it the other way round, with the side ports facing rearwards the ports get in the way of the mounting bracket.

No problemo. Out comes the Dremel (said it would come in handy, have you ever done a mod and not used a dremel.

20100812_014.jpg


20100812_015.jpg


20100812_016.jpg


20100812_017.jpg


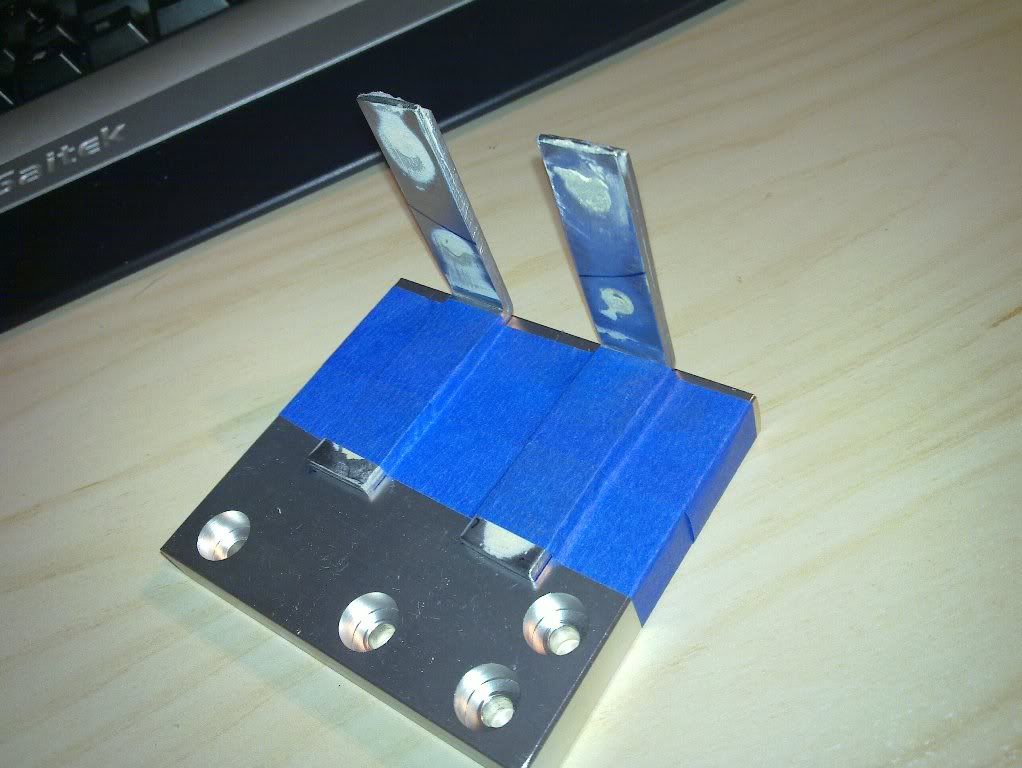
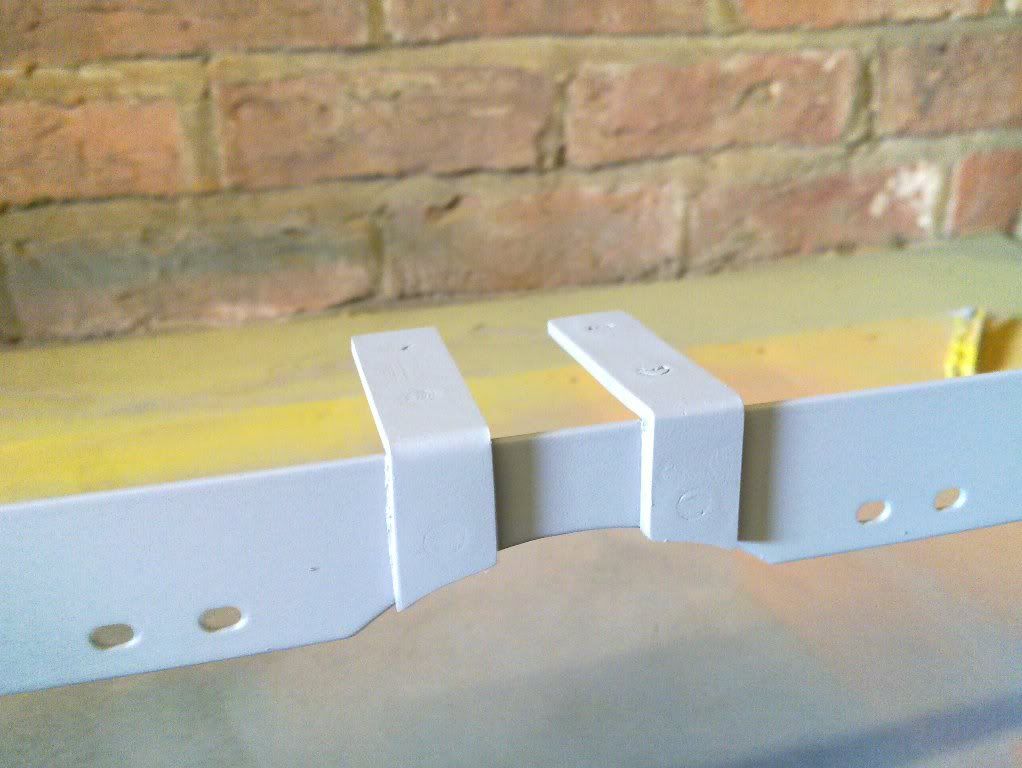
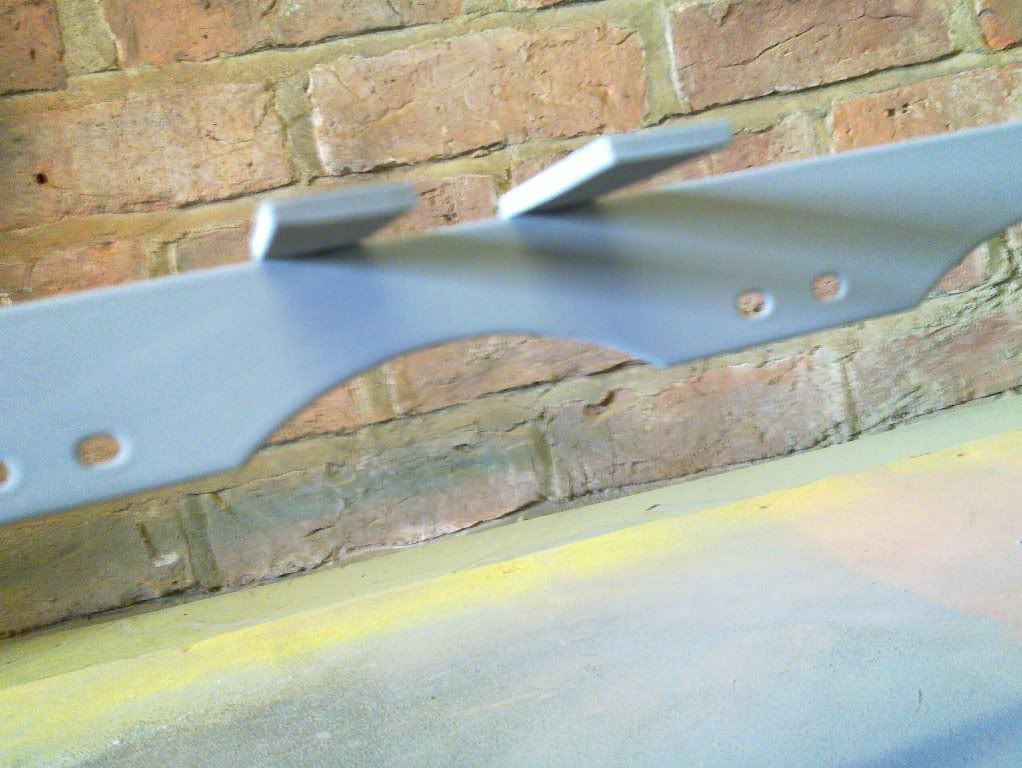
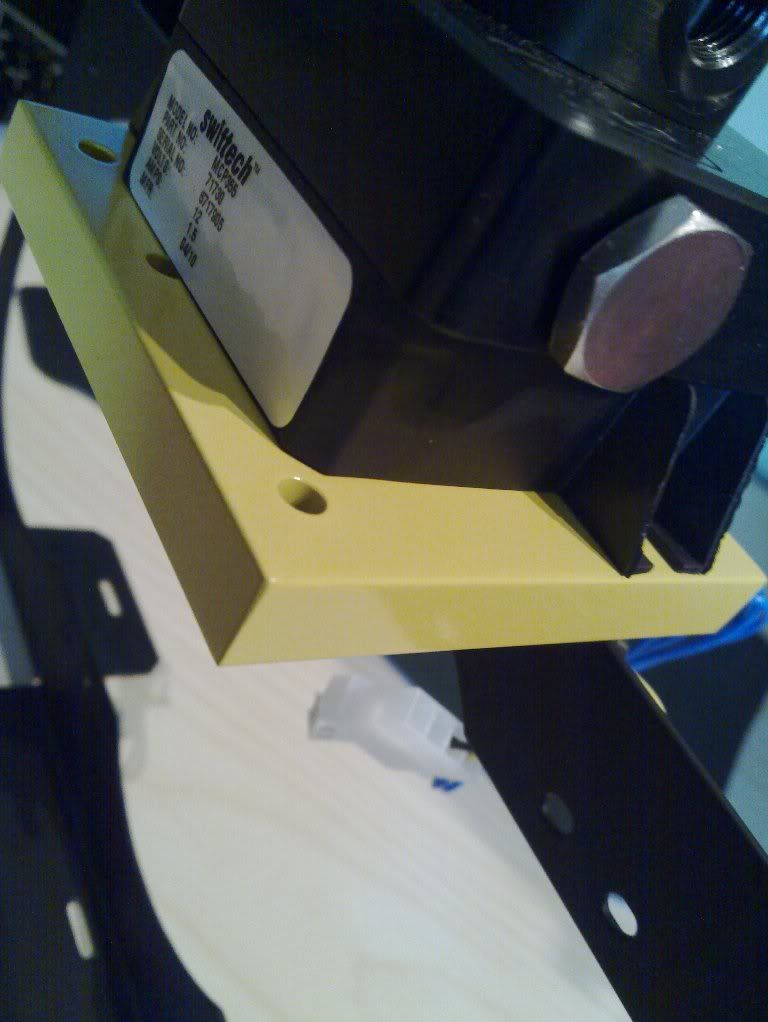
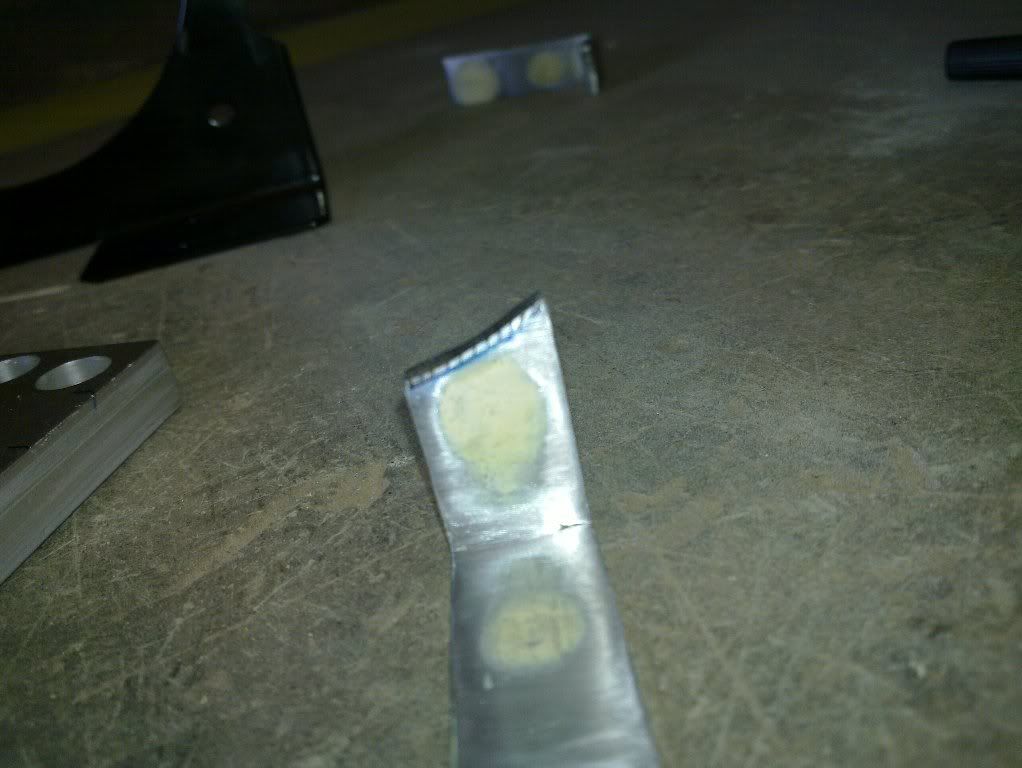
90 degree brackets to hold the pump mount. I've actually bonded 2 together to give the strength required to hold the weight of the pump and the water safely. They're no way near finished yet though.
20100811_010.jpg


20100811_011.jpg


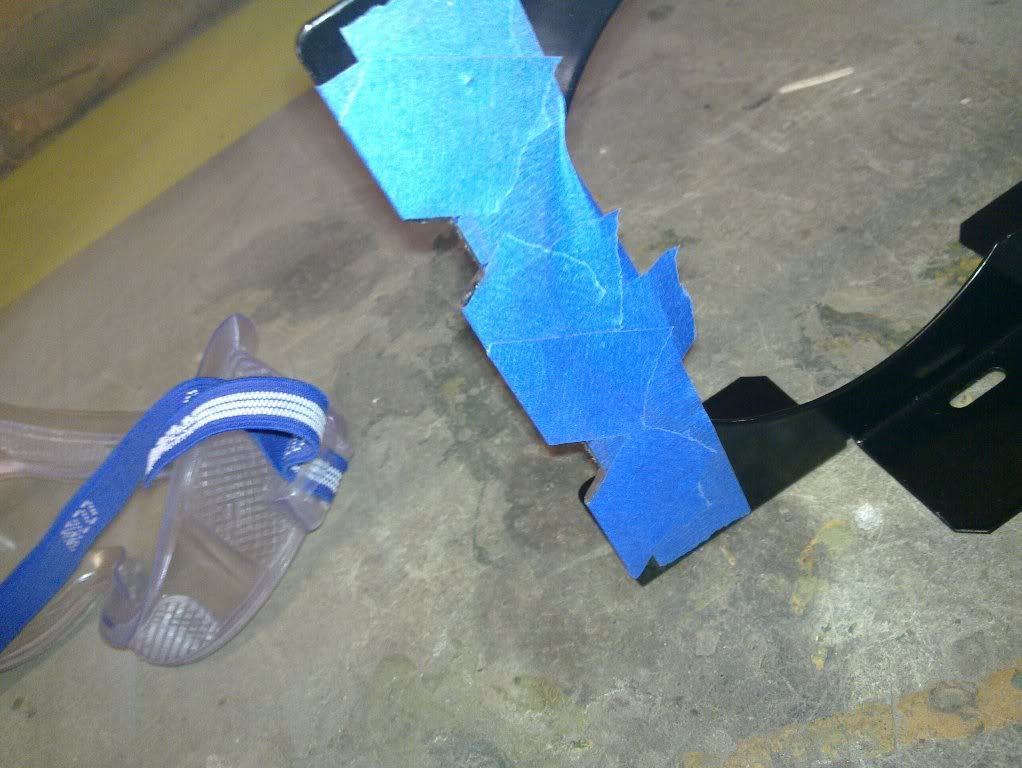
Rough idea of what the pump mount shelf will look like (except the other way up and I might need more than masking tape.
20100812_019.jpg


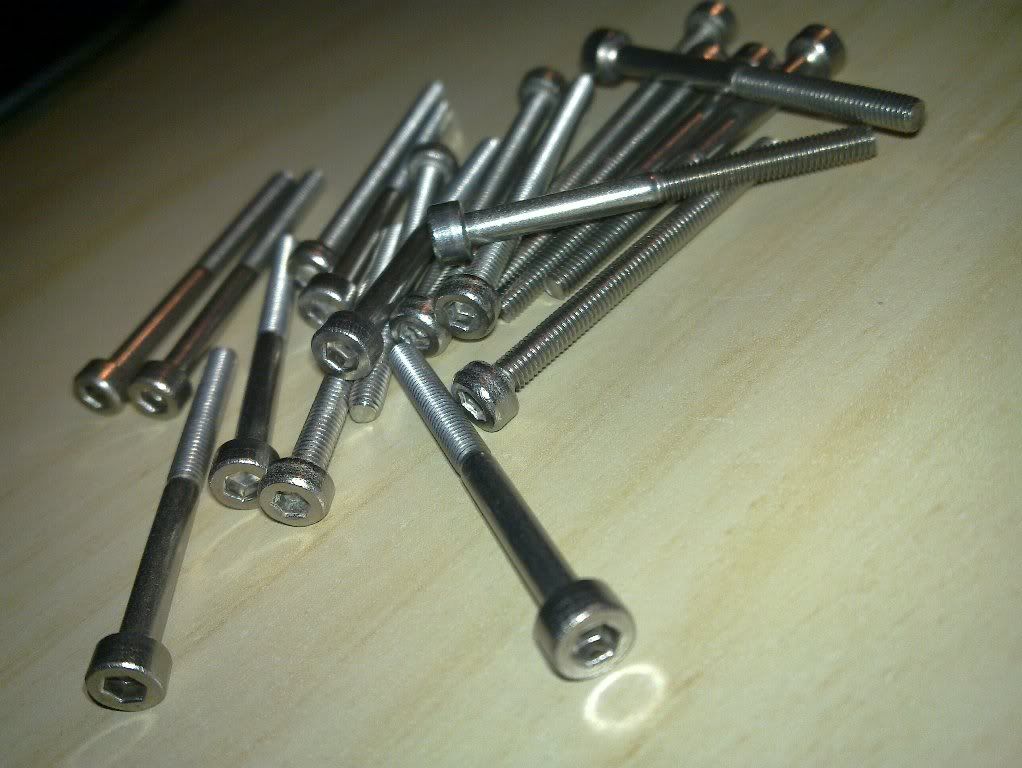
I've also treated myself to some rather sexy M3 35 marine grade stainless steel allan head bolts to hold everything together. Mmmmm Nice

20100812_012.jpg
 
Nah the high pitched noise you can hear in Burnley is the Yorkies over the border whining.

And to all the yorkies out there, the noise is really all the Lancs lot having a good whine.

There, job done, If that doesn't get the war of the roses going again nothing will.

Missed my vocation really. United Nations here i come.

I've painted GTs before and although they're not the easiest to paint due to the close nature of the blades making it hard to get the paint into the crevices they do take it well (even the chrome I used previously which is quite a dense paint.
 
Things are coming along nicely now. Not bad considering i'm making it up as i'm going along.

Fans have turned out as well as I could hope for.

20100814_002.jpg


20100814_004.jpg


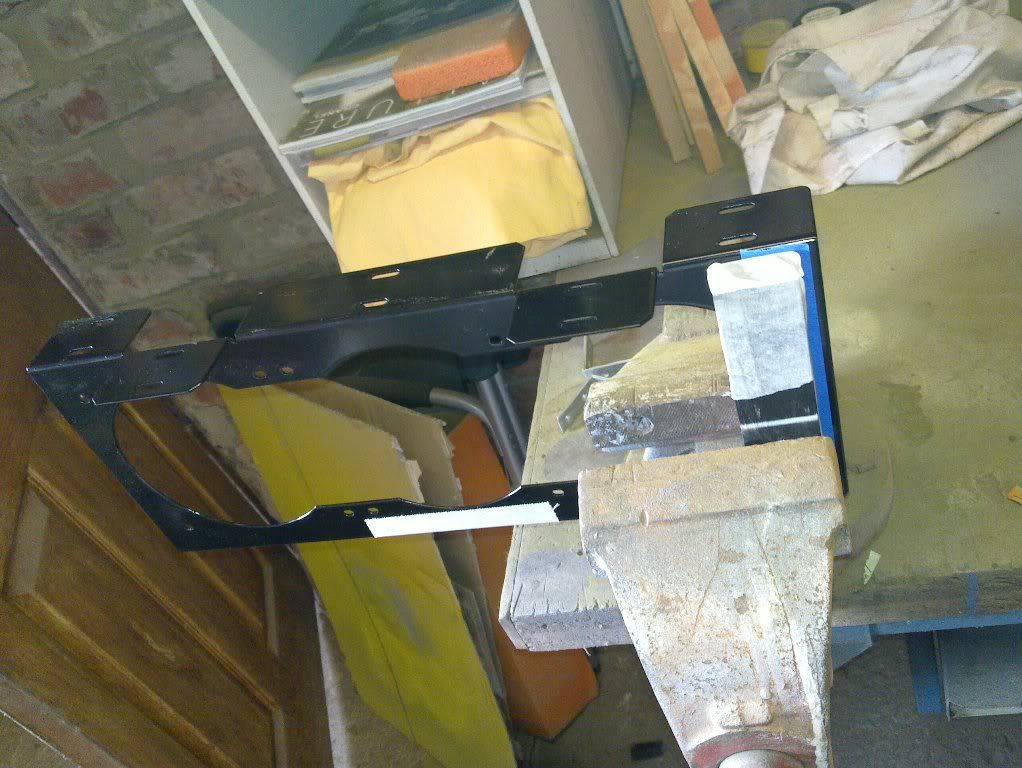
Brackets to support the pump/res. cut and filed to match the profile of the rear of the rad mount bracket (well almost, remember I'm not an engineer, I work in a hospital). The support is actually made from 2 90 brackets bonded together as I wasn't convinced 1 would be strong enough.

20100814_005.jpg


Cutting with the beloved dremel (wasn't easy to get this shot).

20100814_006.jpg


Initial cut, just needs filing down
20100814_008.jpg


20100814_007.jpg


Parts washed ready for painting
20100814_009.jpg


Brackedts attached and base coat on.
20100814_013.jpg


20100814_015.jpg


20100814_017.jpg


First top coat. The observant amongst you wil notice that I've changed the colour from black to....black.

20100814_018.jpg


20100814_020.jpg
 
Yeah black looks so much better than black.

Cheers tealc, i know you'd understand. The wife thinks I've lost the plot.


i didn't even know there was a plot!!!

Although pictures don't show it very well, actually gone from the very nice indeed gloss black that the Phobya frame comes in to a more industrial matt black to match the frame of the Skleeton.
 
Sorry for the lack of updates over the last few days. I have been busy though.

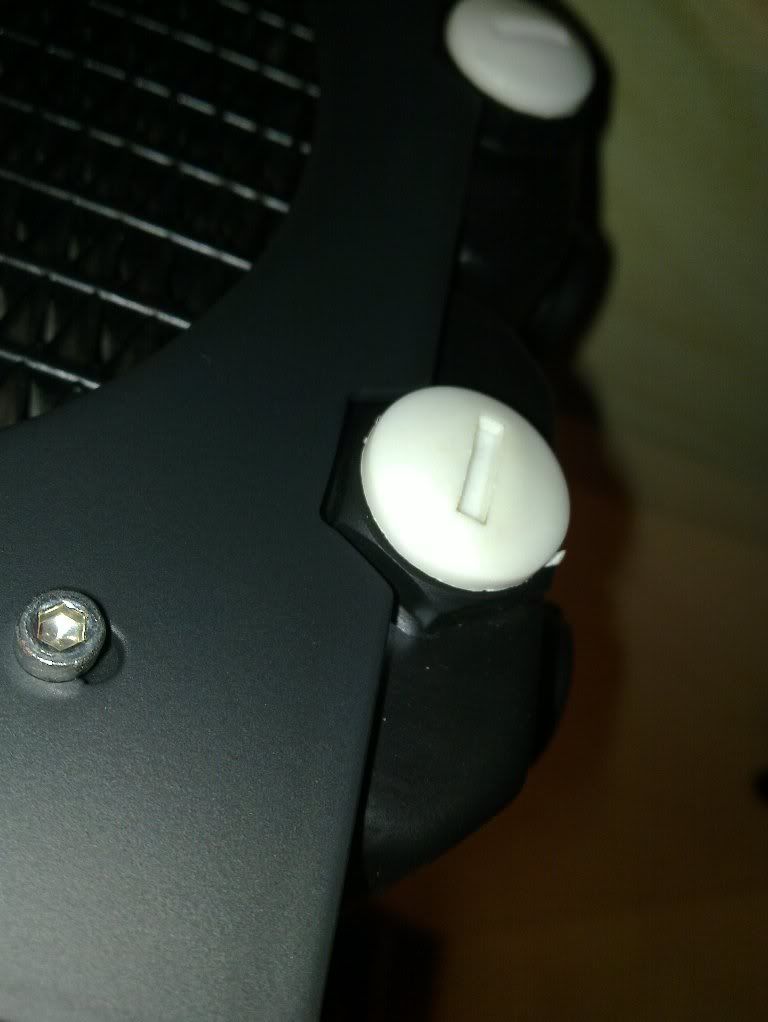
Rather pleased with the fit with regards to the alterations I made to the Phobya stand. (the white plugs are just blanks Phobya supply very nice Black nickel plugs for the holes not being used


20100816_009.jpg


20100816_008.jpg


20100816_007.jpg


Test fit of the pump mount.

20100816_002.jpg


The Rad fitted to the stand prior to the whole assembly being attached to the Skeleton.

20100816_006.jpg


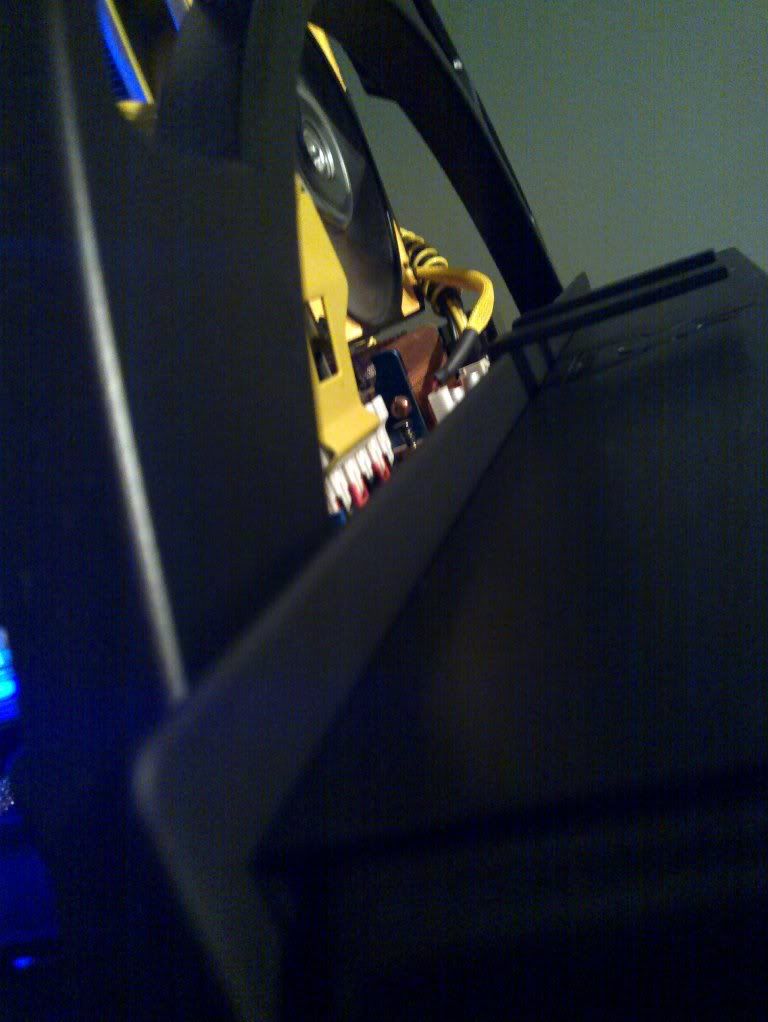
Frame assembly test fit to case.

20100816_014.jpg
 
You wait till I get back to the Midlands Boyo, we'm gonna have us a little chat !

(Location: Born Wolves !)

Secondly the wining you can hear is all the fegging Cop cars racing round Burnley trying to keep the feggers penned in and away from the Blackburn lot ... this place is a shagging ZOO !!

Mate, ur attention to detail on this is bordering on the Scary .. keep up the good work man !


shagging zoo?

I guess you start with one of those petting zoos
then move onto a heavy petting zoo
before you progress to...well the least said the better...

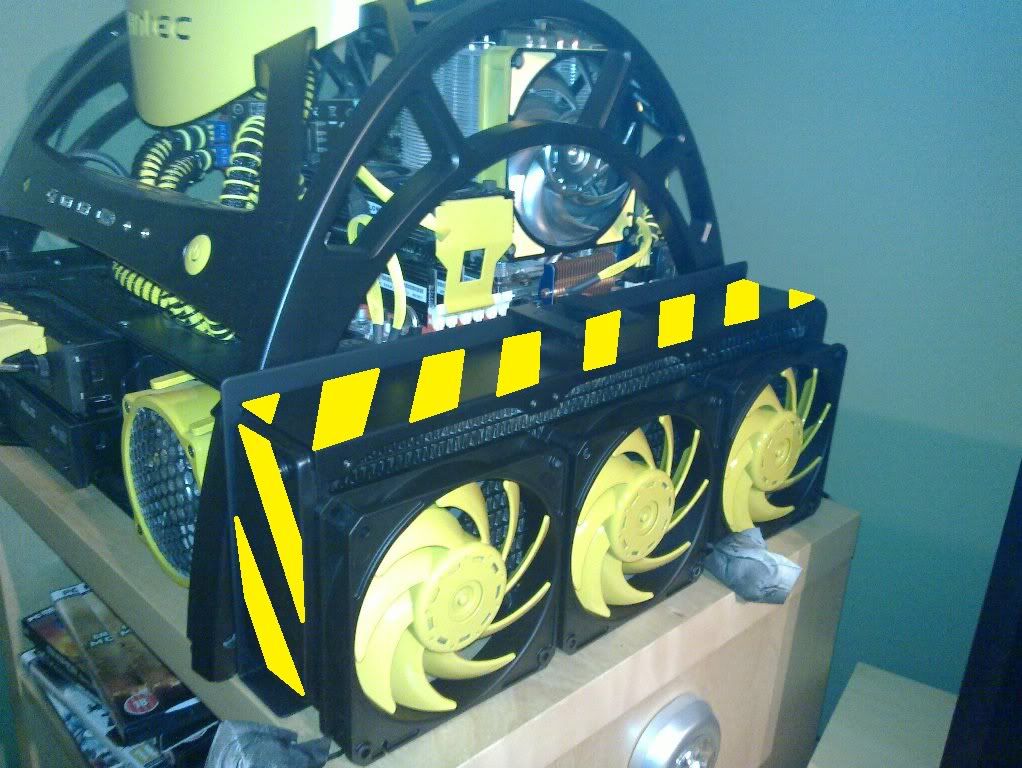
project wise trying to decide whether to give the rad the old black and yellow treatment or leave as is?

opinions appreciated
 
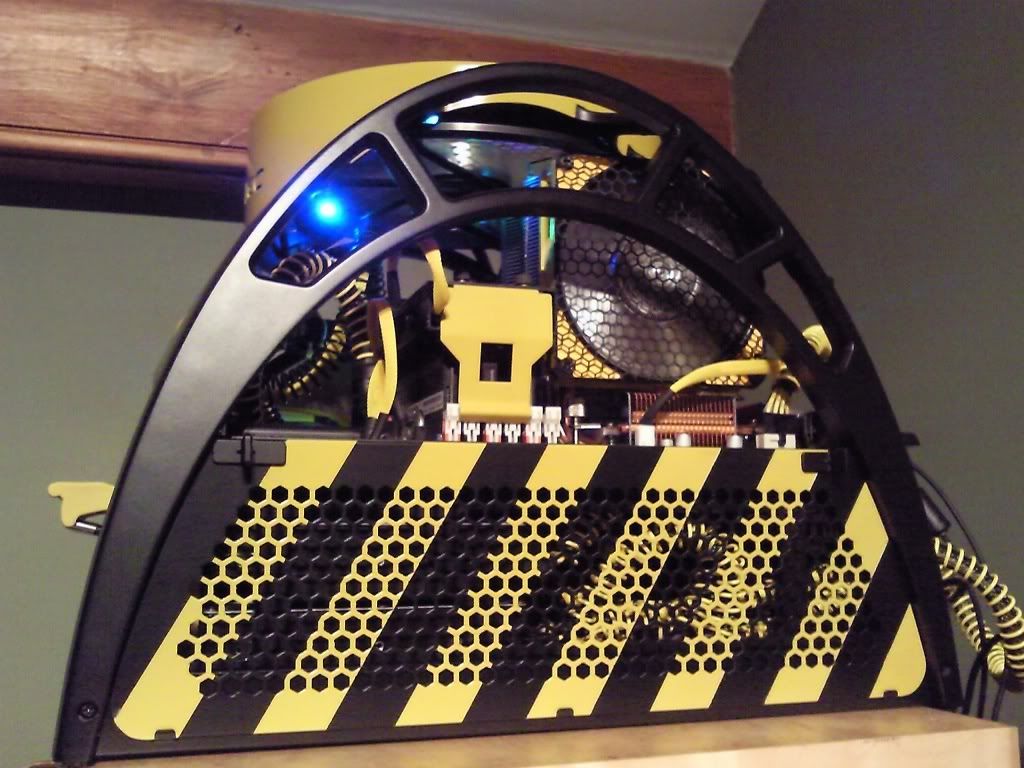
I was thinking along the lines of the top and sides i.e. the housing parts for the rad done in the same black and yellow stripe pattern that I did the mesh panel that it's now attached to and hiding. I might just be used to looking at the striped mesh panel though and with the rad there my eyeball is saying that there's something missing.

This sort of effect, but on the top surface and the surface with the bleed screw on it.(i'd actually do all for surfaces but those 2 are the only ones that would be seen.

Photo0559.jpg
 
Last edited:
Personally, I'd leave it black. It's a nice solid looking rad at the moment, and you might make it a look little busy by adding more yellow, which is quite a stand out colour anyway.

BTW, what did you use to bond the metal angles/supports?

Used a product called liquid metal. I saw a chap use it on his build (can't remember his name but it was project 2case) and have used it on my carboot build. All I can say is before you use it be 100% sure you never ever want to remove the thing you are sticking as the effect is pretty similar to welding it on. I'm serious it is that strong a bond. heck when it's set and you want to remove any what's squidged out you need to get a metal file out and file it off. easy enough to wipe away before it sets though, or at the 10 min mark you can cut it away with a stanley knife.

So I need a verdict on the rad guys.
 
Get some masking tape and put it on the rad where you'd paint it and have a look. Ok it's not yellow but will give you an idea.

I say go yellow though but if you are not sure do a dry run.

Is that Liquid Metal stuff by Evo-Stick? Or an epoxy based thing?

cheers tealc i'll give it a go.

Not sure re the Liquid metal. I'll have a look (would go now only it's in the garage, it's honking it down and i'm about to go to bed as i've got to be up at 4am to go to Brum tomorrow.
 
I've been flexing my almost godlike photoshop skills in an effort to show what the rad would look like with yellow striping..

I'll be honest i'm really not sure. Looks to busy with but witout stripes I can't help thinking it needs lifting somehow.

Maybe the tubing and kink coils will lift it???

All thoughts appreciated.

20100821_001.jpg


20100821_003.jpg
 
Cheers for the feed back guys and I appreciate your honesty.

I've decided to leave it as is and not to paint it. Having seen the mock up I did I was convinced it was just too much going on.

Still waiting on my fittings, won't be in untill end of month but plenty for me to do in the mean time.
 
Back
Top Bottom