***Project Radbox!***

Arghhhhh i still havent got around to drilling and tapping the case together. Life is hard with no licence living in the country. I will get it drilled one of these next weekends then it will be done pretty soon after that. I will have a new case for the next project this week sometime.
 
Been thinking a bit about this idea and slightly confused as to why you need the power supply in the box. I think water pumps run off 12V (molex?) so why have you chosen to include a power supply rather than run a cable between the two?
 
Bit of a thread revival. I exceeded the bandwidth on my one Photobucket account to some of the pics wont be loaded till the 7th. But here ya go.


This is the right side of the box that the PSU will be mounted to.


Cut out before sanding.


IMG_1767.jpg


I didnt notice at the time but i cracked the one corner while cutting but have glued it and left it to bond for 48 hours.


IMG_1766.jpg


Still need to drill the holes to mount the PSU plate and file,sand and flame polish the edge but this is how the PSU plate will sit.


IMG_1768.jpg


Needed to have some sorta exhaust for this box so will be the PSU and 2 120mm fans at the rear doing the job.

Tool for the job.


IMG_1795.jpg


Didn't cut too bad but sent little bits of plastic flying everywhere. Also 2nd hole pilot drilled.


IMG_1788.jpg


Both holes drilled. Just need filing, sanding and polishing before mounting the fans. The holes are alittle small but its not too bad.


IMG_1790.jpg


IMG_1789.jpg


Cheers.
 
Update 23rd April.


Well its been 48 hours since i broke the PSU side of the box and has been glued. It has stuck really well and is hardly noticeable once the psu is fitted. Will let the pics do the talking. :)


IMG_1812.jpg

IMG_1813.jpg

IMG_1816.jpg


Also got some low yates on order for the PSU and two exhaust fans. Cleaned up holes drilled last time and flame polished the edges. This is just a mock up with some lian-li fans i had kicking around.


IMG_1817.jpg

IMG_1820.jpg

IMG_1822.jpg

IMG_1824.jpg


Cheers.
 
Update 3rd May.


After saying to Oggie for a few weeks that i gotta screw this box together he finally had enough and told me to stop saying it and go do it so i made a start. Only got the back and side on but should hopefully get the front on tomorrow.

All that is left then really is installing fill and drain ports and the bulk head fittings so its just plug and play. Also waiting on new switches for the front and possibly a fan controller before i can wire and braid it all up. only finishing touches really.

Anyway a few pics of todays progress, sorry for finger prints and bad pics but will give it a good clean and assemble with gloves for the final build and take some decent pics.


IMG_1976.jpg

IMG_1979.jpg

IMG_1981.jpg

IMG_1982.jpg

IMG_1984.jpg

IMG_1983.jpg


Thanks again.
 
Update 12th May.


Well i was going to use this lot:


Picture089.jpg

Picture096.jpg


But it wasnt the best set up for filling and looks wise so i decided to go for a XSPC res top. This was fine untill you put the lid on and it was too tall on the anti vibration base. I coulda prolly just not used one but i wanted to be able to fix the pump to the case so it dont slide around etc. So i decided to make my own little vibration base outa acrylic. Hopefully the rubber tubing that is used for washers along with the velcro holding it to the case should mean theres no vibration hardly and is nice and quiet. Also the center of the base is hollow so should help pump stay nice and cool.


IMG_2022.jpg

IMG_2019.jpg

IMG_2020.jpg


On the top of the res i have the fillport directly into the res aswell as in the inlet to the res im using a DD T block that has a temp sensor that will be connected to one of the front Temp displays for real time loop coolant temp. Been at the end of the loop im thinking flow wont be effected as the pump can pull as much as it wants from the coolant from the res.

Thanks clone for the adapter. :)

Also got a little sponsor from wja96 in the form of some nice tygon tubing for the build. Thanks duder. ;)


IMG_2012.jpg


Radbox is fully screwed together now and inlet and outlet ports are fitted. Just need to get new PSU up and running and the little bit of wiring thats left. Both fill and drainports need fitting to but a good few solid hours should have it done and time for leaktest. :)


Comments............... :)
 
Update 25th May.


Big thanks to 
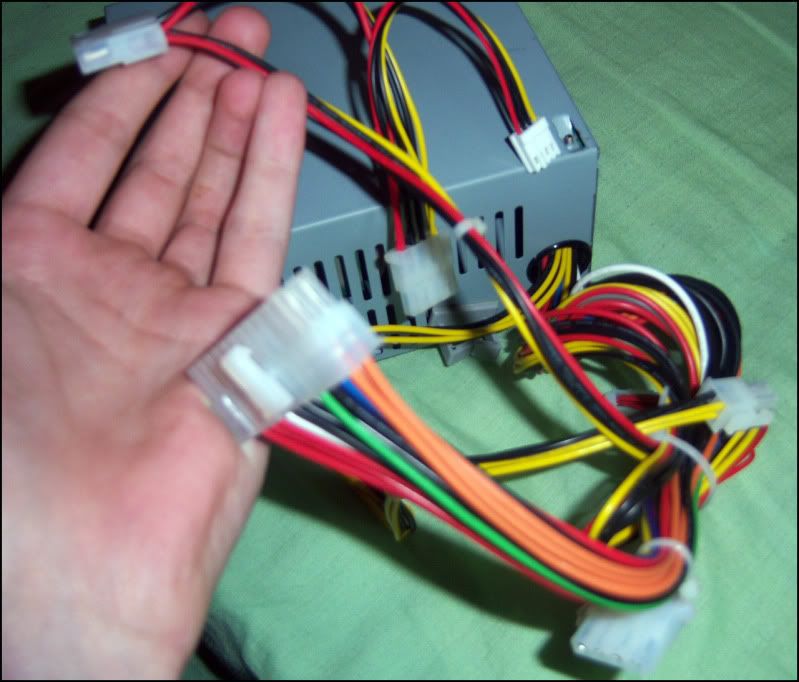
Petriodet for sorting me out with another PSU after blowing the 2nd one... Third time lucky eh. Much respect dude!!


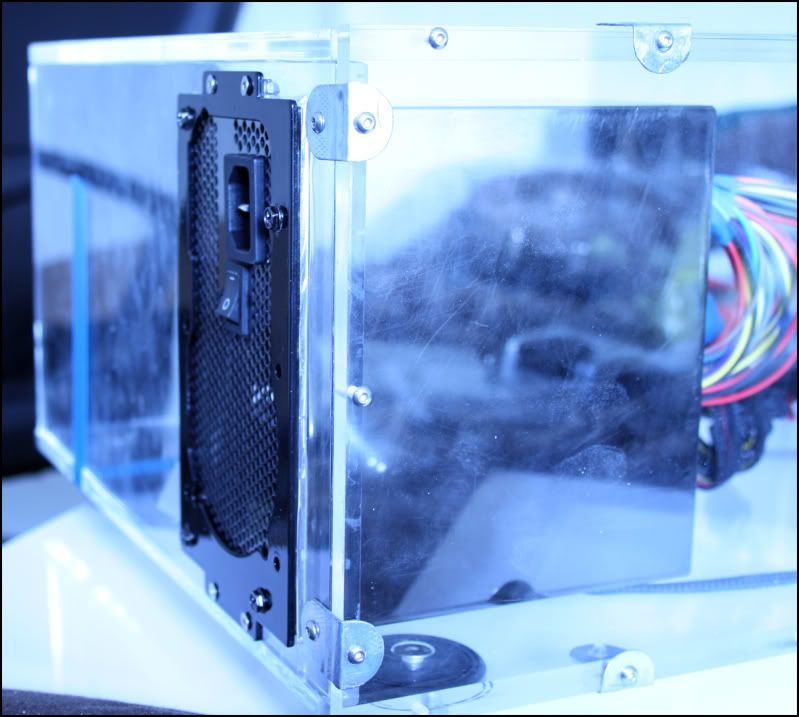
As it stood the PSU was FUUGGLLY so something needed to be done and as stock the crappy 80mm fan was quite noisy.


100_0809.jpg

100_0810.jpg


Im sure everyone agrees something needed to be done to save this horrible looking thing.

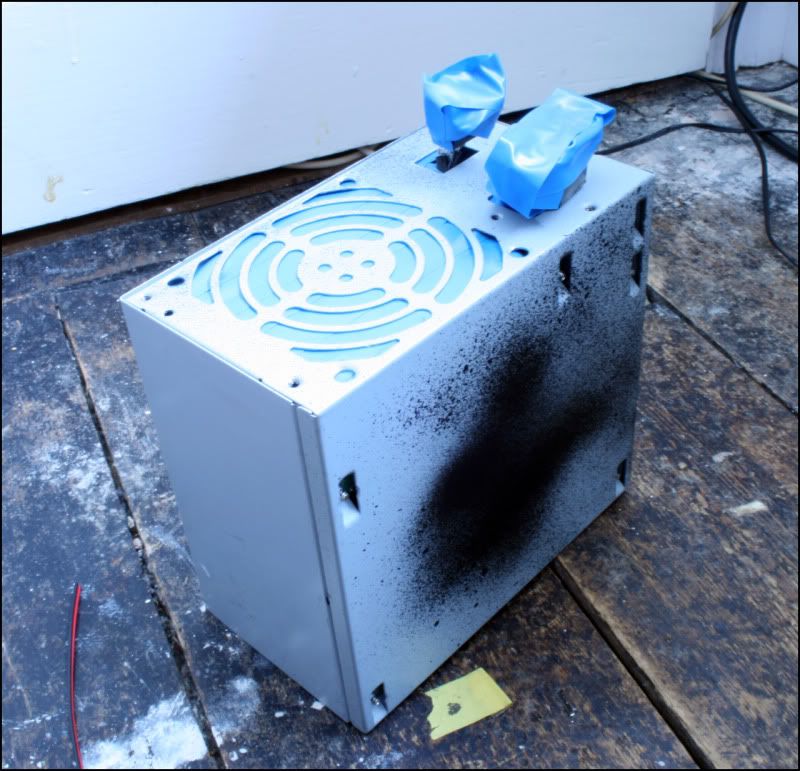
Anyway all masked up ready for paint.


IMG_2024.jpg


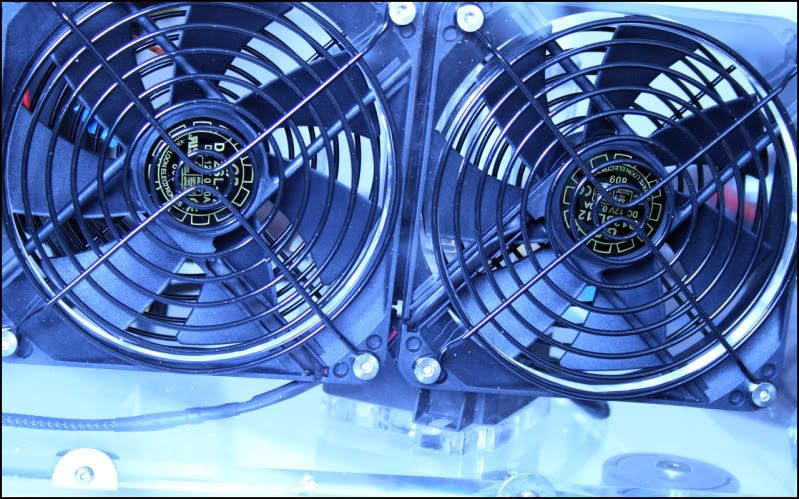
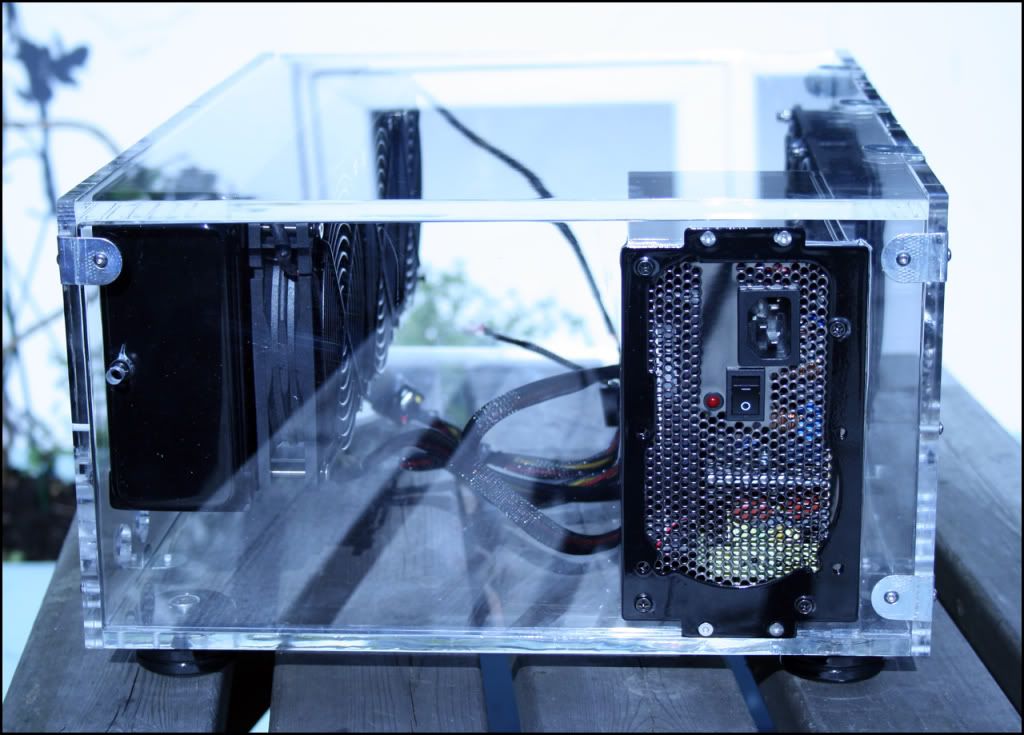
I kinda rushed the painting but a few coats of primer, matt black car paint and a quick blast of some clear laquer i had left in a old can. Also had a Scythe Kama 80mm fan that I used.


IMG_2026.jpg


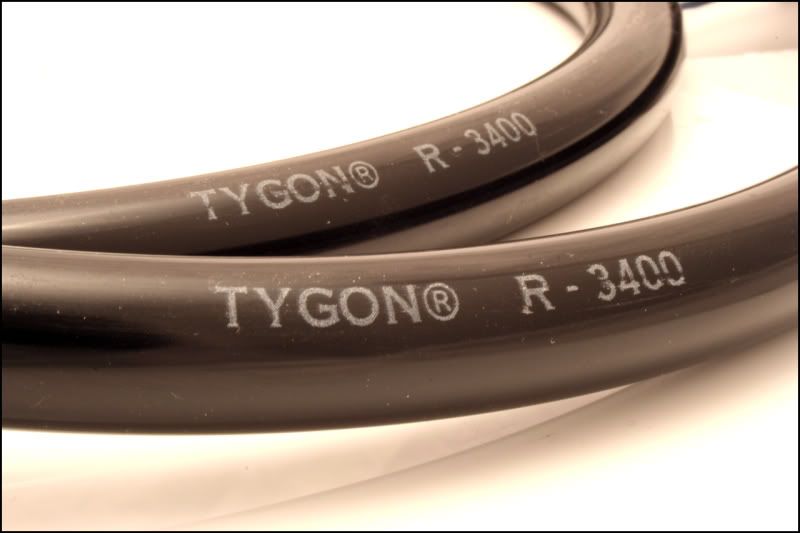
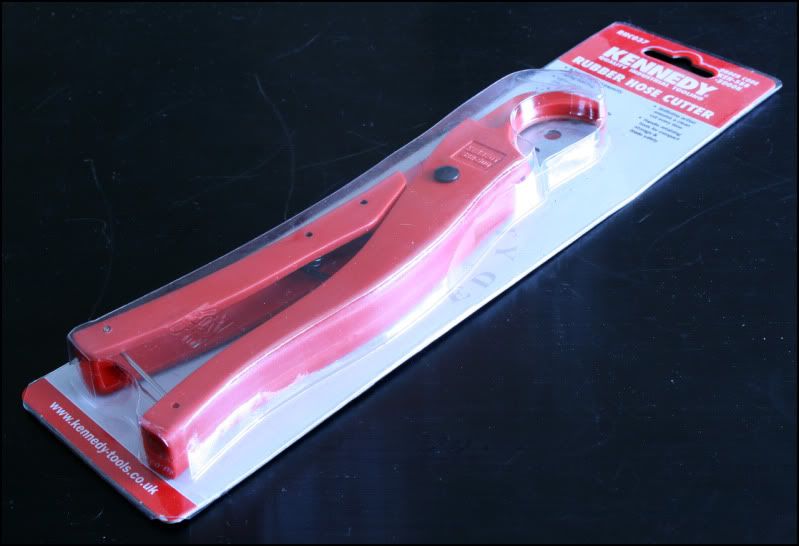
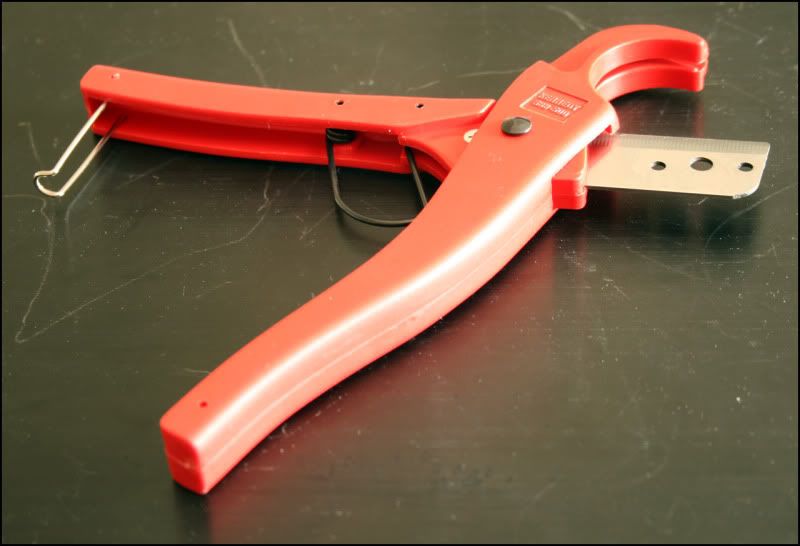
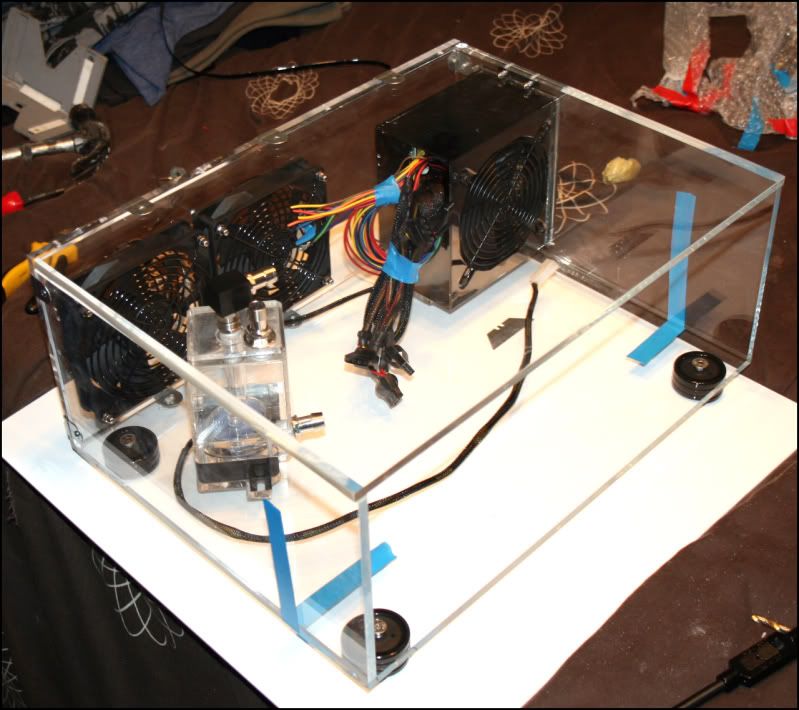
This is the last little update before finished photos hopefully. As im using chunky Tygon R-3400 there was no chance of cutting it really nice and clean so i had to splash out on some cutters. I should have got a set ages ago but iv been a cheapskate and never bothered.


IMG_2047.jpg

IMG_2053.jpg


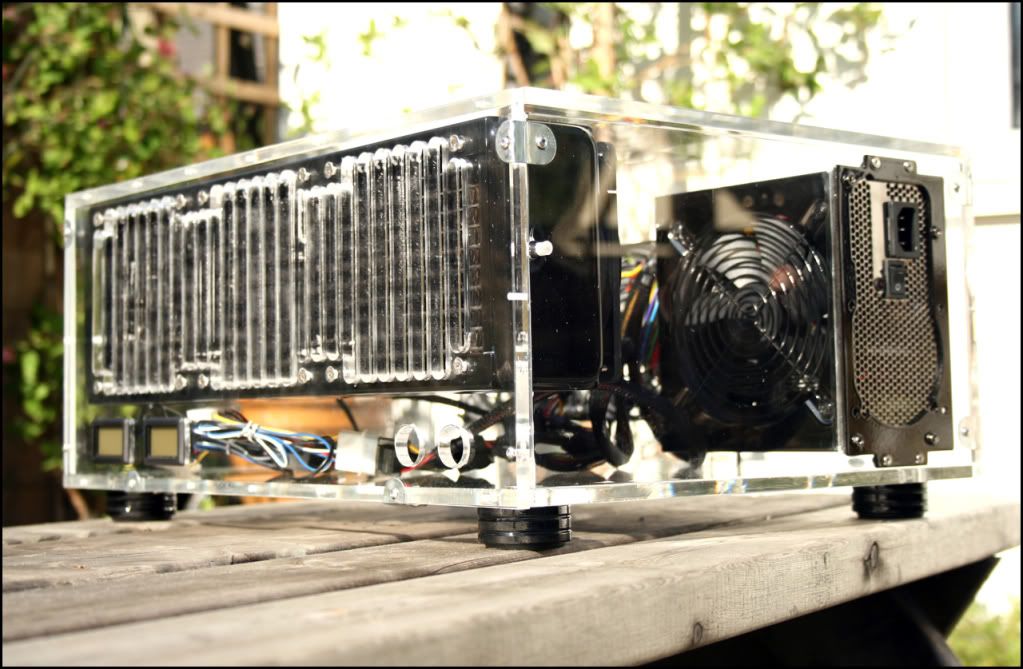
I spent most of yesterday and some of today totally dismantelling every part and polishing it up and slowly building it back up wearing non powder surgical gloves so theres not a fingerprint in sight. Its all tubed up and im giving it a 24 hour leaktest before draining and taking some photos!


Just wanna say while im here a big thanks to Tom @ ChilledPc and his laser mate for working out the front grill. Also thanks to all the peeps who donated to the build with parts and there knowledge. If its a nice day tomorrow i should if all goes well tonight have some finished pics.

I will be soo happy to get this done as it was very very close to been scrapped but im glad i carried on and completed the build. :001_rolleyes:
 
Back
Top Bottom