PROJECT RESTORE
Well I was searching through my storage today and guess what I came Across...

That's right you've got it!


That's right my old Coolermaster Cosmos S.
So basically this project is all down to restoring my old Coolermaster Cosmos S I have owned this case for only around
2 years now and it's in pretty bad shape. Although I can happily say non of the blame should be on me. It all comes
down to the previous owner, you see I originally bought this case from ebay but the description was of poor quality.
It listed that the case had a few "very minor scratched" although this was a huge understatement in my opinion. Anyway
enough of that time to move on.
What will be done?
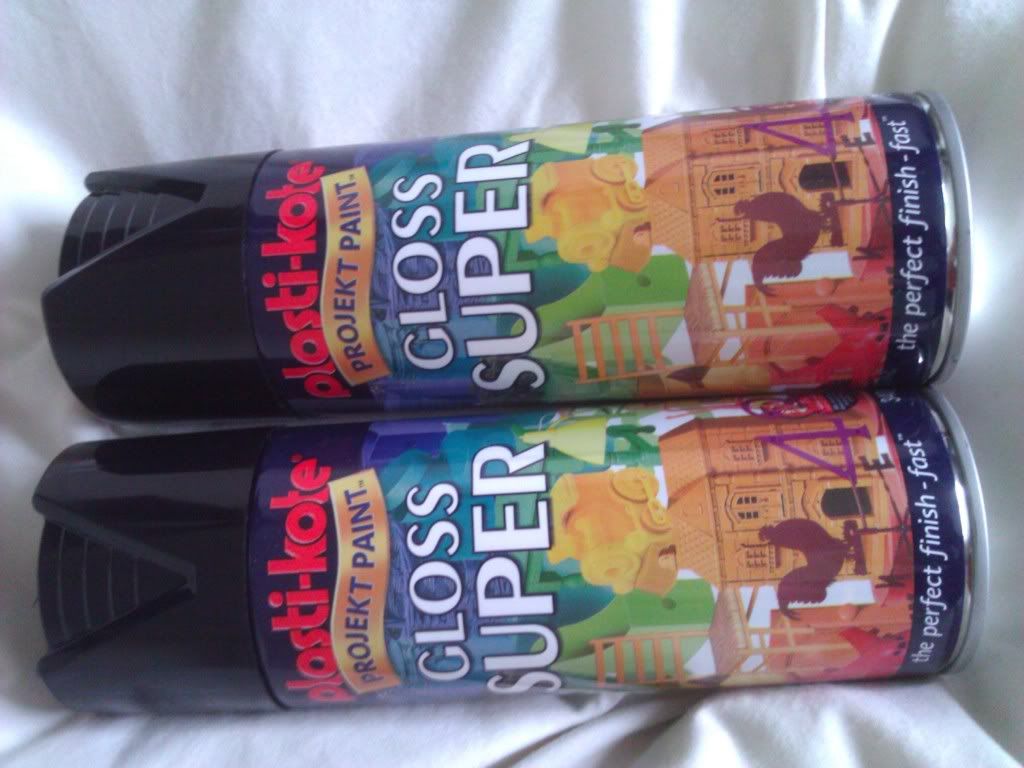
I'm planing on doing a black respray of the inner case and doing a glossy black respray of the bars at the top and bottom
of the case. Then I would like to possibly respray the aluminium side panels although I'm not too sure yet as this has a
brushed aluminium effect. And finally I will respray the silver plastic part's this will be either black or a bright orange as I
have not yet decided. Oh and finally fix the hinges on the doors at the front as they will not close properly.
Anyway keep watching the thread as I will be updating it in the following week's and here's a few more pictures for your amusement.


Well I was searching through my storage today and guess what I came Across...

That's right you've got it!


That's right my old Coolermaster Cosmos S.
So basically this project is all down to restoring my old Coolermaster Cosmos S I have owned this case for only around
2 years now and it's in pretty bad shape. Although I can happily say non of the blame should be on me. It all comes
down to the previous owner, you see I originally bought this case from ebay but the description was of poor quality.
It listed that the case had a few "very minor scratched" although this was a huge understatement in my opinion. Anyway
enough of that time to move on.
What will be done?
I'm planing on doing a black respray of the inner case and doing a glossy black respray of the bars at the top and bottom
of the case. Then I would like to possibly respray the aluminium side panels although I'm not too sure yet as this has a
brushed aluminium effect. And finally I will respray the silver plastic part's this will be either black or a bright orange as I
have not yet decided.
 Oh and finally fix the hinges on the doors at the front as they will not close properly.
Anyway keep watching the thread as I will be updating it in the following week's and here's a few more pictures for your amusement.


 good luck


