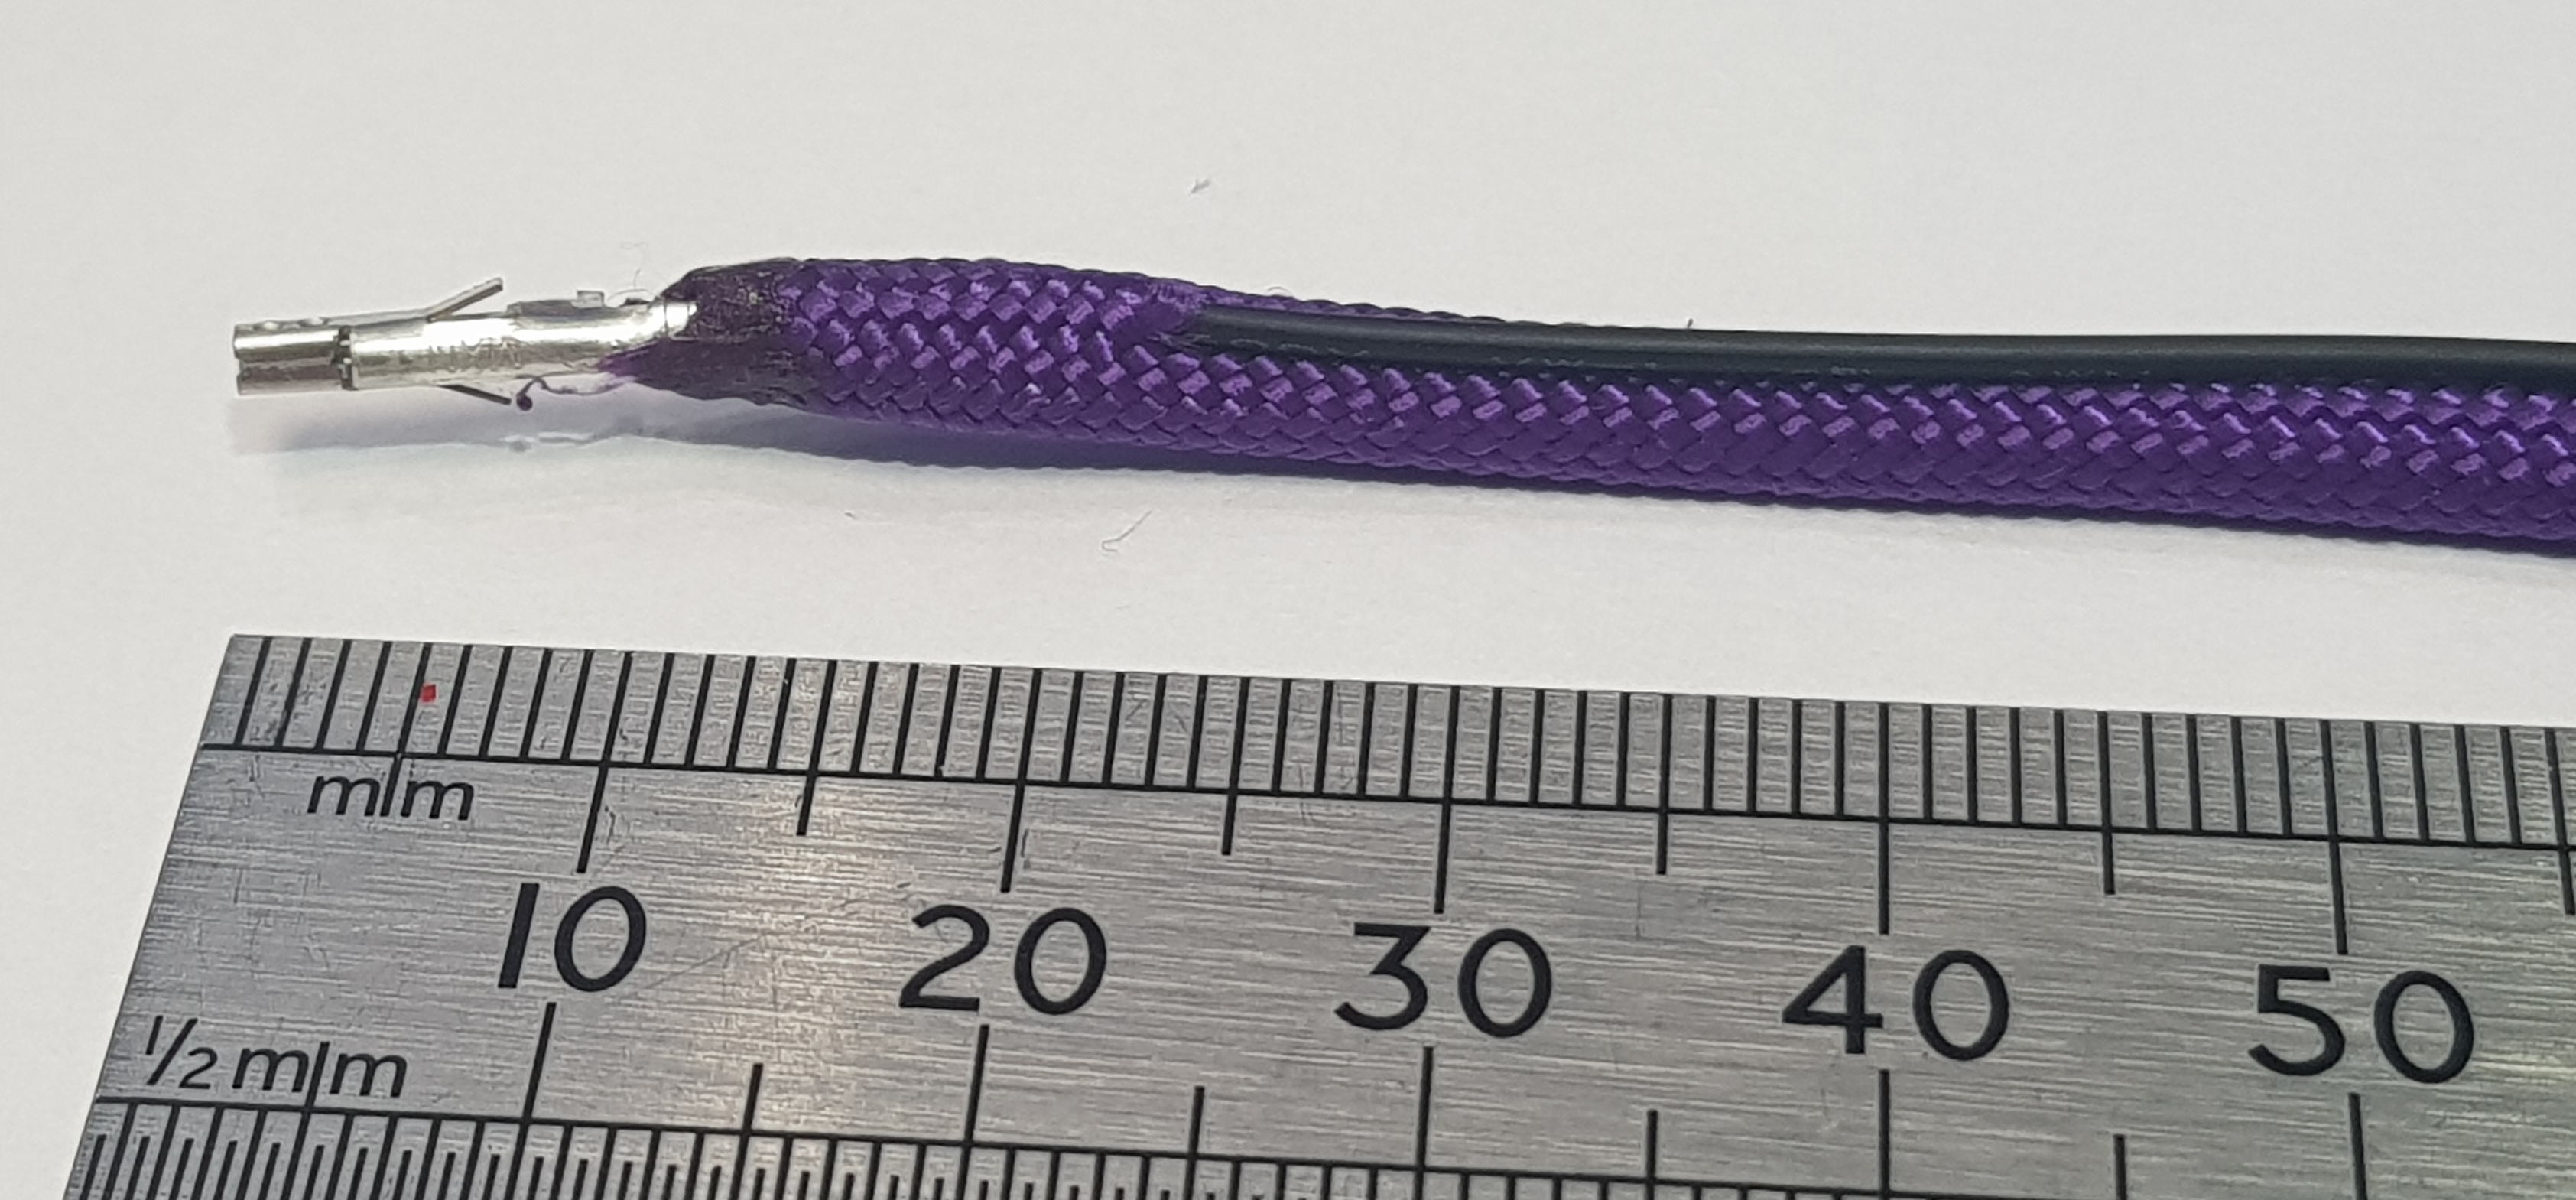
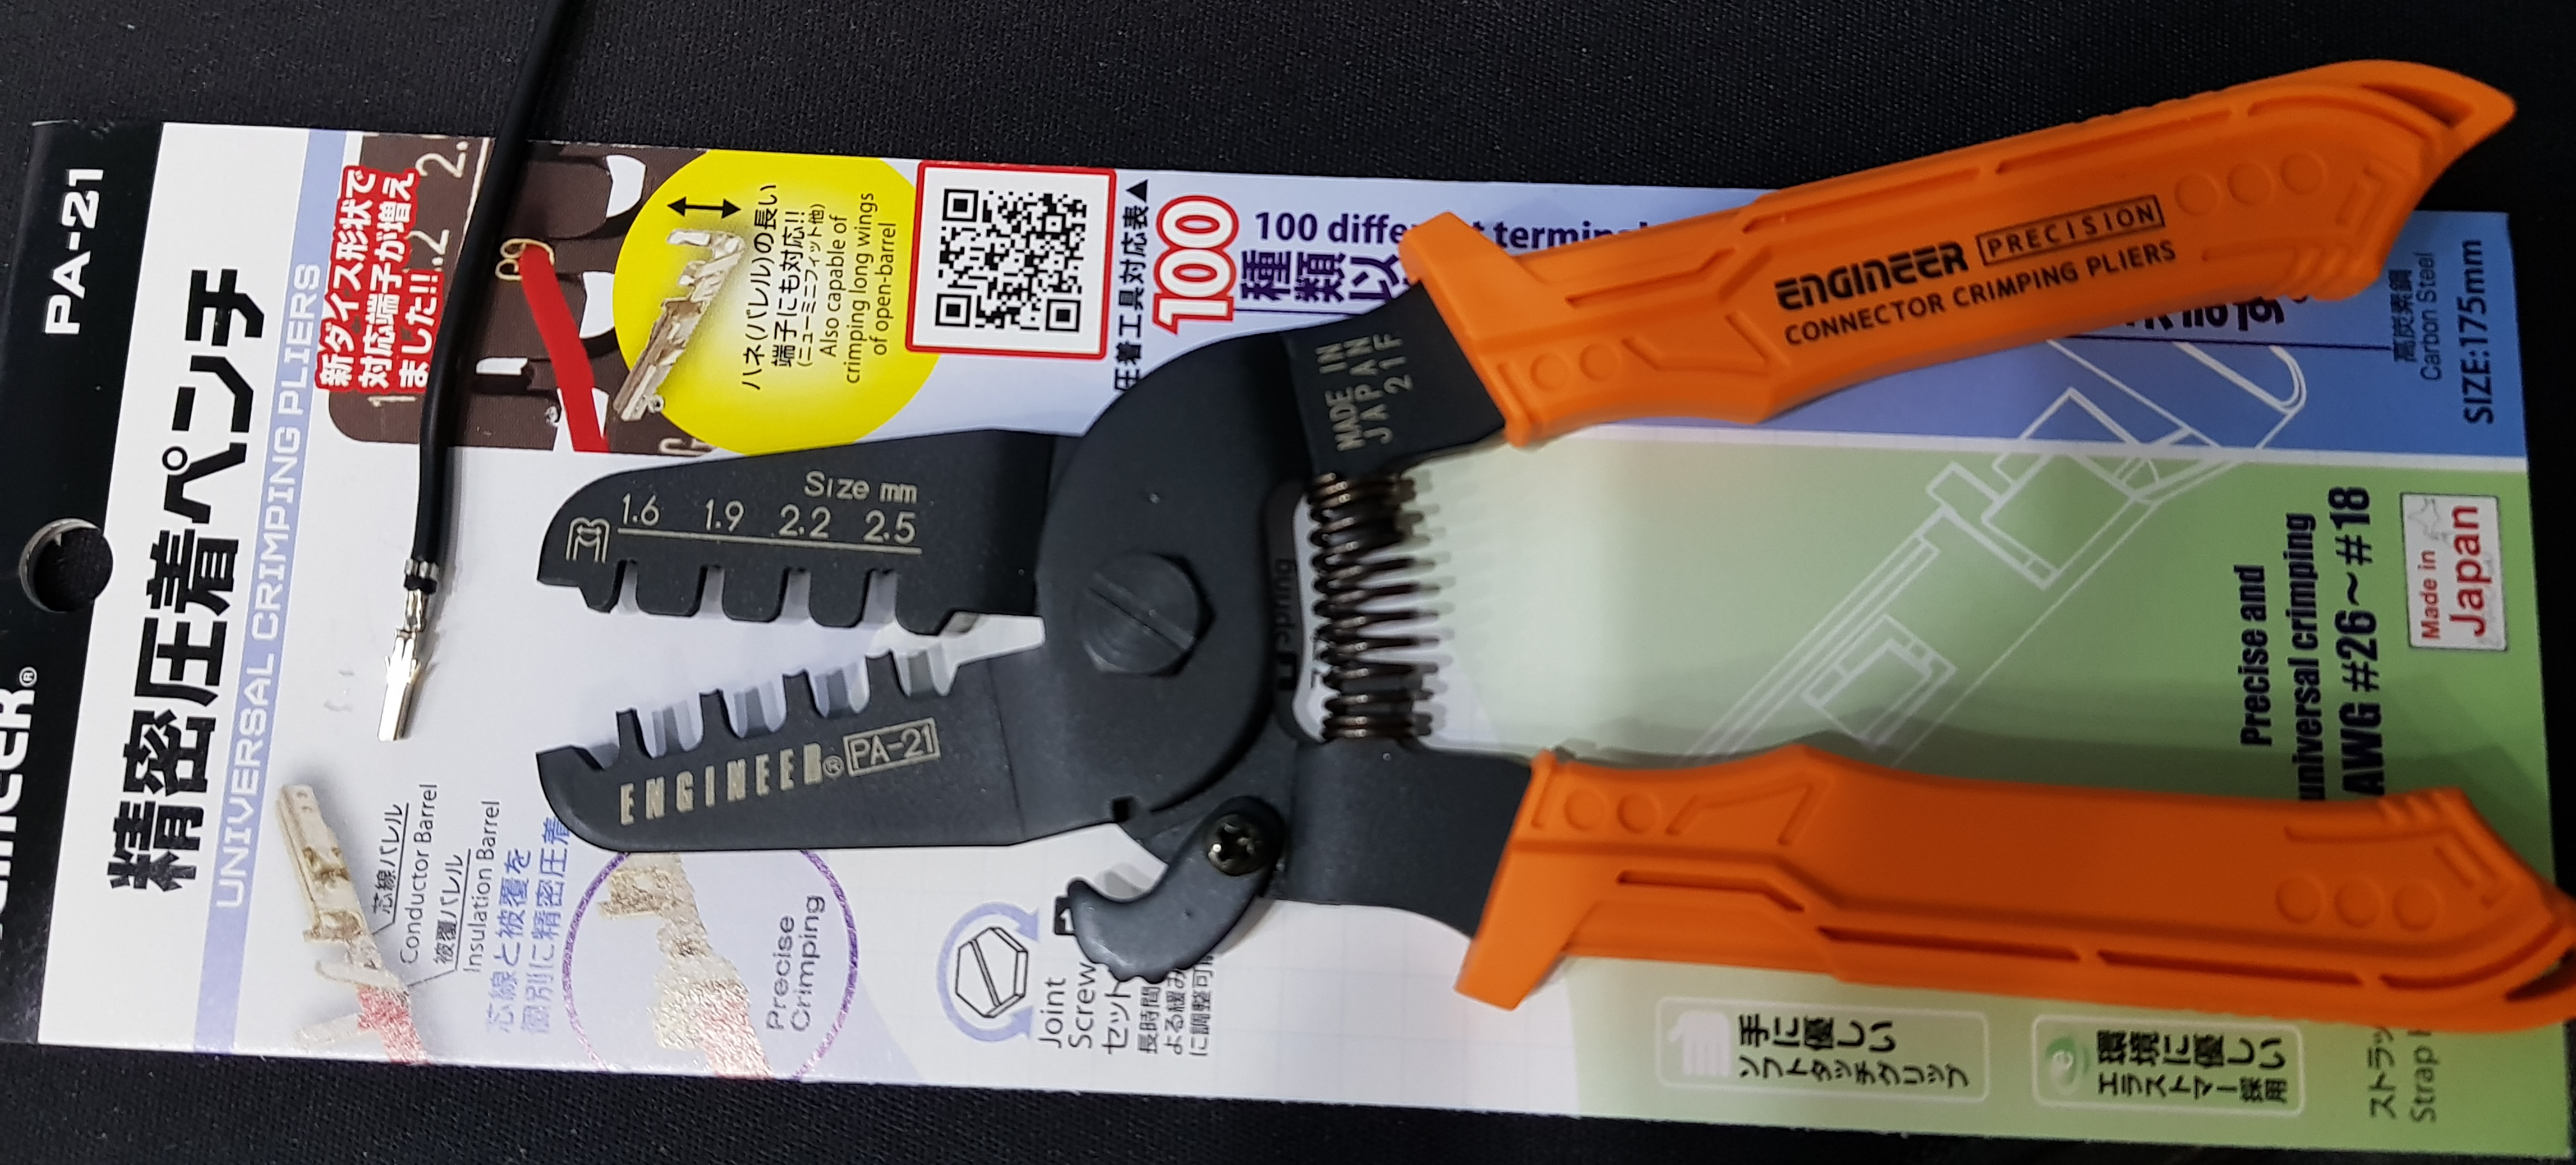
Said I'd be back with a picture of a nice crimp.....I didn't promise that it'd be a nice picture of a crimp though!

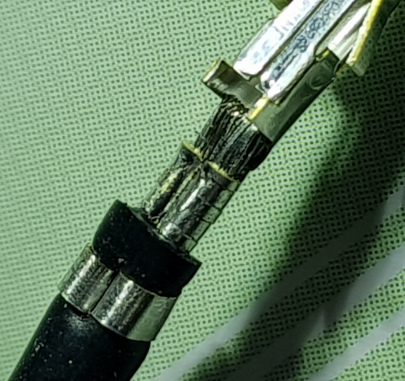
That's the 1.6mm die for the front wings and 2.2 for the rear. Very happy with that!
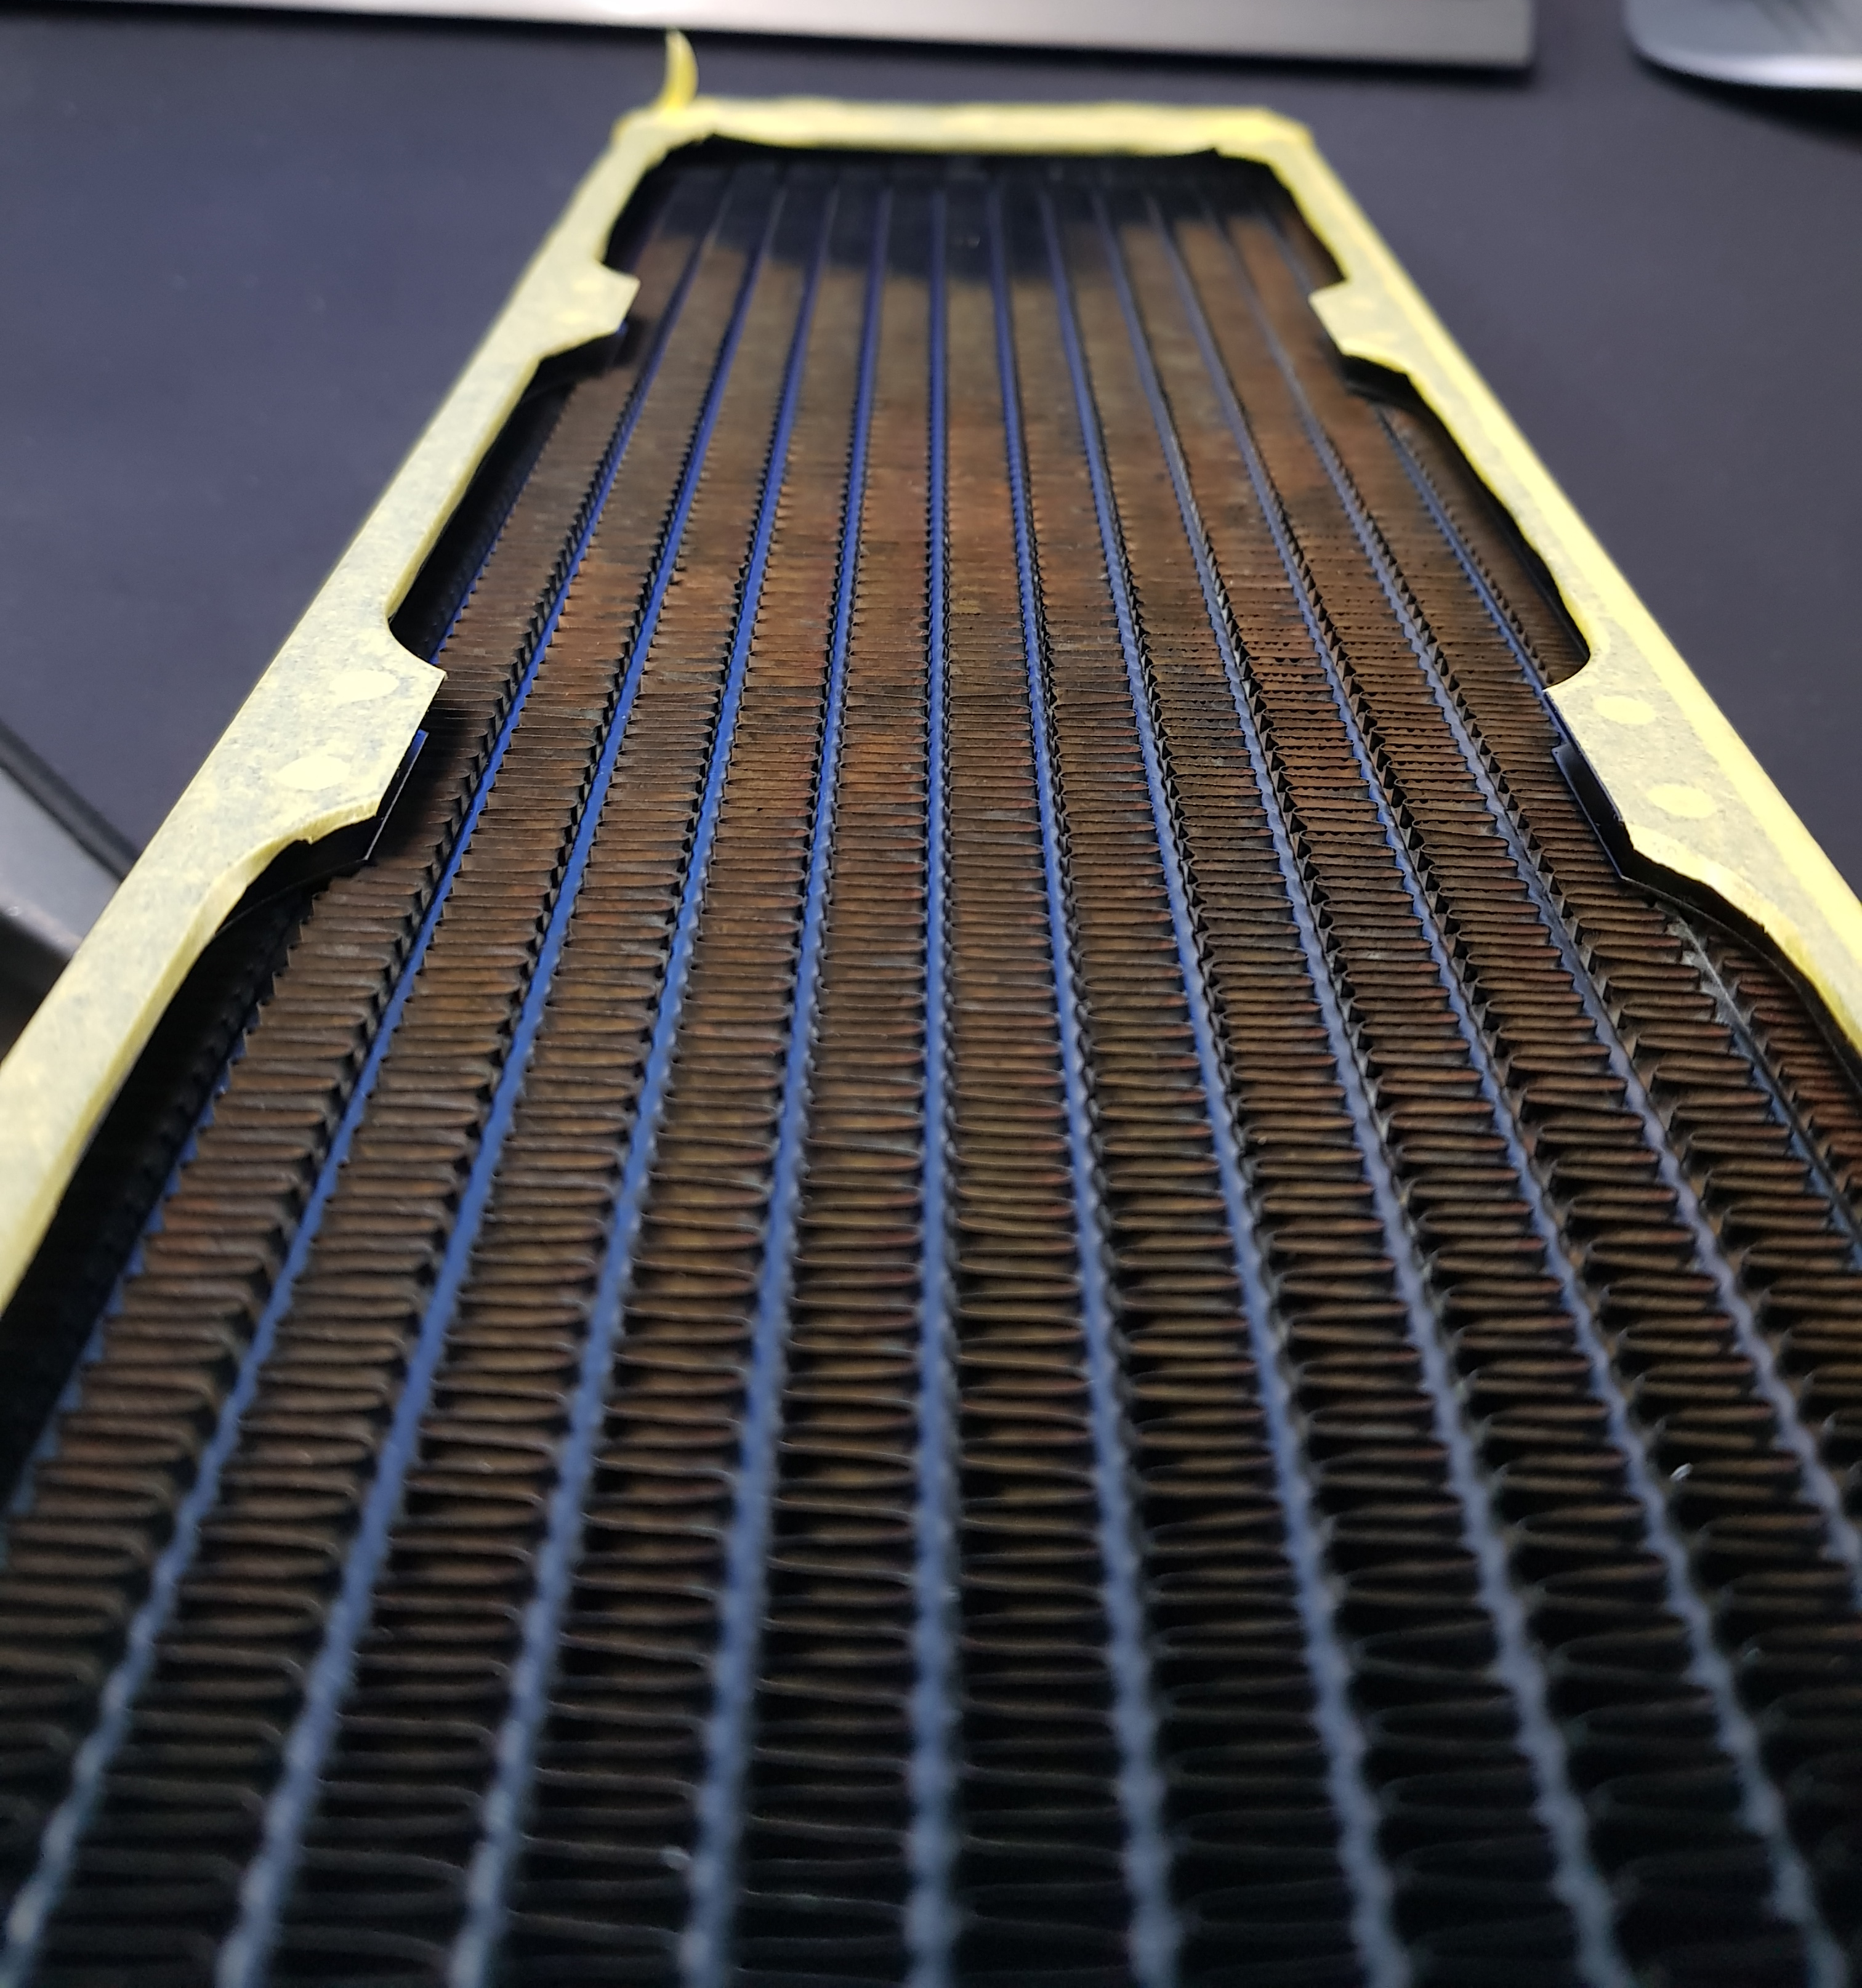
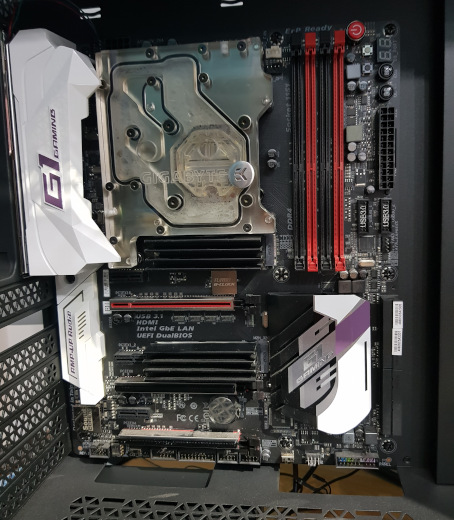
Decided that the rad needed to be sprayed. Partly for OCD (alright, quite a bit!), partly because I thought it would show through the top grill and partly because I was concerned that it might corrode. The wind and rain finally subsided in my 'spray booth' so I had at it:
Before:

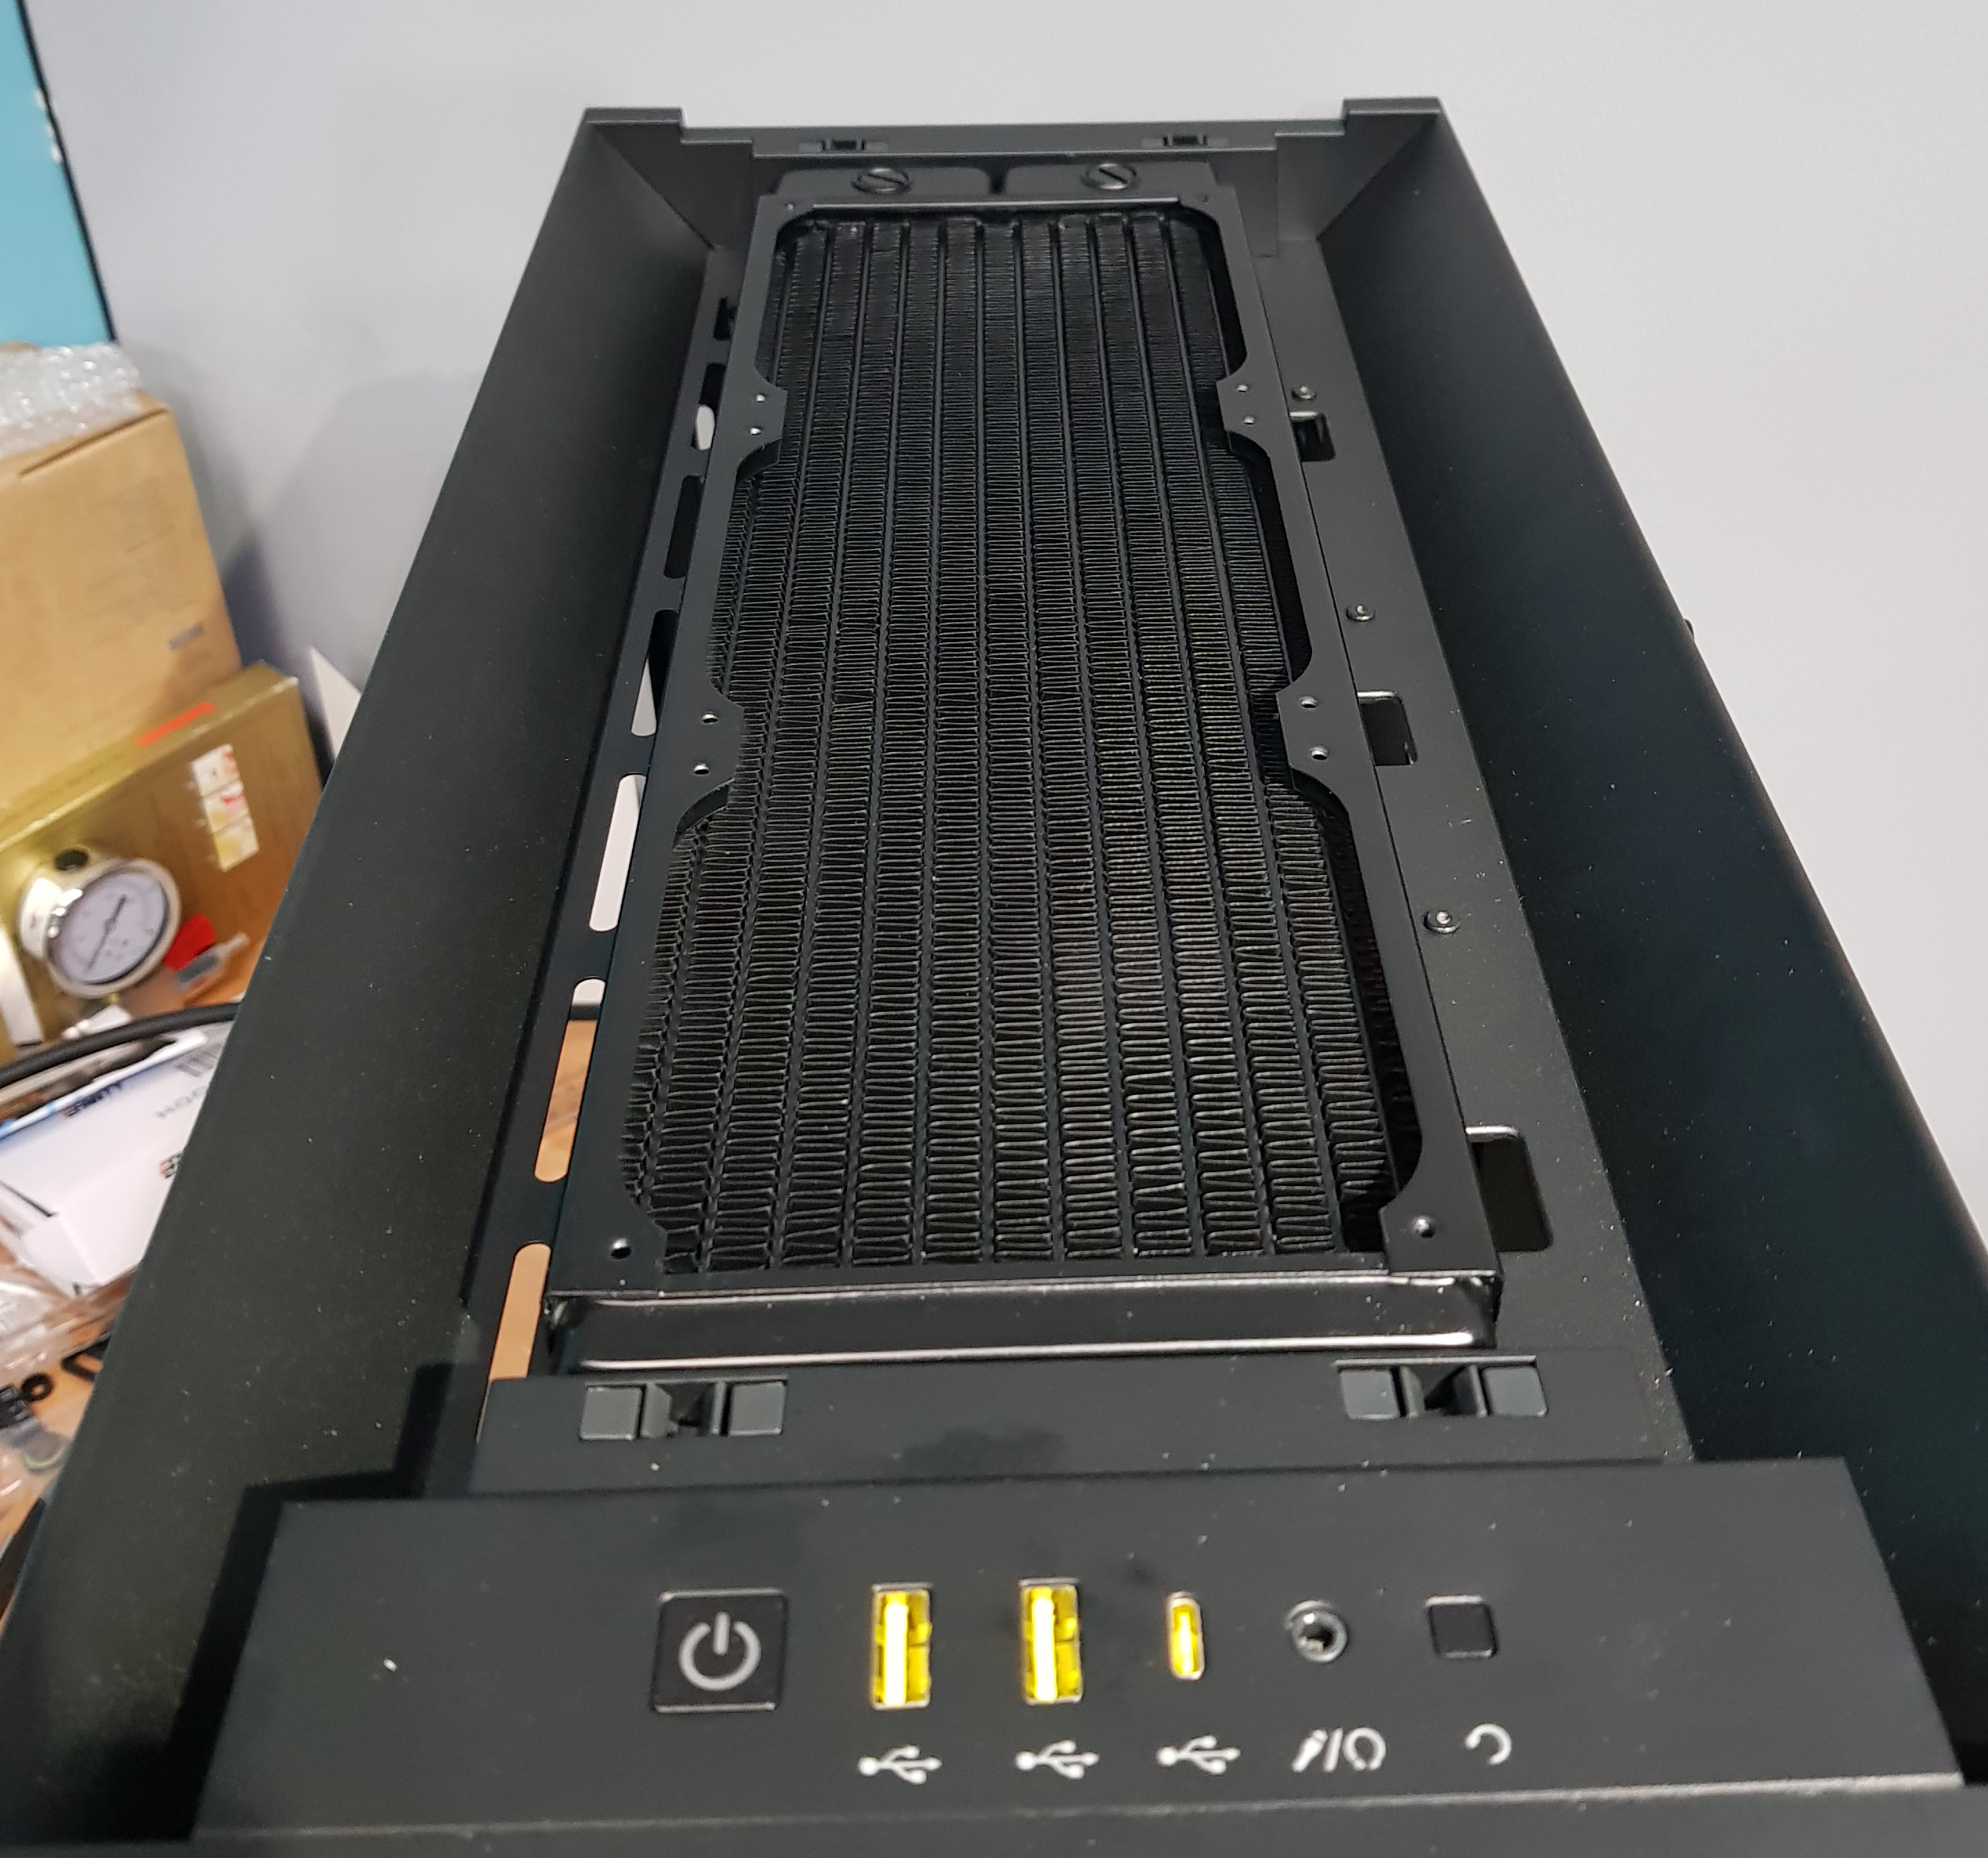
After:

This was just a rattle can of Wilko's satin black as recommended quite some time back by someone on the forums. Have to say it was a good recommendation as the can is still going strong and hasn't blocked like more expensive brands have.
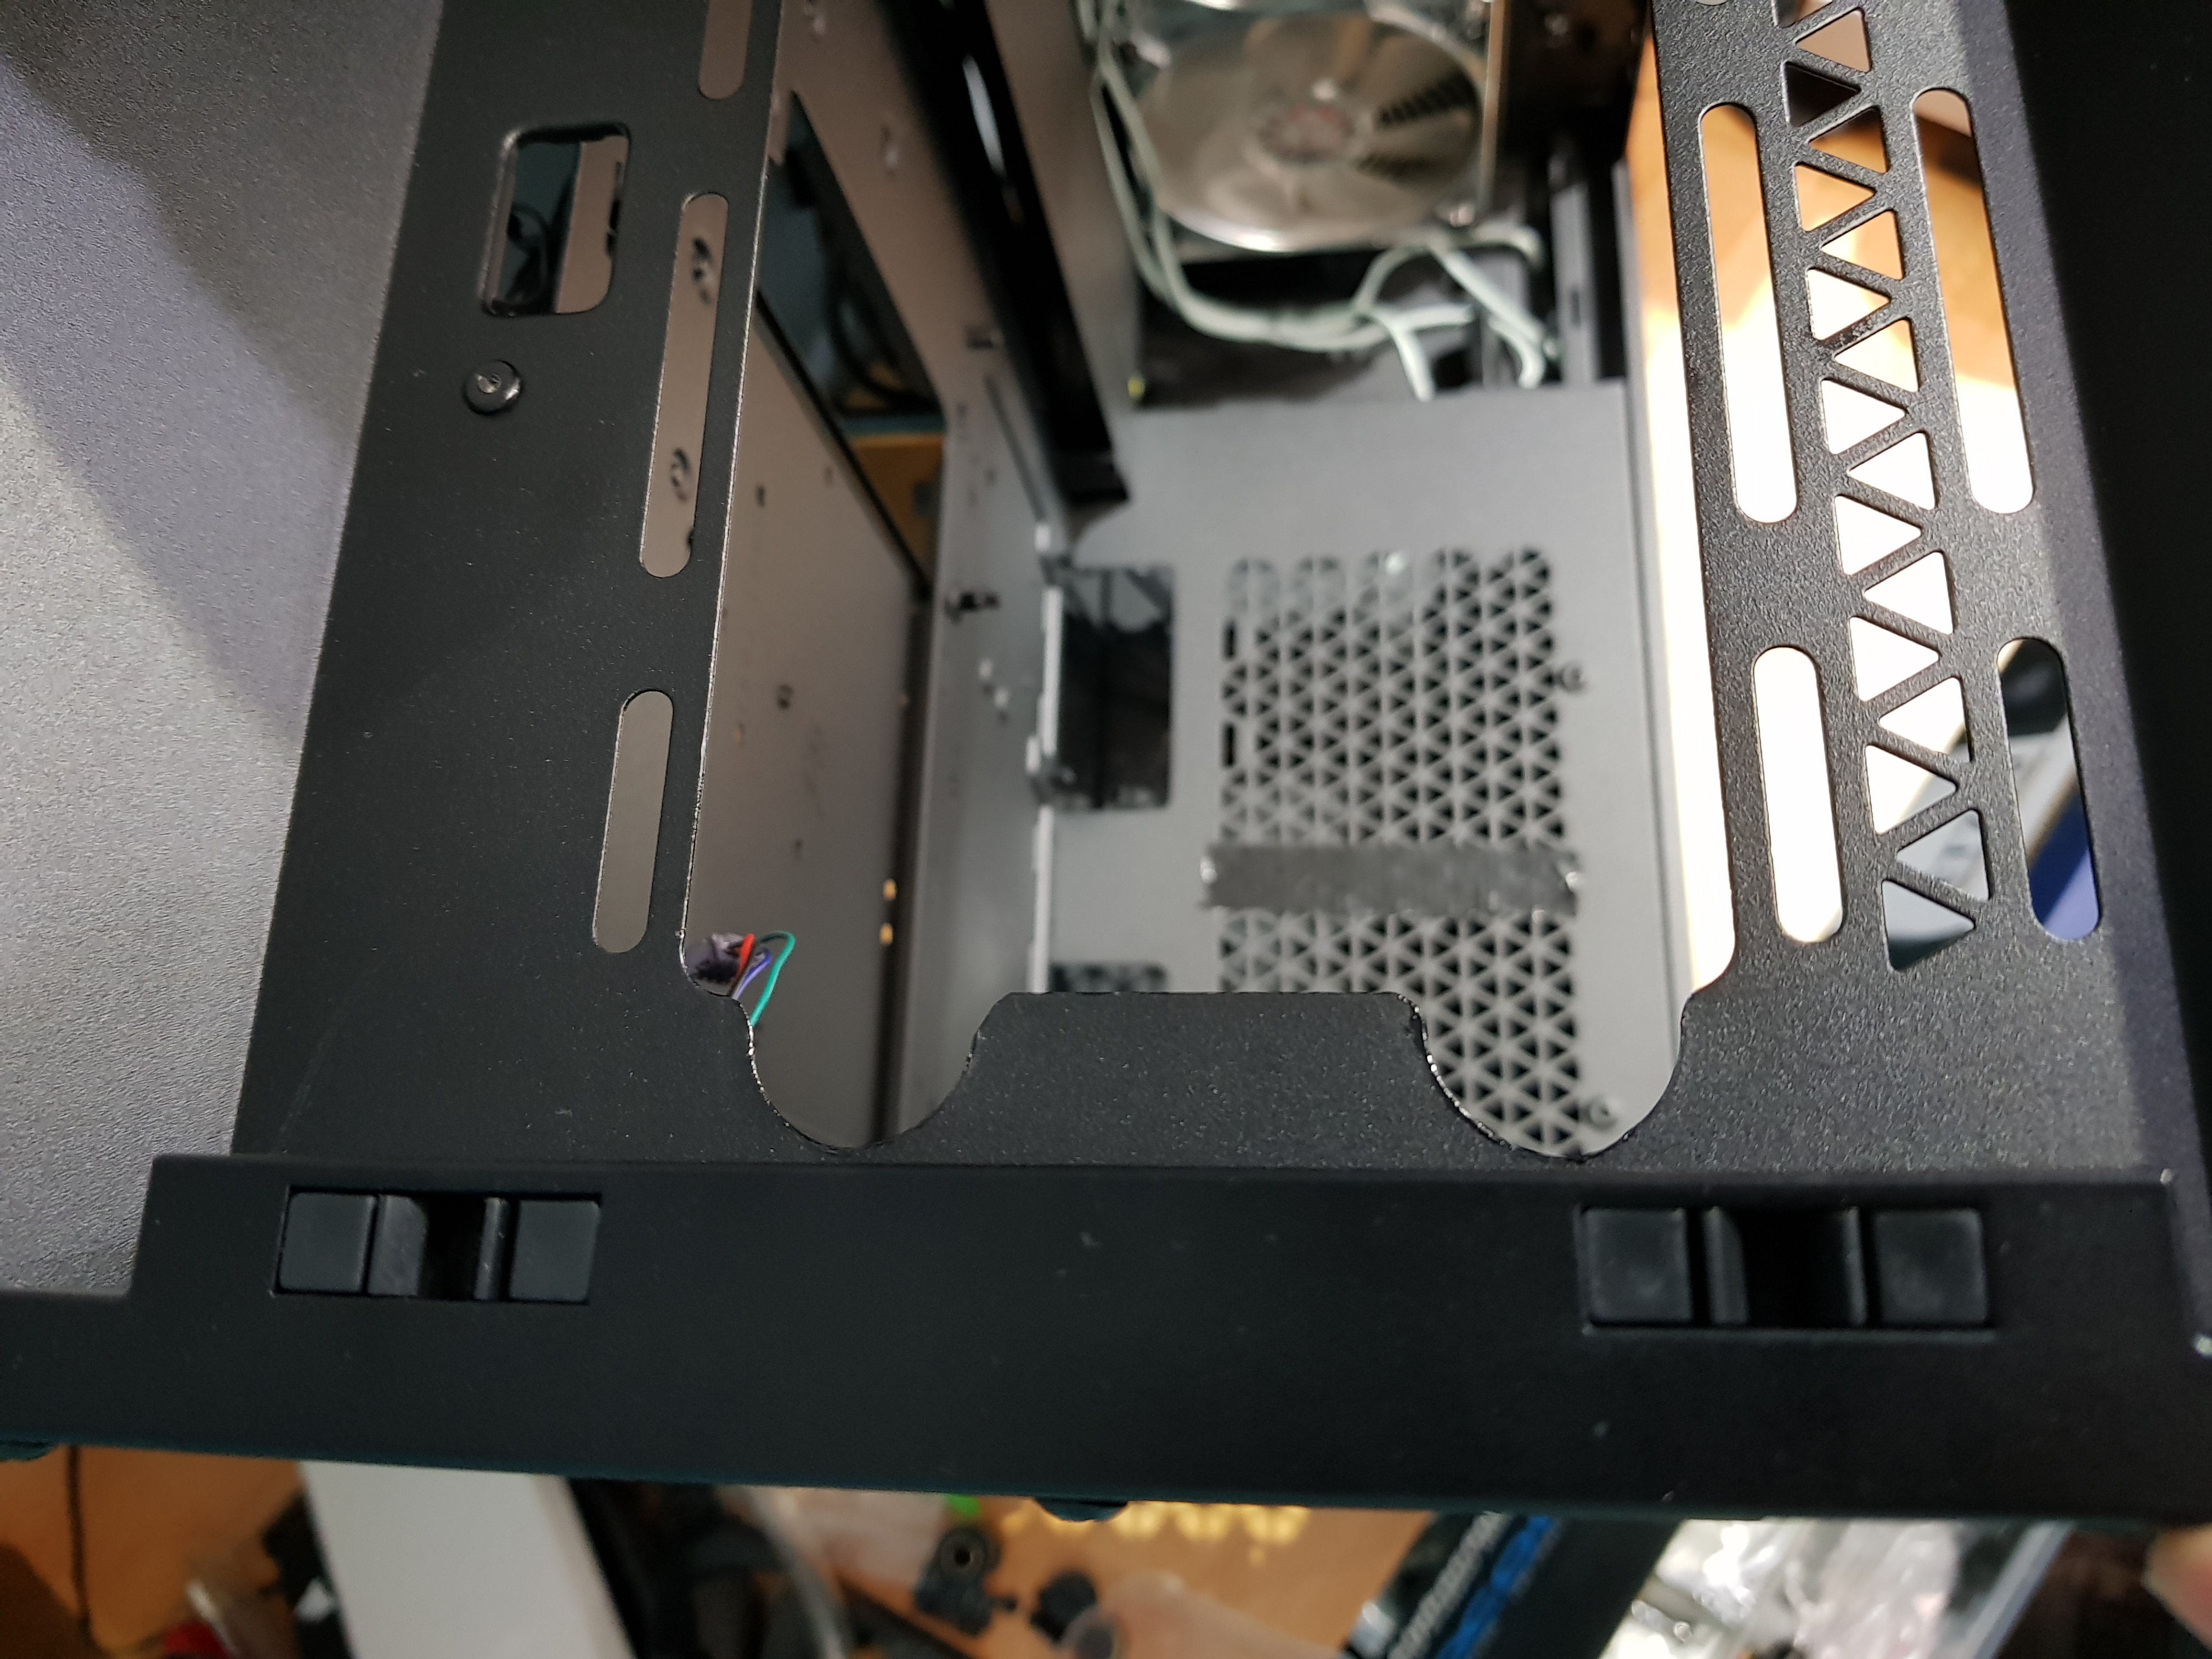
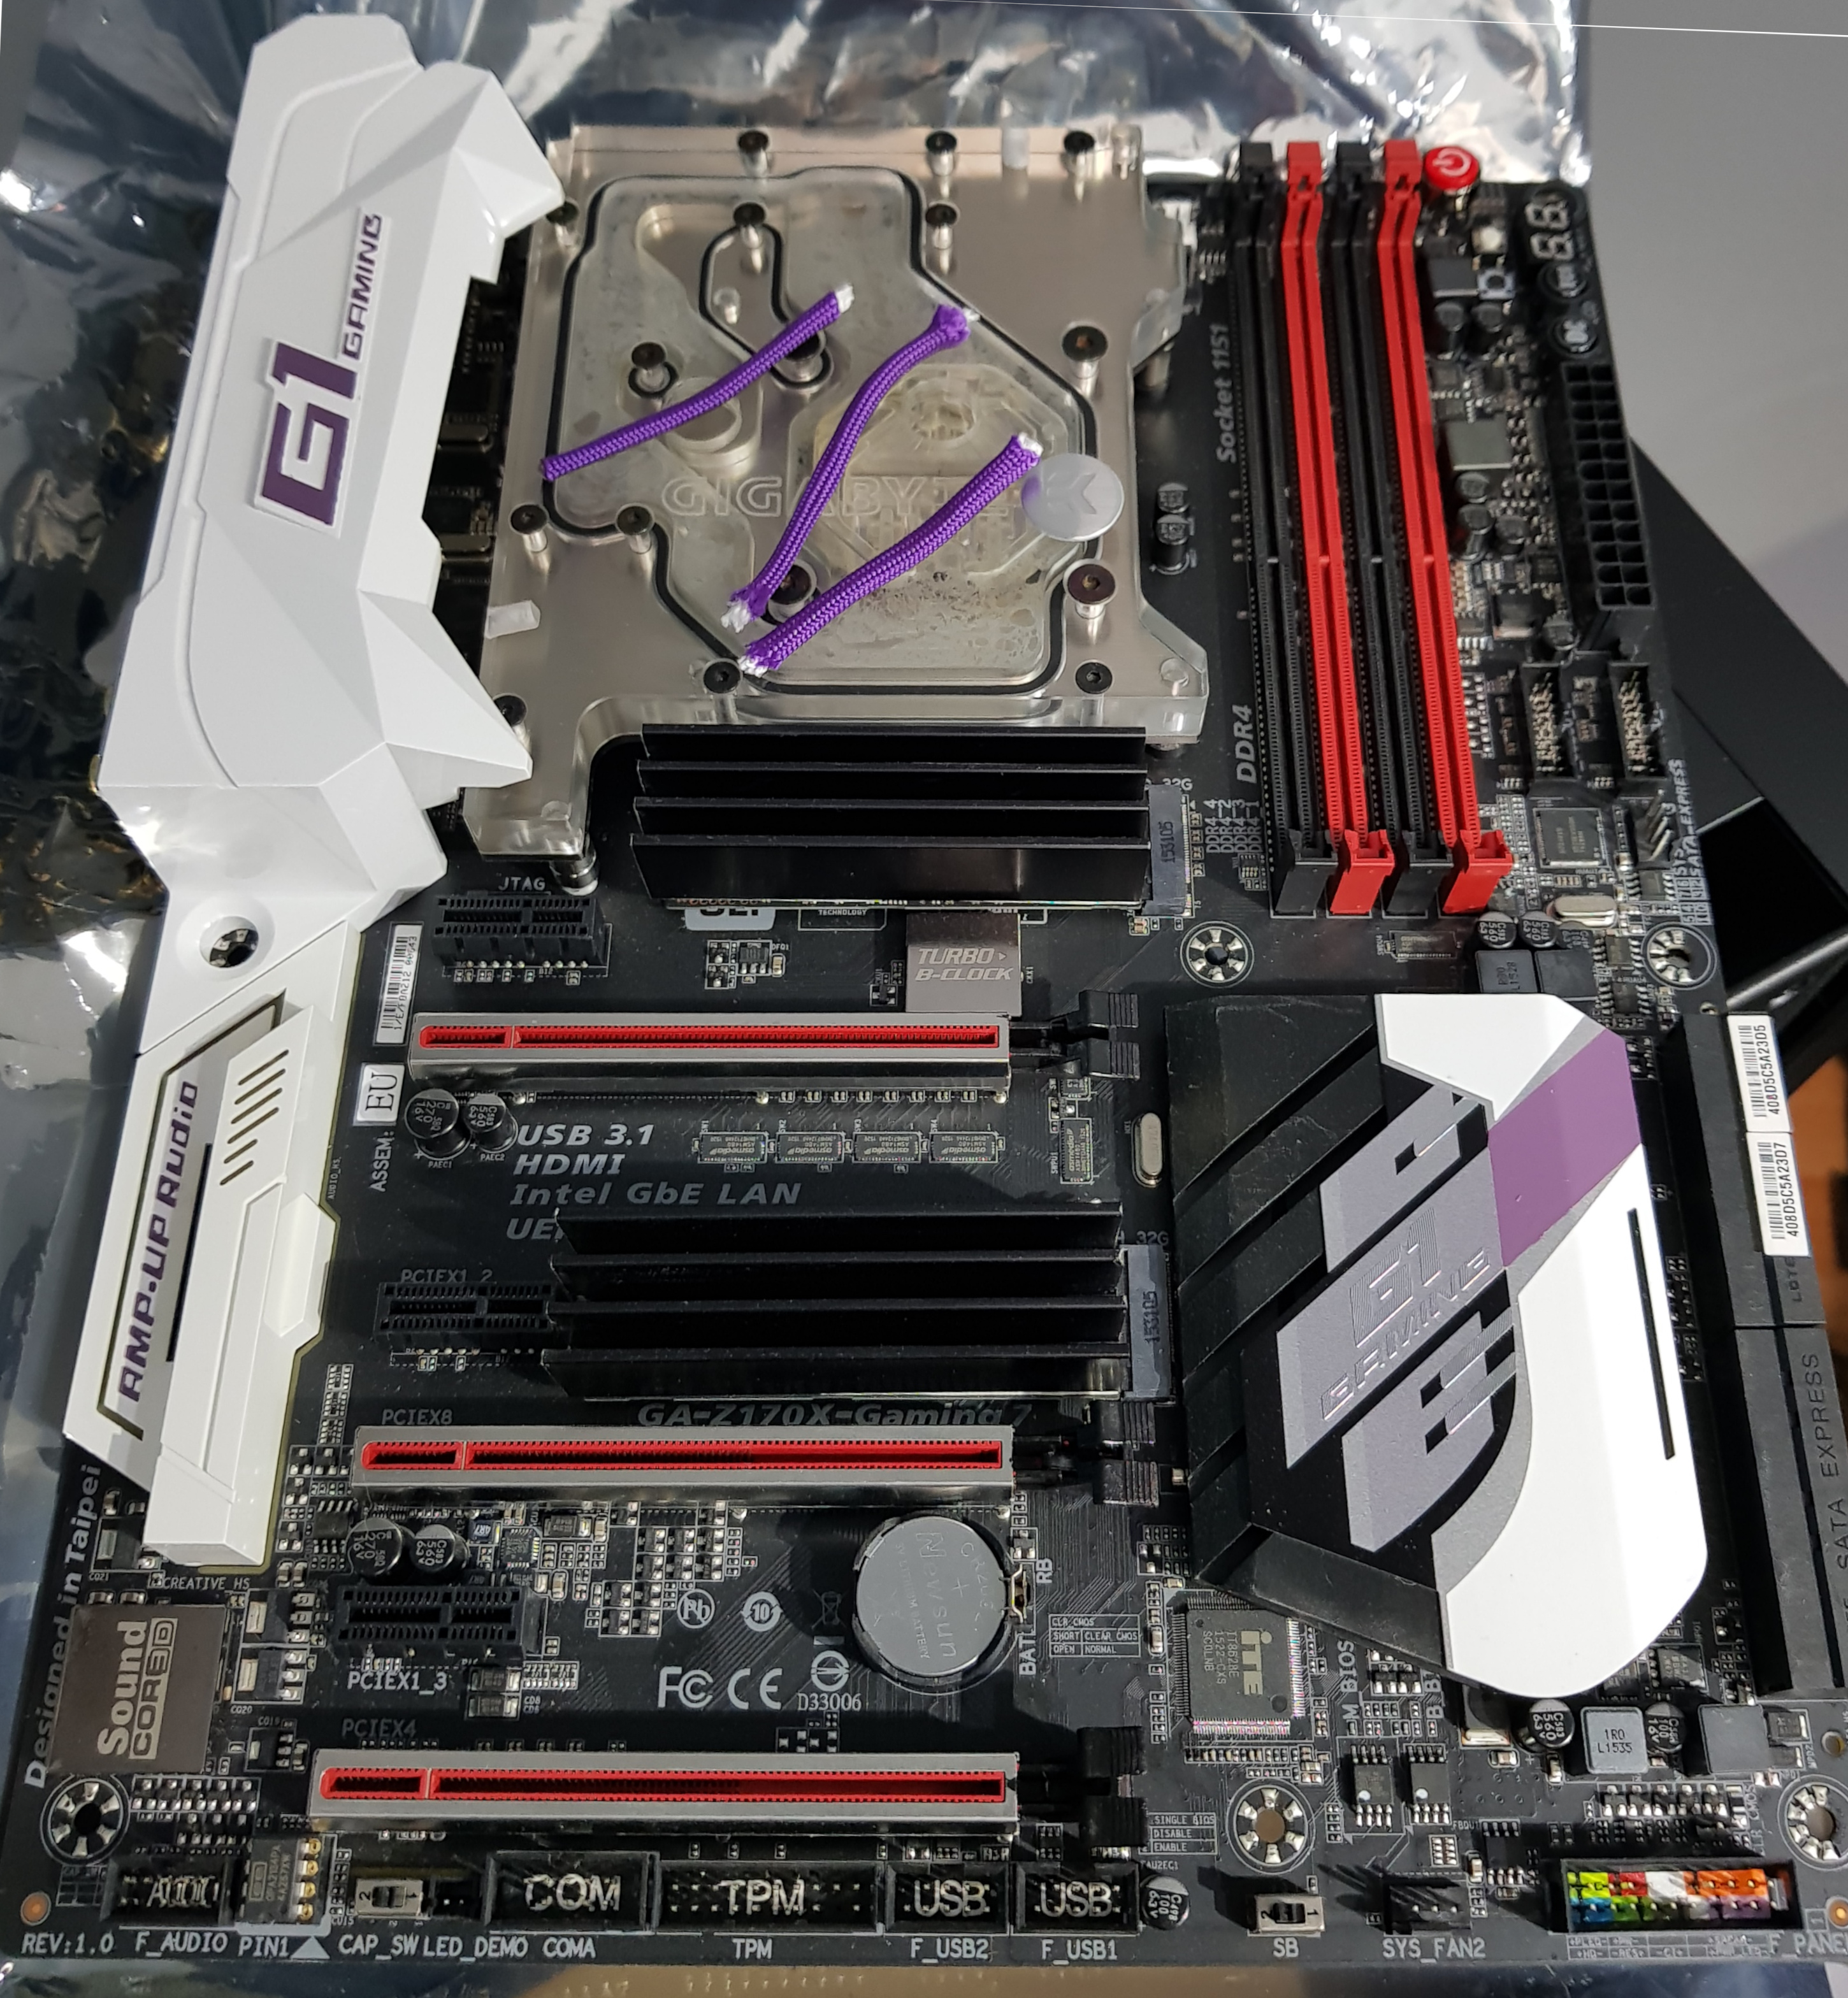
Last thing I've been up to (apart from cutting wire and crimping) was an idea I had to cover the red in the unused PCIE slots. Have 3D printer, will churn out random ideas
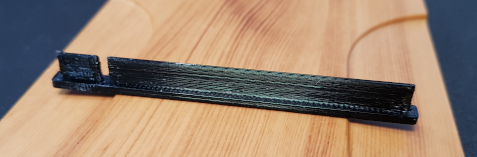
Lower two slots covered:
The RAM slots will be almost entirely covered by the actual RAM once it's in.
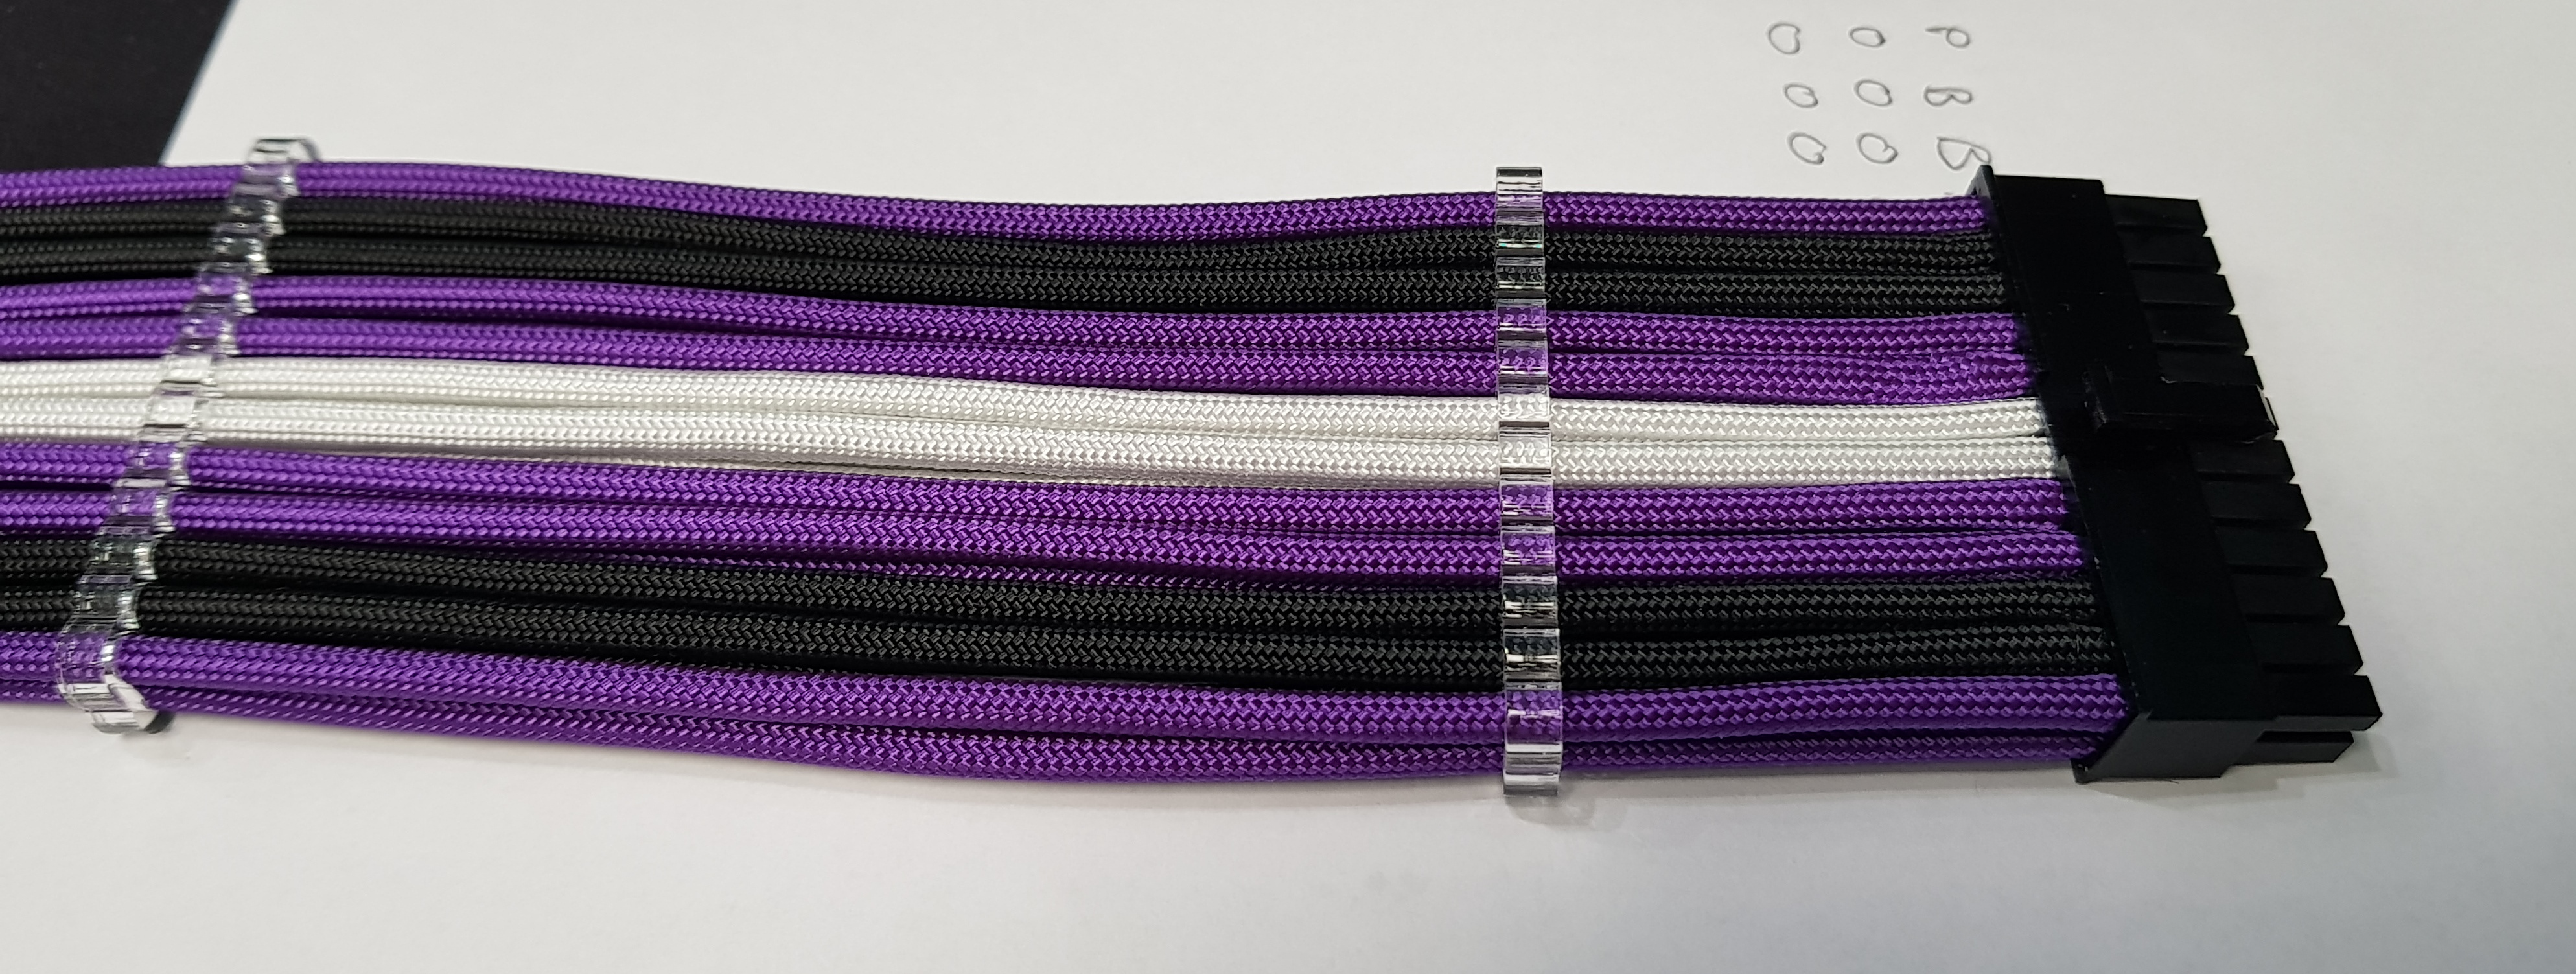
Have also cut a tube for the rad to rad link. Going to do the 90 bend for that in fittings because I can....and because at the very top of the case, it's unlikely to be seen anyway. Obviously this turned out to require the one size of extension that I haven't got in stock. So that's in the post and so is the 18AWG wire for the ATX cable as I ran out

Should be 27m of the stuff in there by the time I'm done!


")
 but then decided he didn't after looking at some more pics.....mostly yours Andy, so it's clearly your fault!

")