Well, I've just about got the latest round of changes to Silent Overkill done, tidied up and regained some sanity.....not much, mind! So, the sane thing to do now is launch into a project for/with my son 
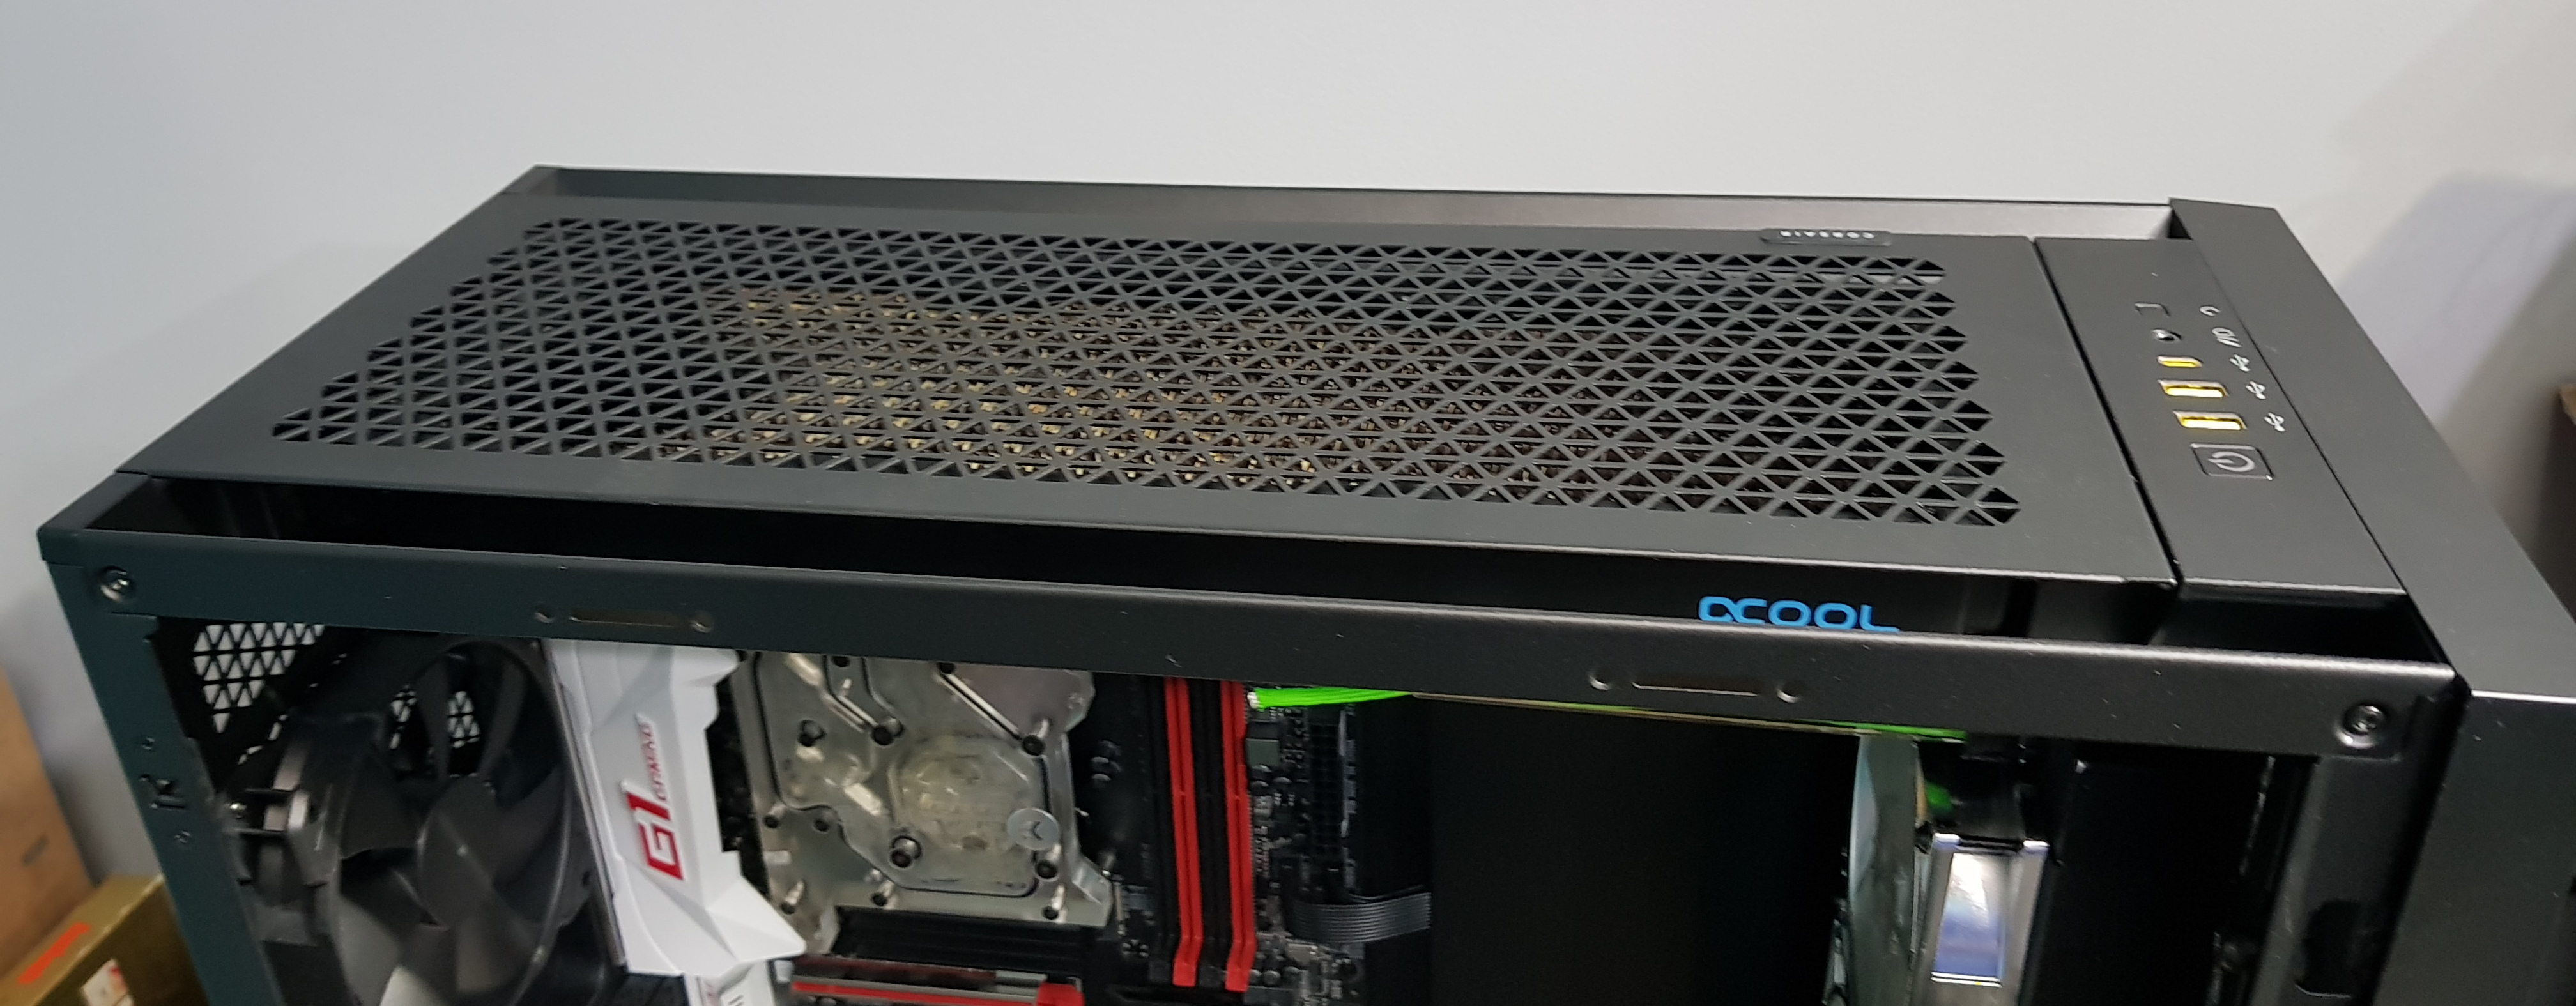
He's getting into gaming and currently he's on the cobbled-together cast-offs that served as my wife's work PC. The motherboard is older than pictured and the PSU is different but you get the gist:

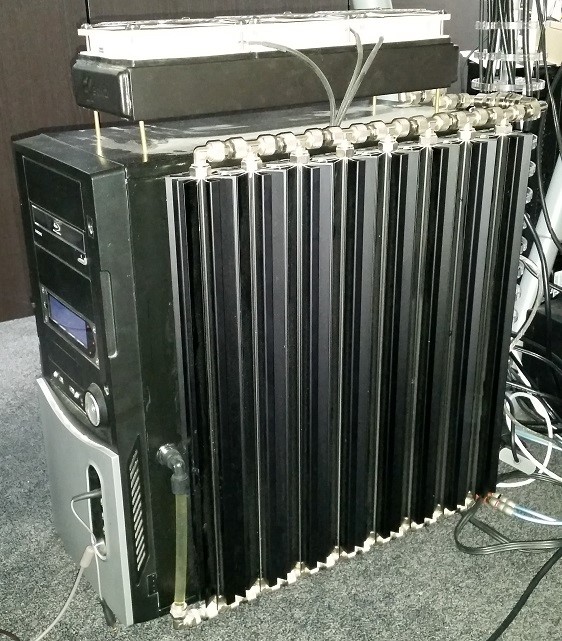
It's functional but it's not what you'd call pretty! For Christmas he got a Corsair 5000D case so the intention is to make this something a lot nicer without breaking the bank.
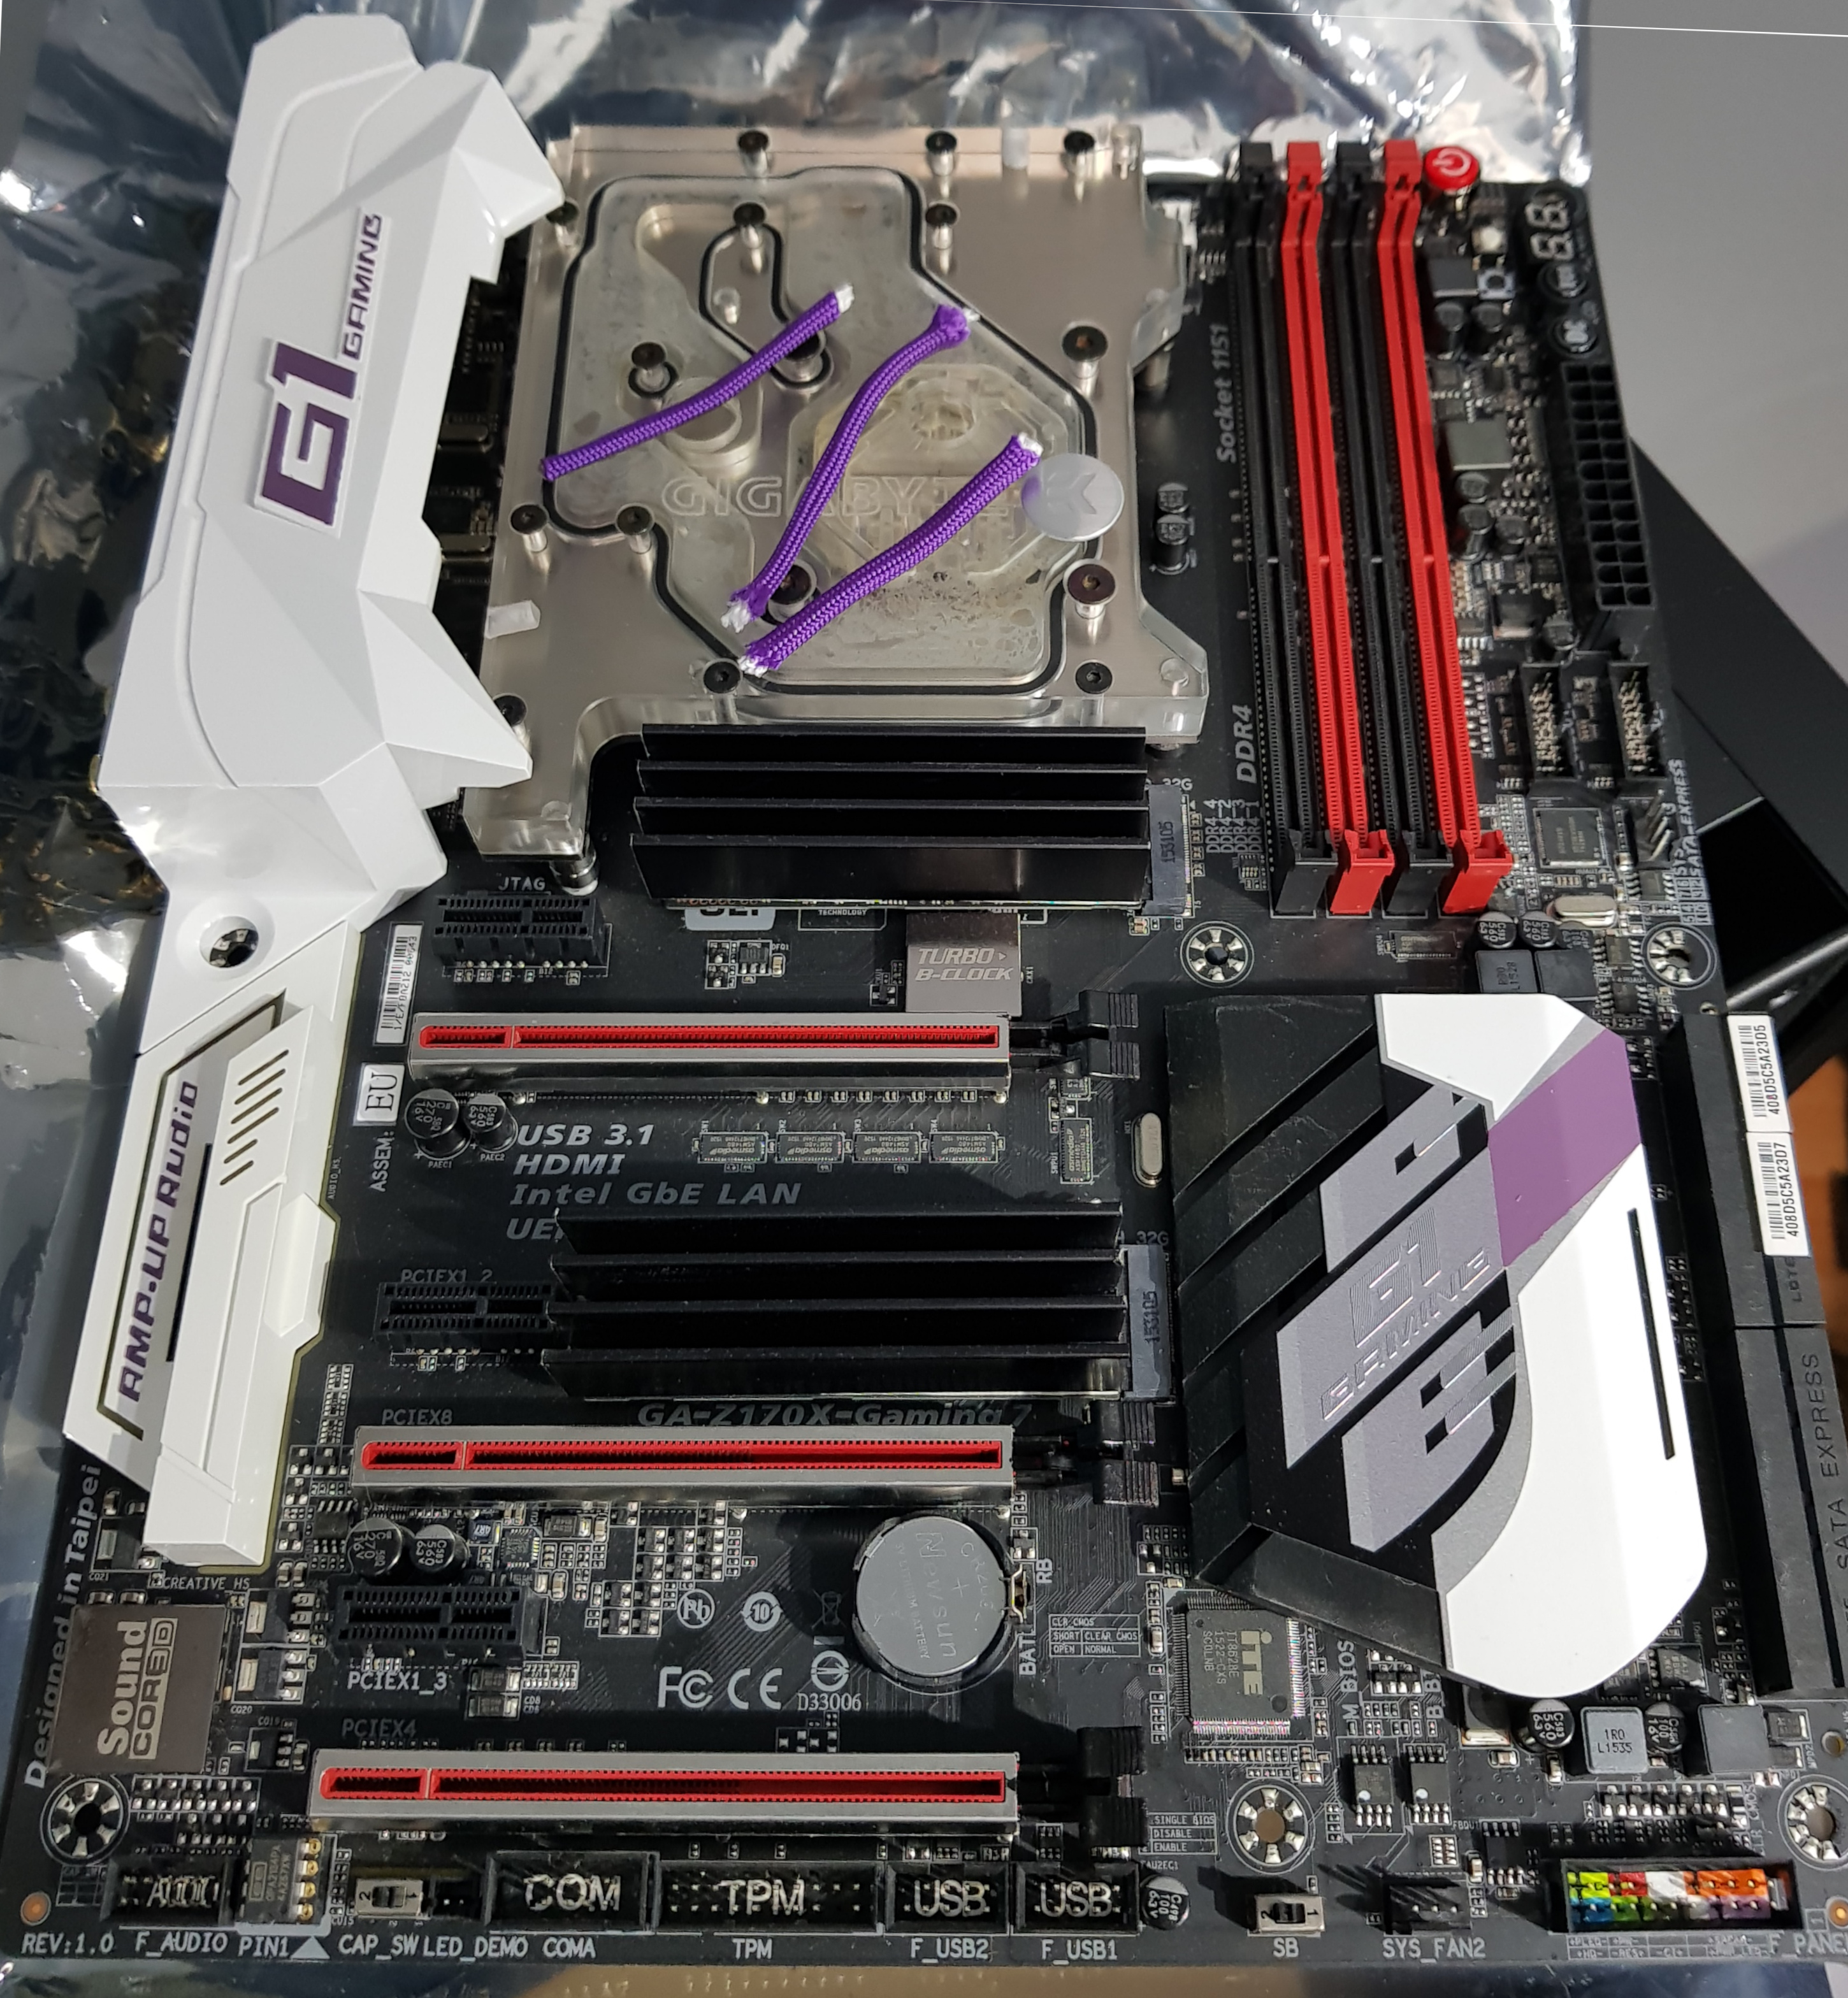
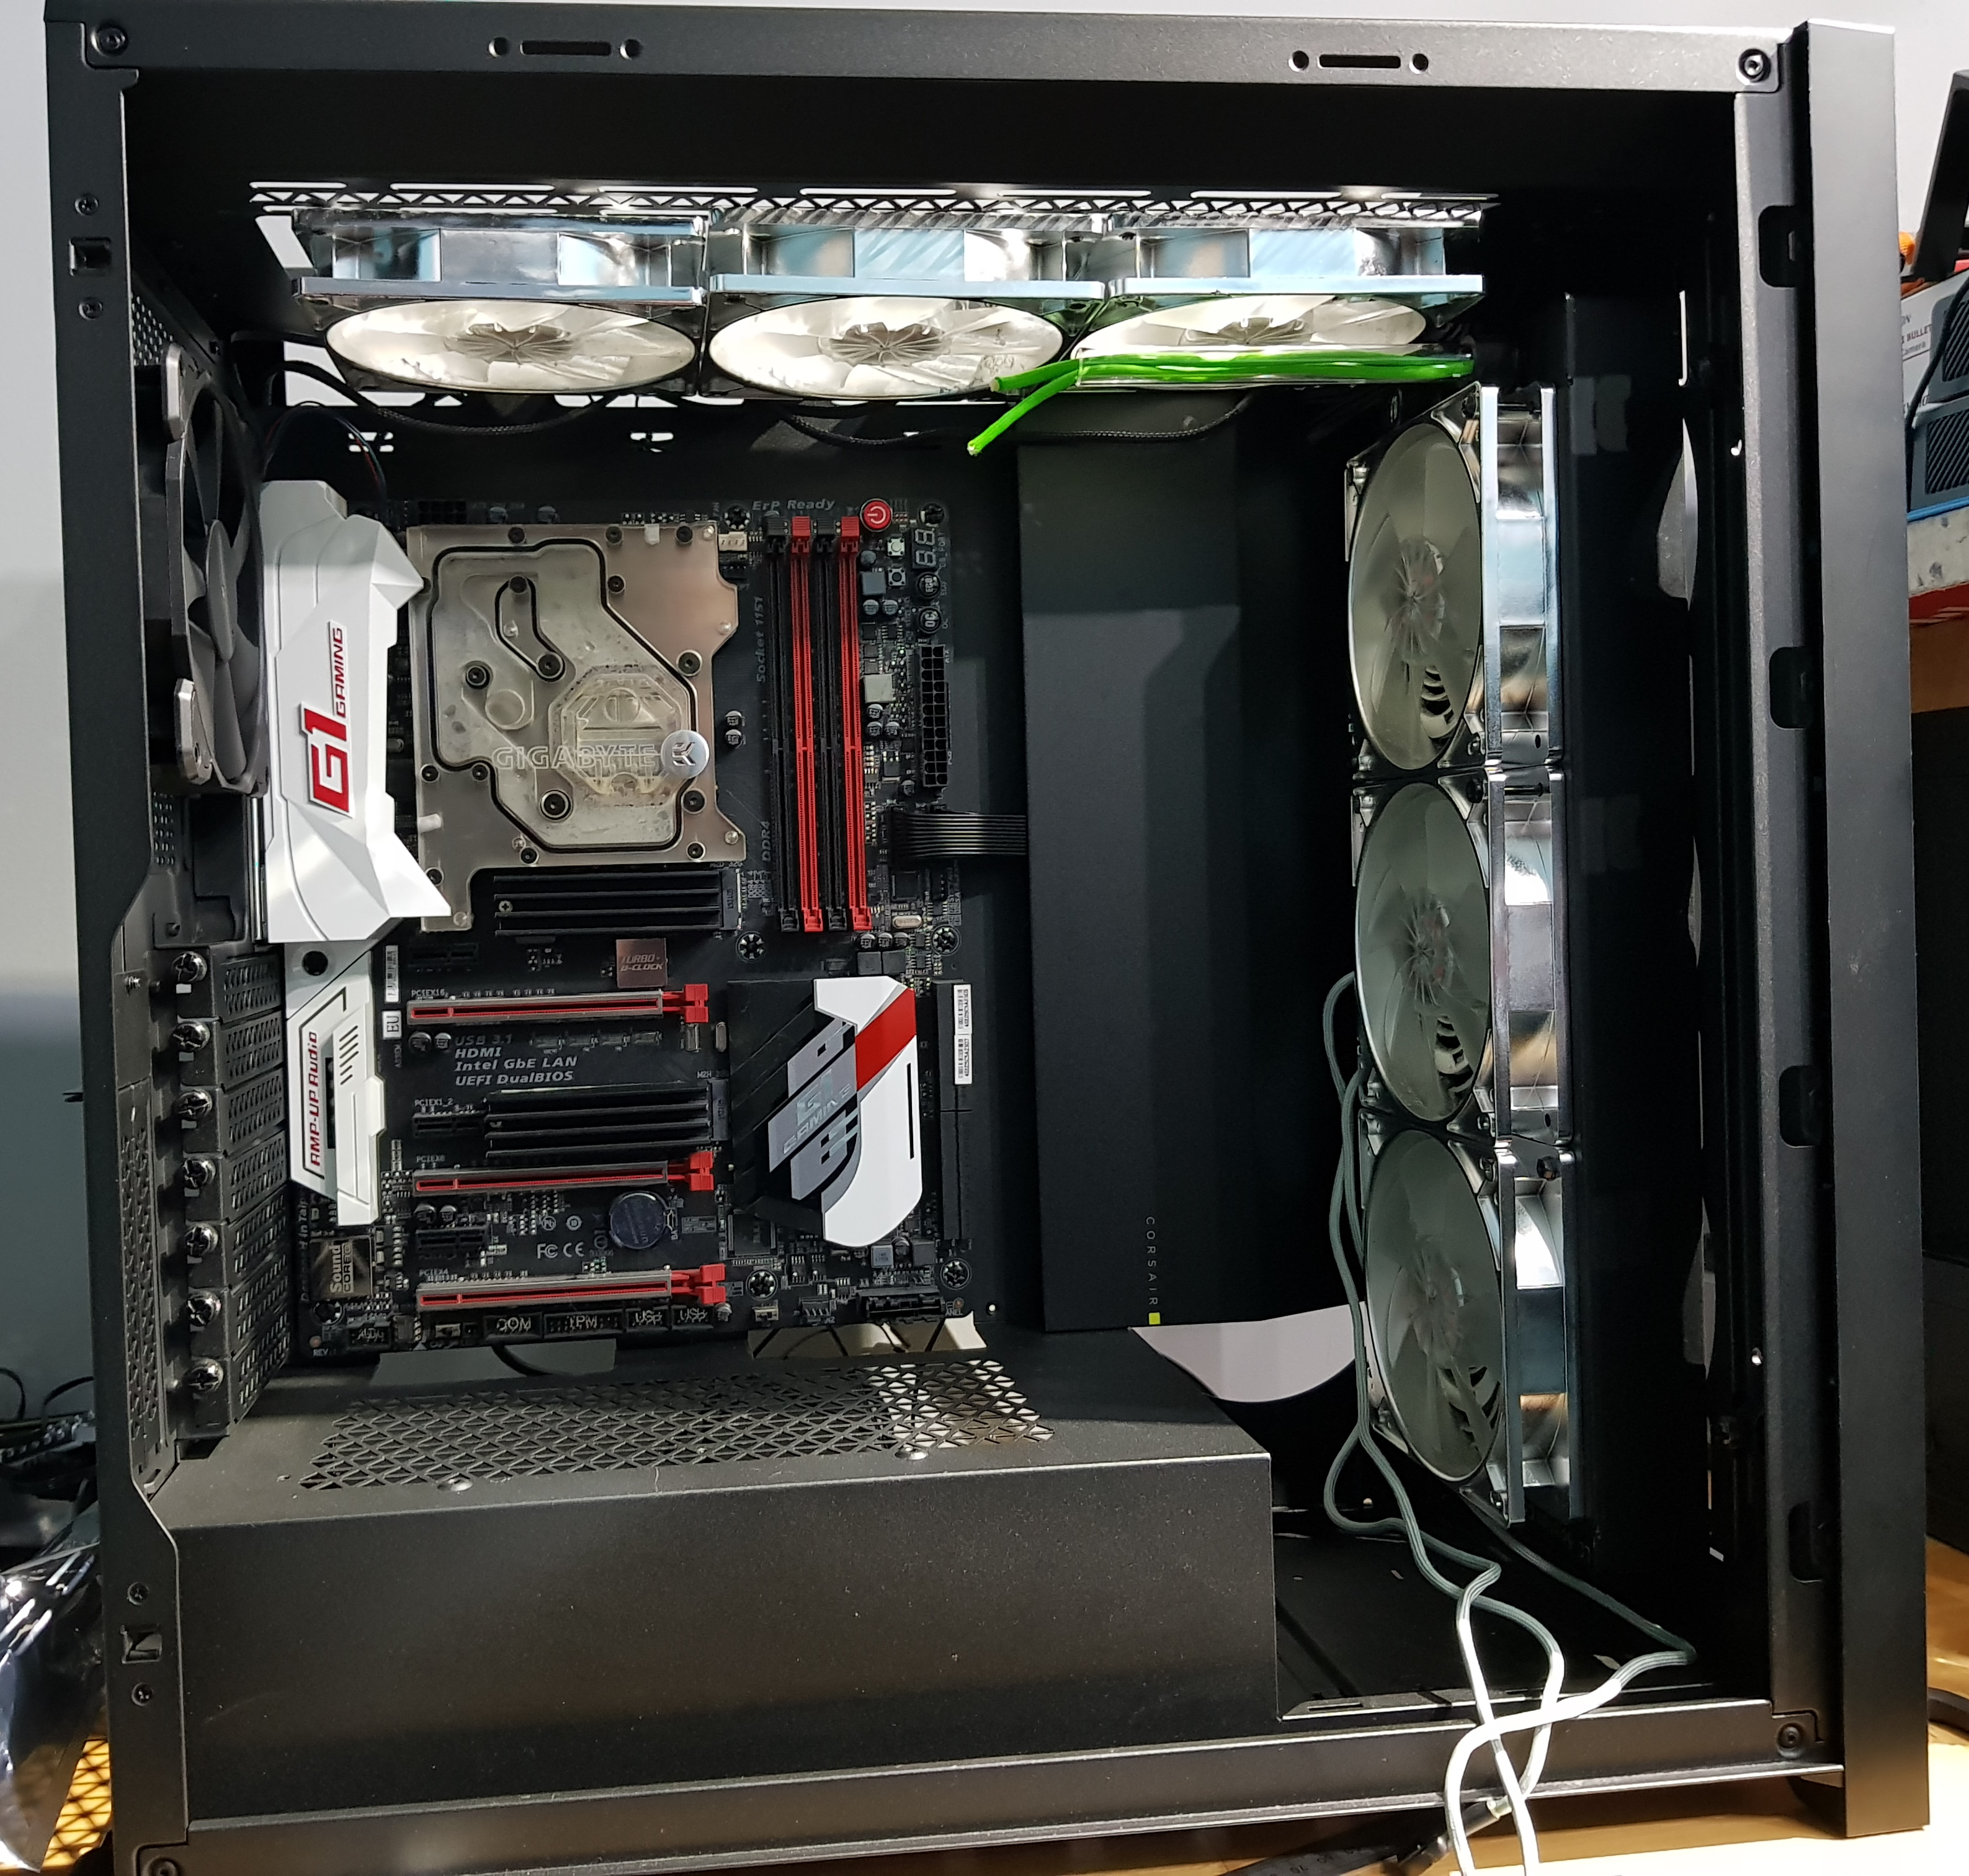
Motherboard will be that Gigabyte Z170 G1 Gaming with a de-lidded i7-6700K under a monoblock - actually the one that's pictured above.
GPU will be a 980Ti also pictured above.
Disks will be a pair of 256MB Samung 980 Pro M.2 drives with custom heatsinks stuck on and running in RAID0. Any additional storage (and backup) can be supplied via iSCSI from my home server. Hmmm, I wonder if it's worth planning a 10Gbe card for this build. That definitely speeds up an iSCSI connection provided you increase the MTU to 9k
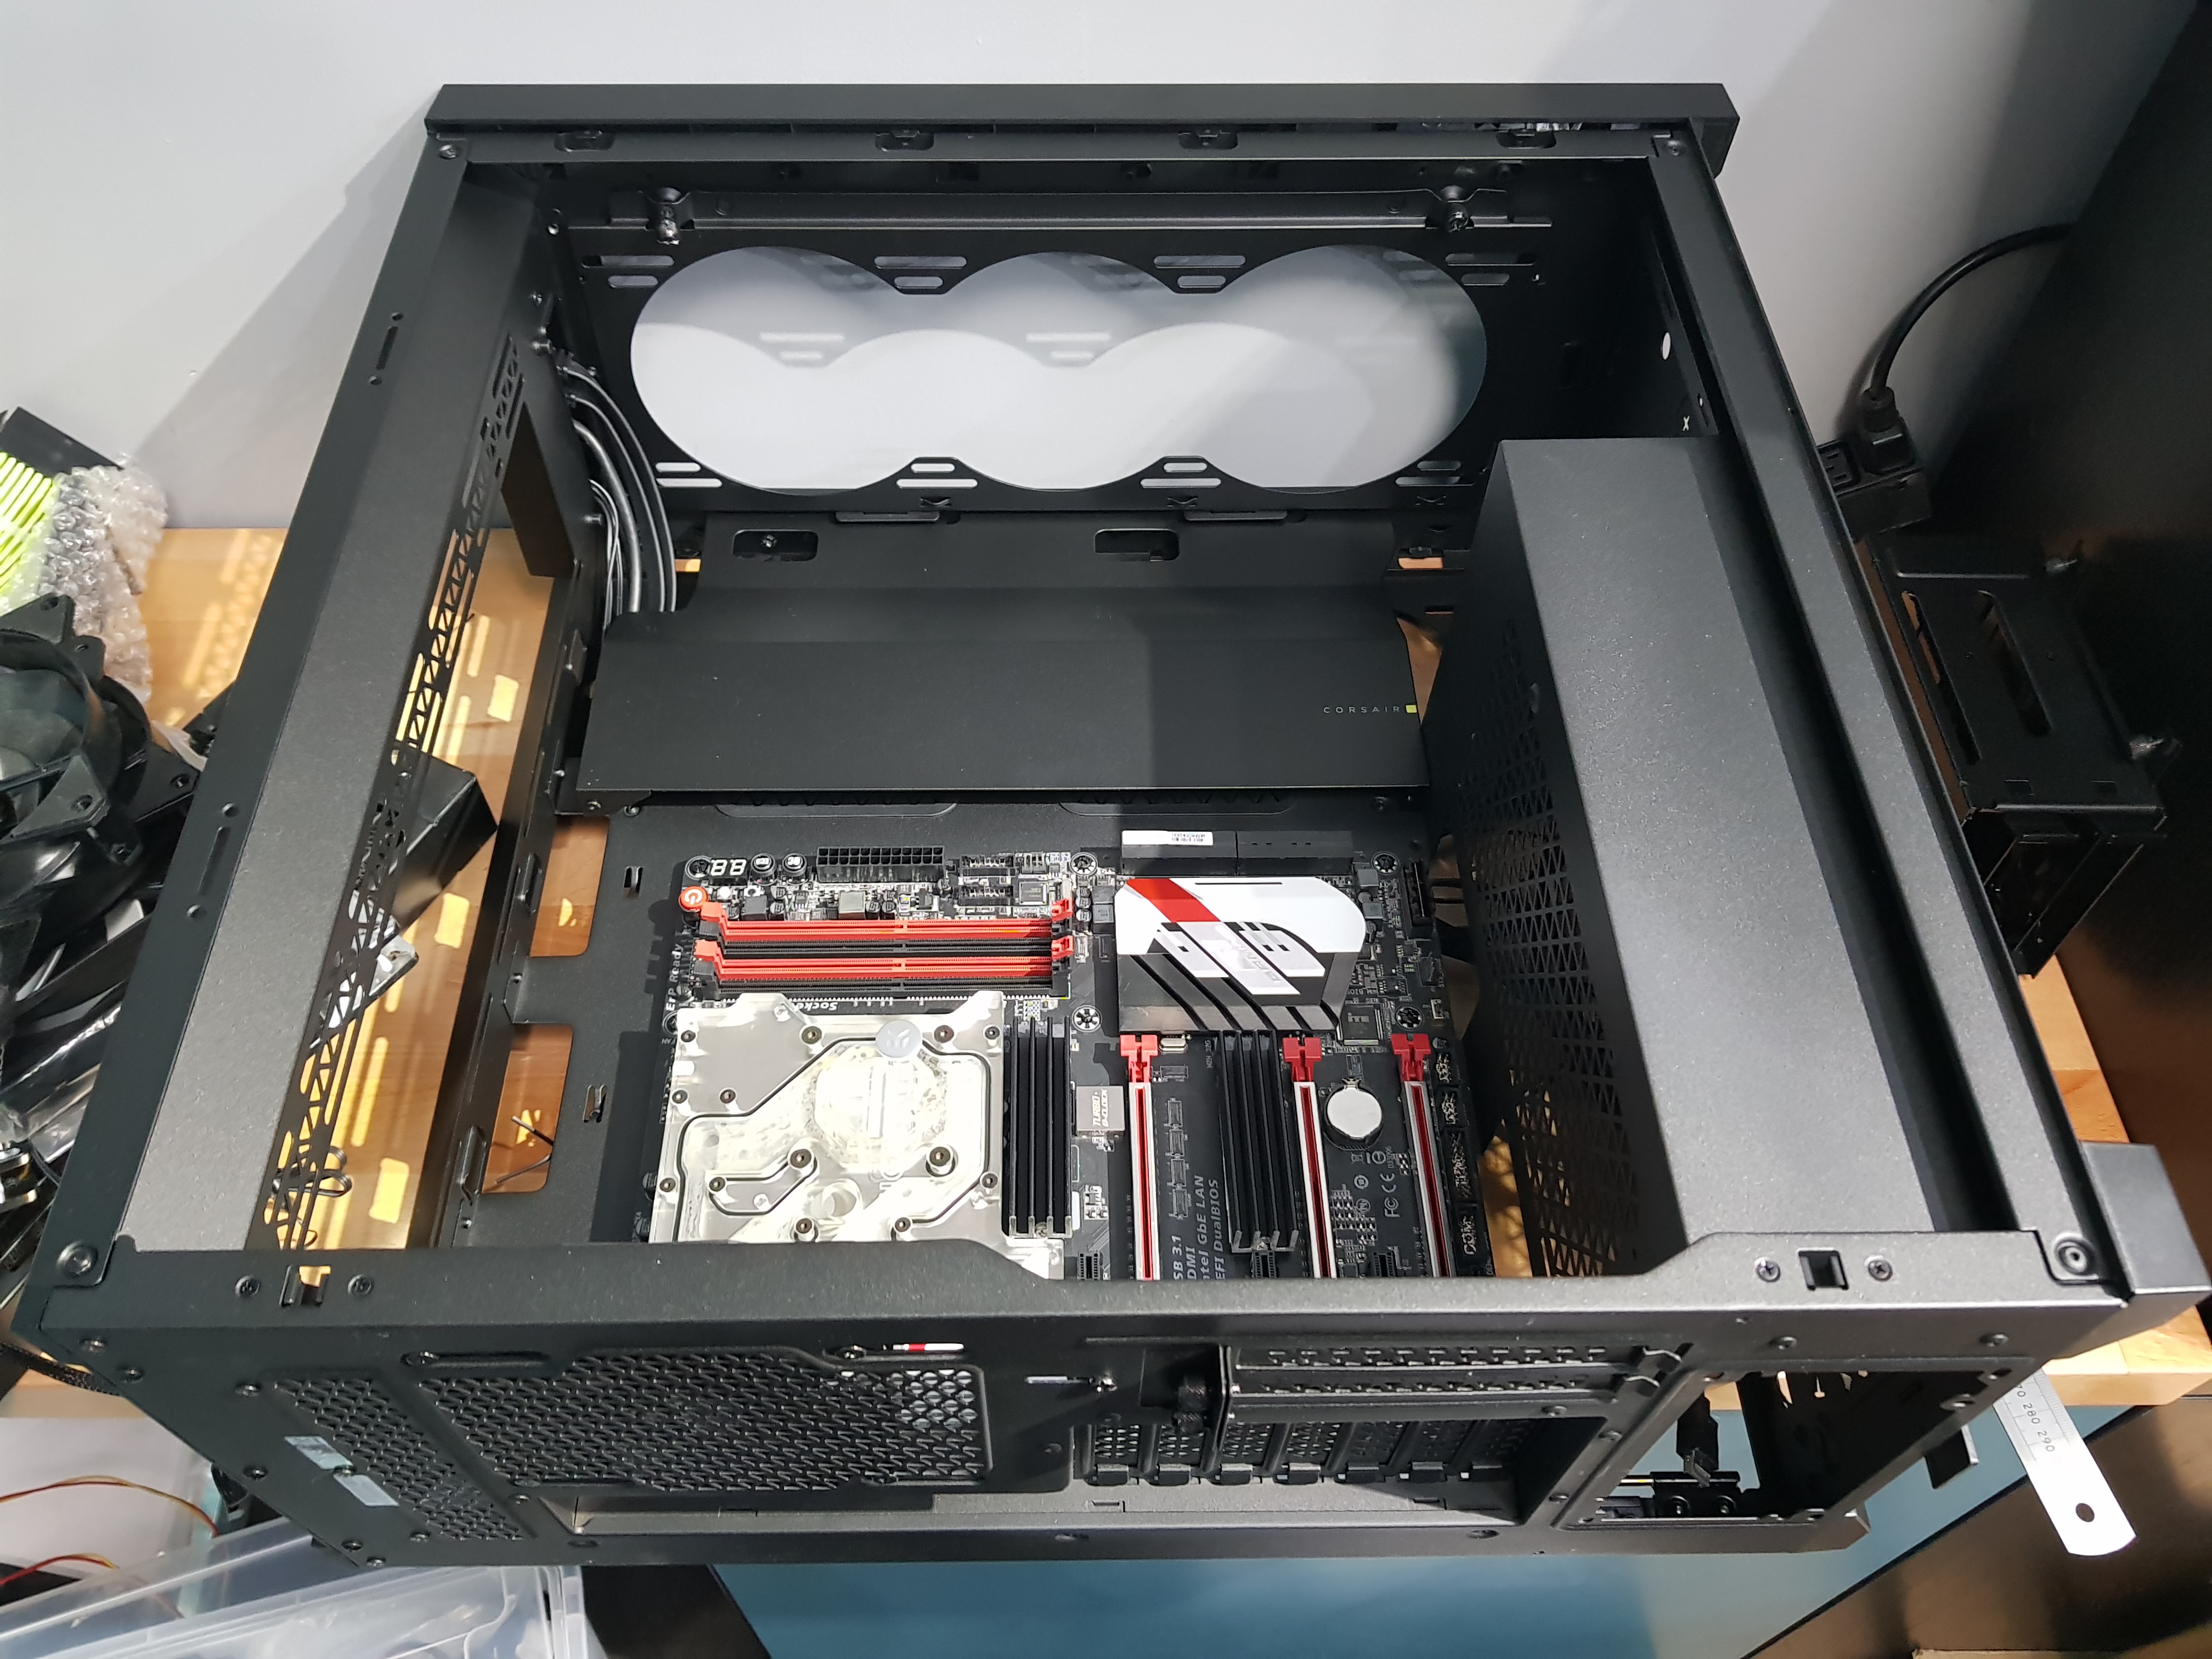
The case was a Black Friday special and actually quite a bit bigger when it arrived than I'd realised. That should just mean more room for rads and building etc.
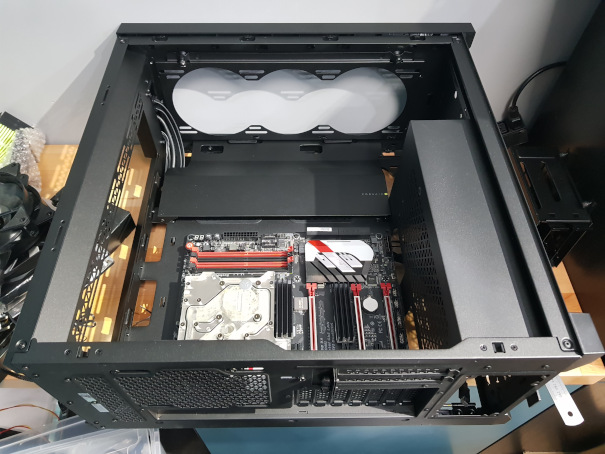
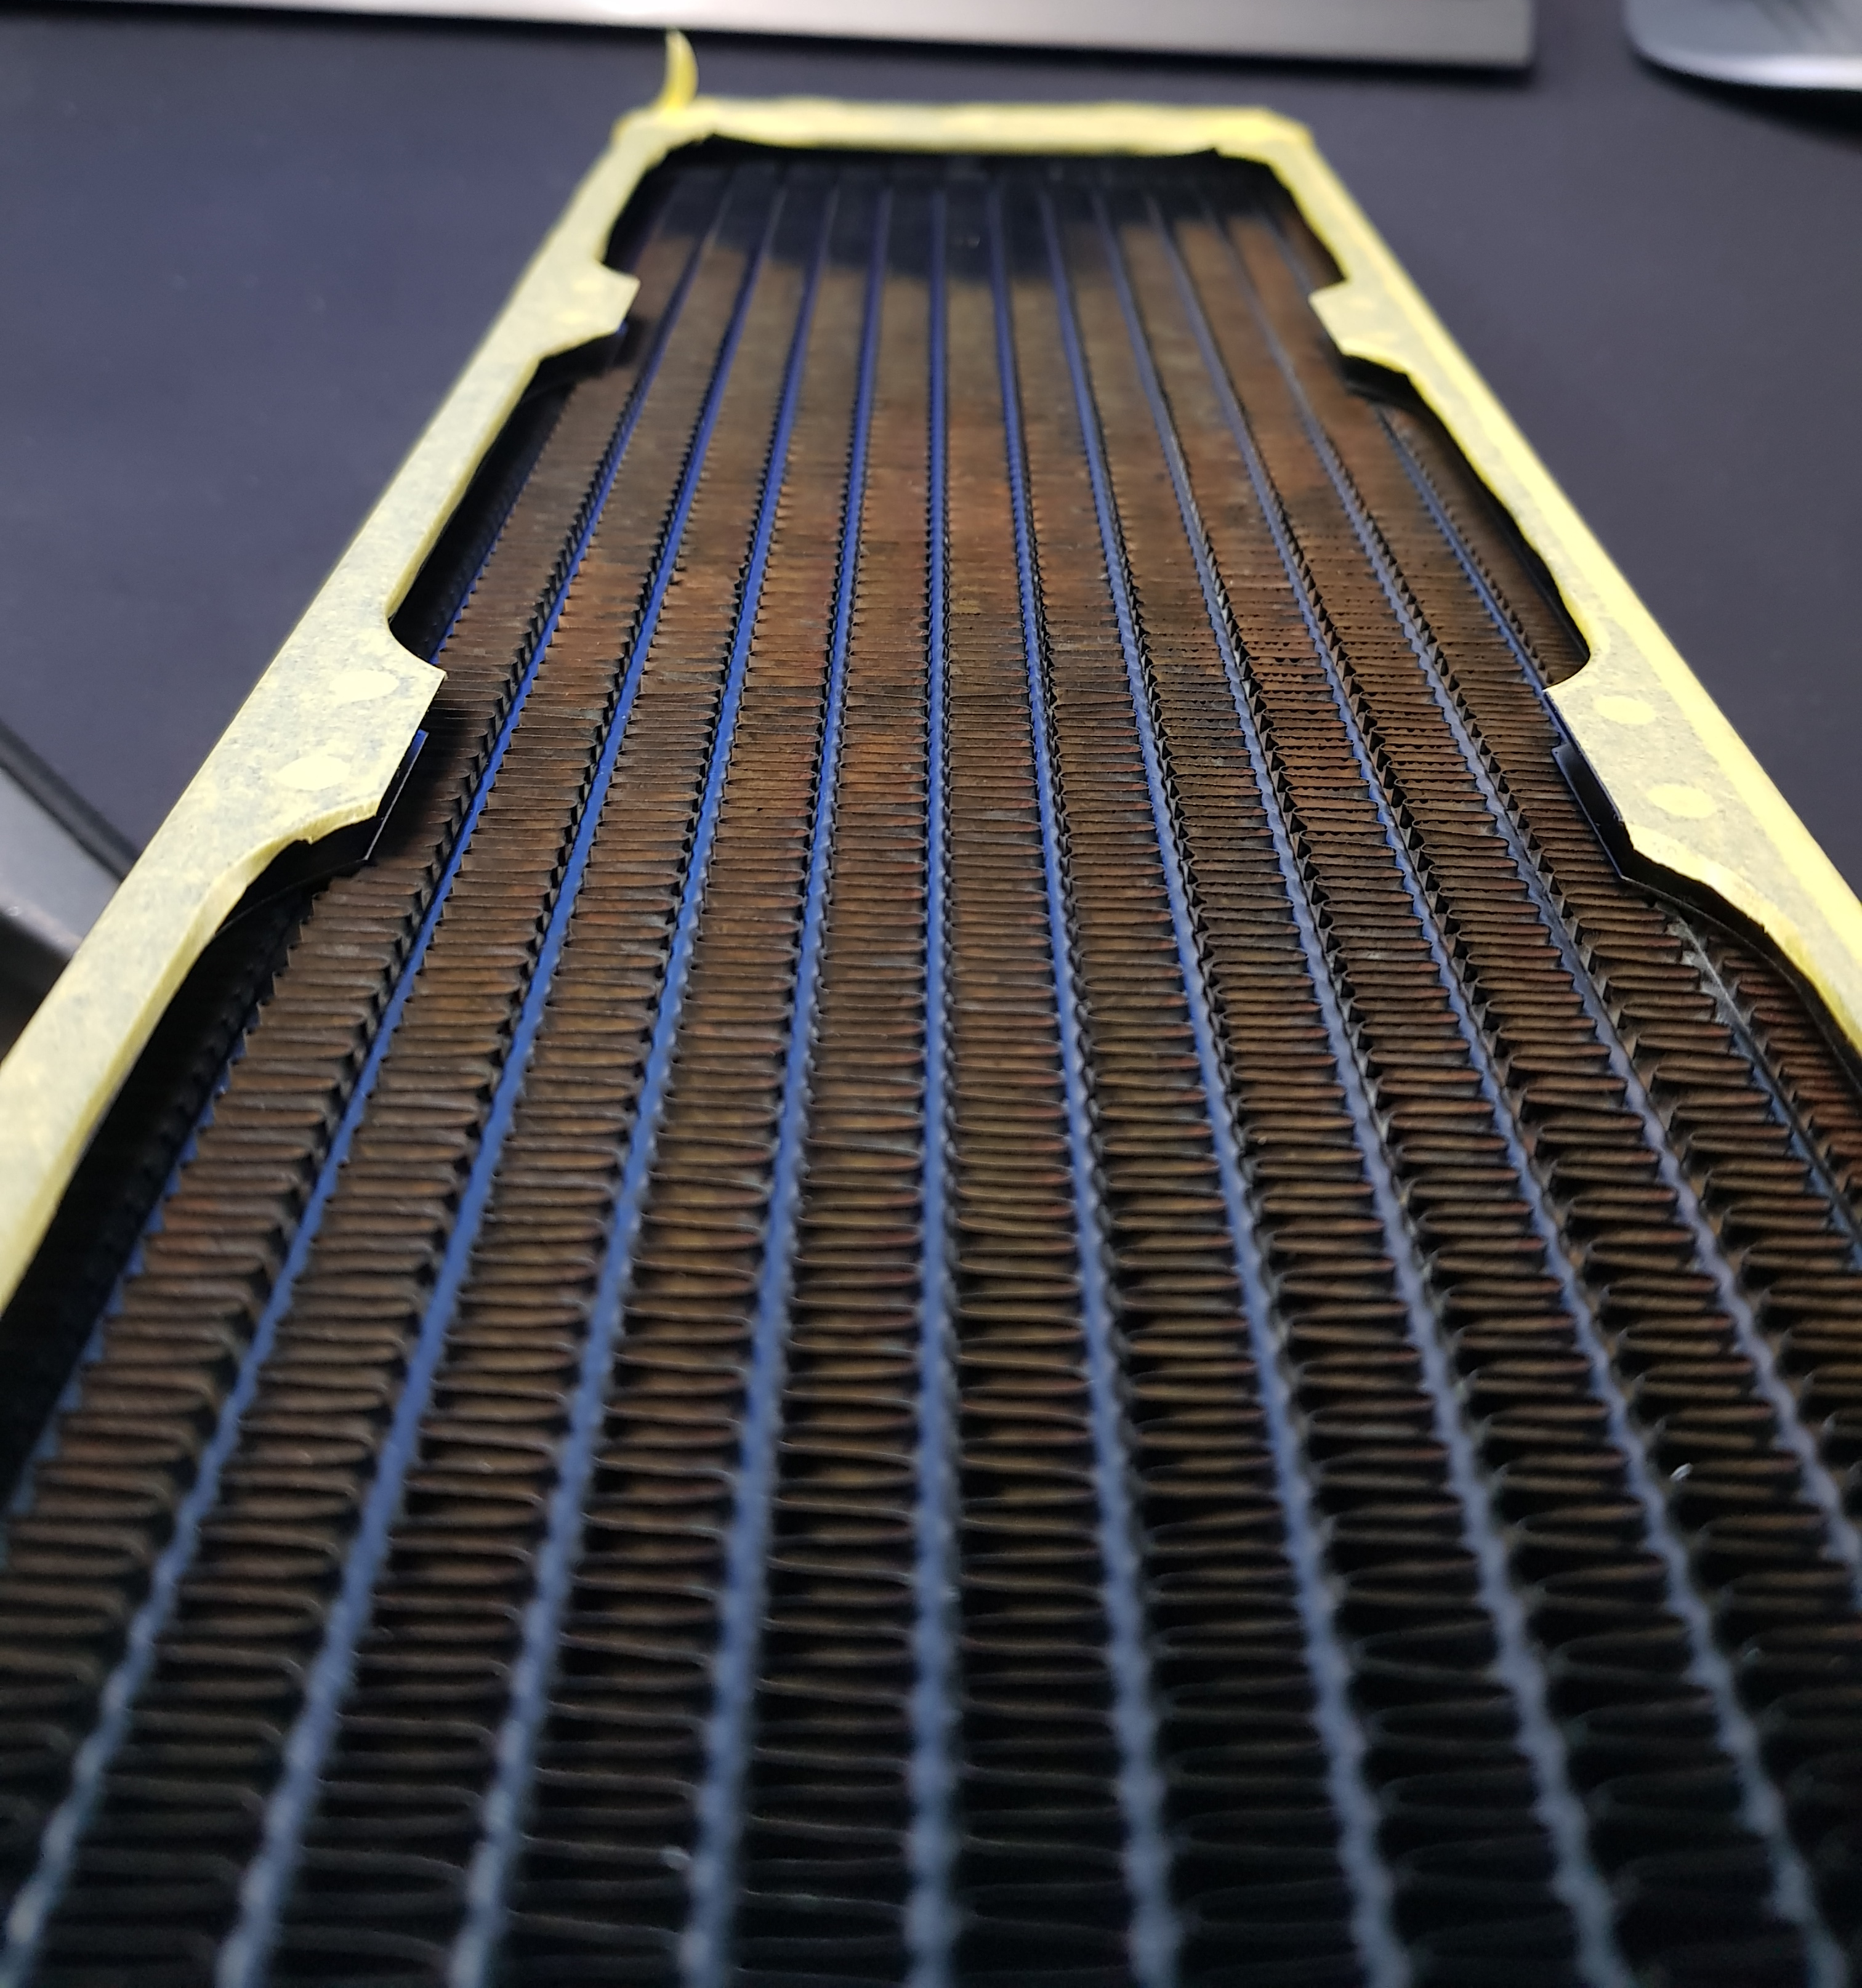
Lots of options for layout and it's all going to go nicely.....oh, the rad doesn't fit in the top (too long and too thick at 39mm), only if you mount it inside and the fans outside in a pull setup. Well, that's got to be the least efficient way of doing it. Also, the rad interferes with the removable side plate (that hides the cables) so you'd have to remove that....which isn't particularly easy, or desirable.
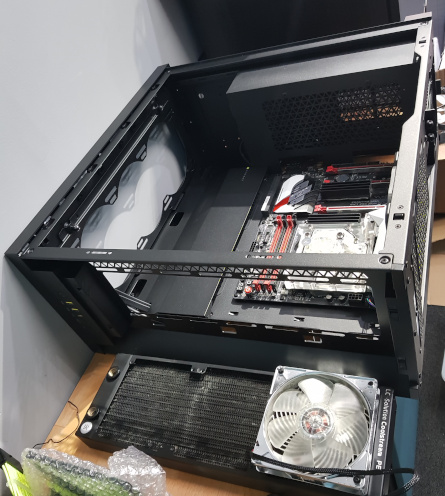
Remove the plate and mount it on the side....the front-to-back airflow is gone, all your motherboard cables are going to be on show and you can't mount a rad on the front too as the two will interfere.
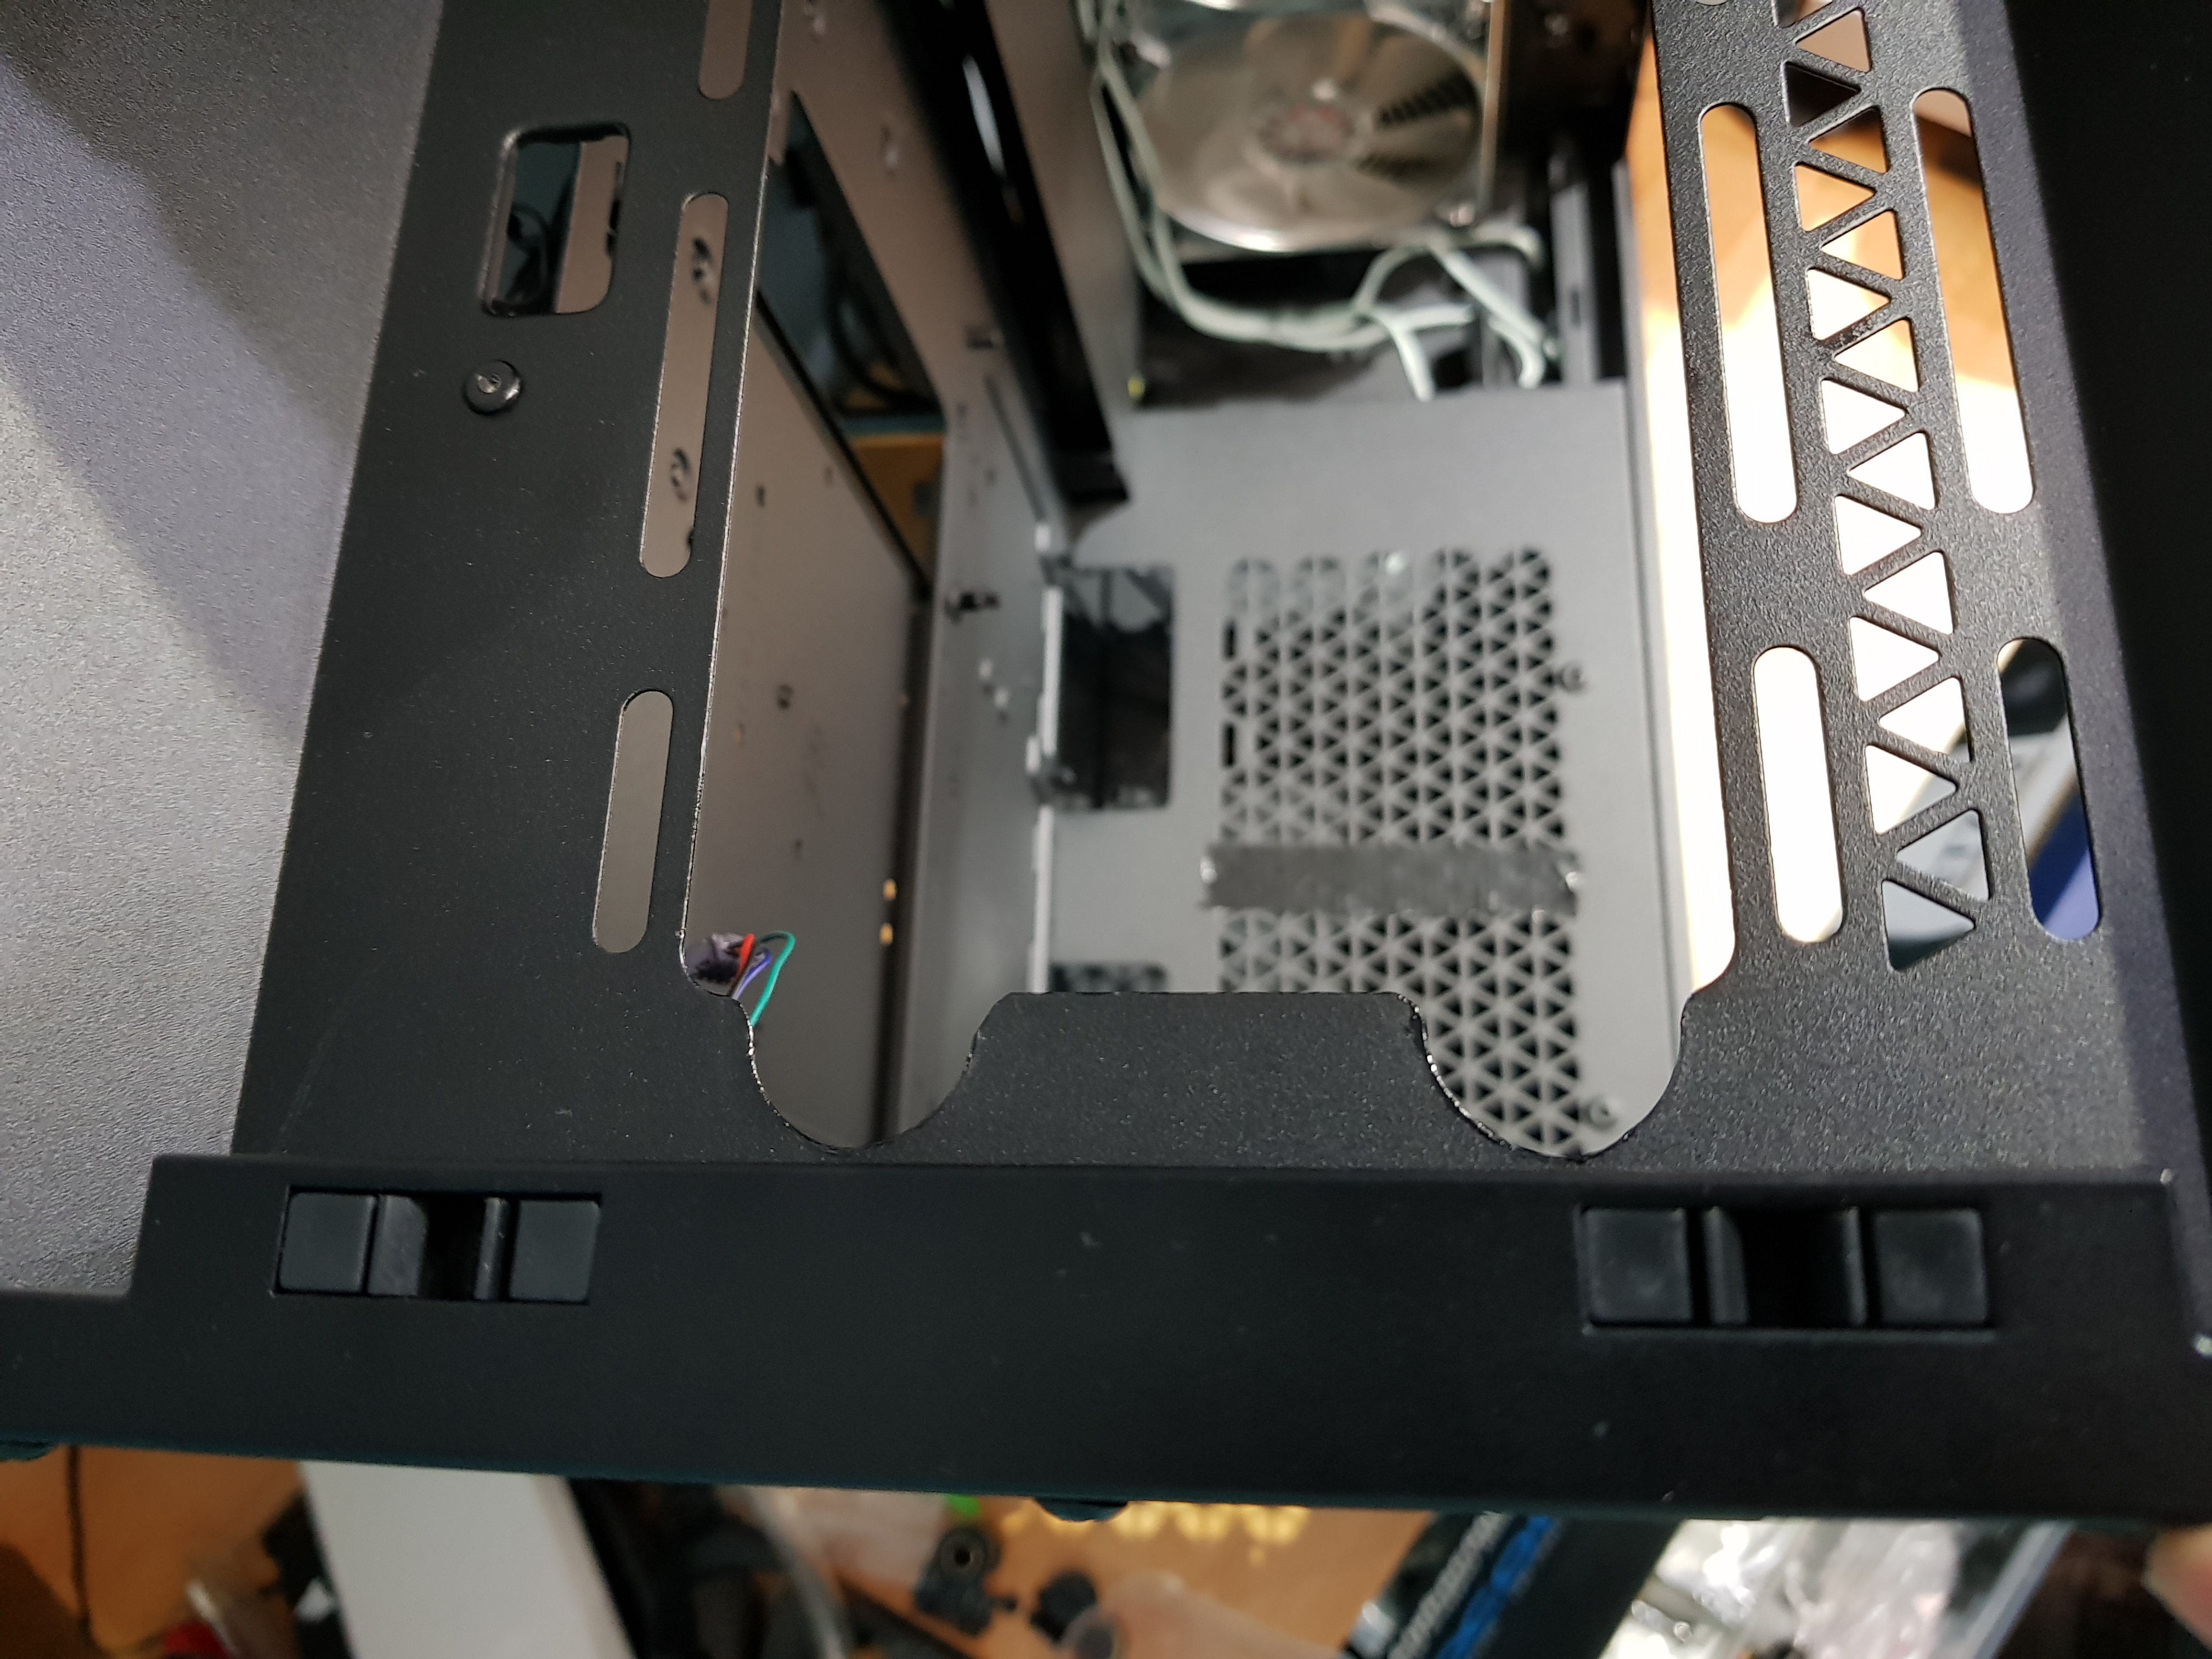
Mount it on the front....the plate is set up for 3x140mm fans so there's a lot of gapping for 3x120. But, if you mount 140s only two fit and the third is out of line. The side plate to hide the cables is also positioned so that it's impossible to get ATX or USB headers through the gap, round and up without kinking the wires horribly. Really odd design choices here by a company that's been around long enough to know better. Ah well, too late to change that so on we go.
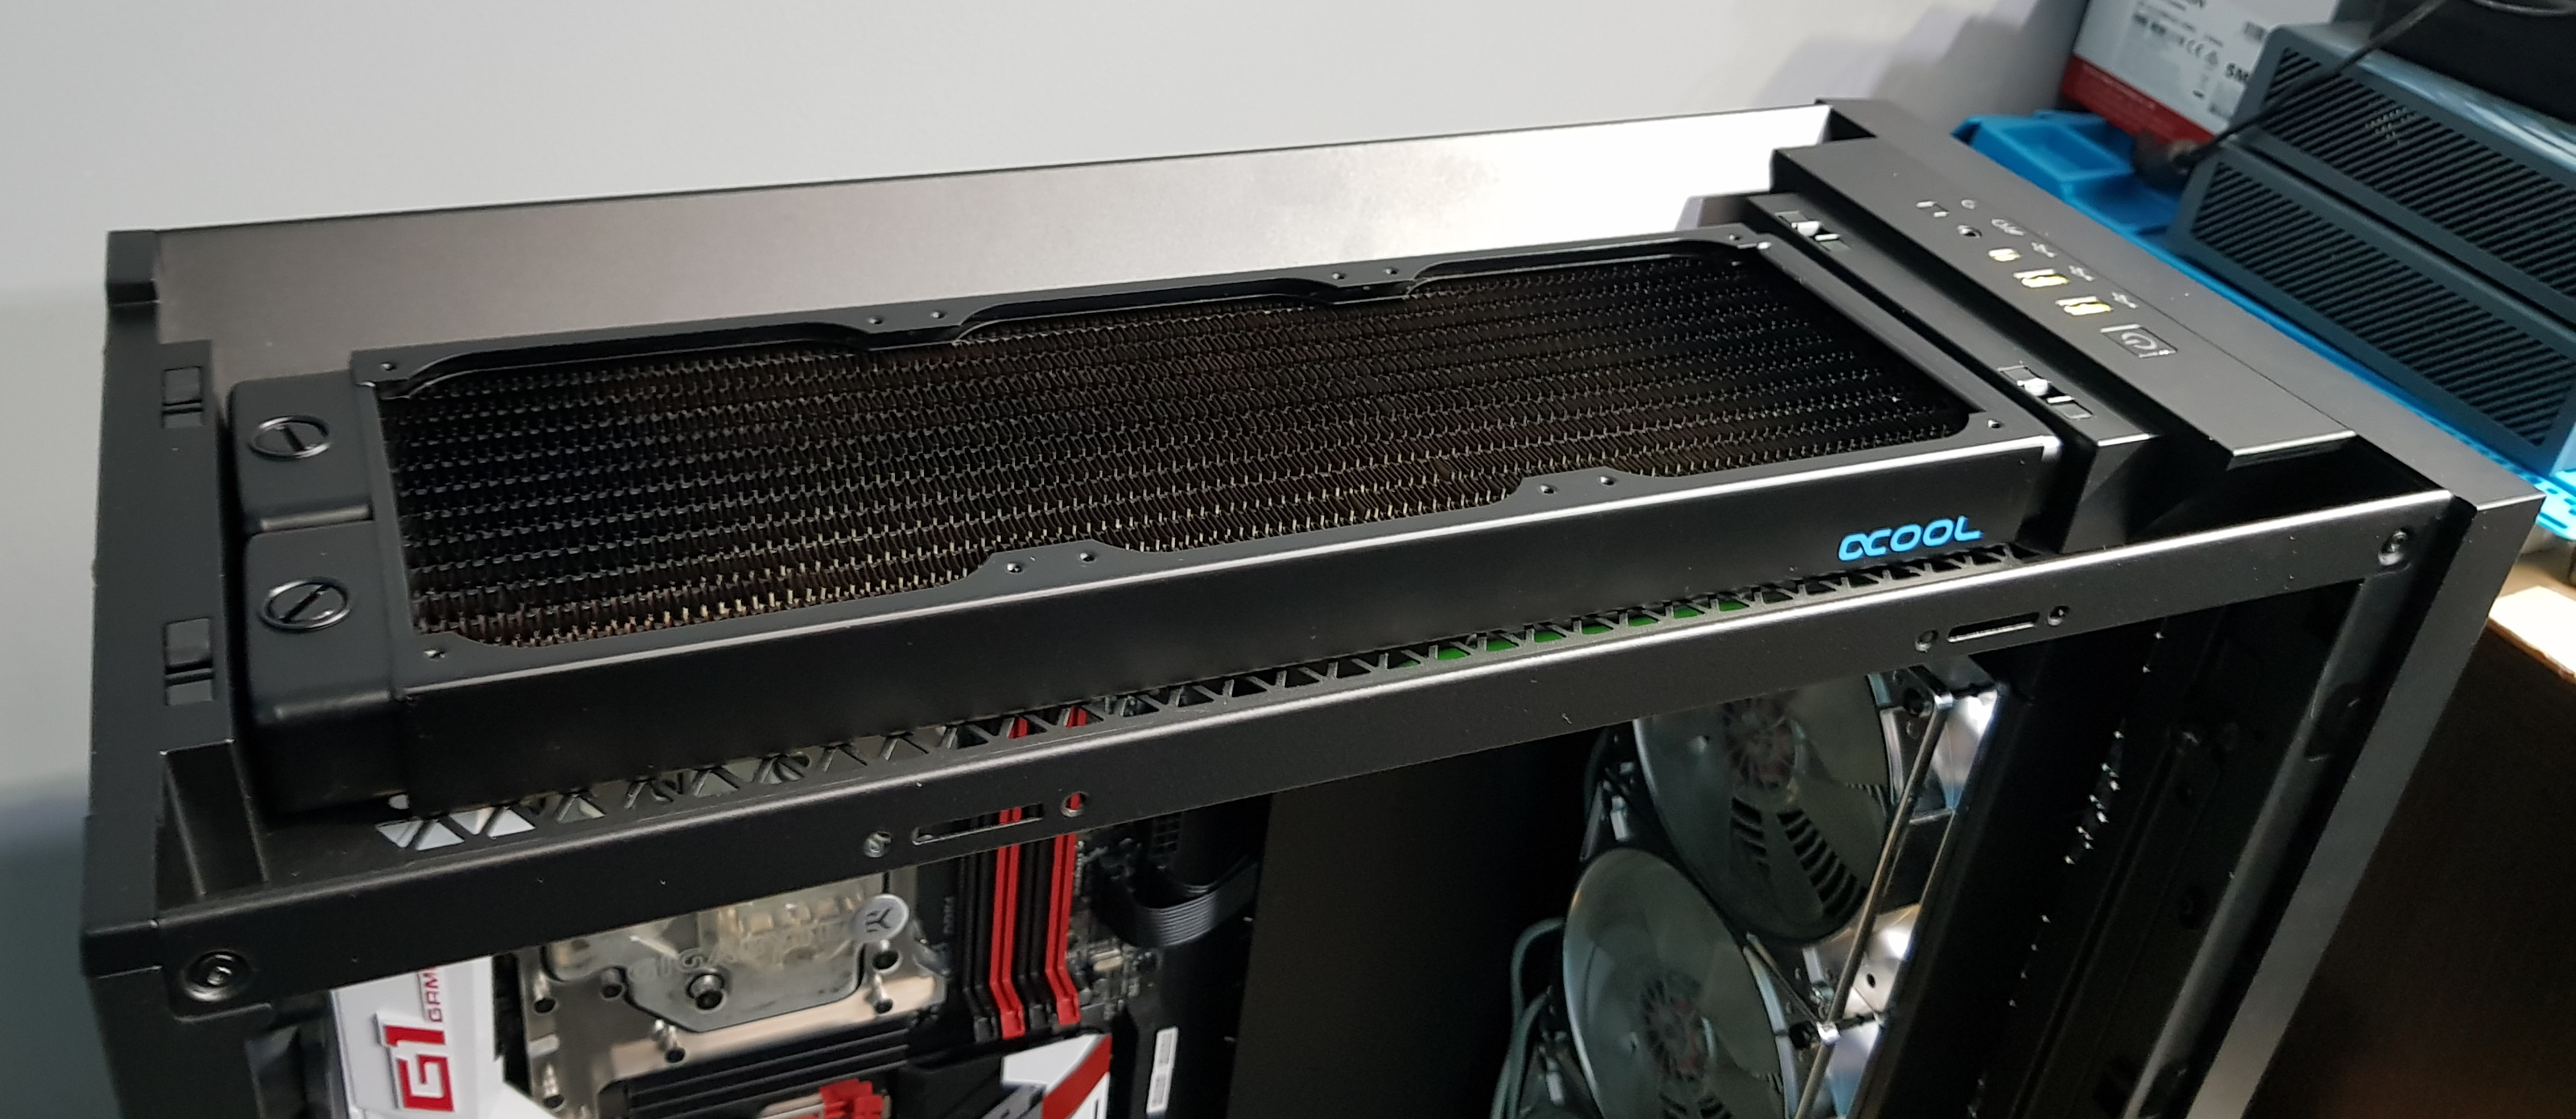
Measuring up, I think that an
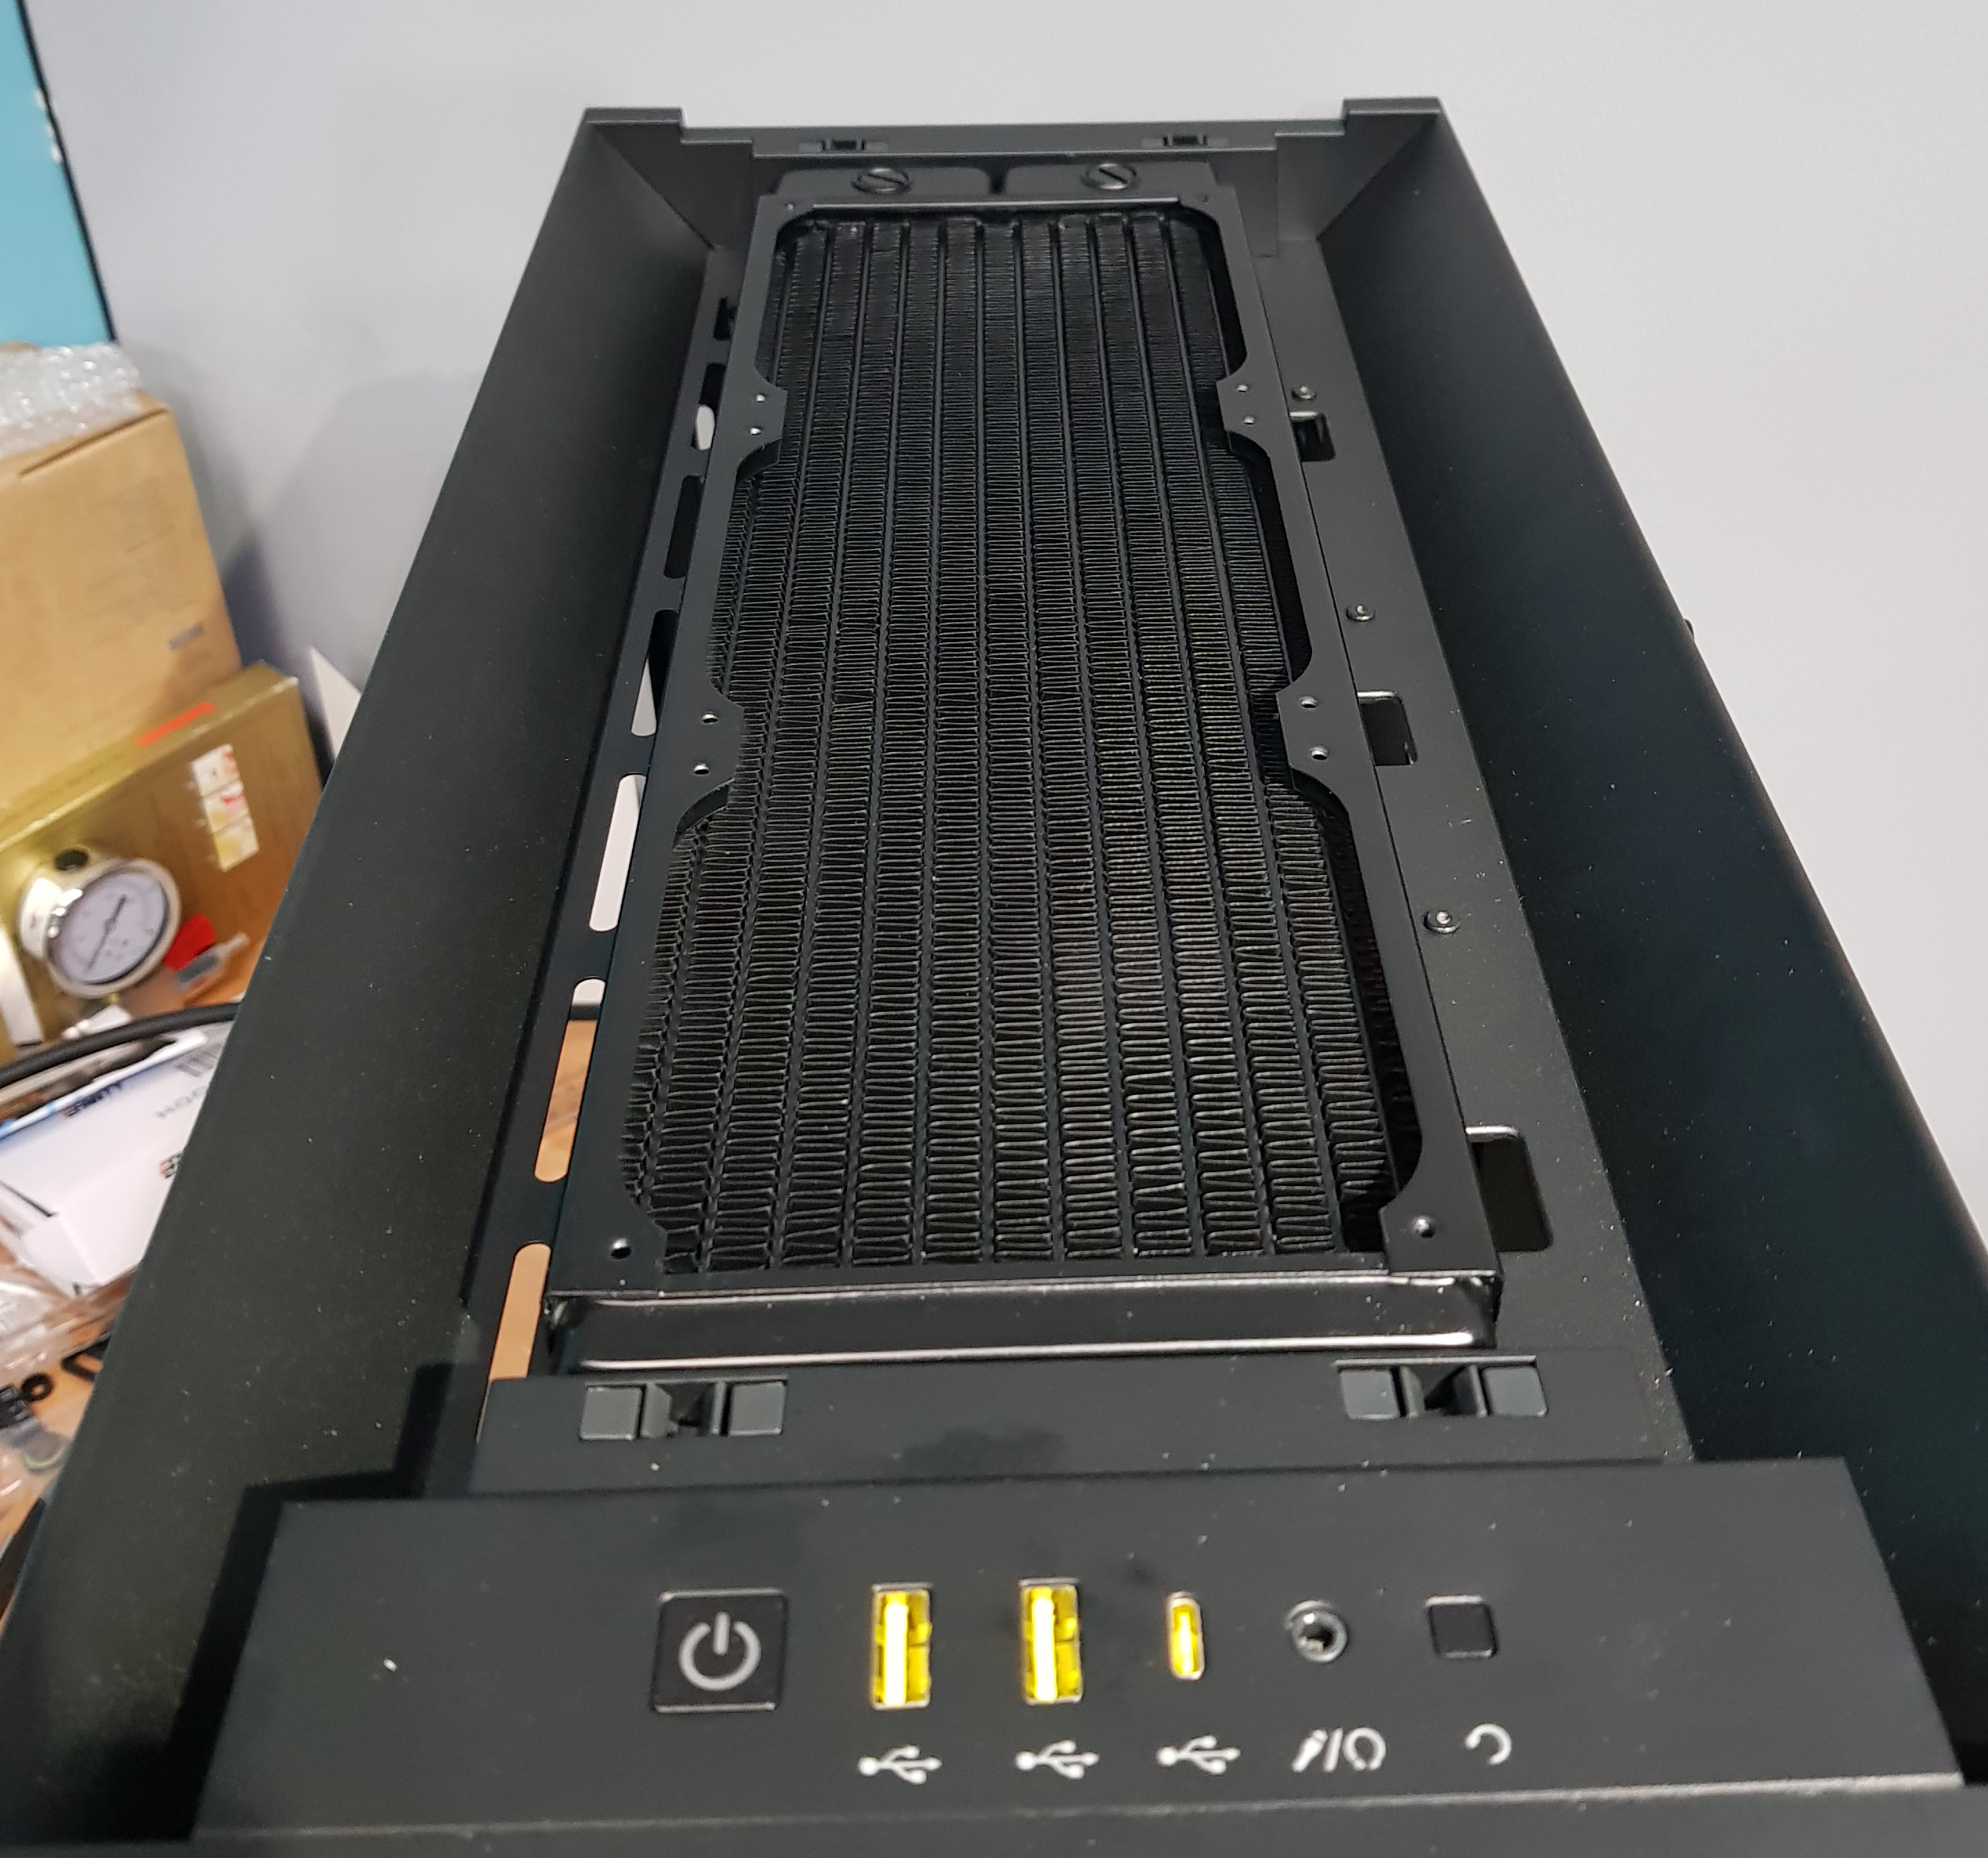
EK SE 360 slim will fit in the top section and still allow the top grill to be fitted. Although I wasn't planning to buy another rad, I'm thinking this might be the best option as it will allow top-vented heat with fans mounted internally in push. Open to opinions I've not thought of though - nothing's ordered yet! I could also go 140s and I would if 3x140 fitted...but it doesn't and I think that 3x120 is going to be more rad than 2x140.
The other 360 rad can then go in the front and we should get some some sort of front to back/top flow then.
Next issue that I'm over-thinking - you'll get accustomed to that before the end of this! On this board, all the ATX and USB3 headers are pointing straight up. That means they're going to look ugly if just plugged in. I've ordered some USB3 ribbon cable header extensions which should sort that easily.
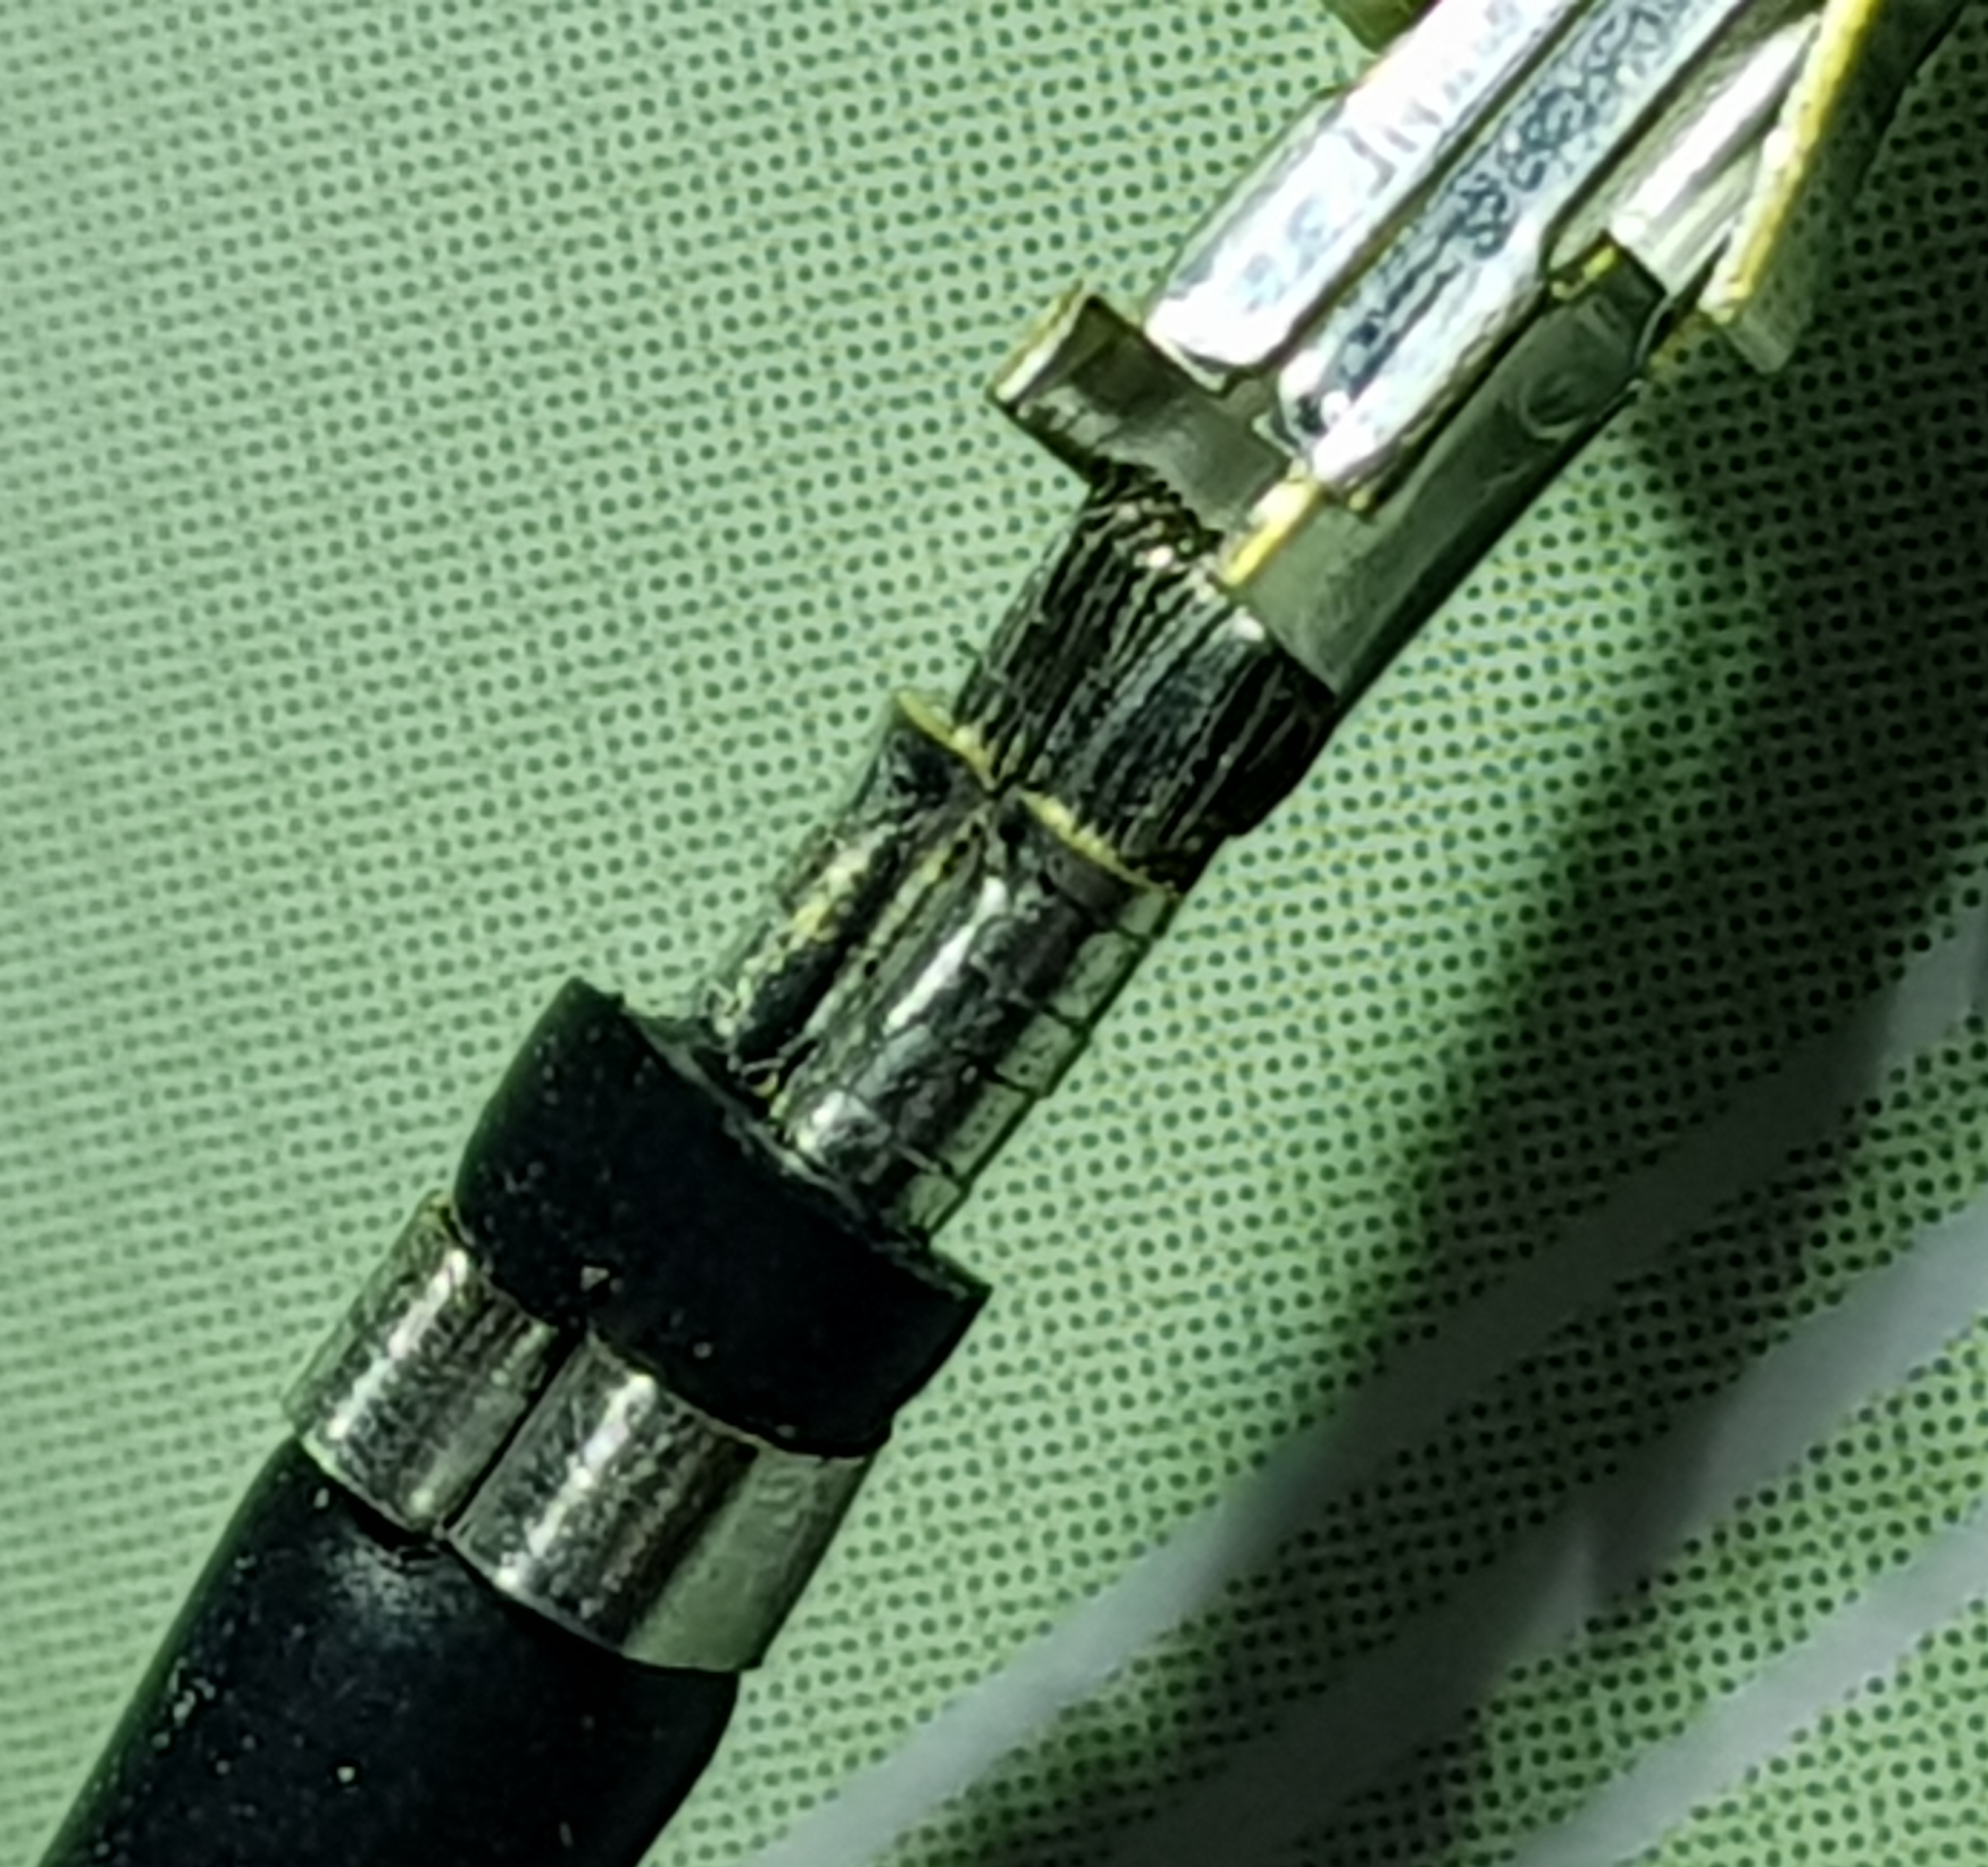
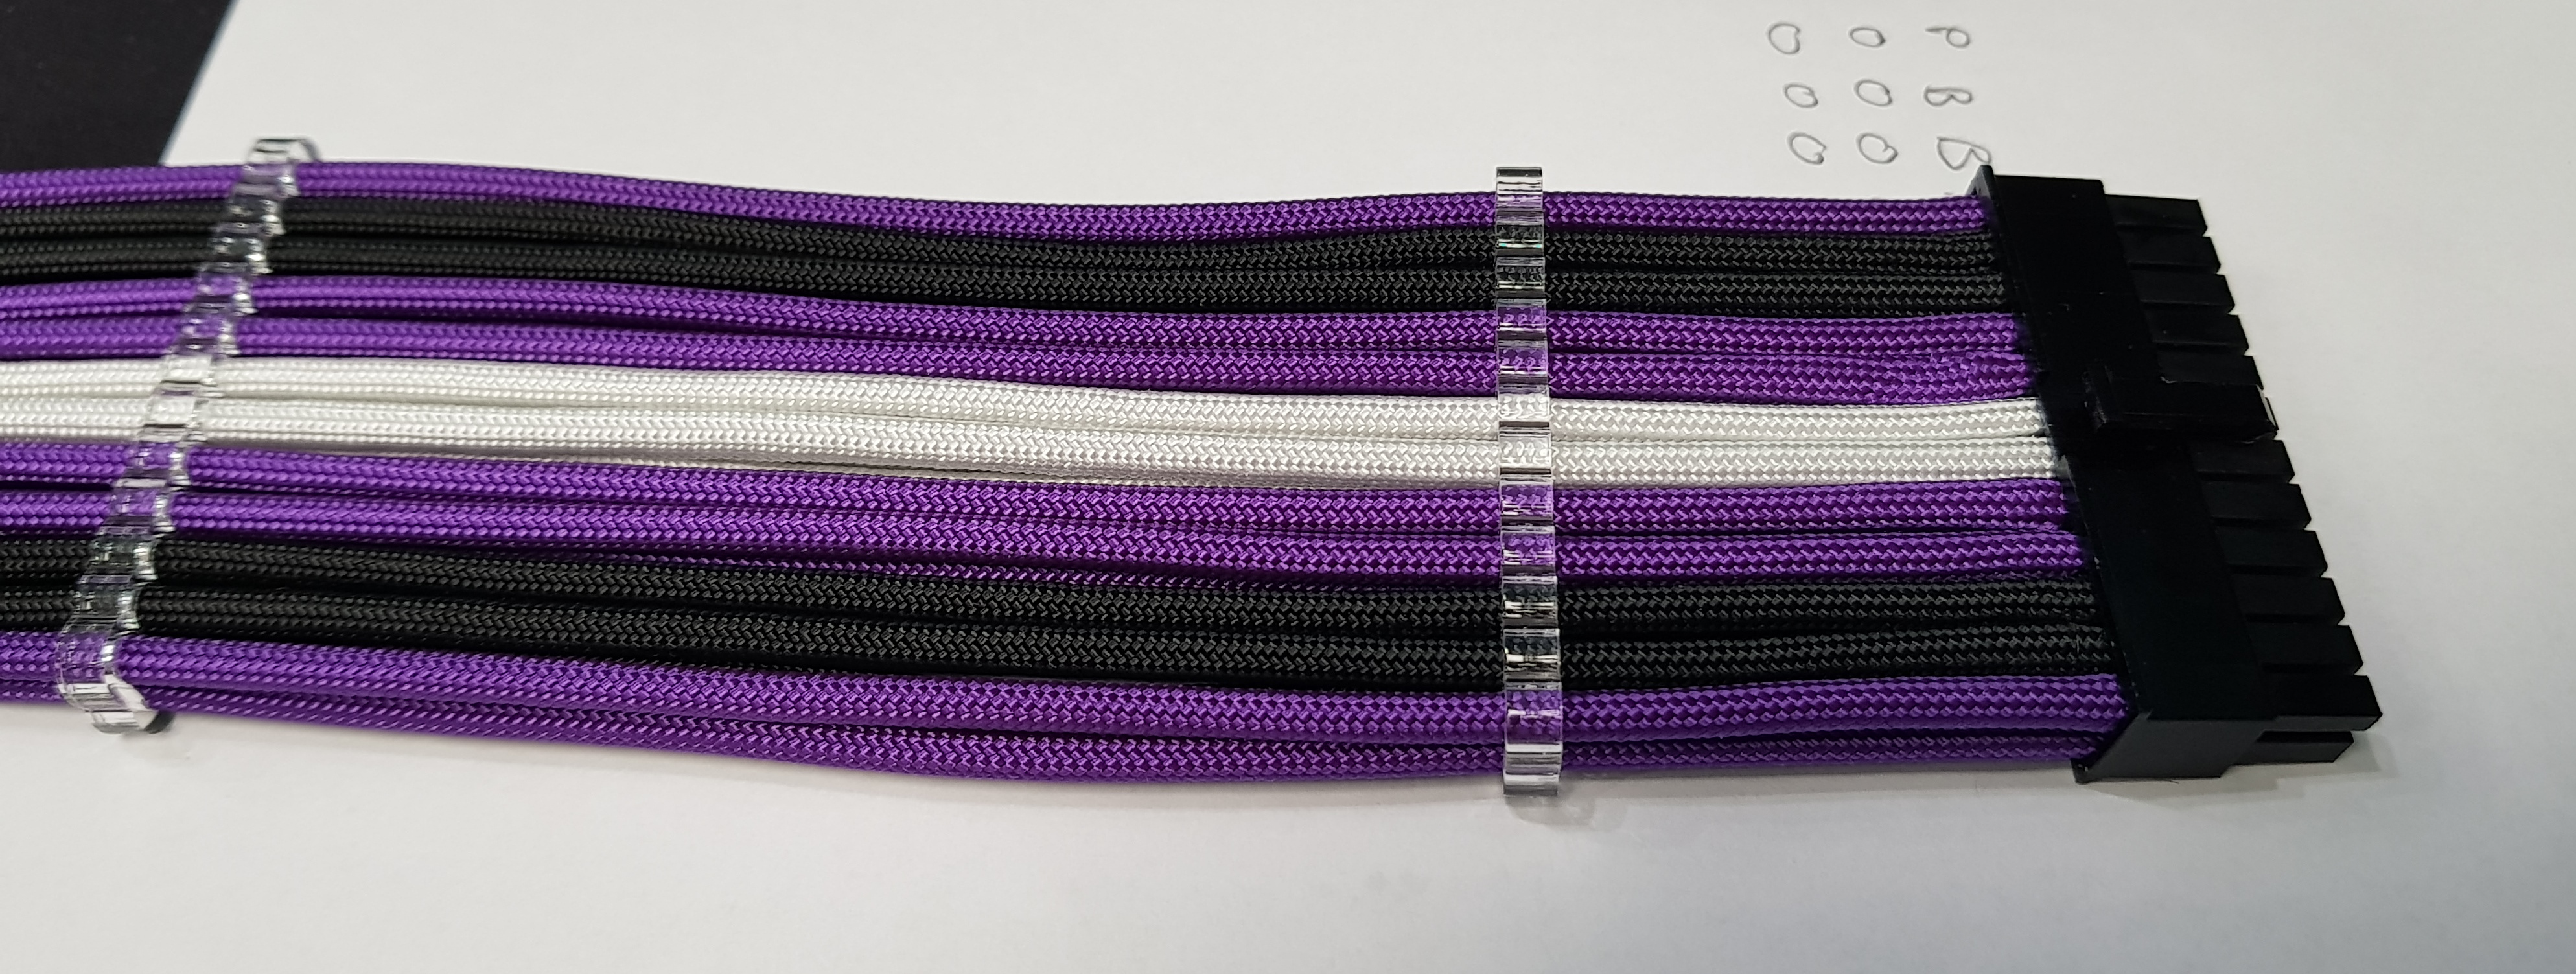
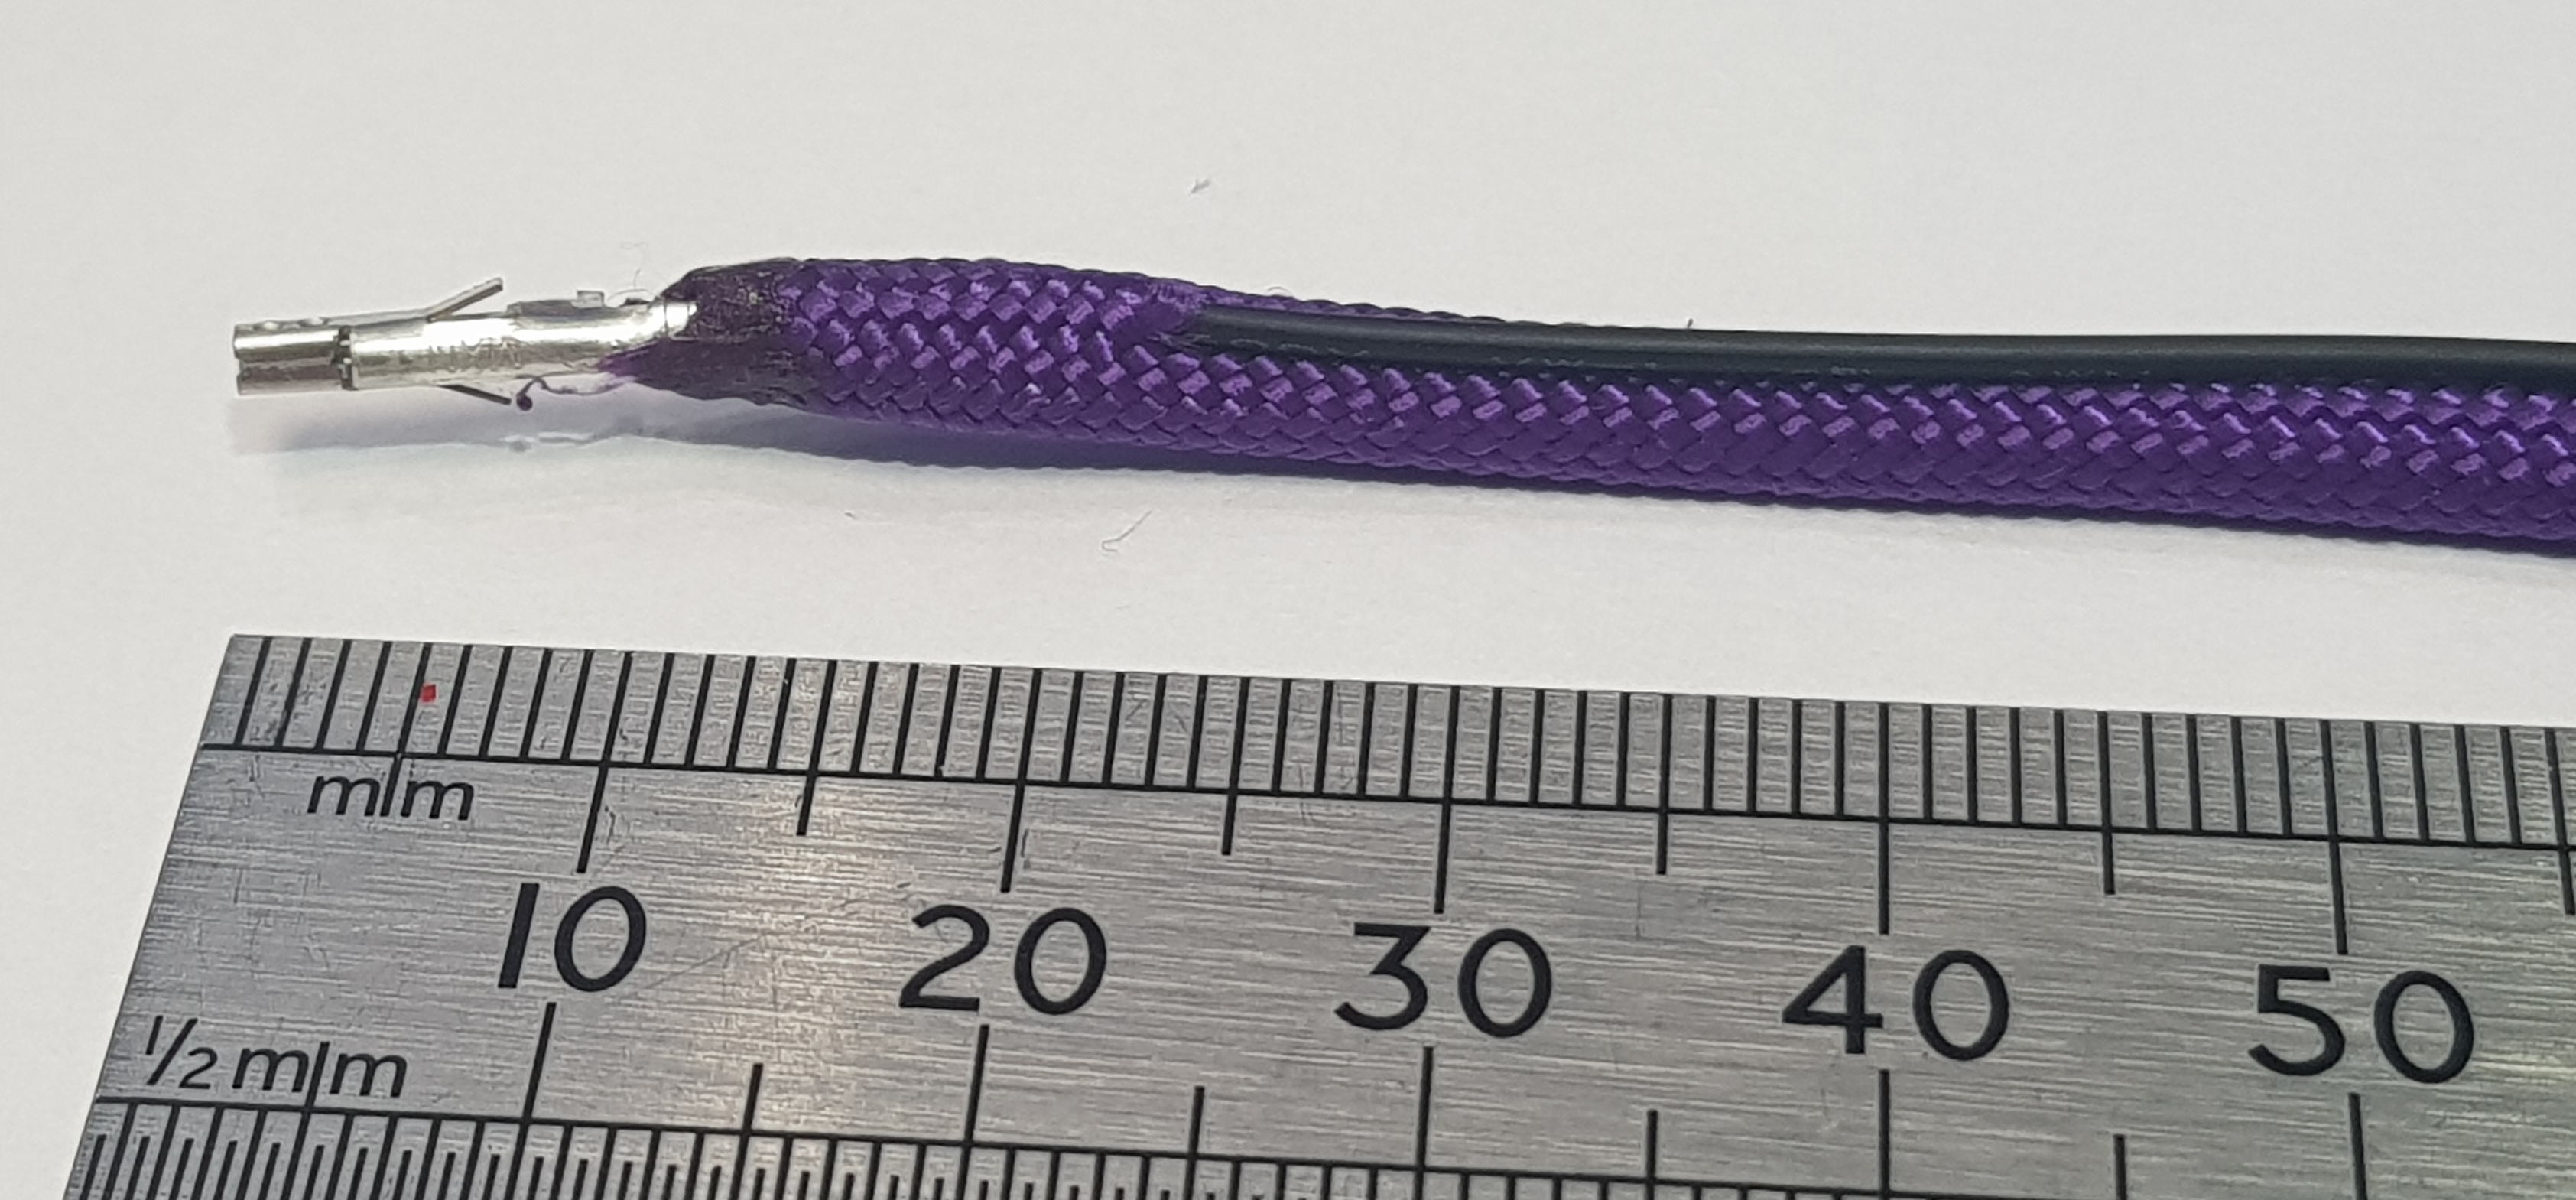
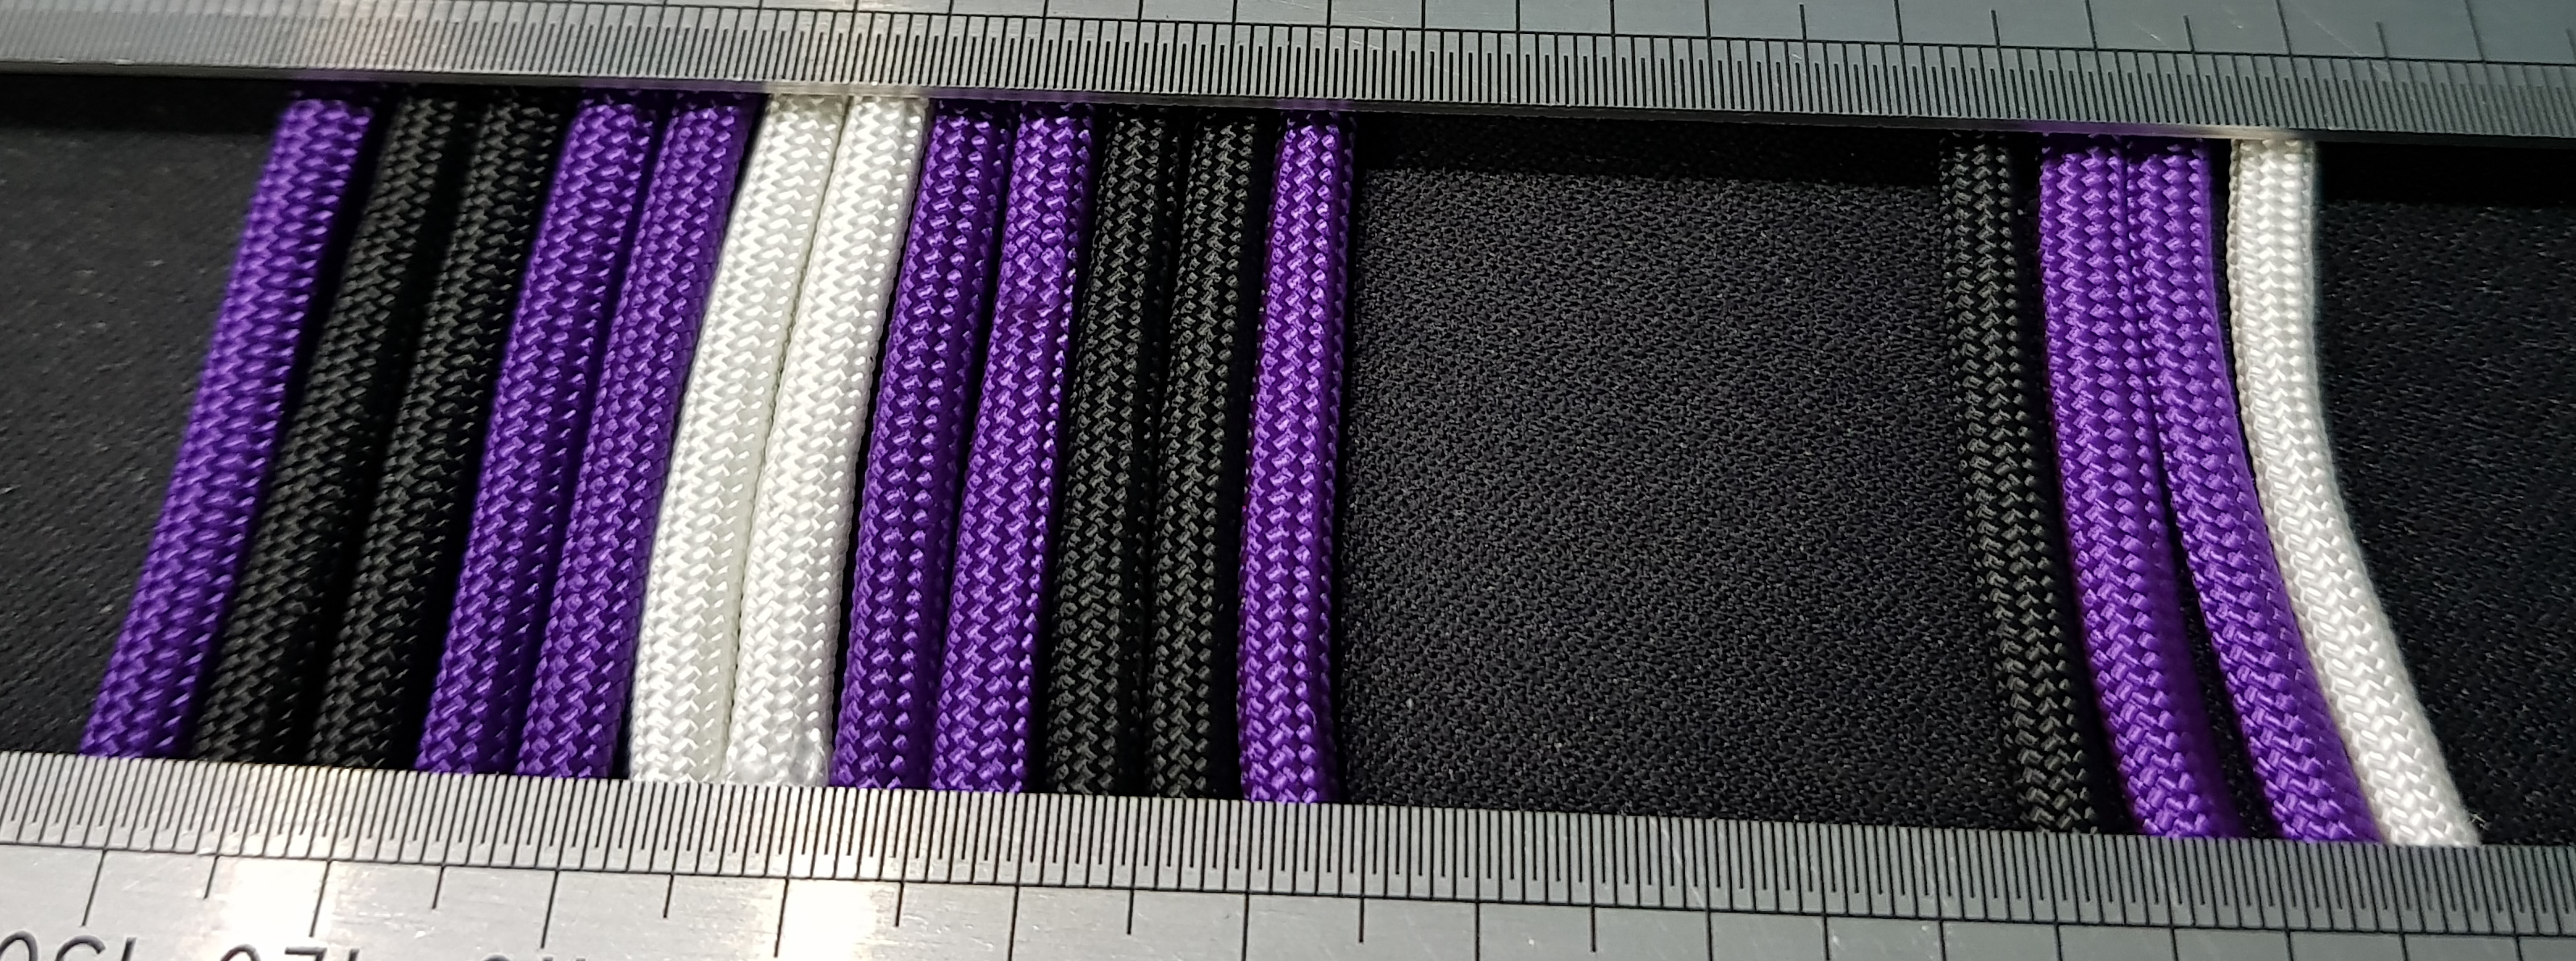
The ATX cable is more of an issue. There isn't enough room to install the nice low-profile 90° adaptor I found and the bend all the way back on itself and then 90° to go under the panel is just too much for a stiff cable like the pre-sleeved extensions I have. I was thinking of just making up a custom cable using silicone-insulated wire that's really flexible and sleeved in 550 paracord. Trouble is, the SuperFlower Leadex Gold that's available uses really oddball connector shells that I can't (easily) find and also uses a bunch of sense wires to make life difficult in that department. It's also white - it was cheaper at the time by a significant amount and going in a case without a window. So my theory at the moment is a
BeQuiet Straight Power 11 650W Gold as it seems - as far as I can tell - to be a standard ATX connector and hopefully straight-through wiring. This part, it would be very helpful if people can share any experience they have or suggestions of better choices of PSU (without a silly pricetag though).
The plan at the moment is for RGB lighting. There are 5mm holes drilled in the monoblock for individual RGB LEDs that I can make up. The 980Ti either has the same or can do quite easily - have drill, will cause trouble! There might be a Farbwerk being donated to this build so that'll control the lighting as the motherboard doesn't have any. Should be able to hide that away in the bottom of the case easily enough. I may also pull the Aquaero off the old case and maybe mount that in something 3D printed as there aren't any 5.25" bays in this case.
He's getting into gaming and currently he's on the cobbled-together cast-offs that served as my wife's work PC. The motherboard is older than pictured and the PSU is different but you get the gist:
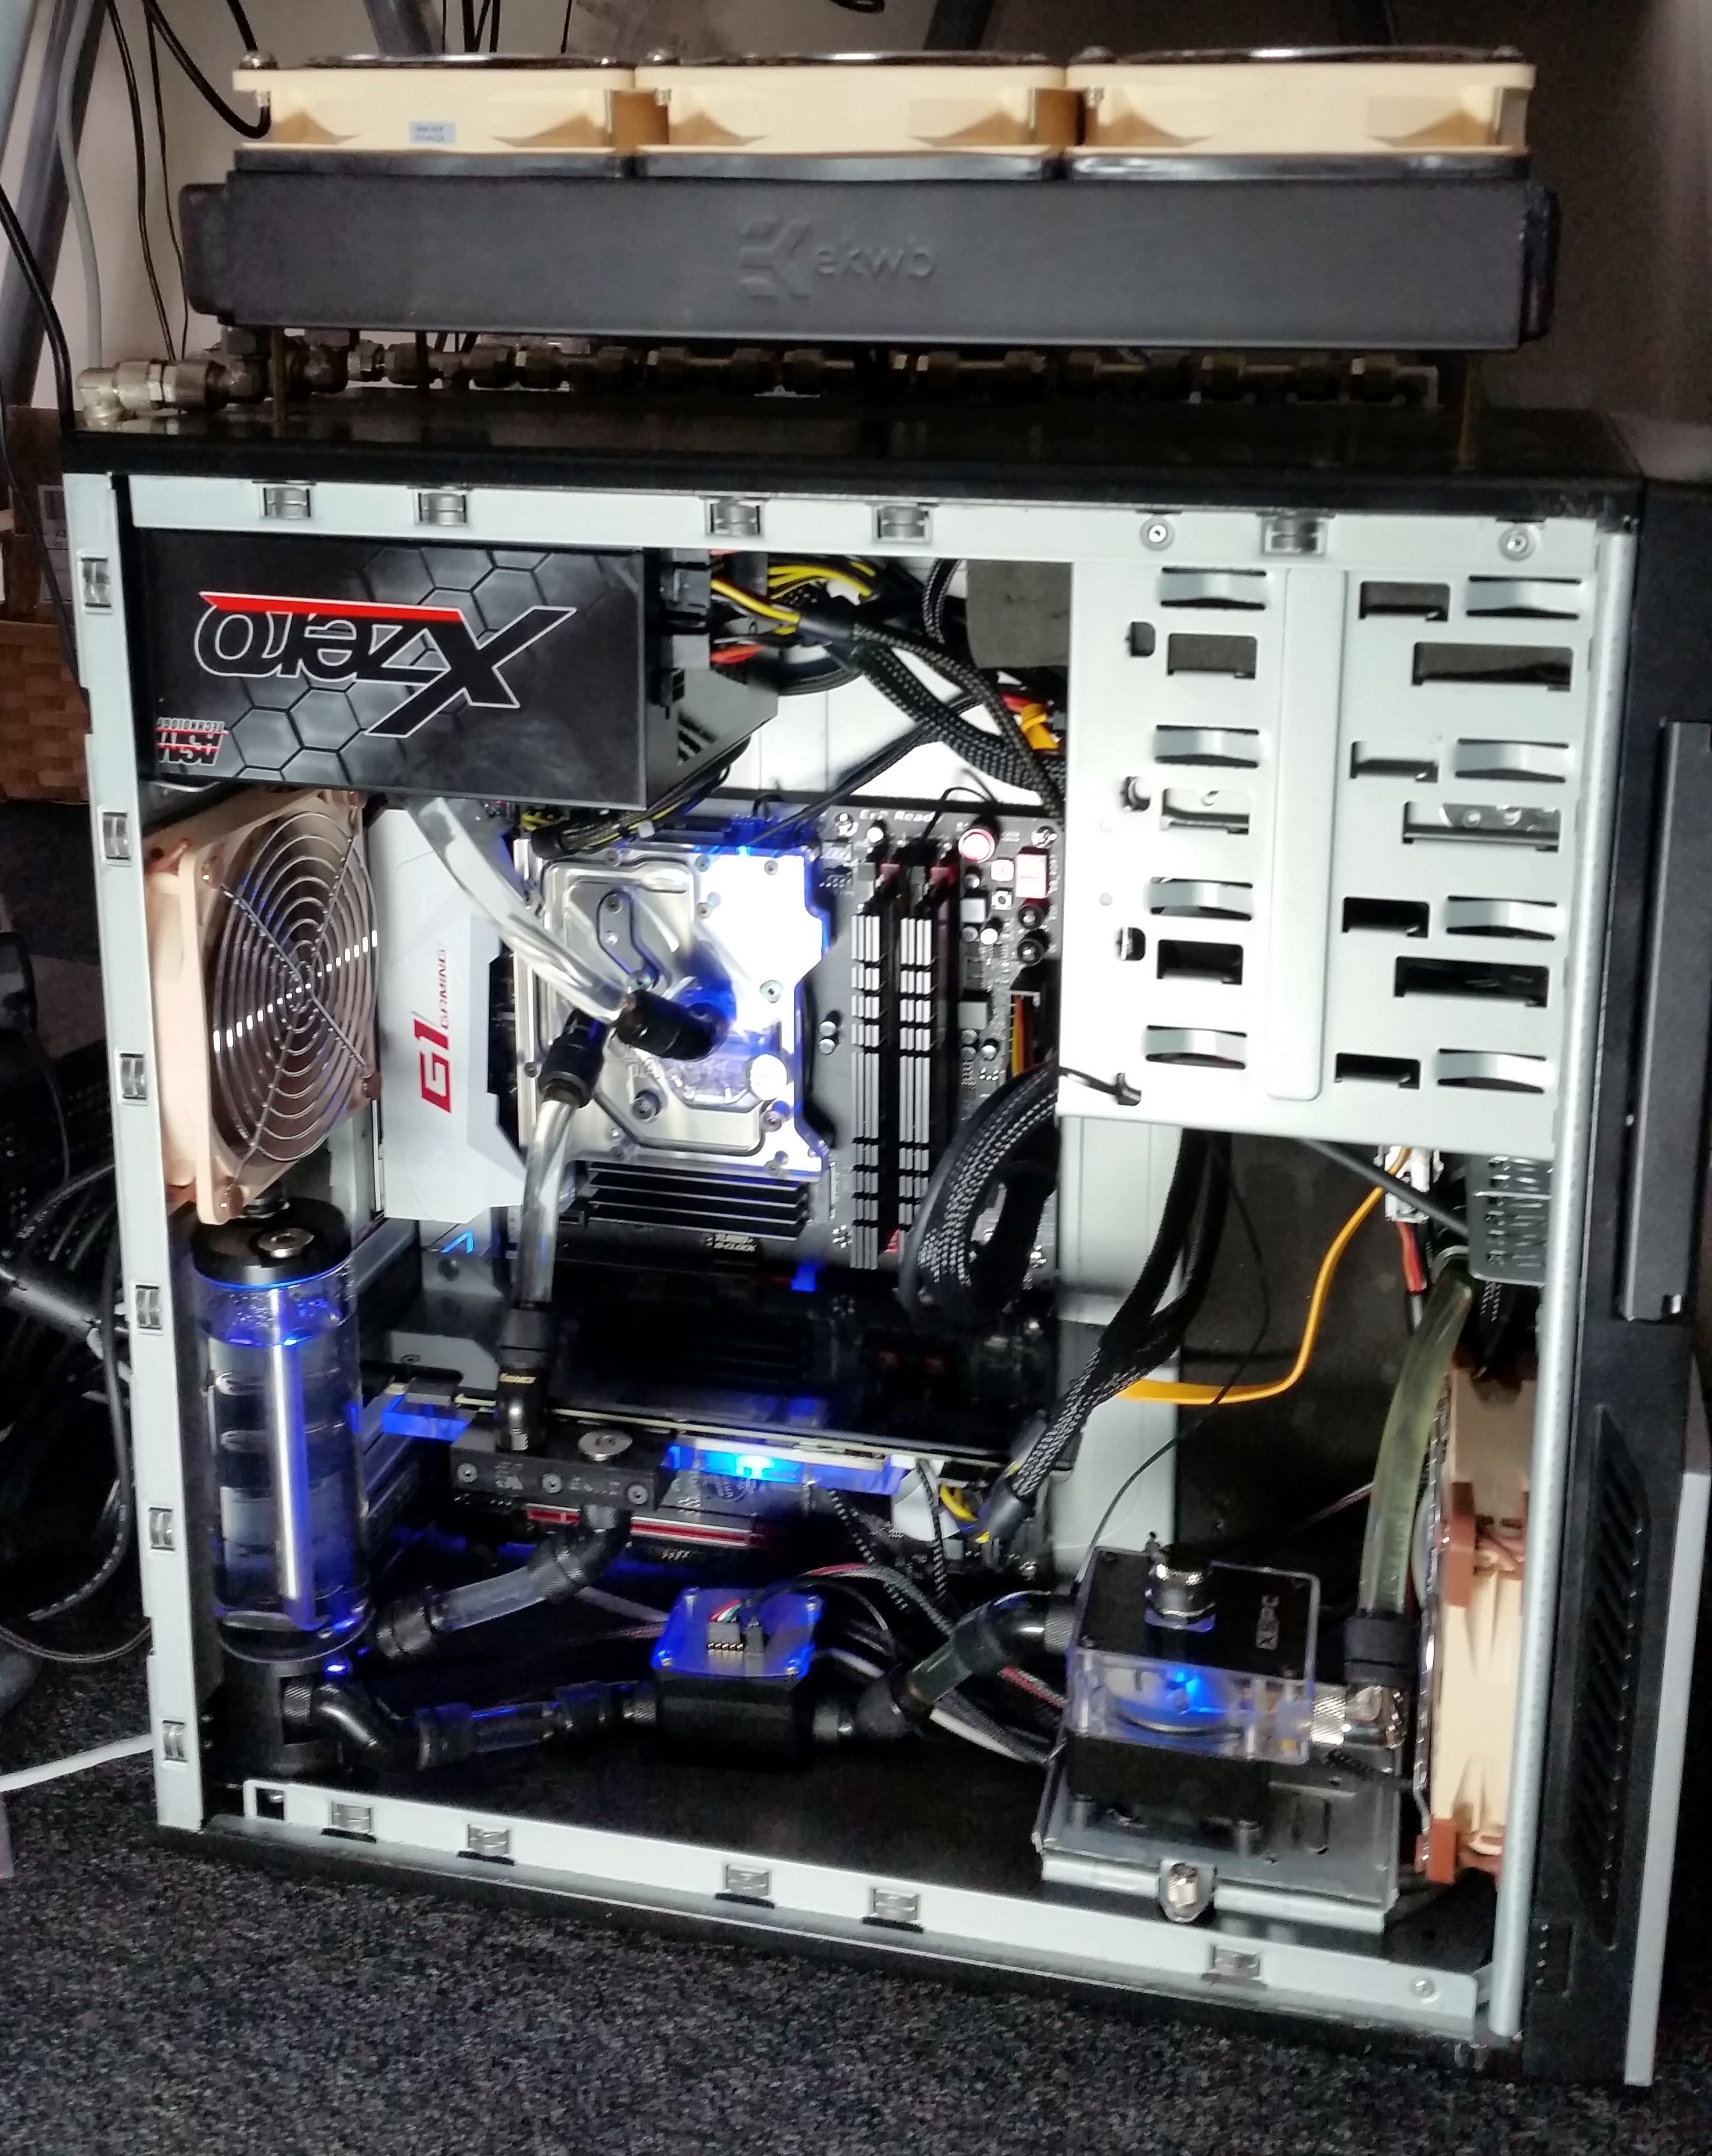

It's functional but it's not what you'd call pretty! For Christmas he got a Corsair 5000D case so the intention is to make this something a lot nicer without breaking the bank.
Motherboard will be that Gigabyte Z170 G1 Gaming with a de-lidded i7-6700K under a monoblock - actually the one that's pictured above.
GPU will be a 980Ti also pictured above.
Disks will be a pair of 256MB Samung 980 Pro M.2 drives with custom heatsinks stuck on and running in RAID0. Any additional storage (and backup) can be supplied via iSCSI from my home server. Hmmm, I wonder if it's worth planning a 10Gbe card for this build. That definitely speeds up an iSCSI connection provided you increase the MTU to 9k
The case was a Black Friday special and actually quite a bit bigger when it arrived than I'd realised. That should just mean more room for rads and building etc.
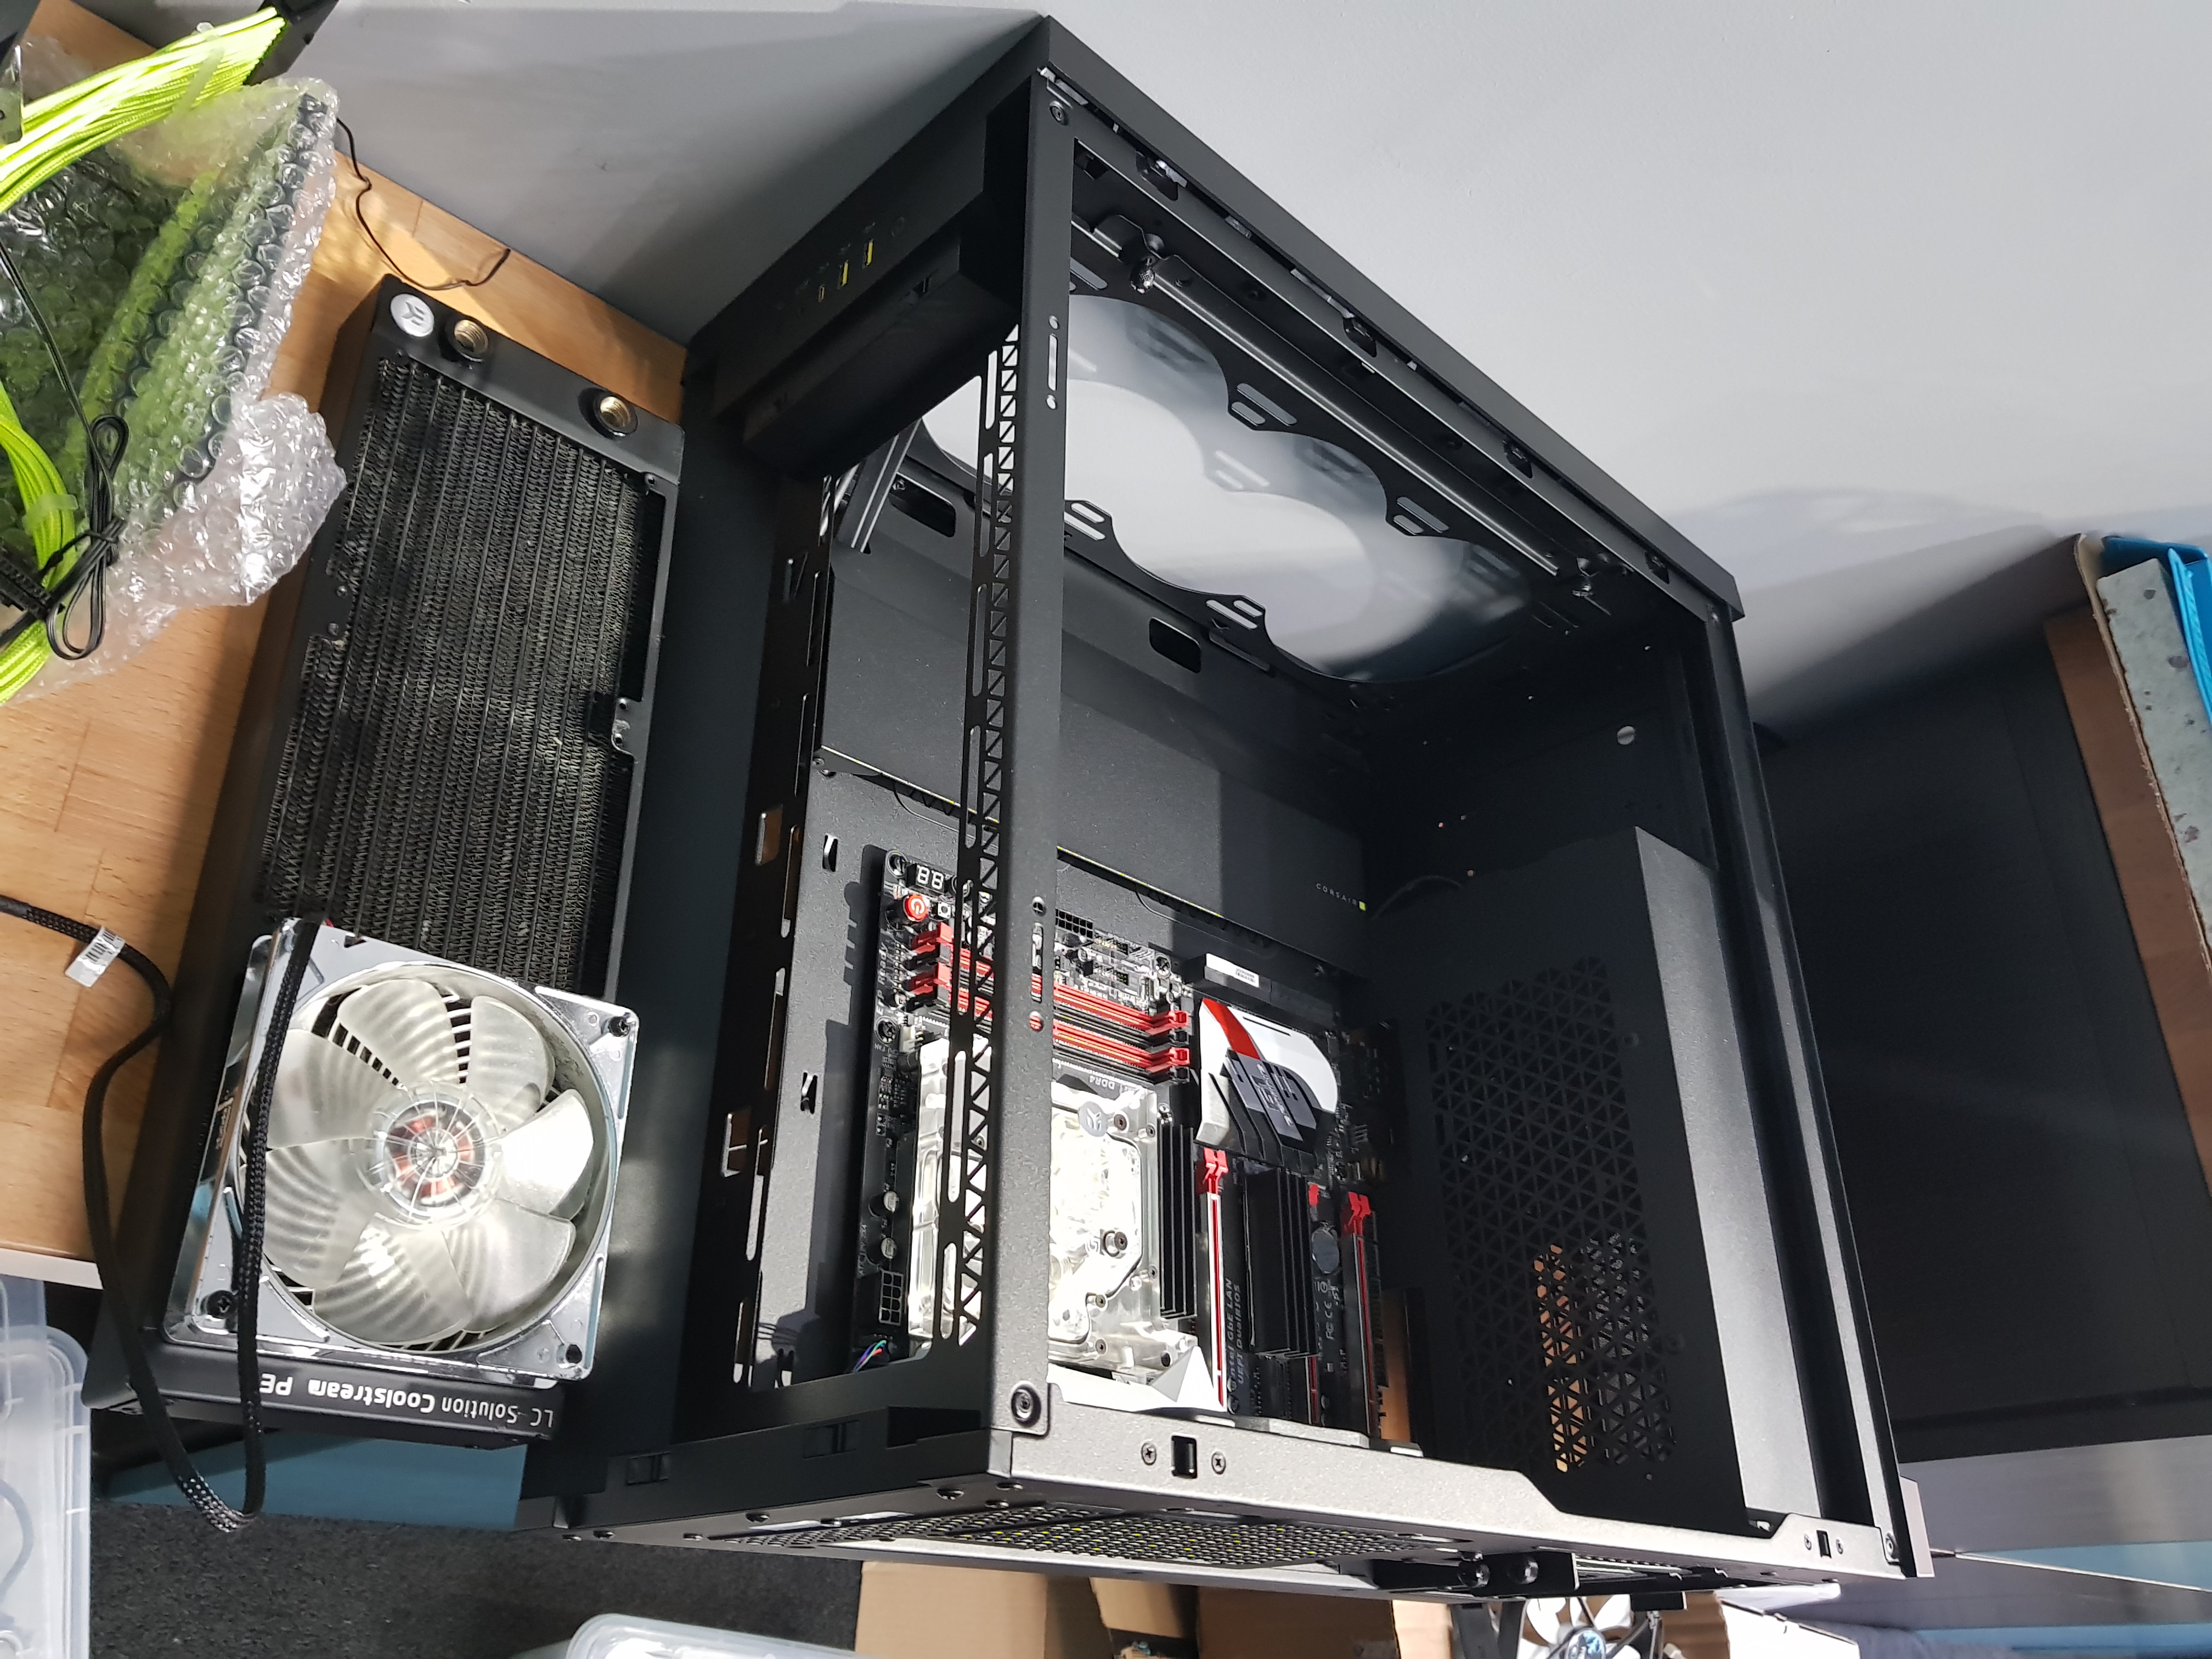
Lots of options for layout and it's all going to go nicely.....oh, the rad doesn't fit in the top (too long and too thick at 39mm), only if you mount it inside and the fans outside in a pull setup. Well, that's got to be the least efficient way of doing it. Also, the rad interferes with the removable side plate (that hides the cables) so you'd have to remove that....which isn't particularly easy, or desirable.
Remove the plate and mount it on the side....the front-to-back airflow is gone, all your motherboard cables are going to be on show and you can't mount a rad on the front too as the two will interfere.
Mount it on the front....the plate is set up for 3x140mm fans so there's a lot of gapping for 3x120. But, if you mount 140s only two fit and the third is out of line. The side plate to hide the cables is also positioned so that it's impossible to get ATX or USB headers through the gap, round and up without kinking the wires horribly. Really odd design choices here by a company that's been around long enough to know better. Ah well, too late to change that so on we go.
Measuring up, I think that an
EK SE 360 slim will fit in the top section and still allow the top grill to be fitted. Although I wasn't planning to buy another rad, I'm thinking this might be the best option as it will allow top-vented heat with fans mounted internally in push. Open to opinions I've not thought of though - nothing's ordered yet! I could also go 140s and I would if 3x140 fitted...but it doesn't and I think that 3x120 is going to be more rad than 2x140.
The other 360 rad can then go in the front and we should get some some sort of front to back/top flow then.
Next issue that I'm over-thinking - you'll get accustomed to that before the end of this! On this board, all the ATX and USB3 headers are pointing straight up. That means they're going to look ugly if just plugged in. I've ordered some USB3 ribbon cable header extensions which should sort that easily.
The ATX cable is more of an issue. There isn't enough room to install the nice low-profile 90° adaptor I found and the bend all the way back on itself and then 90° to go under the panel is just too much for a stiff cable like the pre-sleeved extensions I have. I was thinking of just making up a custom cable using silicone-insulated wire that's really flexible and sleeved in 550 paracord. Trouble is, the SuperFlower Leadex Gold that's available uses really oddball connector shells that I can't (easily) find and also uses a bunch of sense wires to make life difficult in that department. It's also white - it was cheaper at the time by a significant amount and going in a case without a window. So my theory at the moment is a
BeQuiet Straight Power 11 650W Gold as it seems - as far as I can tell - to be a standard ATX connector and hopefully straight-through wiring. This part, it would be very helpful if people can share any experience they have or suggestions of better choices of PSU (without a silly pricetag though).
The plan at the moment is for RGB lighting. There are 5mm holes drilled in the monoblock for individual RGB LEDs that I can make up. The 980Ti either has the same or can do quite easily - have drill, will cause trouble!
There might be a Farbwerk being donated to this build so that'll control the lighting as the motherboard doesn't have any. Should be able to hide that away in the bottom of the case easily enough. I may also pull the Aquaero off the old case and maybe mount that in something 3D printed as there aren't any 5.25" bays in this case.

 ) the mounting holes are. I reckon their 22cm (next size up) would fit but it would need to be the 90° version not the straight. Top one of your pics wouldn't fit but the bottom would if it's the 22cm length. Swap ya?
  but then decided he didn't after looking at some more pics.....mostly yours Andy, so it's clearly your fault!