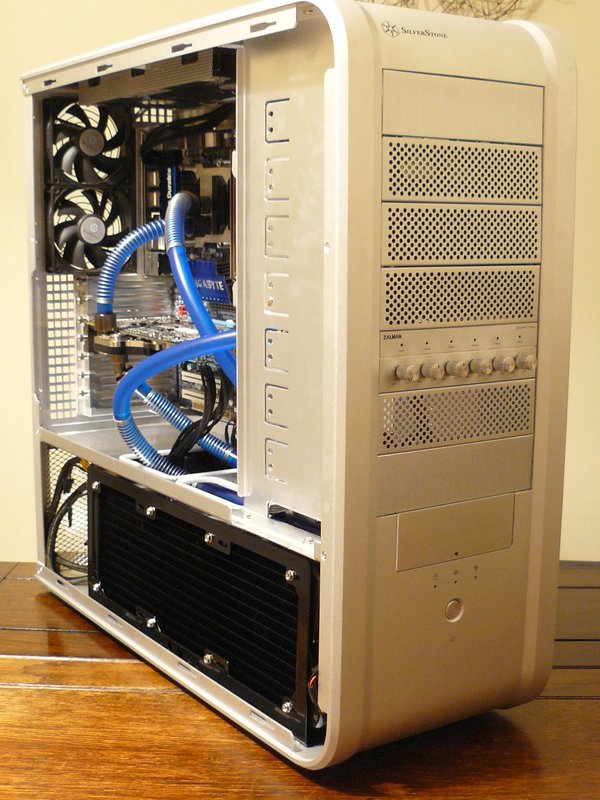
So... on with the show

OK, so remember, those of you who bother to read project logs

, how I said I wanted to minimise the cutting of this lovely case?
Well I sort of lied. Sorry! Sorry anyone who doesn't like it when people butcher nice cases, but COME ON, you saw what I did to my CM201 and I nearly got keyboard crucified for that one!

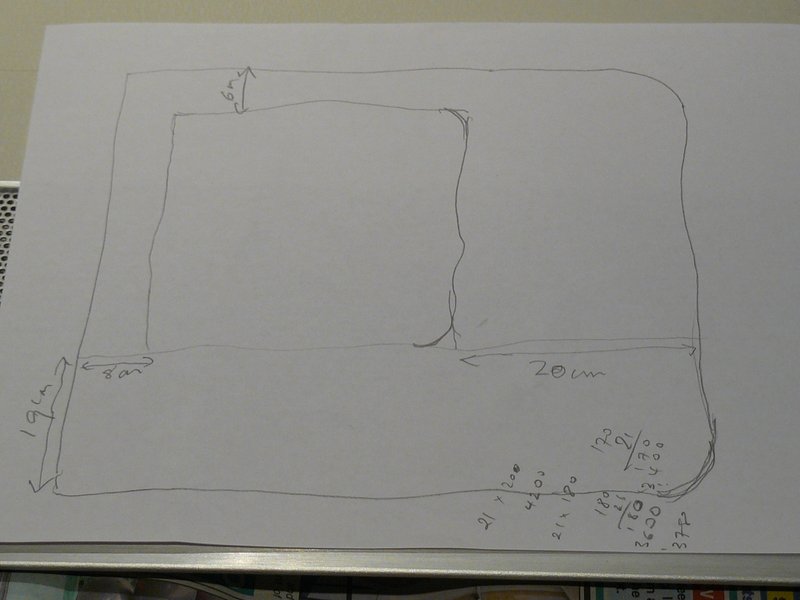
So what was the evil plan? Right, well I did something strange, I never do bling too much really, sort of a more, neat and functional sort of builder. So I'm not too sure what came over me when I drew this:

Sorry about the overclocking notes at the bottom, I was doing too many things at once that day

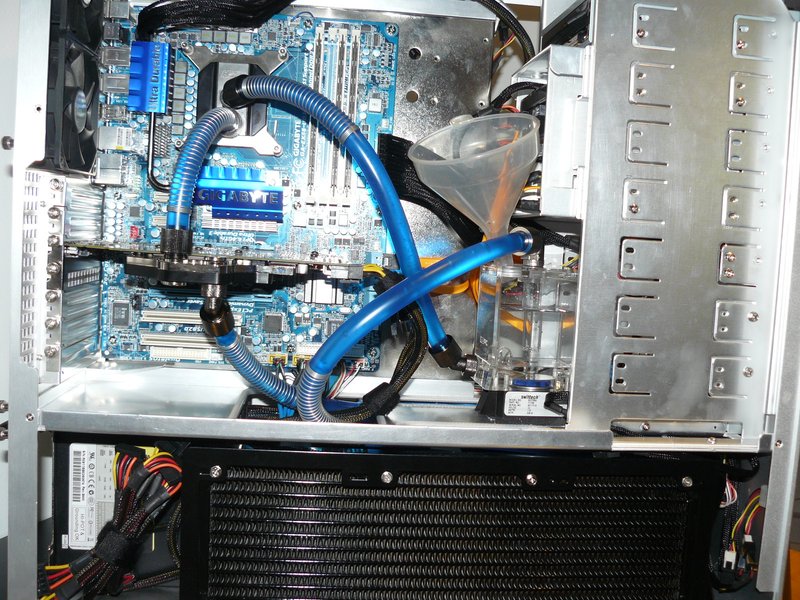
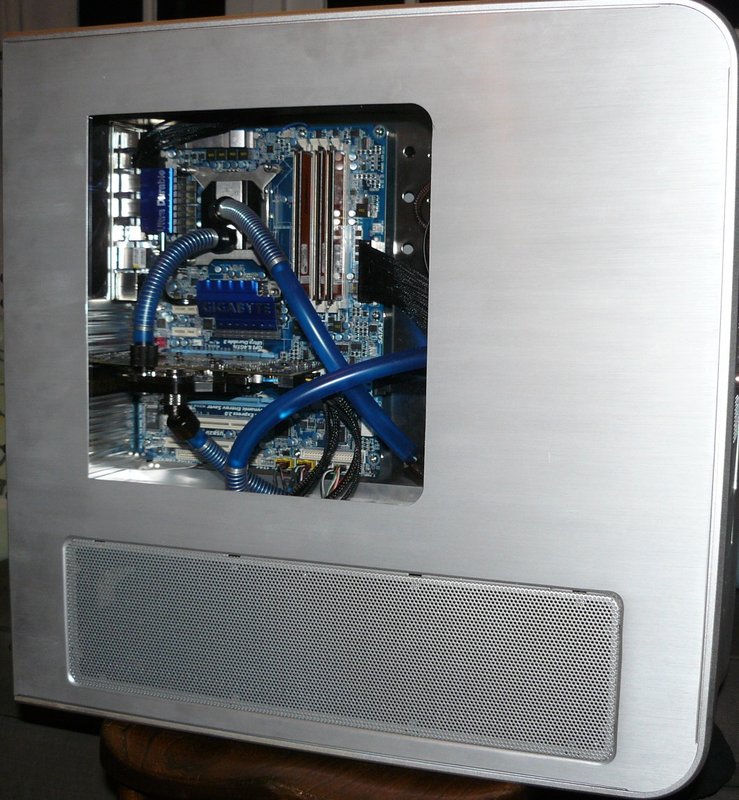
Basically I loved the look of my loop so much I thought I'd just keep stopping through the day and opening up the side of the case just to look at it, and that would be inconvenient... soo.. arrghbuggerit.. ok it was the bling and the scary prospect of maybe doing a good job that got me going on this, whats the worst thing that could happen? HAHA
I wanted to shape the window to sympathetically follow the side panel contour with the rounded corners in the front, it had to cover all the messy bits but be big enough to see all the cool bits. So I read up on it, made some notes, bought all the bits (I'd had the perspex lying around for years just chickening out from doing it on earlier builds), girded my loins and went for it!

Here we go.
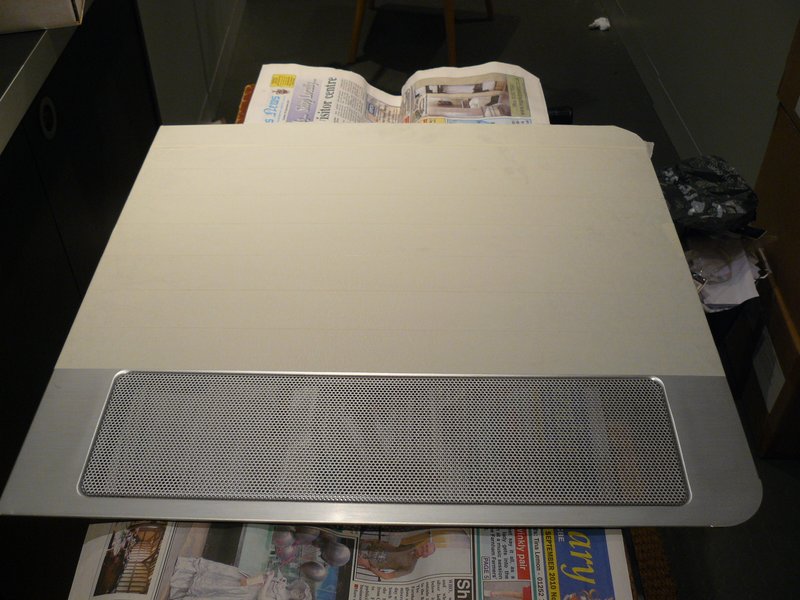
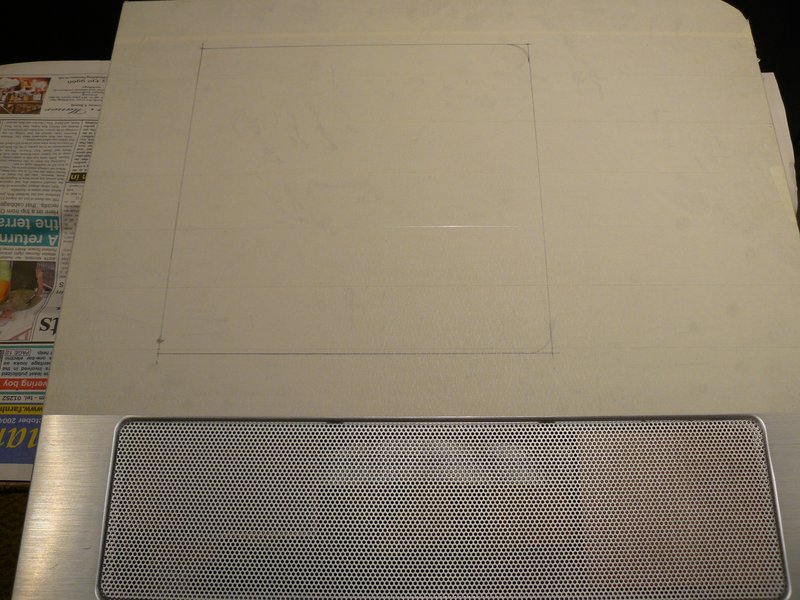
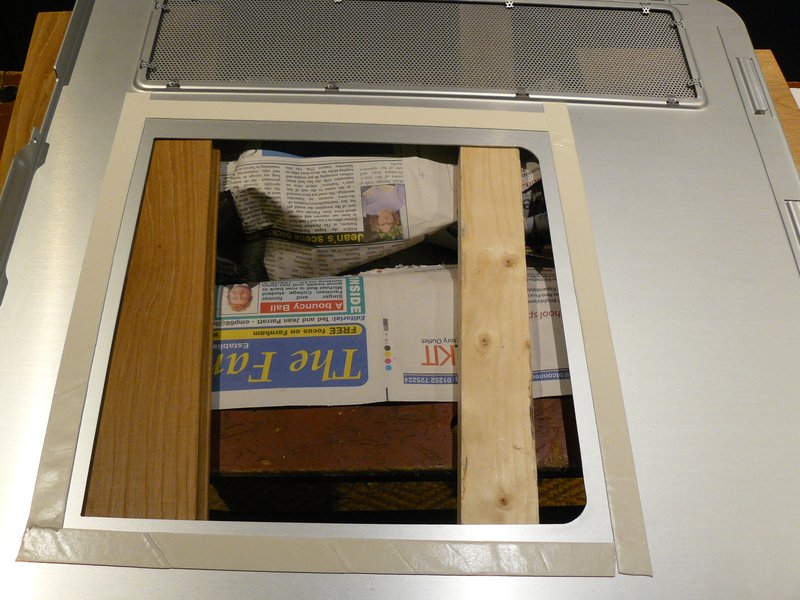
Masking tape on the front and back of the panel to let me draw the shape to cut and prevent power tools from slipping:
Double checking the design will not interfere with anything on the back of the panel.
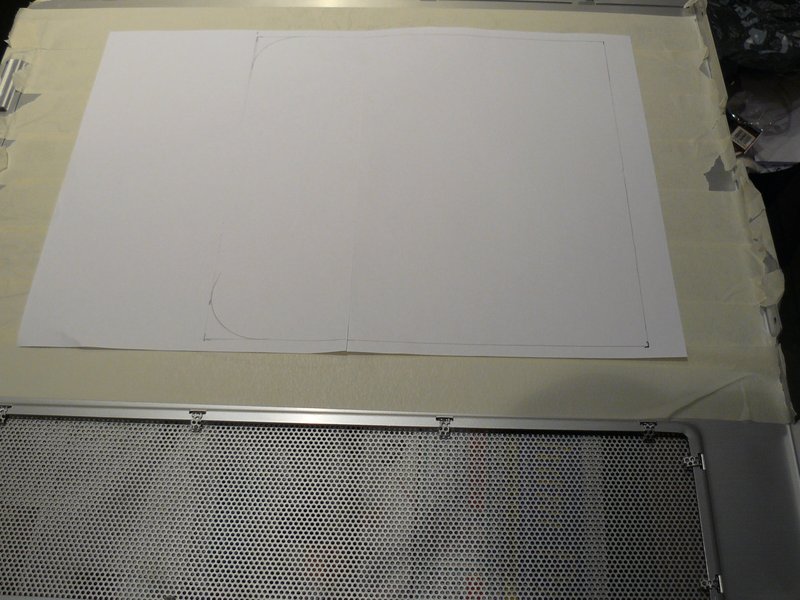
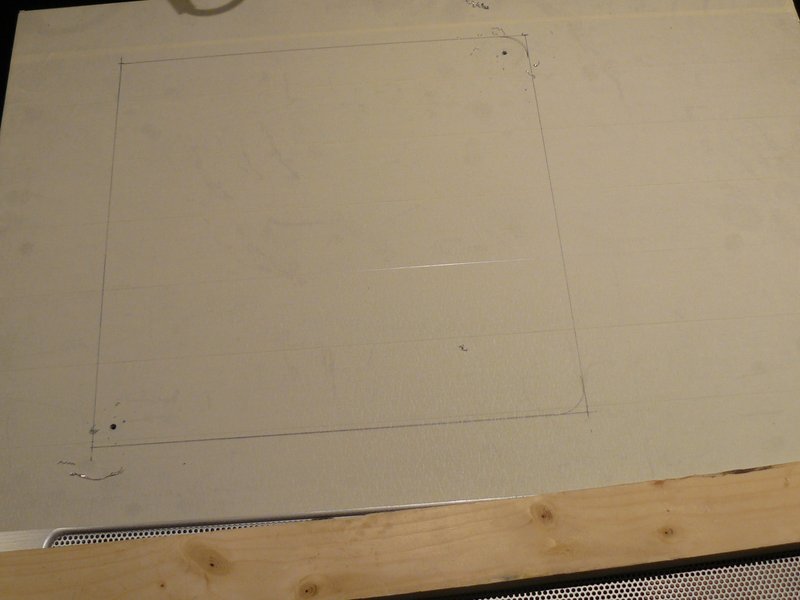
Transfer the design from paper to the masking tape.
Drill two pilot holes on opposite corners.
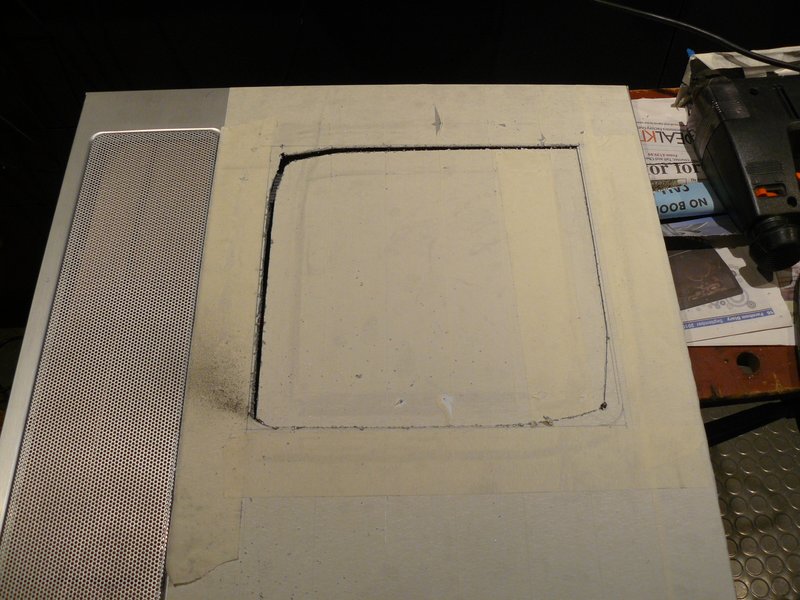
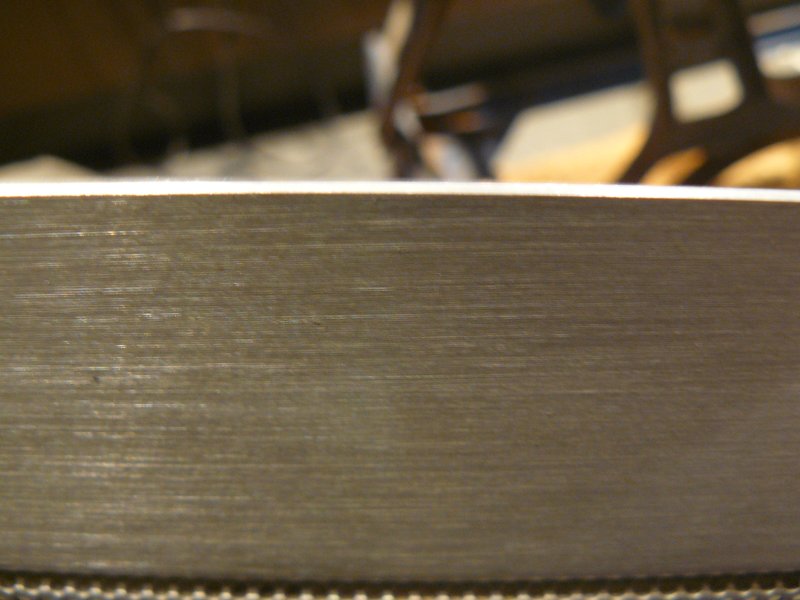
I'm going to use a jigsaw with a metal cutting blade, because for me its faster, cleaner and more manly than a dremel

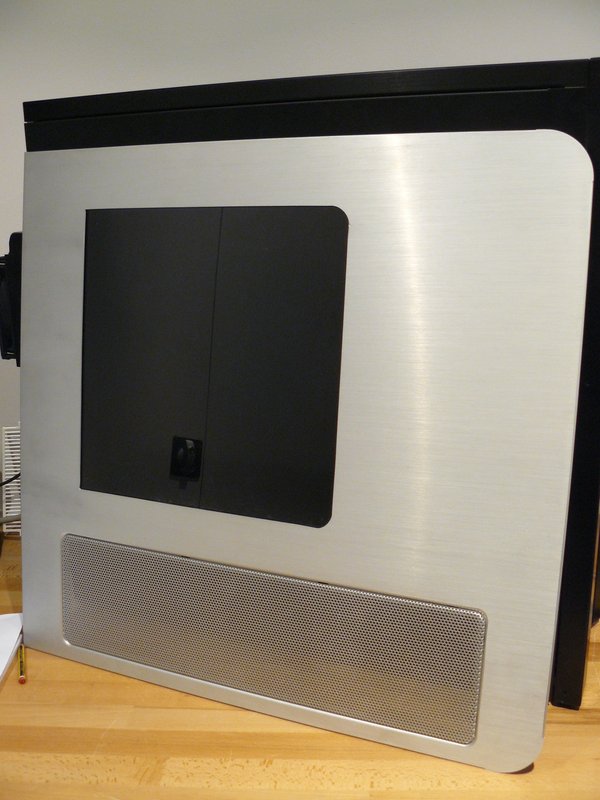
and a few minutes later we have this:
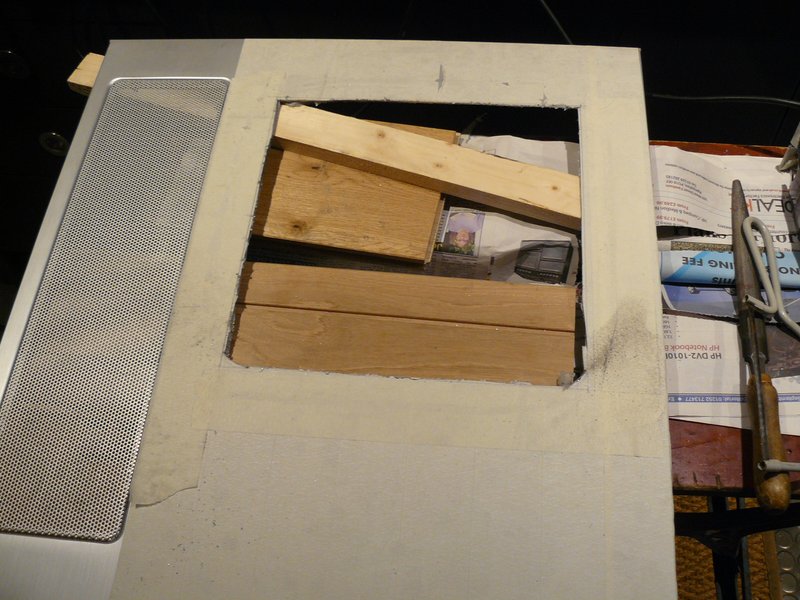
Following the advise of a Welshman called Tom I cut up to about 1.5-2mm from the line I drew, remove the cutout, a few extra trims to get into the corners a bit more and we are ready for the next stage.


