Project: Was supposed to be a budget build...

Associate
Joined
2 Oct 2009
Posts
789
Project Now Completed.

My Goal for this project was to have a system that was moderately equipped to handle todays top games.

My initial thought was to buy a 1080 gtx and stick it in my htpc and be done with it. Unfortunately I quickly realised it would not fit so began planning out a new computer using my previous build.

However I decided on a new case as the Corsair 800D was old and heavily customised for my previous build.

Choosing the ThermalTake Core X9 I soon realised that all my old parts would be not suitable either, so pieced the following build together shown in the specs below, the majority was bought from overclockers, but some were from other vendors. I contemplated a Ryzen Build, but since this will be only for gaming I decided on the 7700K as I wanted something with decent options.

The Build:

Monitor: Asus ROG Swift PG348Q £999
Case: TT Core X9 - £110 or something
CPU: Intel 7700K 5.1 GHZ Pre-binned and tested by 8 pack -£799
Motherboard: Asus Maximus Extreme IX - £599
Ram: 32 GB Trident RGB 4133 Mhz - £53x
GFX: 2x Gigabyte 1080 Ti FE - £1498
HDD: 2x 1TB Samsung EVO 960 - £798
PSU: Corsair AX1200i - £31x
PSU Cabling: - $255
HTC Vive - £750
Additional HTC Vive Satellite for Room scale - £140

Total: £6753

Cooling:

Aquaero 6 XT
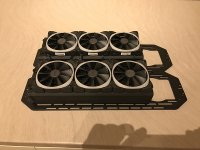
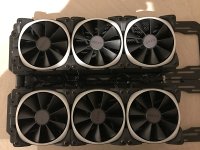
10x 120mm NZXT RGB AER
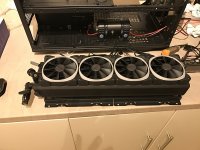
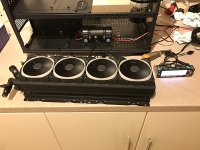
4x 140mm NZXT RGB AER
2x NZXT Hue+ Controllers
3x Splitty7 for fans
1x Splitty7 for Aquabus

Watercooling:

Pump - 2x Aquacomputer D5 w/ EK Dual Serial top
Reservoir - Aqualis 440 XT
1x HW Labs SR2 480 - Radiator
2x HW Labs SR2 360 - Radiators
Flow - Aquacomputer Hi Flow (old model)
16/11 Fittings - Thermaltake Pacific for Hard tubing
16/11 2x RGB TT Pacific fittings for hard tubing
TT PETG - Pacific Tubing
4 litres Diamond Ice Pastel + dyes (not sure if i will dye yet so will test with 1 litre Mayhems White Pastel)
2x Aquacomputer Kyrographics GPU Waterblocks with Active Backplate (when they get back in stock)

Other: The usual stuff

Tubing bending Kit
Heat gun
Soldering tools
4 pin parts to make cables
paranoid + sleeving


I received most of the water cooling parts a week or 2 ago and have begun building it. The main parts will be arriving tomorrow.
 
Last edited:
Associate
OP
Joined
2 Oct 2009
Posts
789
My Progress so far:

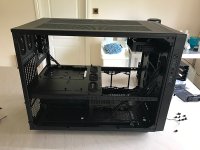
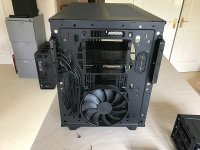
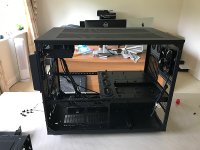
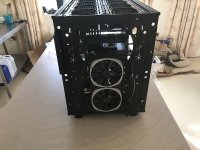
The Case

YHZHHVV.jpg

rtBvVsS.jpg

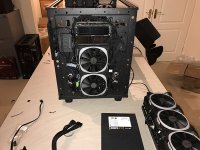
I reversed it

zQ73m37.jpg


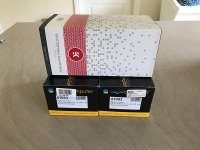
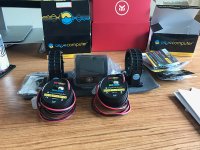
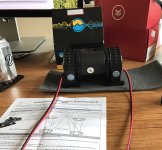
Since I got parts in drips and drabs I unfortunately cannot display everything packaged neatly awaiting unboxing. I will do this though for the main parts arriving tomorrow.

lbbG97C.jpg

dRCURJG.jpg

Q0S7B1e.jpg

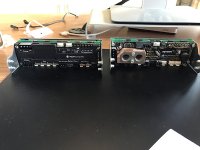
Aquaero 6xt (left vs Aquaero 5Xt right)

Ev8lrEh.jpg


I then drilled one hole for the reservoir (thats the only thing i needed to mod)

pX6mGHN.jpg

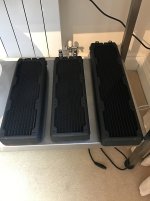
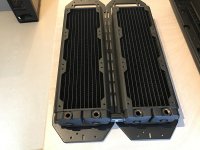
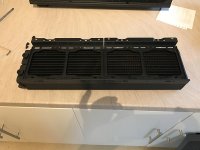
The Radiators:

I blitzed them for 12 hours then went through 6 litres of distilled water cleaning them out to get the PH neutral. Good thing I can make my own Distilled water!

LC4hYqi.jpg

sUtb4JA.jpg

PZ30cUy.jpg

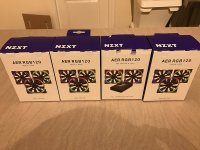
Fans Arrived:

UZQ4MK7.jpg

F1Cov3f.jpg

AqLJnKZ.jpg

lSxvlON.jpg

rV88fQe.jpg

Se3Anmm.jpg

KX4IgLx.jpg
 
Associate
OP
Joined
2 Oct 2009
Posts
789
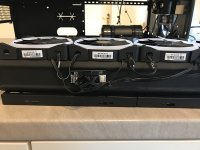
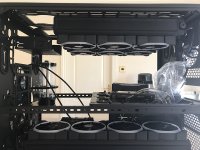
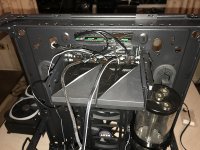
Cabling is not the best with this case. The front is especially hard due to the complexity of the front panel. So Far so good though. The front panel closes and 90% of everything is in.

goduQsd.jpg

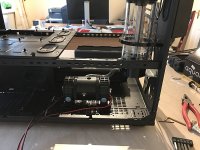
I used the top 5 1/4 bay for the aquaero 6 + 2x Hue+

saaLQGe.jpg

This section will be concealed by the side fan plus rad. The window is on the other side.

RTDb4J3.jpg
 
Associate
OP
Joined
2 Oct 2009
Posts
789
Yeah only packs of 6, each pack contains a controller, however 1 controller will support like 20 RGB fittings. Im finding them really difficult to put onto the tubes, however after destroying 2 of them I worked out that slightly heating them with a heat gun and gently inserting them to ensure contact with the o- rings works really well.
 
Associate
OP
Joined
2 Oct 2009
Posts
789
Update:

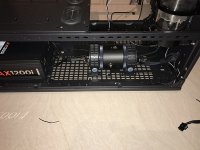
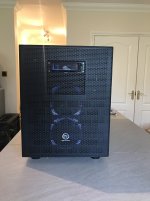
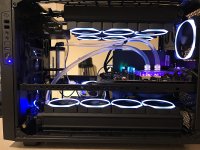
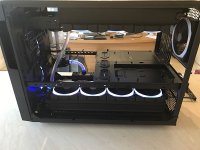
PC Case is finished with a quick leak test. Great thing about this case is, it can be drained and taken apart in under 10 mins. Cabling though a different story...

AHqUV5l.jpg

3LWUdLa.jpg

Bd1B9x2.jpg

VDO2MPB.jpg

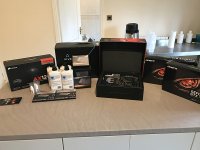
My Parts have arrived today also, however still in the overclockers.co.uk box. No time to open it just yet. Will send a photo once opened.
 
Associate
OP
Joined
2 Oct 2009
Posts
789
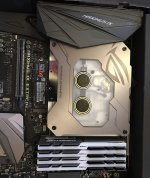
Interesting, The water cooled M.2 is actually completely separate from the block.

vYlPE2A.jpg

I find it strange how Samsung put a sticker over the area that needs cooling though. Do you think this will hinder performance?
 
Associate
OP
Joined
2 Oct 2009
Posts
789
Last update until the following arrives allowing me to complete the build.

- Sleeved Cables
- GFX Card water blocks

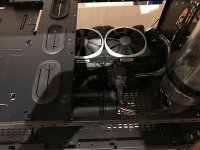
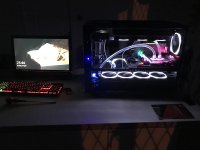
Still needs complete rigid tubing, sleeved cables and further optimisations including a proper theme. The loose cables are usb needed to configure Aquaero. Once configured they'll be removed.

QNsc1Qg.jpg

yh16KiT.jpg
 
Last edited:
Associate
Joined
12 Jan 2017
Posts
79
Looks really nice so far, I like the board water block better than the one on my formula which was a stupid design and needed the plastic hit with a dremmel to allow the fitting of the thermaltake standard fittings and the rgb fittings as the diameter was too big.

I have used the rgb fittings and didn't run into any problems, just wetted the o rings with a touch of spit and made sure the tube was internally coned.

Look forward to more pictures.

Edit... the pastel fluid really hinders the light from the rgb fittings on longer runs. I need another pack to light both ends of only one or 2 tubes. Maybe I can buy a spare single fitting on line at some point.
 
Associate
OP
Joined
2 Oct 2009
Posts
789
Looks really nice so far, I like the board water block better than the one on my formula which was a stupid design and needed the plastic hit with a dremmel to allow the fitting of the thermaltake standard fittings and the rgb fittings as the diameter was too big.

I have used the rgb fittings and didn't run into any problems, just wetted the o rings with a touch of spit and made sure the tube was internally coned.

Look forward to more pictures.

Edit... the pastel fluid really hinders the light from the rgb fittings on longer runs. I need another pack to light both ends of only one or 2 tubes. Maybe I can buy a spare single fitting on line at some point.


I think ill be using all mine up, ill be using 2 from Rad to CPU and GFX to Res, plus I destroyed 2 trying to put them on lol.

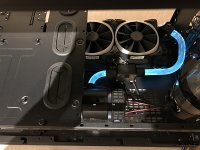
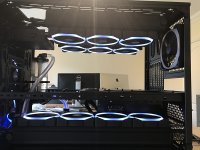
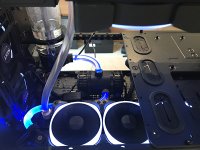
What is interesting though, which I may do to all the tubes. I bought some Acrylic polish to clean up scratches on 2 of the tubes using 2000 - 5000 sand paper. It leaves a cloudy coating on PETG afterwards which triples the light effectiveness. You can see it on the bottom left compared to the rigid tube connecting the Res to the pump. It good too, like a polished stone effect. I may experiment and do this on all the tubes.

I will also be experimenting with Dyed Pastels, since I would prefer not to use an LED strips, except maybe under the case.

Just waiting now for the Aquacomputer Krygraphics to come back in stock. I had originally pre ordered the Phanteks, however with the way this layout is positioned, it would have been pointless as you wouldn't see the RGB. I think the Active backplate will look a lot better than the stock backplate added to the Phanteks blocks.
 
Associate
OP
Joined
2 Oct 2009
Posts
789
Had to RMA my AX1200i today due to coil whine. Drove me nuts. Really hope the next doesn't do this as I have ordered cables specifically for this model.
 
Associate
OP
Joined
2 Oct 2009
Posts
789
My original idea was to have 4x 140mm drawing air in, however could only do 3 140s drawing air in and the back 140 now drawing air out due to a whine it caused sucking the air in. The plan now is to have the 120mms running at slowest speeds possible maintaining decent temps with the 140s running a bit faster to equalise the pressure. Whether it will work or not, i'll know later.

I'll only be running this at full speed for benchmarks, but everyday use, I'll be optimising for moderate overclocks at the lowest possible volts. Ideally under 1.3V for the 7700k 1.3 for the Ram and the GFX cards most likely at stock since i'll be limited to either a 60hz 4k monitor or 100 hz ultra wide 1440p monitor.

I unfortunately wouldn't know what a good or bad filter looks like so cant really comment there. Able to suggest what to look for in a good filter?

Cheers.
 
Associate
OP
Joined
2 Oct 2009
Posts
789
RMAed my AX1200i today due to coil whine when powered down. Replaced it with the 1500i as theres reported less problems with it, plus its newer and Titanium certified and should hold its fanless state longer due to its larger capacity (at least I hope it will).

Have also cancelled my sleeved cables as I have read para cord is not the best for PSU cables + the cable combs where not inline , and ordered some from Birmingham which are firmer and include inline cable combs. Will hopefully receive those before the end of the week.
 
Back
Top Bottom