Project Whurple - White/Purple Watercooled Build - Changes to 3d printer build!!

Yep I have £200 tickets to see faith no more in July also

I know man. We just need to see what happens and hope that all is fine and dandy in the world. I've been at home all week with the wife and shes on one of my laptops right now which isn't really perfect.
 
Right RAM, lets talk RAM!!!


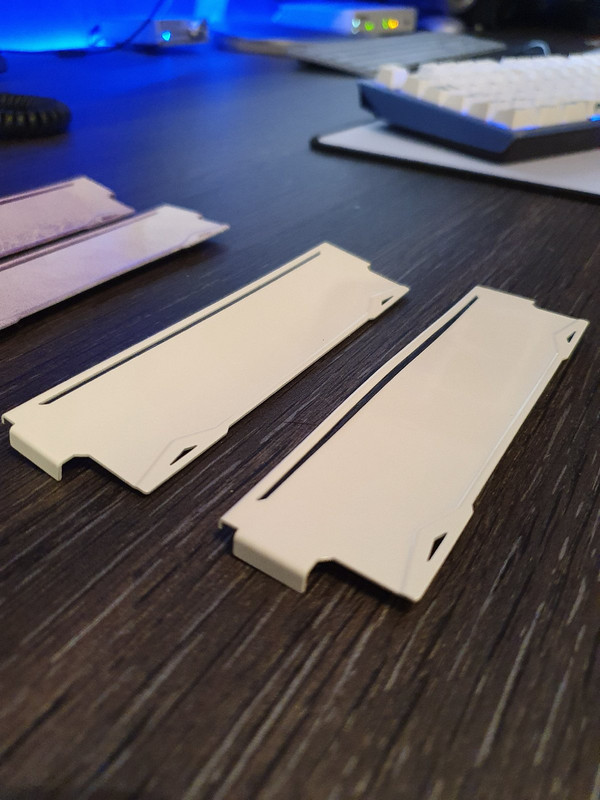
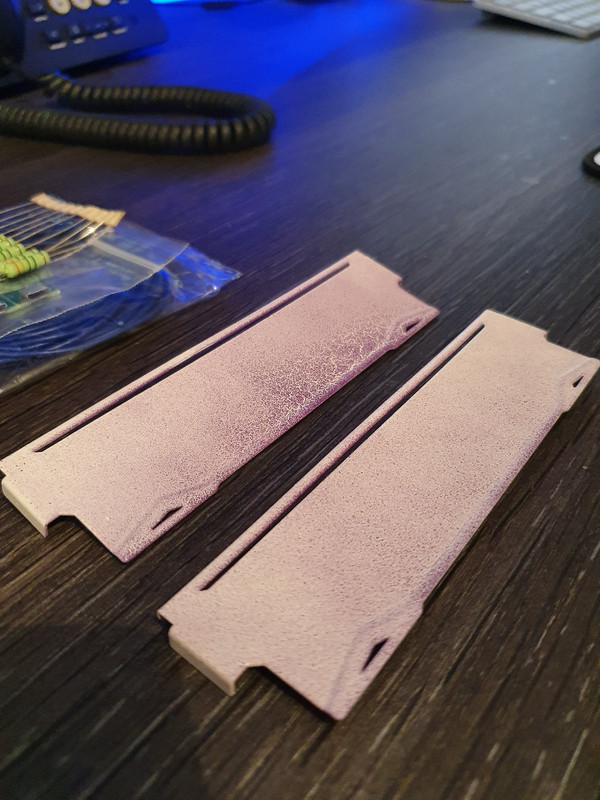
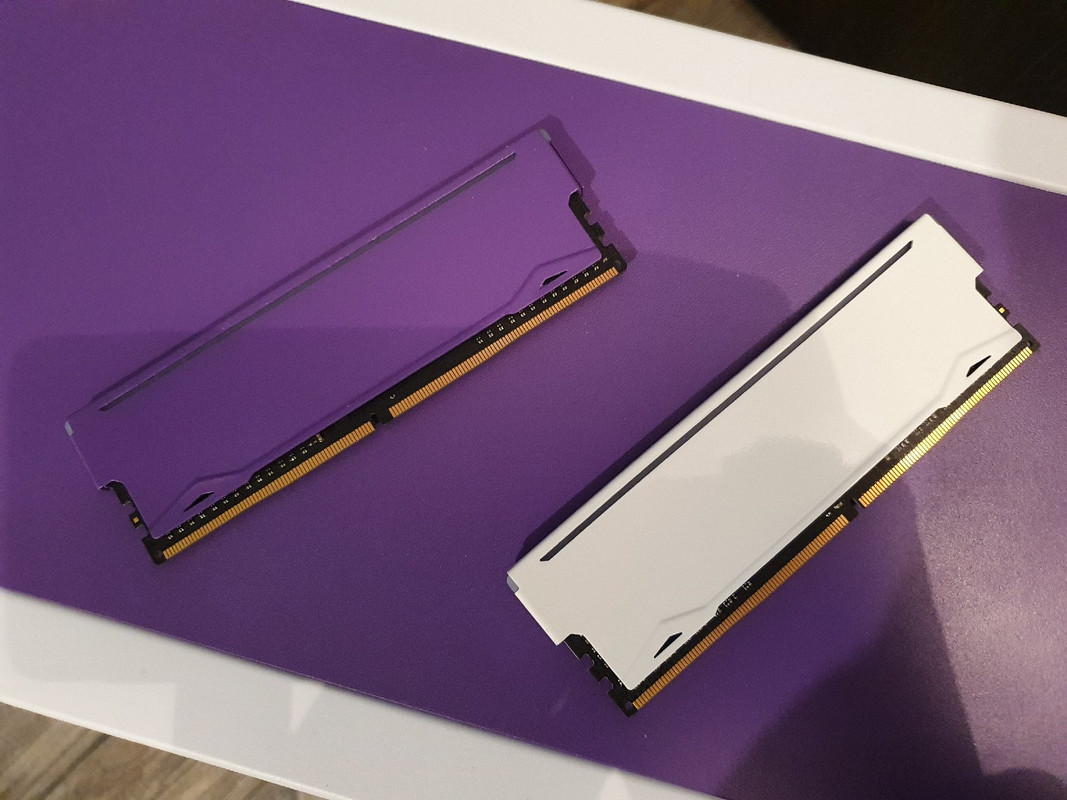
So i was playing about that set with purple dots and me messing about have been painted probably 5 times. The plan was the little triangles at the bottom and a line across the bottom that is raised purple but with the current masking tape situation that is not happening. So do I:

  1. Wait for the tape
  2. Go just white
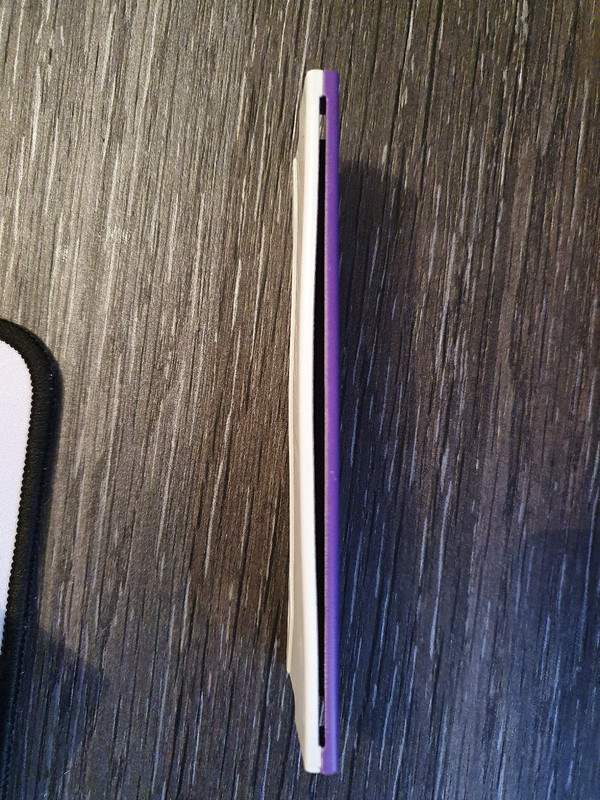
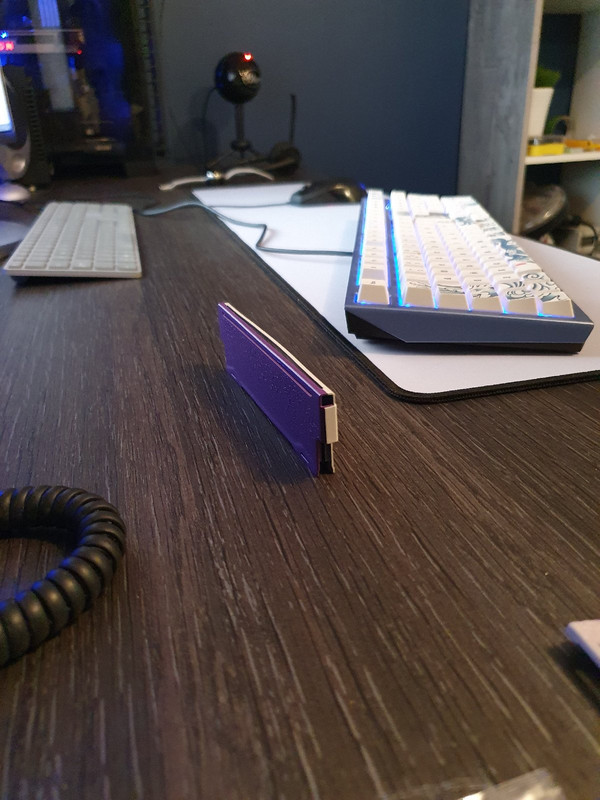
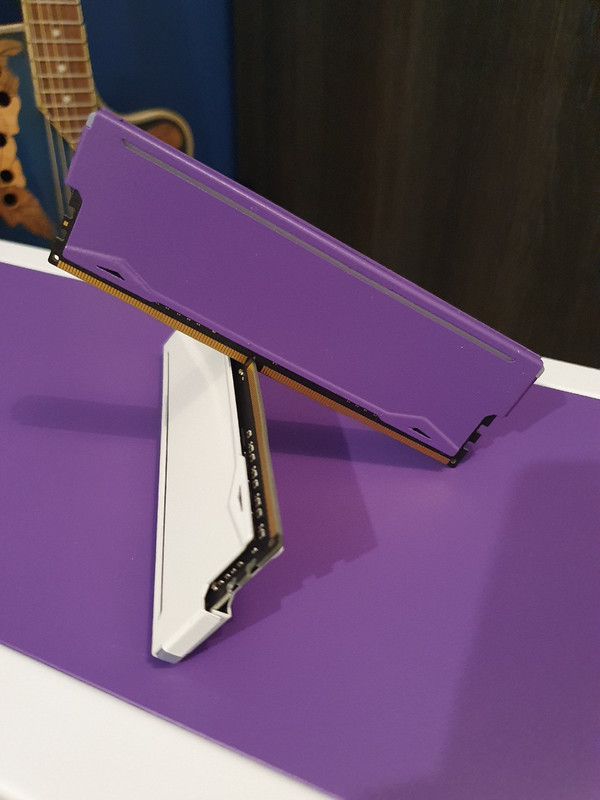
  3. One half of the RAM White, the other half purple? Whurple!
  4. Pancake
 
Wait for the tape
Amount of effort you are putting in might as well do it right

Problem is I am now thinking half white and half purple "Whurple" is almost the right decision... I need more input, they did look pretty nice how I described but the inability of the current tape to make a line work is astounding.

I could risk the corona and do a dash to homebase or somewhere tomorrow morning if the post man does not bring me the goodies I require.
 
Ignore the bad finish on the purple... I made it dry far too quickly. Or it was too cold when i laid the paint down dont know.. ignore...


I noticed the riser cable!! I also noticed the wrinkles so kept quiet...

I mean probably just wait for the tape but you could still do opposite strips on each side of the ram? Or would that be too much? See if the tape turns up before your other china stuff maybe??

It's fine :(, I think I will have to get a 3d printed part sort of cover like device to hide that monstrosity, I also need some sticky "stuff" for the memory as its become not so sticky during the process. It will be all good by the time I throw it all together when it is done.
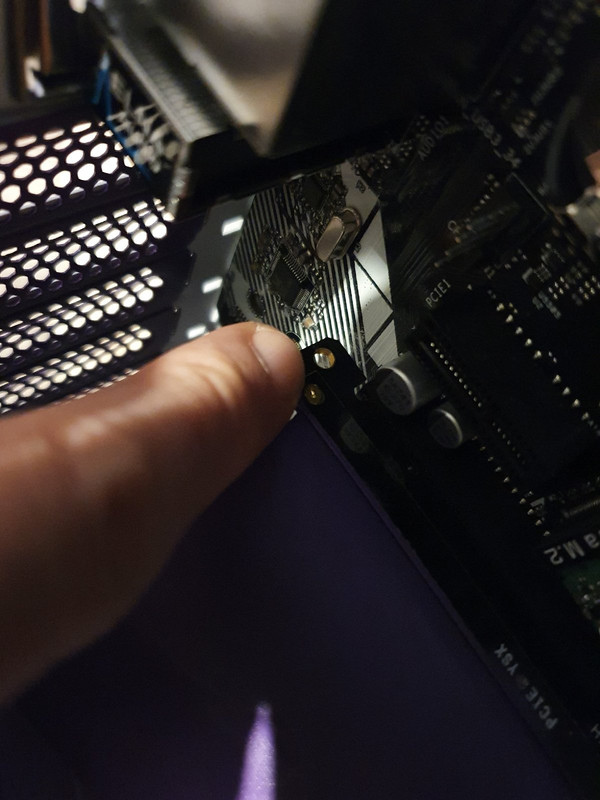
 
You got a 3D printer? If not someone might make one and send ya it. Not sure how you would mount it there though!

I do not have a 3d printer. I know people who do but I can't be sending them 3 million parts all the time. And this is how:


Make a little thingy to fit in the hole.
 
Will you make the 3D printed thingy purple as well? Or will you do some funky paint job on it??

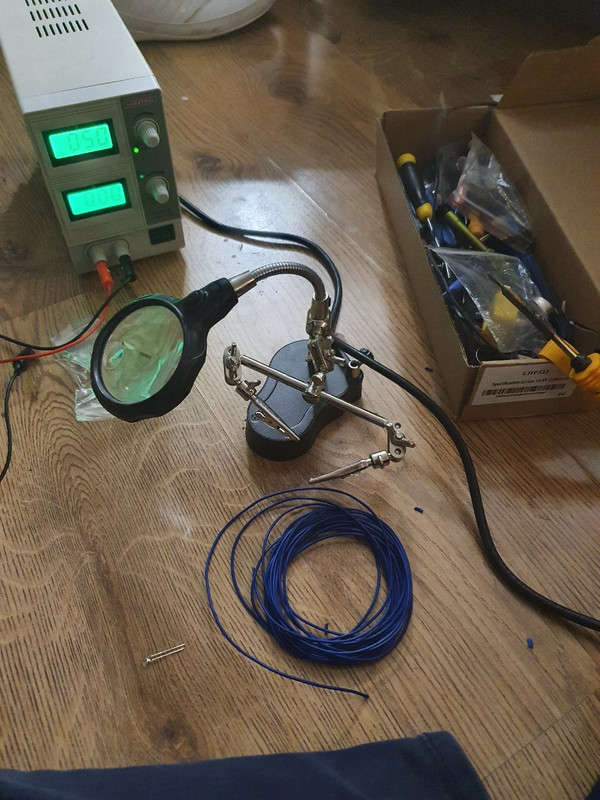
So far I am at a stop, I am hoping the post man gives me some new toys to play with tomorrow, the observant will notice some toys for another project in one of the photos :)
 
Are you able to adjust the fan colours to what you want in the meantime? And is this CPU Epoxy thing in another thread?? Sounds fun!

I'll be honest I havent tried yet. I'm going to need more rgb led knowledge but id rather wait until the other controller gets here to see what we are working with first. I do know that they have 4 pins and 3 of them correspond to r,g,b.

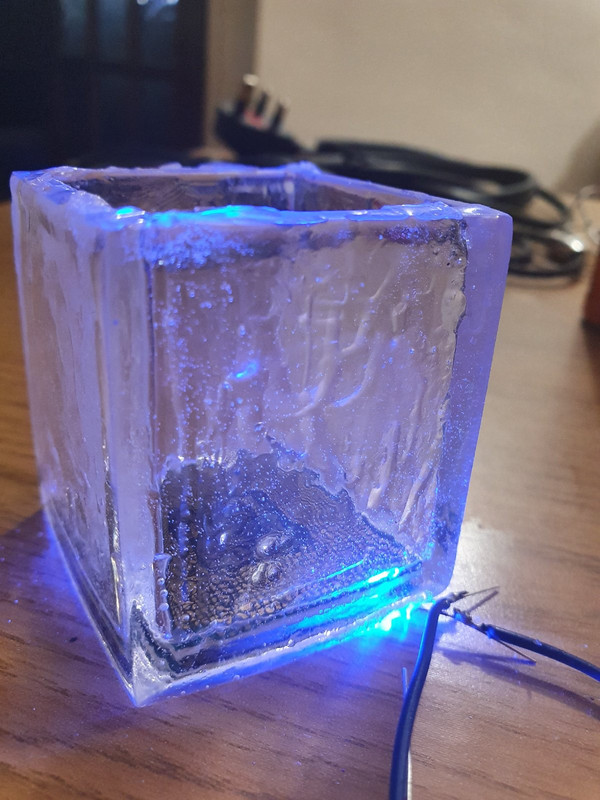
The cpu thing is an epoxy pen holder with a cpu at the base. Im going to make a wooden base for it and the leds will be wired up and shine below the cpu to light up the epoxy. Just plug the base in using a micro usb.

There is a thread. When I update it I'll post a link in here.
 
Last edited:
Any pressies arrive today?

They did!! Im working right now though so haven't updated the thread. It's a crazy time to be the head of IT at any company, its been totally manic but glad to say everything is holding up like an absolute champ and the entire business is remote working. :cool:

I still have about 10 packages making their way to me over the next x number of days and todays delivery was something small.
 
Impressive you've got everyone working remotely without a hitch!

Was the pressie anything exciting today which you can update us on :D

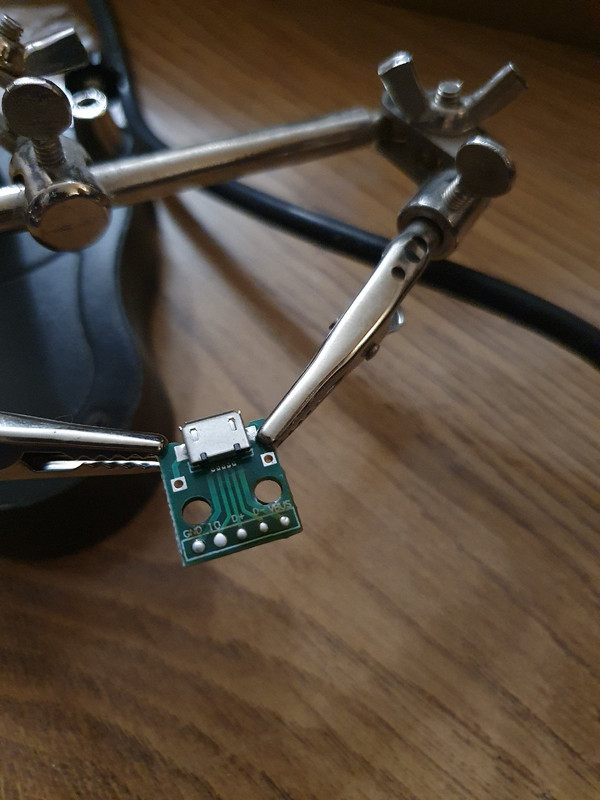
I made this, do something:


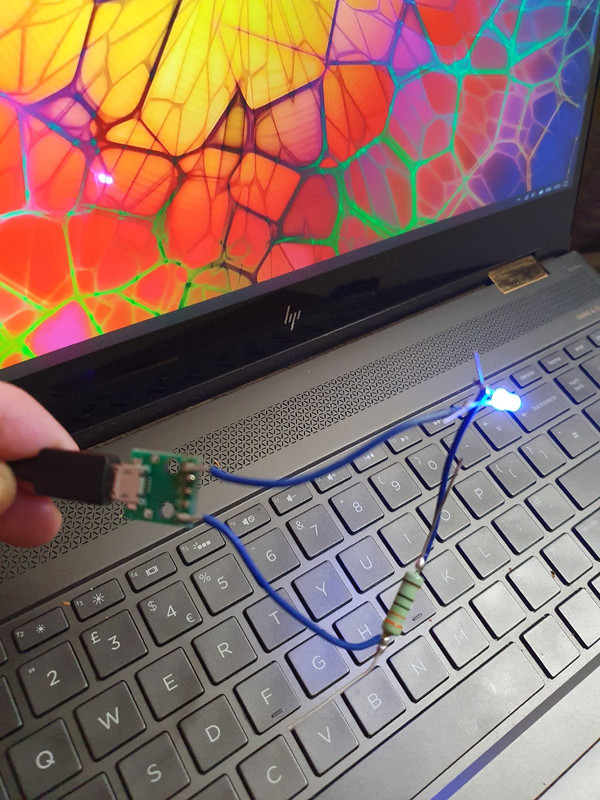
It now does this:


And is going to be used for this:


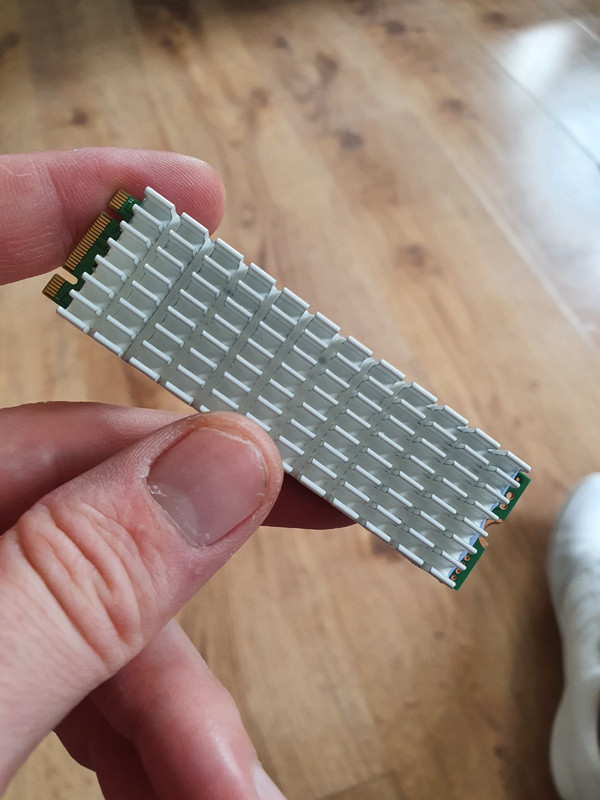
Using this stuff:


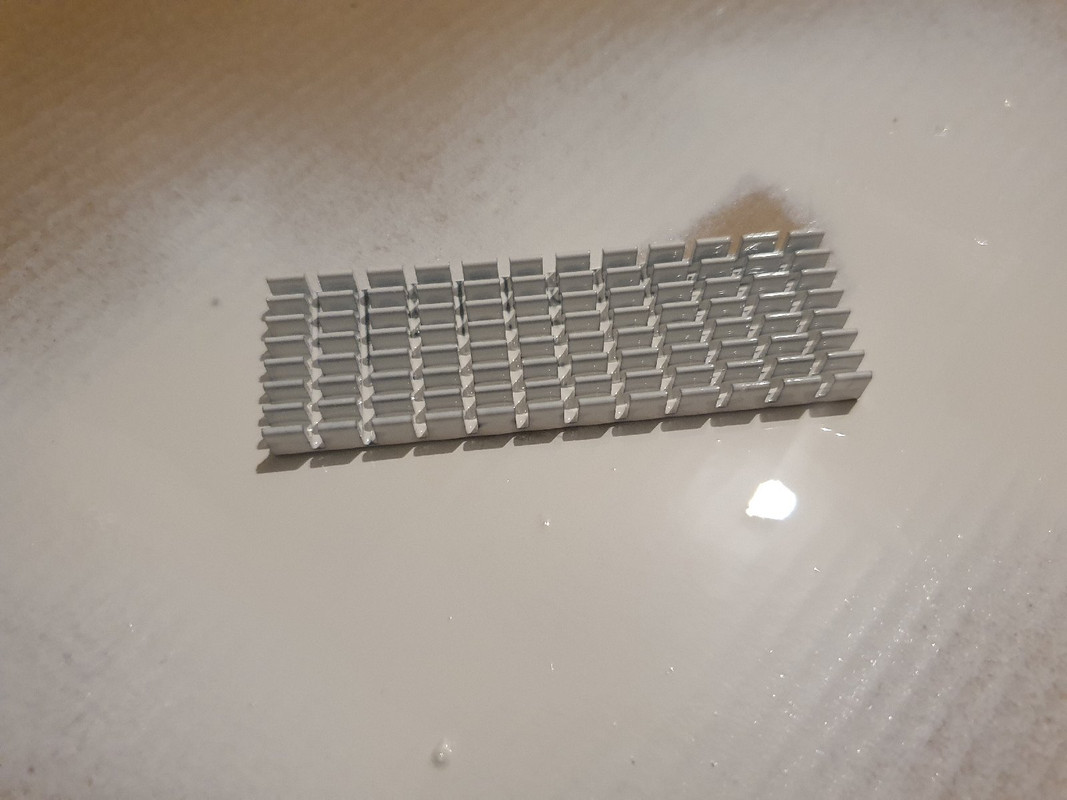
Then I remembered this also came so it's having its first coat:
 
:eek: I thought you made the pcb control all the colours on the laptop for a moment as I didn't scroll down far enough ahaha! That CPU epoxy looks ice cold! :cool: Do you use a temp control soldering iron for that?
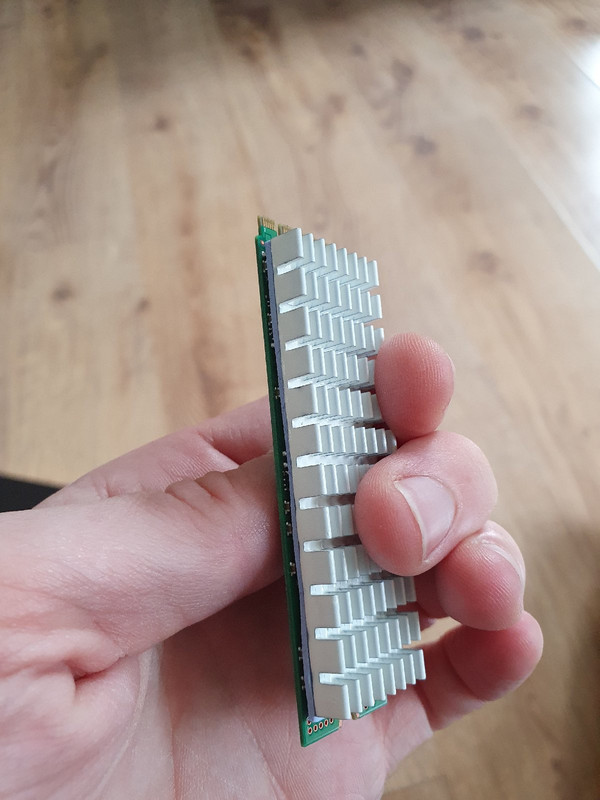
How many coats will you give the heat sink? Looking good!

Nope I just used a standard cheap iron for that. plenty of flux, tinned up the pads and away I went. It's just a simple 5v blue Led circuit controlled by micro usb. The usb will be set in the wooden base. To be honest though im not sure I like the less clean look of it now than what I had before. I may sand it back.

And I recon the sink will need another coat at least before it is ready. The white is also very slow to dry so you need to take plenty of time between coats. The trick with any painting is prep, then lay down a dust coat wait a minute then lay down a slightly thicker coat. Wait until it's sort of tacky then give it another coat and it should come out lovely. Always leave a problem to dry. It's when you chase it when it is wet that you get issues.
 
Last edited:
Back
Top Bottom