Repairing/Restoring my damaged Ford Capri 2.8i

Bit more work done.

After thinking for a while about what there is actually left to do now that i've cut all the rot out of the shell I figured I was starting to get to a point where I needed the welding done before i could do much else, i considered doing the engine swap but that iteslf brought up a set of issues. Firstly i'd need to paint the engine bay and therefore would have to fork out for the spraying equipment earlier than intended as well as buy all the paint & materials, also the welding was due to be done around late July/early August so i'd have to have the engine in and running by then or have no way of getting the car out onto the trailer, that means relocating the battery, new radiator, hoses, loads of wiring, new downpipes made, spending money on the engine itself (new cams & injectors, checking timing tensioners, painting engine).

I just thought stuff it and went & spent £215 on a Clarke Pro 90 Mig Welder with no welding experience whatsoever! :eek:

I have since watched plenty of videos and had some practice on sheet metal where i can get nice smooth welds, but it's not so easy welding in awkward places.

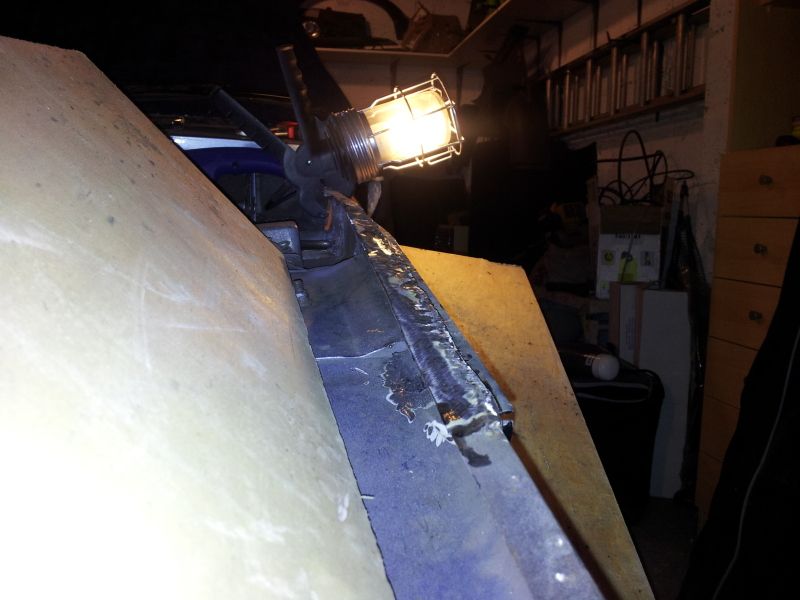
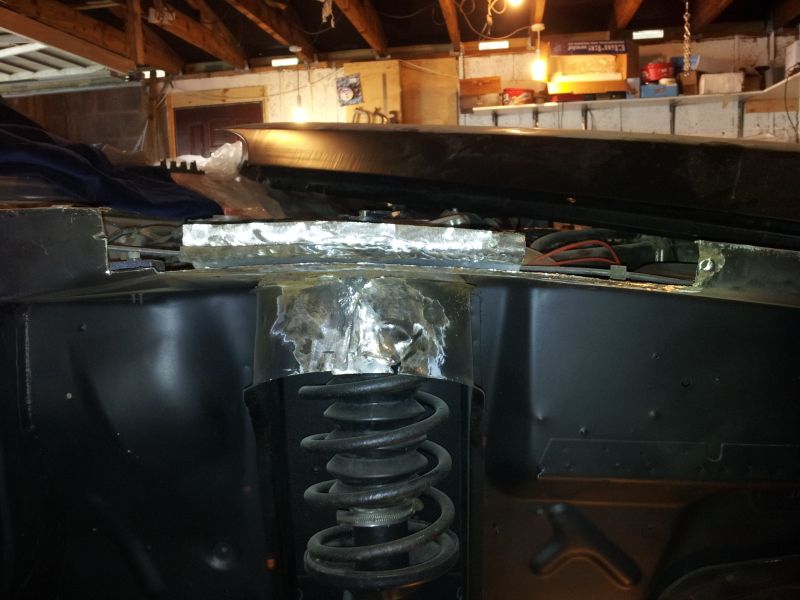
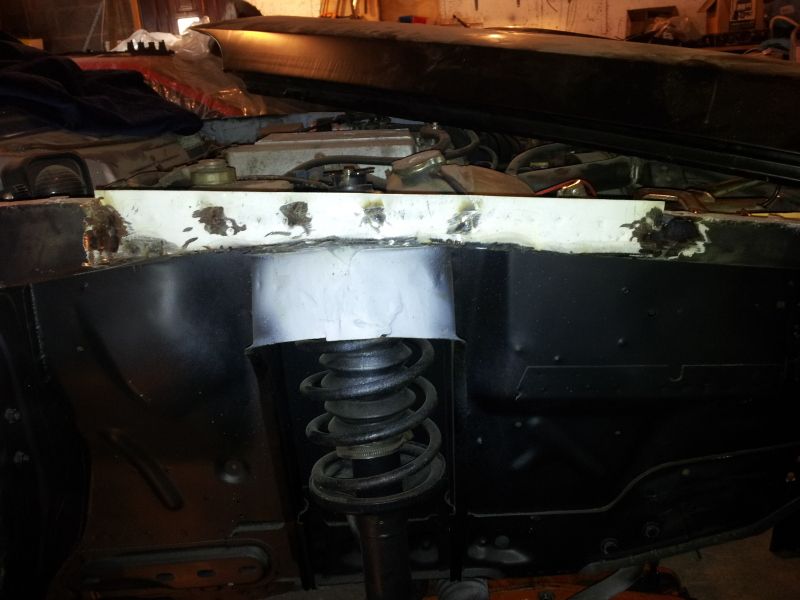
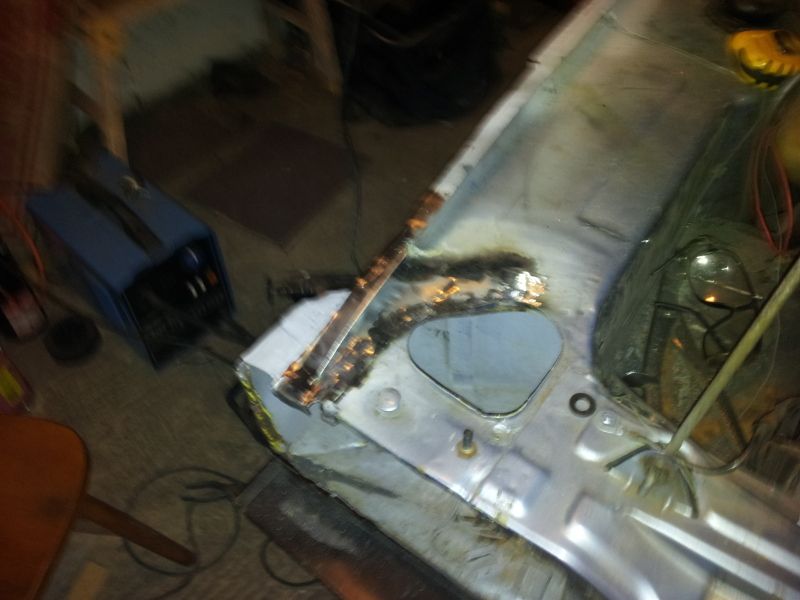
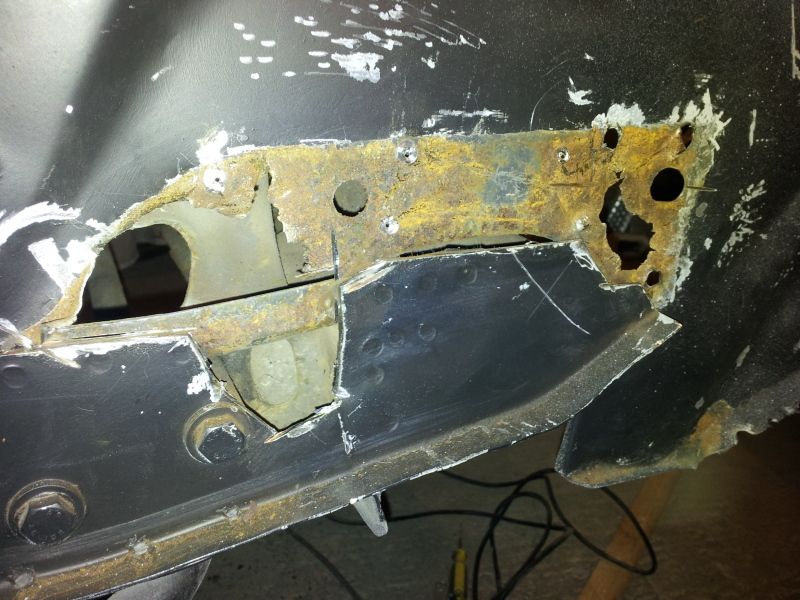
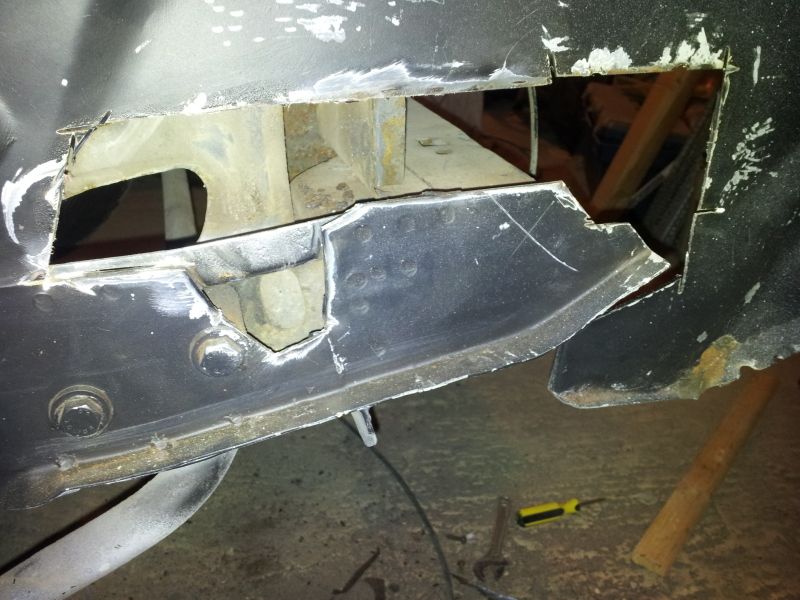
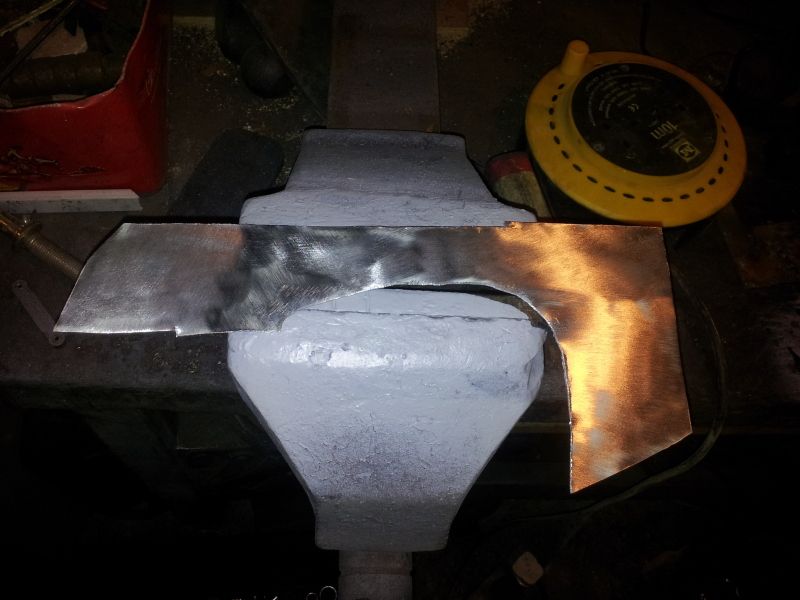
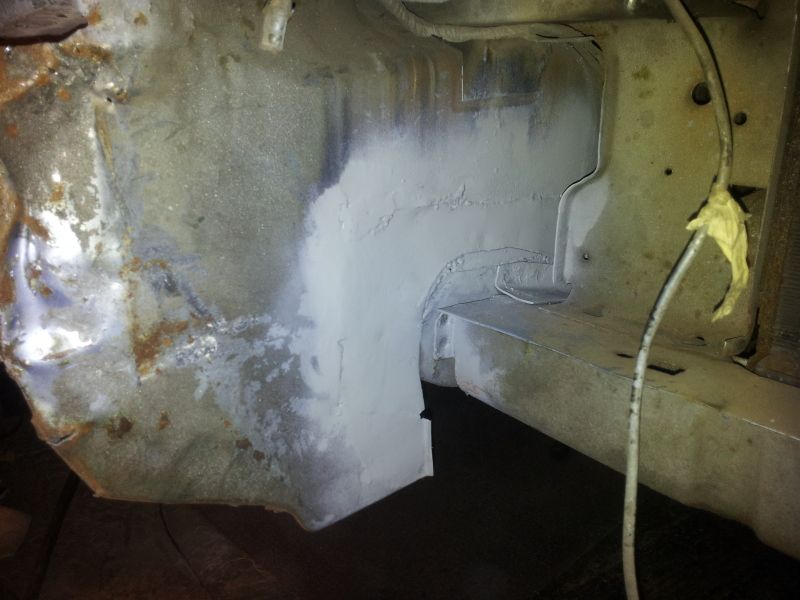
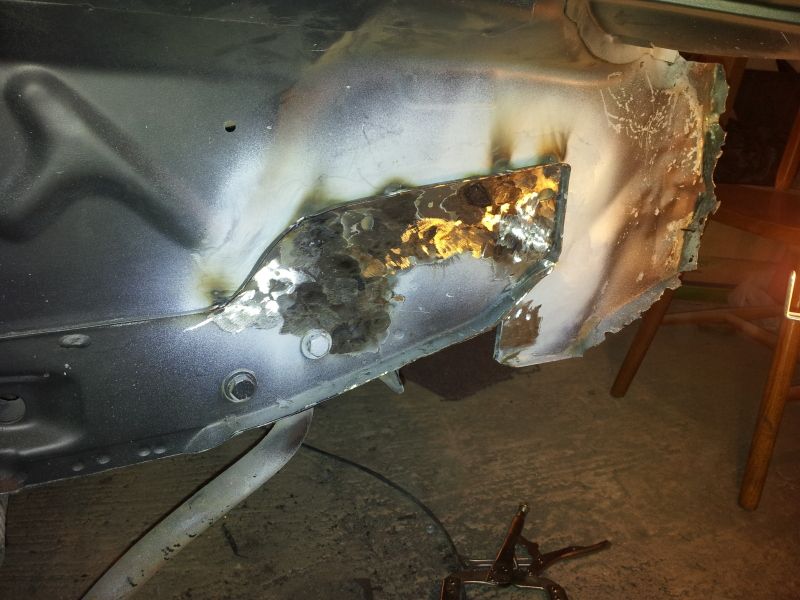
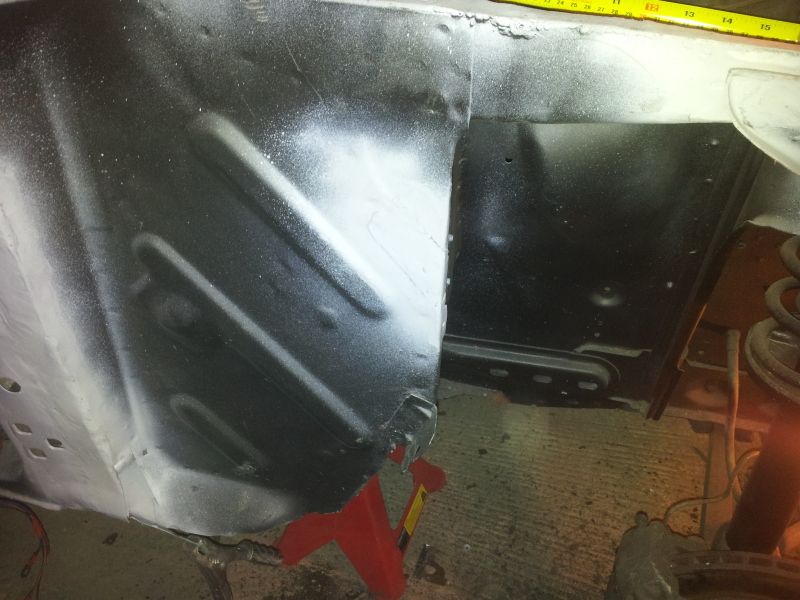
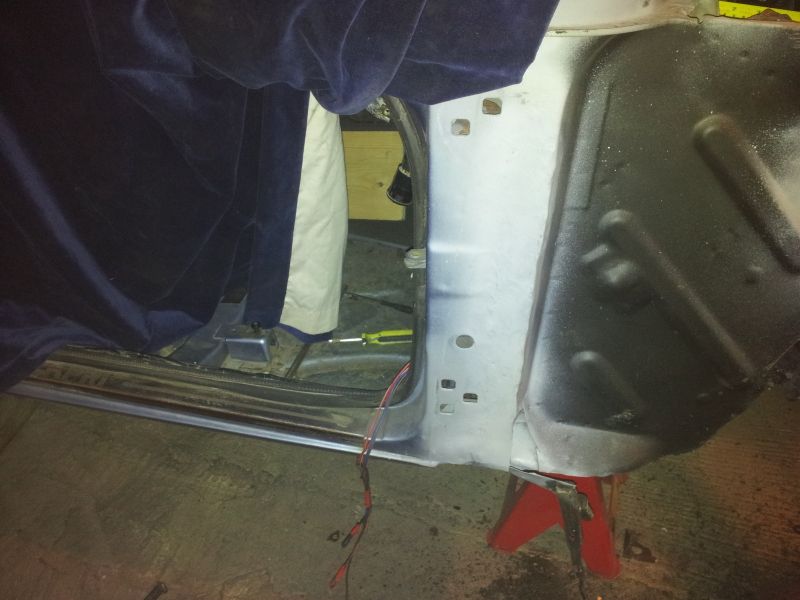
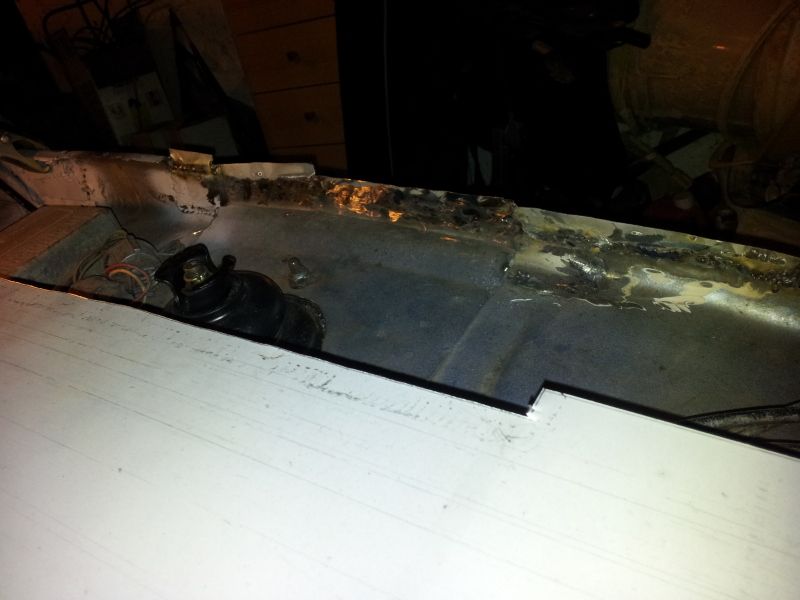
I've since rebuilt the passenger side wing mounting rail out of Zintec.
20120223_124301.jpg


20120223_133514.jpg


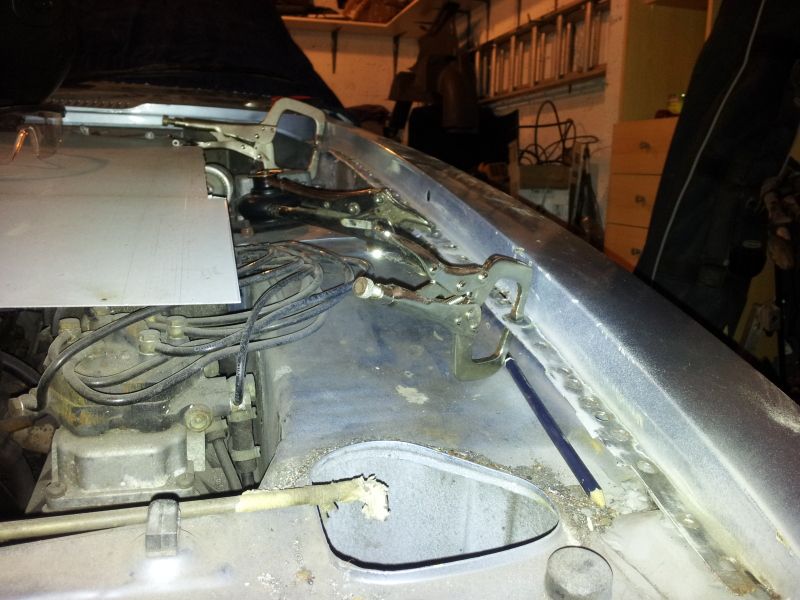
New mounting rail is a perfect fit, i was rather pleased!
20120223_134732.jpg


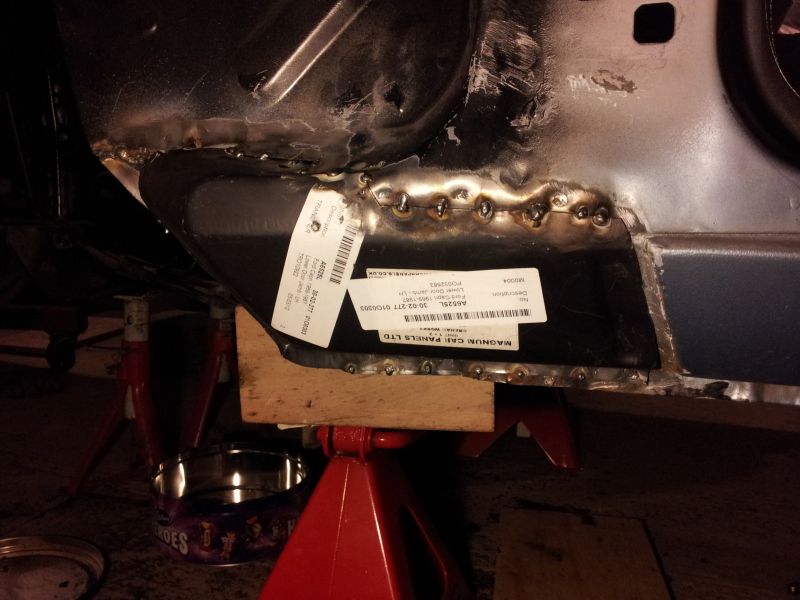
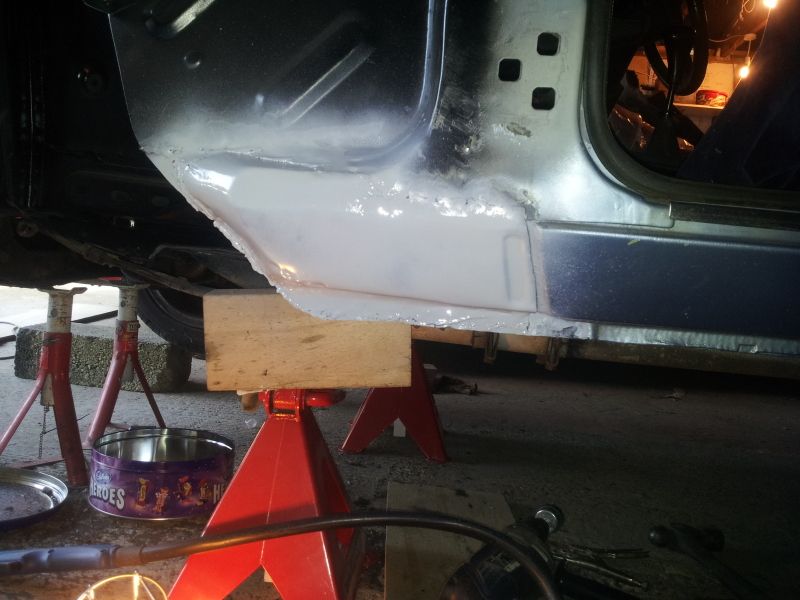
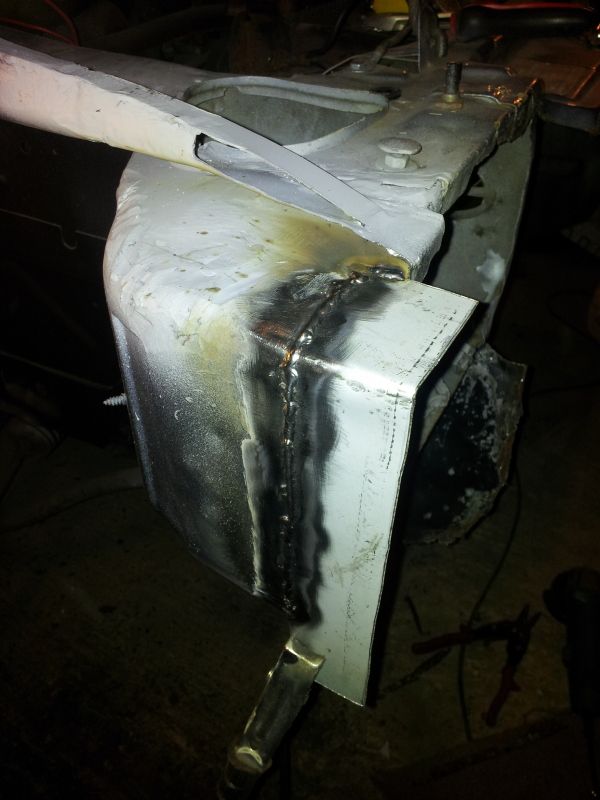
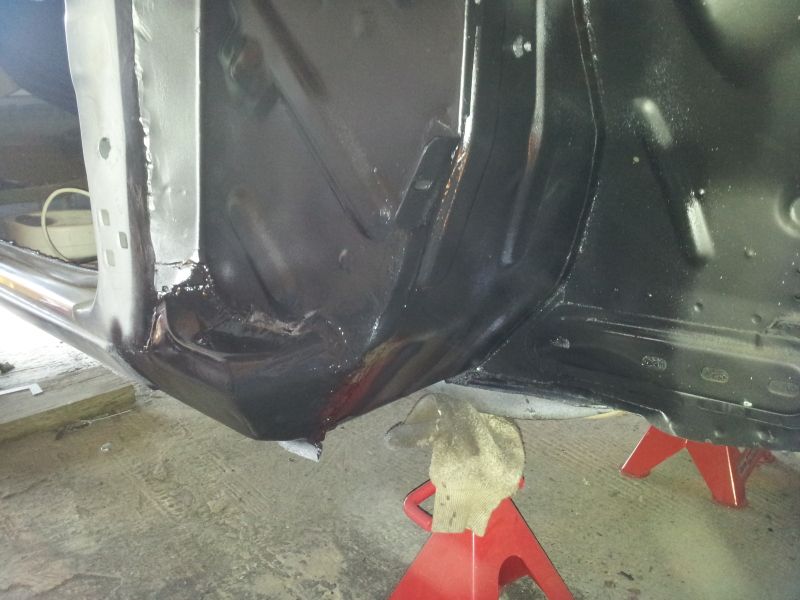
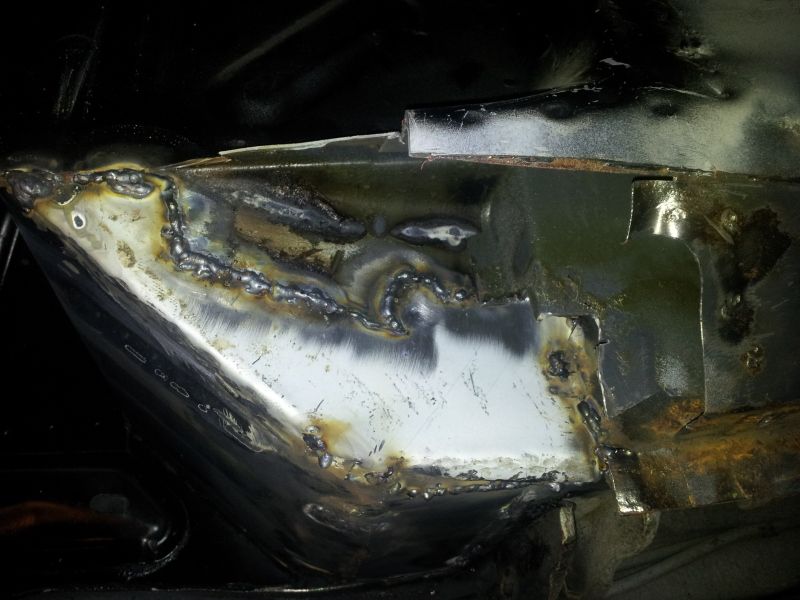
And i've welded a new passenger side floor corner in.
20120302_184953.jpg
 
Done some more in the last month or so -

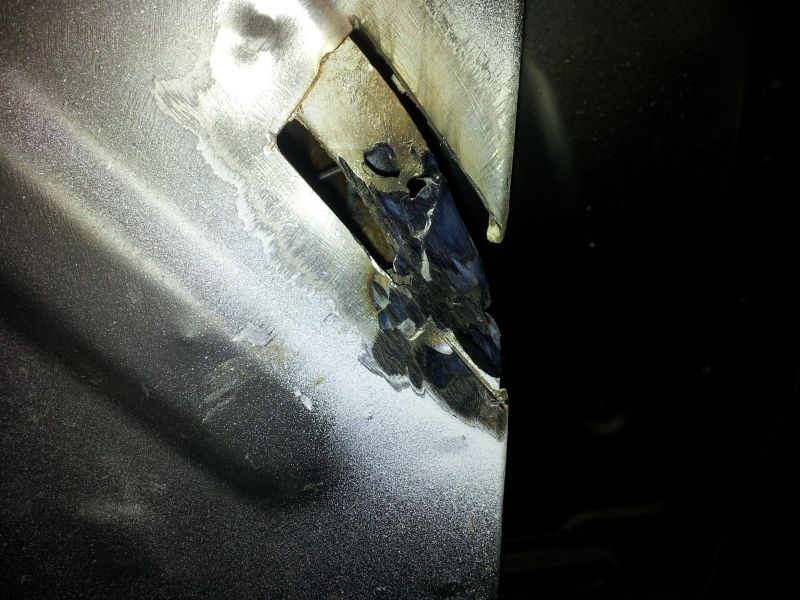
Passenger side A-Panel in progress

20120314_201947.jpg


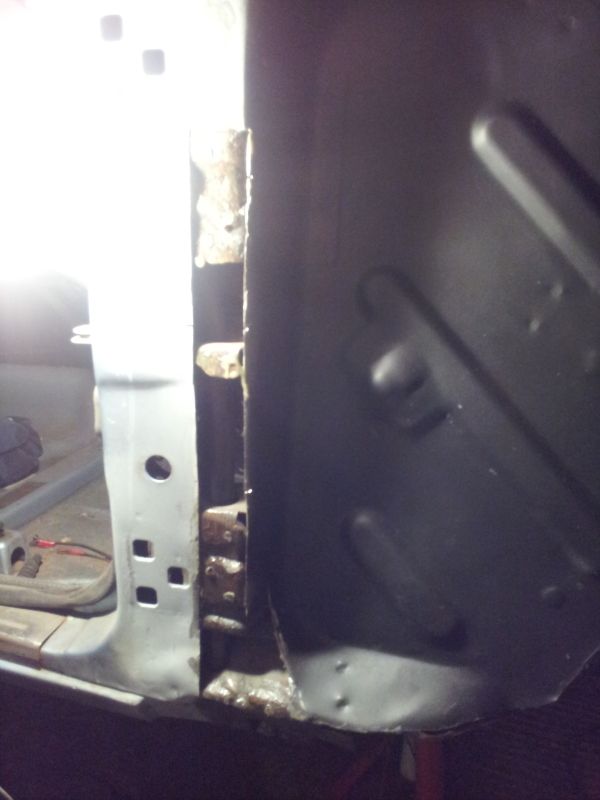
Almost completed, a few pinholes to sort out in the weld (sorted since pics taken) but it's all closed up now. I've switched to a large bottle of 95% argon 5% CO2 since doing this and it seems to be much easier to weld with.

20120320_170103.jpg


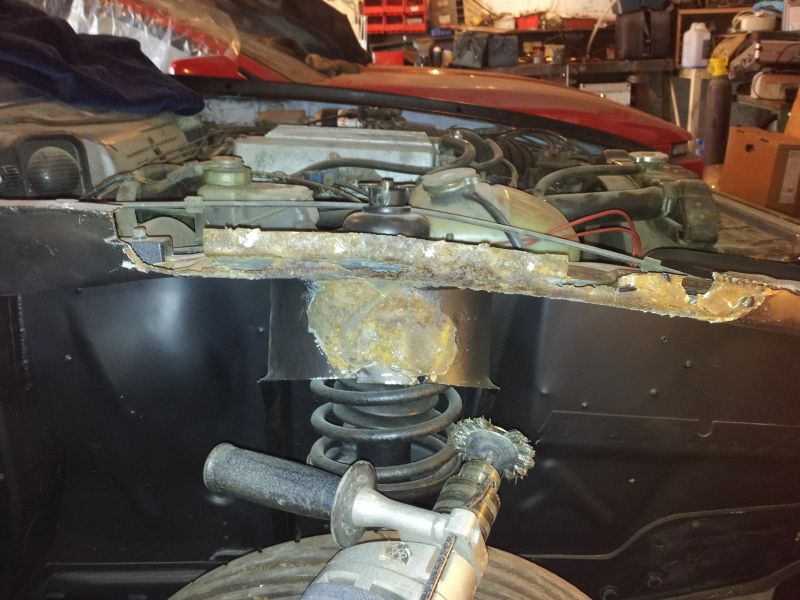
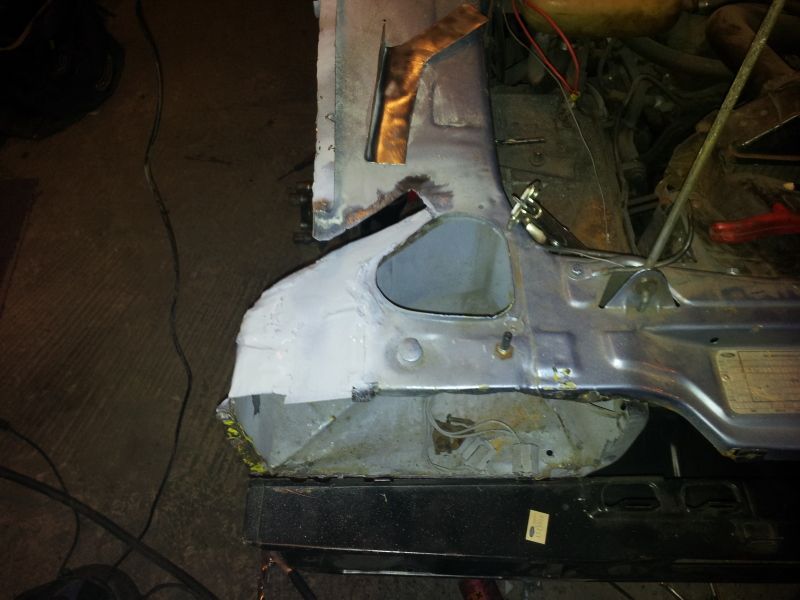
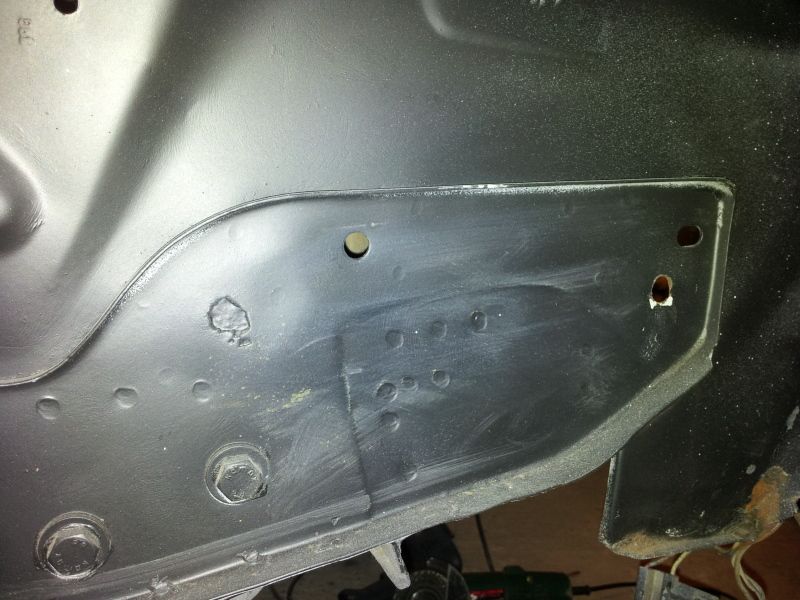
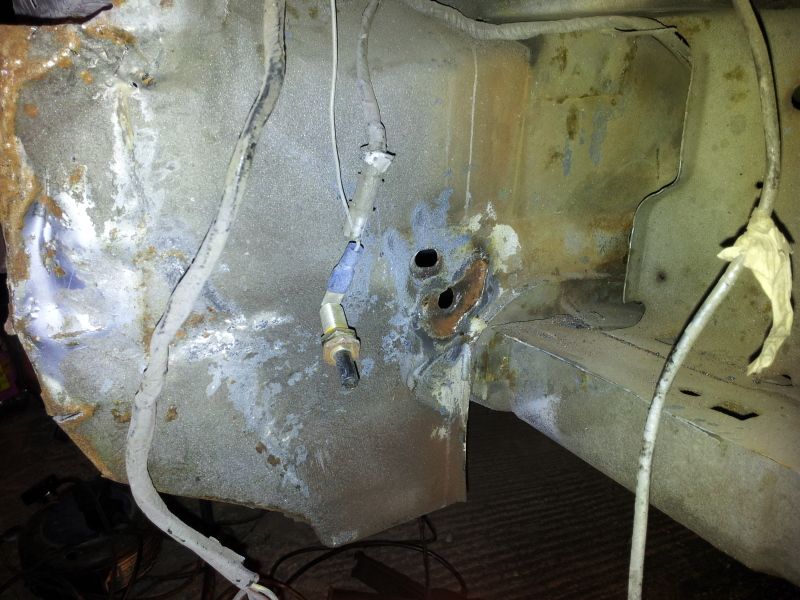
Drivers side inner wing top had some lovely grot hiding under the reenfocing panels-

20120329_122606.jpg

Choppity chop!

20120329_132416.jpg


All replaced with new steel-

20120329_172507.jpg


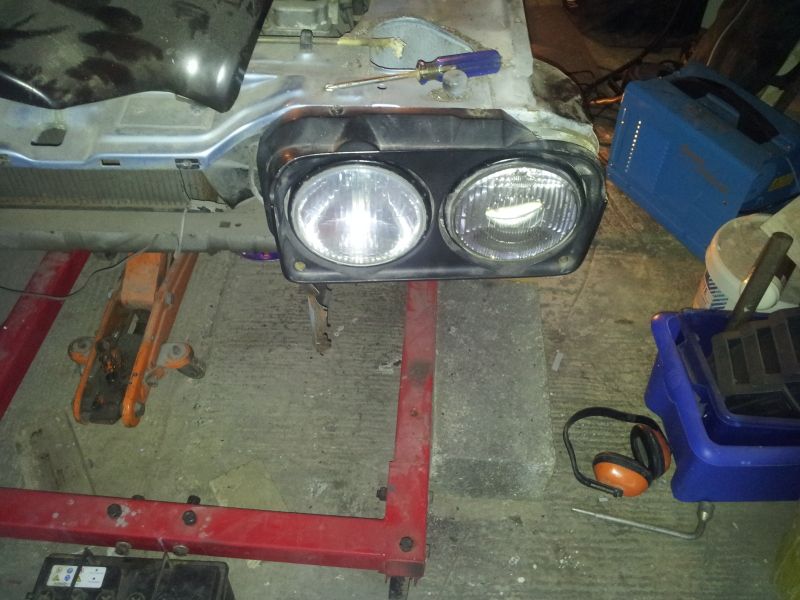
BMW Headlights fitted to one side, wired up and checked.

20120303_175015.jpg


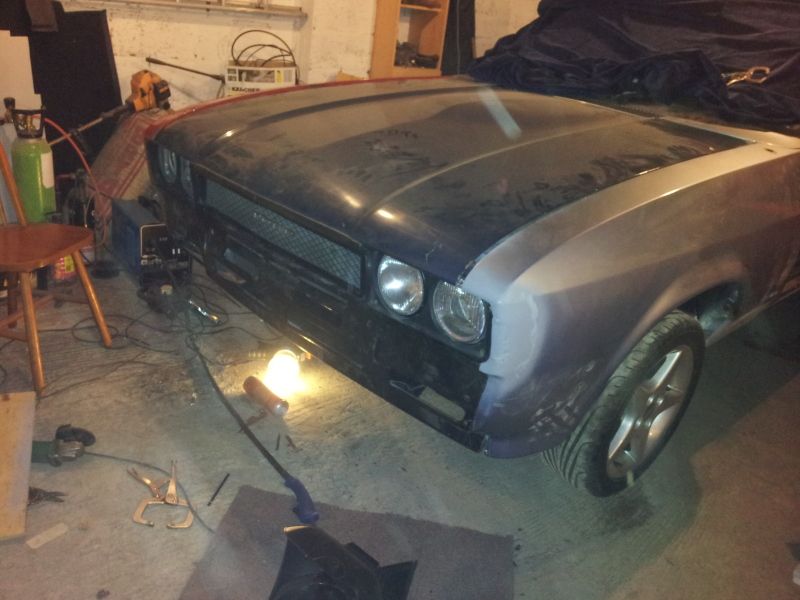
Had a job repairing the headlight bowl as the outer edge was still pushed back so rather than try & knock it back into shape and i've just re-built the front of it to bring it forward, this also deepens it by a few mm which means that the E30 BMW headlights fit nicely without slicing the back of the bowl off, i had to play around here fitting the new bonnet, wings & front panel along with the headlights & grille just to make sure it all lines up at the front properly, it was nice to see it sat there looking somewhat car like again even if nothing was actually properly attached but it all fits perfect! :D

Sorry for the blurred picture, all the rust has been replaced with new steel, you can see at the front where i've had to start to extent the headlight bowl.

20120414_160503.jpg


20120414_184542-1.jpg


New front end looseley fitted to make sure everything at the front actually lines up. drivers wing is still sat funny but i've cut part of the mounting band out as it was rusty so it's not sat right in the middle and the rear of the bonned is sat a few mm too low, but there is no point adjusting that as it's gotta be removed again once the front end is sorted.

20120414_175258.jpg
 
Ahh the mighty Capri, once i'd passed my test it was the 2nd car I purchased after my Cortina. Was an absolute beast to keep on the road in the wet.

Mine was always ok in the wet so long as i was light on the throttle but i had decent modern tyres on it, it'll be interesting to see how the back end copes in the wet with over 200 bhp and a shorter ratio rear axle, wouldn't mind a quaife LSD in future but that would have to come well after it's back on the road as i need money going elsewhere.
 
ugh, bad welding! try to go side to side over the gap and move slowly along it. abit like building lots of tiny bridges in a continous S shape all touching each other. HTH
 
ugh, bad welding! try to go side to side over the gap and move slowly along it. abit like building lots of tiny bridges in a continous S shape all touching each other. HTH

Thats sort of what i was doing but the earlier welds with co2 it was just popping and banging and generally being a pain. I'll find some pics of more recent ones prior to being smoothed off.
 
This is a more recent weld that the ones posted earlier, it does seem easier on argon and i'm blowing holes far less often than I was at first.

I do wish i'd forked out for one of those auto dimming helmets though.

20120417_120509.jpg


I'm working in a kind of overlapping "C" shape.
 
that welds looking quite good and the more you do it the better you get! and less grinding back you have to do ;)
yeah those auto dimming helmets are very good, easier to see where you are and less faffing about :D
drawing C's is a better way to describe it than a squished S haha :o
 
Done some more today as i had a day off work.

This was one of the bits that has been worrying me slightly as i expected this to be a challenge, it's a common place for rust to take hold.

First signs something is amiss-

20120421_164150.jpg


Having a look round the back shows more rust which i'd already poked out from behind.

20120421_165215.jpg


Part of the top panel obviously had to come off to reveal this -

20120421_191239.jpg


20120421_195610.jpg


New panel to replace the old one cut out of zintec, this was a pain to do as it was really fiddly, i ended up using an old magnet i found to hold it in place as access to the back is awkward.

20120424_140223.jpg


Rust be gone! :D

20120424_153845.jpg


20120424_175954.jpg
 
Wow, I've missed a few updates. Good to see you still persevering and sticking with it. Starting to take shape now!

Re. your welding... it's not easy letting new steel into old stuff, especially when you're butt welding it. Most of the welding on my Anglia was heavy spot welds to secure the replacement part, followed by more building up heavy spots then filling in the gaps with nothing more than short stitches. It's almost impossible to run a weld bead on this sort of work and get adequate penetration because of the quality of the steel, a lot of oxygen ingression and pollution from the paint that has been on there for years. Even when you take it back to shiny metal it is still very difficult to weld because of this. I've always had more success with CO2 than argon mix because it seems to be a lot more forgiving on old steel whereas argon mix is much better on new steel.

Ahh the mighty Capri, once i'd passed my test it was the 2nd car I purchased after my Cortina. Was an absolute beast to keep on the road in the wet.
Proper man :cool:

You should try an Anglia with 145hp and low, rock hard suspension in the wet. Handful? You betcha :D
 
More done, i forgot to take a picture of the bit i was working on last week, which is now finished apart from re-drilling the holes for the bumper irons. The reinforcing plate that i cut off was left to soak in a large tub of Bilt-Hamber Deox-C (which is rather amazing stuff) to get the surface corrosion off the back and then welded back into place with a bit of new metal where the rust was starting to poke it's ugly head through.

Looked like this just before finishing up-

20120428_132433.jpg


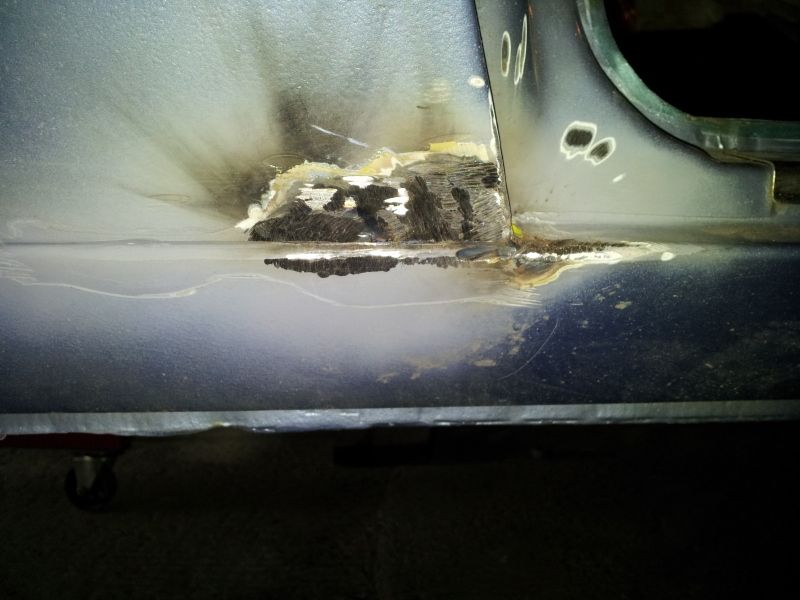
I then moved onto another little bit on the A-Panel that is right behind the dash so i had to spend an hour trying to get what was left of the lower dashboard out and the soundproofing out from right behind the pedals or risk torching the car and the garage at the same time. I decided to lap weld this bit rather than butt weld it in.

20120428_145700.jpg


And whilst i was at it i started to get this bit sorted out too-

2012-01-15151725.jpg


Left it looking like this -

20120428_185404.jpg


20120428_185346.jpg


Can't say i'm 100% happy with the weld in that last pic as on close inspection there are still a few tiny pinholes that need addressing, this is going to need a skim of filler to smooth out also as it will be partially visible with the door open and the nasty angle grinder marks need smoothing out.
 
Got some more done in the last few days. Managed to get the floor on the drivers side patched up fully and also managed to close the bottom of the A-Panel up.

Much better with the gaping hole pictured near the start of the thread closed up.

20120512_182622-1.jpg


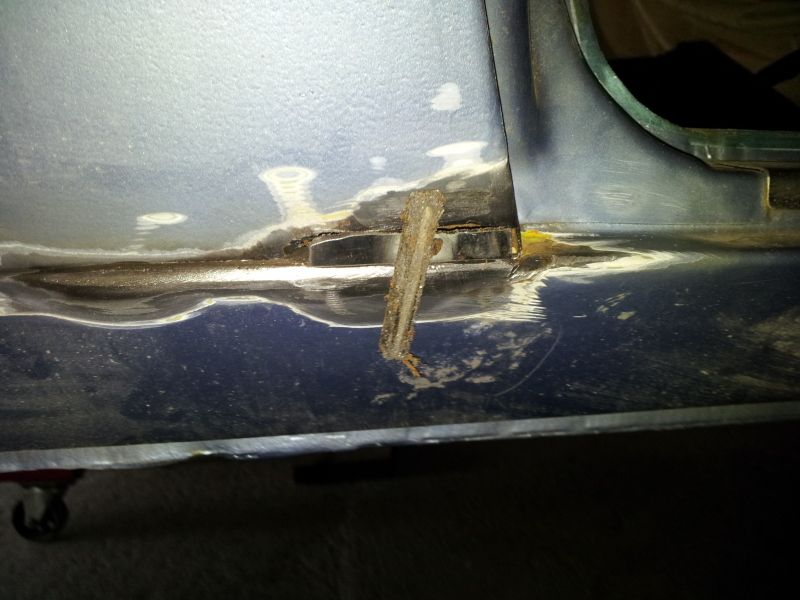
I've also sorted out a bit where some paint was bubbled just behind the drivers door but my stupid Samsung Galaxy S2 was playing up and decided not to save any of the before pictures. I had to reboot it to get it to start saving photographs again :mad:.

Anyway, you can see where i was trying to make a repair patch & hold it in place with a magnet.

20120514_185121.jpg


Welded in & ground smooth (ish)

20120516_173306.jpg


Hole gone! :D

20120517_193736.jpg


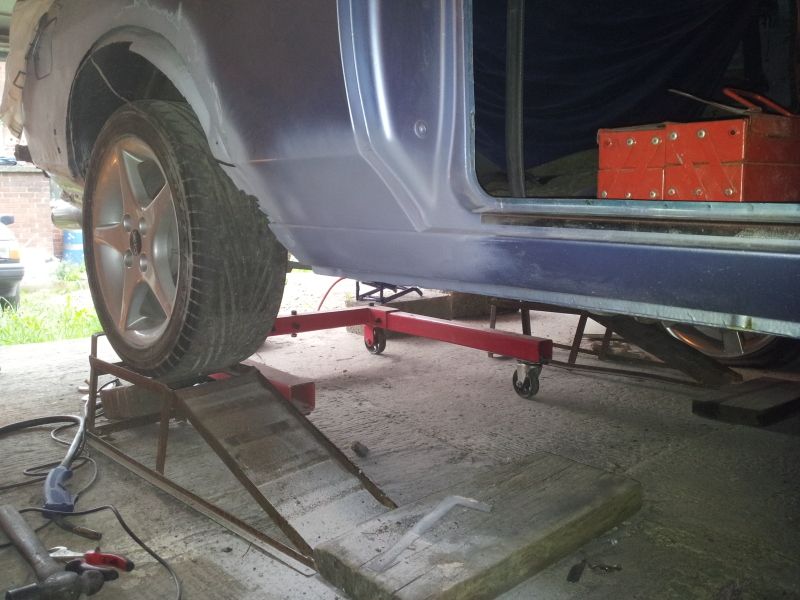
Made a start on the wheel arch too today, not looking forward to tackling that bit, as you can see in that last pic & previous pics much welding is required and i'm worried about distorting the rear wing :(
 
Take the wheelarch very, very slowly. Heat is the enemy!

Started on the inner wheel arch today, went really slow with the welding so it took forever but it's mostly welded in now, can't see any signs of distortion. :D

Just need to finish the inner arch off on Saturday & then get the outer arch welded in along with the real lower panel & hopefully do a little bit that needs doing near the spring hanger then I think the drivers side is 100% welded up repair wise.

The drivers wing I bought which is a genuine ford one needs a day or so spending on it, then need to get the windscreen out to do a scuttle panel repair & do the passenger side arch. After that i need to start thinking about buying some painting equipment before stripping the engine bay down & painting it in the cars new colour.

Then the engine swap can begin :D

Anyway, i left the wheel arch looking like this, just a little bit left to do.

20120522_184028.jpg
 
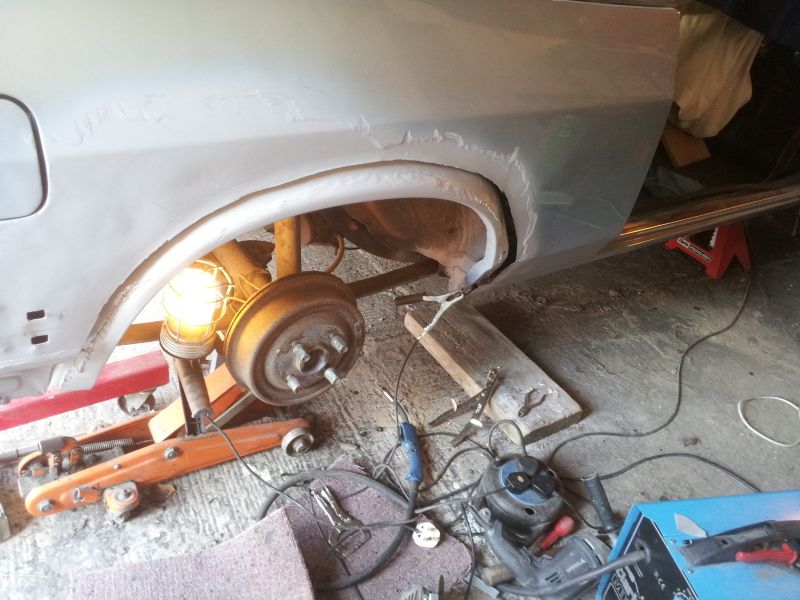
Outer arch & rear lower quarter panel fitted on the drivers side! And i managed to do it without warping anything, it did take me all day though!

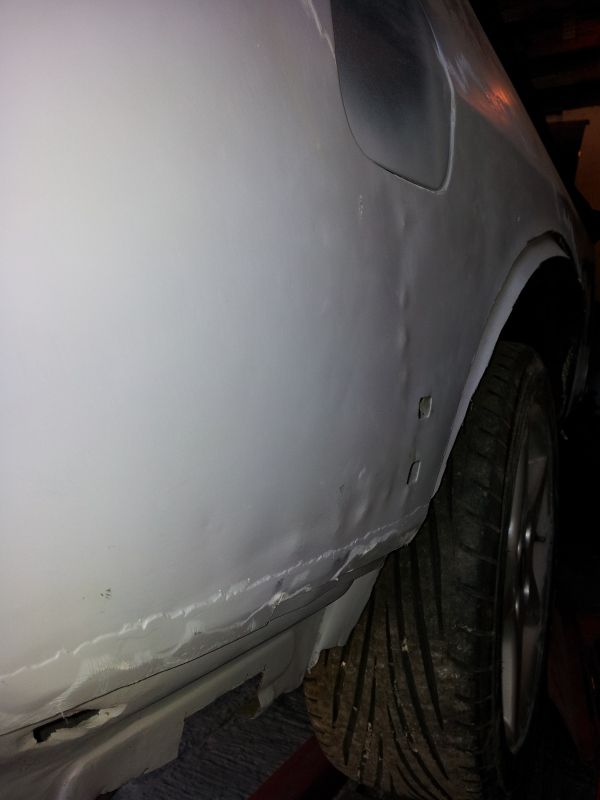
This bit has been bugging me for ages as i was unsure how to tackle it, i know the best way is to butt weld the new arch in grind the welds flat & smooth off with a skim of filler, but due to the state of the rear quarter panel loads of filler will be needed here anyway, i did consider replacing the entire rear wing at one point but the costs involved in just purchasing one are crazy and the fact that i've had the car for 7 years & not even known that the rear wing was damaged makes me think that i'd be best just putting it back how it was (minus the new panels welded over the rusty old ones)

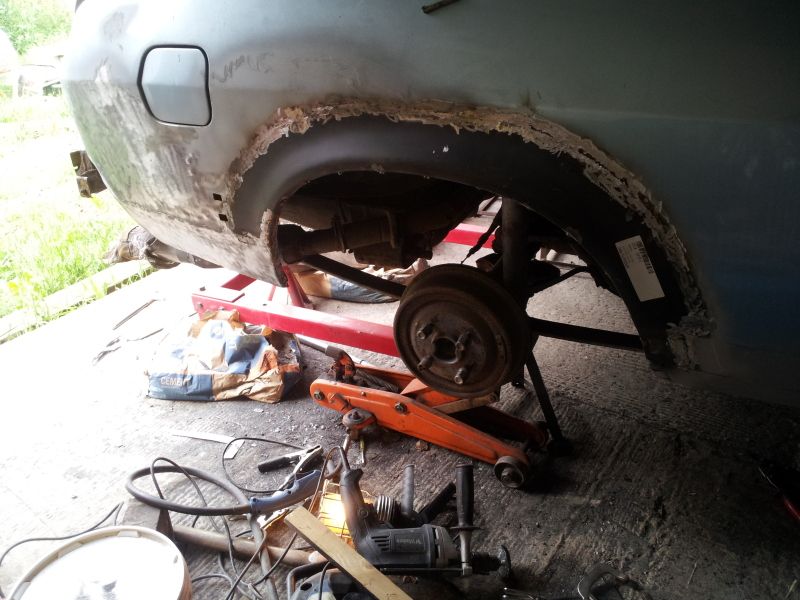
Here is what i found upon taking the rear wing back to bare metal (before i did the inner arch) looks like it's been dented below the fuel filler cap & then knocked back out from the inside & smoothed off with filler.

20120512_172120-1.jpg


I actually ended up doing a slight lap weld of the new arch, slightly bent the edge of the original panel in then welded the arch on it's obviously going to want sealing up at the back here & then skimming with filler at the front to fill the groove as well as a mm or so skim over the rear wing behind the arch to smooth out those ridges & bumps.

Arch & quarter panel welded in & just being smoothed out with the angle grinder.

20120531_165748.jpg
 
Back
Top Bottom