Repairing/Restoring my damaged Ford Capri 2.8i

Still reading your thread - good job!

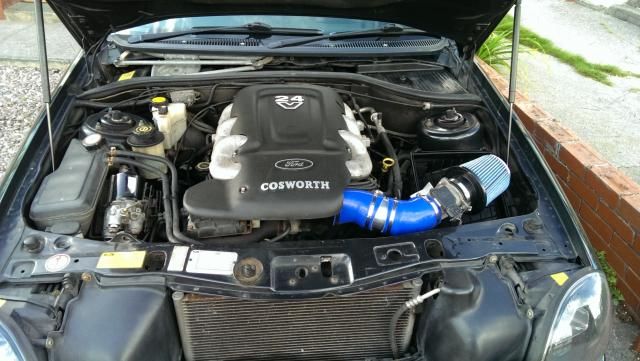
I've been playing with my Cosworth recently:-

IMAG0353_zps4daec5e1.jpg


Cone filter, Piper Cams, chipped, 3.5bar fuel pressure valve.
 
I've been playing with my Cosworth recently:-

The ECU i'm using is chipped (although if I have a few good months at work I may go for an Emerald ECU), i'd be keen to know what cams you used as I want to bin the standard BOA cams. Do you still have your stock BOB cams, I may be interested in purchasing them?
 
Last edited:
Nothing ever goes to plan!!

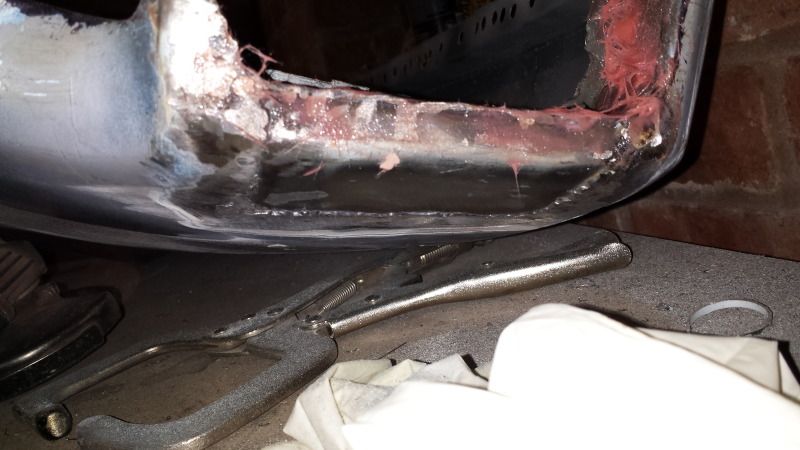
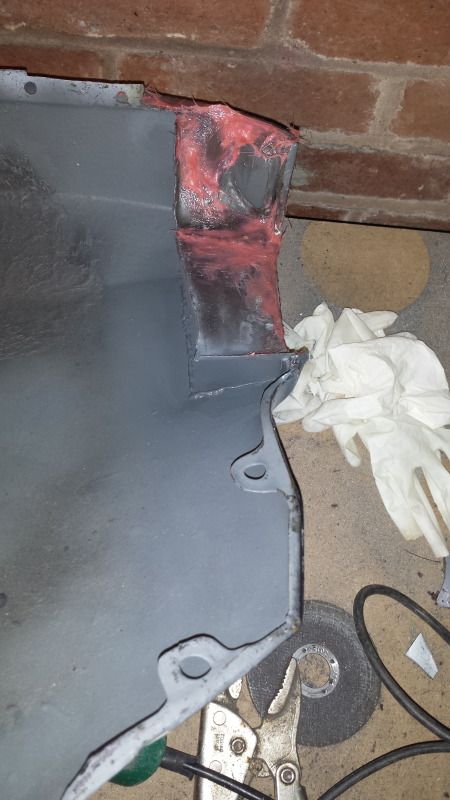
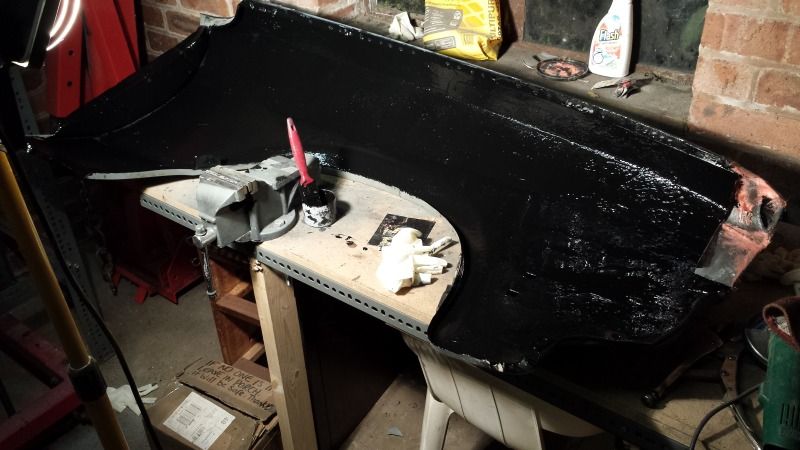
Over the last few days I've managed to make a repair section for the wing tip, get it welded in, epoxy mastic the inside of the wing, then go over it with underseal.

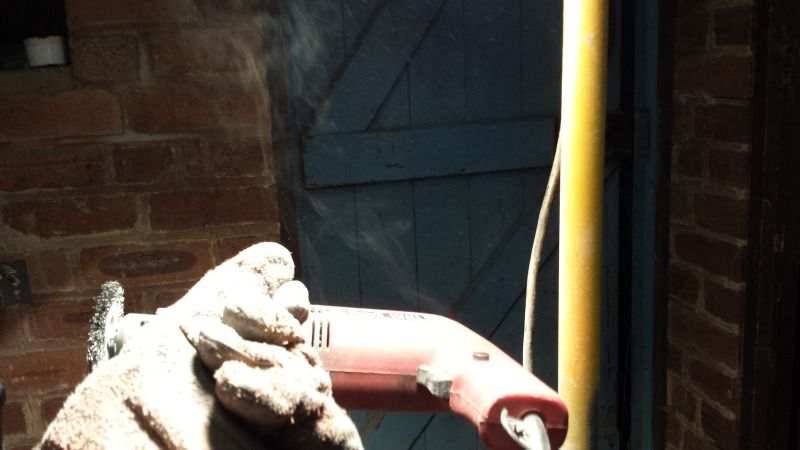
I did start stripping the paint off the wing with a wire wheel but then this happened as it seems the el-cheapo drill wasn't up to the job-


Yes that's smoke.

Wing tip repaired-


Wing inner coated in lashings of epoxy mastic & underseal-


It's now ready to be welded back on, unless i'm forgetting anything I then have no more use for the welder apart from making the exhaust downpipes next year.

Once it's back on i'll give it a skim of filler where needed & get it primered.
 
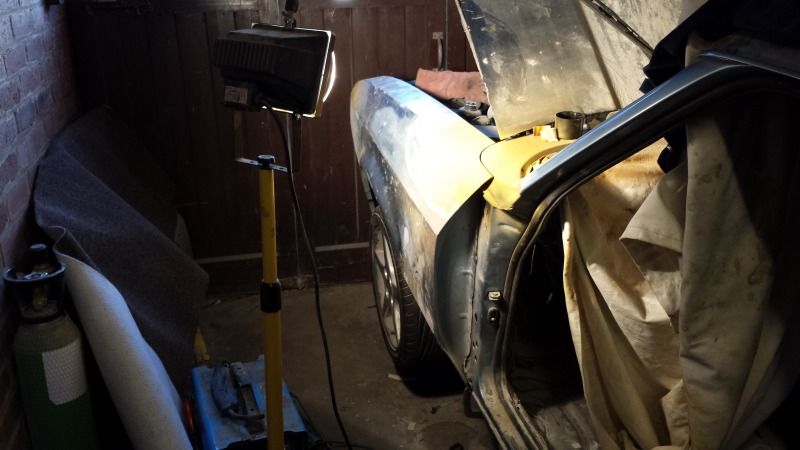
The approach of Christmas has slowed things down drastically, however today I had a few hours spare so I have spent it re-fitting the wing, I just need to re-fit the door on Boxing Day if I can coax my dad over to fasten the nuts whilst I hold it in place & then if it all lines up nicely I can weld it in properly down the back as it just tacked in for the moment. I then want to run a bead of weld down either side of the bonnet to make the panel gaps a bit tighter like they are on a modern car.

Decided I will just throw some primer over the top of it for now & then flat it back & properly primer it in the summer when I can do it on the driveway in the sun where the light is better.

Look! No clamps! :D

 
Finally a bit of progress, spent the last 2 days stripping the drivetrain from the car. The engine, gearbox & propshaft are all off.

If things go to plan & I know they never do then I shall be spending the next couple of weeks evenings & next weekend cleaning the engine bay & getting fresh paint on it,, this includes stripping the steering rack & crossmember for painting too, at this stage as I am undecided on a colour it is likely to end up with a black engine bay.

Following that I need to get the new engine in the garage, onto an engine stand so I can get it all de-gunked & looking clean & shiny.


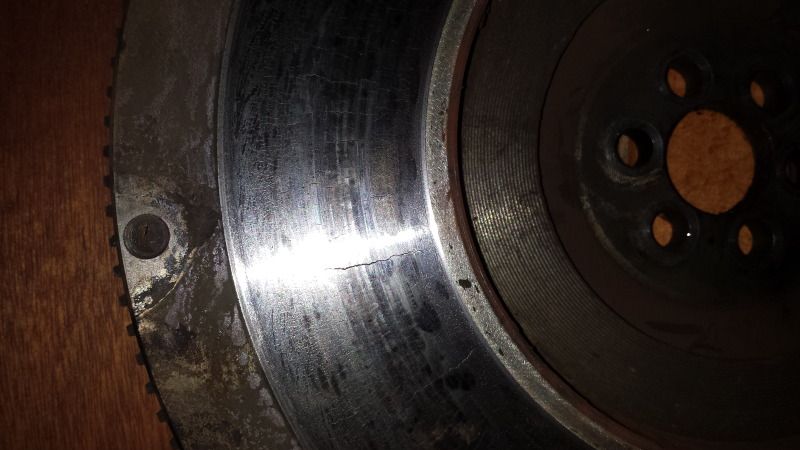
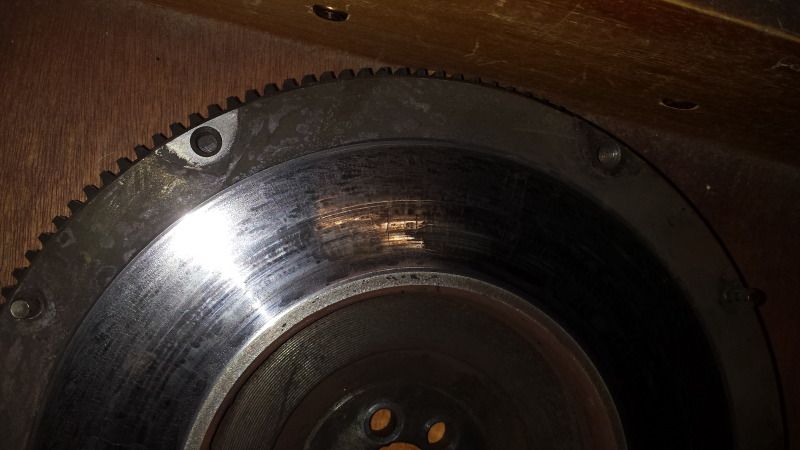
I did come across this issue with the Flywheel, it appears to have surface cracks which following a bit of googling I don't know what to do, some sources say these are normal heat cracks & others say to bin it, any opinions-


Another update posted as I had the rare opportunity to spend a full 8 hours in the garage today & had some time last week too.

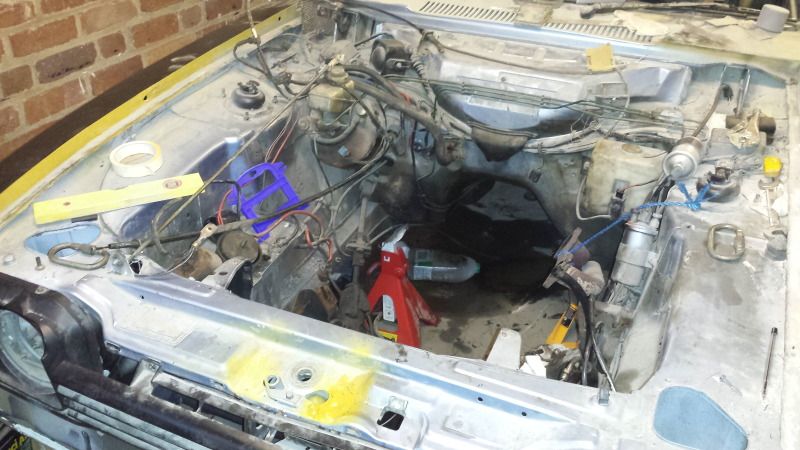
With the engine out I've been stripping the engine bay down & sorting the front suspension out. I have the entire brake system removed from the car right back to the rear axle apart from the handbrake, all steering parts, all the fuel lines out & the wiring loom out meaning it is empty and ready for modification to fit the new engine in which seems to be a fair bit wider due the pair of DOHC heads.

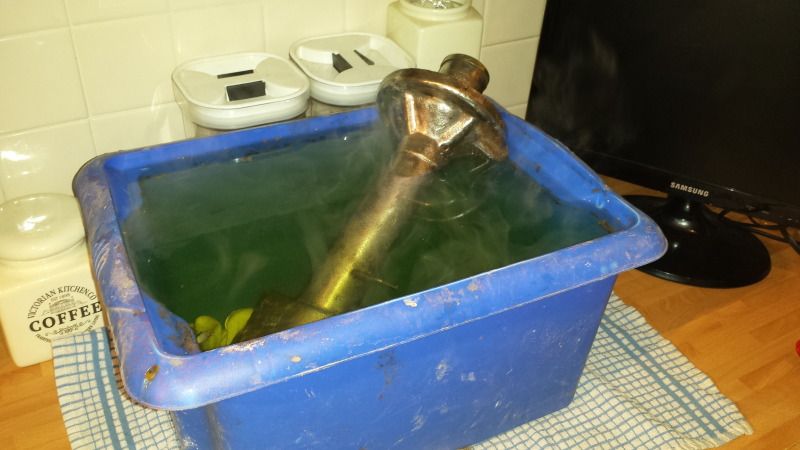
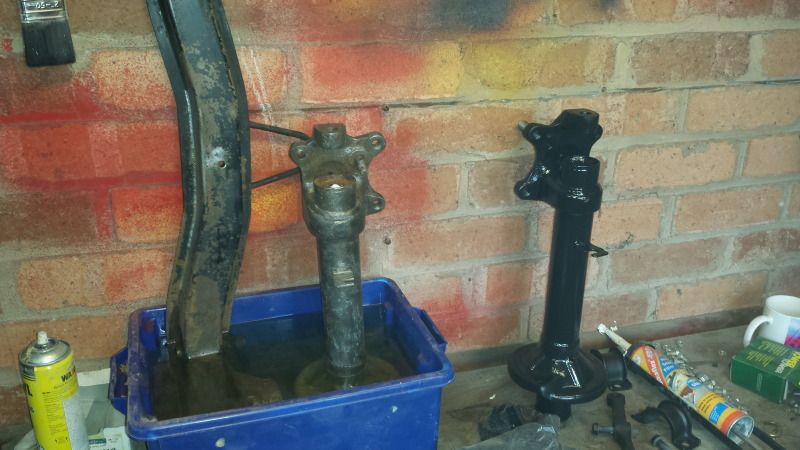
One thing that has been bugging me is some corrosion appearing on the front struts I treated with the Deox gel almost two years ago so they have been stripped back again but this time I have stripped them fully, including removing the shocks from them so that I could submerge them in hot Bilt Hamber Deox-C solution for a few days.

Again they get taken to bare metal-


Needless to say the GF wasn't too pleased when she got home & saw this steaming away in the kitchen which needed to be there for about 5 days as the struts don't fit fully so I had to turn them upside down after a few days.


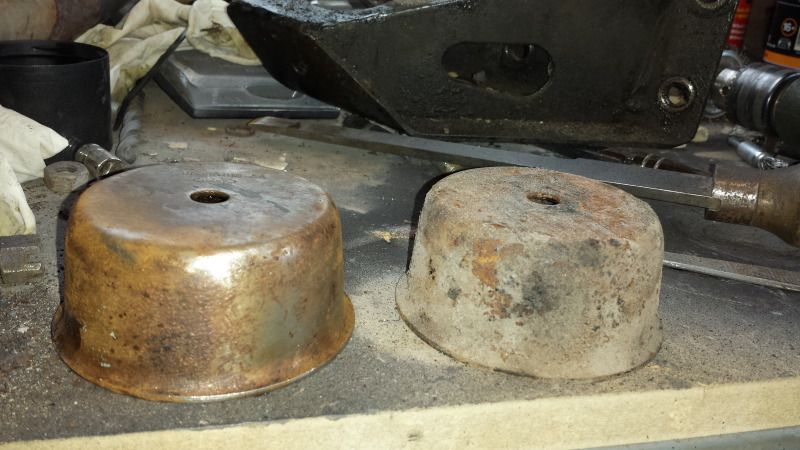
The engine mounts had a fair bit of rust on them so they too got the same treatment-


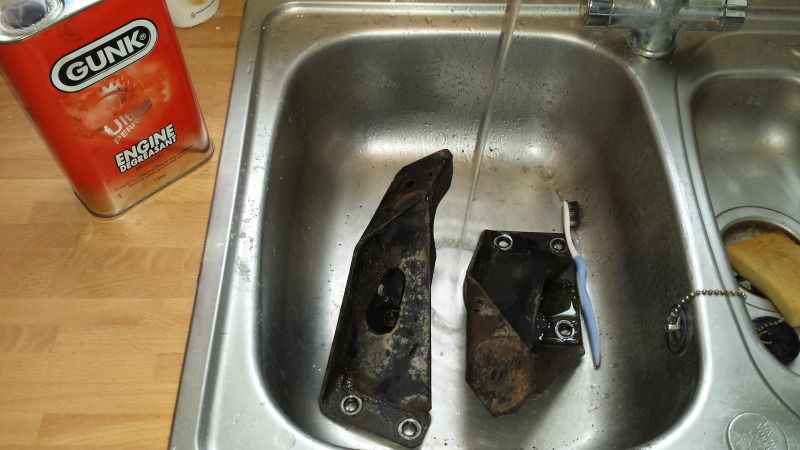
Out came the degreaser as pretty much all the mechanical components under the car were covered in masses of oil & grease -

Making good use of the kitchen sink whilst the GF isn't in-


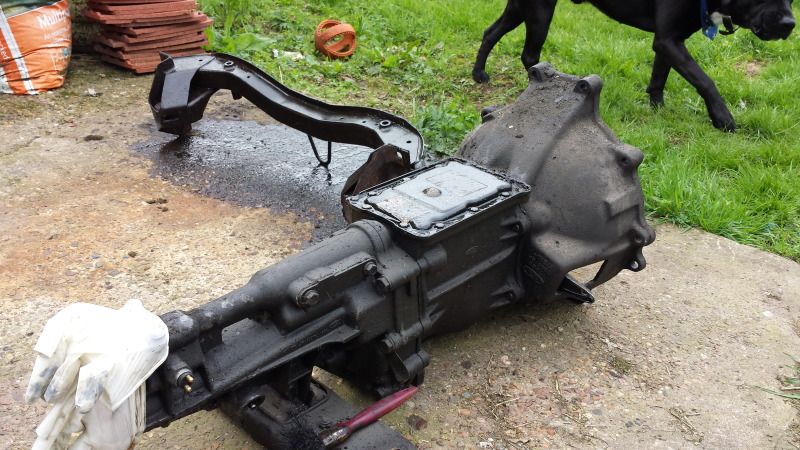
Making a mess of the path too -


Drivers side of the crossmember pretty corroded-
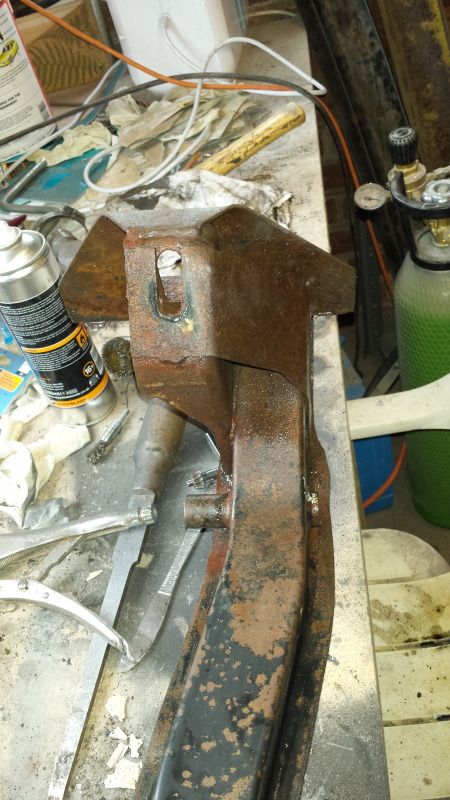


All taking a bath -


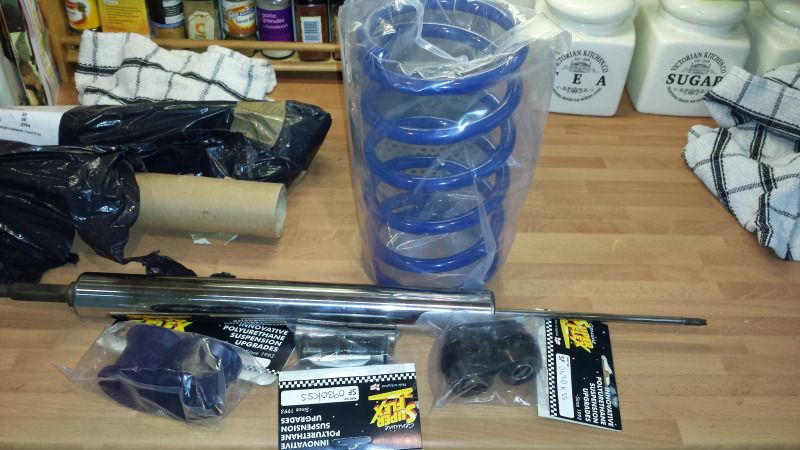
I also took delivery of some new parts which includes a new flywheel to replace the damaged one, polybushes for the front end, stiffer front springs which should also drop it an inch (the ones on it were at least 20 years old so probably sagging, maybe only half an inch then). And rather luckily I managed to get my hands on a pair of reconditioned Bilstein inserts which seem far stiffer than the ones that were fitted which were probably 30 years old anyway.

Just waiting on a pair of new track control arms to arrive too as one of the balljoints is really stiff. Should be a lot tighter up front than I remember it when done now :)

 
I definitely do not like the look of that crack on the flywheel. I wouldn't use it like that. If that splits apart at revs it'll come smashing through the bellhousing and could really injure you. Have a look at flywheel failure videos on Youtube if you need convincing :eek:
 
Bit of an update, again slow progress, but progress is progress.

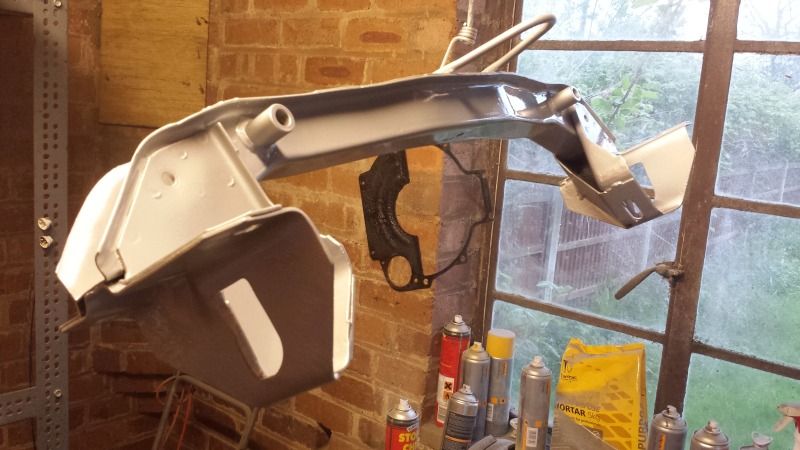
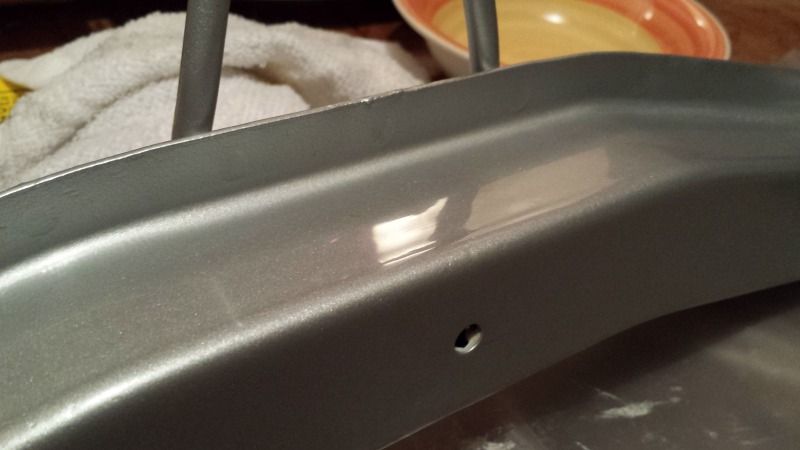
I have decided that the mechanical components of the car will mainly be silver & have therefore been painting & lacquering the front suspension & steering components along with the engine mounts etc as the new engine will sit on the original mounts perfectly.

Everything is a lovely clean shade of this -


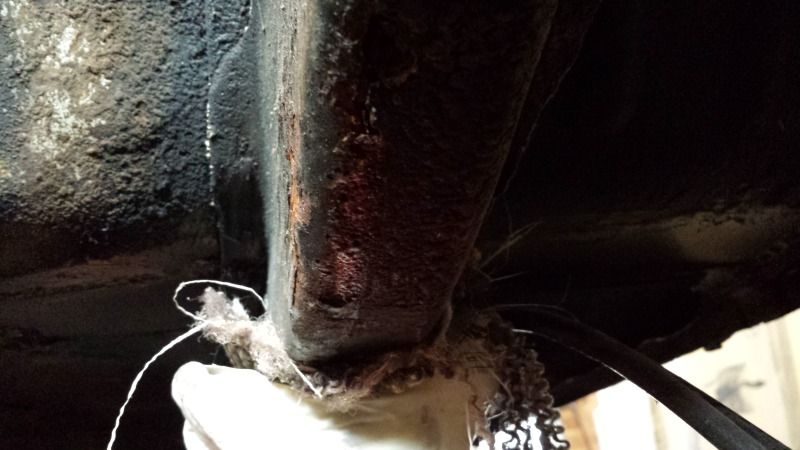
Whilst prepping the engine bay for paint I found this little nasty whilst sat in the engine bay, Right at the top you may notice the hole-


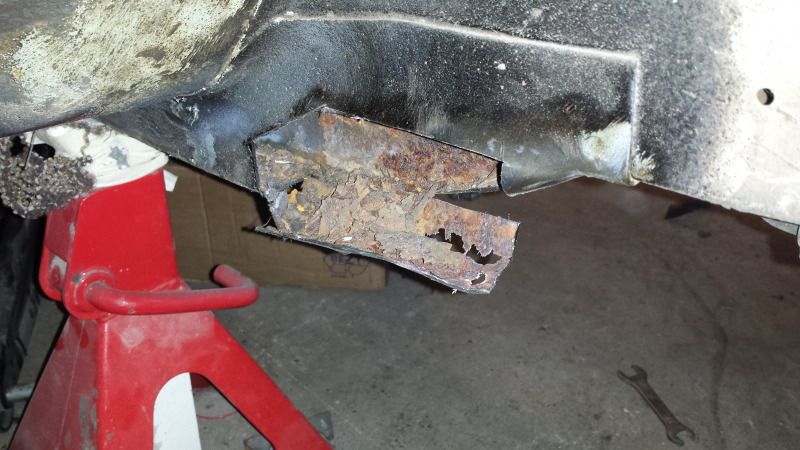
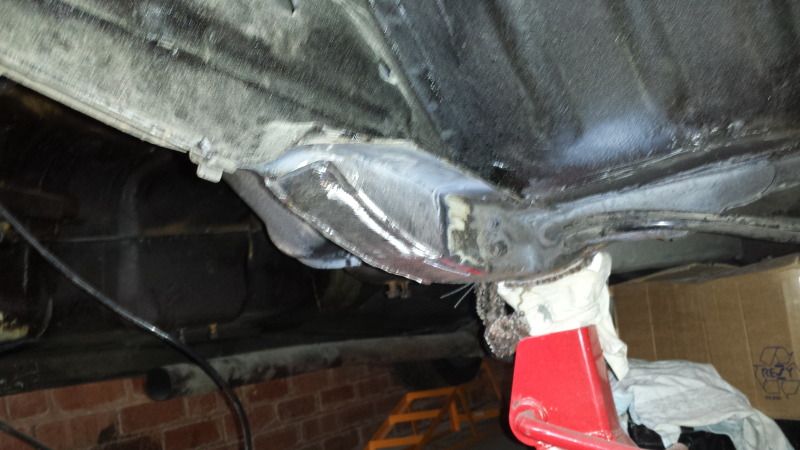
This slowed me down somewhat as I didn't have the correct gauge steel for a chassis repair but managed to get a piece from a girl at work who's husband works in factory a few days later.

This-


Became -


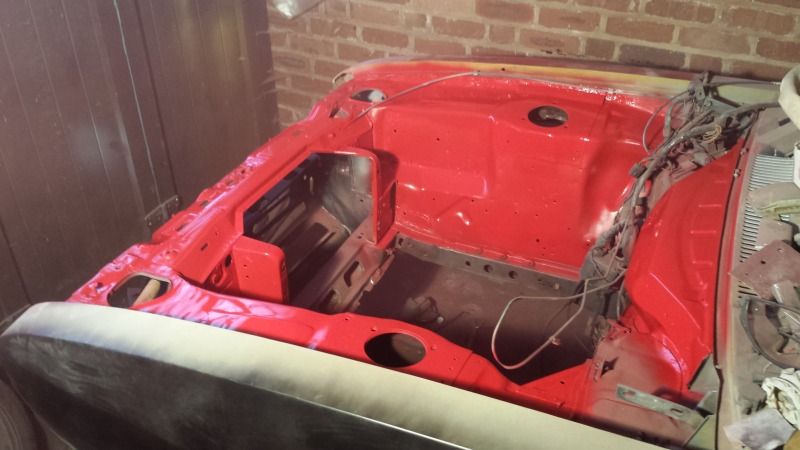
I then managed to crack on & sort the engine bay out, this is the point at which I had to decide on a colour or have a black engine bay, after a few days pondering I have ended up selecting a not too adventurous shade of Ford Radiant Red, I figured it would work better than most of my other options with the light grey interior & not have the pitfalls of a metallic colour when it comes to repairs. (paint fade shouldn't be too much of an issue as it will be inside 99% of the time)


The unpainted areas will be getting painted with black epoxy, this includes the bulkhead, chassis rails & the top rear part of the engine bay, the colour looks off in this picture, in person it's a nice shade of red, looks somewhat orange there, I presume due to the camera.

I am also about to order a zinc plating kit so that I can plate all the nuts and bolts that hold the car together, no point painting the suspension & underside to then have rusty bolts allover the car.
 
Any reason you went V6 and not some sort of Ford or Chevy small block V8, would have certainly made the right noises.

I'm with this guy. This has taken 3 years so far and you're going to use the engine below?

http://www.fordscorpio.co.uk/24valve.htm

Circa 200bhp I'm sure will still be good fun but are you not tempted to swap in something a bit more powerful/modern whilst you can? It looks like 200bhp in a capri is good for 7.5 secs or so to 60 @ 200bhp? http://en.wikipedia.org/wiki/Ford_Capri has it at 8 secs for 188bhp.

200bhp I'm sure will be tail-happy fun but 250-300 would be epic?

Either way, good job. :)
 
It doesn't take 188BHp to hit 8 seconds, I was doing that with the almost bog standard 160BHp engine and the ridiculous gear ratios that if I remember correct meant I could do 75 in 2nd gear.

Bear in mind that a Tickford Capri will apparently hit 60 in 6-6.5 seconds with 205BHP, yes it will put out more torque but also weighs more.

I'm going to be running a shorter ratio rear axle than standard (swapping the 3.09 to a 3.44) and the engine isn't going to be as it was in the original car, gone is all the gubbins related to emissions, the ECU isn't standard etc.

Difficulty is an issue too, you have to bear in mind when I started this I hadn't even changed a set of brake pads before therefore an engine conversion for someone like me is a bit of a challenge, even a simple swap.

It will certainly be interesting to see what it drives like when done, who says I won't stick another engine in it in years to come?, just because I intend to keep the car doesn't mean I have to keep the engine. One thing is for sure though, it'll never see a turbocharger.
 
I think the Cosworth engine is the right choice, just seems to fit right with a Capri. I'd love to hear how you get on with the zinc plating kit, I've been looking at that and those blackening kits too.
 
I think the Cosworth engine is the right choice, just seems to fit right with a Capri. I'd love to hear how you get on with the zinc plating kit, I've been looking at that and those blackening kits too.

It should arrive next week, might make a seperate thread on it as people with no interest in this thread may find it useful.
 
Thought I'd post a quick update after playing with my new Zinc plating kit as I'm rather impressed by it.

Pictures are worth a thousand words here so here goes, the process in pictures.

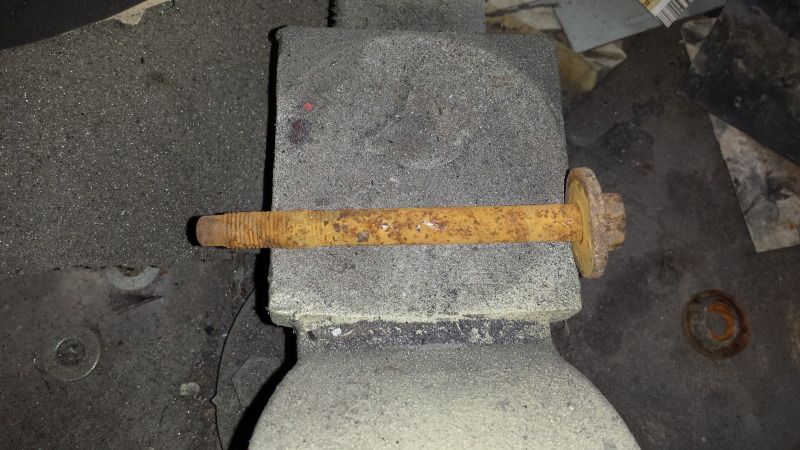
It has given me the ability to turn stuff like this crossmember bolt-


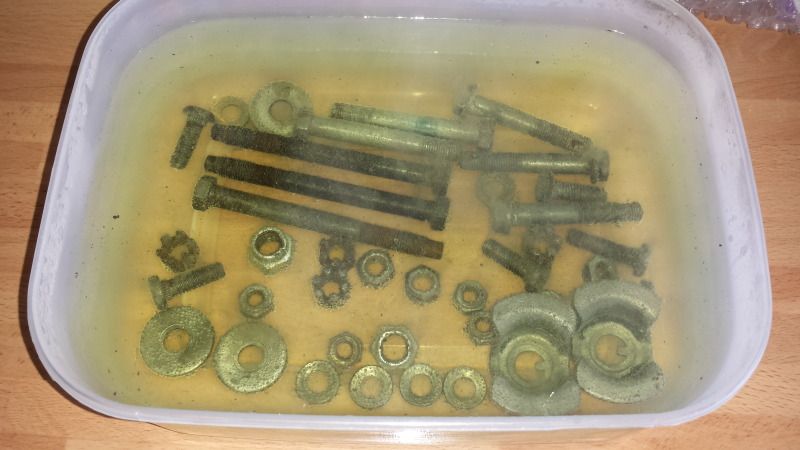
Which I soaked in hot Bilt Hamber Deox-C for around 4 hours after some wire brushing action -


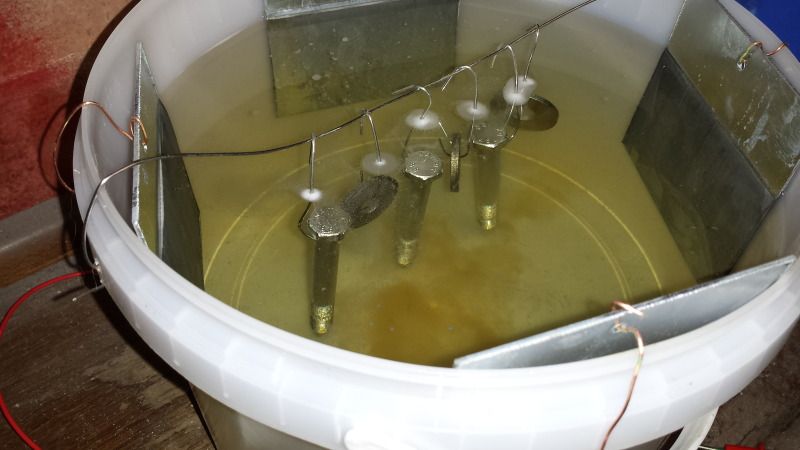
Which then via a little production line I set up of Alkaline Degrease, water rinse, Acid Dip, Water rinse, Zinc Plate, Water rinse, Passivate (another chemical dip) water rinse & dry.


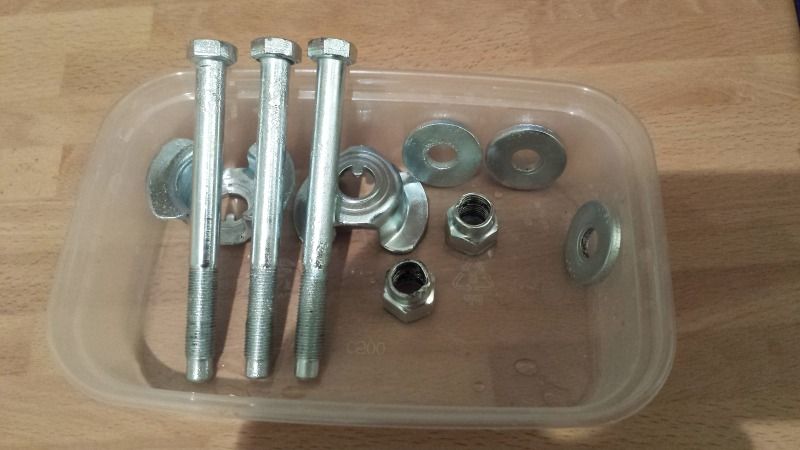
Gives me lovely shiny corrosion resistant (fingers crossed) bits to put the car back together with-


It's actually pretty straight forward to do but requires some patience as cleaning every tiny part up gets really monotonous however hopefully it should prove to be worth the effort, cleaning the threads on some of the really heavily corroded bits can be a nightmare too, I'm actually quite tempted to re-do the large crossmember bolts as there are a few imperfections on the threads.

I tested it on some offcuts of steel plate a few days ago & submerged it in salty water and it still looks as shiny as when I put it in, however the non plated part is rusting nicely next to it!
 
Back
Top Bottom