Repairing/Restoring my damaged Ford Capri 2.8i

I'm loving the blue, braided HT leads.

Wait until you see the highly advanced engine mounting system I have in place for it currently, more commonly known as an old tyre.

Me too - the building site/abandoned back garden look is totally in this year. Where can I get some?

A reference to the unfinished back garden at my dads I take it? They are doing the whole house interior room by room & the garden unfortunately comes last therefore it's still a building site, it'll take a while as the house hadn't been decorated since the late 70's I reckon and they are taking walls out & allsorts, not a quick job for 1 person to do in the evening & on a weekend.

When you re-paint the car are you going with the original colour if not the 280 brooklands green would suit your wheels nicely :cool:

The wheels are being sold and I think I will be going with a set of these along with dropping the ride height an inch, I've been in touch with an engineering company up near Newcastle about narrowing the rear axle too so I can get a deeper dish on the rear wheels (more negative offset) but it's more expense so am undecided yet.
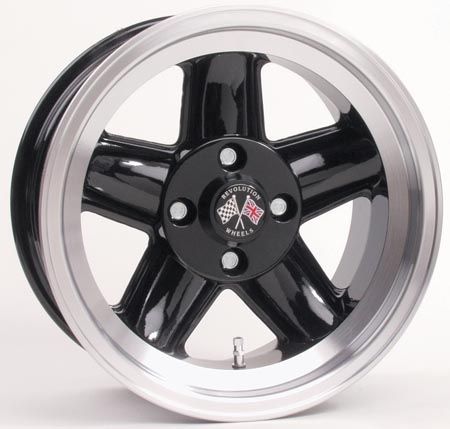


As for colour, I do like brooklands green, but i'm put off metallic due to colour matching issues in future, if I do go metallic it will be Ford Performance Blue.

Other options I am weighing up are Signal Orange, Diamond white or Modena Yellow.
 
A reference to the unfinished back garden at my dads I take it? They are doing the whole house interior room by room & the garden unfortunately comes last therefore it's still a building site, it'll take a while as the house hadn't been decorated since the late 70's I reckon and they are taking walls out & allsorts, not a quick job for 1 person to do in the evening & on a weekend.

Sorry dude, wasn't having a dig at that at all - just a rubbish and vague attempt of humour. I meant that I just usually see that sort of nylon rope in those sorts of places - I'd never be so rude so as to to criticise your place!
 
A old work mate of mine has a mk2 that was a 2.8 he put a 2.9 cosworth engine in it about 5 years ago. It was 250bhp but got it re mapped and new injectors and its now nearly 300 bhp

Fastest car I've ever been in for sure. He mainly drives it sideways :-)

Edit. From what I remember when he was talking about the engine its called a BOB? I don't know nothing about cars really
 
Last edited:
Sorry dude, wasn't having a dig at that at all - just a rubbish and vague attempt of humour. I meant that I just usually see that sort of nylon rope in those sorts of places - I'd never be so rude so as to to criticise your place!

lol, don't worry, it is actually a building site and it is actually a bit of a tip as it stands, it's not my place anyway, I live 16 miles away :)
 
Will be a animal when it's finished. He let me have ago a few years back. Just tickle the pedal and its spinning its wheels

I think he spent 15k on it last year getting it fixed up and a few other bits done. Took that vinyl off the roof as well. Looks a lot better

Does that bhp sound realistic? Or is he tellin some porkies? Are they old race engines?
 
My only Capri was the Essex engine V6 4 speed in a Mk1 facelift 3000E. I drove that car regularly between Southampton and Aberdeen for work. Took it to Alicante once also for work for 4 months. That was in 1979 and it was probably the only Capri speeding up the motorway between Alicante and Benidorm for a night out at that time.
 
Small update-

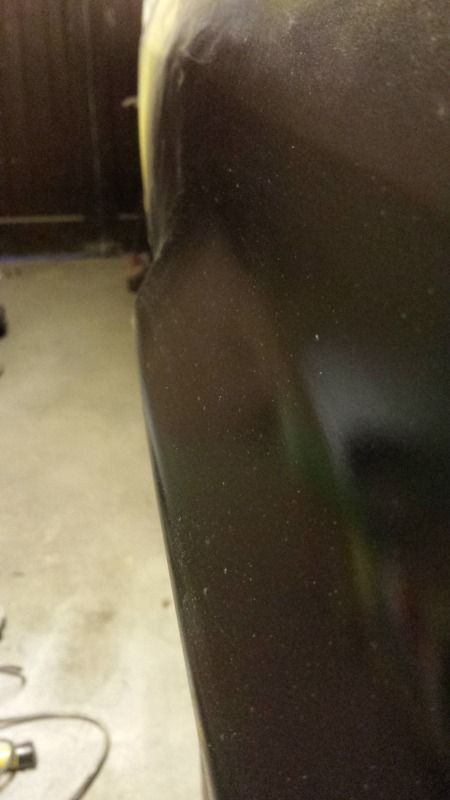
Wheel arch is finished! :D


I'm not going to be able to do anything next week but next thing on the list is to get the windscreen out & repair the corner of the scuttle panel and then repair & re-attach the passenger side wing. If I can carry on working at my current rate then I might even have the shell finished in about 3-4 weeks, ready for sanding down, bar coating, re-primering & painting, it won't be painted until all the mechanical stuff is complete though as knowing my luck it will get scratched or dented.

Then the engine can come out and lots of head scratching begins! :eek:
 
So much for having the shell done in 3-4 weeks, I need to stop saying things like that :D

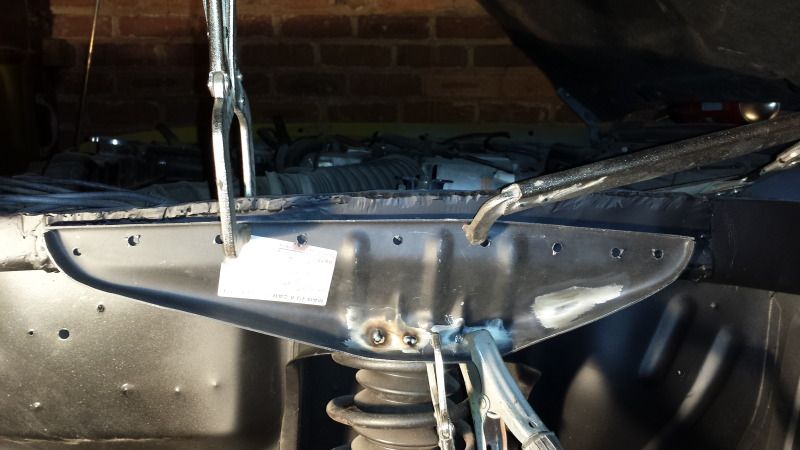
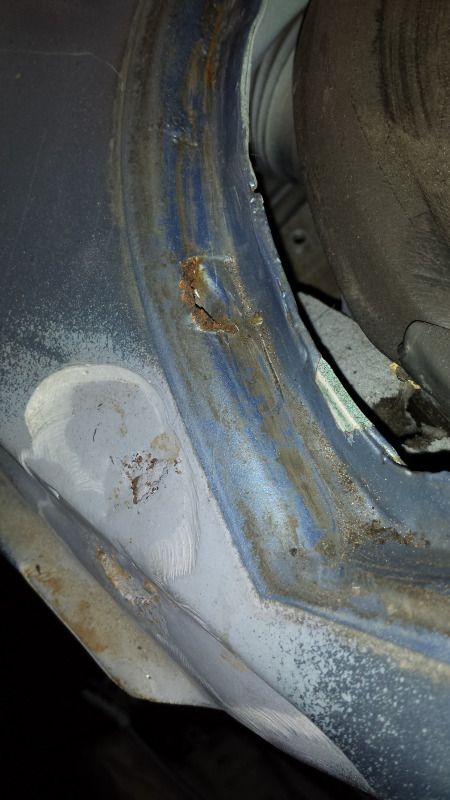
Before attacking the wing I decided that i'd re-investigate around the passenger side strut top re-enforcement plate as that was the first repair I did and I now know I can do a better job of it as I never removed the panel the first time and probably should have as when I did the drivers side last year it was quite crusty behind it. I was right to re-do it as there was a bit of crustiness, not as bad as the other side but now it's sorted my mind will be more at ease :) .

I put new metal in behind it like so -


Then I got my hands on a new re-enforcing plate as I had to butcher the old one -


The whole area was zinc primed, then painted with stone chip shield & coated with schutz, the nooks & crannies behind were coated with wax & i melted a large amount of waxoyl behind the panel too in an effort to keep water out, the car is having aftermarket arch liners fitted so this area should no longer be in an area that gets shot blasted everytime the car is driven.

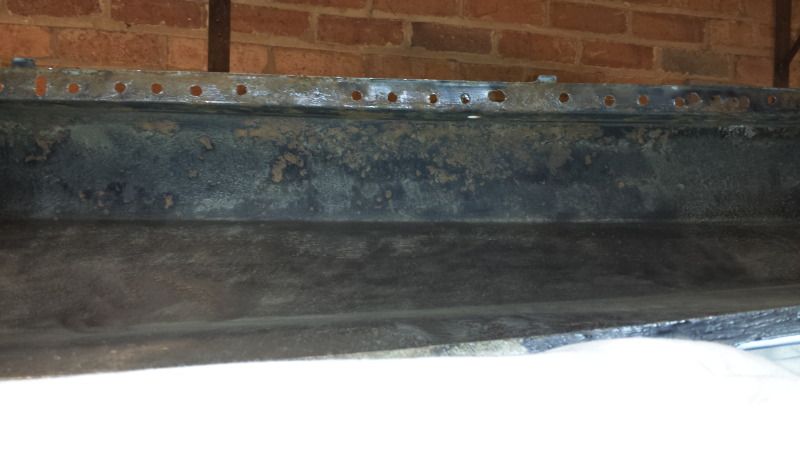
I then moved on to the wing, there is a fair bit of surface rust on the back but I have been using Bilt Hamber Witchcraft on it which is working a treat.

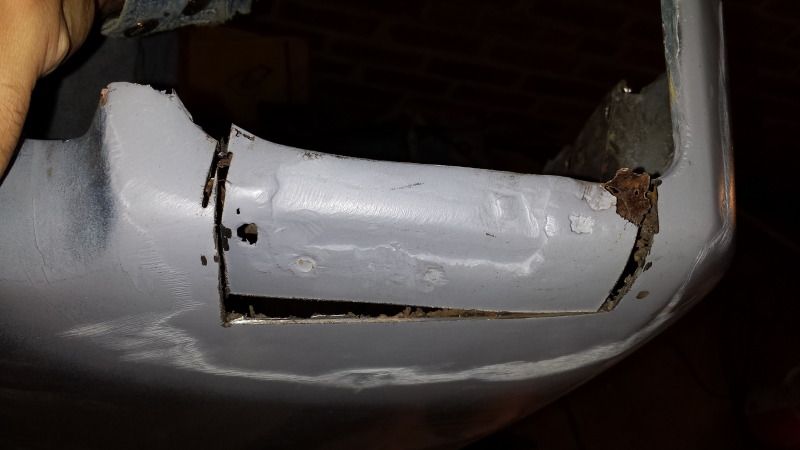
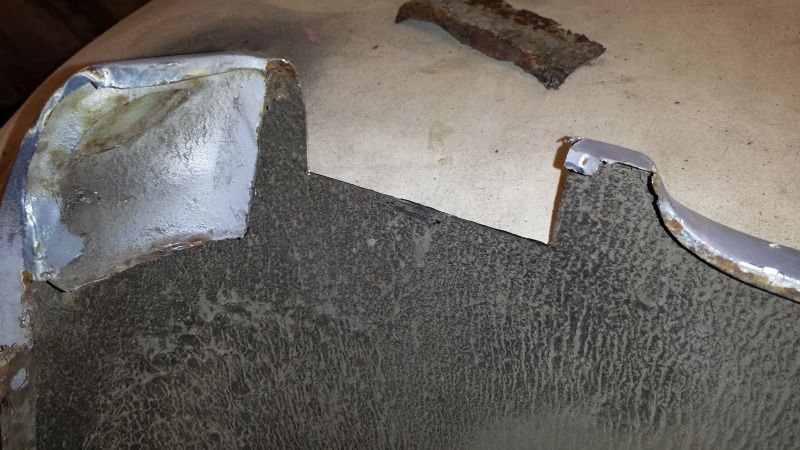
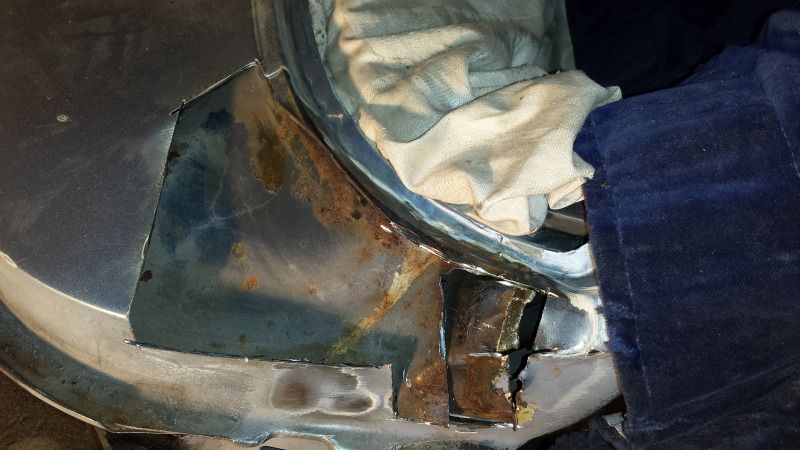
I haven't finished the wing yet as it's taking a few applications but to give an Idea of the surgery carried out-

Underside, most of this is the result of being blasted with grit & water I reckon.


Crusty bit chopped out along with someone elses **** repair, they never treated the back of the weld with anything so it's just rotted rather fast around it.


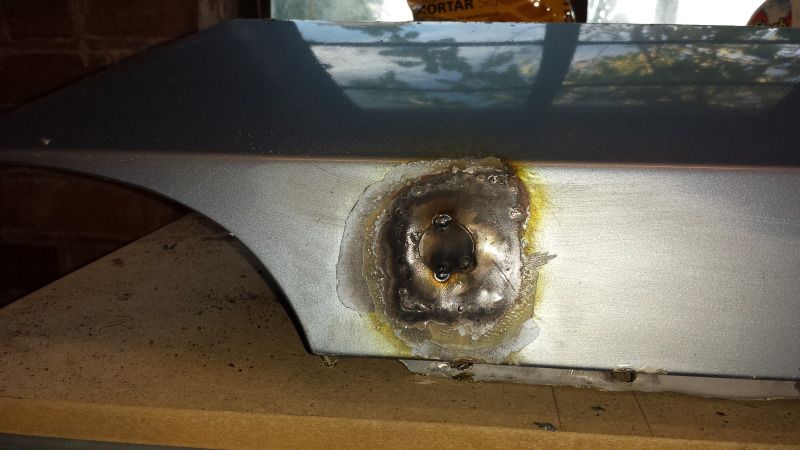
Not everyone will agree with this but this is midway through the radio aerial deletion! Yes that's right, the car will have no stereo or CD player!


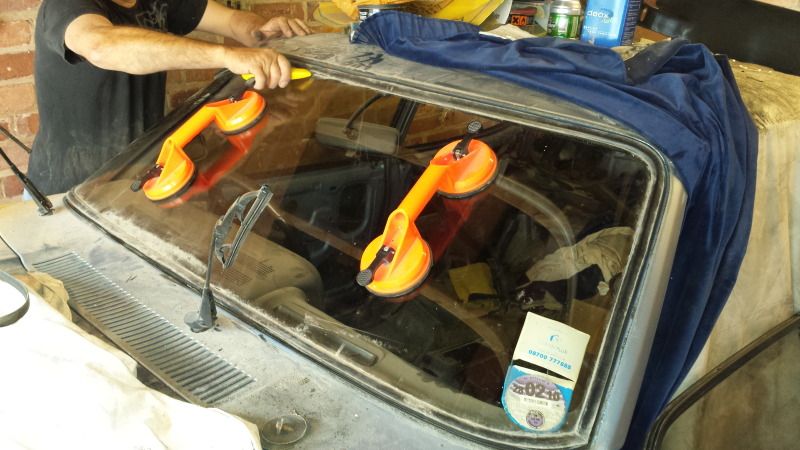
This weekend I had to call in the help of my dad & his glass suckers to get the windscreen out due to the eventual respray being a proper glass out job and having a scuttle panel repair to do, it's a shame that to remove the glass you either have to destroy the seal (already sourced a new one) or risk smashing the glass trying to force it out from inside.


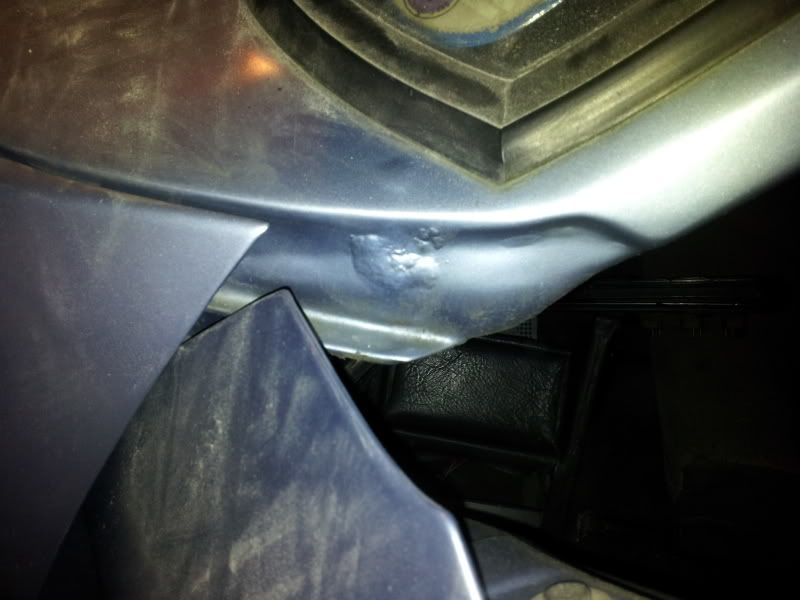
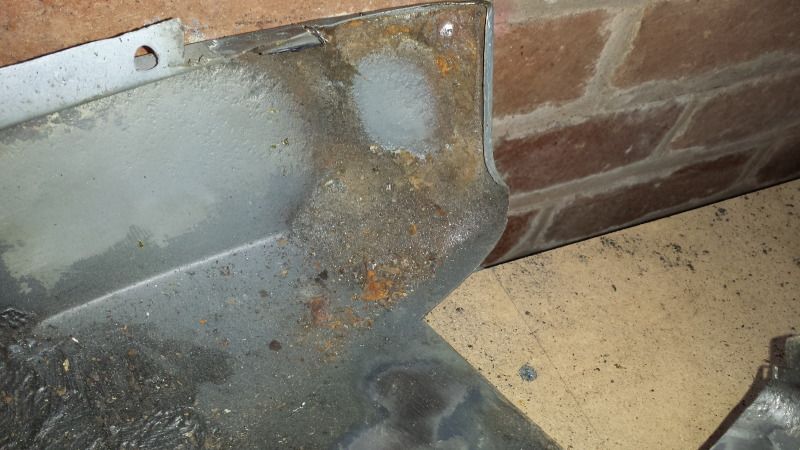
The scuttle repair so far goes to show what can be lurking under a bubble -

It went from this-


To this-


And if you want to be ruthless and keep cutting till all the rust is gone completely, then to this -


Luckily that is just surface corrosion on the inner panel and appears to be coming off quite nicely with the Deox C gel, I think I have reached a stage where my car now has no rust at all remaining, which is why I spent last week clearing the back room of the garage and bringing over my engine crane & stand so I can get the new engine in the garage to work on over the winter.
 
I have to say your doing a cracking job on the rebuild mate. I'd love to have your garage and get fully into a restoration along these lines, but I'm afraid I simply don't have the space and something like this can't really be done on the tidy bit of drive I currently have. Excellent work buddy, keep it up :D
 
Brilliant Engine, had one in my Granada it was the BOA model. Awesome power when you think how quickly my 2 ton car got to 60 :D
Good luck with the project :)
 
Quick update as I've been in the garage working on this for about 5 hours today whilst the GF was out doing Horsey stuff.

I've had to take the inner structure off the underside of the wing tip as it was looking crusty under there, good job I did too. There is no wonder that Capri's rot above the headlight so much.


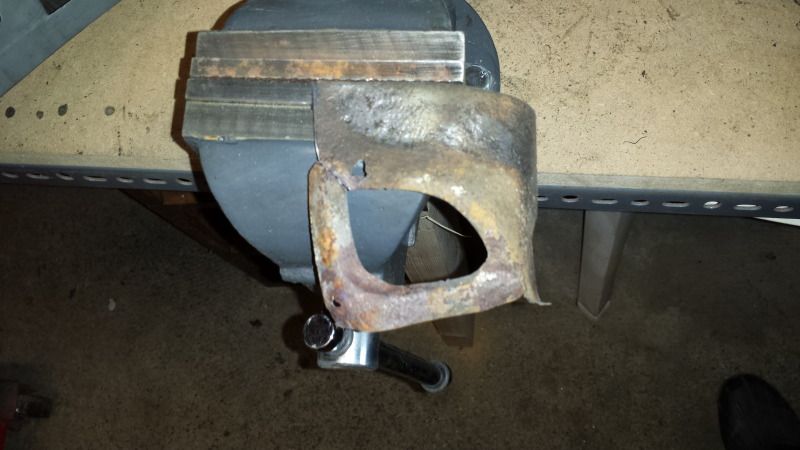
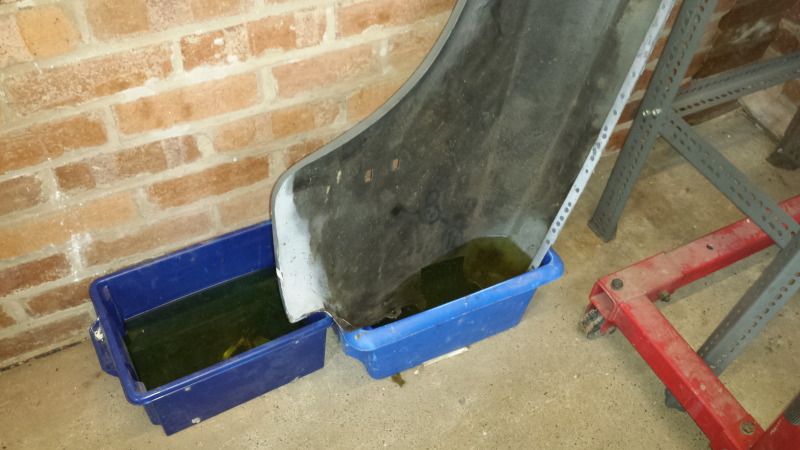
This is the bit I took off, i'm not sure if this is saveable so I might have to make another, i'll see how it looks after a bath in Deox-C for a few days.


This is how I've been using the deox-c, if only I could fit an old bath in the garage!


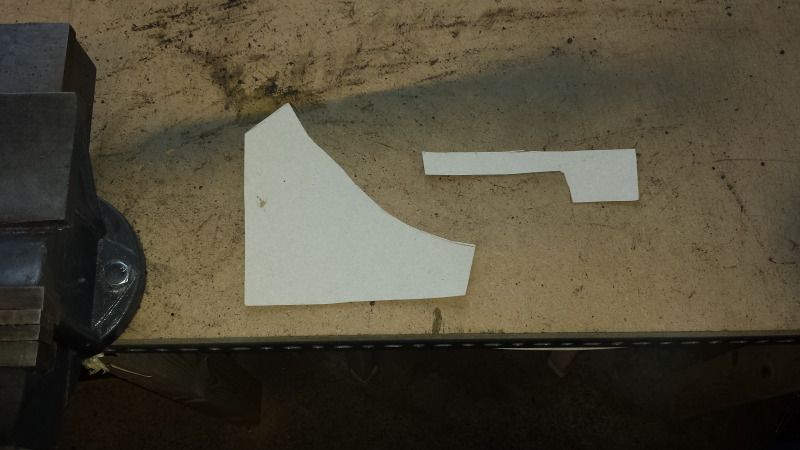
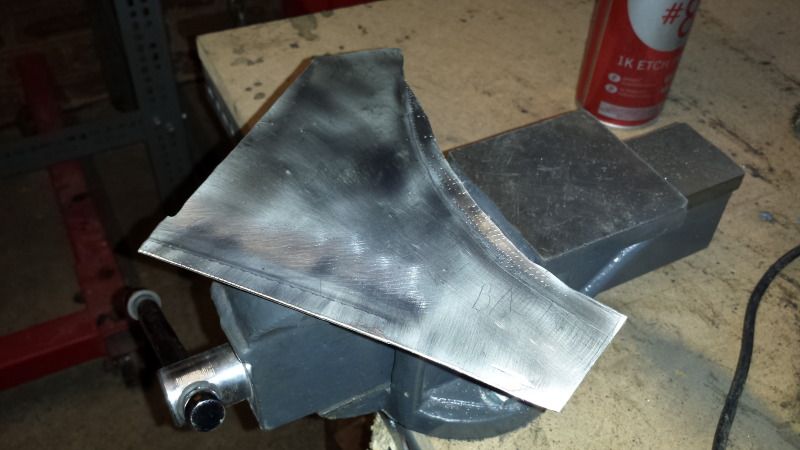
I then moved on to making the scuttle repair section. I made a template out of cardboard for the bits I will need to make as this bit I could see being rather tricky to get the curvature of the panel right along with making the little recess for the windscreen rubber to sit in.


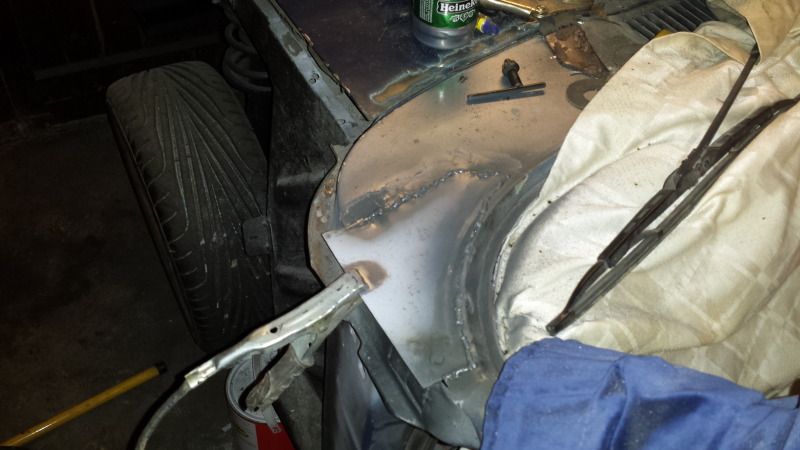
After a few hours cutting, trimming, bending & hammering I have something that seems to fit perfectly, it's obviously going to need skimming with filler when in place as I've hammered it to death but it's fairly smooth considering what it's been through :D


I can't weld anything in yet as i'm waiting on more cavity wax to be delivered as I want to fill it with wax as soon as it's welded up.
 
A bit of an update.

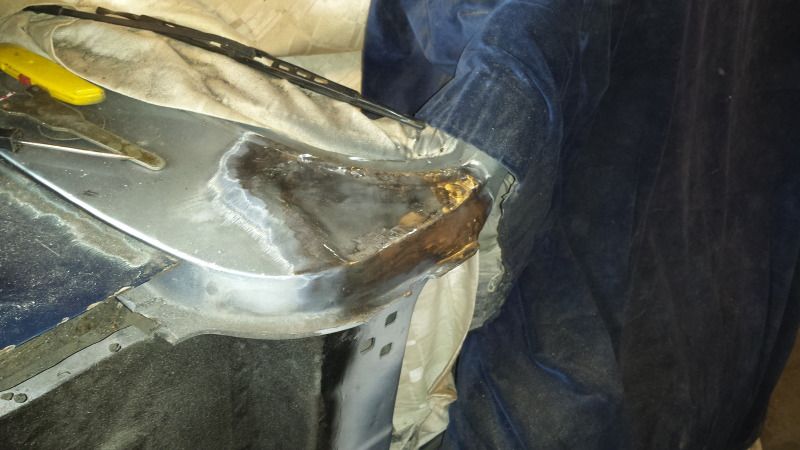
I managed to get rid off the corrosion in the panel under the scuttle with a wire wheel & deox gel, I then set about welding in the new piece.


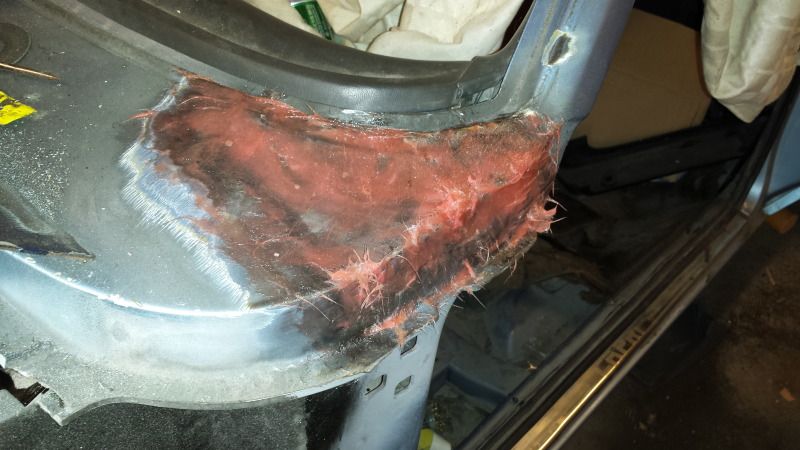
I coated the whole area in fibreglass as I was worried about the odd pinhole letting moisture in, this now needs sanding back a bit & then finishing off with filler to smooth things out, looks like I have a week of evenings with a load of sandpaper ahead. :(

Whilst at it I've filled the scuttle panel on both sides with cavity wax as well as going all the way up the inside of the A Pillars with wax, horrible messy job, wouldn't like to have to do it on a car that is painted and full of upholstery.
 
Scuttle pretty much finished!

Just wants a rub down with fine sandpaper tomorrow once the high build primer has dried then i'll put a coat of gloss black over it.

If I get time i'll spend tomorrow welding metal into the wing around the headlight, then it wants a coat of epoxy mastic on the inside followed by a load of shutz under seal and it can then be re-fitted.

If it wasn't for the fact i'm doing an engine swap & colour change the car would then be ready to be sent for prepping, painting & re-assembly, it's a pain to know if I was leaving it as it left the factory it could be on the road by the end of next month. :(

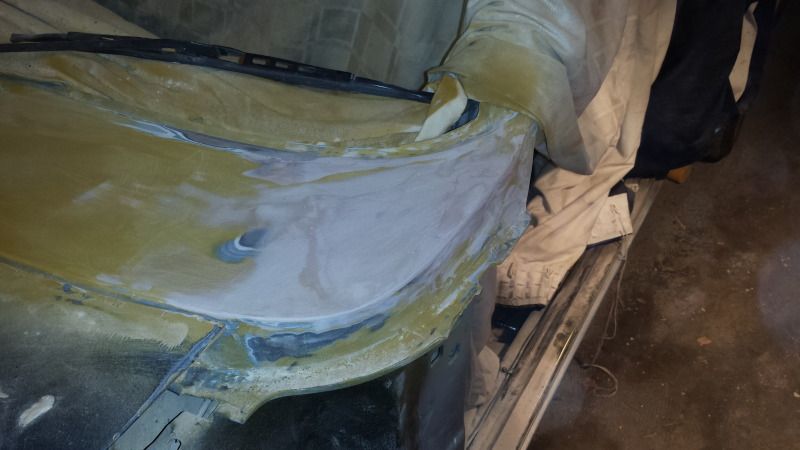
Scuttle filled-


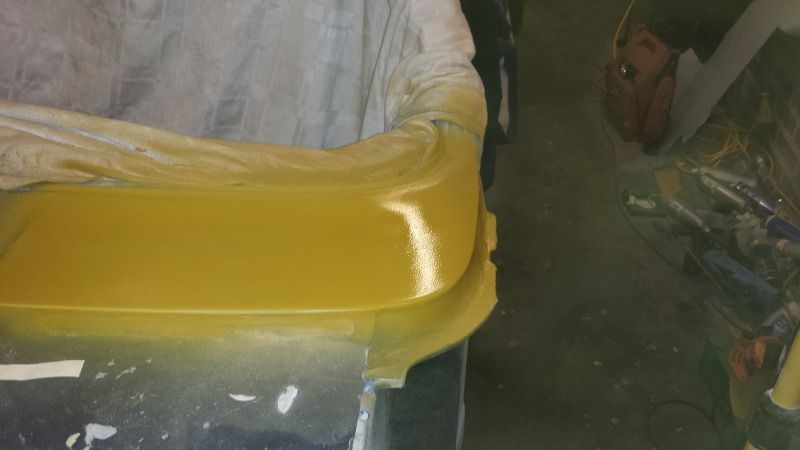
And high build primed -

 
Back
Top Bottom