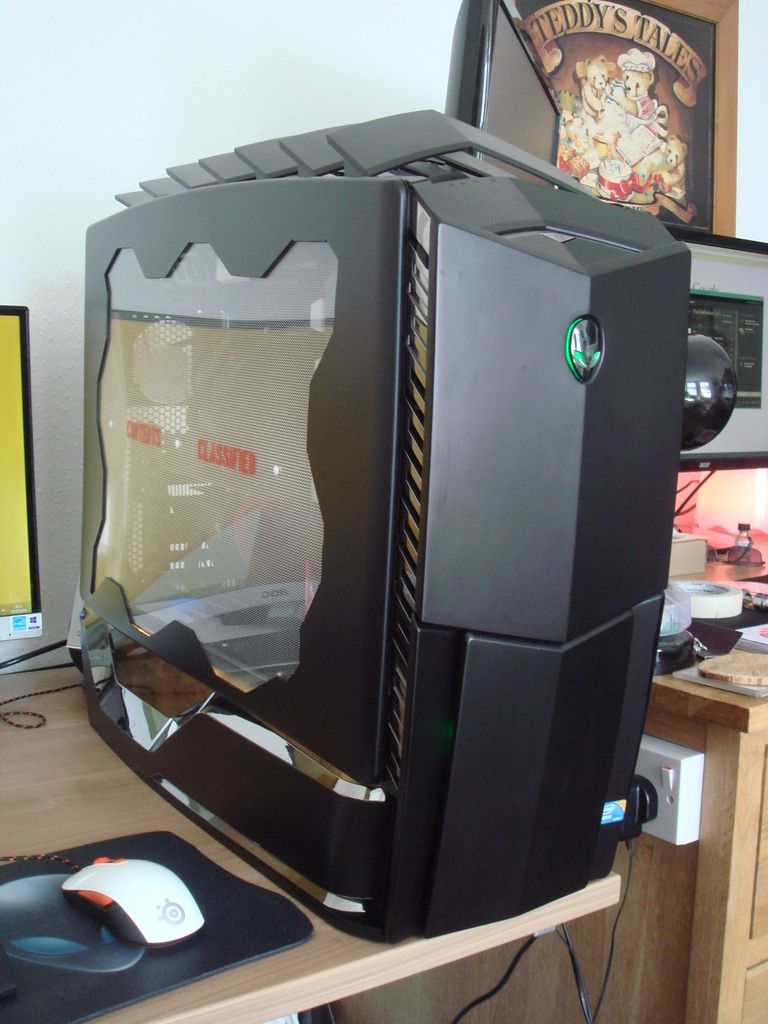
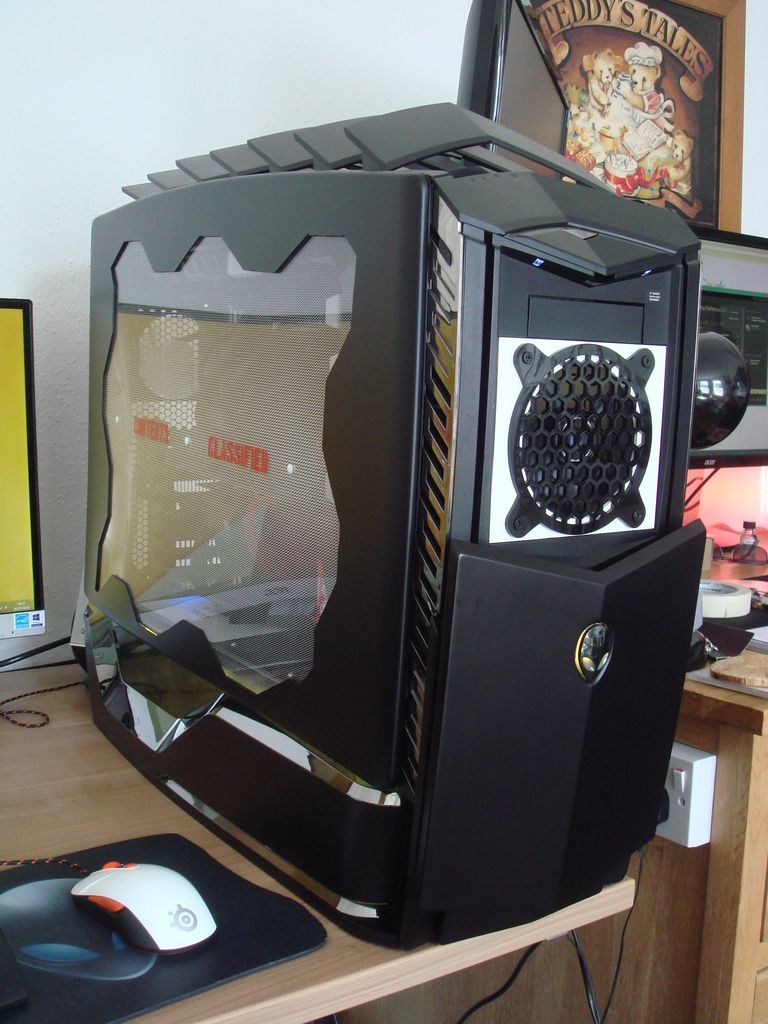
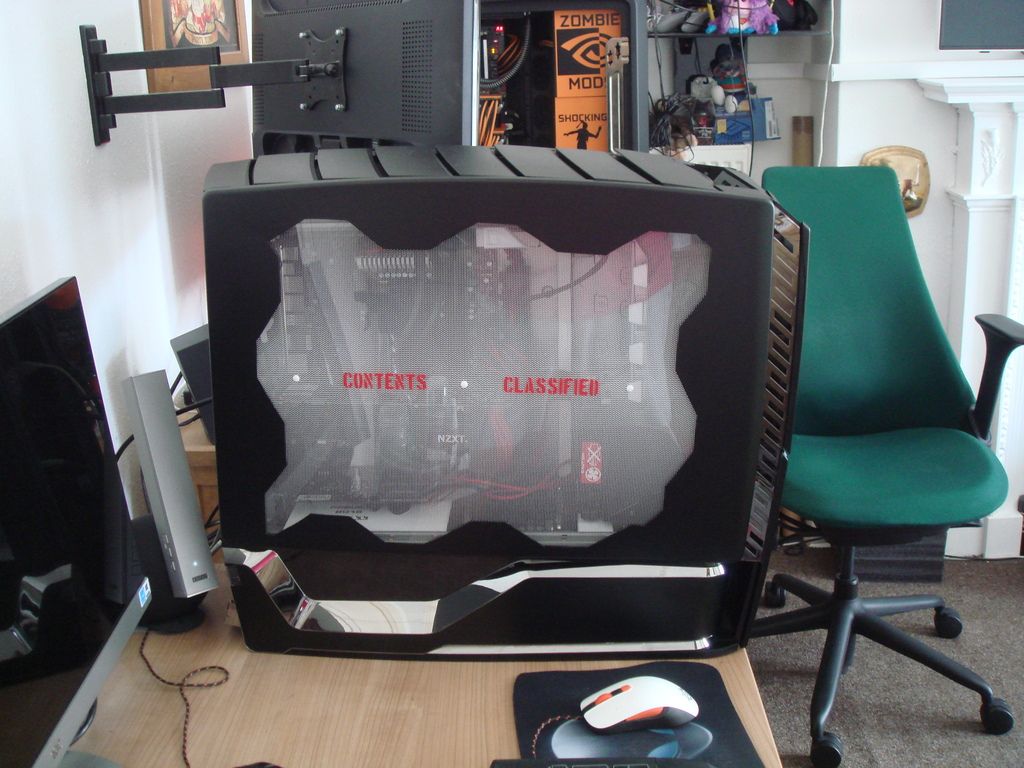
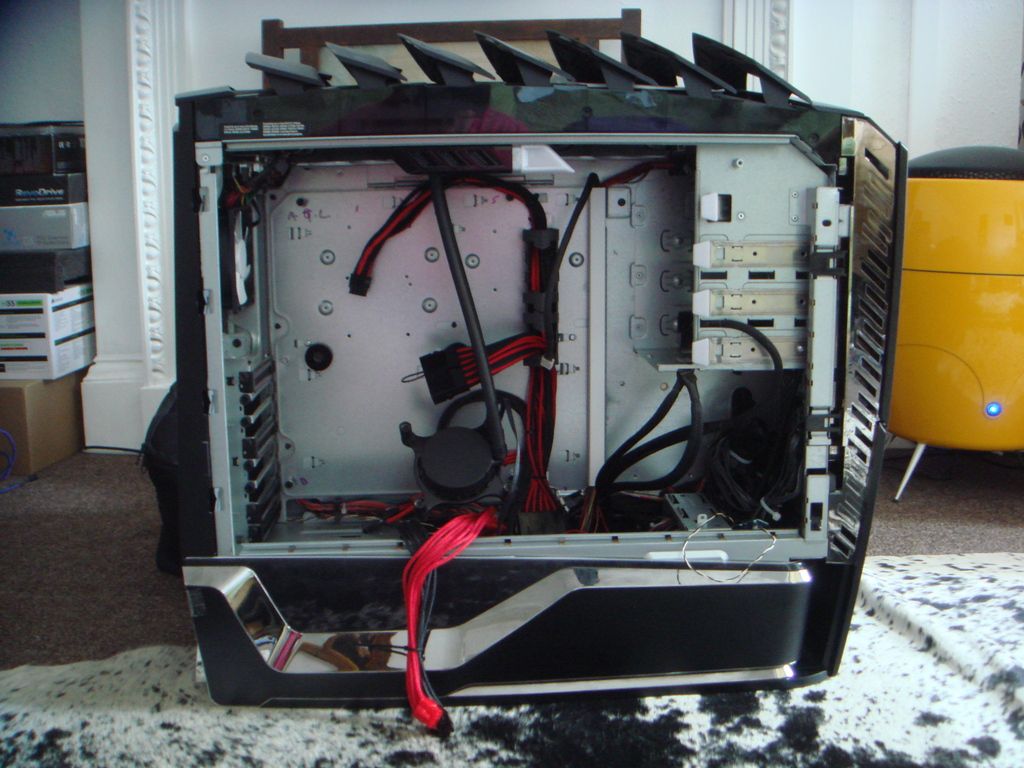
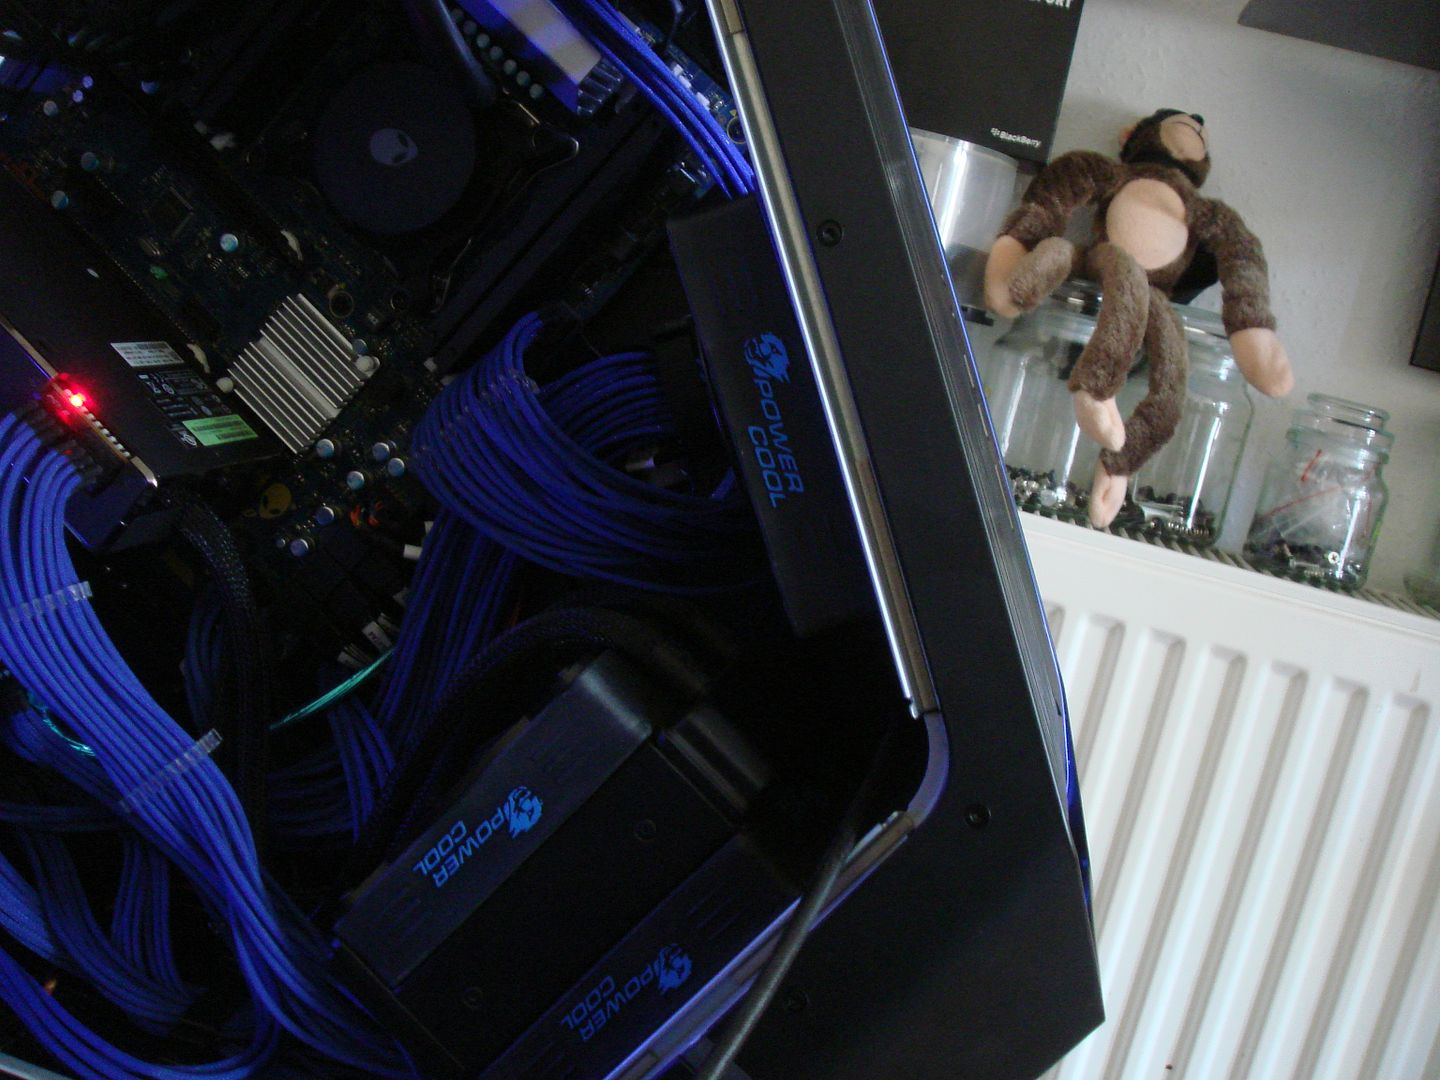
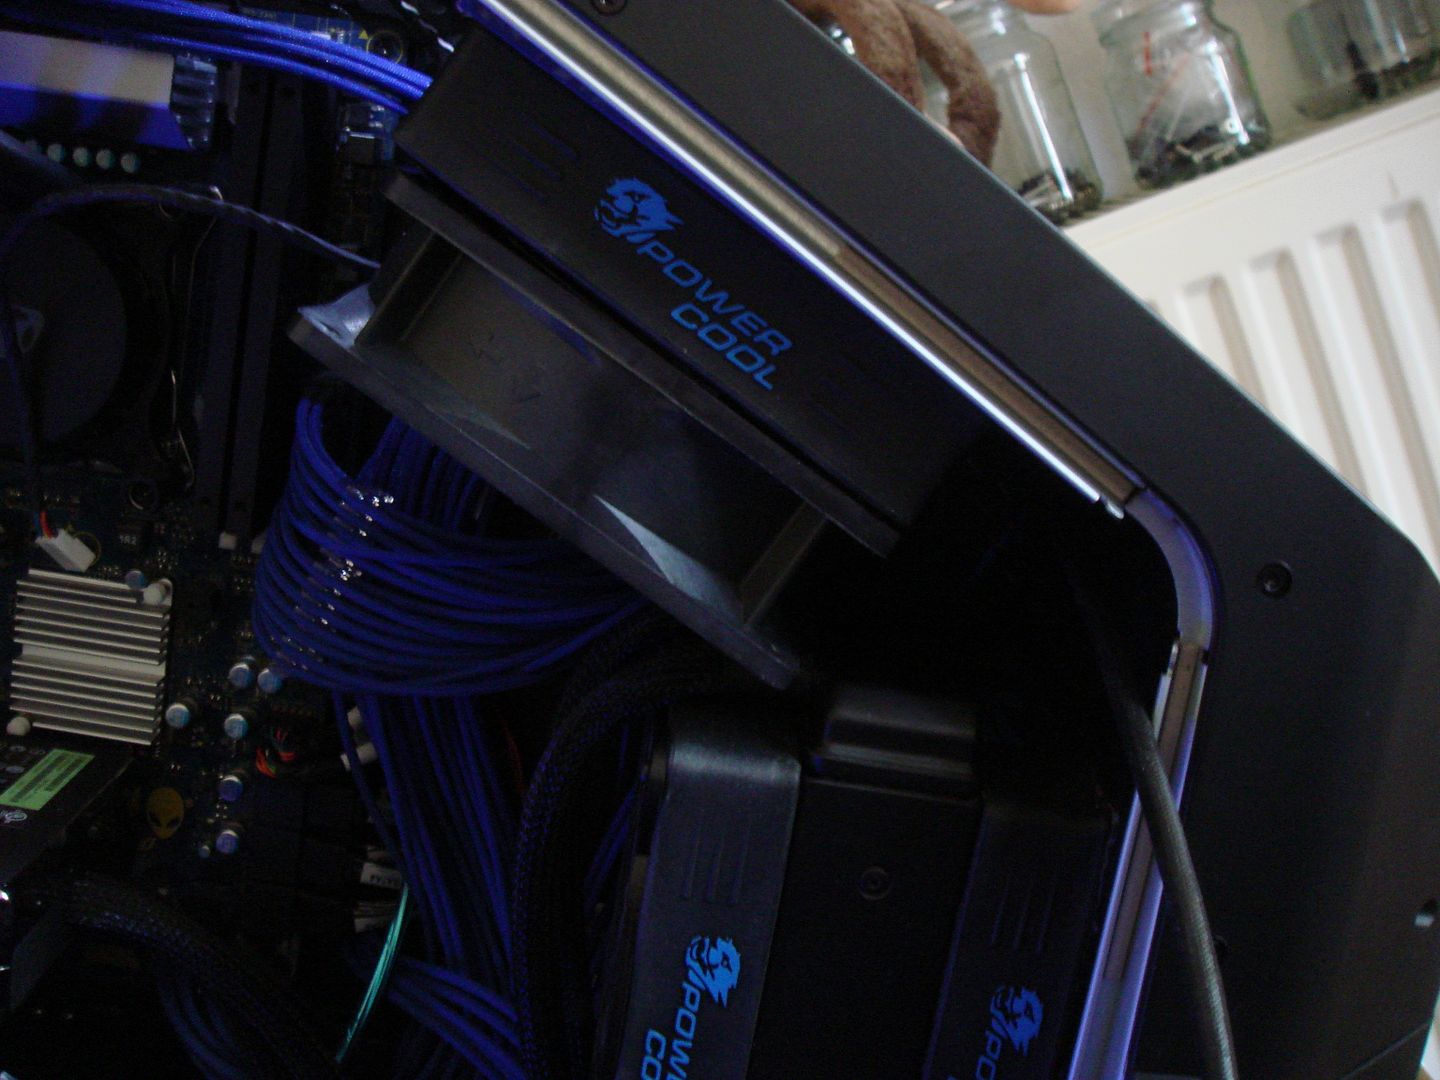
Rise of the triad, The 2014 Area 51

No point if theres no window but it would be cool

An excuse to make one :D

With lights surrounding it

The possibilities are endless, but you have to remember this is pretty much a £300 case here. It was never designed to have a window but if one day I can get a spare from the USA I would consider it.

I recently restored the 2009 Area 51 that now belongs to my wife. 8 cores, Titan Black under an AIO.. Here it is here, and here is the window I made for it but bear in mind I do have a solid panel that cost me around £100 to import from the states.


This thing was serious work. With the full restoration, modding to take a Corsair PSU and braiding it took around two weeks.


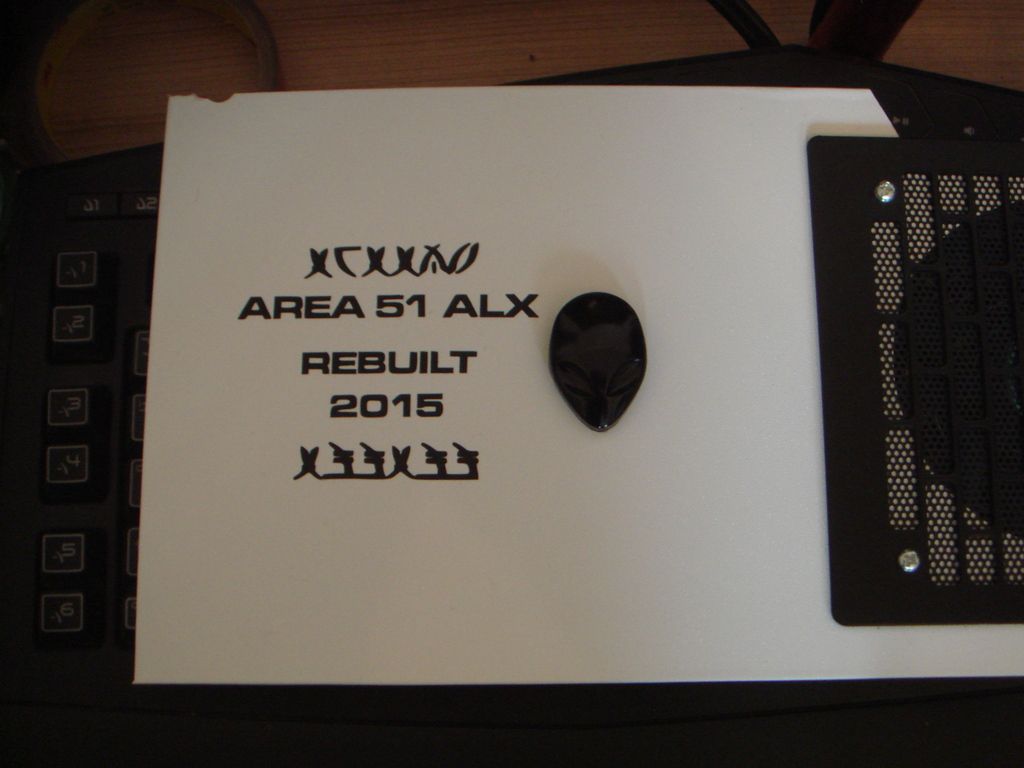
The custom floor pan cover.


And some love for my wonderful lady.


And built.


Have you thought about an acrylic PSU cover that extends all the way across until its under the radiator? That would look sweet and majority of the cables would be hidden inside it.

It's possible :) the only issue is there is a edge connector right over that area that connects to the side panel to light it up once it goes back on.
 
Update ! things have gone quiet due to personal issues but that doesn't mean I'm not planning things :)

I wanted a largish PCIE SSD but they are expensive. The Intel 750 400gb is around £320 and I didn't really want to be paying that just to store my games on. So it's time to think out of the box a little.

I've ordered this and have it ghetto fitted to the PC ATM.


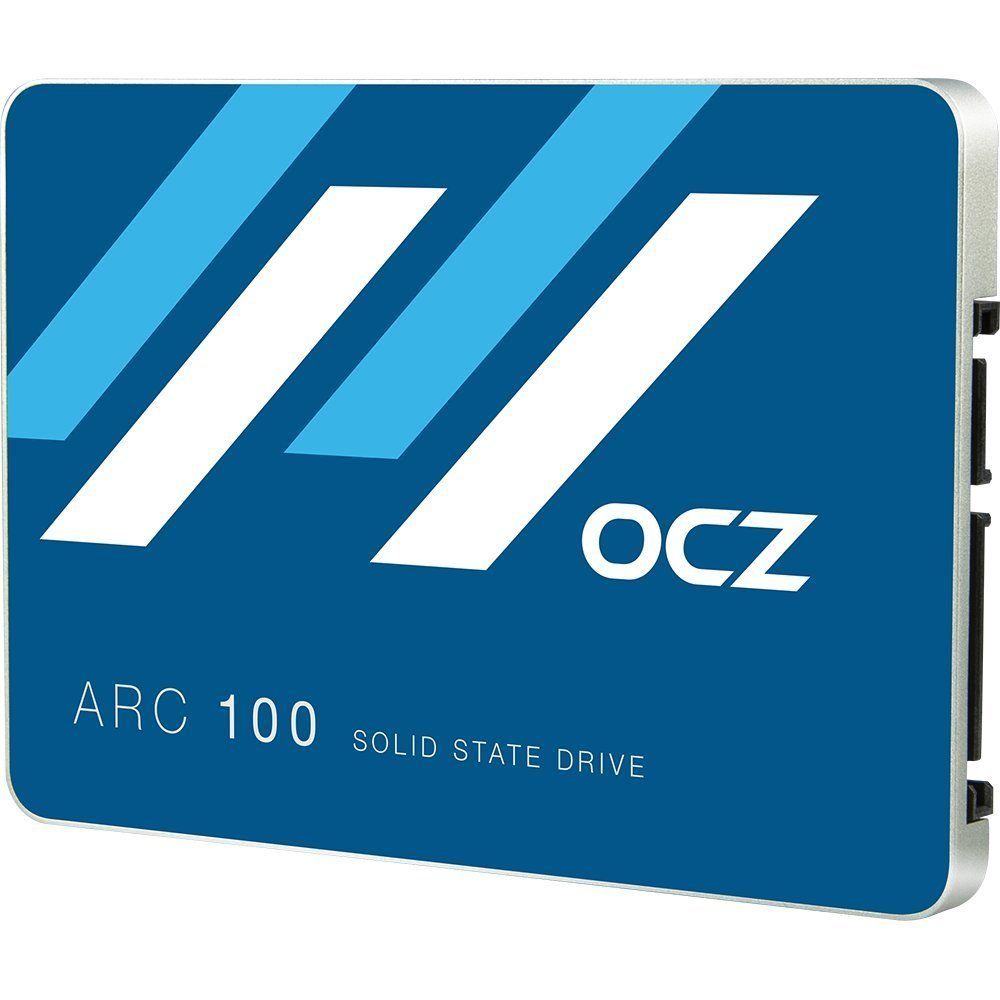
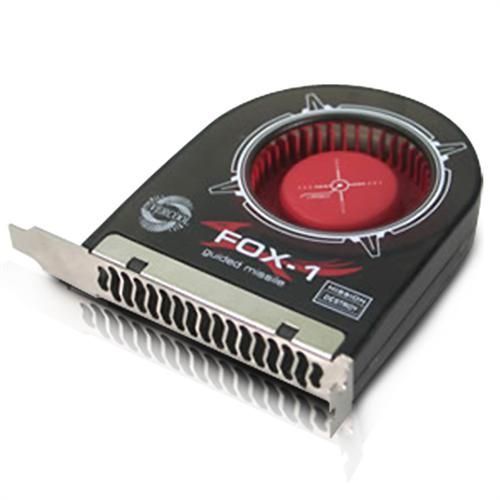
It's a 480gb. I have also ordered this (don't laugh !)


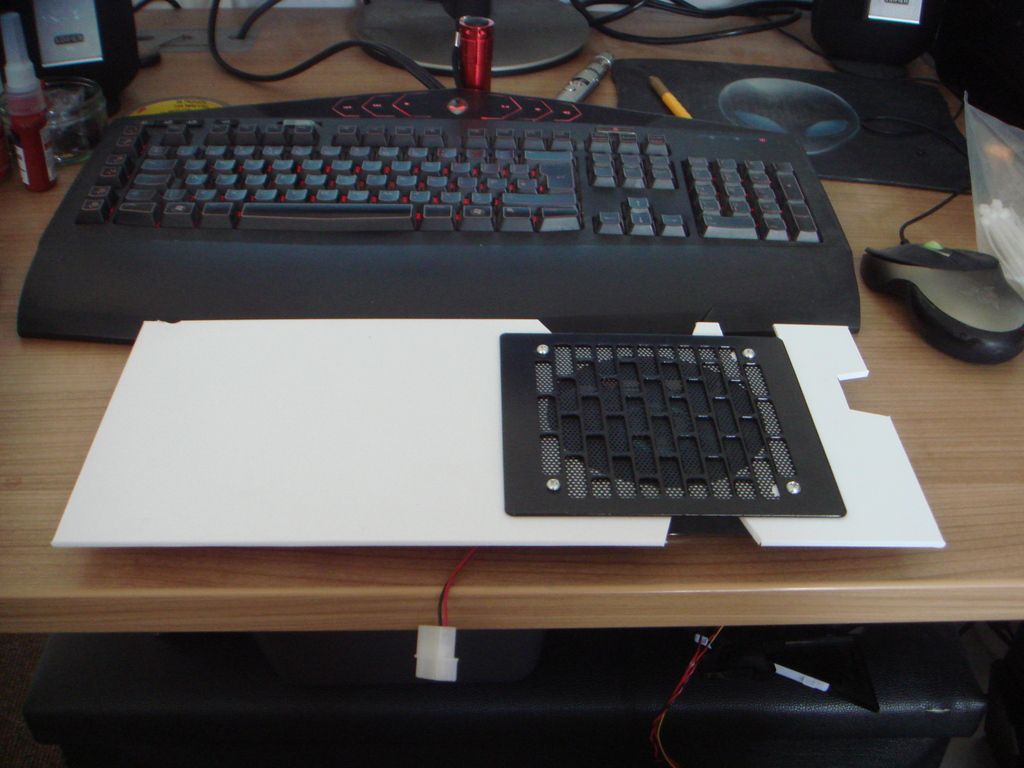
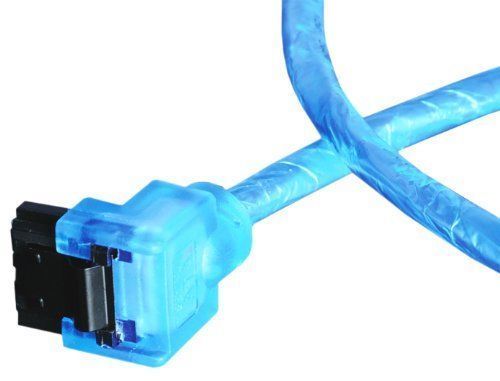
And plan to remove the end PCIE plate. This will give me the opportunity to drill holes through it and mount an acrylic board that will hold that lovely blue SSD. I will spray it all black (the whole board and PCI holder plate) then mount it in view in the PC. For that I will cut off a SATA run so there's only one connector on it, paint the cut wires black (you'll see I will get some photos) and then mount the SSD like that, into the computer.

I will then fit one of these (AKASA blue rounded)


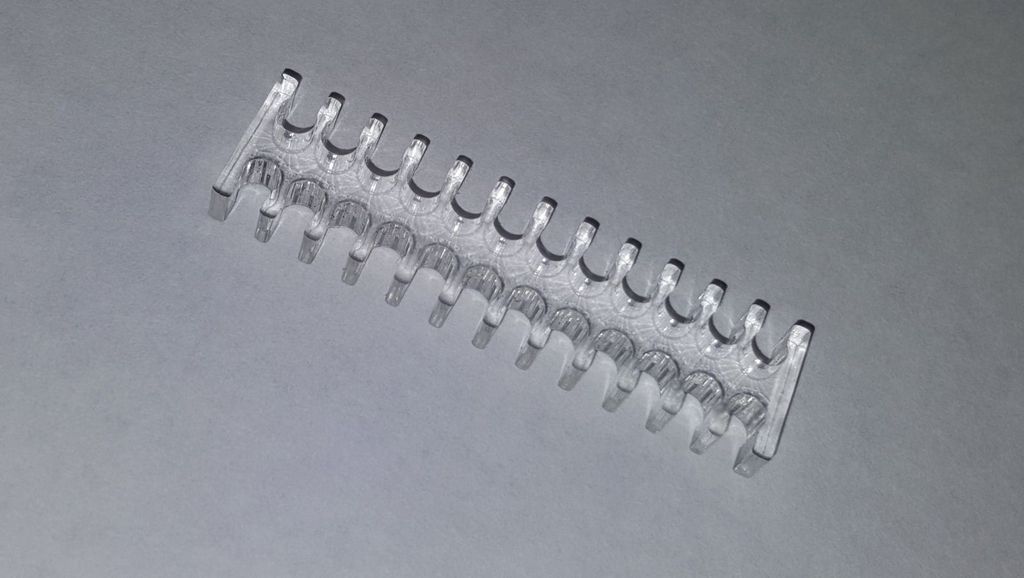
So that should look rather nice. I am also going to tidy up the PCIE power cables and main 24 pin cable using these that I have ordered.


So more should start happening once the parts start to arrive :)
 
And it's done :)

First up I found the cable I needed.


Cut off all but one.


Joined the OEM SATA cable to the blue one I bought.


The drive..


And fitted.


And you may have noticed I have fitted some cable combs.

 
Really loving those fans. Looks like I can only get them from the UK which sucks as they would otherwise be very cheap and very nice looking. (I want white and black). Also it is a real shame they do not do them in 140mm size :(

Really starting to look nice. I would be tempted to do the combs blue though, and somehow make the red lights and writing blue (or black)
 
Last edited:
OK so as I hinted at elsewhere I am now preparing the rig for Crossfire. A couple of weeks back I looked into the rig and it seems that you can not fit two Fury X radiators into the case because of the placement of the fan holsters that you have to bolt the radiators to.

So for a while I was just thinking "screw it" and was going to get a Nano. However, now that I have seen just how much faster Fury X Crossfire can be over Fury X Nano I decided it was time to get out the modding tools again, something I really did not want to do on this computer.

However, I spent today thinking hard about the situation and after lots of measuring and testing placements I have made an adapter that shifts the radiator up 10mm to make sure that it clears the one in the bottom. If you take a look at this picture you will see I have labelled the fan spaces 1, 2, 3
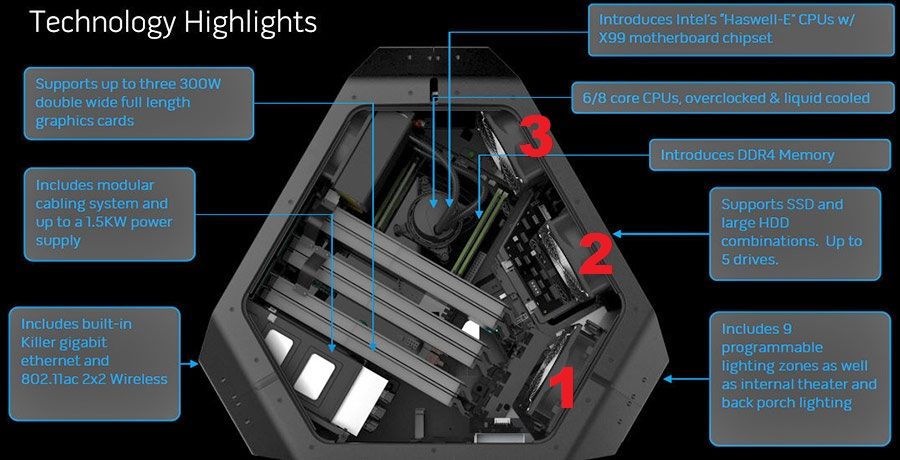


OK. So I already have a Fury X rad in position 1. However, if you bolt the fan onto the supplied bracket for position 2 the radiator hits the radiator in position 1. Not only that, but Alienware do not supply you with all three fan brackets they only give you two. Try to buy another one? £38 please.

So what I have done is make a plate that bolts to the fan bracket and then shifts the 120mm fan mount up into the case toward the top by 10mm. With this done the radiators then clear each other by about 3mm. It's very tight but I am pretty sure it will work, phew.

The only remaining problem now is that I need to mount a 120mm fan in the top position to bring air in for the CPU cooler which is bolted in the back only I don't have the bracket and I am absolutely loathe to spend £38 on a piece of plastic.

I am continuing to think about this and am trying to come up with ideas on how to do it.

More soon !
 
Since 2006 Dell signed an agreement with the EU to state that they would not throw anything useful into landfills. Once a system has been built it can not be taken apart and re-used. It's something to do with the law and how you can not sell used products as new. So what they used to do was basically throw the lot in a landfill. In 2006 that changed, and they started auctioning off all of their 'waste' products in Shannon, Ireland. Sadly they have wised up to that and now sell them on their own outlet as refurbished..

I used to have a contact in Ireland who could basically get me pretty much anything Alienware with a scratch or a mark on.

I got my 2006 chassis (the Area 51 ALX Predator 2.1) for free as it was damaged during shipping and I got a full refund. Easy fix, just needed to buy a new door hinge.

My 2009 Area 51 ALX was £200 from the auction site with a BDrom (which I sold for £50) DVDRW and 1200w PSU. They used to sell for £500 and up :O

Not seen any of the 2014 models as empty cases on the auction site yet which is kinda weird. Either they're not selling that many or they are basically selling it all themselves on their outlet.
 
OK so the adapter bracket is now complete as I painted it last night. I will take a pic or two as I put it all together later on.

Next up was figuring out how I can fit the top intake fan to the PC without the £38 fan bracket. Then I had a brain wave (careful now) and remembered seeing fan magnets in an issue of CPC many moons ago.

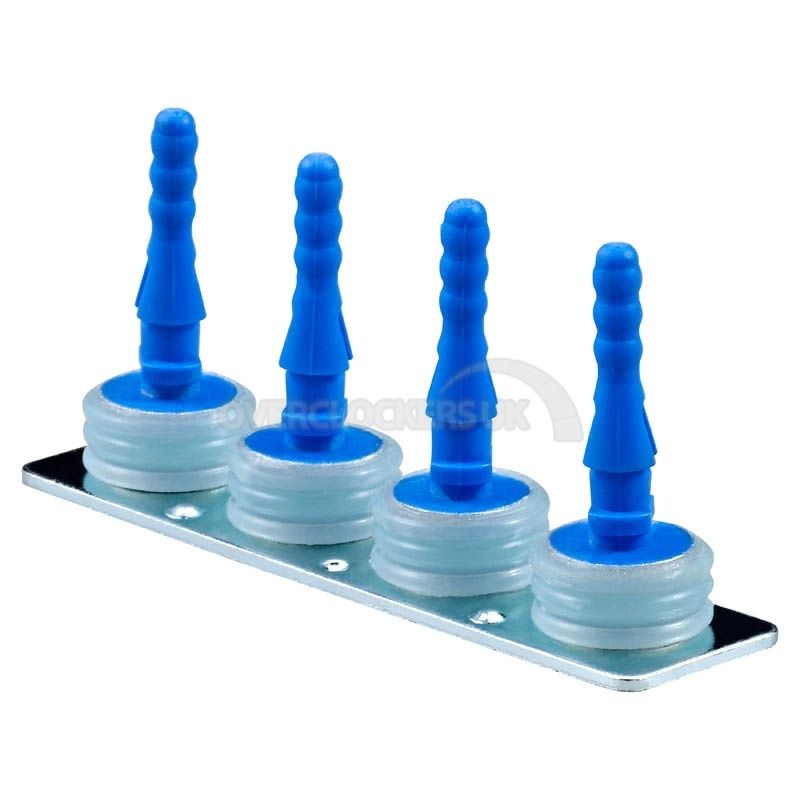
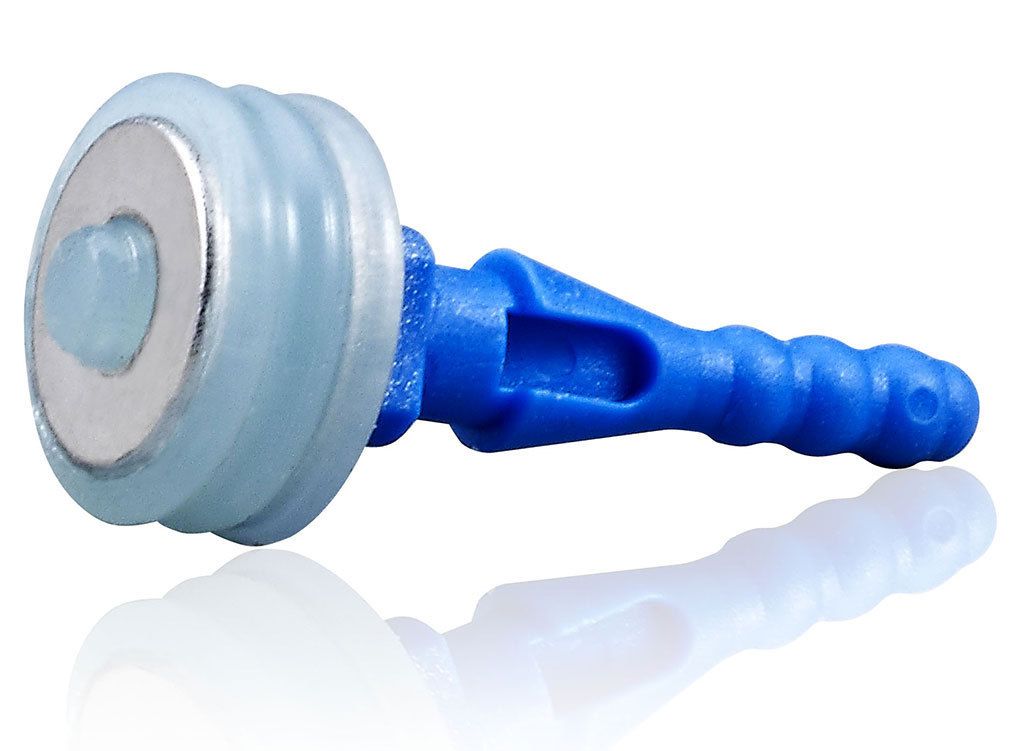
They look like this.


You fit them to each corner of the fan then simply attach them to your case. Job done almost. They come with little nipples on (hehehe) that may need to be shaved off because they won't be going into a normal fan mount hole set.


So hopefully they will do the job.
 
More headaches... When I was planning on how to get the radiator to clear width wise I completely and utterly forgot about the depth. As you will see in the following pictures, it matters. It matters so much that using a fan in 'push' configuration (IE behind the radiator) will then make the radiator foul the hoses on the lower radiator.

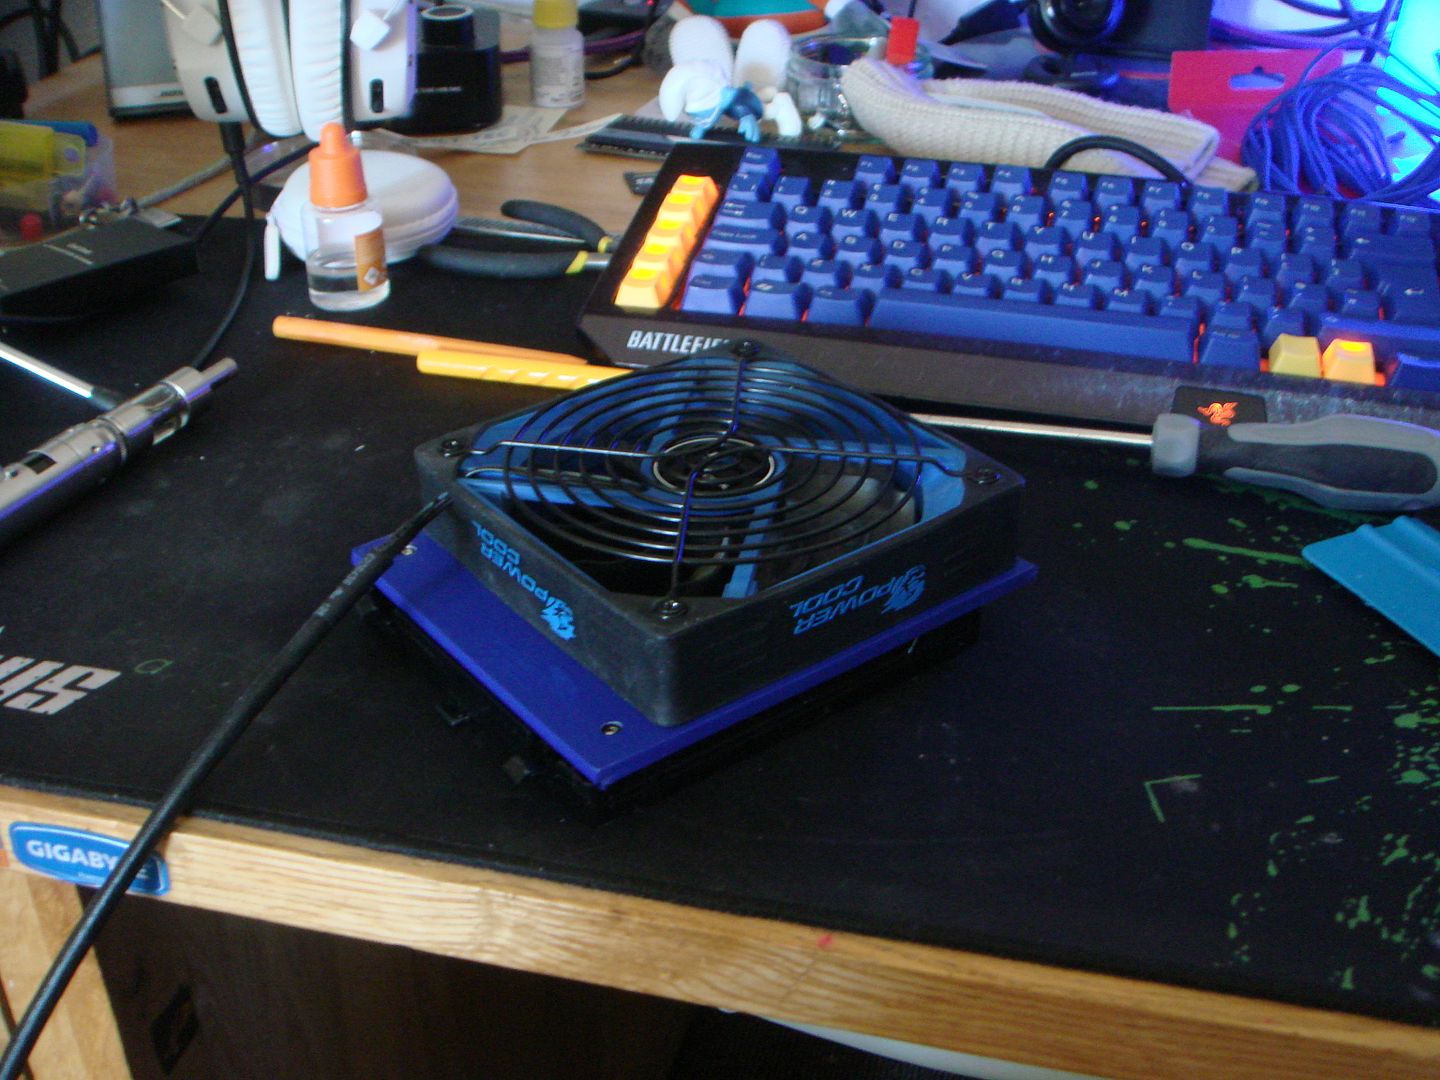
Any way, it's been solved now and will work (I just tried it but I've put the camera away now). Anyhoo, here is the adapter bolted together just so you can see how it works.


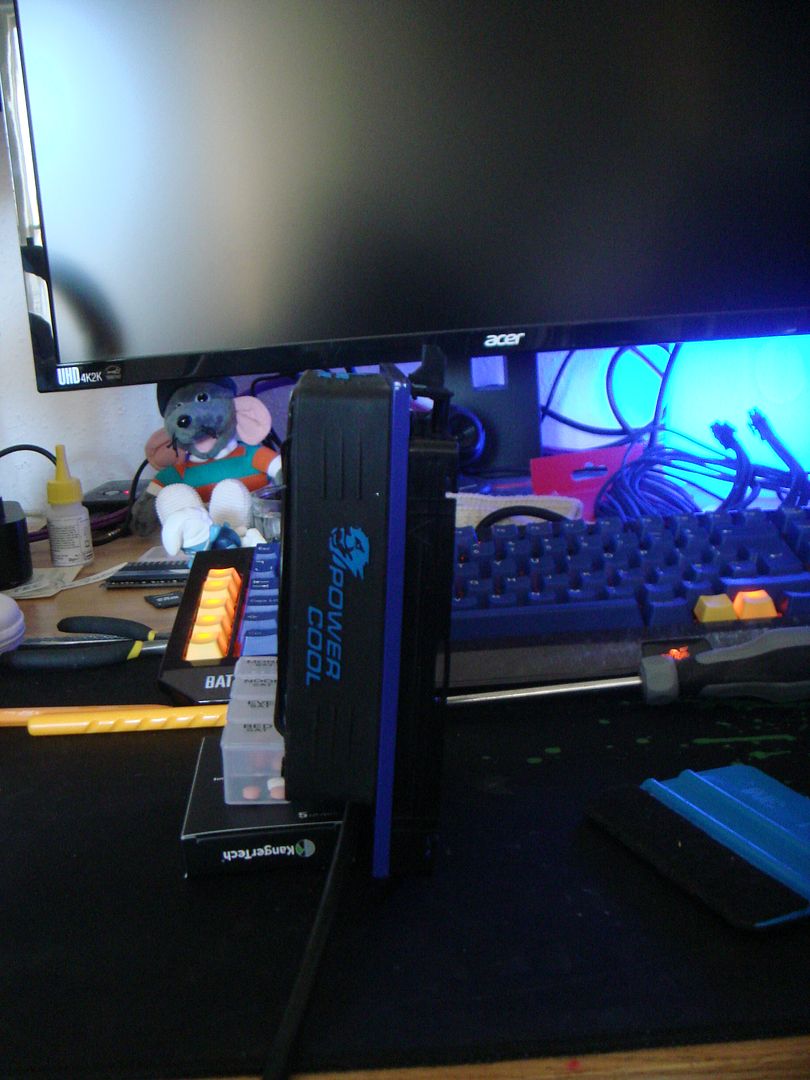
I did not realise either that the blue area there would be visible so I am going to make a graphic or something for it. This is how it looks stood up, and you can clearly see the offset here that I've added by making the plate.


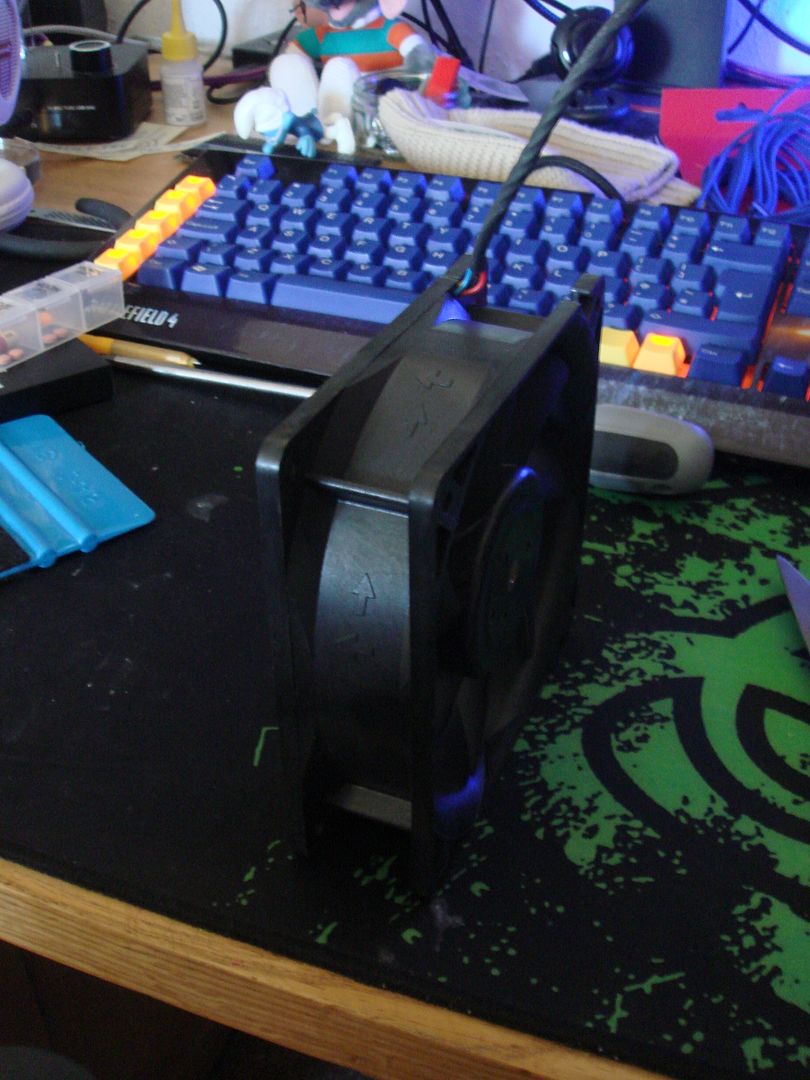
OK, so we take a nice thick fan that just so happens to be the side thickness as a Fury X rad.


And then this pic shows the fan fitted into the position it will be in soon.


I then add the pretend 'radiator' and.


And it clears, just. However, as I mentioned previously, I forgot to take the depth of the radiator into consideration. After a moment of sheer panic (seriously my mouth went so dry it was like I ate 10,000 digestives without any milk!) I then realised that if I mount the radiator first and then fit the fan on the other side in 'pull' mode that the radiator will then have plenty of depth when fitted, phew !!!!
 
Success ! the fan magnets arrived and after shaving off the nipples they seem to work very well.


Sorry for the bad pic, it's proper crap down here today with barely any daylight :(
 
Wow I totally forgot to update this. The rig is finished now. To answer your question though Darwin no, there are no vibrations and the fan has been in place since I posted here last and hasn't moved. Here is the radiator adapter bracket I made to shift the rad up in position.


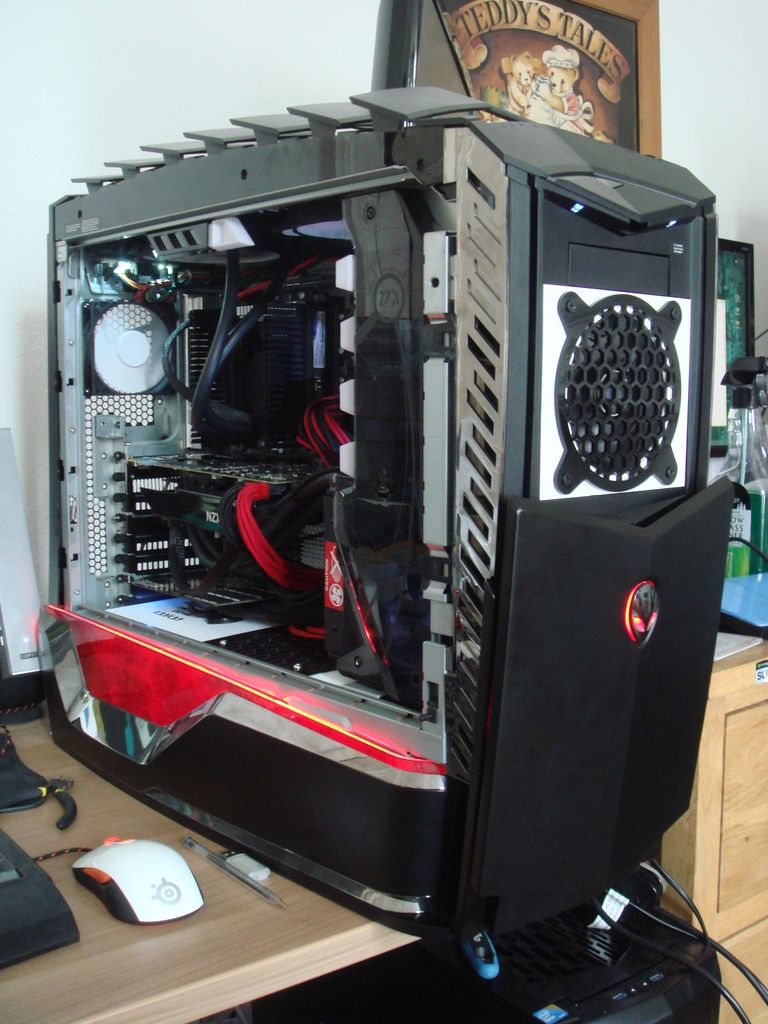
It was close but it worked. Here is the rig finished.


Here is its brother, my 2009.


As well as a new addition to the family, my 2006.


Back
Top Bottom