You are using an out of date browser. It may not display this or other websites correctly.
You should upgrade or use an alternative browser.
You should upgrade or use an alternative browser.
Robocain - Robocop 2 robot
- Thread starter Building Candy
- Start date
More options
Thread starter's posts- Joined
- 8 Nov 2006
- Posts
- 1,455
thank you for your continued support, 5 months in now 
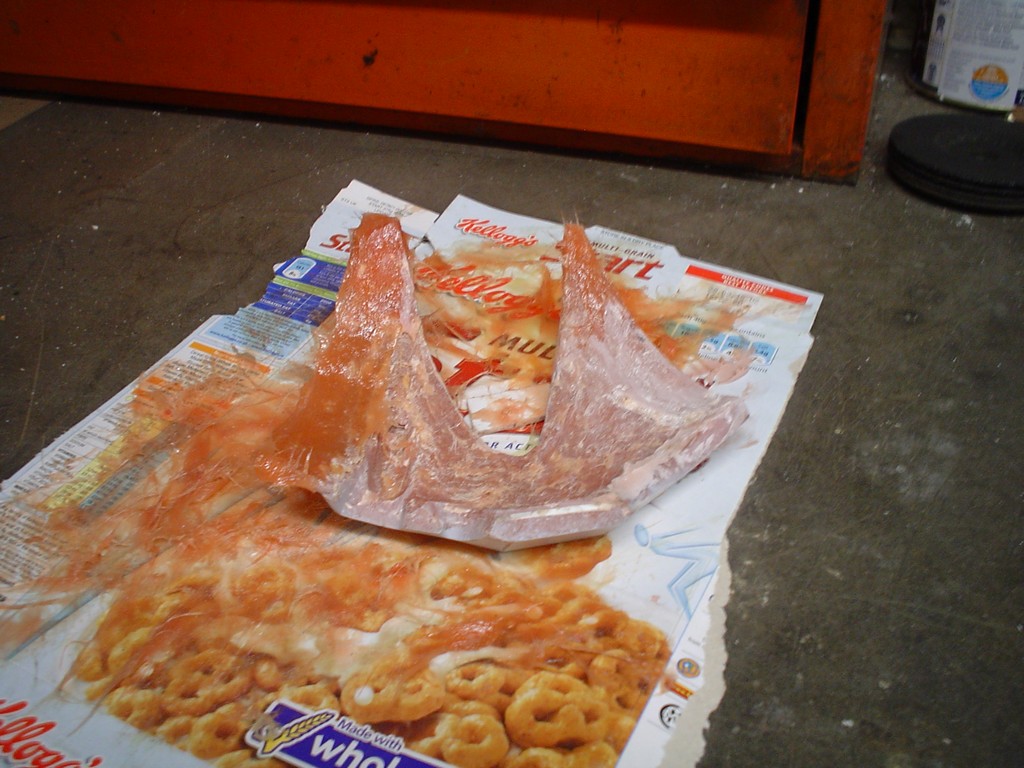
I thought for a while about the upper chest and decided the cardboard prototype I made was a pretty good starting point, so I fibreglassed that. Actually its more of a bridging filler, it has strands of fibreglass in it to make it really strong, its good stuff.
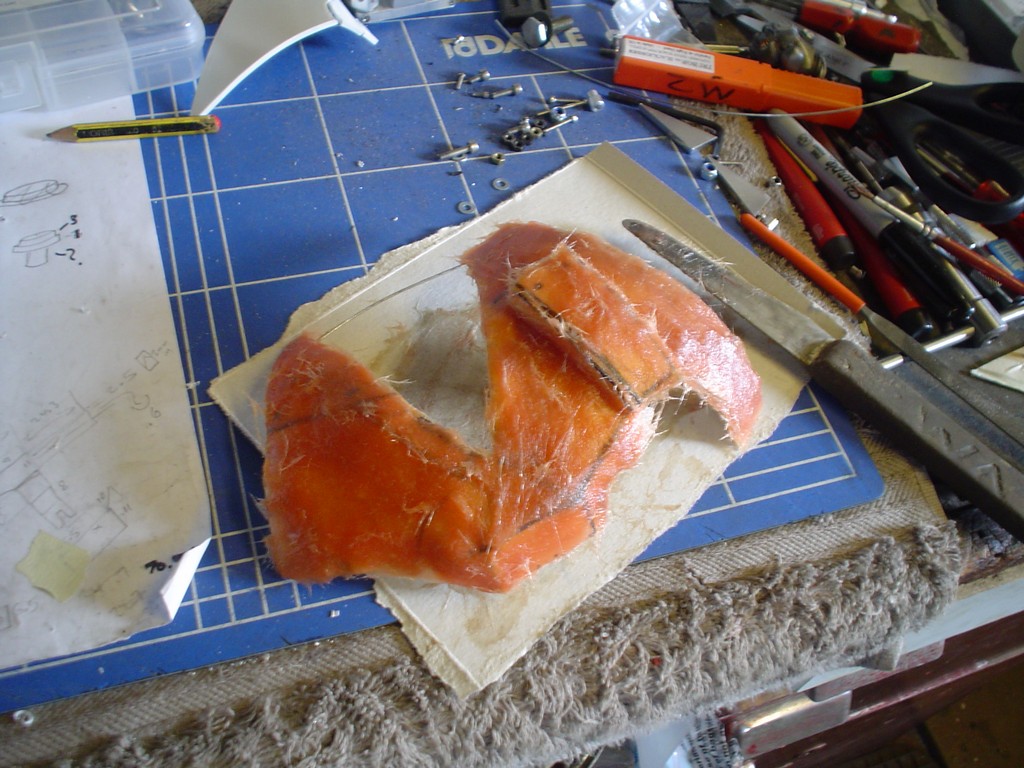
I know it looks like a monkeys breakfast at the moment but it'll all be ok in the end.
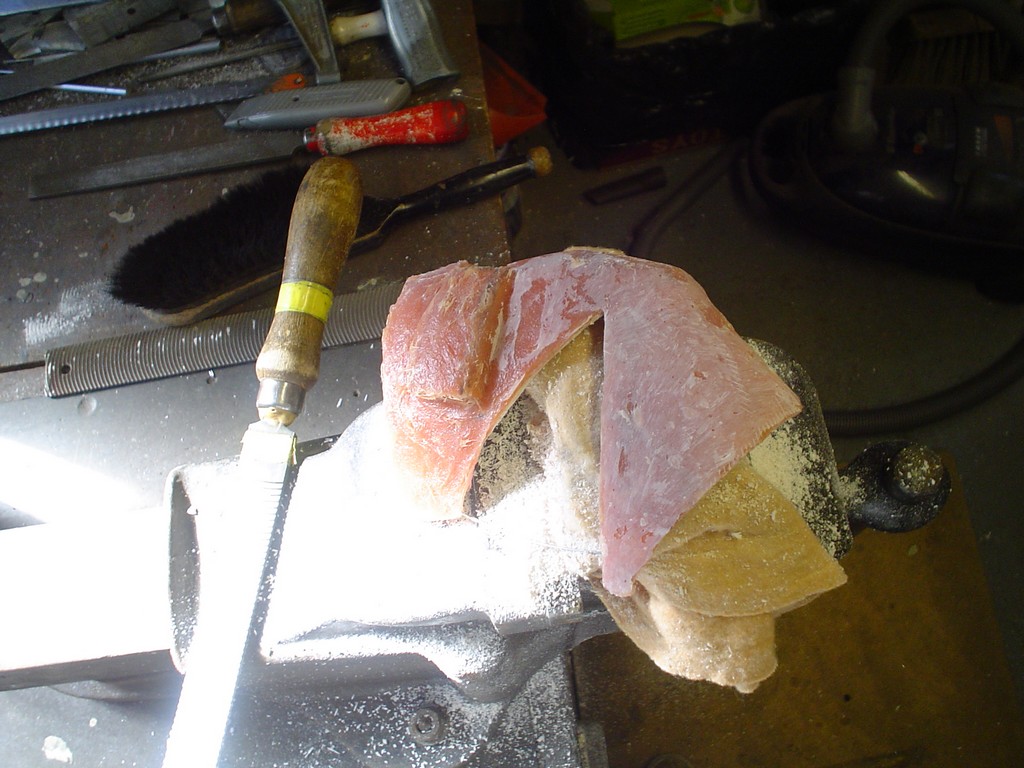
rough but its a start
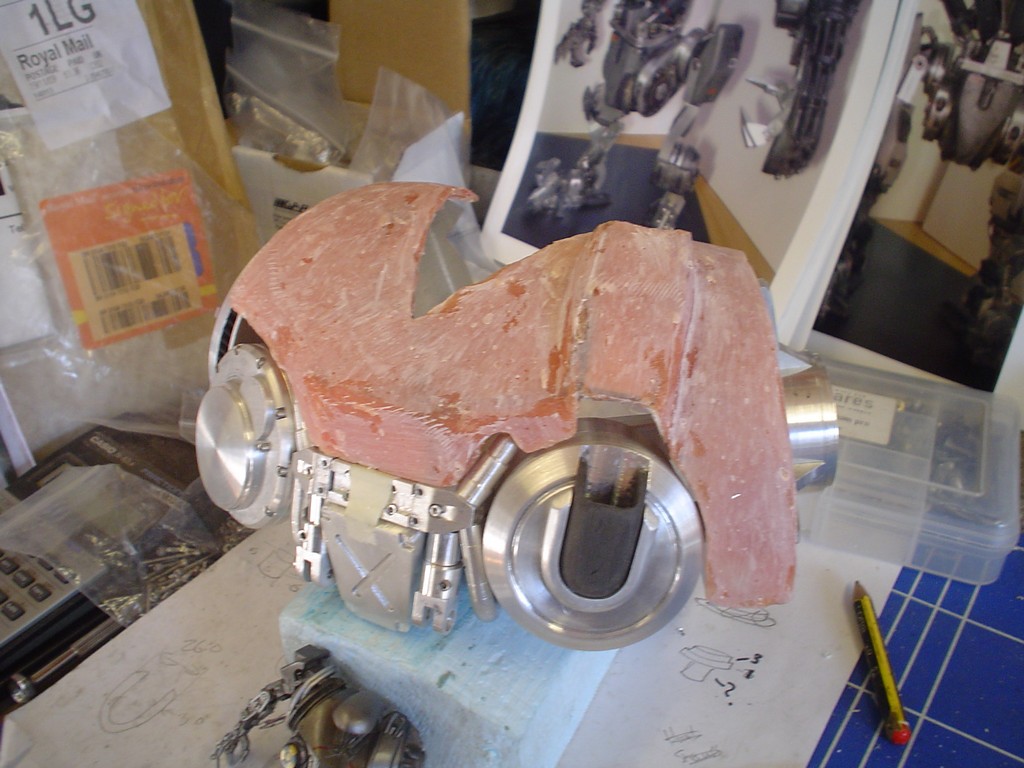
2nd layer on
front bit needs to be bigger and flatter
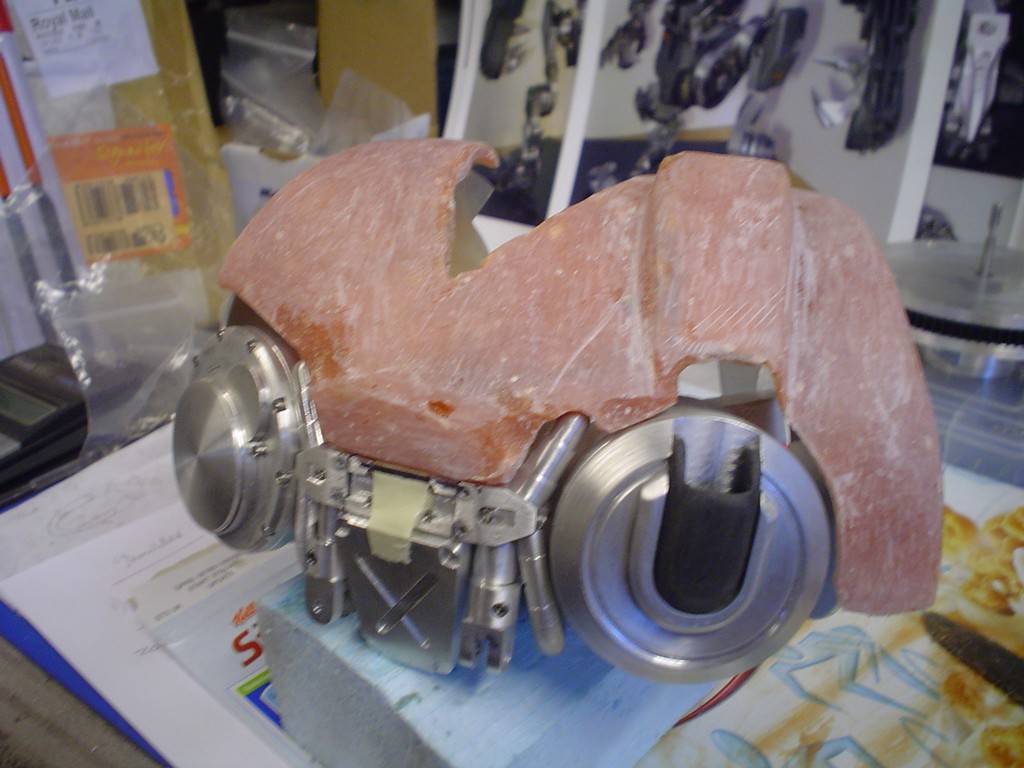
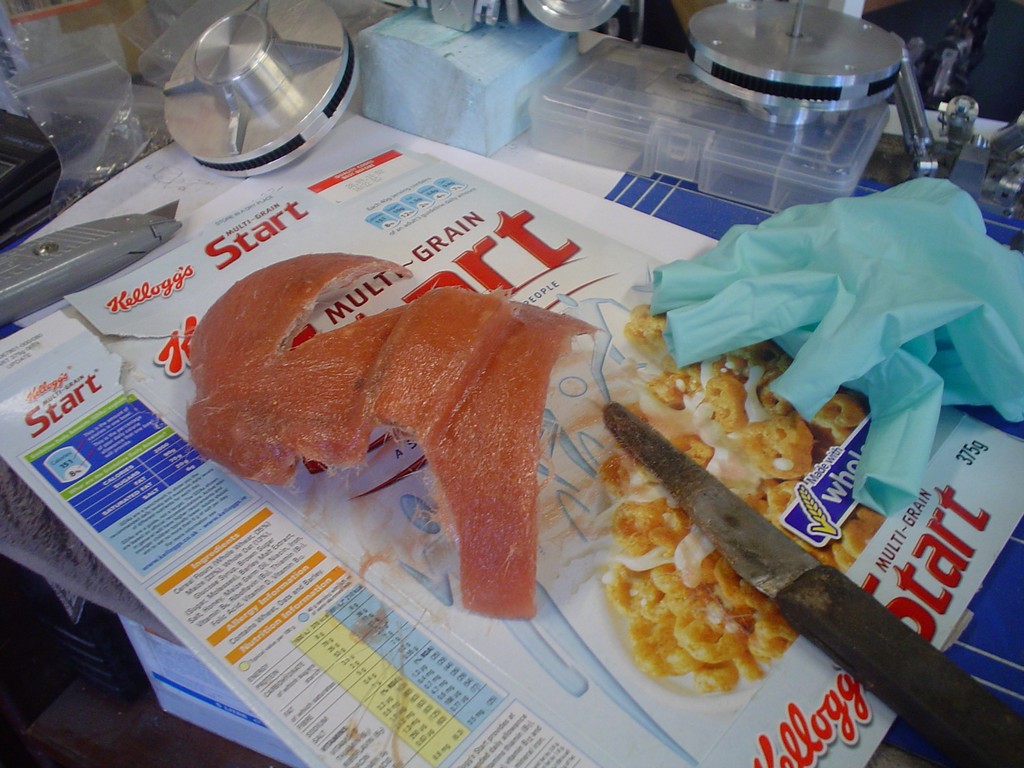
3rd layer, like that
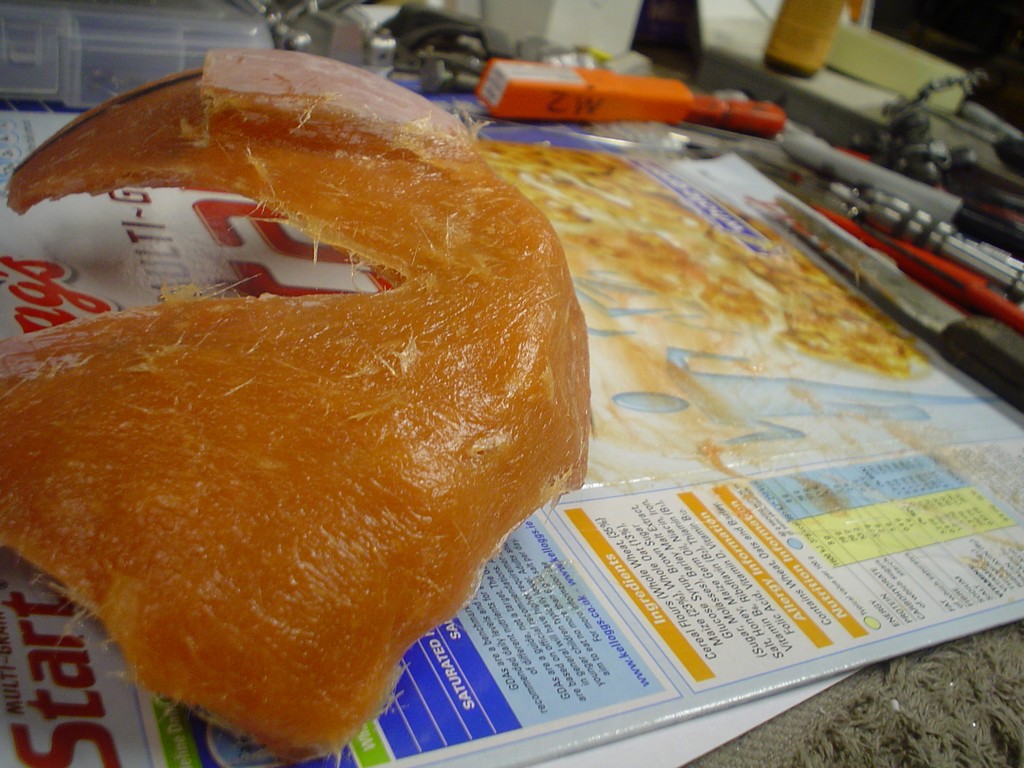
slightly better shape. I got into a right mess with this stuff! not so bad now the first bit is out the way, its starting to take shape.
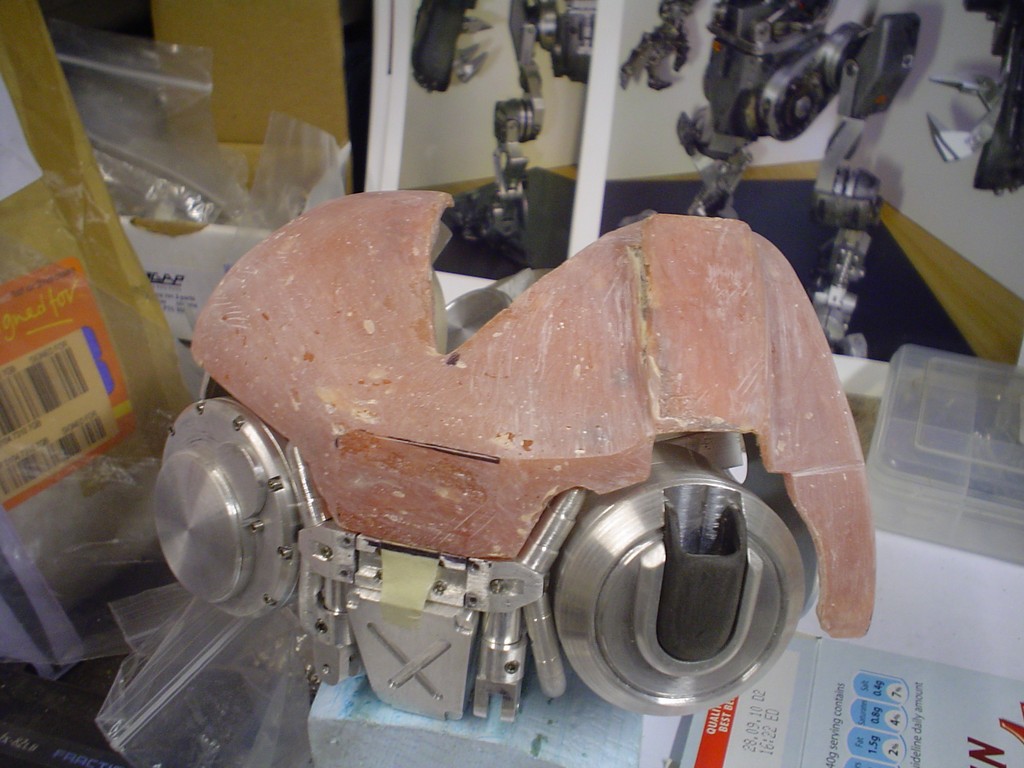

I thought for a while about the upper chest and decided the cardboard prototype I made was a pretty good starting point, so I fibreglassed that. Actually its more of a bridging filler, it has strands of fibreglass in it to make it really strong, its good stuff.
I know it looks like a monkeys breakfast at the moment but it'll all be ok in the end.
rough but its a start
2nd layer on
front bit needs to be bigger and flatter
3rd layer, like that
slightly better shape. I got into a right mess with this stuff! not so bad now the first bit is out the way, its starting to take shape.
Soldato
- Joined
- 25 Sep 2003
- Posts
- 3,750
- Location
- Manchester
M-m-m-m-mega skill, I always like to pop in to this thread and see the latest updates. Can't wait to see it finished.
- Joined
- 8 Nov 2006
- Posts
- 1,455
A bit more shaving and filing, then filling the holes in and so on,
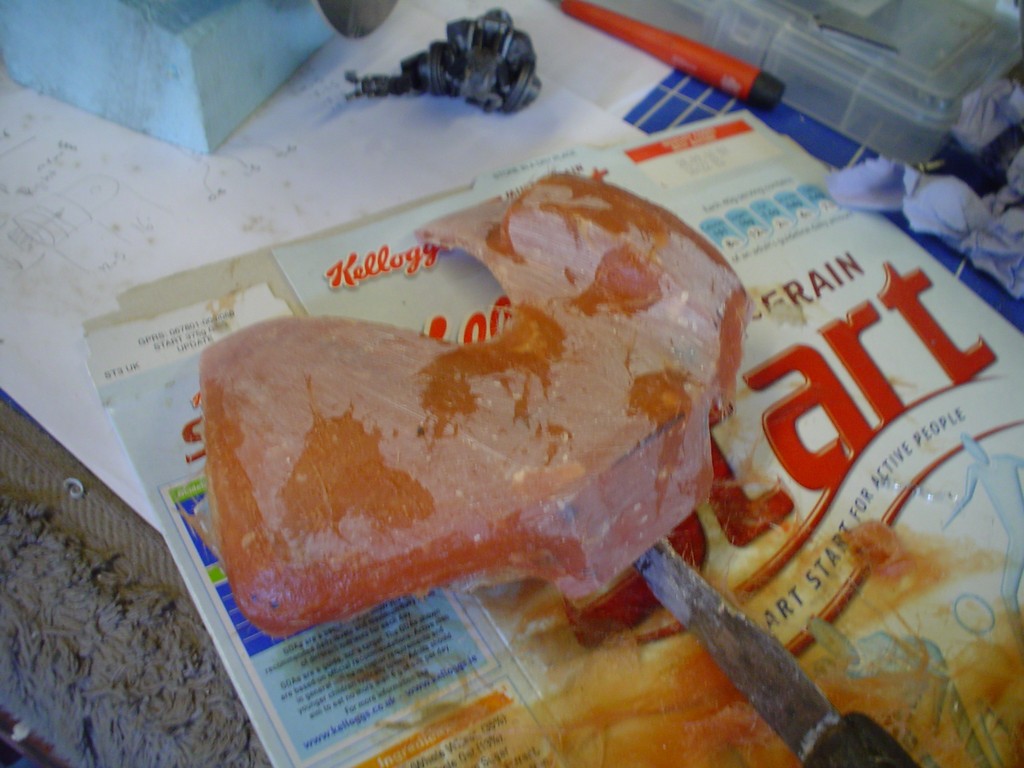
after getting to a decent fit I started going for the sqaure edges, there were many more layers going on here and there to get it fat in the right places.
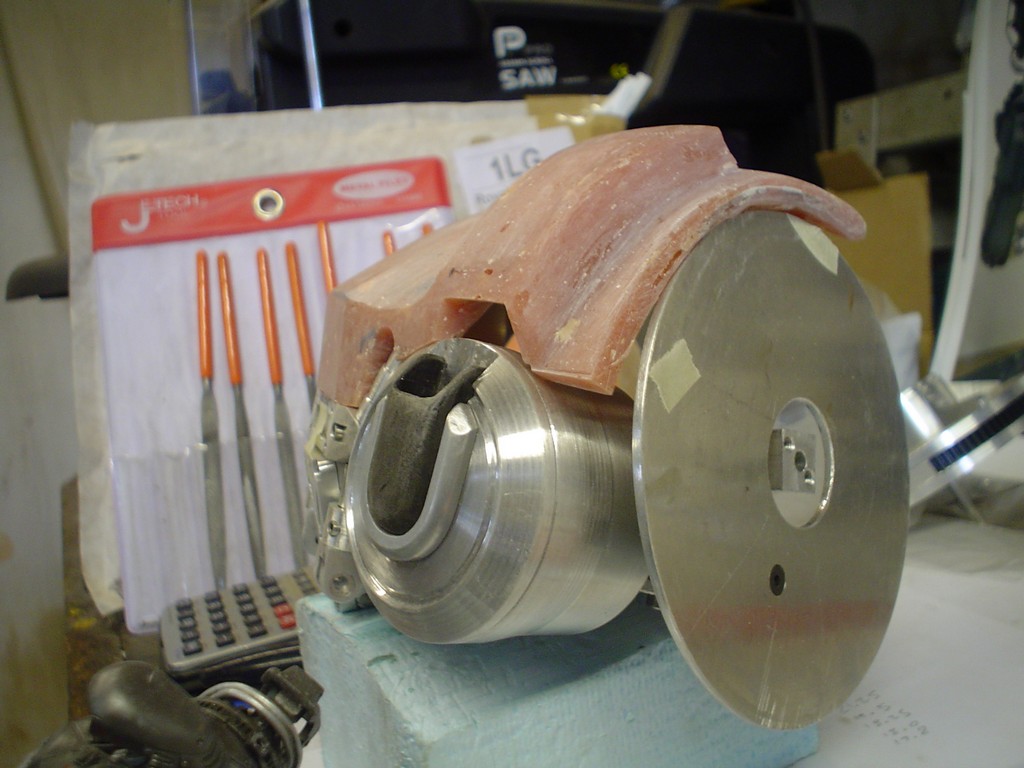
starting to get happy with the overall shape now
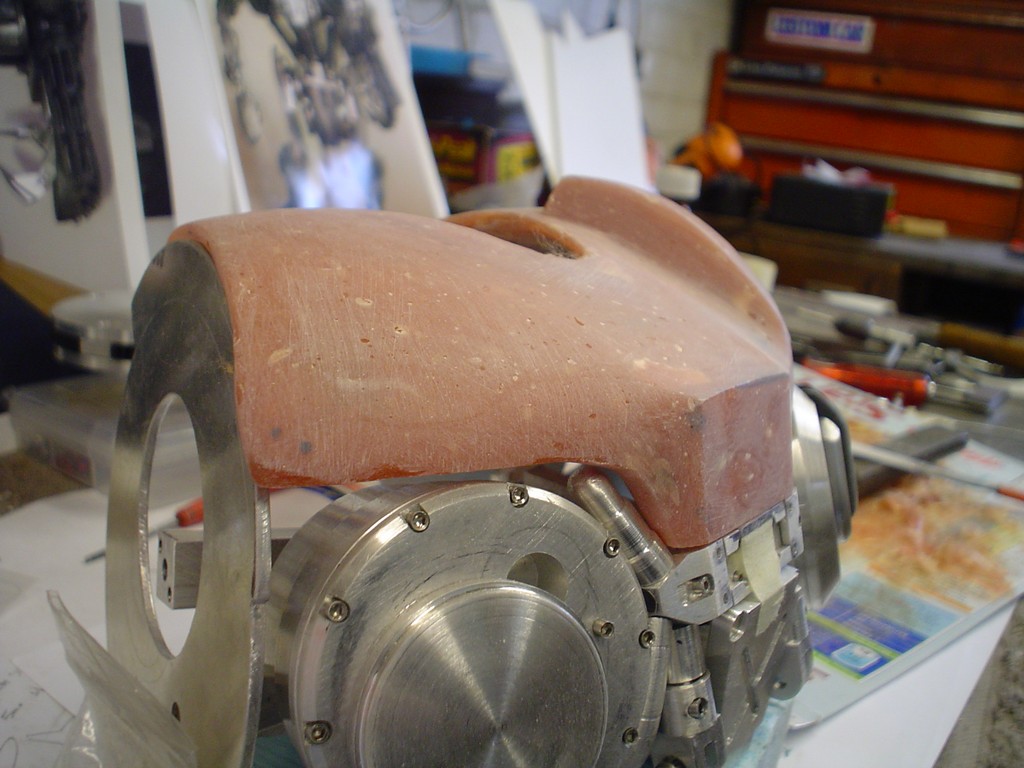
after 10 hours of so I was getting sick of the pinky colour so shot some primer over it, makes it easier to see the curves and shape.
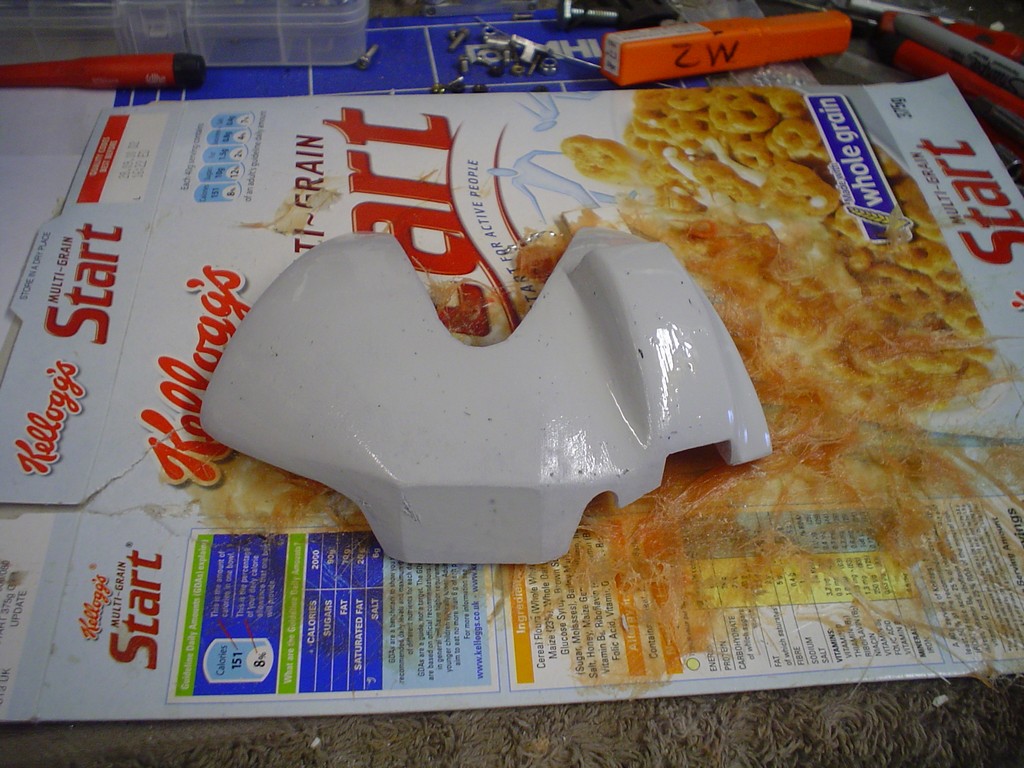
might leave this for a bit and come back to it.
after getting to a decent fit I started going for the sqaure edges, there were many more layers going on here and there to get it fat in the right places.
starting to get happy with the overall shape now
after 10 hours of so I was getting sick of the pinky colour so shot some primer over it, makes it easier to see the curves and shape.
might leave this for a bit and come back to it.
Don
- Joined
- 20 Oct 2002
- Posts
- 17,271
- Location
- In a house
Start is an awesome cereal!!
Get some next time you are at the supermarket, you will not regret it!!
Great work at usual, what will you be using to control the screen?
Get some next time you are at the supermarket, you will not regret it!!
Great work at usual, what will you be using to control the screen?
- Joined
- 8 Nov 2006
- Posts
- 1,455
Thank you all again,
I'll have you know candyman runs on start!
Im not weathering the finish, I want it to look PERFECT
back to metal, starting on upper arm/shoulder.
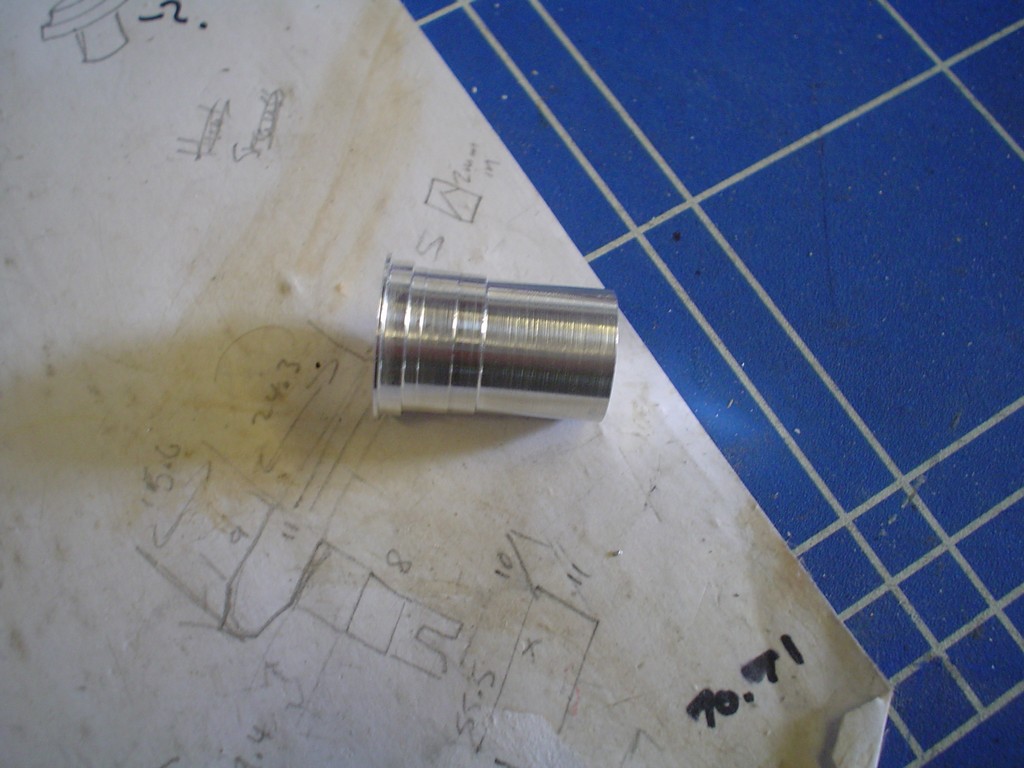
fixes to a steel pin attached to the shoulder disk
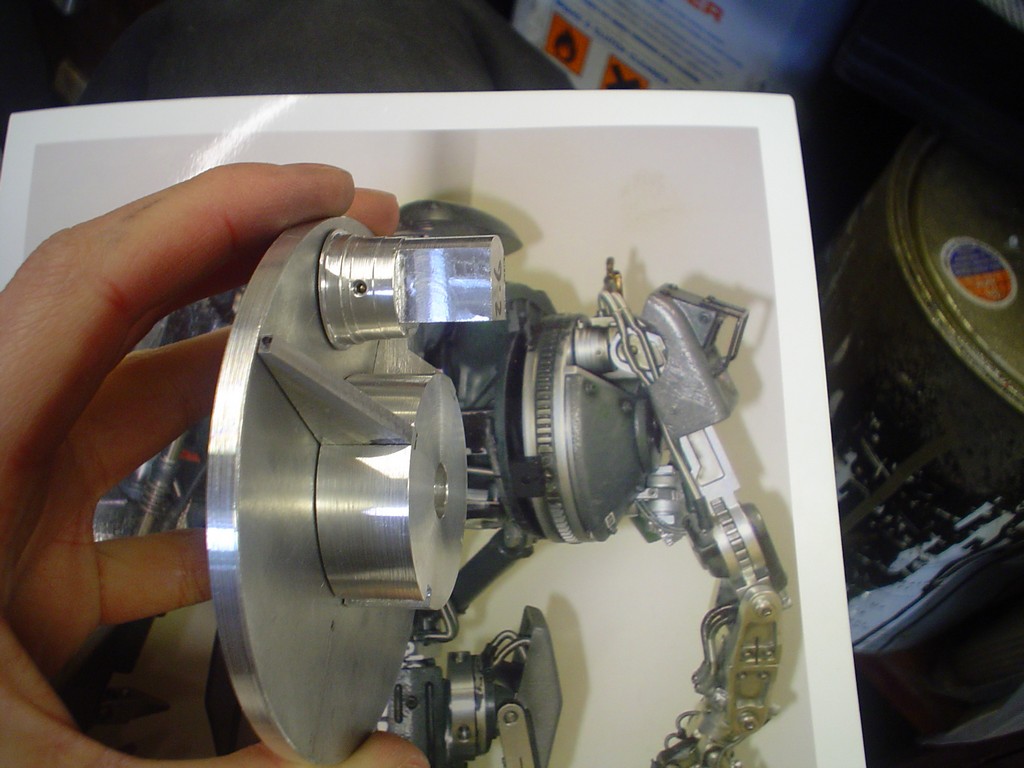
other side is the same so I might as well make two
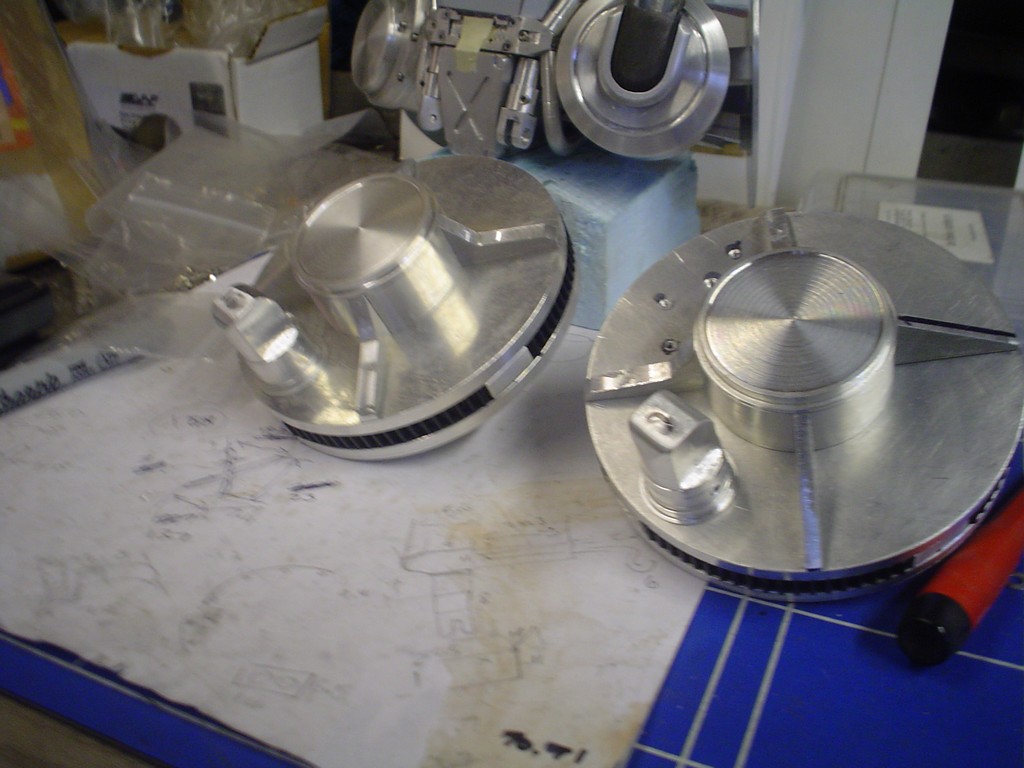
these little things go on the top
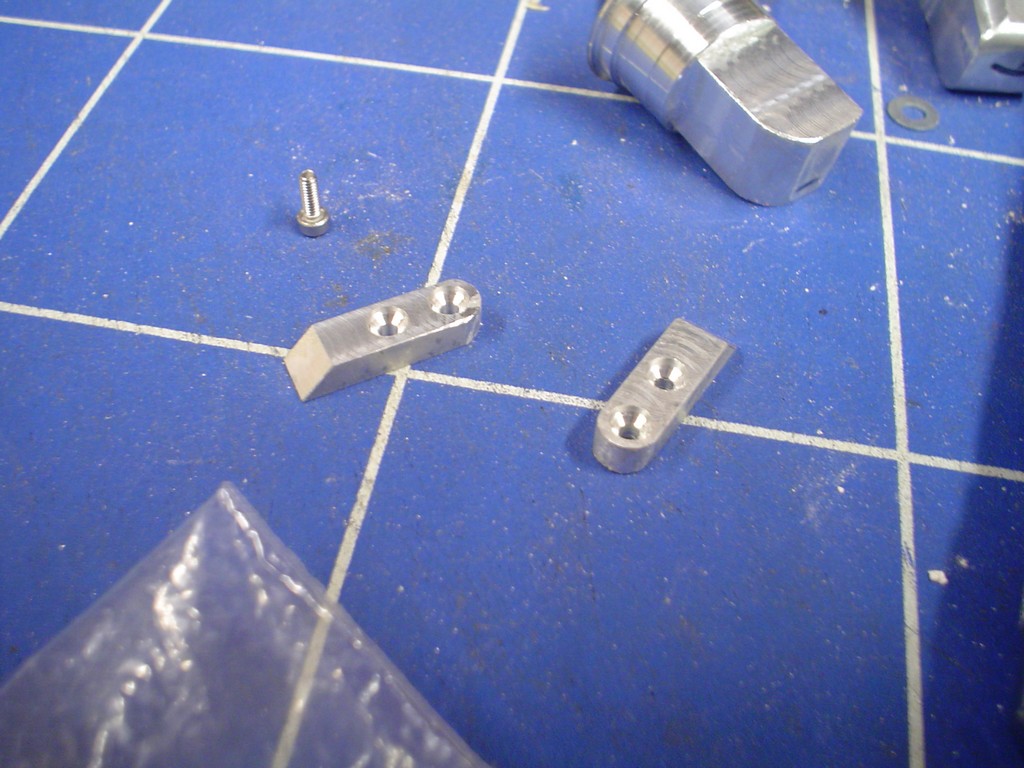
something like that
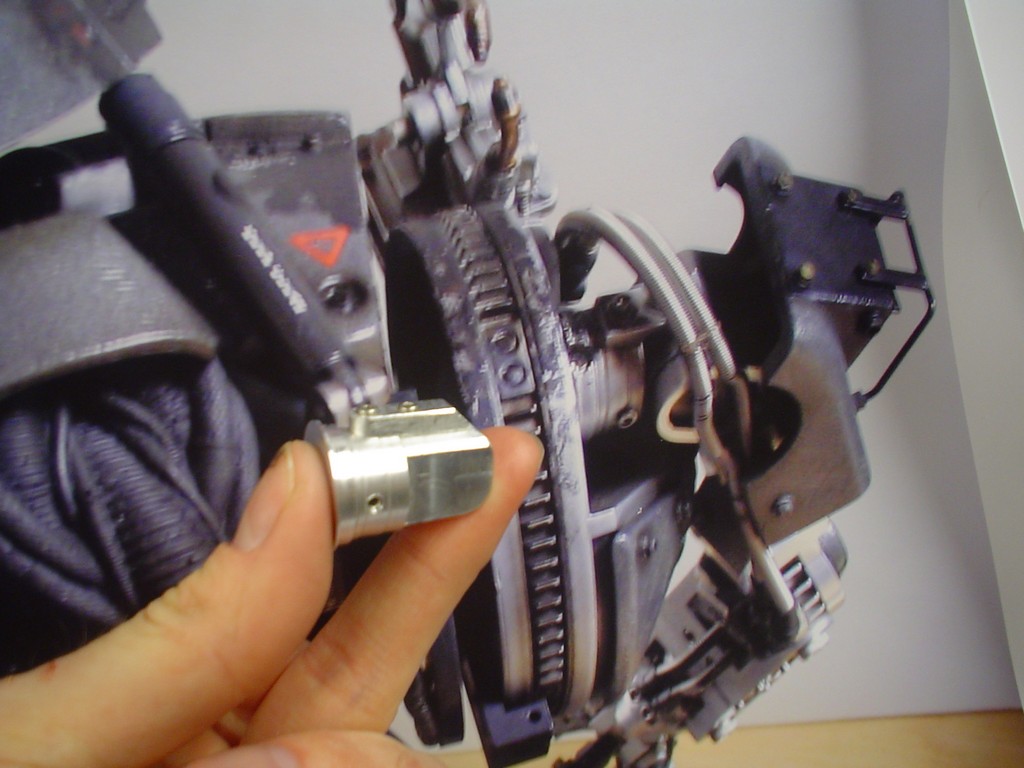
..... meanwhile, bit more rubbing down and a bit more filler...
next piece to make, you know its quite complicated when I have to draw a diagram!
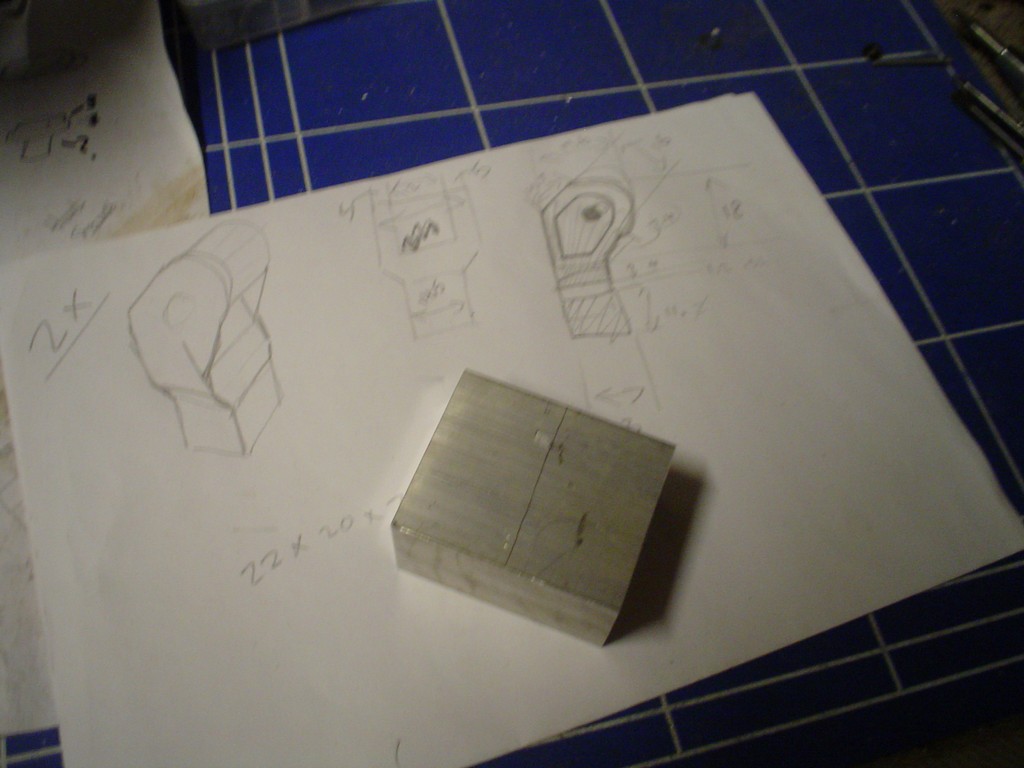
big enough to make 2
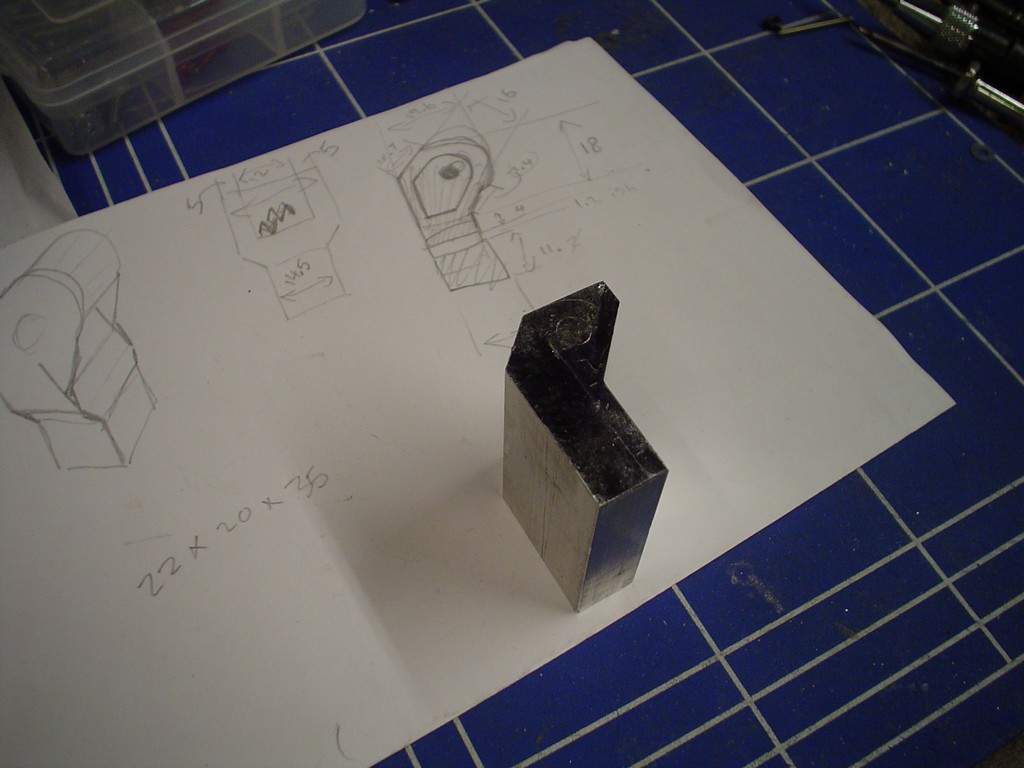
cut the little recess out both sides, on both pieces, used a 3mm end mill and had to rotate it on my little 3 way vice making a note of the length of each side and the degrees turned so I could copy it 4 times.
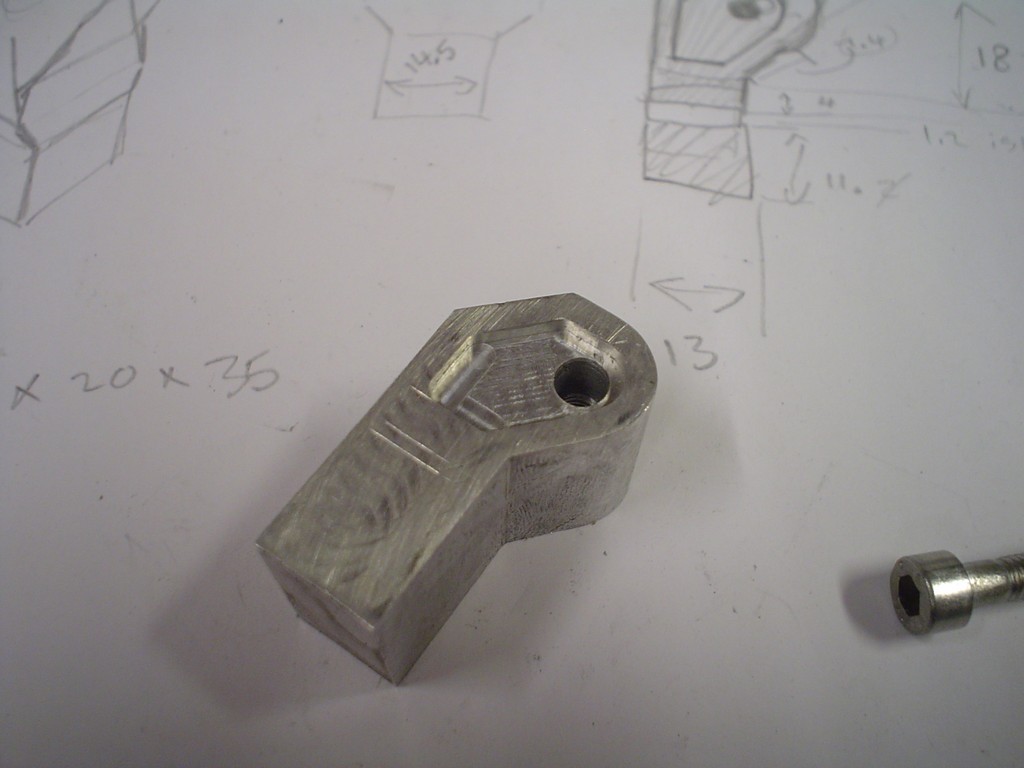
mill the center out, drill
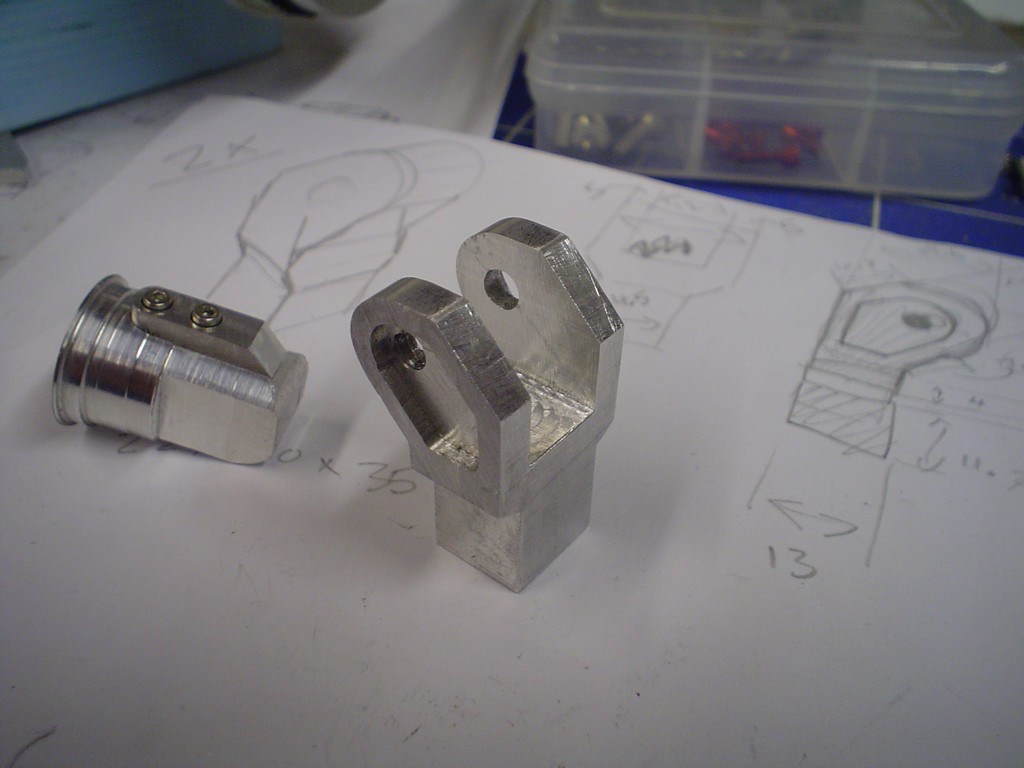
and start on the other one.
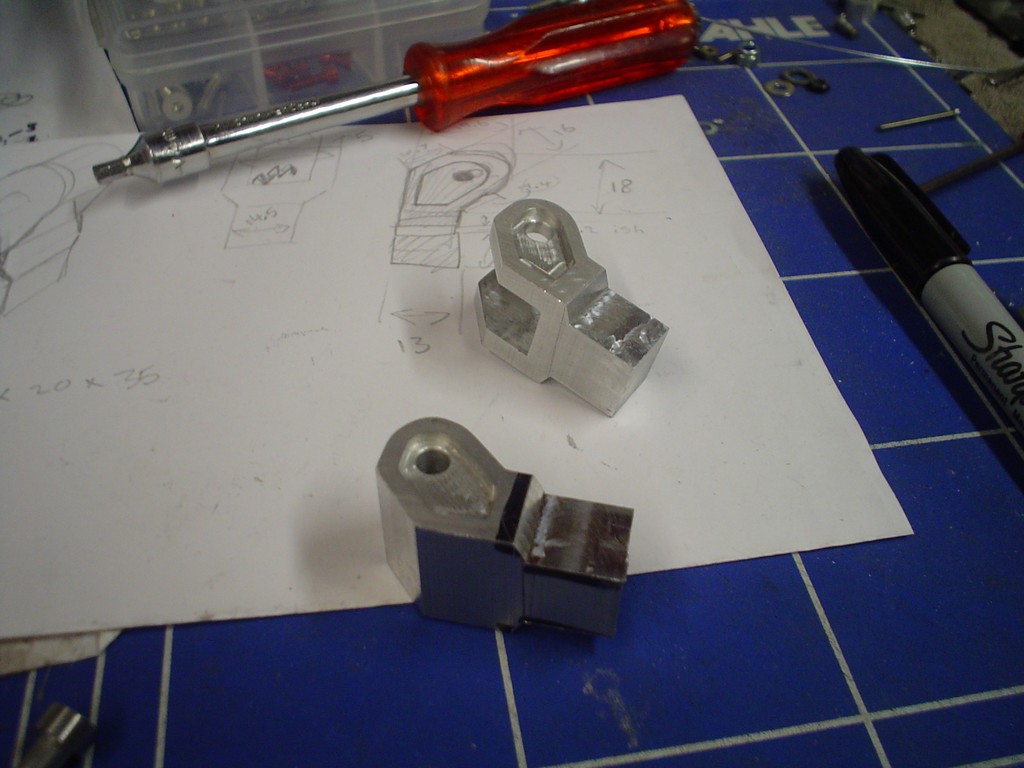
I'll have you know candyman runs on start!
Im not weathering the finish, I want it to look PERFECT
back to metal, starting on upper arm/shoulder.
fixes to a steel pin attached to the shoulder disk
other side is the same so I might as well make two
these little things go on the top
something like that
..... meanwhile, bit more rubbing down and a bit more filler...
next piece to make, you know its quite complicated when I have to draw a diagram!
big enough to make 2
cut the little recess out both sides, on both pieces, used a 3mm end mill and had to rotate it on my little 3 way vice making a note of the length of each side and the degrees turned so I could copy it 4 times.
mill the center out, drill
and start on the other one.
Im not weathering the finish, I want it to look PERFECT
Glad to hear it. I guess it could look good with battle scars but I think it'll look better polished and looking new.
Coming along nicely! Not too far off the weapons now
 .
.- Joined
- 8 Nov 2006
- Posts
- 1,455
Caporegime
- Joined
- 22 Oct 2002
- Posts
- 29,246
- Location
- Boston, Lincolnshire
A bit of useless information. When I was a kid me and my friend watched a copy of Robocop 2 when I was like 6 years old. I kept having a nightmare that robocop 2 was coming to get me and would get closer everytime I closed my eyes. Infact at one point I was taken to my doctor for insomnia. Looking at the film now I just laugh but as a six year old it was bloody scary!
no, thanks to you for providing us with such visual entertainment!
Email sent


