You are using an out of date browser. It may not display this or other websites correctly.
You should upgrade or use an alternative browser.
You should upgrade or use an alternative browser.
Robocain - Robocop 2 robot
- Thread starter Building Candy
- Start date
More options
Thread starter's posts- Joined
- 8 Nov 2006
- Posts
- 1,451
Thank you all for the kind words 

- Joined
- 8 Nov 2006
- Posts
- 1,451
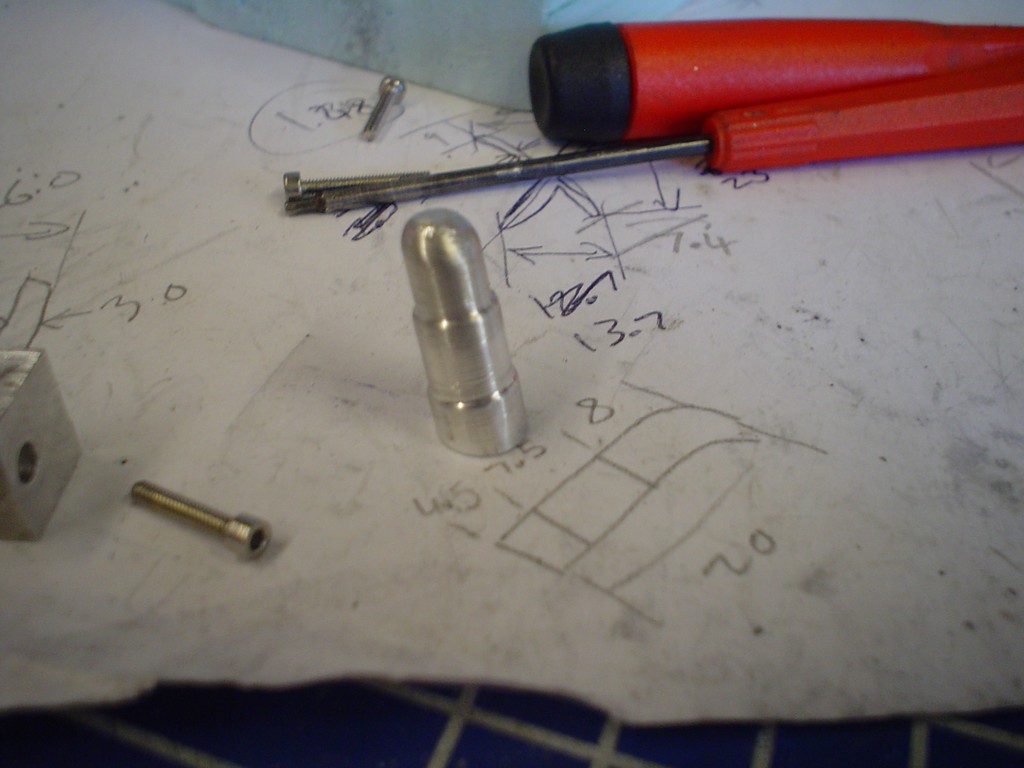
Ok starting on the pipework, turned some pieces up and then milled a flat on them to get them to sit right, bit of trial and error here.
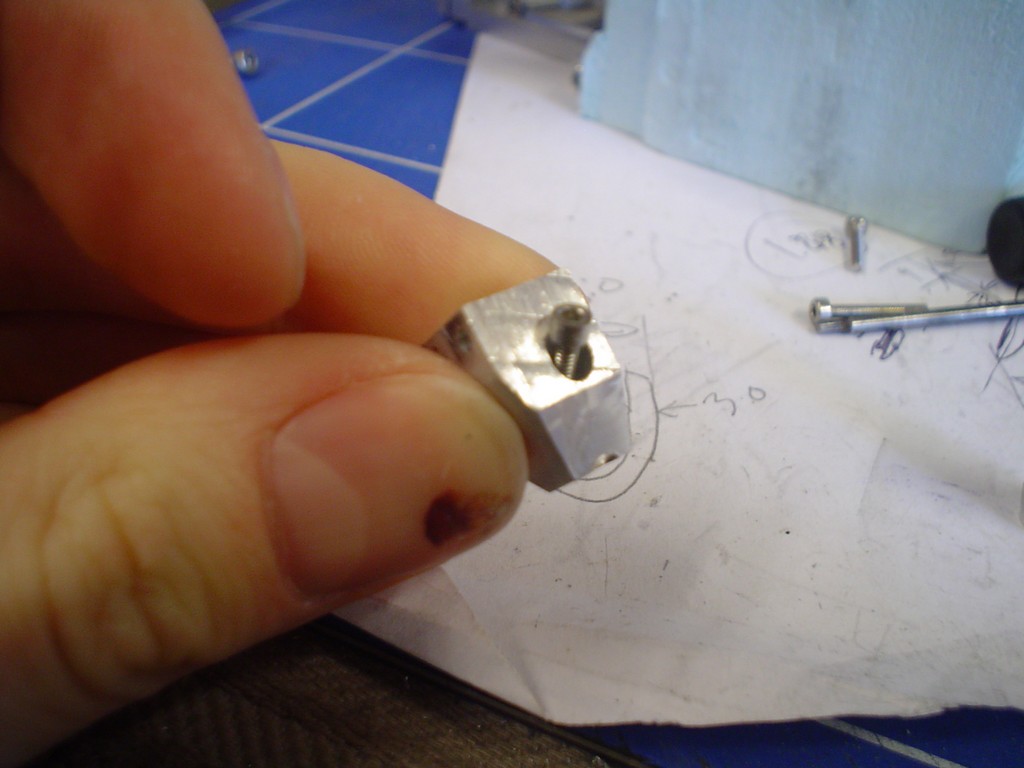
as for fixing it all together im drilling and then screwing in from the middle of the dude .. in the middle.

trial fit , something like that
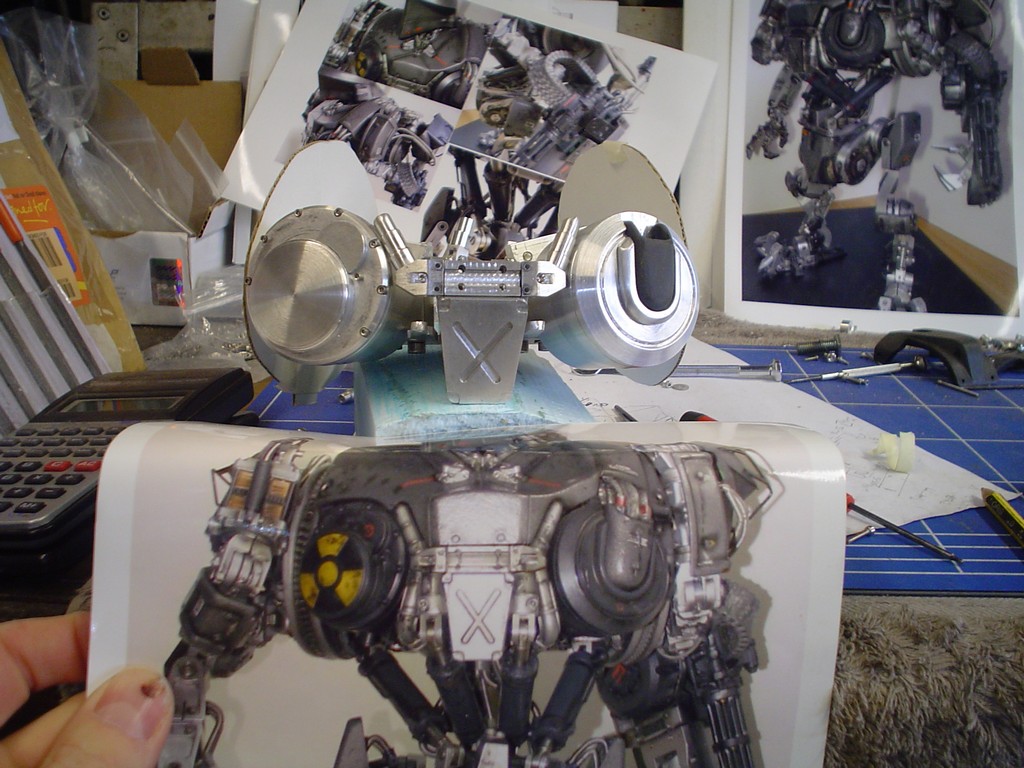
not a bad likeness
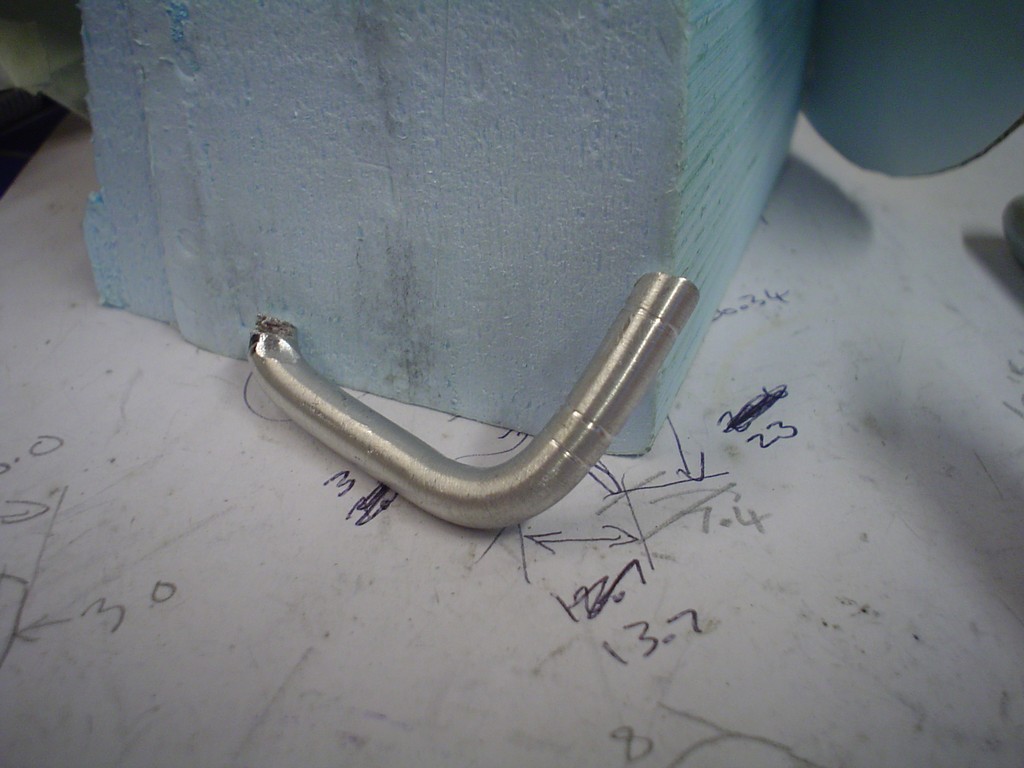
more turned rod then I had to to swing on it to bend it.
one each side slots between everything, this took ages to get right so it slotted into place with no gaps.
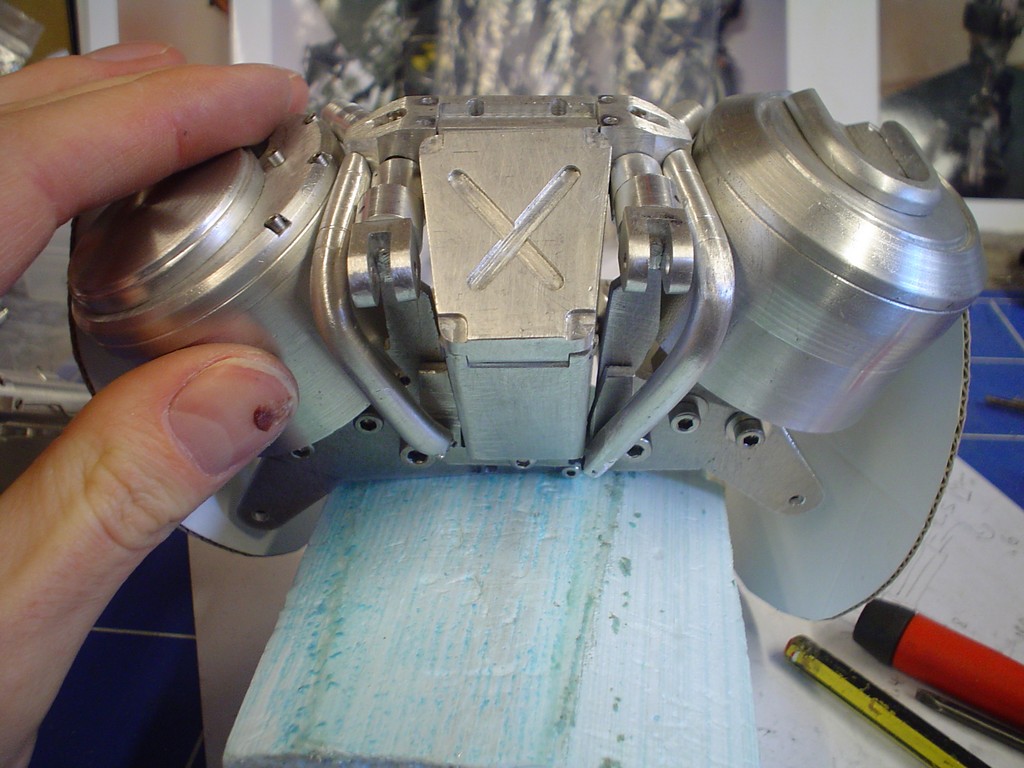
looks ok I think
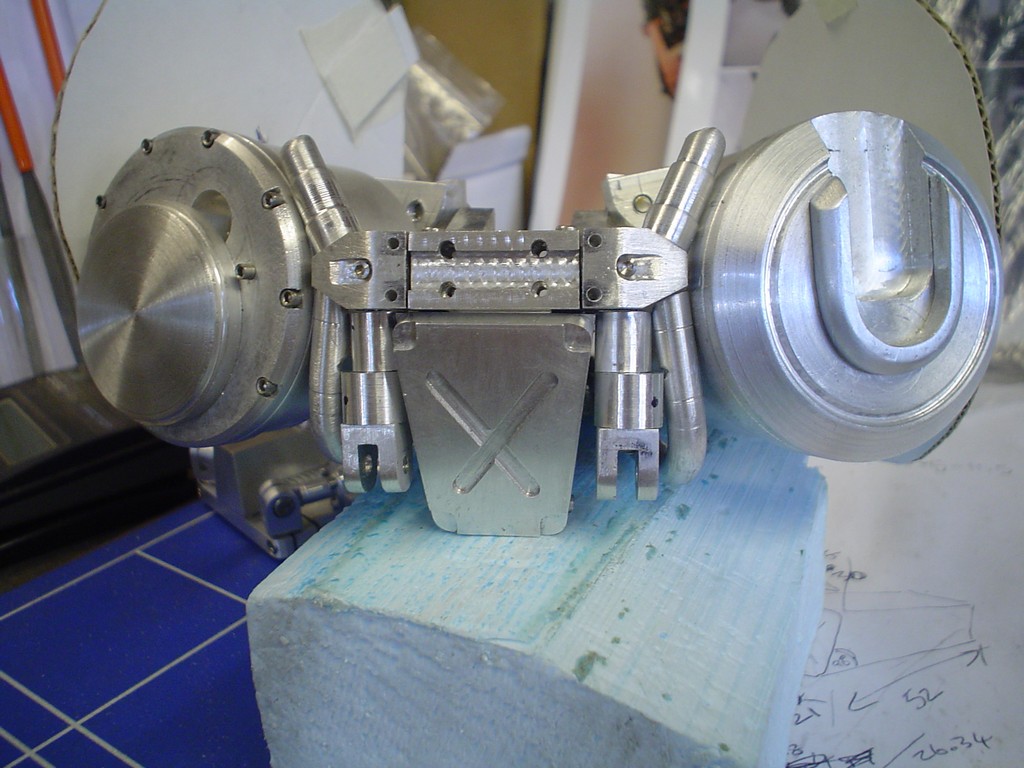
as for fixing it all together im drilling and then screwing in from the middle of the dude .. in the middle.
trial fit , something like that
not a bad likeness
more turned rod then I had to to swing on it to bend it.
one each side slots between everything, this took ages to get right so it slotted into place with no gaps.
looks ok I think
bigger than i thought it would be
That's amazing man
Wouldn't be surprised if you get a few £1k+ offers for it when it's done
Considering its hand made and one of a kind 1-2k would be the starting bid on fleebay tbh.
- Joined
- 8 Nov 2006
- Posts
- 1,451
lol yeh, if someone offered £1k i'd say "no, but i'll give you double if you can make me one" kinda puts thing in perspective.
- Joined
- 8 Nov 2006
- Posts
- 1,451
im back in the UK now, when I have adjusted to UK life again cain progress will resume at the normal rate.
had to turn these screw heads down a lot to fit.
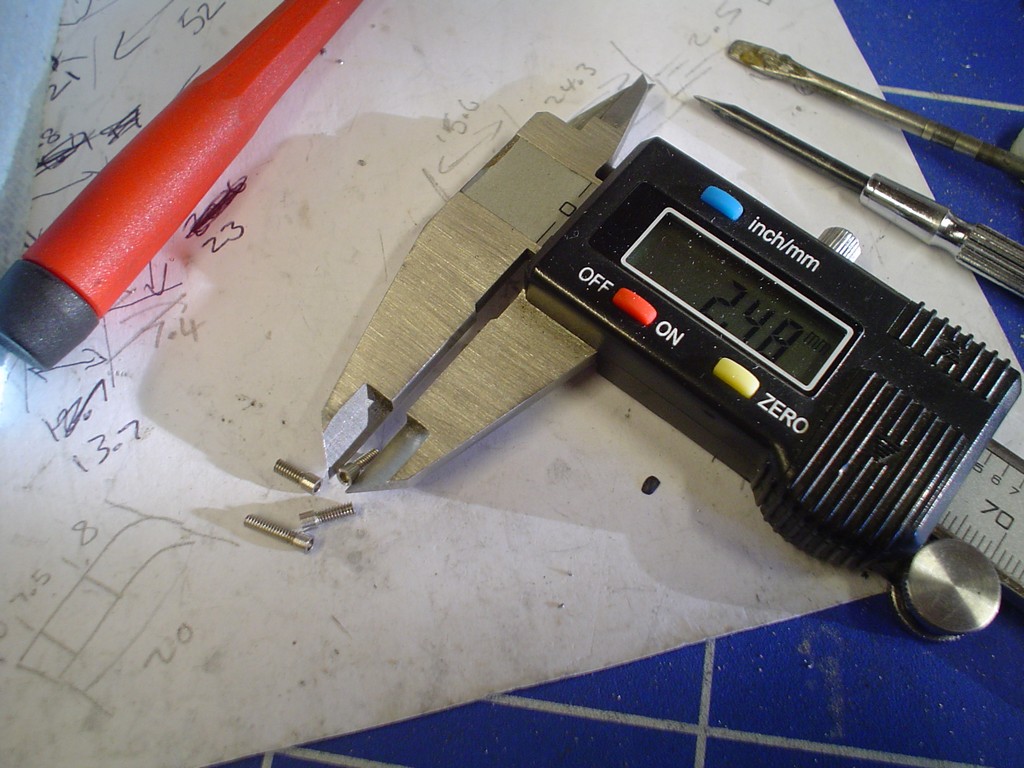
they fit in there, I have ordered some even smaller screws for the other 4 holes.
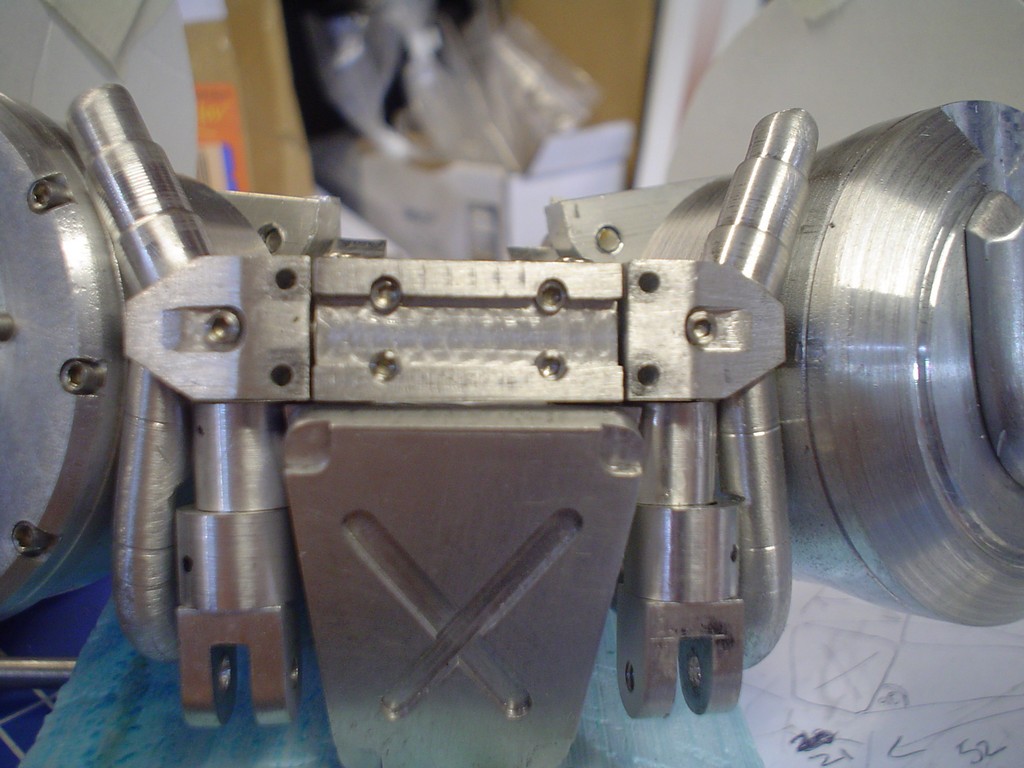
drilled , tapped and put screws in these "collars"

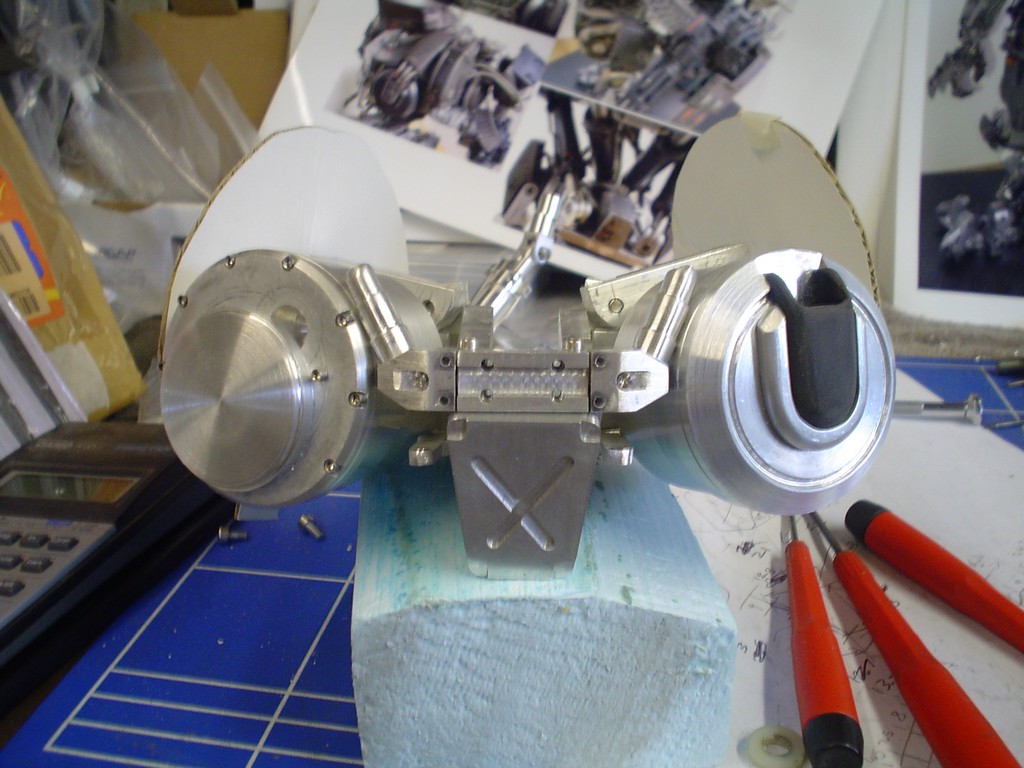
trial fit with pistons attached, the angle of this photo was taken head on quite close and makes it look narrower than I think it really is, after looking at all the pictures im quite happy with the position of everything.
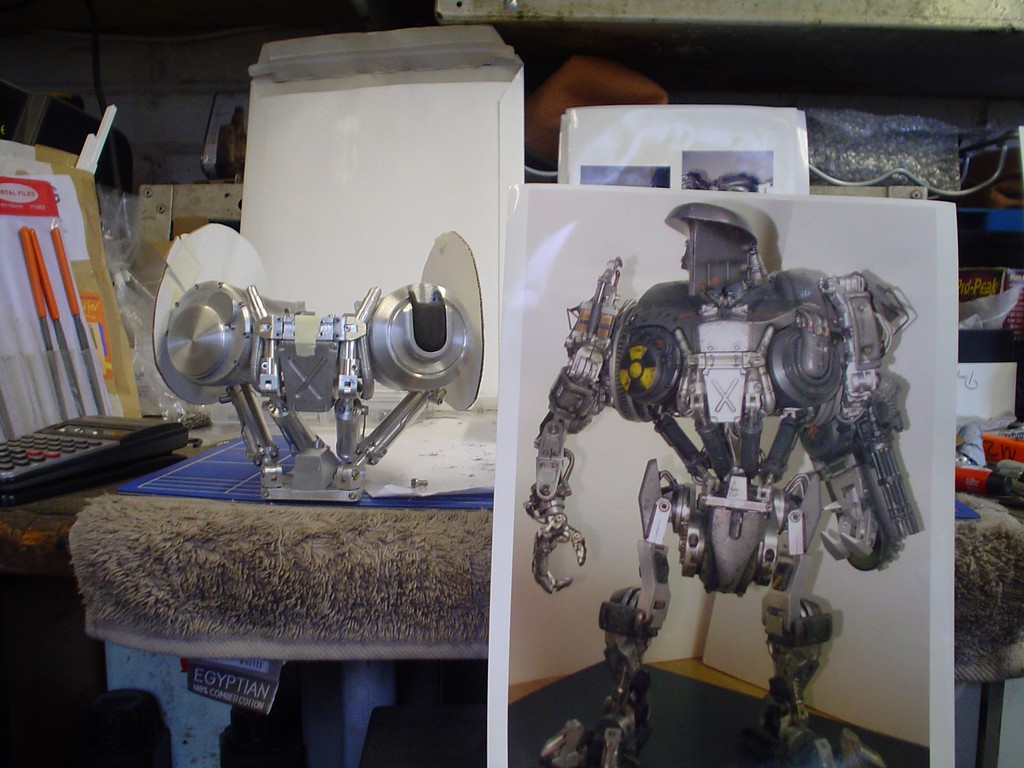
all that to one side for now, I need to work on the positioning and mounting for the shoulders.
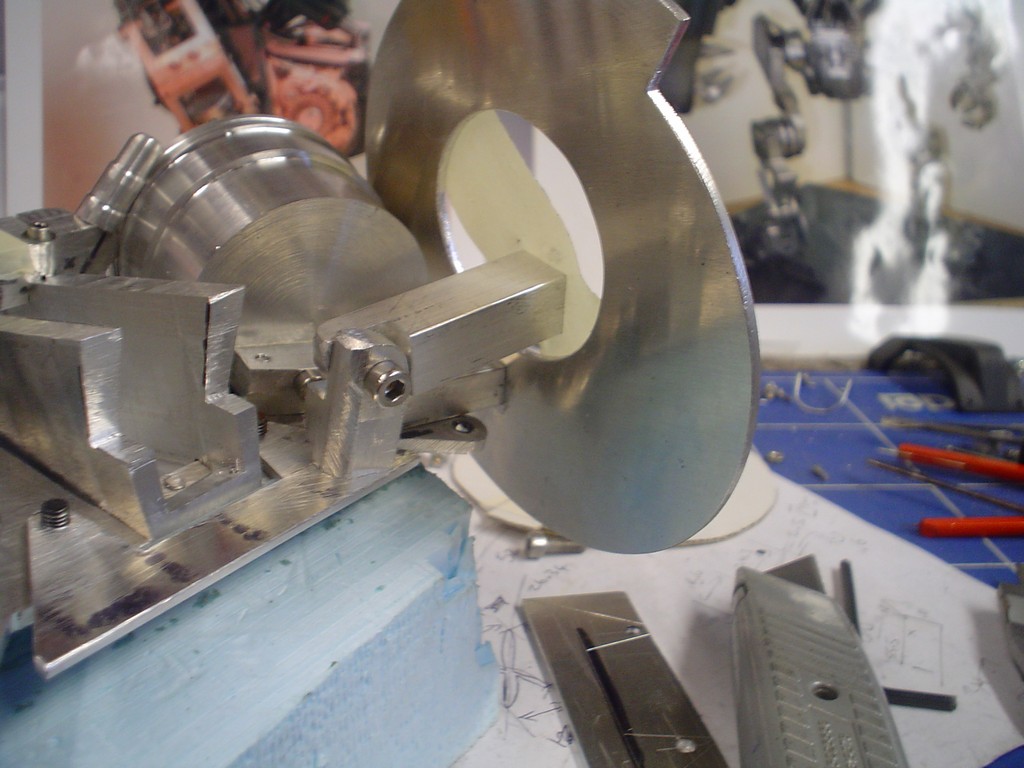
these will form the sides of the chest, the shoulders will butt up to these, I was thinking about only having 1 axis of movement for the shoulders, up and down, but in the film when they reveal cain at the press conference he drops his shoulders down and back. So I am working in 2 axis, also with it needing t sit flush at rest it also needs to move in and out, so the full 3 axis of movement is required. Oh yeh and they rotate as well, depending on what set of arms he wants to use.
after a lot of trial fitting I decided the plate didnt go far enough back so I have added an aditional plate on the back and moved everything back a bit.
back to the cardboard, the placement of everything looks right now from all 3 angles.
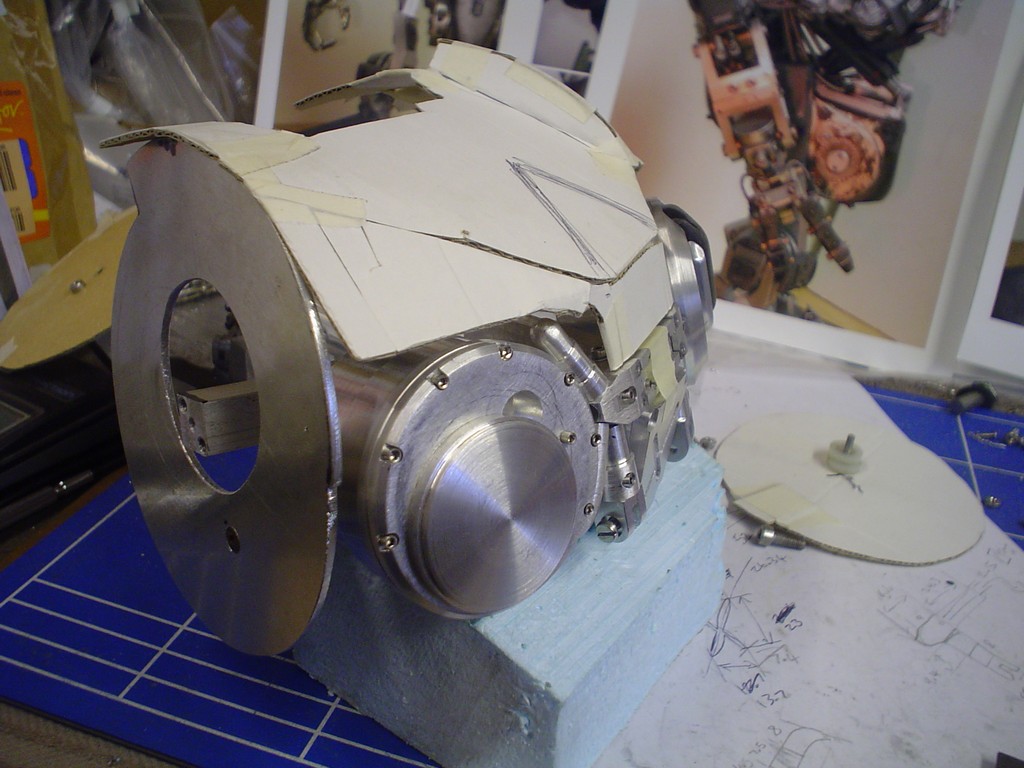
had to turn these screw heads down a lot to fit.
they fit in there, I have ordered some even smaller screws for the other 4 holes.
drilled , tapped and put screws in these "collars"
trial fit with pistons attached, the angle of this photo was taken head on quite close and makes it look narrower than I think it really is, after looking at all the pictures im quite happy with the position of everything.
all that to one side for now, I need to work on the positioning and mounting for the shoulders.
these will form the sides of the chest, the shoulders will butt up to these, I was thinking about only having 1 axis of movement for the shoulders, up and down, but in the film when they reveal cain at the press conference he drops his shoulders down and back. So I am working in 2 axis, also with it needing t sit flush at rest it also needs to move in and out, so the full 3 axis of movement is required. Oh yeh and they rotate as well, depending on what set of arms he wants to use.
after a lot of trial fitting I decided the plate didnt go far enough back so I have added an aditional plate on the back and moved everything back a bit.
back to the cardboard, the placement of everything looks right now from all 3 angles.
- Joined
- 8 Nov 2006
- Posts
- 1,451
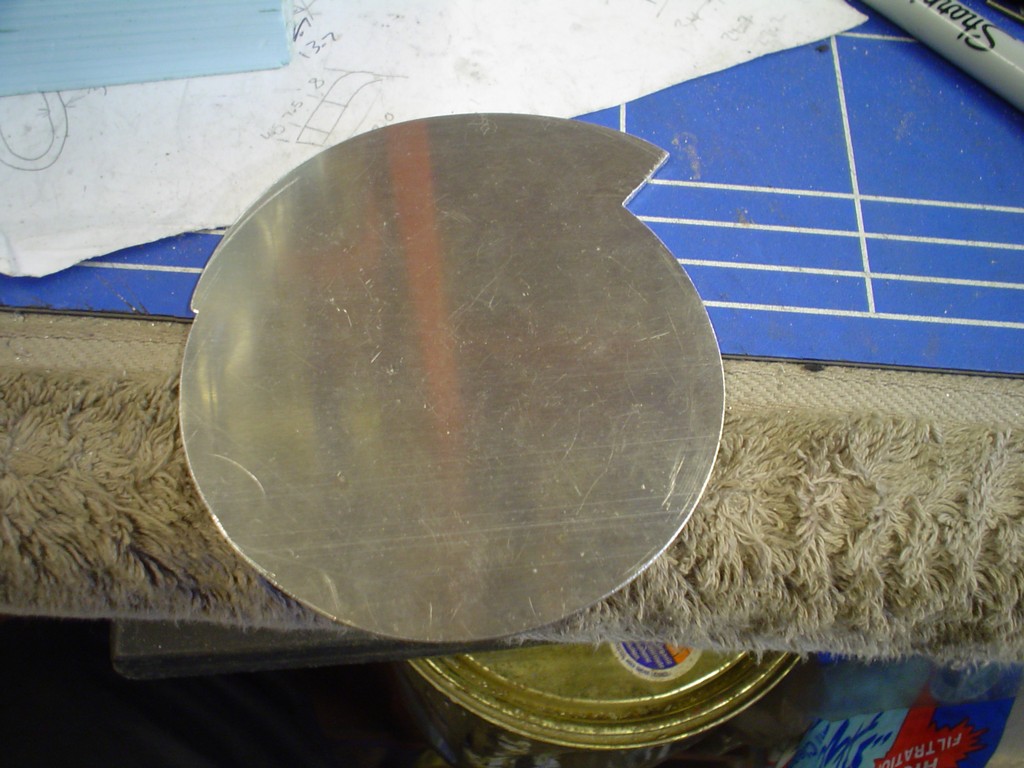
one lump of 6mm plate, tough stuff this, anyone want to hacksaw 4 circles out for me?
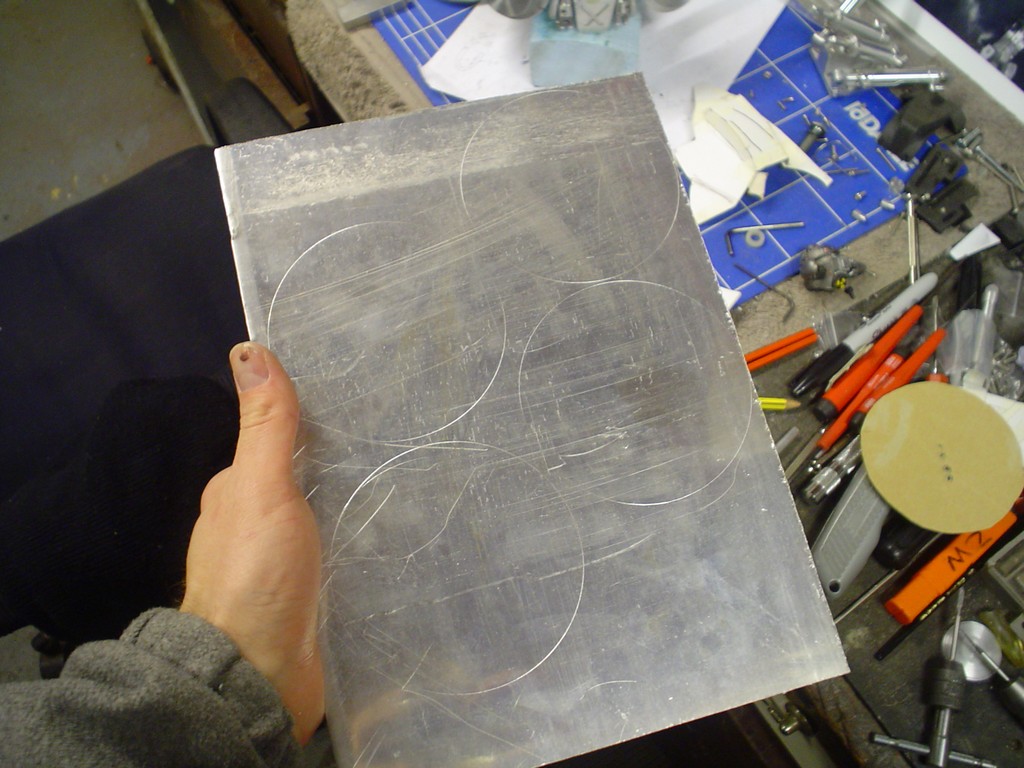
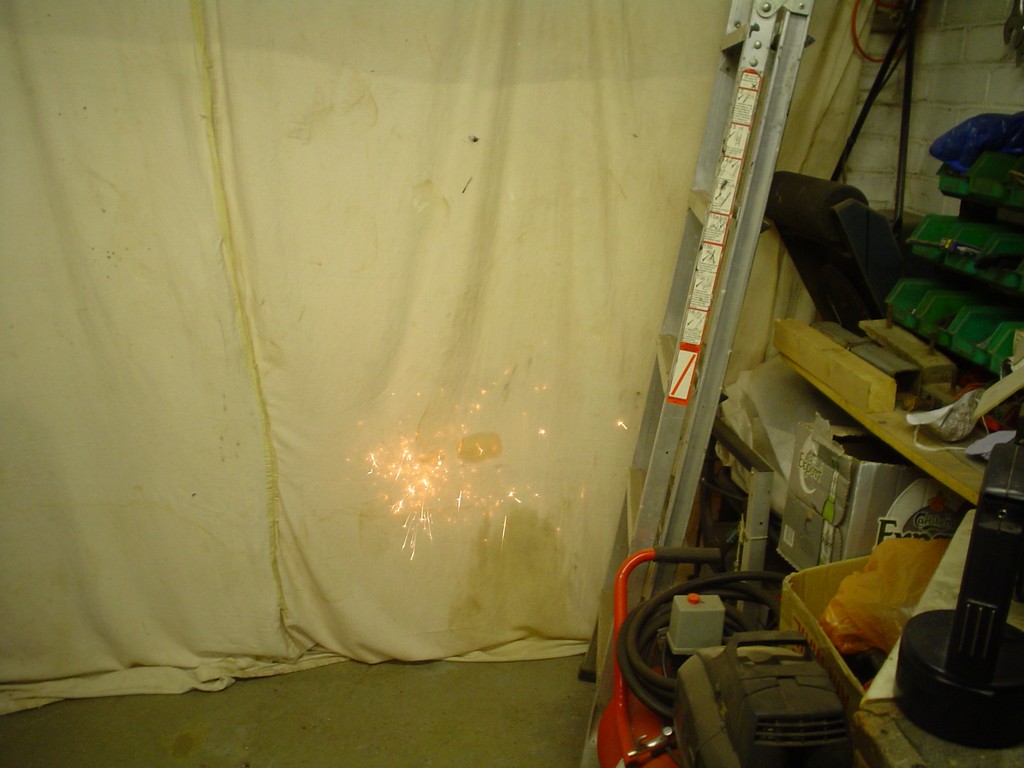
ok i'll do it then, this is with the distraction of my dad nearly setting fire to the "curtain" partition I put up in the garage to keep his dust out of my build area!
hacked out rough then spun on the lathe, my lathe isnt really big enough to turn pieces this big so I had to improvise.

Now we will have a leason in making little pipe fittings, if in doubt make some fittings, i'll be needing a lot of them!
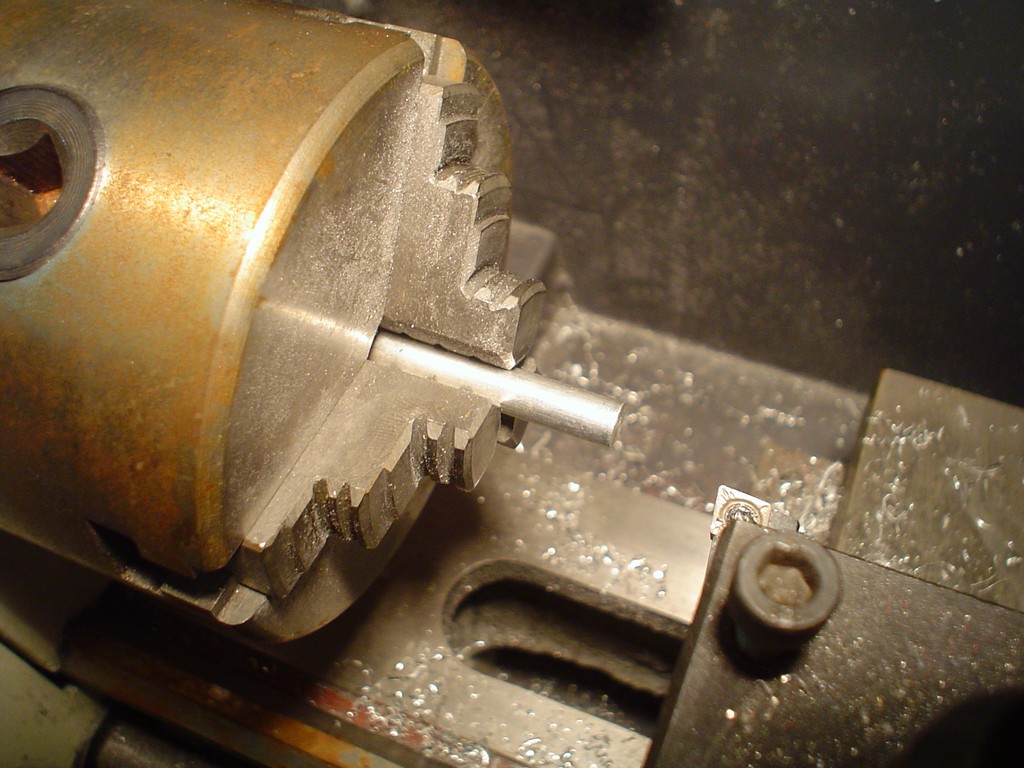
turn 6mm down to 5mm and step the end to 4mm
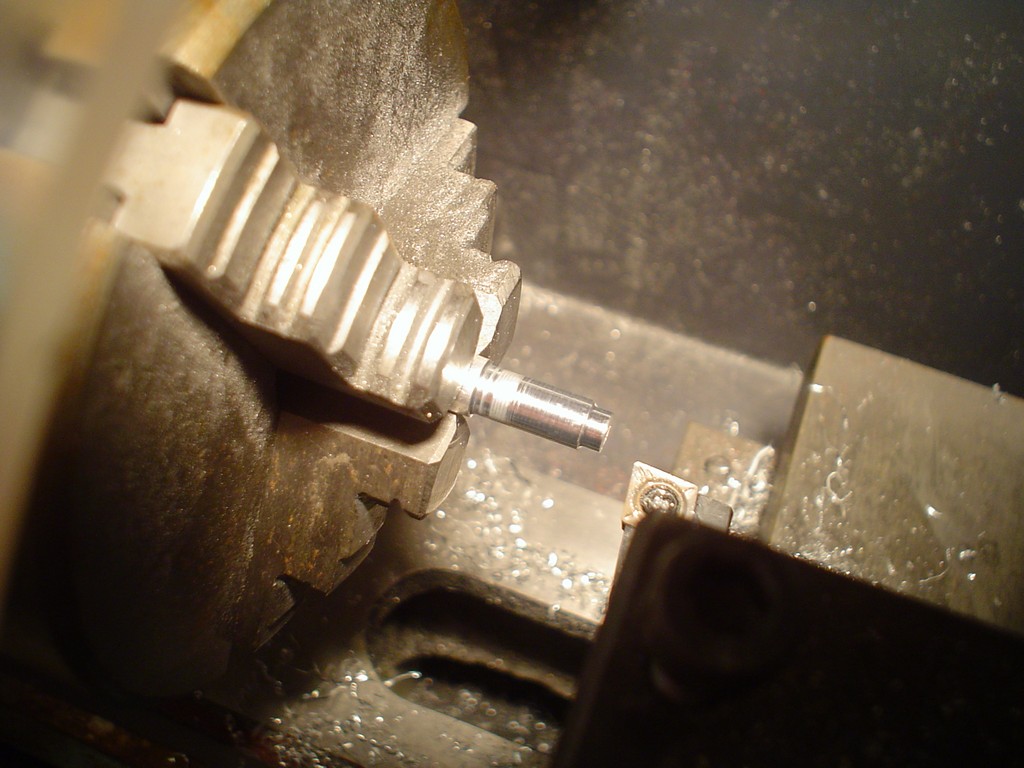
centre drill, then drill the rod with a 2mm hole
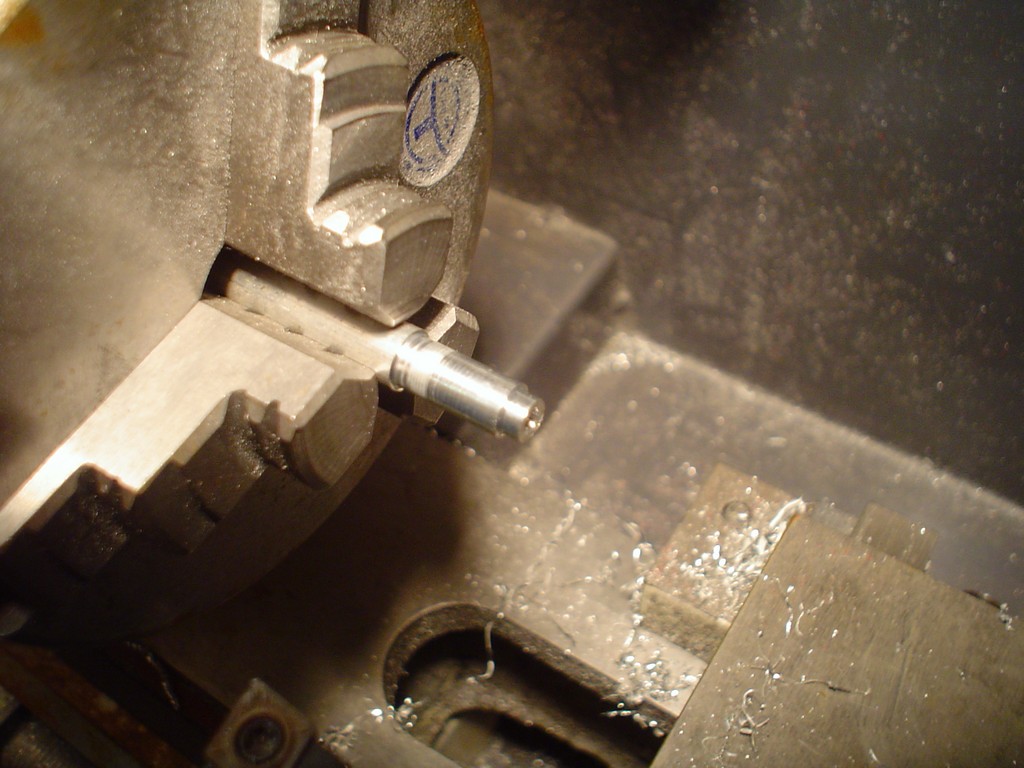
cut the piece off and face the rough end, fit in vice and mill with a 4mm cutter a half moon.
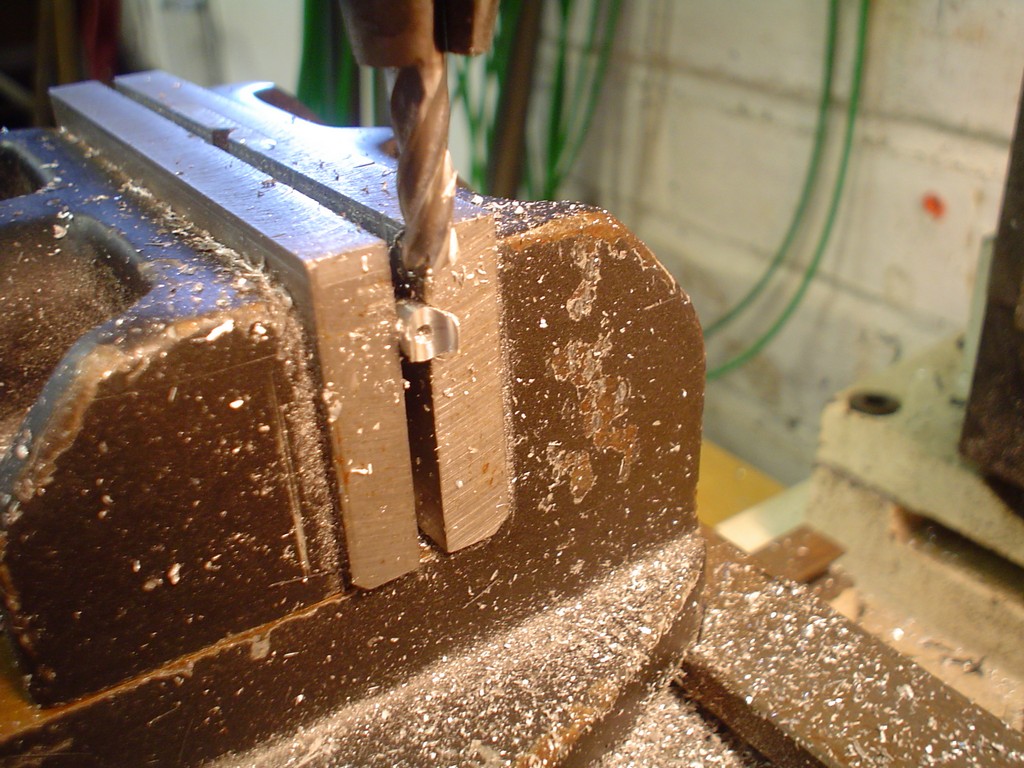
turn and face another piece of 4mm with a 2mm hole in it, making it 5mm tall
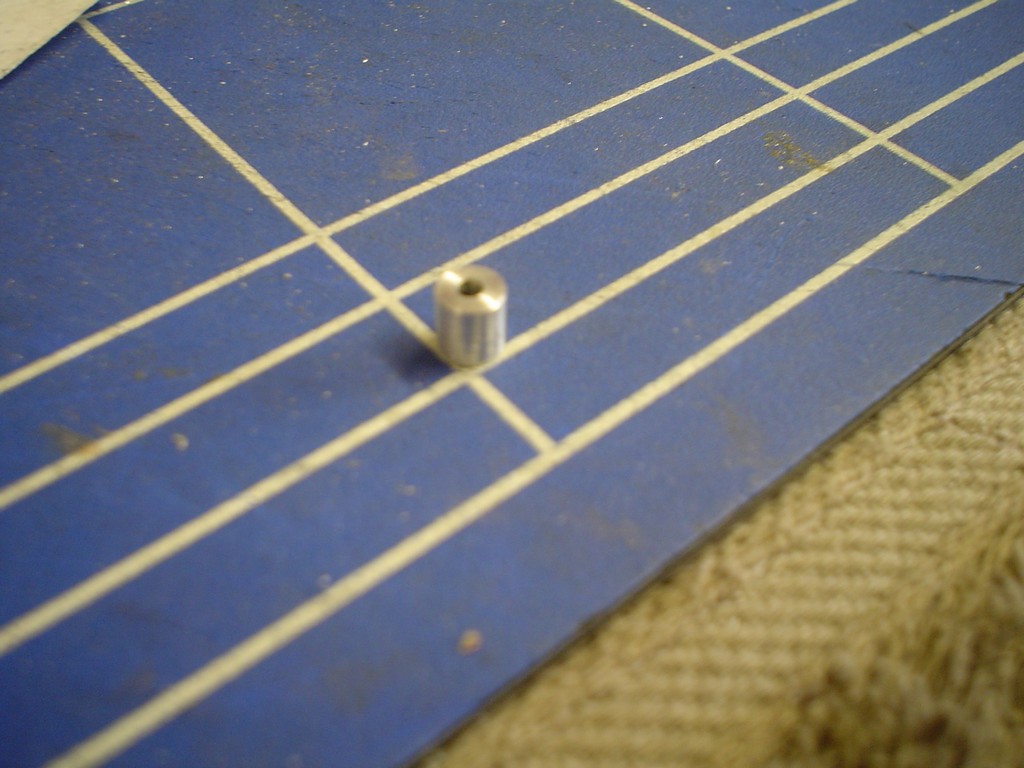
make LOTS of these, drill a 1.7mm hole in the side of the last piece and tap M2 thread, then countersink the top of it with a 3.5 drill/mill so the screw will sit inside it a bit.
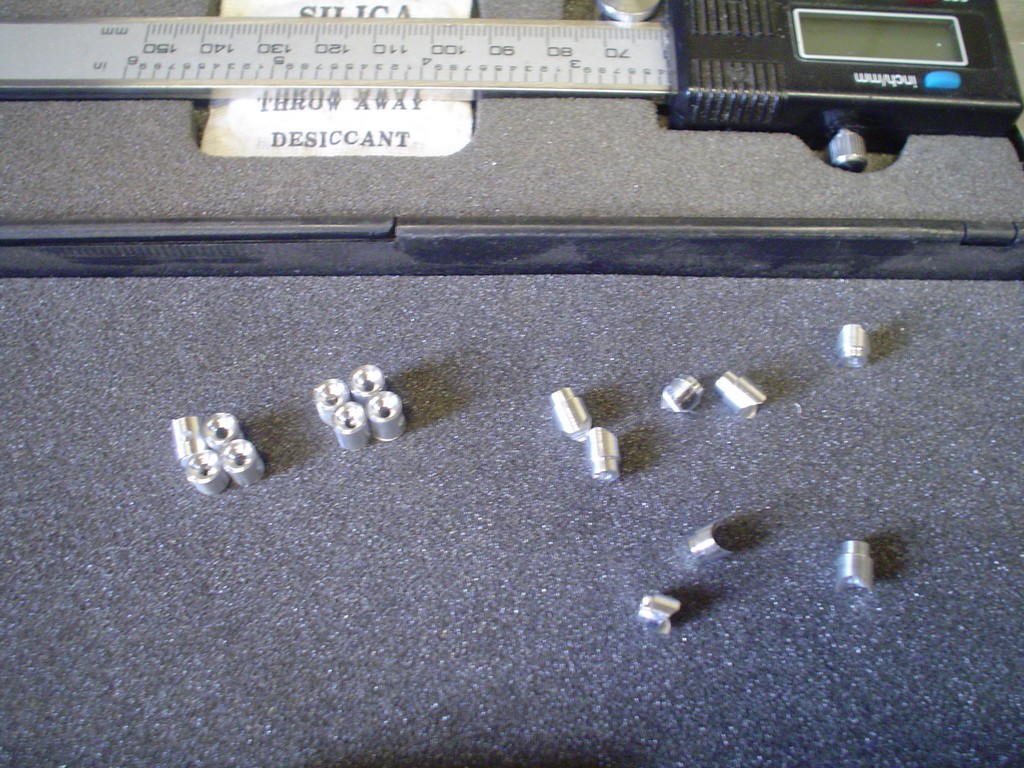
then assemble it

... the rest too
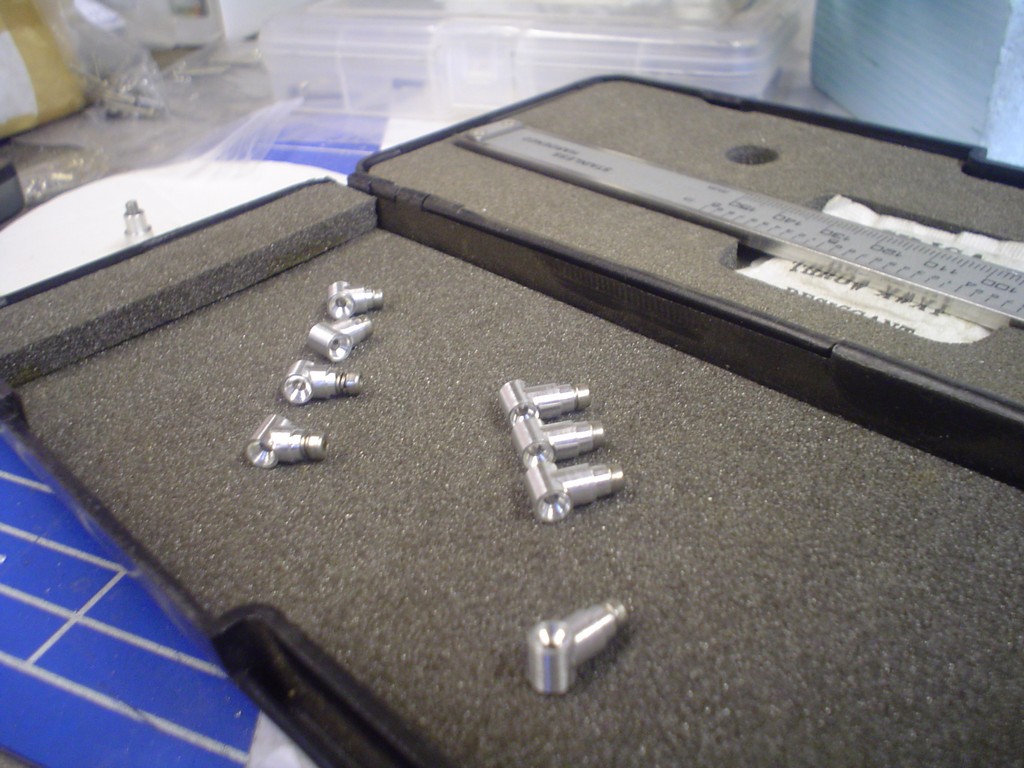
and after a few hours careful work you have another eight 4mm fittings.
ok i'll do it then, this is with the distraction of my dad nearly setting fire to the "curtain" partition I put up in the garage to keep his dust out of my build area!
hacked out rough then spun on the lathe, my lathe isnt really big enough to turn pieces this big so I had to improvise.
Now we will have a leason in making little pipe fittings, if in doubt make some fittings, i'll be needing a lot of them!
turn 6mm down to 5mm and step the end to 4mm
centre drill, then drill the rod with a 2mm hole
cut the piece off and face the rough end, fit in vice and mill with a 4mm cutter a half moon.
turn and face another piece of 4mm with a 2mm hole in it, making it 5mm tall
make LOTS of these, drill a 1.7mm hole in the side of the last piece and tap M2 thread, then countersink the top of it with a 3.5 drill/mill so the screw will sit inside it a bit.
then assemble it
... the rest too
and after a few hours careful work you have another eight 4mm fittings.
Soldato
- Joined
- 9 Nov 2003
- Posts
- 9,515
- Location
- The Motor City
Still in awe here. Thank you for the updates! 

stunning work. You should invest in a 3d scanner and some cnc machines. Then make copies and sale them for several K each.
And hire AcidHell2 as your Marketing Manager lol
Great idea btw this could be your career


 /
/