- Joined
- 8 Nov 2006
- Posts
- 1,451
Thanks for the support guys its much appreciated and helps me stay motivated when I get to tough bits 
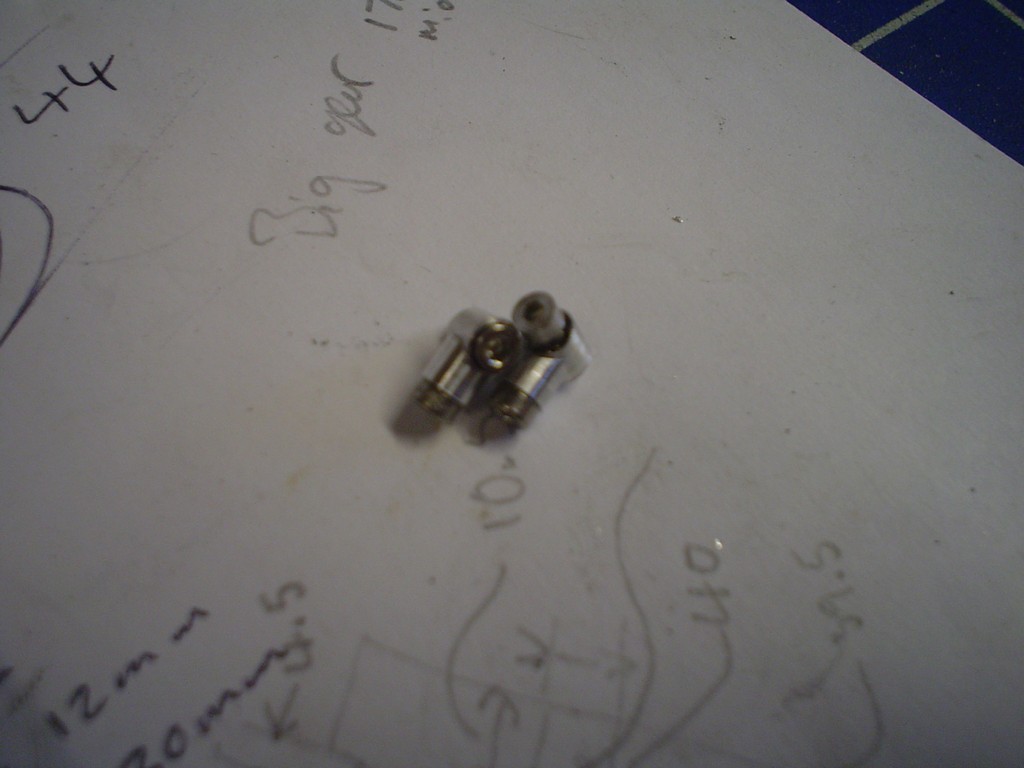
Made 2 more little fittings, getting the hang of these now, 2 small pieces of rod, drill one 2mm and bevel the end, hold against the 2nd mark wher the hole is drill 1.7 tap M2, then drill through 2mm and counter the top 3.5 then add M2 hardware, everyone with me? no? good......
Me looking grumpy
milled a recess both sides then drill and tap to attach the aforementioned fittings.

got the plastic gears I said about
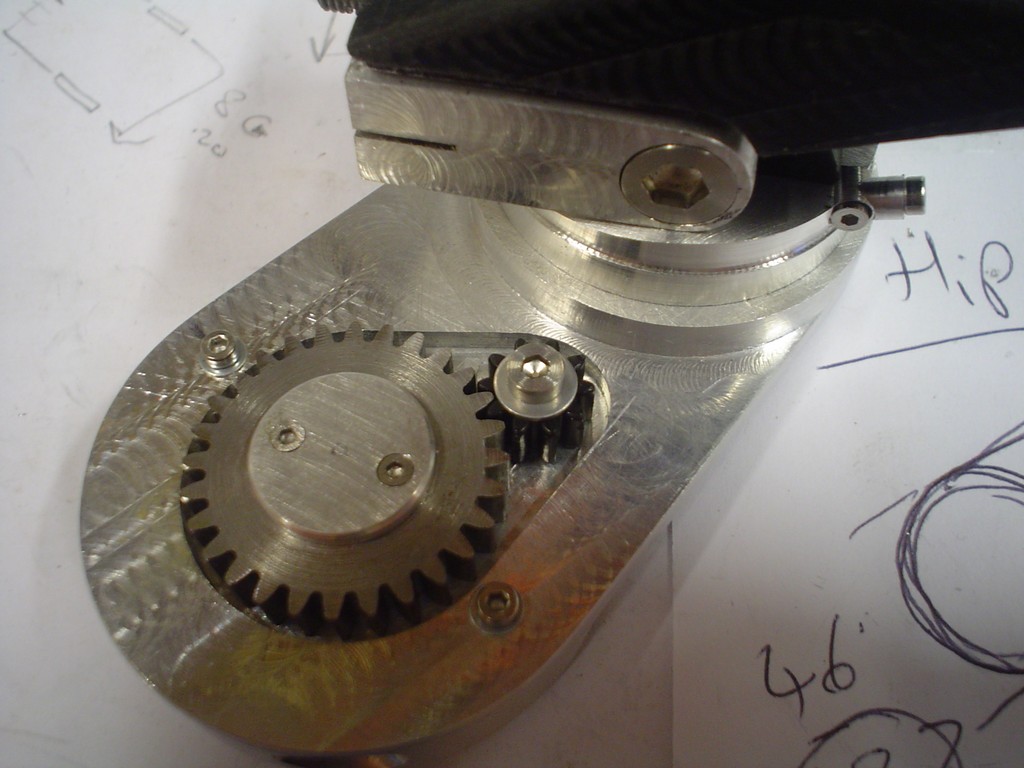
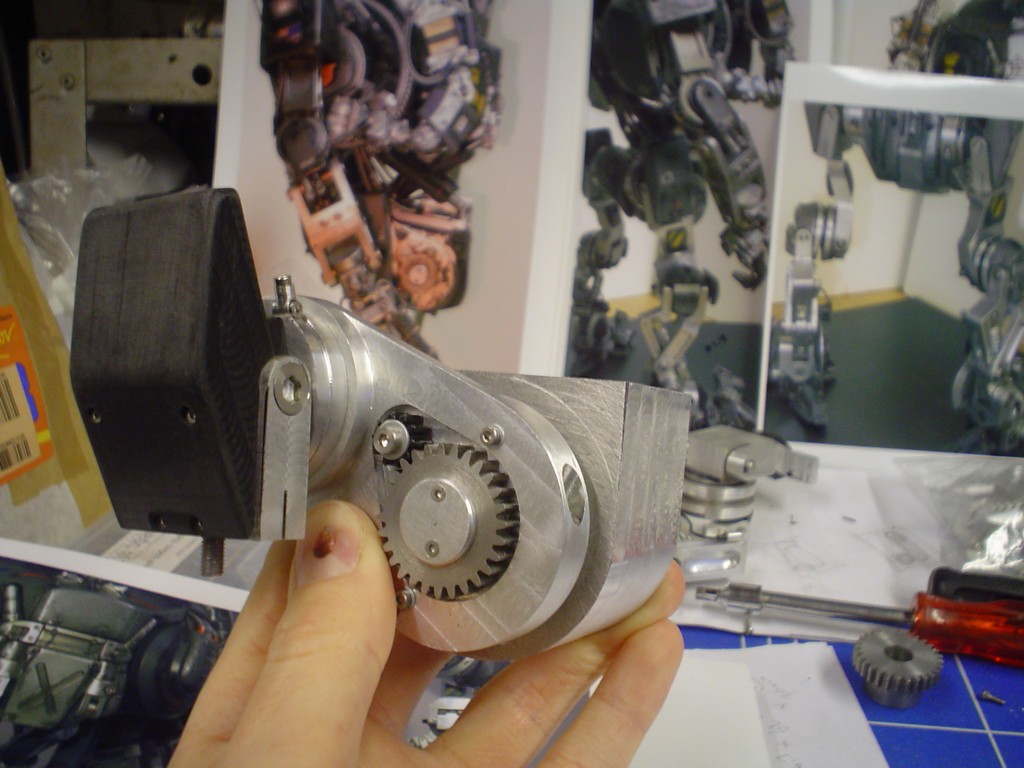
all fitted together, starting to look like a leg, made a plastic capping to sit on the joint behind the ..... thing....... you know what I mean, its been a long day.

Ok starting on the hip, not easy to see the shape of the curves, especially round the butt.
started with 2 big chunks, this way I can attach the legs from the hip side then sandwich the two halfs together.
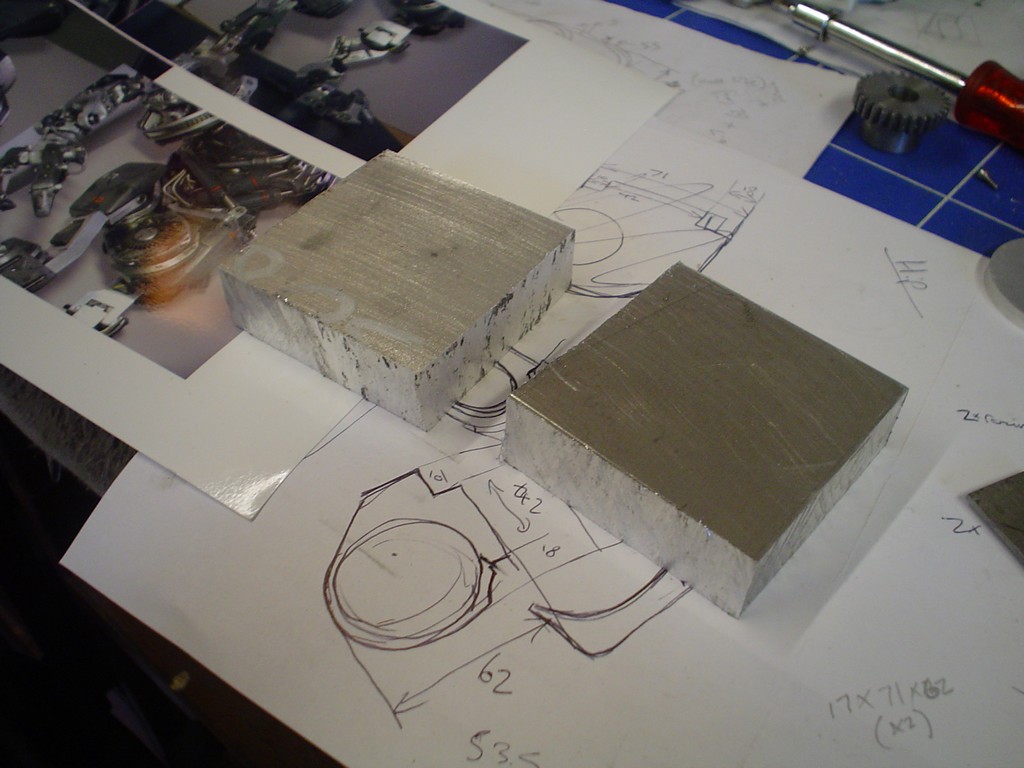
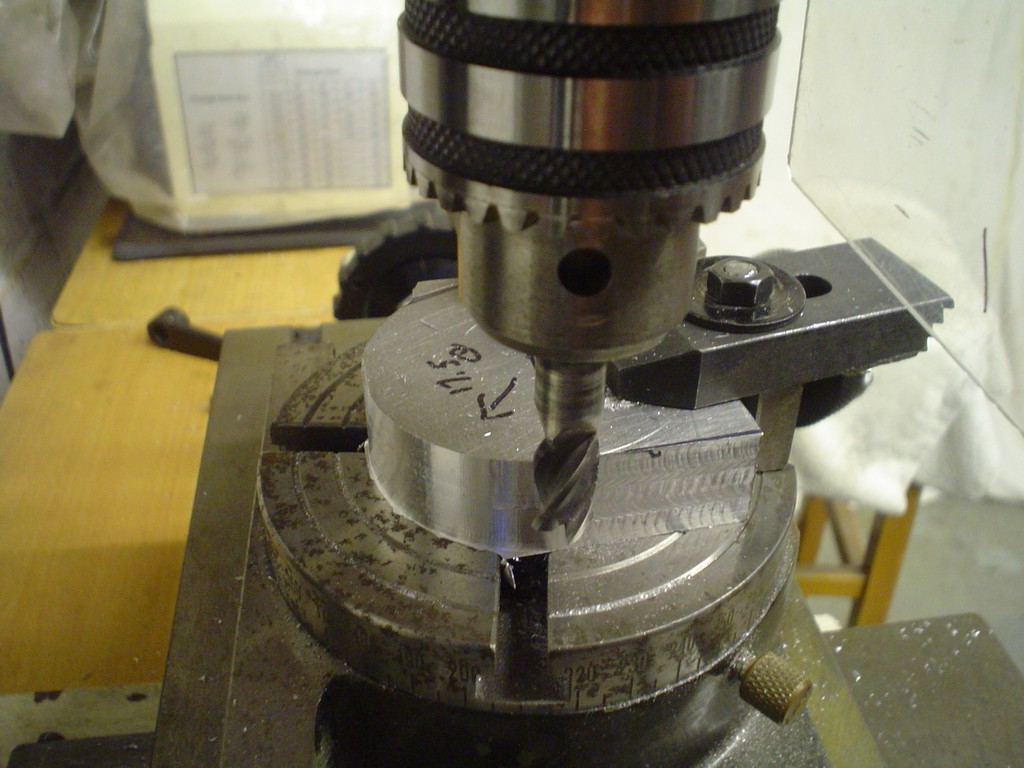
bit of a big curve to do by hand so using the rotary table to get the shape
something like that, drilled through the middle and everything lines up, turned a spacer (right) to hold the leg away from the hip
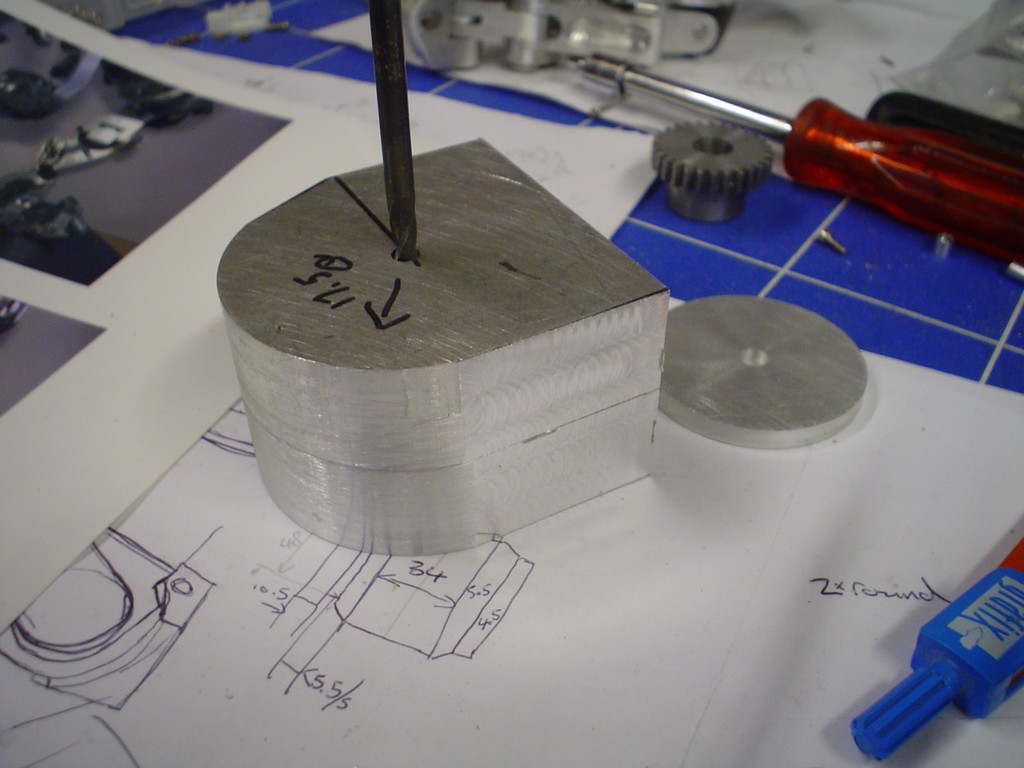
looks ok, dimentions feel right
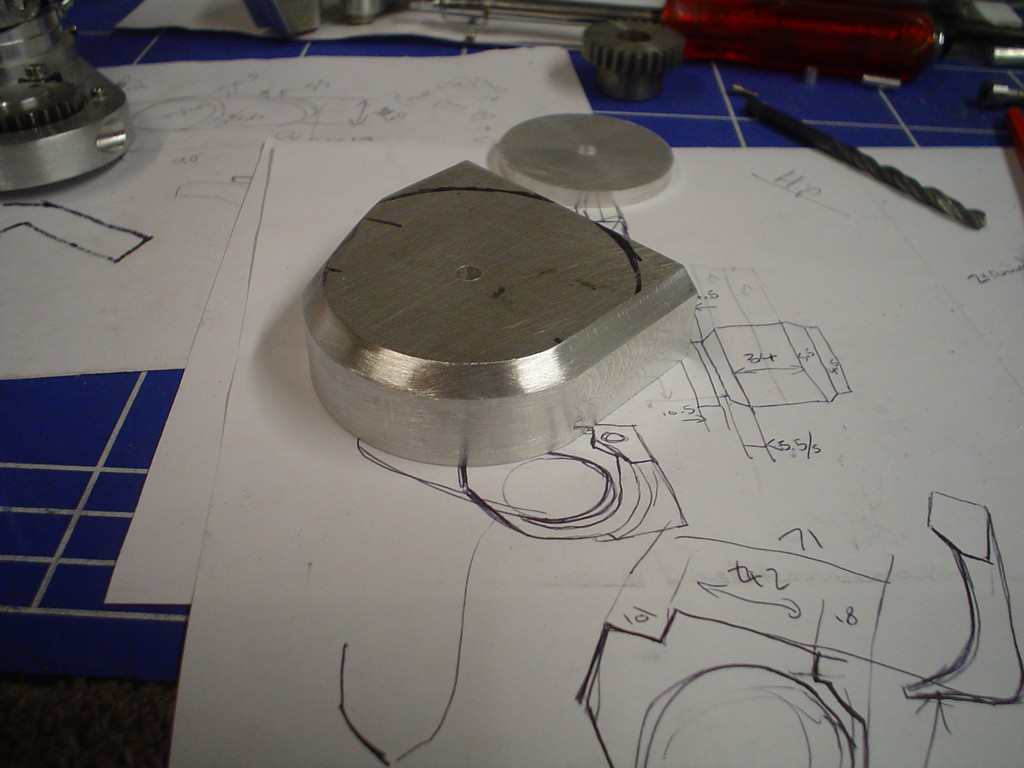
now having to put the bevel on both sides, I did consider fitting it back up on the rotary table but that would have been a pain so im doing it by hand.

Made 2 more little fittings, getting the hang of these now, 2 small pieces of rod, drill one 2mm and bevel the end, hold against the 2nd mark wher the hole is drill 1.7 tap M2, then drill through 2mm and counter the top 3.5 then add M2 hardware, everyone with me? no? good......
Me looking grumpy
milled a recess both sides then drill and tap to attach the aforementioned fittings.
got the plastic gears I said about
all fitted together, starting to look like a leg, made a plastic capping to sit on the joint behind the ..... thing....... you know what I mean, its been a long day.
Ok starting on the hip, not easy to see the shape of the curves, especially round the butt.
started with 2 big chunks, this way I can attach the legs from the hip side then sandwich the two halfs together.
bit of a big curve to do by hand so using the rotary table to get the shape
something like that, drilled through the middle and everything lines up, turned a spacer (right) to hold the leg away from the hip
looks ok, dimentions feel right
now having to put the bevel on both sides, I did consider fitting it back up on the rotary table but that would have been a pain so im doing it by hand.


