Ronski's Solar & battery DIY build with whole house backup

Soldato
OP
Joined
3 Dec 2012
Posts
3,642
Location
Kent, much sunnier than Scotland
Just ordered my ANL 400A fuse, ET112 energy meter and RS485 to USB adapter.

The energy meter is so that the Cerbo GX can monitor exactly what my existing SolarEdge system is producing, the meter will be installed between my existing generation meter and the consumer unit, and connected to the Cerbo GX in the garage via RS485.

PS it seems some of my cable lugs are on backorder, but should arrive in about three weeks :(
 
Last edited:
Soldato
OP
Joined
3 Dec 2012
Posts
3,642
Location
Kent, much sunnier than Scotland
Four of these arrived last week whilst I was on holiday.

DC-Rotart-Isolator-BYH-32.jpg


And two of these for the battery trays.

Terminal-Post.jpg


Something I realised the other day, was that the hydraulic crimper I bought only goes to 70mm, but I've got some 120mm crimps to do, so I'm going to hire a Cembre hydraulic crimper, fortunately we have a trade account, and they are always ringing up asking if they can do anything for us, so hopefully I'll get a good discount. One thing I've read about doing hexagon crimps, is that unless you use a quality crimper they could be a bit hit or miss, so I think it'll be worth hiring a decent one for a week.
 
Soldato
OP
Joined
3 Dec 2012
Posts
3,642
Location
Kent, much sunnier than Scotland
It was a cold but beautiful sunny day today, I had planned to install the network cable, and the energy meter cable between the house and the garage, but the wife, and daughter wanted the new Christmas lights up. So I installed 75 meters of lights around the entire house, which including taking down the old set, it took all day.

I did manage to pop round to CEF and pick up an enclosure for the energy meter though.
 
Soldato
OP
Joined
3 Dec 2012
Posts
3,642
Location
Kent, much sunnier than Scotland
Some more parts arrived today, two 300mm VE Direct cables, aMk3 USB to VE Bus interface, and some EPDM rubber (actually roofing membrane).

More-Parts.jpg


Apart from some cable lugs I'm waiting on, I think I have pretty much everything now, just need to start installing it all, and get the electrician organised!

Edit: Actually I'm waiting on some metal plates as well, which are for making into brackets to mount the breakers.
 
Last edited:
Soldato
OP
Joined
3 Dec 2012
Posts
3,642
Location
Kent, much sunnier than Scotland
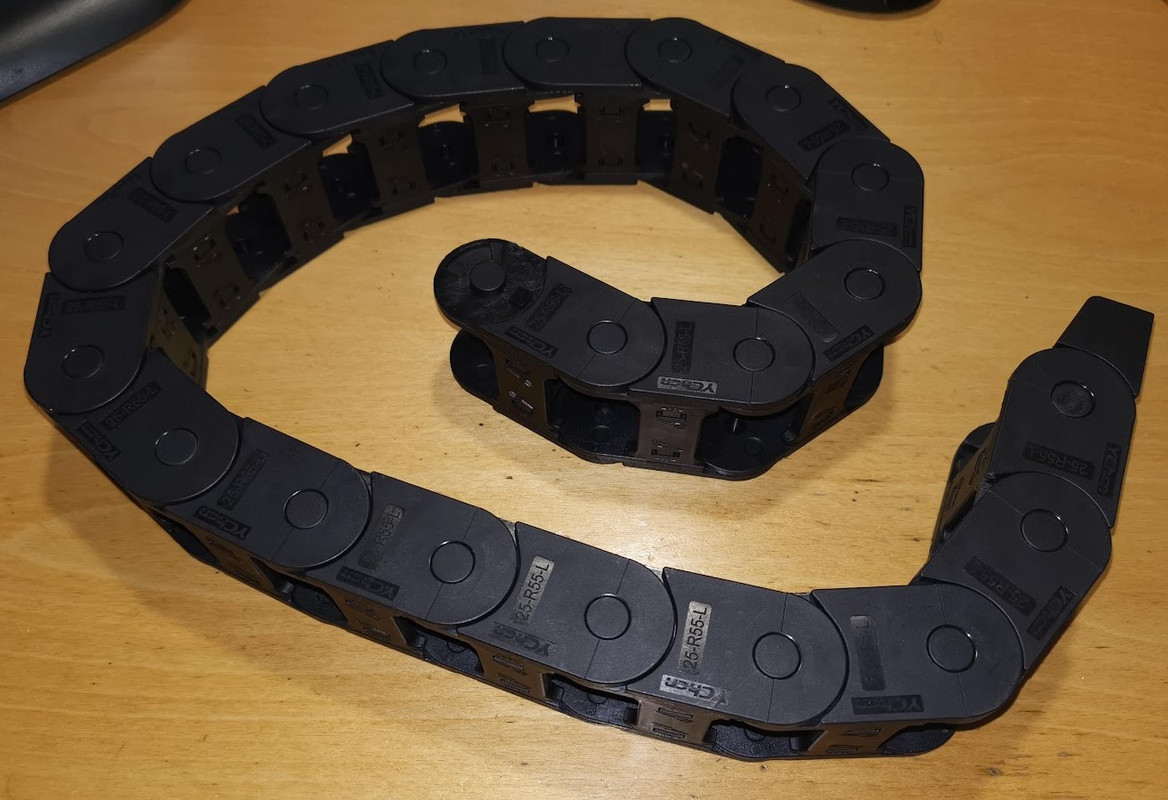
I think like a lot of things they have various names (drag chain being another), energy chain seems the most appropriate considering what I'm using them for. Yes it will hold the battery cables from the drawer to the breakers, probably also a cable for a heating mat.
 
Last edited:
Soldato
OP
Joined
3 Dec 2012
Posts
3,642
Location
Kent, much sunnier than Scotland
Yesterdays update:

Some more metal arrived, unfortunately the 6 pieces of steel on the left should be two pieces of aluminium, dimensions are correct just the quantity and material is wrong - they are sending my two pieces of ally.

More-Metal-Plates.jpg


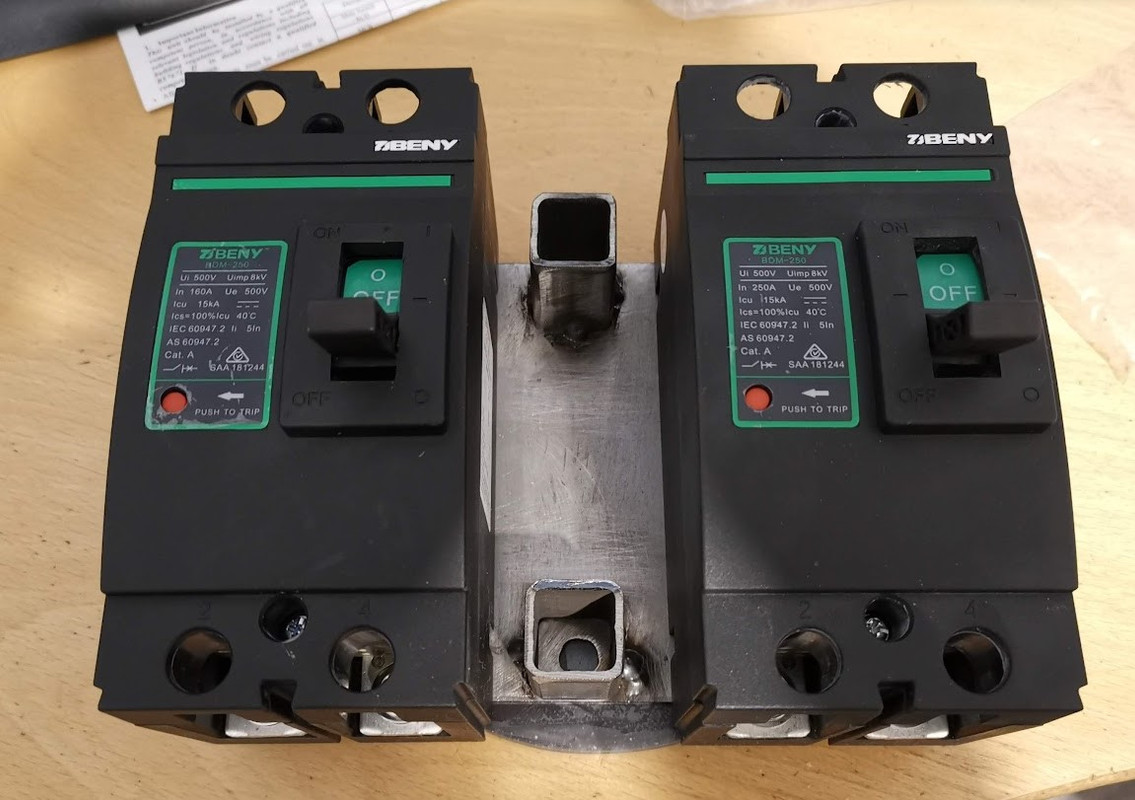
The metal on the right is for the breaker brackets to fit on the battery rack, the one below is the for the top battery breaker, and main rack breaker, its not finished yet, just brought it home to test fit. The energy chain will also mount to these brackets.

Top-Breaker-Bracket.jpg


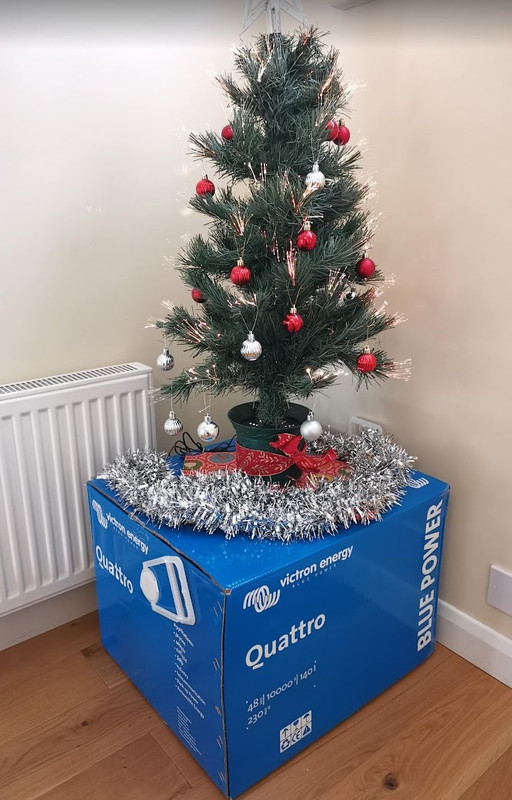
Today's update, first the most expensive Christmas tree stand we've ever owned!

Xmas-Tree-stand.jpg


Built up my combiner boxes today, labelled and mounted them.

PV-Combiner-Boxes.jpg


Mounted the Lynx power in and Lynx shunt as well.

Combiner-Lynx.jpg


Also installed the ET112 energy meter for the SolarEdge system, this is in the understairs cupboard, which has horrible orange paint, the hallway was originally that colour!

ET112-Installed.jpg
 
Last edited:
Soldato
OP
Joined
3 Dec 2012
Posts
3,642
Location
Kent, much sunnier than Scotland
Some updates, didn't get much done on Sunday, although I did add some fire proofing to the end of the wooden shelves.

End-of-shelves.jpg


Got the top breaker bracket made and painted today, although the paint isn't the correct colour - once the breakers are on it won't be seen.

Top-breaker-Bracket-made.jpg


Got the energy chain fitted tonight, need to make a proper spacer to go underneath it, will probably just 3D print one.

Top-Energy-Chain-Fitted.jpg


And the chain in action, shame there's no energy yet!

 
Soldato
OP
Joined
3 Dec 2012
Posts
3,642
Location
Kent, much sunnier than Scotland
The Cerbo GX is alive :D https://vrm.victronenergy.com/installation/252106/share/fdd67cc7

It only shows what the SolarEdge system is generating and the ambient temperature in the garage. Currently its running off a 12v power supply.

The inverter weighs 51kg, so its rather heavy to even carry, let alone lift, so it called for some ingenuity, and the assistance of my daughter.

First we carried it out to the garage, then lifted it on to the workmate, then I stood on two pairs of steps and lifted it on top of the battery rack. Then I put a scaffold board across to some ladders, moved it across and then we slowly raised it up on blocks, until it was high enough to get on to the wall bracket.

Invertor-on-wobbly-blocks.jpg


Then I needed to centralise it on the bracket, but couldn't budge it, so I got my trolley jack out.

Inverter-on-trolly-jack.jpg


And here it is hanging on the wall.

Invertor-on-the-wall.jpg
 
Last edited:
Back
Top Bottom