Associate
- Joined
- 25 Jan 2011
- Posts
- 757
- Location
- Solihull, Birmingham
very nice! why is OP suspended? :O
...why is OP suspended? :O
Yep they are, I bought them off an alternative retailer based here in the UK. They are somewhat special")
That's why I reckon - pretty obvious indication on who the competitor retailer is, and you can't link (or cite) competitors.
") .
. .
.
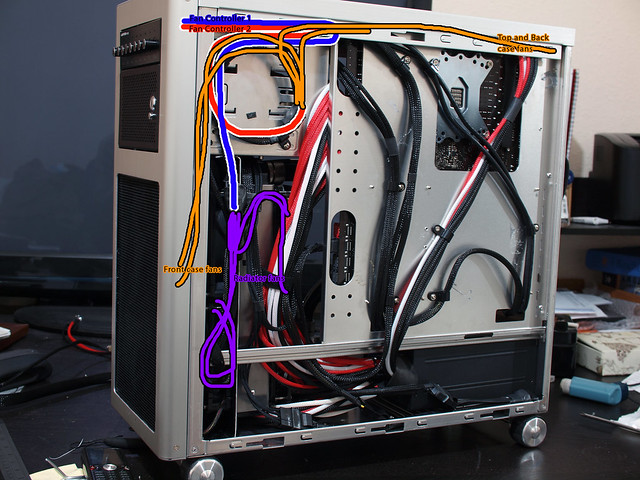
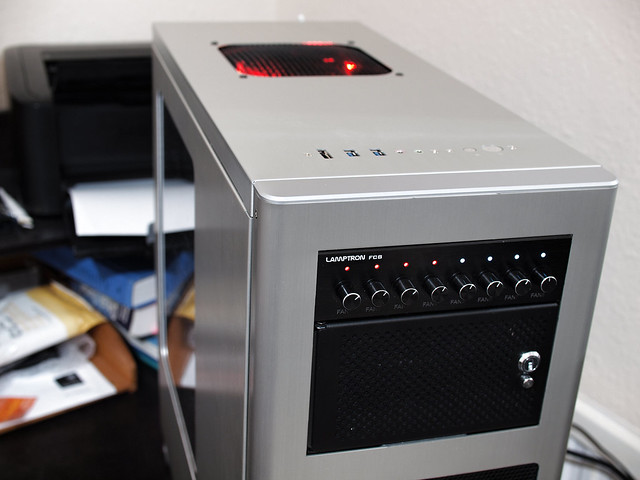
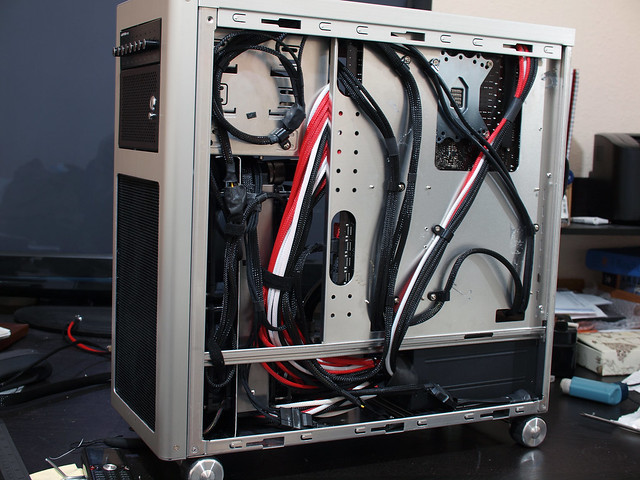
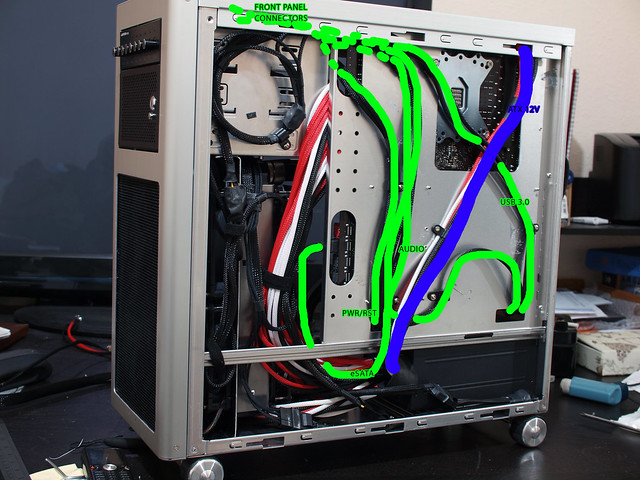
 . It's not going to be a massive WC set up as I change GPUs all the time, and the primary aim is to get a high CPU overclock.
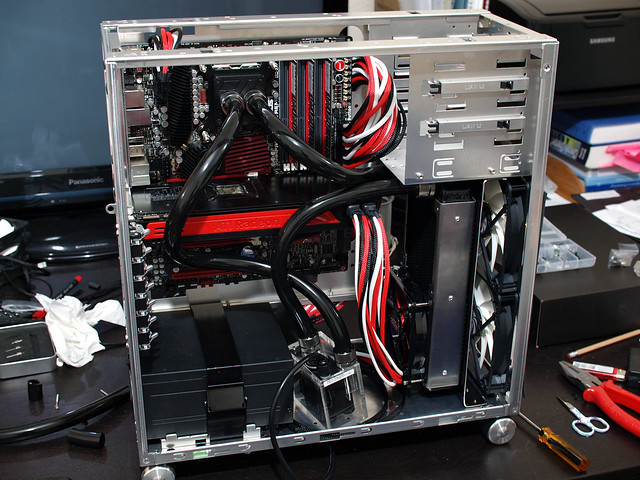 . Can't wait to bench some temps on this mofo .
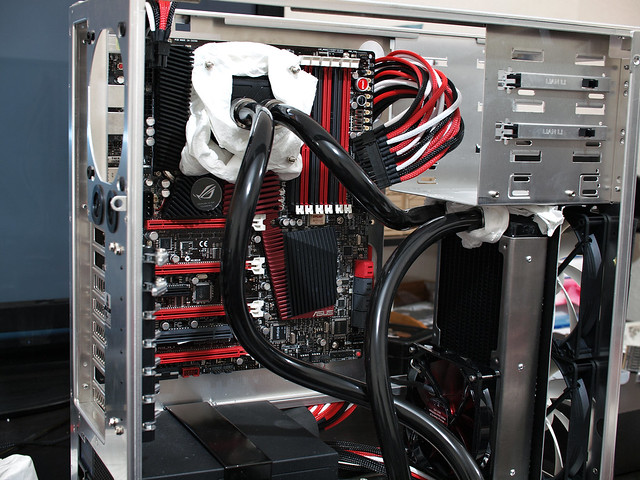
 . It was really easy to bleed this loop, all done in 30mins and left it running for 12 hours..

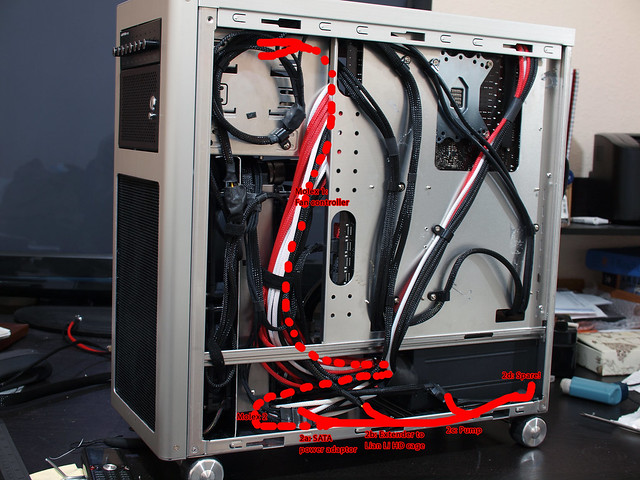
 .).
.).  . Pics in next update.
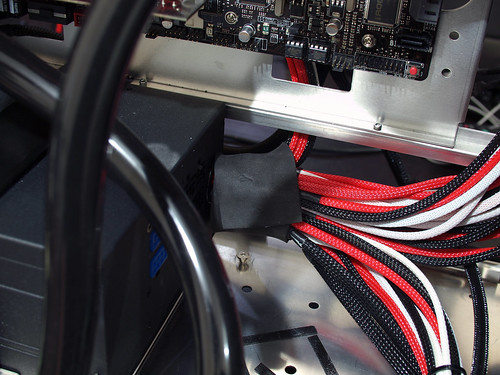
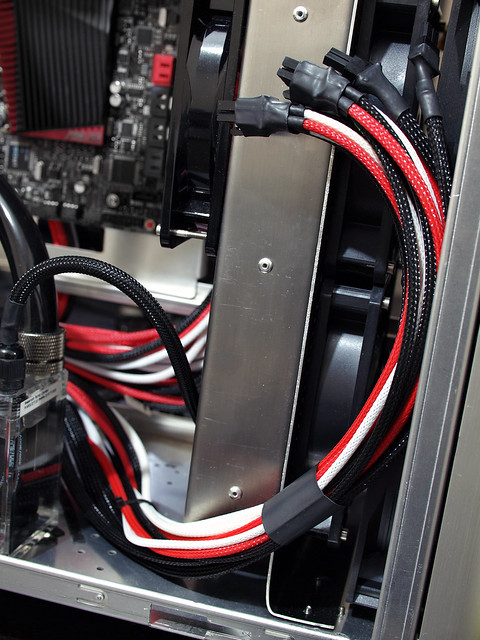
Loving the interior, really like the combo of the bare metal along with the red and black theme. Am hoping to buy your old x900 project but it is out of my range at the moment, but it looks absolutely fantastic.
. I've closed the x900 thread so keeping the case for now, maybe for a future build but it's still on sale to any buyers. Just trust mail me in the future if you fancy putting a nice build in it (which I have no doubt you would do looking at your worklog ).
 . I've got a new macro lens arriving after easter (Miranda 28mm OM mount + 4/3 adapter ).
  . The PC61 is a lovely case, old school but pretty timeless (like most LL!). You mod sounds great - you should def put a worklog up here as you're working on the case! Also check this place out: http://www.million-dollar-pc.com/ - it's like the museum of crazy amazing computer builds .
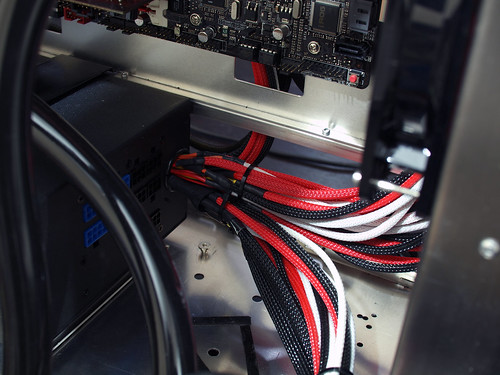
 .
.
Hopefully some of these might be helpful to some peopleA few tips
There's plenty of sleeving guides on the internet, and you get given a comprehensive guide if you buy MDPC sleeving. I think there's one on OCUK forums floating around too. Thought I'd just post some tips though that might help a couple of people who might stumble across this
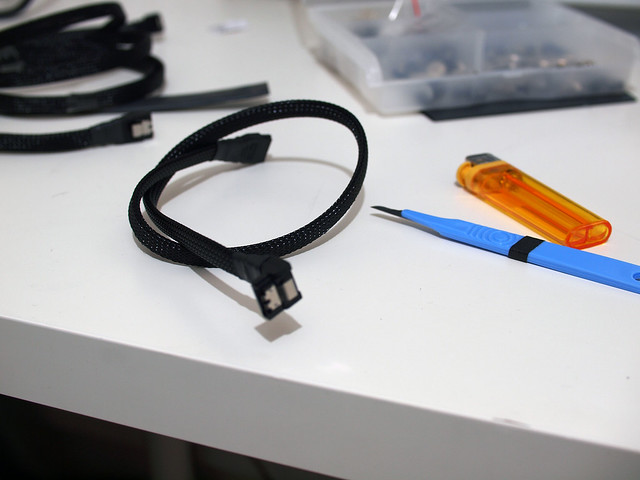
ATX pin removal (and avoiding breakages)
Familarise yourself with how the pin is structured, and the two 'prongs' which hold the pins in place. Don't bother with staples or paperclips - in my experience they only work on certain psus.
Two of the best ATX tools I've used are the ones you get from MDPC, and the Frozen CPU branded atx tool. It's not a problem removing pins, but technique is extremely important.
1) You must hold the tool completely parallel to the pin.
2) Insert the ATX tool into the right position, making sure it's still parallel.
3) With the ATX tool in place, pull on the cable really hard, then push it all the way in again. As you push it all the way in, also push the ATX tool in as far as it will go (but KEEP IT PARALLEL!).
4) Now with the ATX tool pushed all the way in, give the cable a massive tug. It should come flying out.
5) If it doesn't work the first time, take the tool out and repeat from step one.
It will take some practice to get your hands right such that you're holding the tool in the right position. I've found the best way to do this is to wind the relevant cable in a loop around a finger. If you use the tool properly, there's zero chance it will break. Breakages occur because you're bending the tool or wiggling it from side to side.
If all else fails, the Frozen CPU tool has a single attachment at one end you can use to insert into one side of a pin and force the 'prong' into its hole. You'll need a scapel to get the prong out again though.
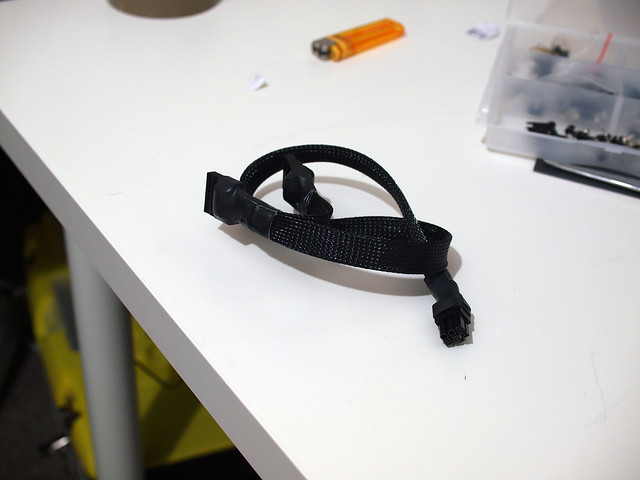
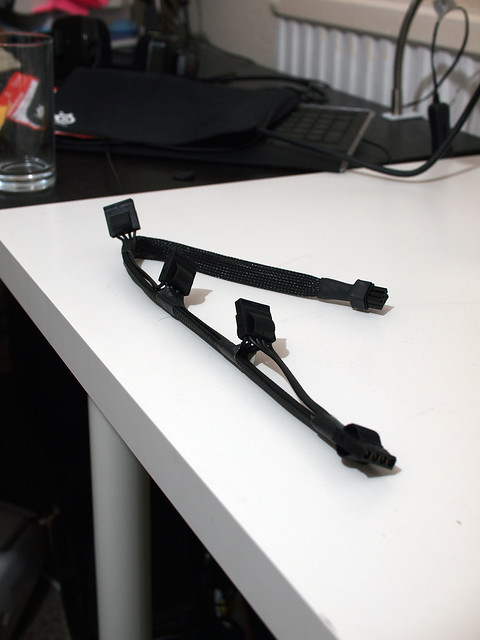
A few sleeving tips
(1) If you're sleeving lots of wires of the same length, cut your first length of braid out, pop it on the wire to check it's the right length, then cut the rest of the braiding you need using the first piece as a template. It's a lot faster, and end result is a lot neater.
(2) When you cut any length of braiding, use a lighter to burn the ends until all the plastic bits are melted into each other. Don't be afraid to melt a lot of it, it really needs to be totally fused. Reasons for this are a) so that it doesn't fray, even when you open the braid up for big bunches of cables and b) so the heatshrink stays on the braid and won't slip off. Biggest reason for heatshrink slipping off your braiding is that it's started to fray on the inside. Make sure all your ends are melted
(3) Before you manipulated sleeved wires let the heatshrink cool down. When it's still warm the braiding will still be able to move a bit inside it. Nothing worse than rush sleeving a SATA cable, then bending it round to connect to a HD, and having the braiding pop out of the heatshrink.
..
 .
.