
• Notice regarding image hosts and attachments. See here.

The G.E.C.K - Vault Tec component.

Aww that’s a shame!

Got sucked into Dead Money. Embarrassing to admit I did not realise you can shoot the speakers… It’s now very different lmao.

Oh, forgot to say. I’ve ordered some blue heat shrink also. Should be here tomorrow :)
 
Last edited:
Thanks dude!

I’m so, so glad I decided to revisit the wiring.

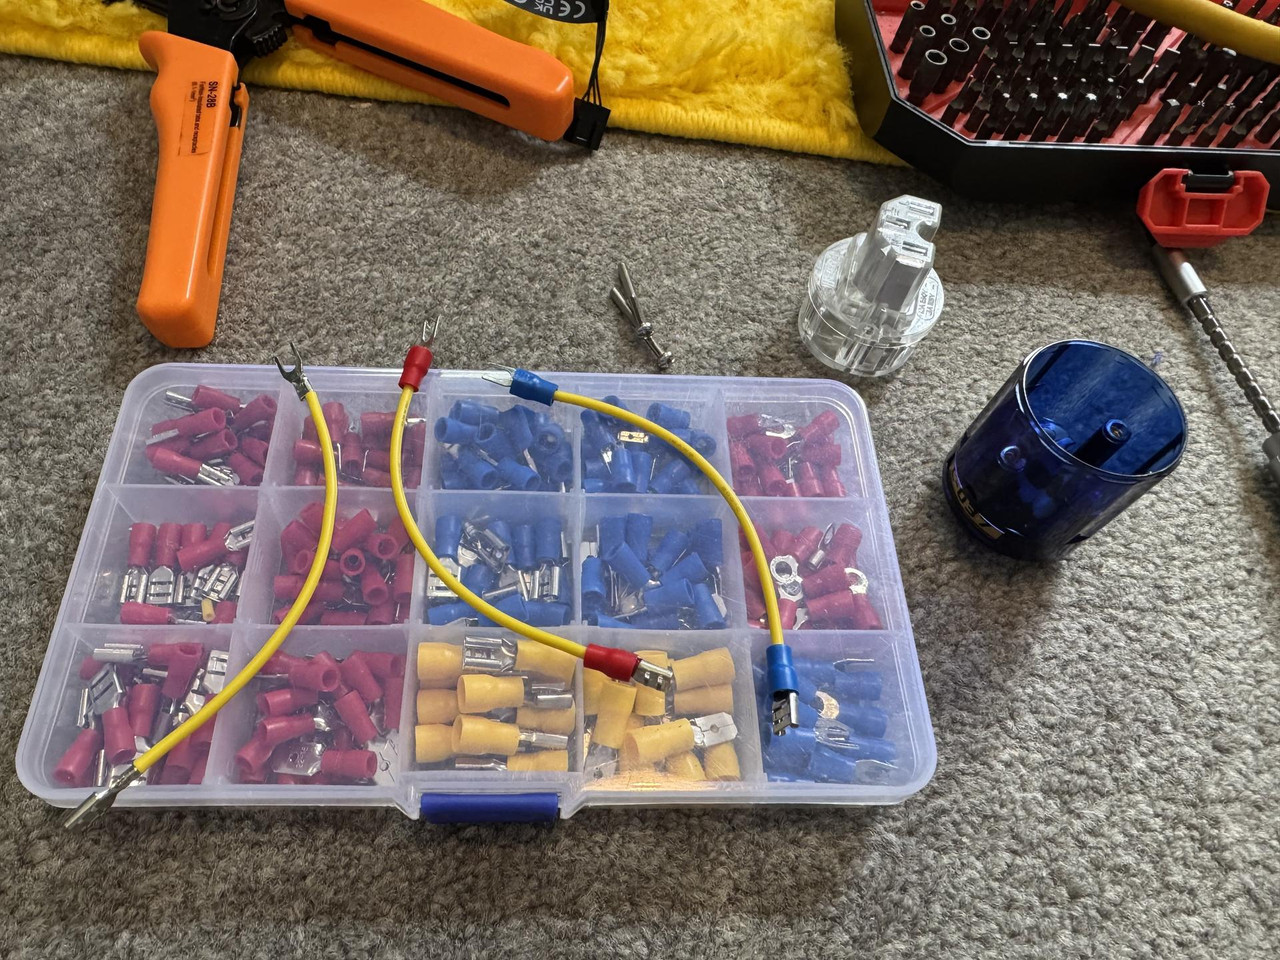
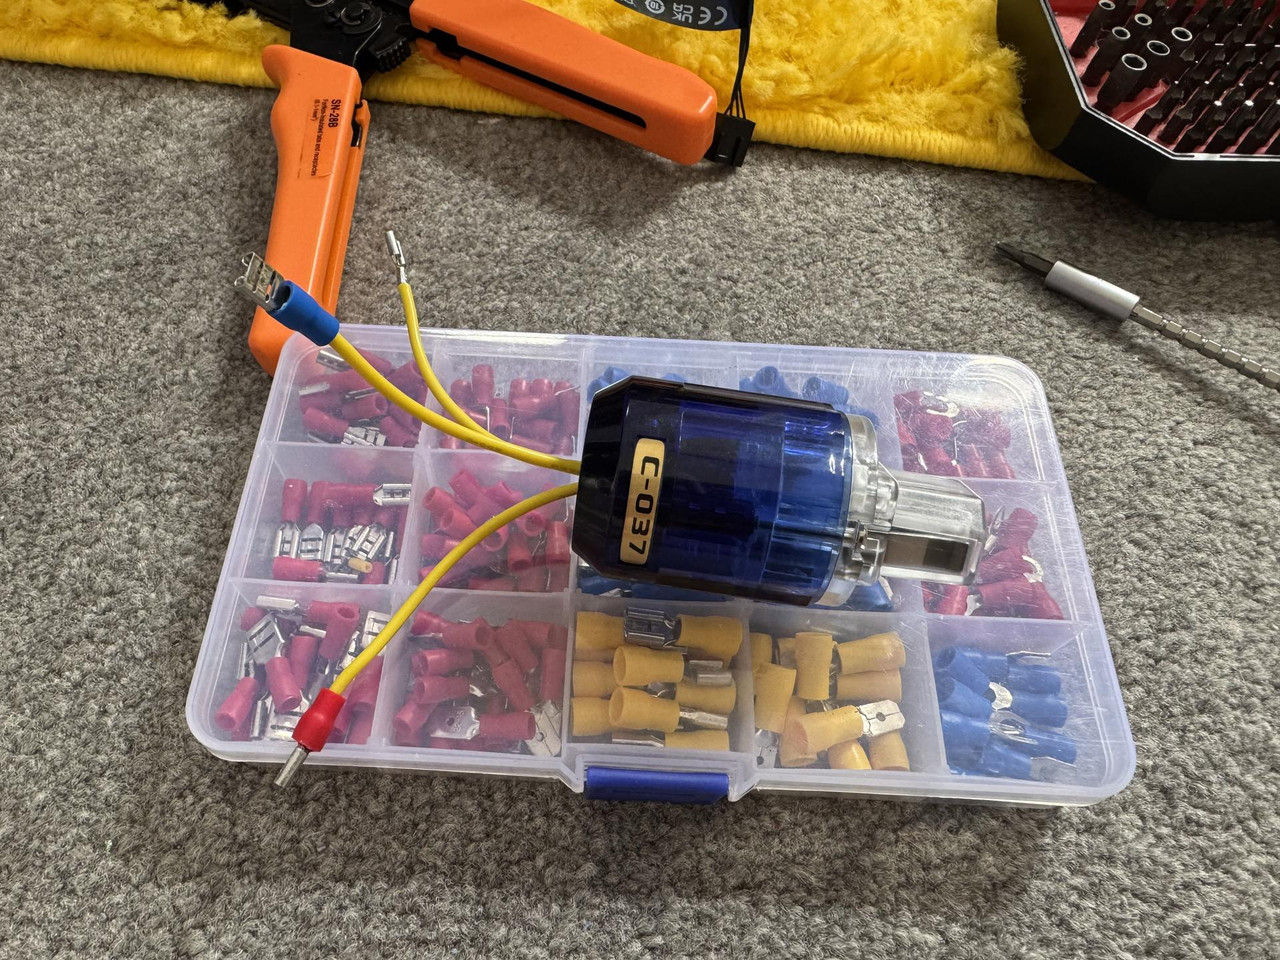
So instead of a very stiff piece of flex I made up new wires for the IEC-back socket.


I reversed the plastic bits around so it looks better. Also one has no plastic so then I know it’s Earth. So I wired those in.


Once that was done the blue shrink had arrived. I put a small black dot on the shrink for the neutral as I know ground looks smaller due to the plastic housing being removed.

I also made a new bridge cable.


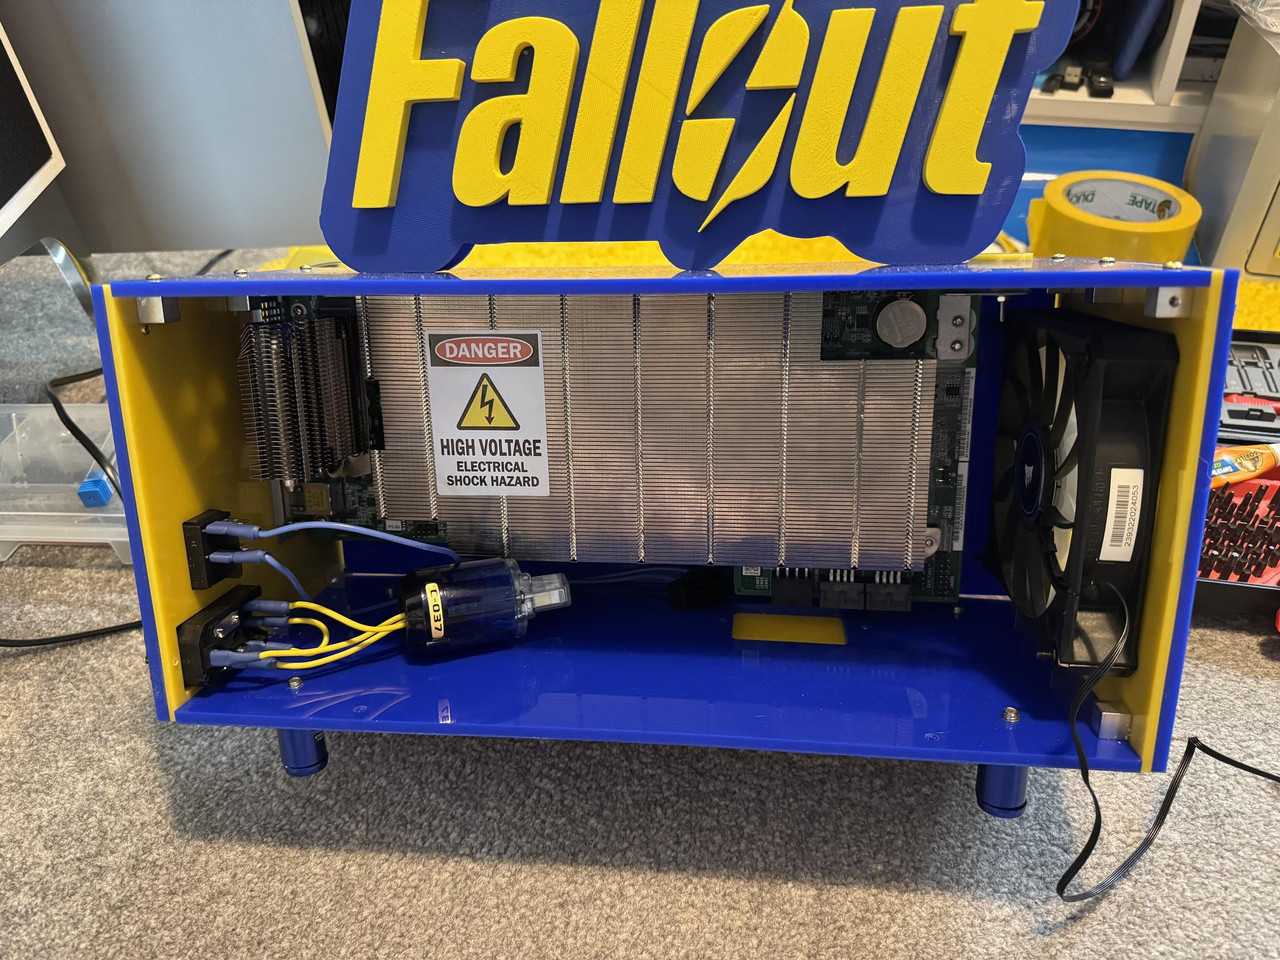
Much better. The PSU now goes in without putting torsion on the wires which was bending the socket pins exposing more of them.


Meaning it’s now much easier to move the PSU around as the wires are floppy and not super stiff.
 
I buzzed the connections last night just to make sure I hadn’t made any mistakes. All was good. For some reason Royal Mail are only delivering a couple of times a week atm and thus the sleeving is taking forever to arrive.

Still, I think I know what I want to do next so I’ll start that tomorrow.
 
You could make a little housing for the wires, cover the raw clip and also protect the connections. Vented on top little enclosure over the back of the plug with neat holes for wires out to that plug… If you wanted more work hehe.
 
That’s not how it’s going to be. That was just it all stuffed in for testing.

If you roll the IEC connector around the wires twist up beautifully.

So aye, not covering up what I’ve spent hours making look nice lol.

I’m now planning the duct. I’m going to make it out of the yellow 3mm plex but heated and bent with a hot air gun. The fan has been braided now but I’ve been extremely busy which is unusual for me. It’s not the good, nice busy either I’ve been wading through poop!

Tomorrow things should settle down a bit so I can do some machining. To make it easier to shape and bend the acrylic I’m going to machine it down where it will bend. I’ve also clocked a perfect way to mount said ducts too so they are removable for cleaning etc!
 
Dropped off my notifications for a while for some reason. Looking good though. Are those £100-£200 worth* of C13 plugs?!
For the spade connectors, rather than the ones insulated with hard plastic, you can get uninsulated ones (or snip off the plastic) and then use soft clear rubber shells that slide over to insulate them. You can buy them or harvest them from something that uses them. Heatshrink works but you have to make sure it doesn't shrink away from the end of the connector like it did - that or leave it too long and trim it after shrinking.

*cost, perhaps rather than 'worth' :p
 
Knock-offs perhaps. Certainly look the part in that build. Same thing comes up for anywhere between £50 and £100 a piece - made with real hi-fidelity snake oil though! :D
 
OK so moving on.

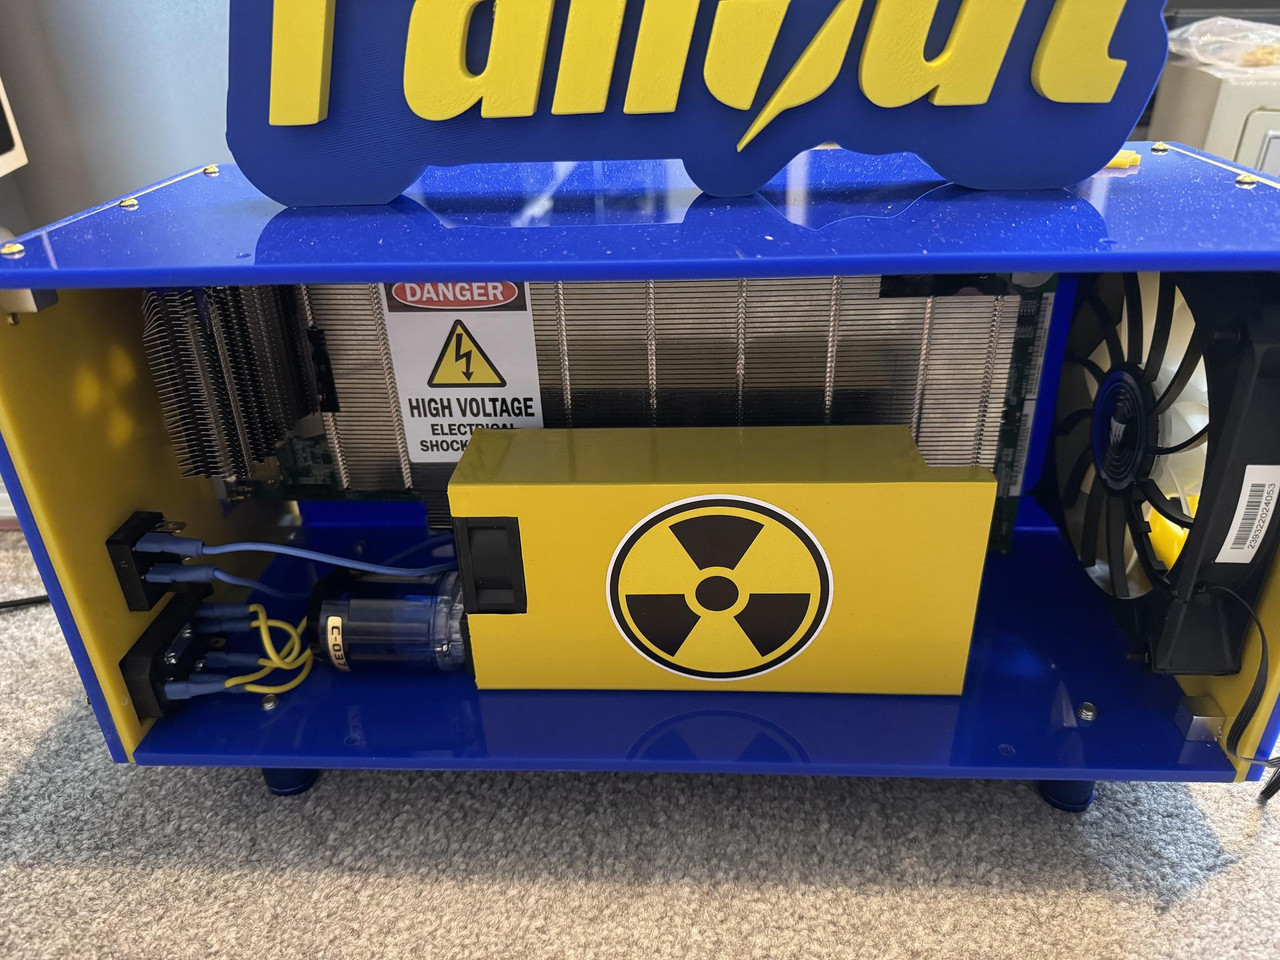
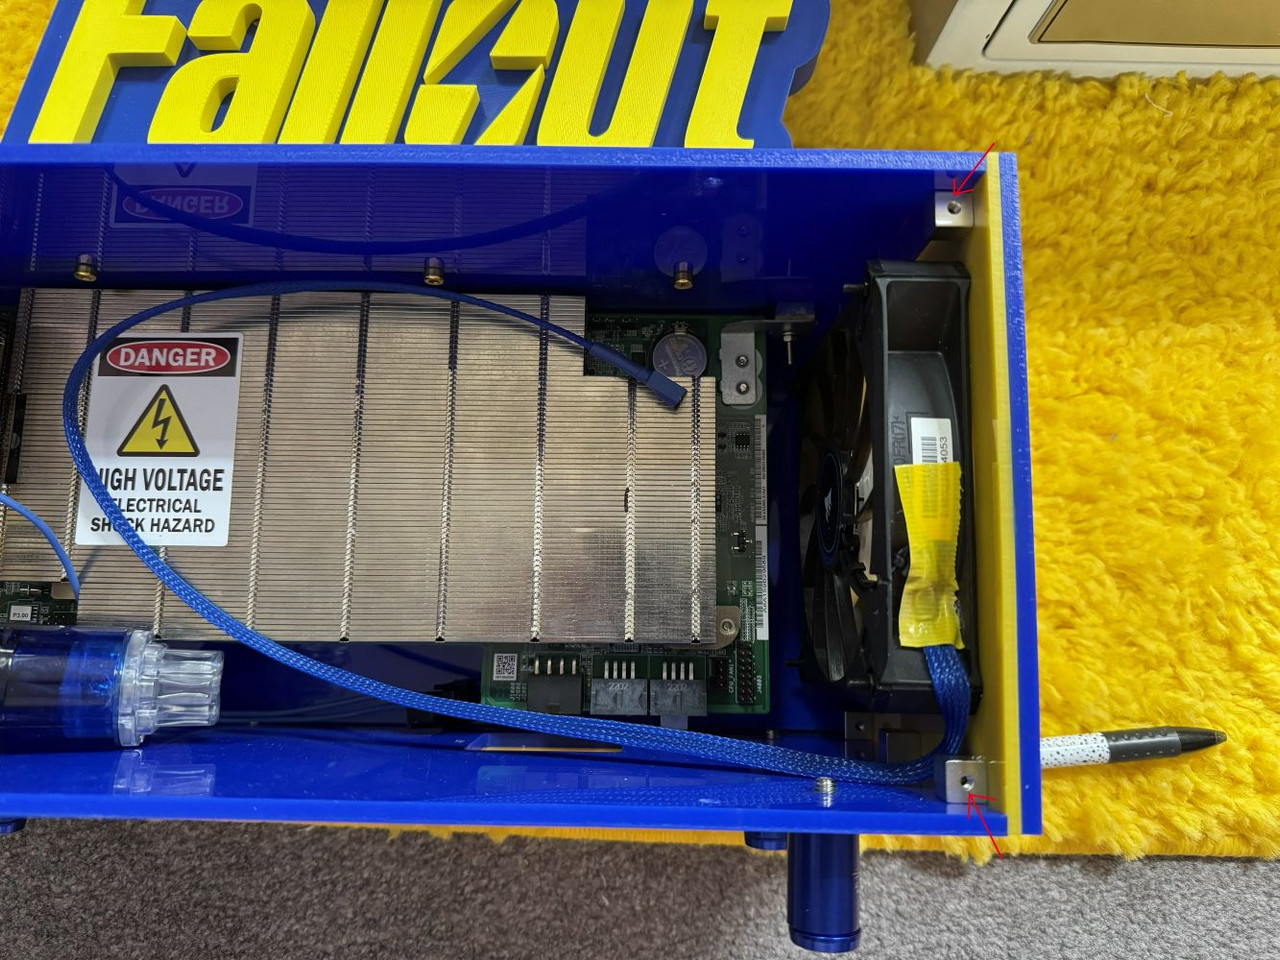
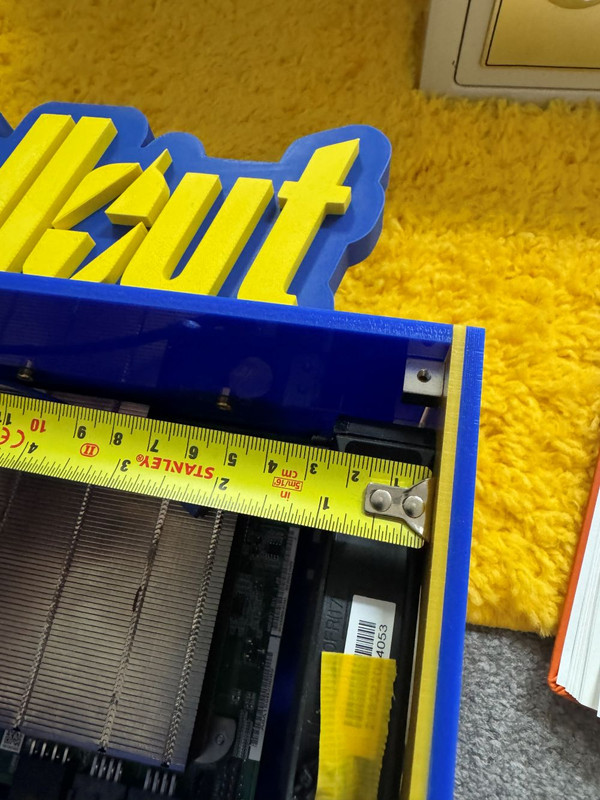
So when I was braiding the fan I spotted something. See how there are two joining blocks? these were put in for the front to hold to the top and bottom. However, I noticed that they had extra holes there. I measured where they sat to make sure that the 3mm duct could bolt into those holes and not stop the 5mm panel from going in and there is enough space. So, now I have a hard point to mount my duct to.


Right so now time to see how much we need to clear the bolts for the fan. 35mm it seems.


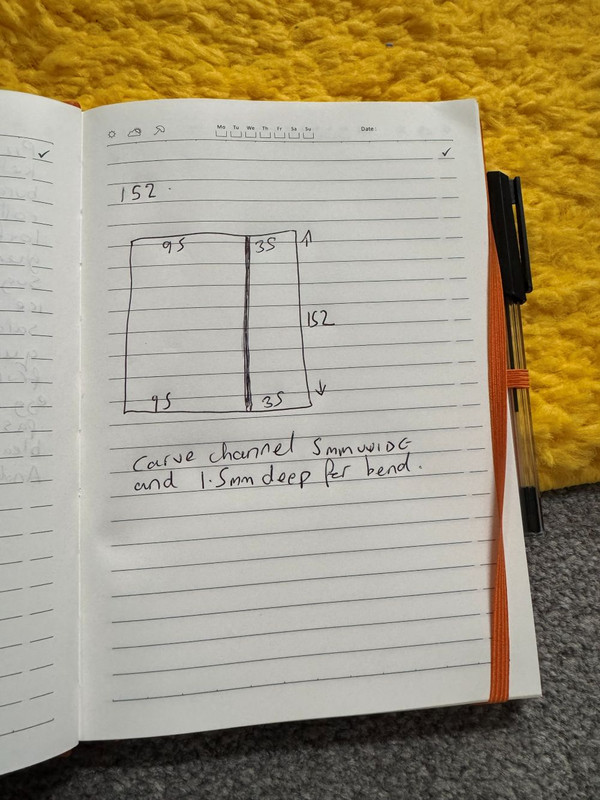
Note that down, as well as the channel to carve to help it bend easier.


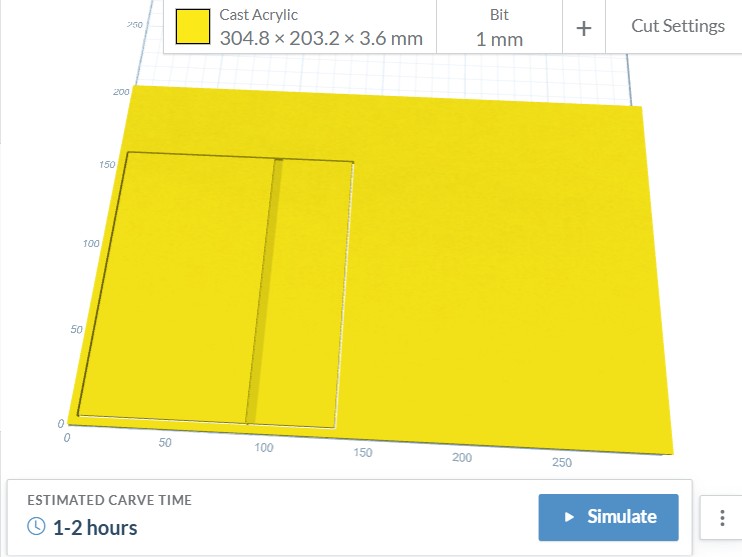
And model.

 
OCUK saves the day :D (you can natively host images in the forum now)

 
Last edited:
Images working now it seems. However, let's try this....

OK seems to work?. So basically the last post is there and the new one. Pics are in order too. It goes, braid fan and stick wires down. Measure out where the duct start needs to be with enough room to clear the fan bolts. Draw. Design in Easel. Realise you do not have enough yellow stock left. Change design, make with what I do have then slap in a jovial little easter egg for fans of the series. So yeah, had to machine a blue piece too. Definitely didn't hurt any.
 

Attachments

  • 1.webp
    1.webp
    168.8 KB · Views: 17
  • 2.webp
    2.webp
    130.5 KB · Views: 12
  • 3.webp
    3.webp
    106.8 KB · Views: 9
  • 4.webp
    4.webp
    17.2 KB · Views: 18
  • 5.webp
    5.webp
    112.3 KB · Views: 17
  • 6.webp
    6.webp
    130.5 KB · Views: 19
Oh also. The channel was to prevent "mush out" when you bend. IE when you heat and bend acrylic the displaced acrylic needs to go somewhere giving you a fat edge. So, I machined out a 1.5mm channel to help it. This turned out to be a good idea, because my small heat gun barely got it hot enough to bend. There is no way it would have gotten it hot enough to bend straight 3.5mm acrylic.
 
OK so last night I booted it. Relieved to find I’d already installed Bazzite. Temps seem good. 68 idle and hardly any more under load. I know they idle very high and consume lots of power so I never leave it sat there.

Installed New Vegas and realised I was limited to 1080p. Hmm. I then realised I’d been playing it at 1080p on the other one /facepalm. Went into the settings and enabled “allow game resolution above 1080p”.

Wow. Even the venerable New Vegas looks stunning.

BTW if the screen keeps flickering and going dark then disable HDR. It doesn’t work.

Back at it later. Couple trim pieces to make and then a good clean before final assembly.
 
Back
Top Bottom