Hi All
I have been doing a new build to replace my previous build The 'STY' for some time now.
The original build log has been transferred over to OcUK and can be found
http://forums.overclockers.co.uk/showthread.php?t=18183651
As you may have already seen from my previous build, I am barely literate & prefer to show you picture instead of lots of words.
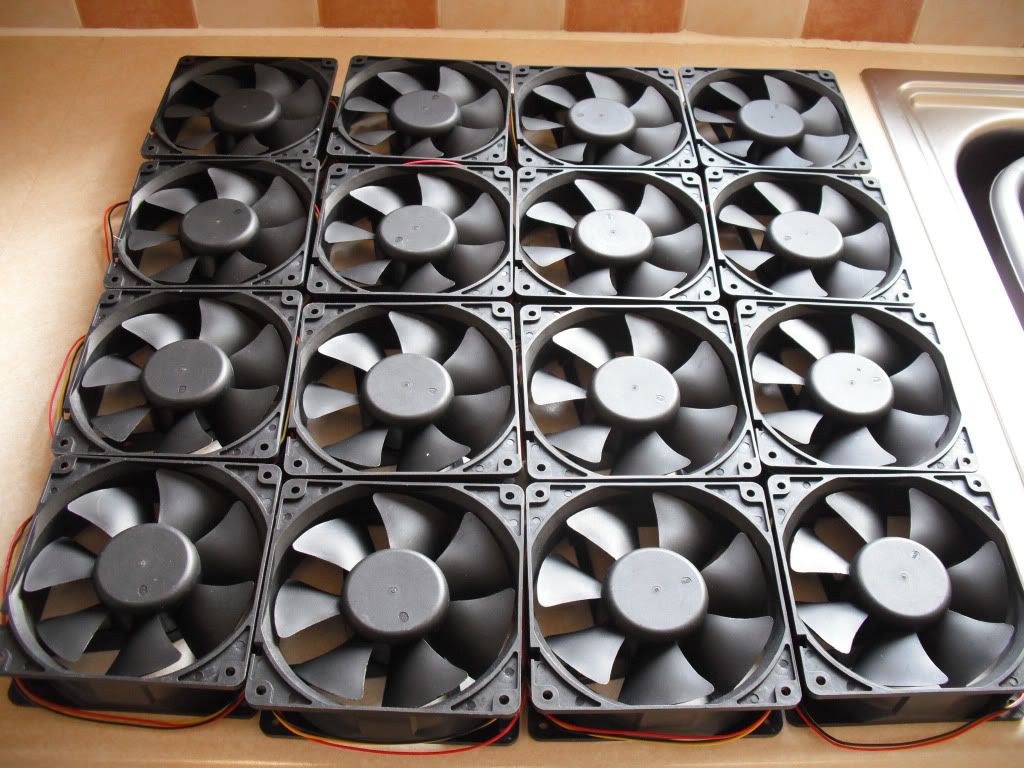
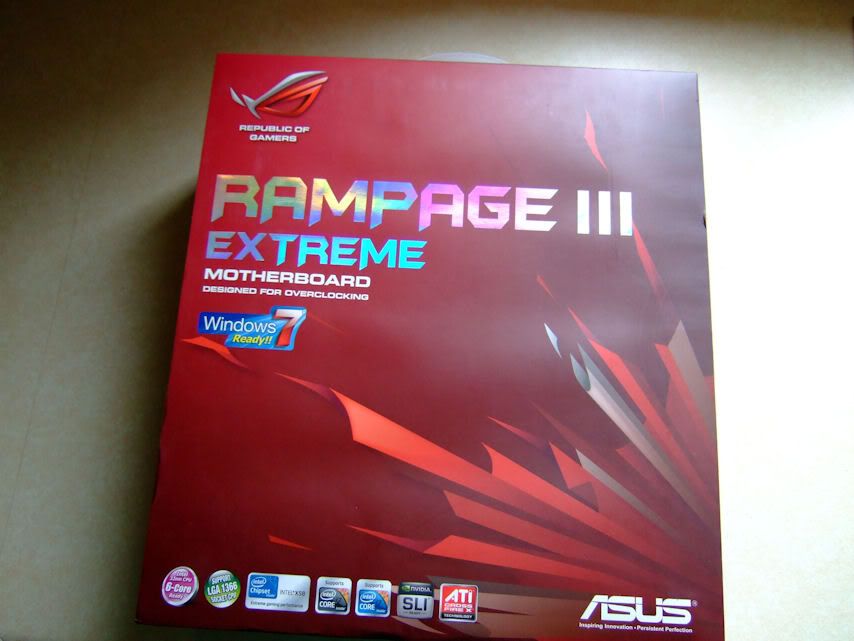
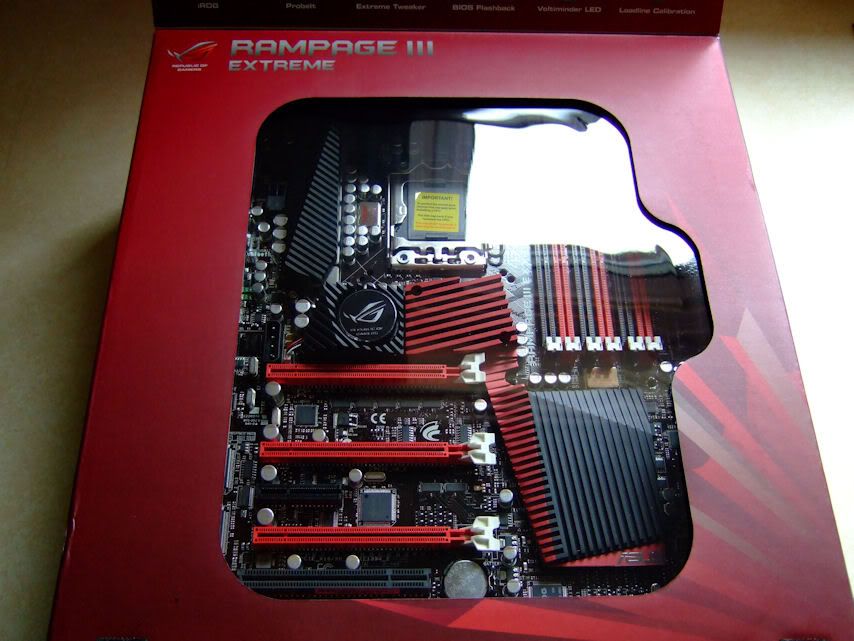
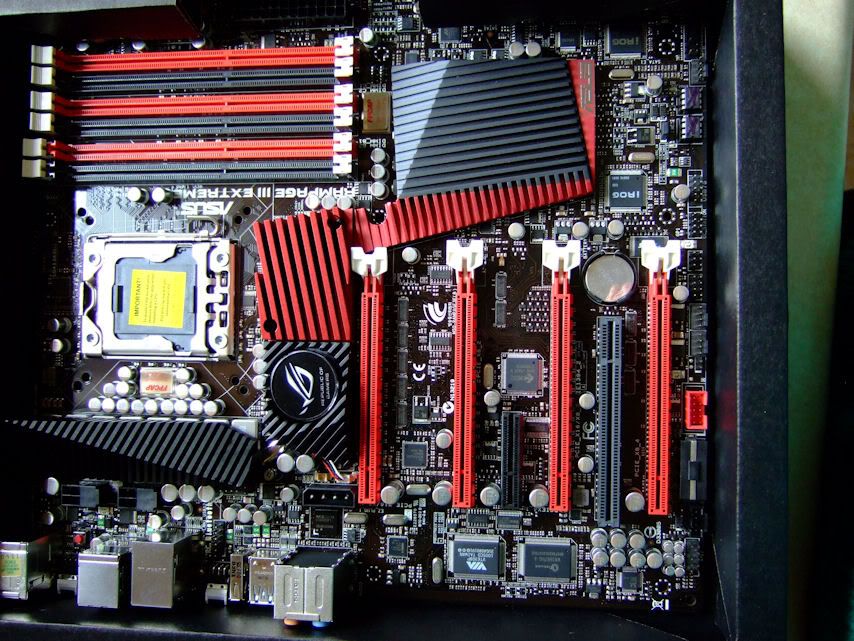
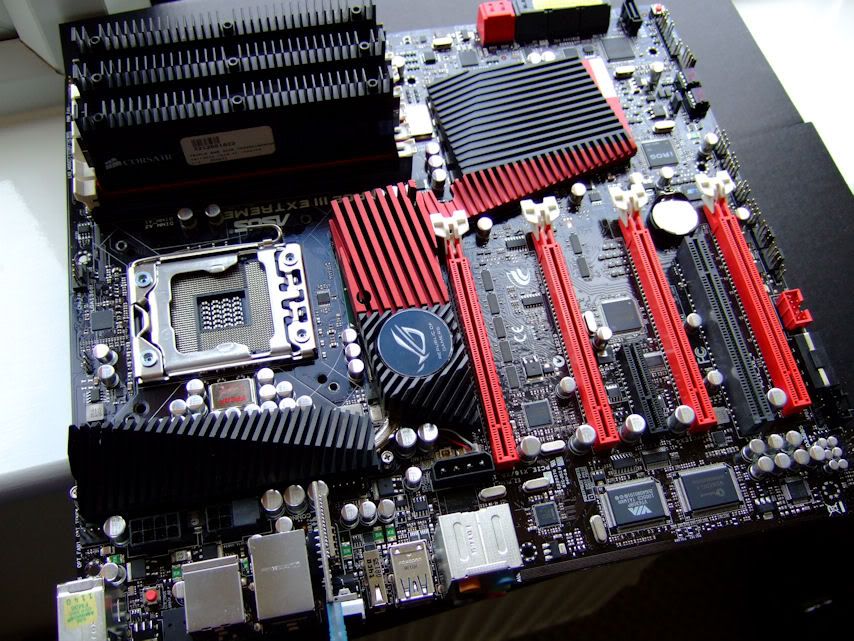
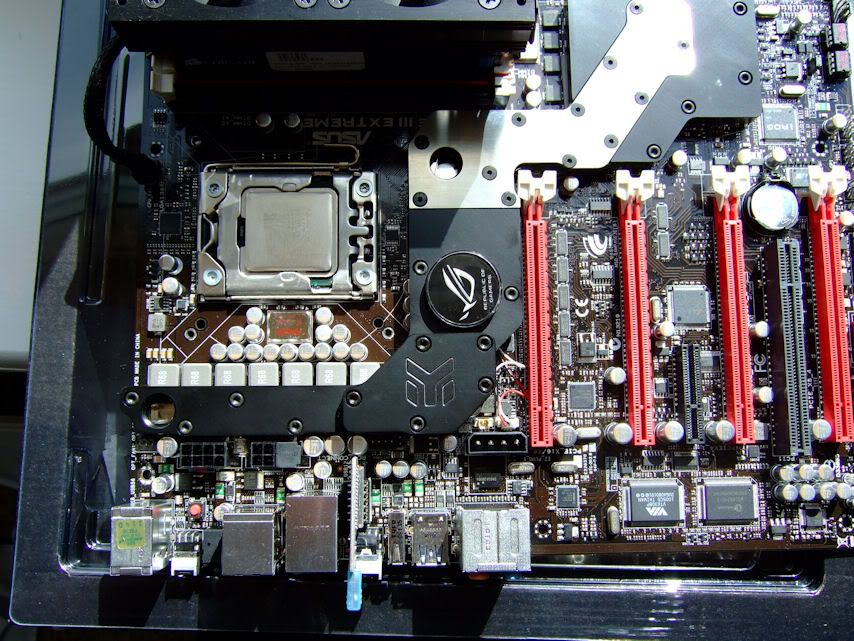
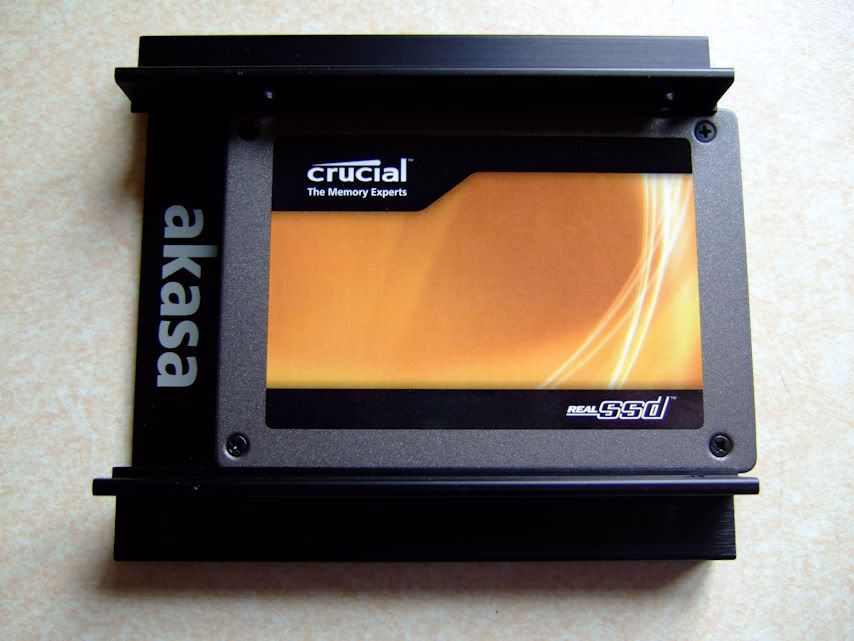
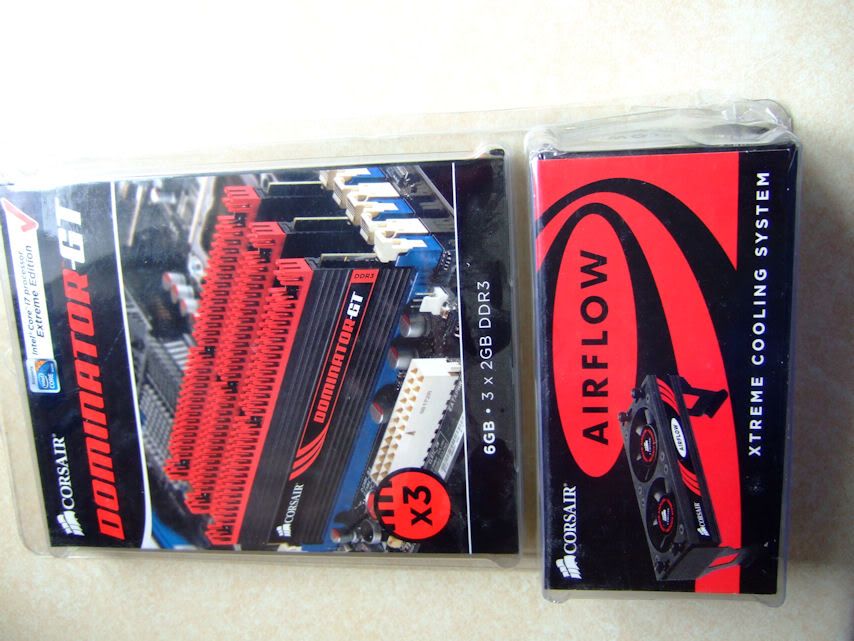
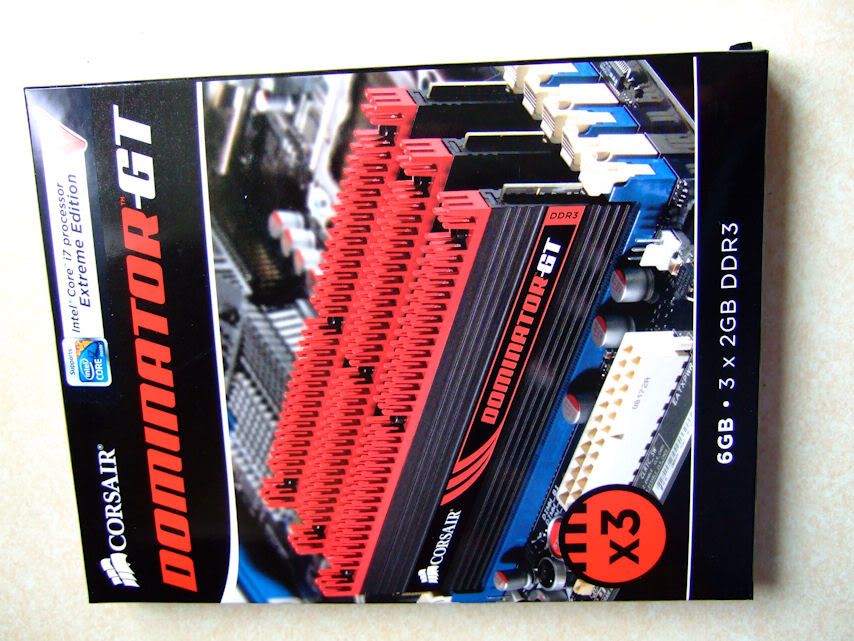
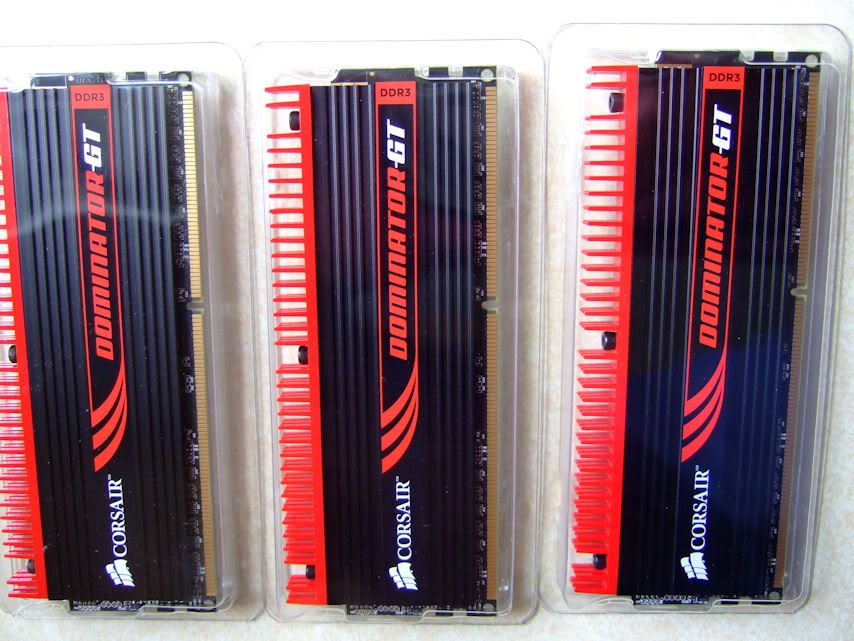
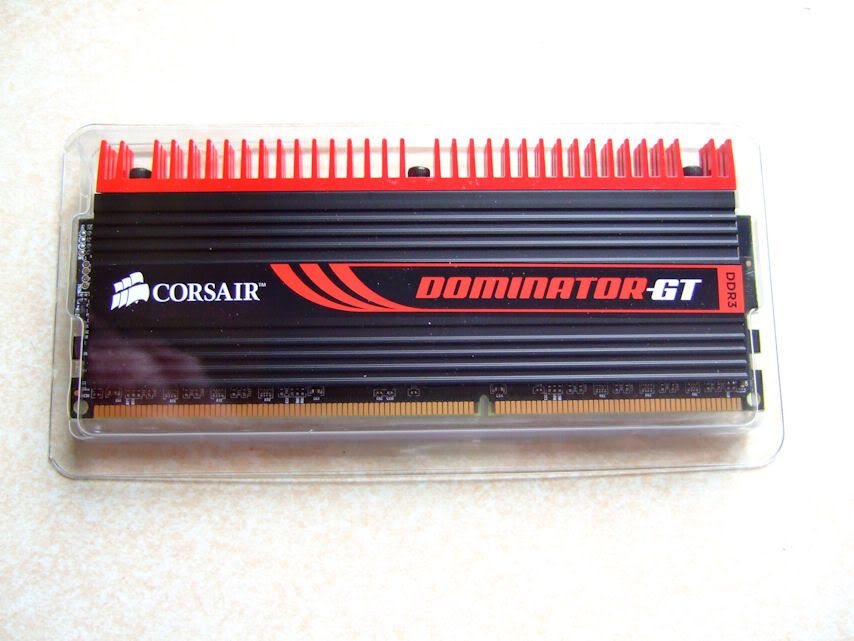
So to start with a quick look at the hardware that I will be using.
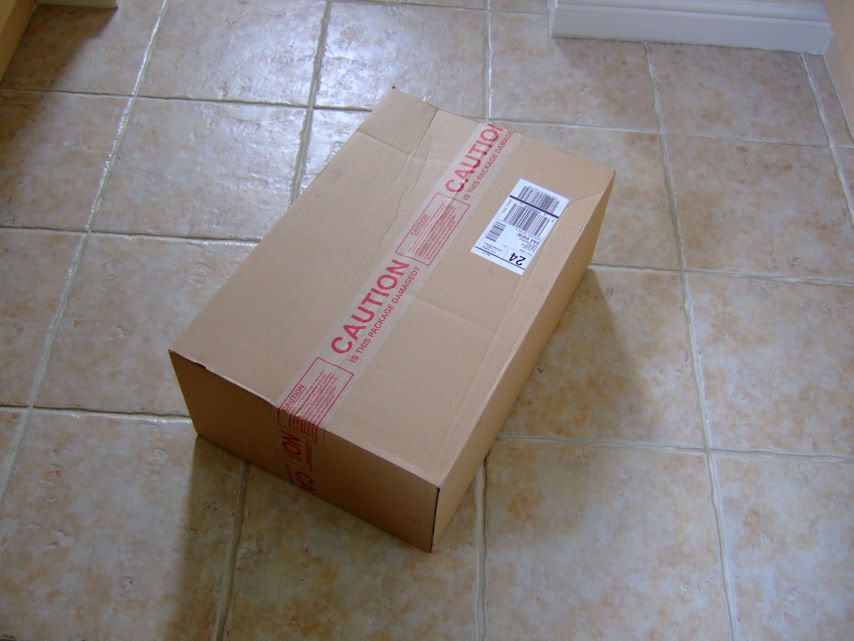
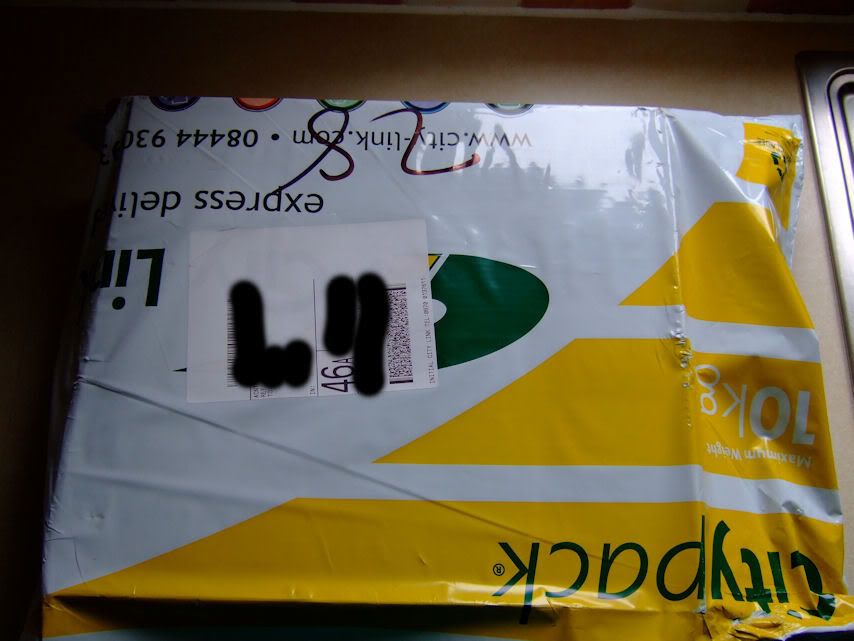
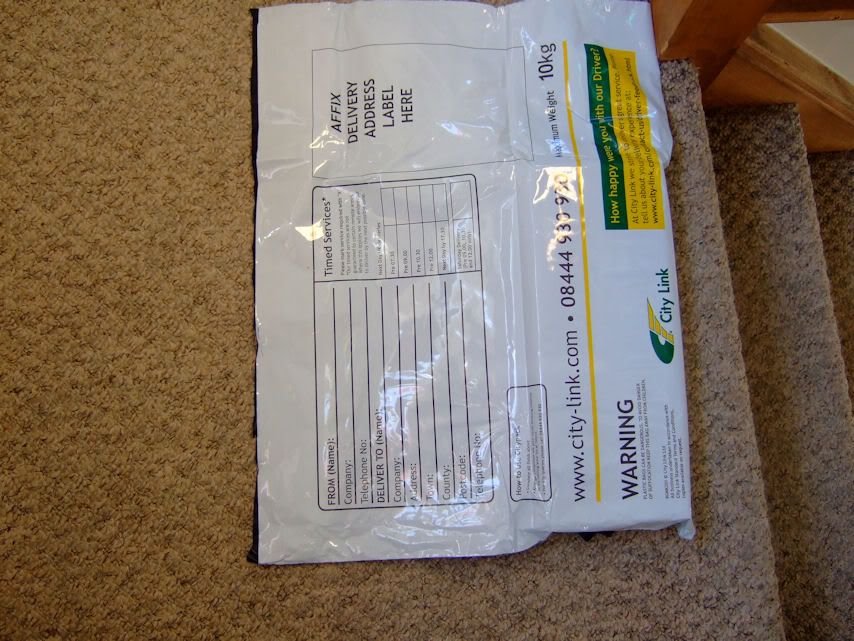
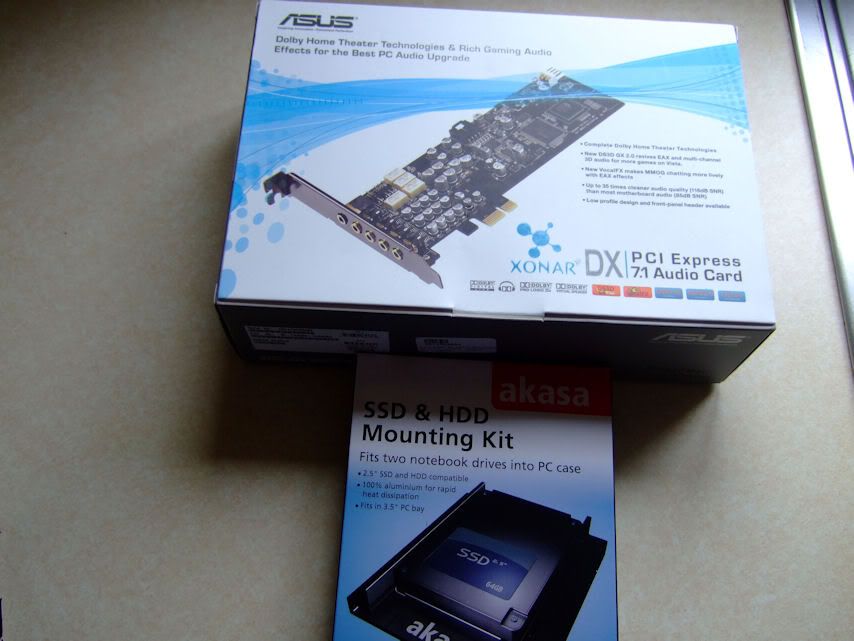
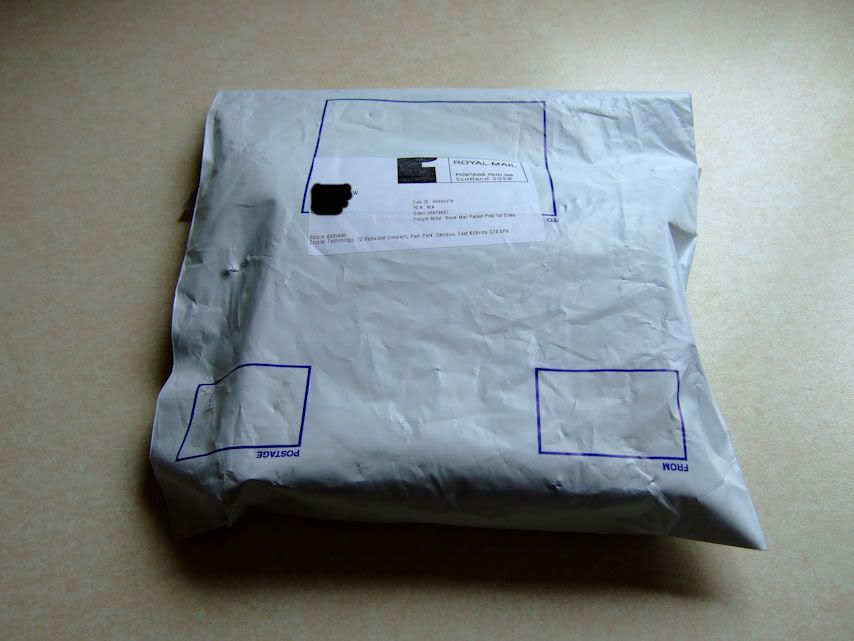
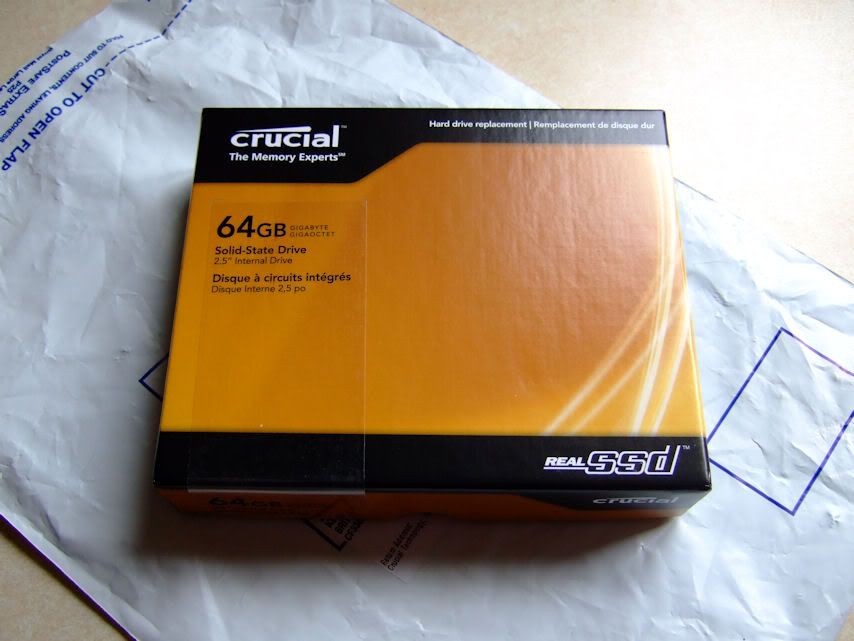
So a large brown box turned up
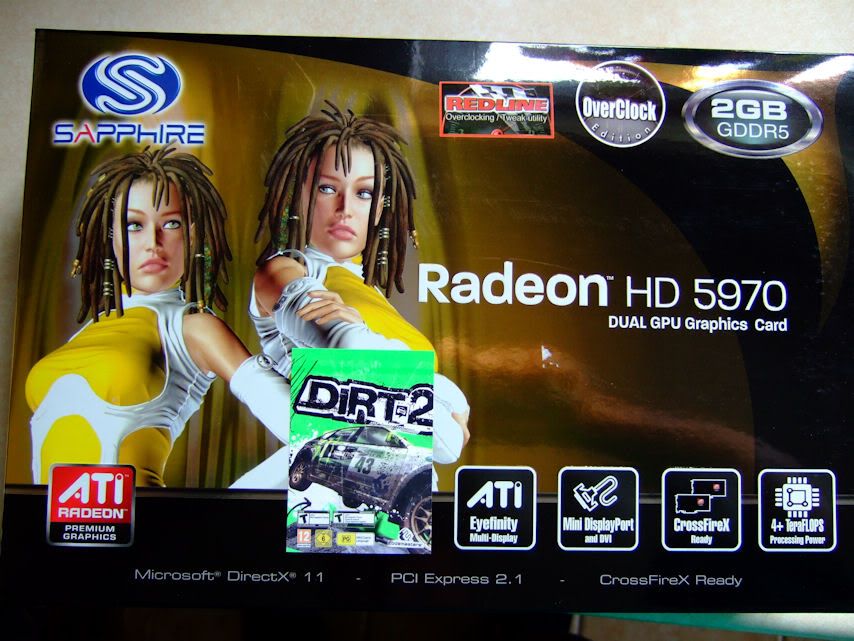
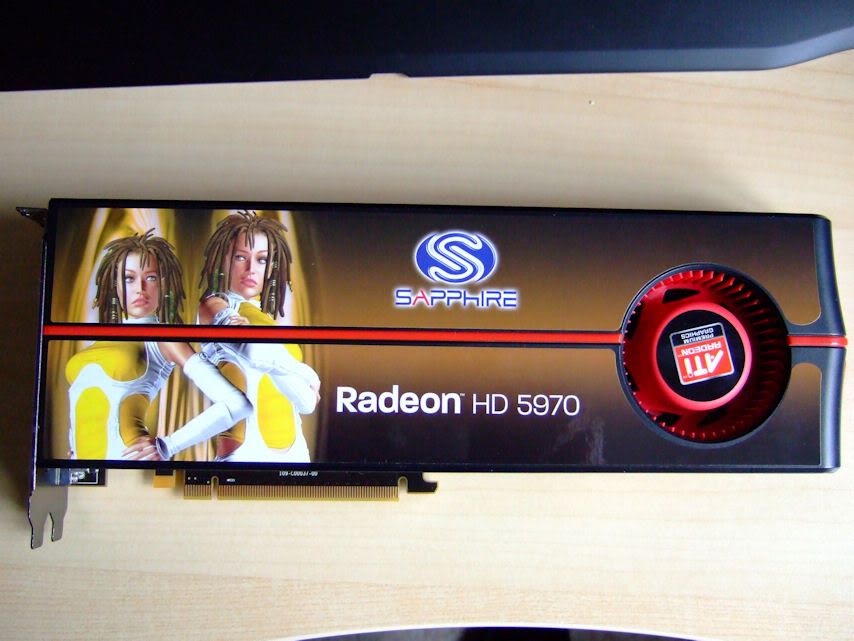
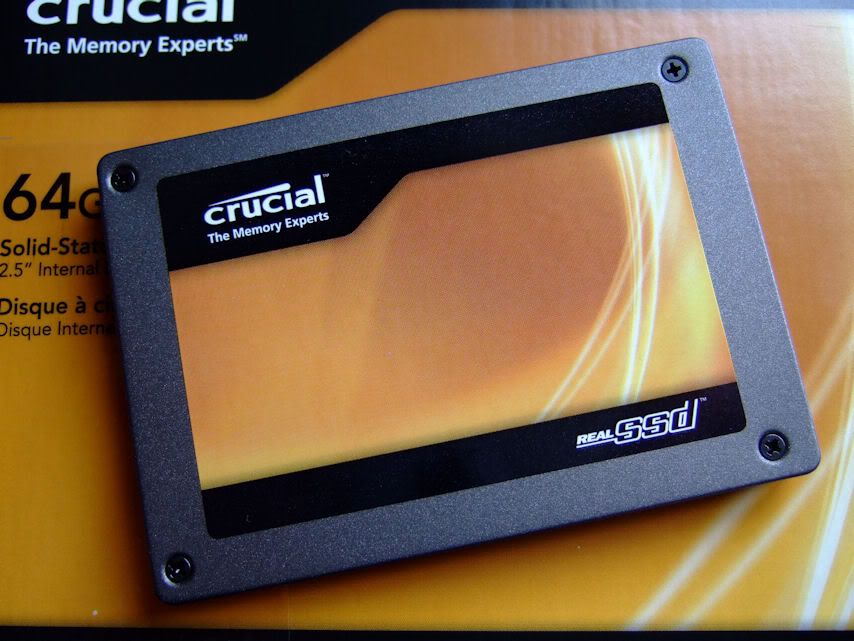
In the box was my nice new graphic card.
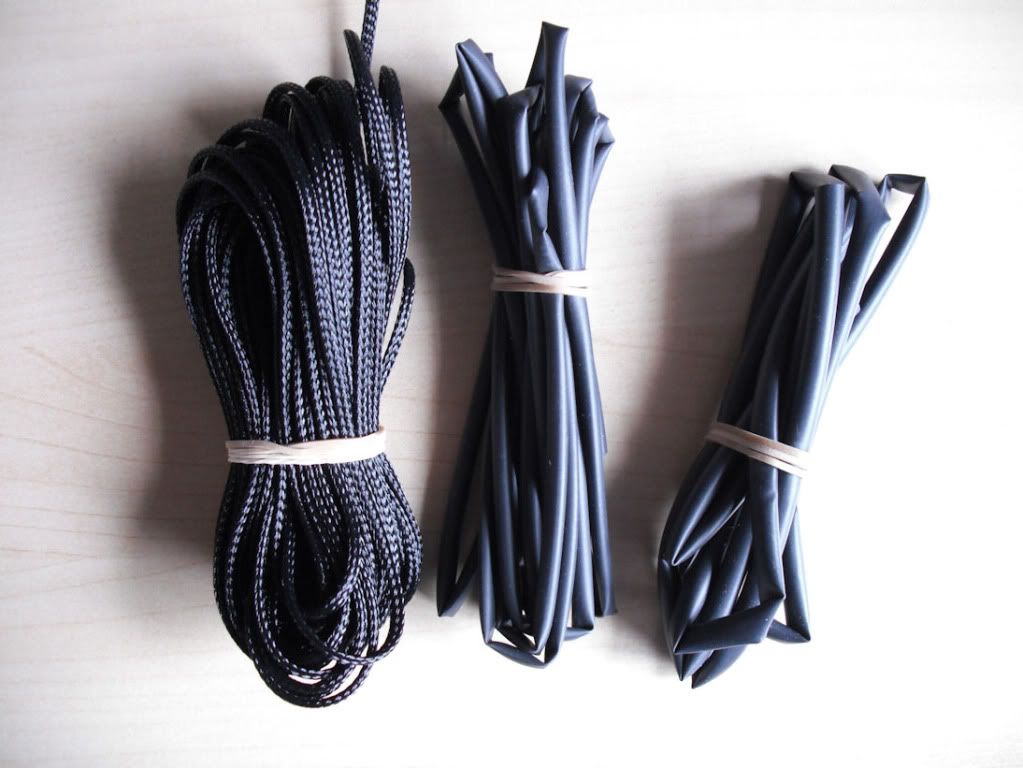
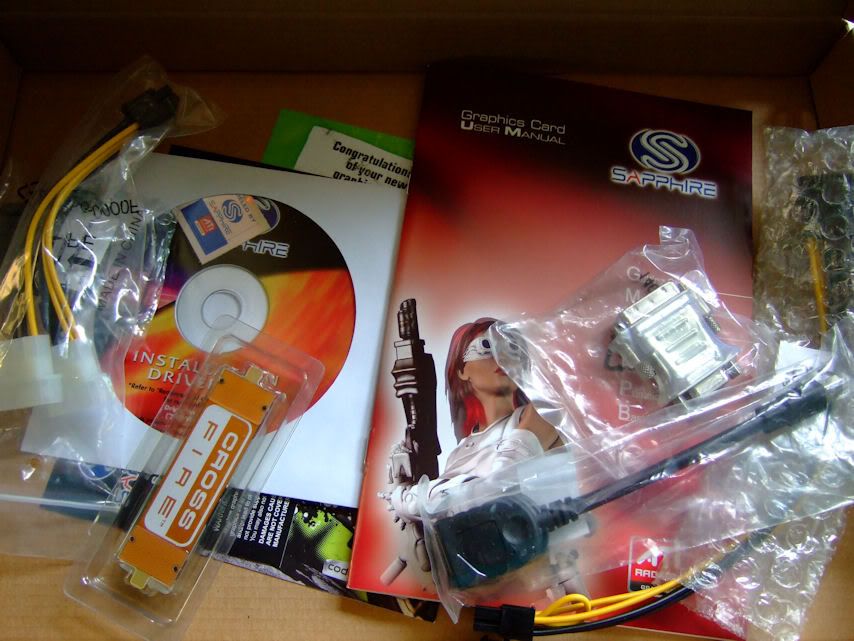
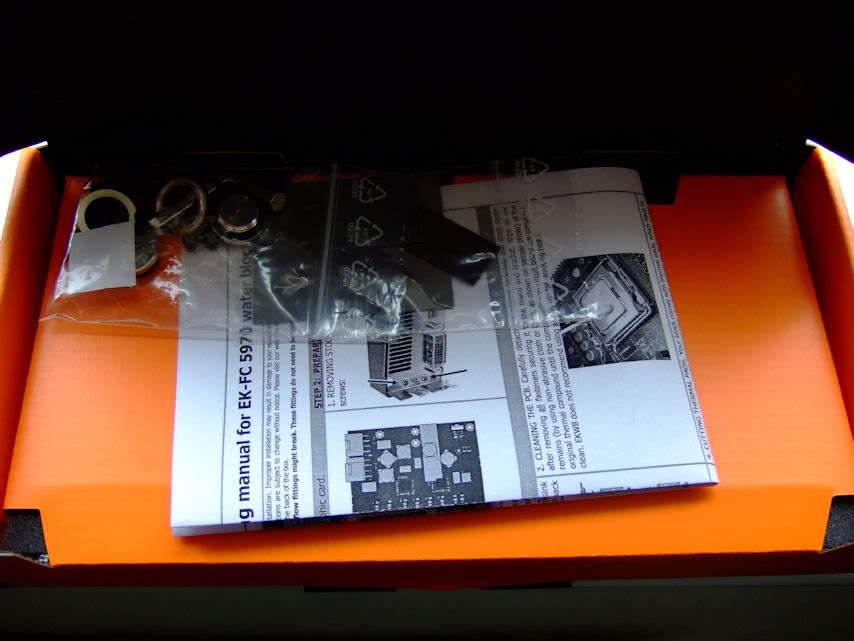
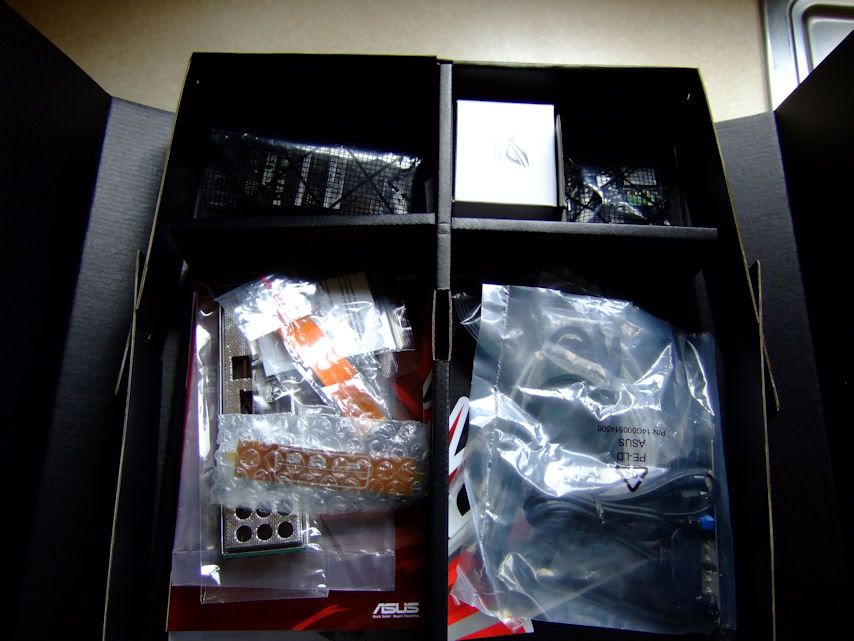
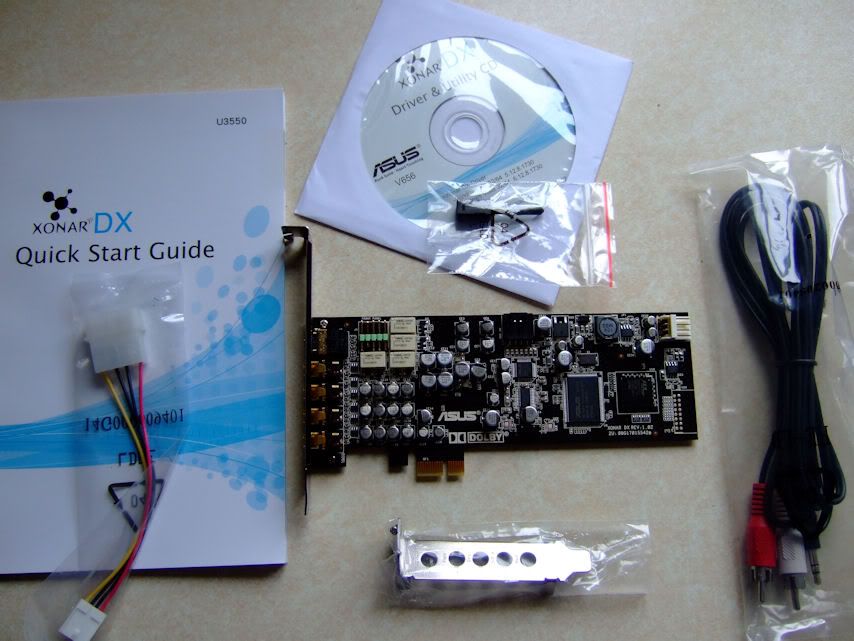
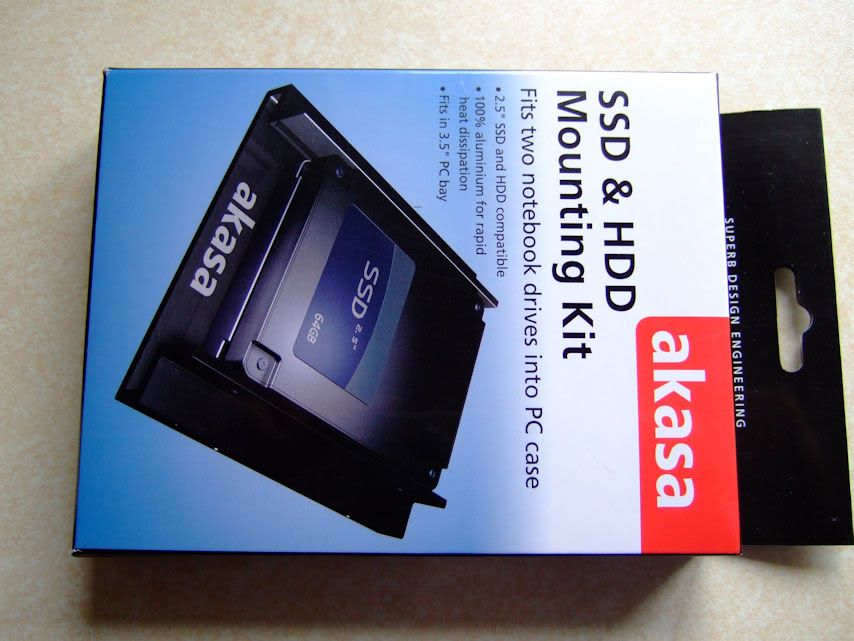
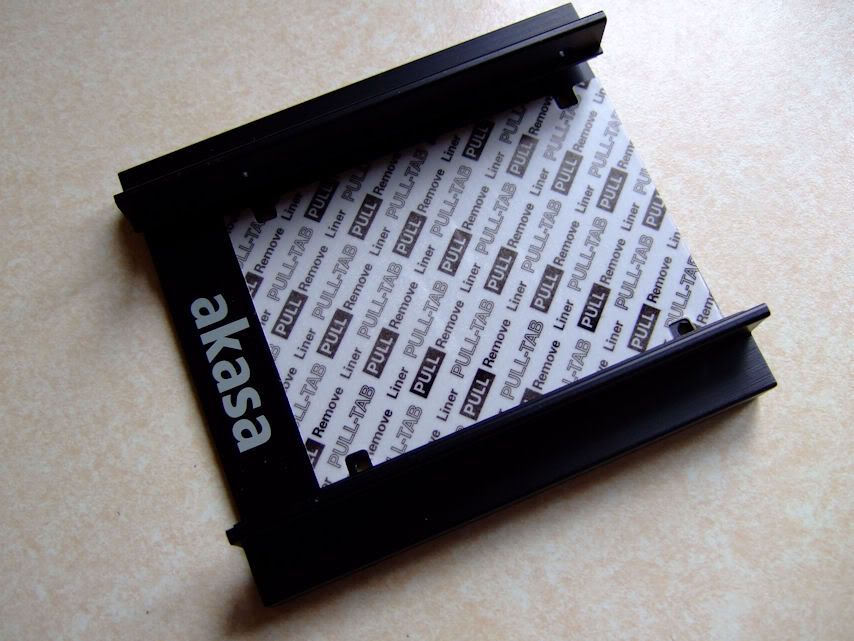
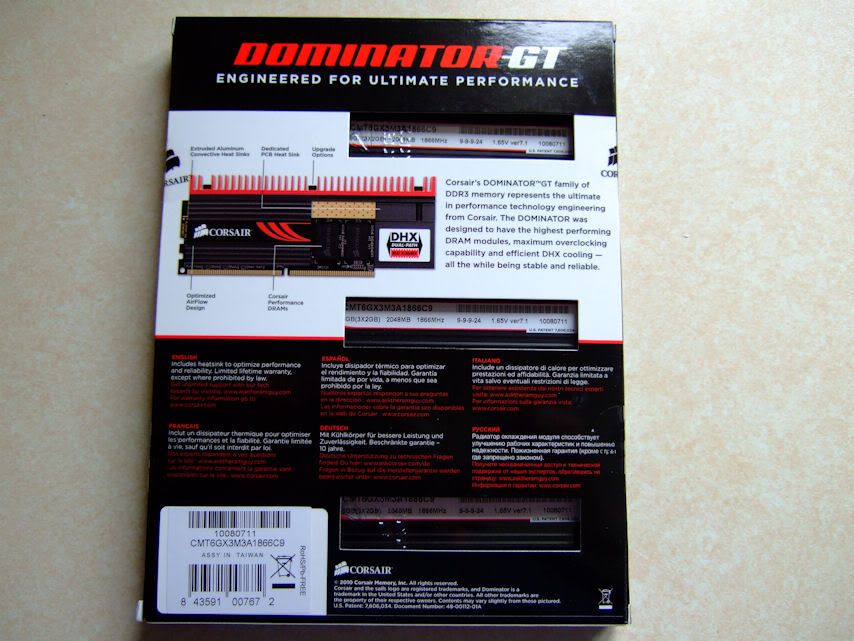
The accessories
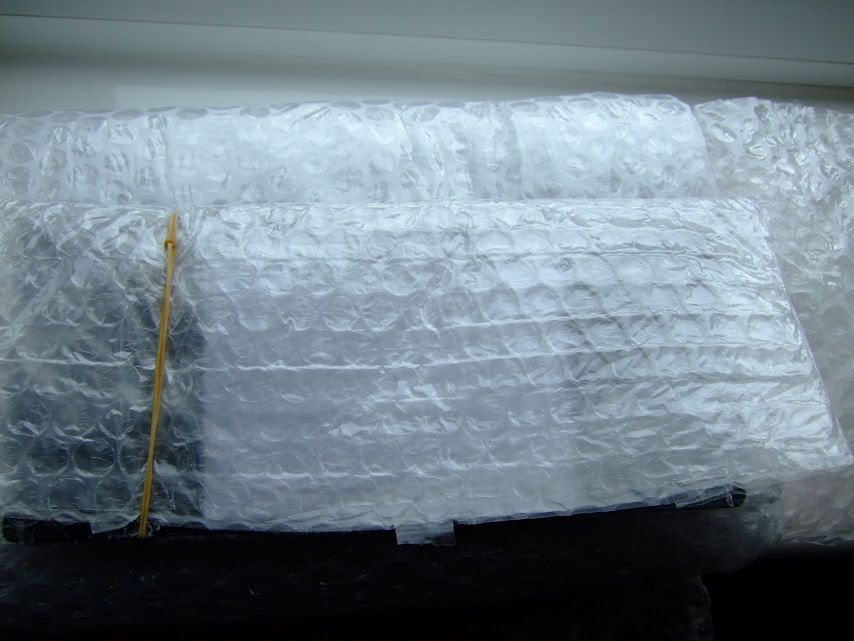
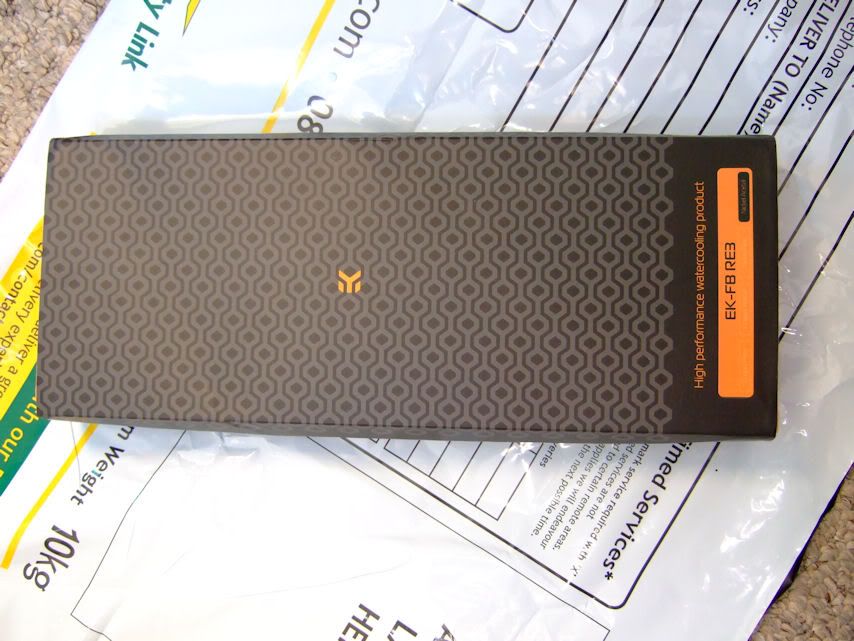
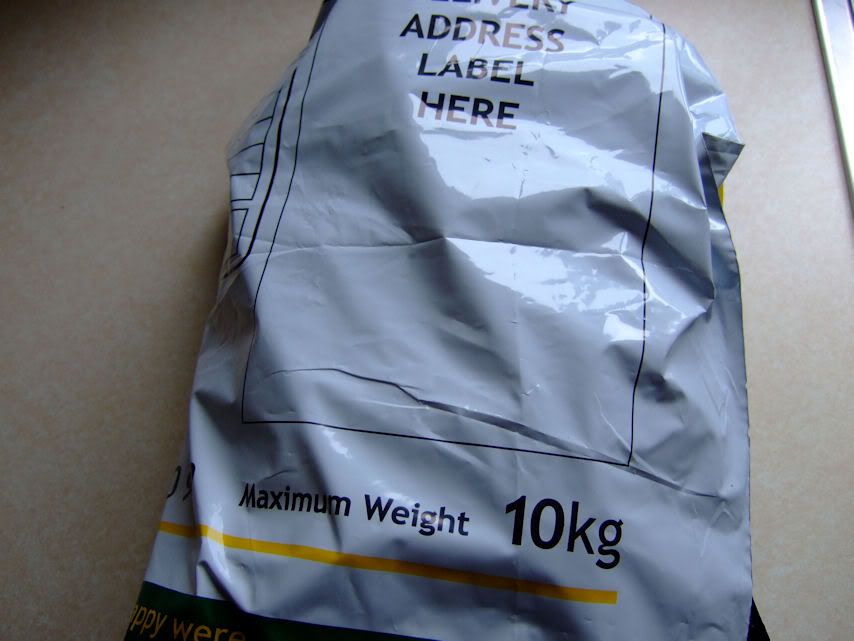
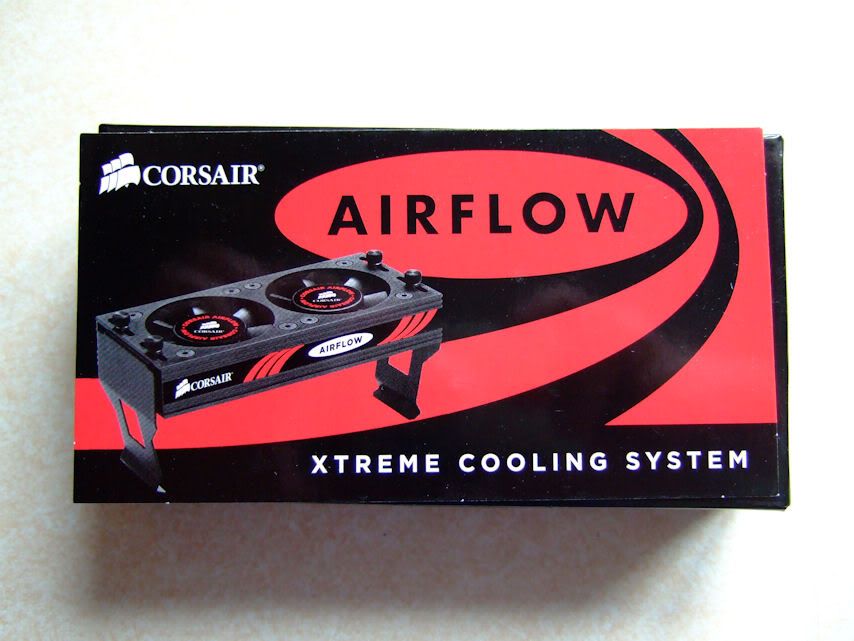
And another packet was also delivered.
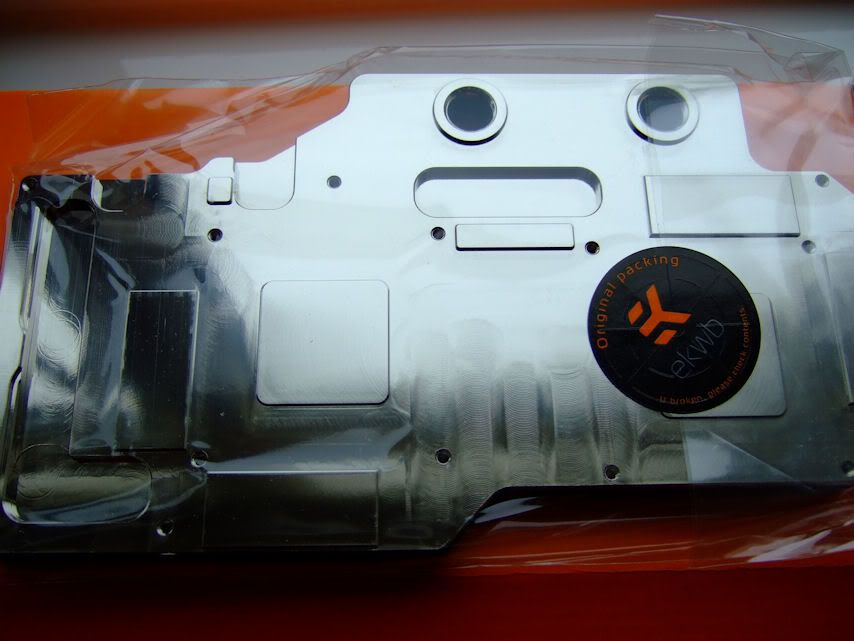
I like the new EK packaging; it gives a quality feel to the product.
And the symbol reminds me of Transformers


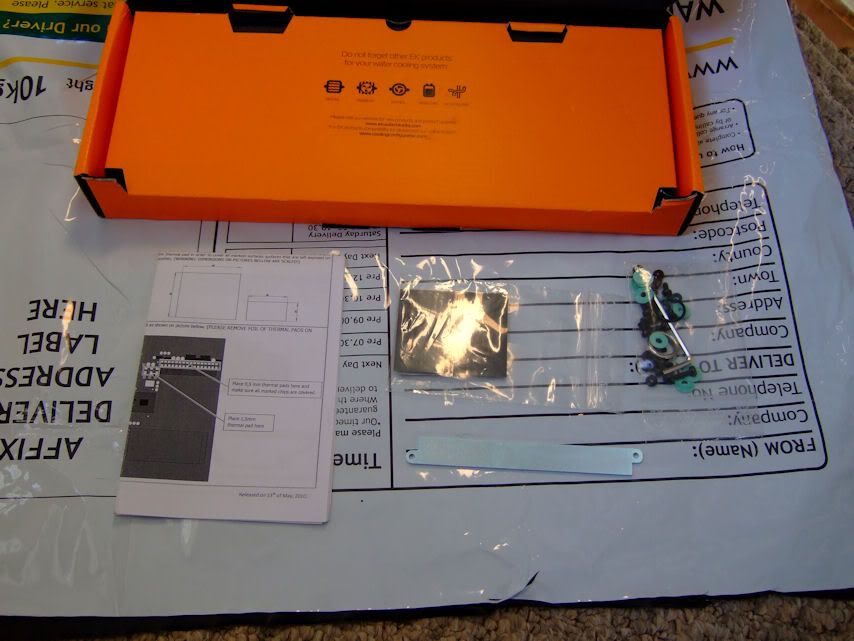
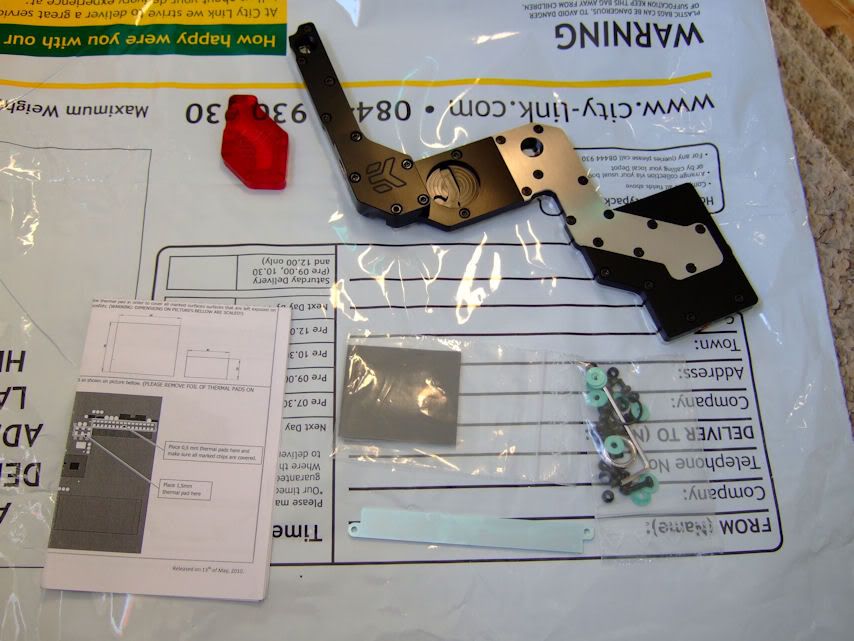
Inside the box was all the fittings etc. (poor picture, sorry)
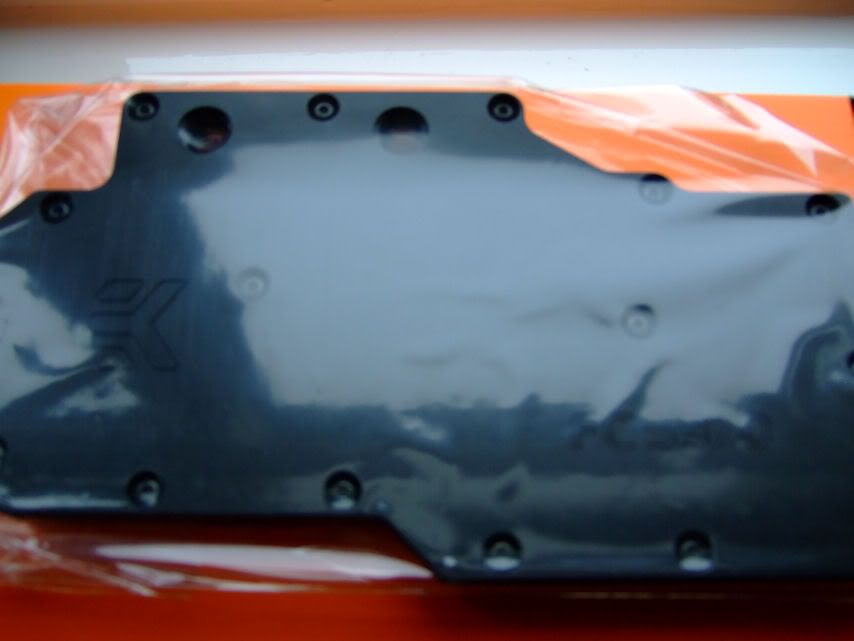
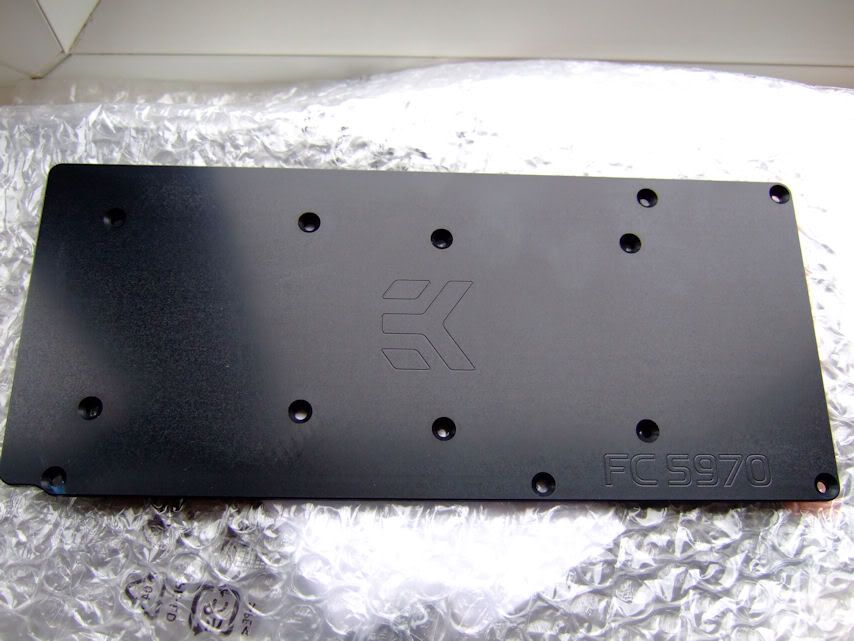
and a backing plate
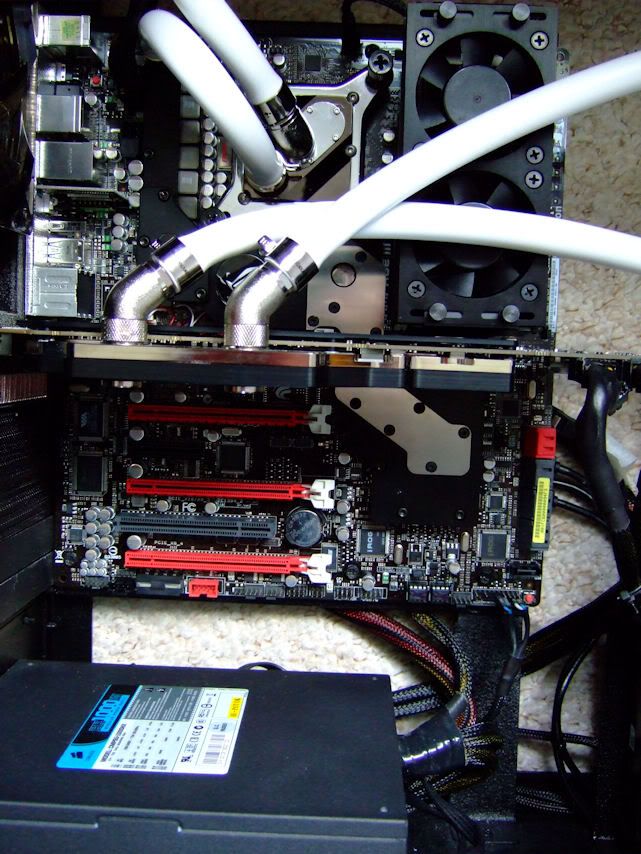
One last look before we get naked
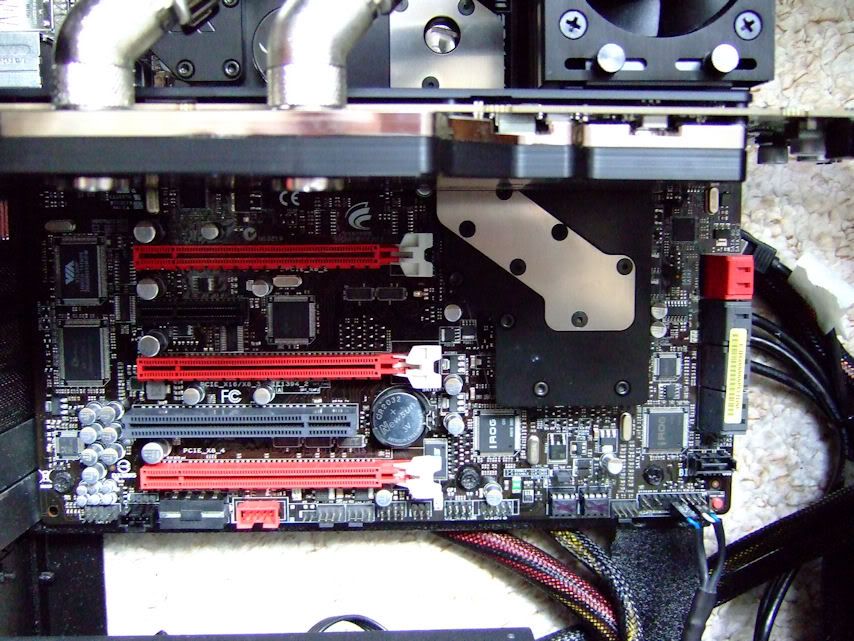
I tested the card to make sure there were no problems.
Just hope this will work again
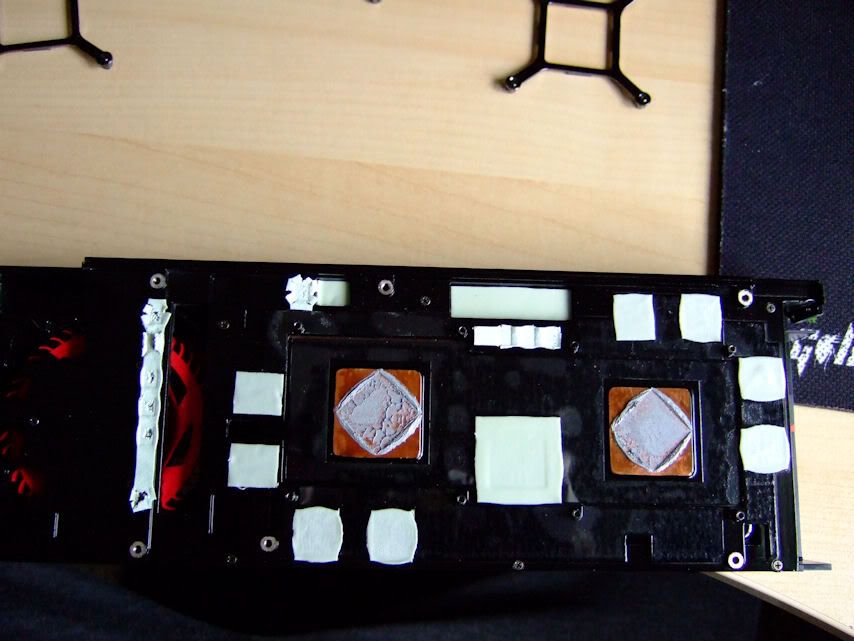
I followed the instructions that were inside the box & removed the backing plate.
GPU retention brackets removed.
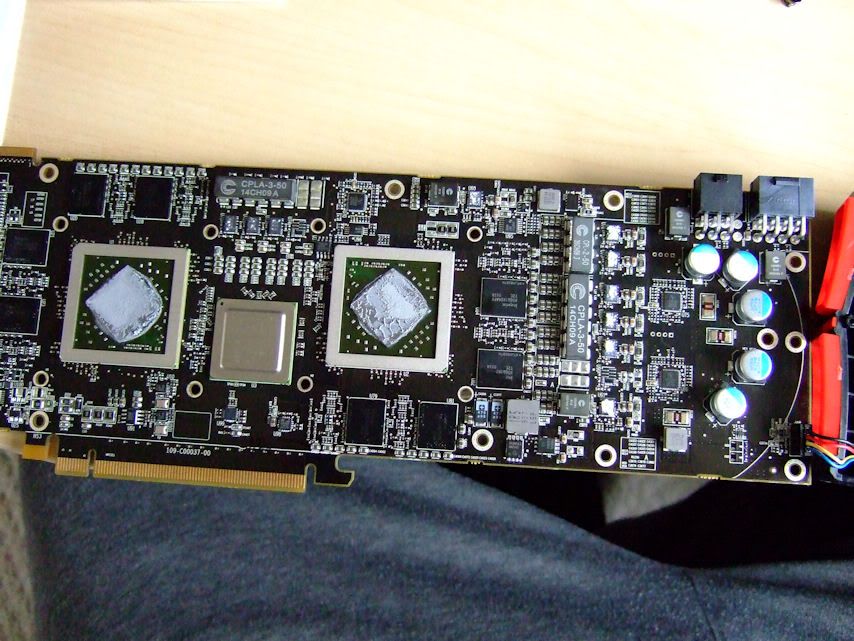
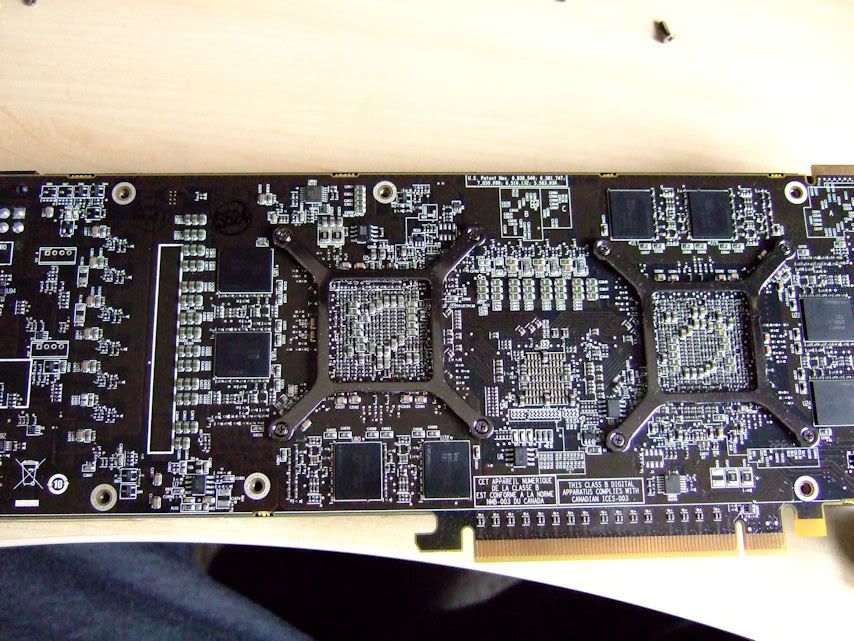
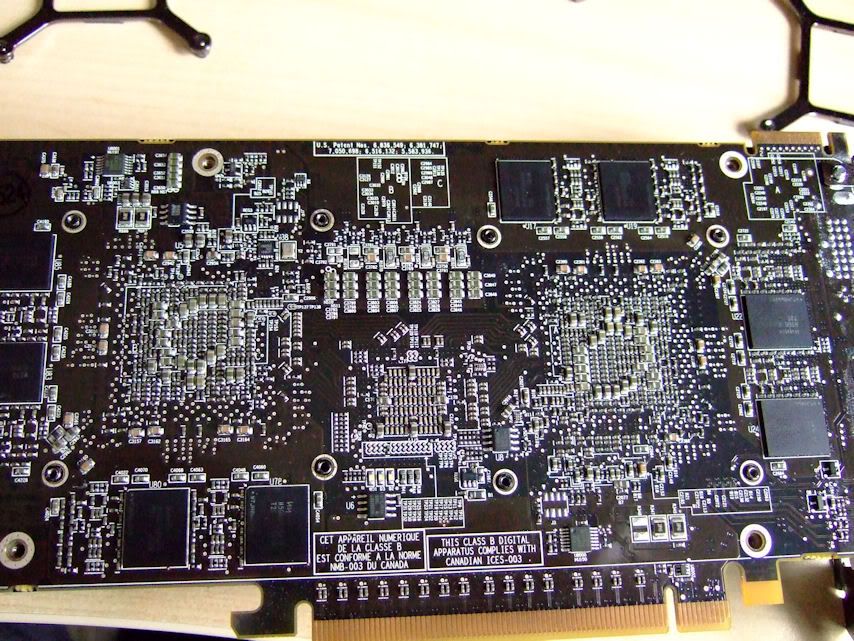
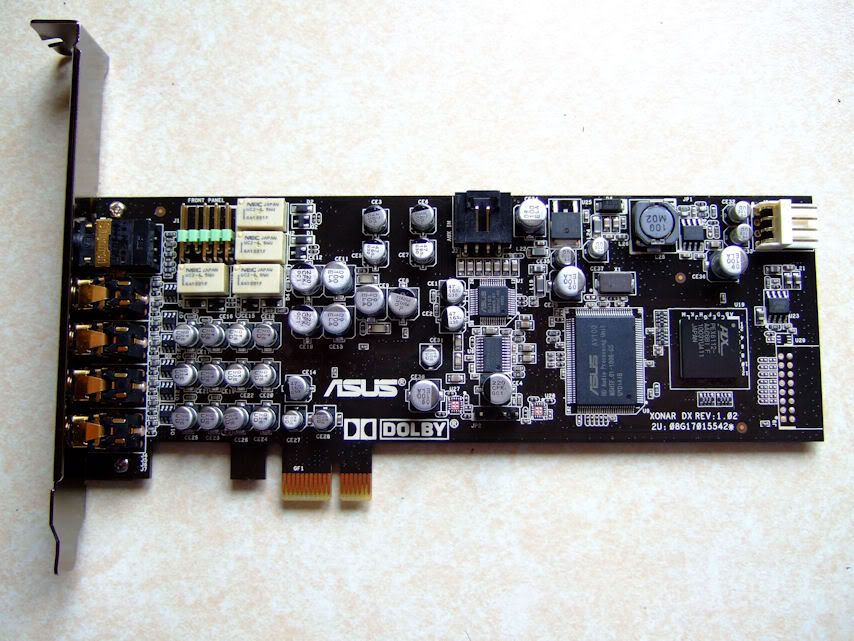
A quick look at the naked card.

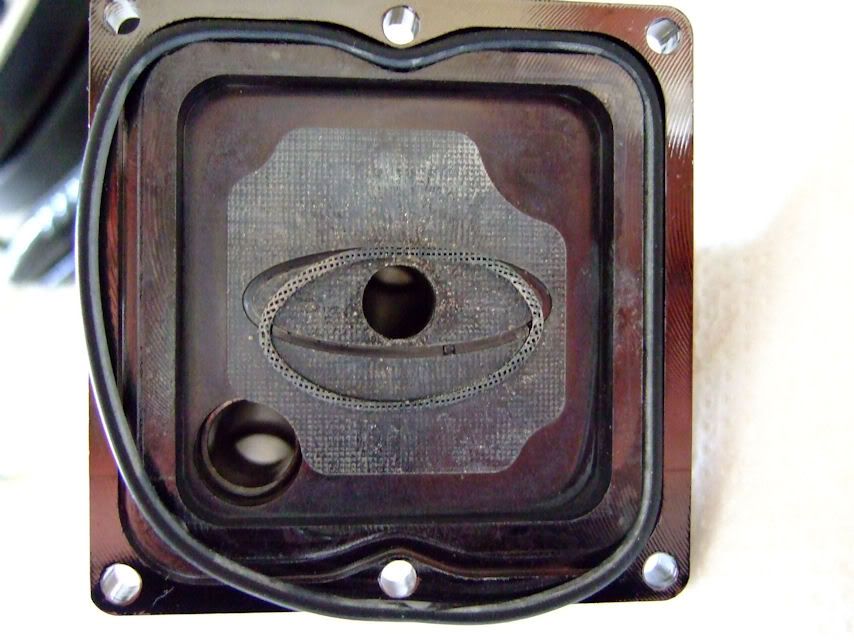
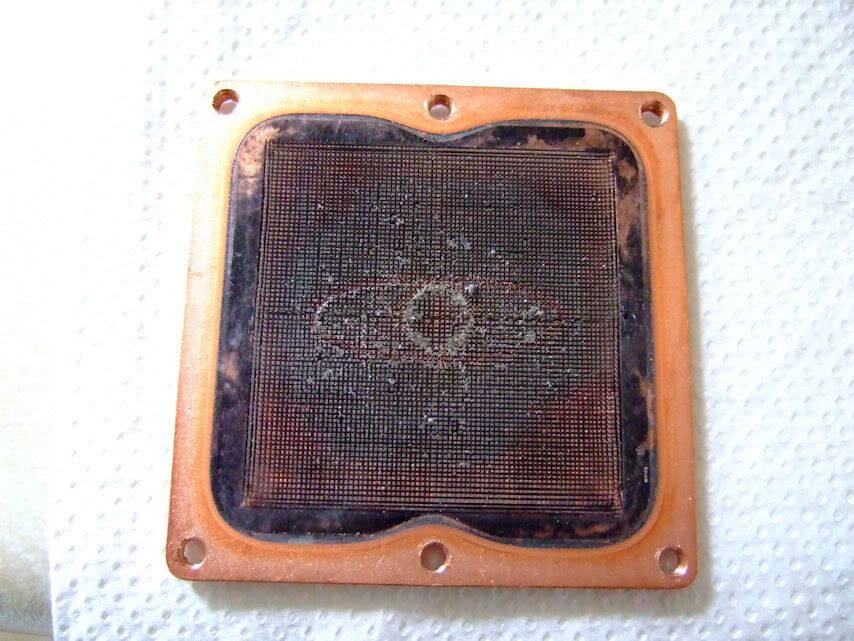
I then followed the instructions and gave everything a good clean.
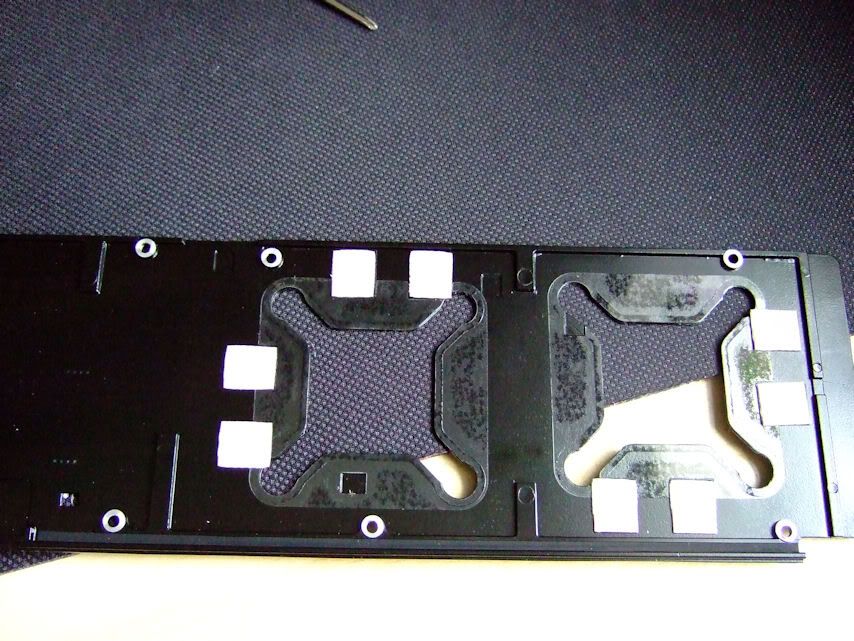
The thermal pads were then fitted as per diagram
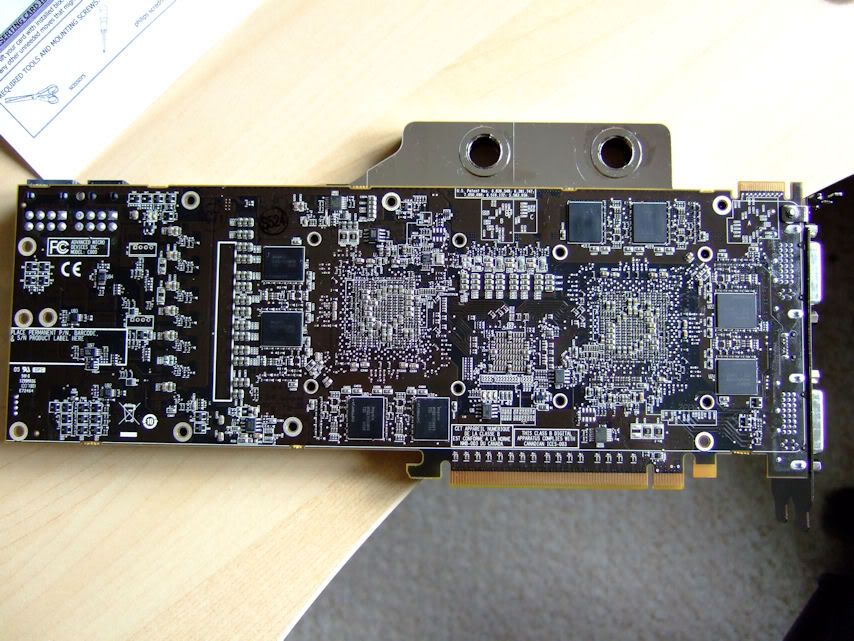
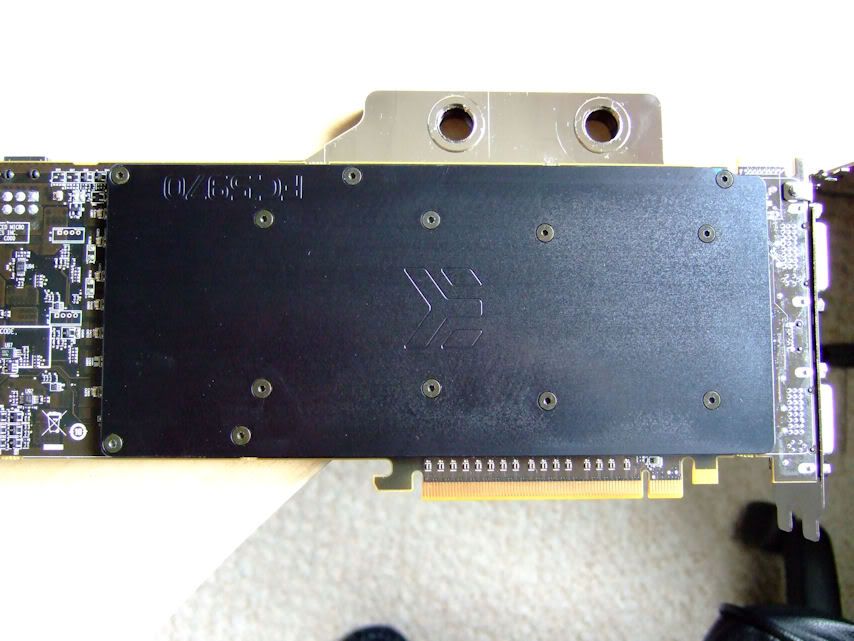
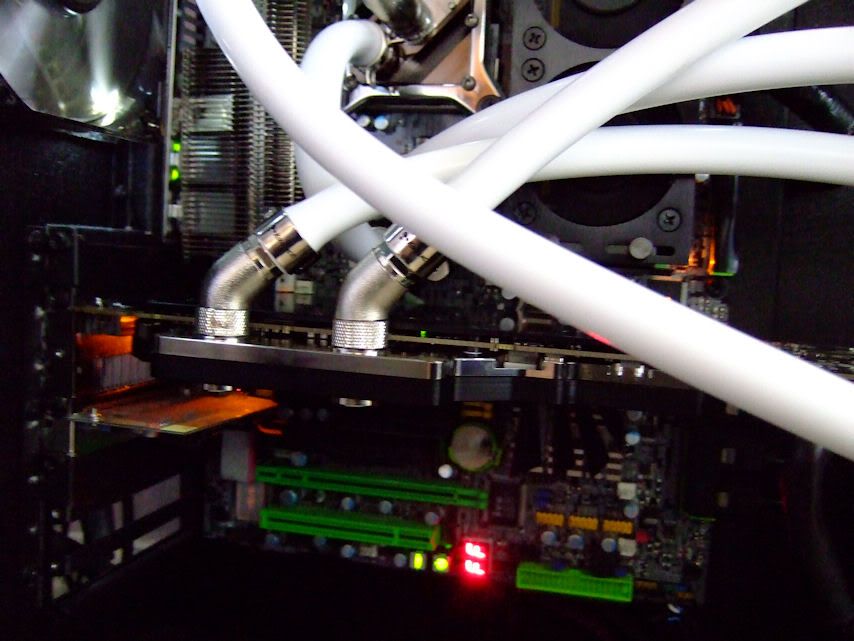
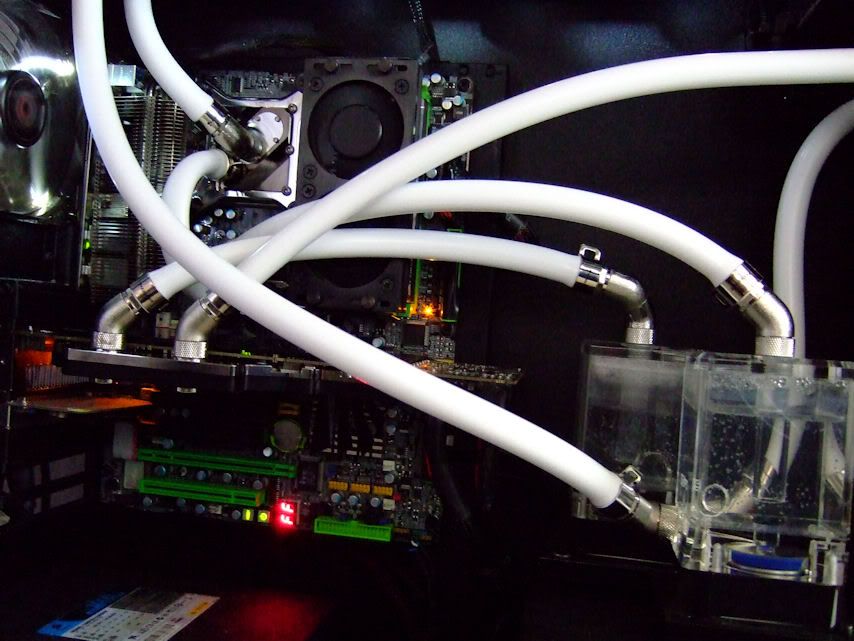
Rear of card cleaned, thermal pads fitted and rear plate attached.
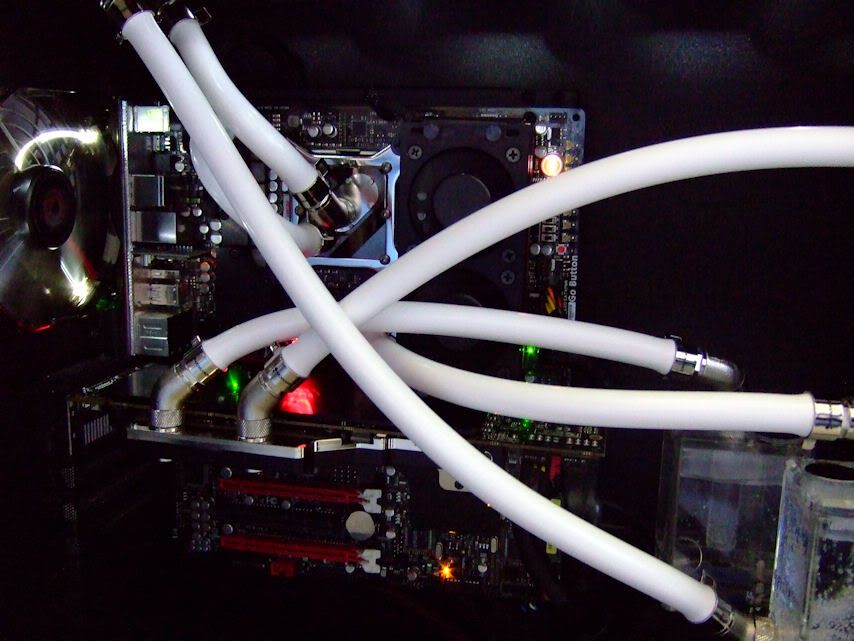
Now to see if I have not just created a £500 paper weight.
I have been doing a new build to replace my previous build The 'STY' for some time now.
The original build log has been transferred over to OcUK and can be found
http://forums.overclockers.co.uk/showthread.php?t=18183651
As you may have already seen from my previous build, I am barely literate & prefer to show you picture instead of lots of words.
So to start with a quick look at the hardware that I will be using.
So a large brown box turned up
In the box was my nice new graphic card.
The accessories
And another packet was also delivered.
I like the new EK packaging; it gives a quality feel to the product.
And the symbol reminds me of Transformers
Inside the box was all the fittings etc. (poor picture, sorry)
and a backing plate
One last look before we get naked
I tested the card to make sure there were no problems.
Just hope this will work again
I followed the instructions that were inside the box & removed the backing plate.
GPU retention brackets removed.
A quick look at the naked card.
I then followed the instructions and gave everything a good clean.
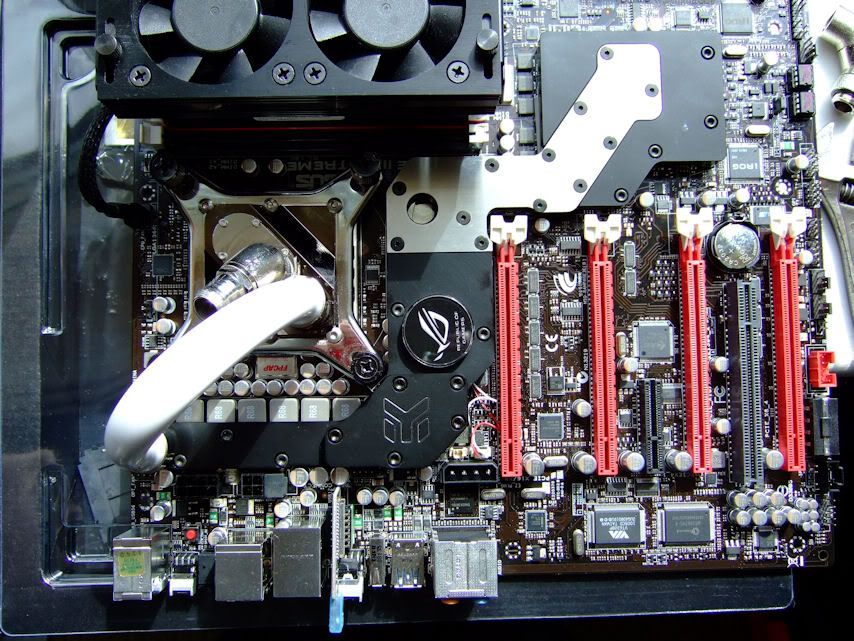
The thermal pads were then fitted as per diagram
Rear of card cleaned, thermal pads fitted and rear plate attached.
Now to see if I have not just created a £500 paper weight.
 Having looked through your STY build I'm looking forward to this one.
")


")