What "man jobs" have you done today?

Yesterday I fitted new disks & pads all around on the wifes Qashqai...got to the last bolt to take offside disk off and the bloody thing rounded! Need to take it to an engineering spot to get it sorted out.

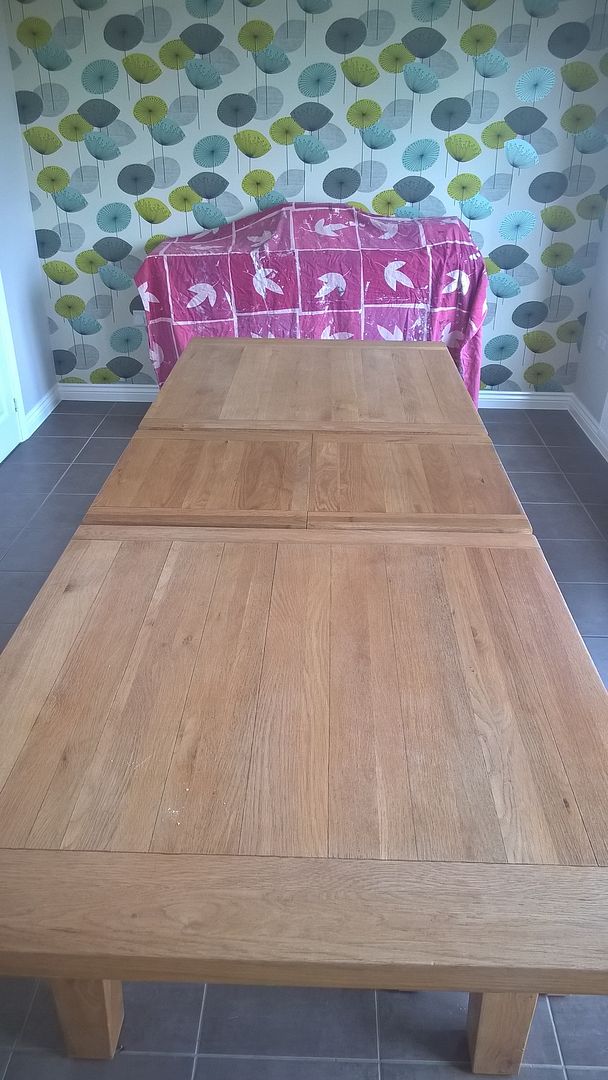
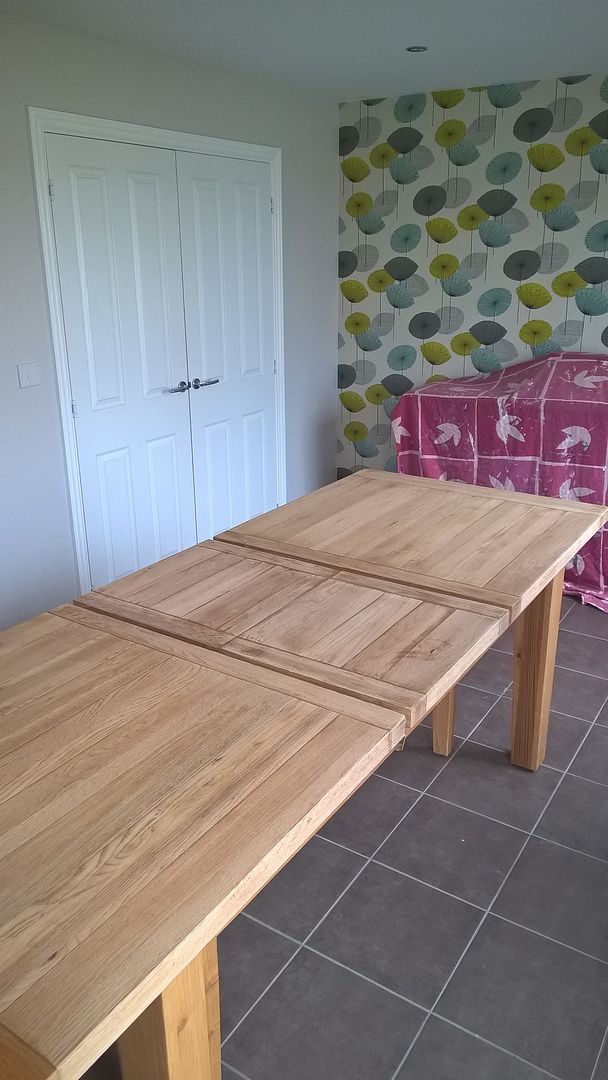
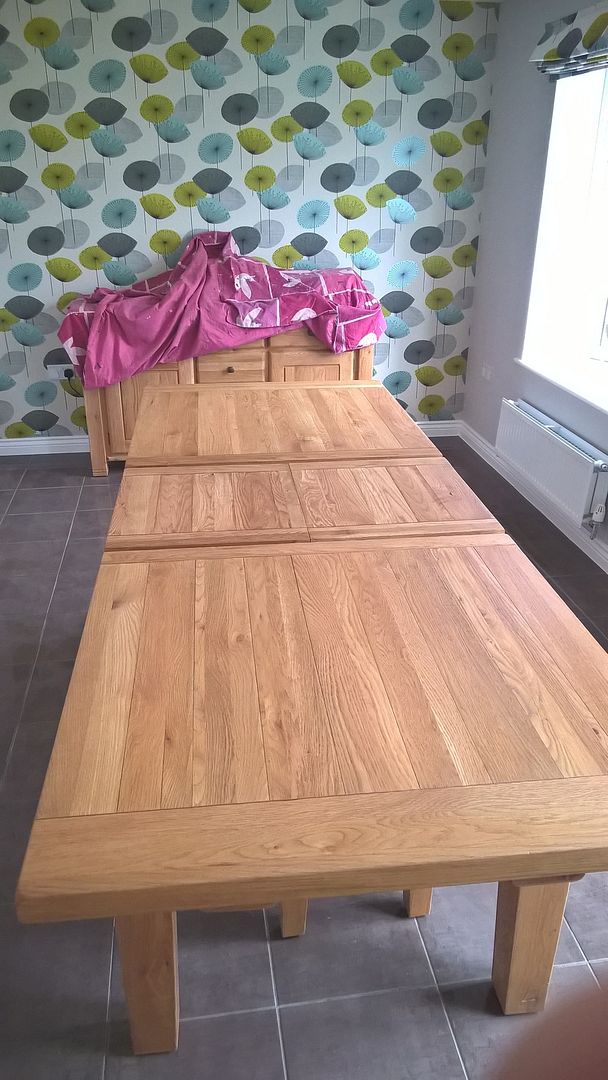
And today been restoring our oak dining table, was looking a bit worn and 'dry in some places:

Before:


After a sand:


First coat of Osmo top oil applied:


Going to do around 3 layers, will give it a light sand between coats but need to wait 8 - 10 hours between each coat so this is going to be done over a few days!
 
Painting, painting, painting...
2x coats of masonry paint on the pier so far..
1x fence panel (not the B&Q style) done.. 1 to go for now this afternoon..
 
Just prepping last 6x4 fence panel between us and next door - He has put concrete posts and gravel boards in - So in this case I always get a 60mm piece of 15mm plastic plumbing pipe and nail three of them to bottom of panels - stops panel sitting in water.

I use a air nail gun with thin nails to hold these small pieces of pipe on.

BIT OF A TIP - do not get your fingers below nail gun -- Had a golly gosh moment and river of blood. :D:D:D
 
OK so final layer done just now:

Before:


After:


Very happy with the result...just looks like brand new!

Going to do the bench next as the lacquered finish has some scratches and wear and tear.
 
If they are not pre-finished I would 100% recommend this product. It will bring out a lovely colour in the doors. Just take your time and give a slight sand in between layers.

I posted a photo of one earlier in this thread, they're bare with no finish whatsoever yet. I was considering Dutch oil but if your stuff is so good I might take the plunge with that instead.
 
Great job! How did you go about that? Did you filler it or re-plaster?

Quite pleased with it myself - not flawless close up but hard to spot, especially with the lights on.

Had to use a cabling clip but with a screw instead of a nail to keep the cable pushed up in the gap (cut by whoever installed the old fluorescent tubes to get the T&E cable under a joist and into the light fitting).

Then P for plenty of Pollyfilla Deep Gap - not used that before but was impressed the mouse like texture with made it easy to work with - built up into a few layers. Finished with the usual cycles of (normal) filler and sanding, then three coats of emulsion :cool:
 
Set up a cooling fridge for my home brew with an external temperature controller. Unfortunately, the fridge I bought is just fractionally too small for two kegs. I only have one at the moment but I usually have two on the go. I was going to get a smaller fridge for fermenting so I'll use this one for fermenting and I've found a taller one which should easily take two kegs for cooling. Nevertheless, I've got it set up now.

First pic is the inside of the fridge. As you can see, I've gone for the professional "polystyrene and duct tape" solution for holding the temperature sensor in place :p You may also notice the shelf with the keg is sagging - and that's with it less than half full. Luckily, I recently dismantled an old stereo cabinet and kept the bits. As luck would have it, the contiplas shelves from that are an almost perfect fit - just need a minor trim and I'm good to go.

rs4KvqJ.jpg

Second image is the controller (ITC 1000). The cooling side is wired up to the fridge and the heating side (not really required for a cooling set up) is hooked up to a 45W tube heater inside the fridge (you can see that at the bottom of the fridge in the first picture) - I drilled out the drain hole in the bottom of the fridge and pushed the cable through.. I have it set to 12°C with a maximum differential of 0.5°C. The picture shows 12.6°C but I'd had the door open for a bit so it was still catching up.

2haozuP.jpg

Final picture is of the pint I poured. Thermapen says 13.3°C about a minute after pouring. Pretty much ideal temperature:

HVPbxxr.jpg
 
Back
Top Bottom