What "man jobs" have you done today?

I have been trying to remove the chuck from a 70's B&D hammer drill without success so I rang a company that deals in chucks - when they answered I asked "do you have a Jacob chuck guru there at all" - Naa mate we don't sell them - Thank you bye.
Next I emailed another company - This guy knew what the drill I had was -how to take chuck off and if it didn't move how to do it the hard way - They are a problem without a gearbox - This drill is speed controlled electronically so no gearbox there fore the motor spins easily and no resistance to chuck turning- Went back out to garage after a reply and three thumps with hammer and it just spun off.

Give it ten years and you won't get anyone who knows how to do anything to help you - it will be "naa we binned em and sold them a new un" This country is going to pot.
 
Yesterday we were underpinning the next door neighbours house after the groundworker and engineer were on site without me. Today after my investigation we're not underpinning saving ££££££££

Idiots
 
I have been trying to remove the chuck from a 70's B&D hammer drill .

My dad had a B&D drill - orange (well browny) and silver. It's the one that has a speed control key that you flip out, turn and then flip back in. Needs two spanners and rotate counter with a hammer on one (in the gap between the drill body and chuck). Had to remove the chuck to adapt it to a circular saw - the saw blade bolted directly where the chuck was.
 
I sorted it Friday - This drill has electronic speed so the shaft is just one piece from brushes to chuck screw - Without a gearbox the shaft turns easily when you hit the allan key in chuck - just needed a few repeated whacks and it was off - I have cleaned the drill up and it looks almost like new. - It is really a well made quality drill. Surprised me also.
 
Final mow of the lawn until next Spring.

Still quite a bit of work needed to get it looking nice again after it took a beating in the last heat wave. Renovation work included scalping, scarify, re-seeding, and then top dressing. Some clover has crept through as well as a bit of weeds, but that's easy enough to spot treat.

Late August/early September.
Qjr9Mq2.jpg

Yesterday.
pQ9y6IP.jpg

Late August/early September.
Xy7gVl7.jpg

Yesterday.
rd6abBA.jpg

Some stripes from my budget non roller Bosch mower.
X85kNG7.jpg

Close up.
imDMUbg.jpg
Worse than clover you seem to have some children that have crept in as well. Much worse for the lawn, you may as well give up now!
 
Getting there with the garage. Floor done and Ive added a super expensive shower curtain to partition the "junk" from the car/office side. Only thing to come is the wood burner on Thursday and it should be done.

Also added a weather strip under the roller door to stop any wind driven rain coming in at the corner. The wheel ramps Im in two minds about, they will work but look out of place, I might just mortar in a ramp, we'll see.


So our banister rail has been wobbly for some years, but lately it has gotten really bad so I thought it was time to do something about it.

I peeled back the wallpaper to find the rail was pretty much just held in place by the plaster, which had crumbled over time. I removed the loose stuff and was left with a nice hole

YAVNEIk.jpg

qa8Me9X.jpg

Glued and screwed a batten to the wall using my new favourite Fischer UX universal plugs, and plenty of grab adhesive mainly because I have 9 tubes of it leftover (damn Screwfix bulk buys :D)

P1SOvA6.jpg

Then put a 5x70 screw in at an angle on each side. It's going nowhere now!

bfjiWVw.jpg

A bit of filler over the holes and once it's sanded and painted you'll never know.

XzMSc6l.jpg

I've got some wallpapering and plaster patching to do in my sons bedroom very soon so I'll skim this hole up at the same time. The paper might go back but if it looks a mess I can just redo that section of wall.
 
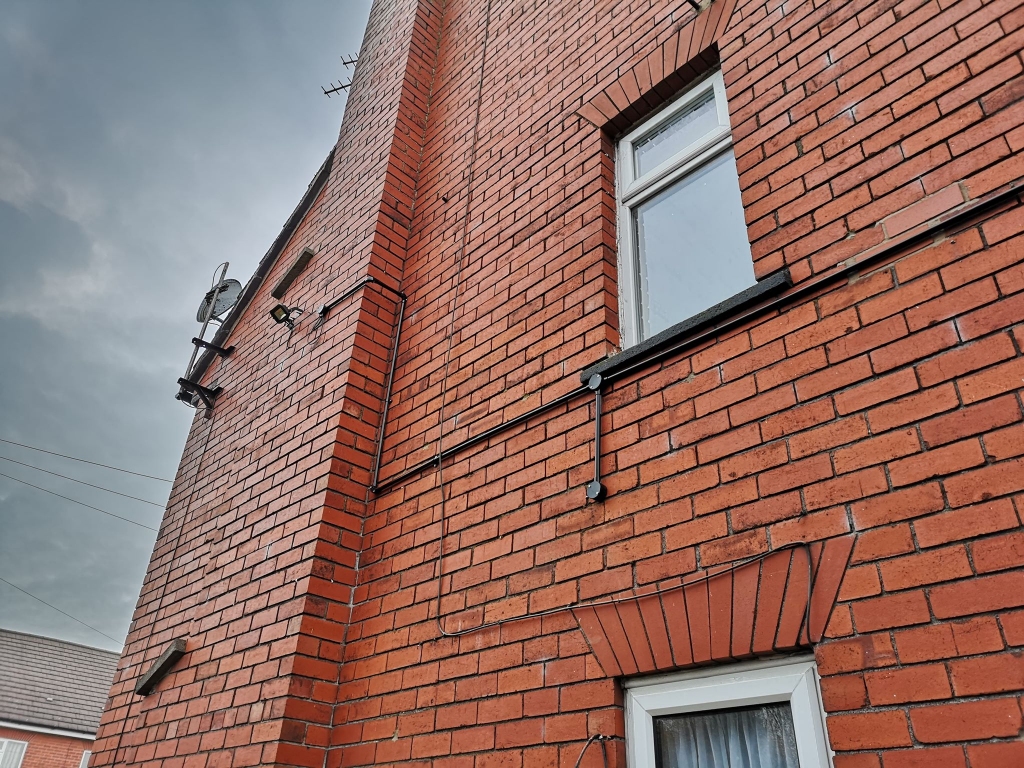
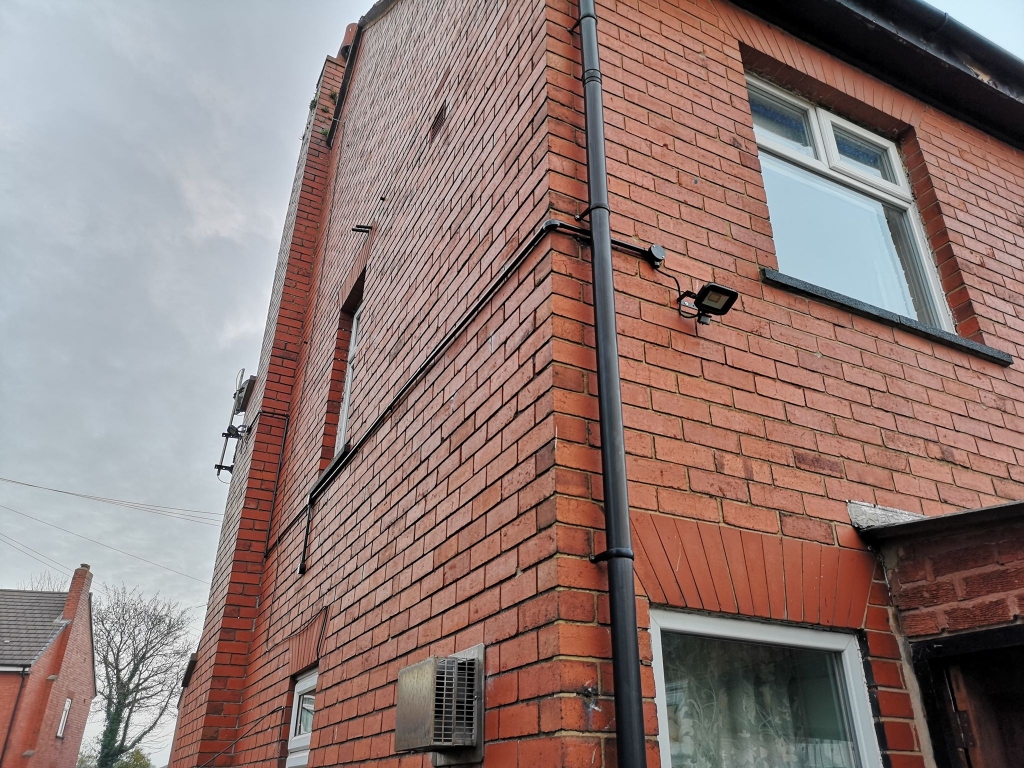
Borrowed some scaffolding from a friend at work to take down an old broken security light and its power cable, which after 20 or so years of UV abuse was becoming brittle.

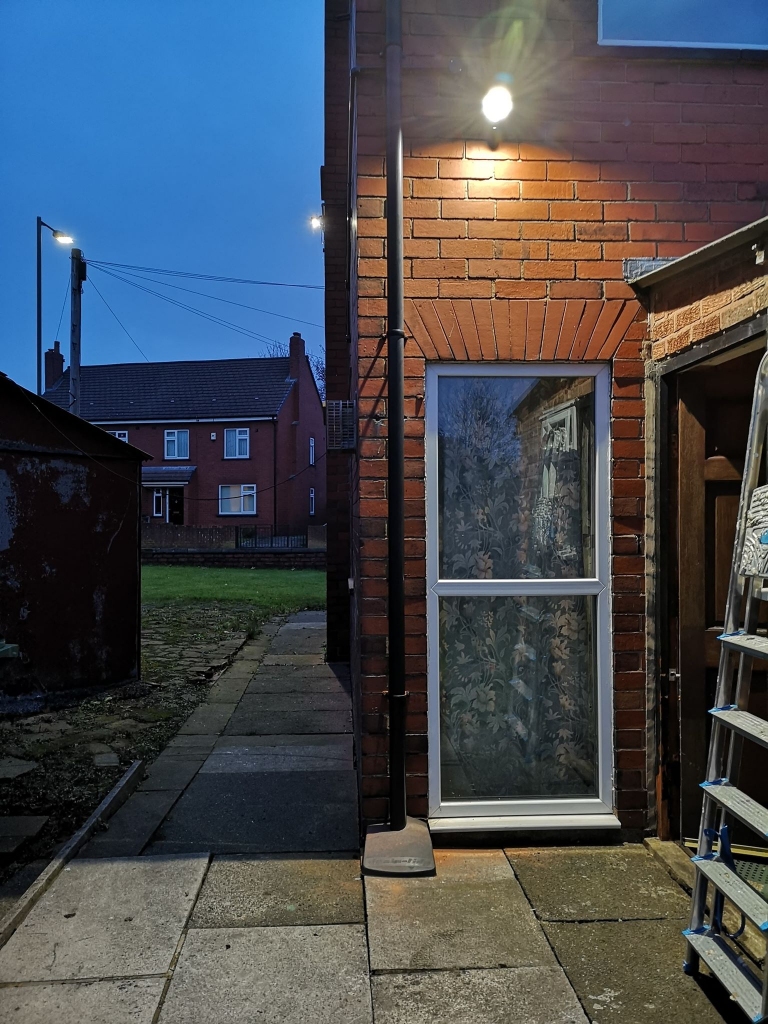
I don't like the look of cables on outside walls so enclosed power and data into some conduit to new Luceco LED lights. Wasn't sure if the conduit would stand out too much but compared to the old installation, I'm really pleased with the results.

I'm not too great at heights and with the light on the side of the house being at about gutter level, I'd been up there long enough for one day. Once my nerves have settled I need to get back up there to fit one of my cameras.

1118_conduit_side.jpg


1118_conduit_rear.jpg


1118_lighting.jpg
 
Last edited:
Just finished installing a Nest thermostat and heatlink.

Was fortunate that my system (S Plan) was fairly straight forward. The biggest challenge was securing the heatlink to the wall. The existing cut out in the wall has a standard back box but the heatlink dimensions only gave me about 5mm leeway on the edges so I couldn't secure to the plasterboard. Thankfully there was a piece of wood the backbox was fitted to, so I could secure to that.

I had 3 neutral and 3 lives from the old Danfoss TP9000 (old programmer) along with the heating call and hot water call plus 2 more wires for the remote sensor.

From reading online I had heard the connectors on the heatlink were pretty small and boy they were fiddly. So I took the 3 incoming lives into a 5 way Wago 222, an extra single live from the Wago to the heatlink then I took a final live to a 3 way Wago 222. From there I took two separate lives to the common connectors on the heatlink, that way I didn't have to mess with trying to squeeze multiple wires into each port.

I did the same with the neutrals, 3 into a 5 way Wago 222 then a new single neutral to the heatlink.

The rest of the wires went into the appropriate call for heat and hot water connector then the final 2 wires into T1 and T2 for the 12v supply to the nest unit mounted on the wall in the hallway.
 
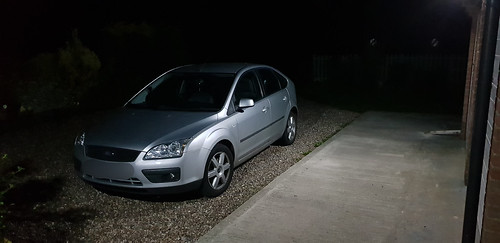
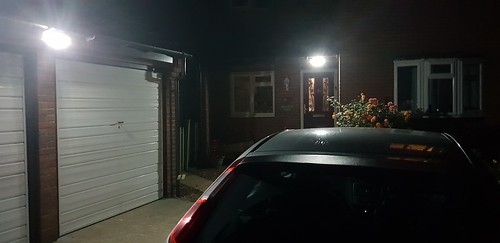
have installed some solar security lights two out front and two on the side of the house. for solar they are pretty bright and they have built in PIRs so very handy for me since i have no street lighting at my house

44637828852_02ed6e8590.jpg


44686585301_870a70d3fa.jpg


Do your LED lights still work? I bought a set after I saw your photos. Unfortunately one has stopped working. After much moaning to Amazon they finally agreed to a refund without me having to pay to send them back. Not sure if I should get another set. When they worked they put out a nice lot of light.
 
Back
Top Bottom