

-
Notice regarding image hosts and attachments. See here.
You are using an out of date browser. It may not display this or other websites correctly.
You should upgrade or use an alternative browser.
You should upgrade or use an alternative browser.
[Build Log] --->PROJECT:LAUNCH<---
- Thread starter Kipz
- Start date
More options
Thread starter's posts

[Small Update]
Got all my parts back from Parvum minus a window which was missed . Made some really good progress today though. All blocks are fitted as well as mobo, rads and fans all in place. My only worry is i forgot to flush out the rads so I will need to do that tomorrow but mainly I'm going to be focusing on the hardline. Got lots of progress pics but will only be uploading them when the pc is running. It's looking realy nice so far with all the blocks though!
Got all my parts back from Parvum minus a window which was missed
. Made some really good progress today though. All blocks are fitted as well as mobo, rads and fans all in place. My only worry is i forgot to flush out the rads so I will need to do that tomorrow but mainly I'm going to be focusing on the hardline. Got lots of progress pics but will only be uploading them when the pc is running. It's looking realy nice so far with all the blocks though![Huge Update]
Alright guys, Finally got it 99% finished, Just waiting on a single spare LED light for the GPU block as well as a new top window and a new side pannel with a button hole and usb holes too.
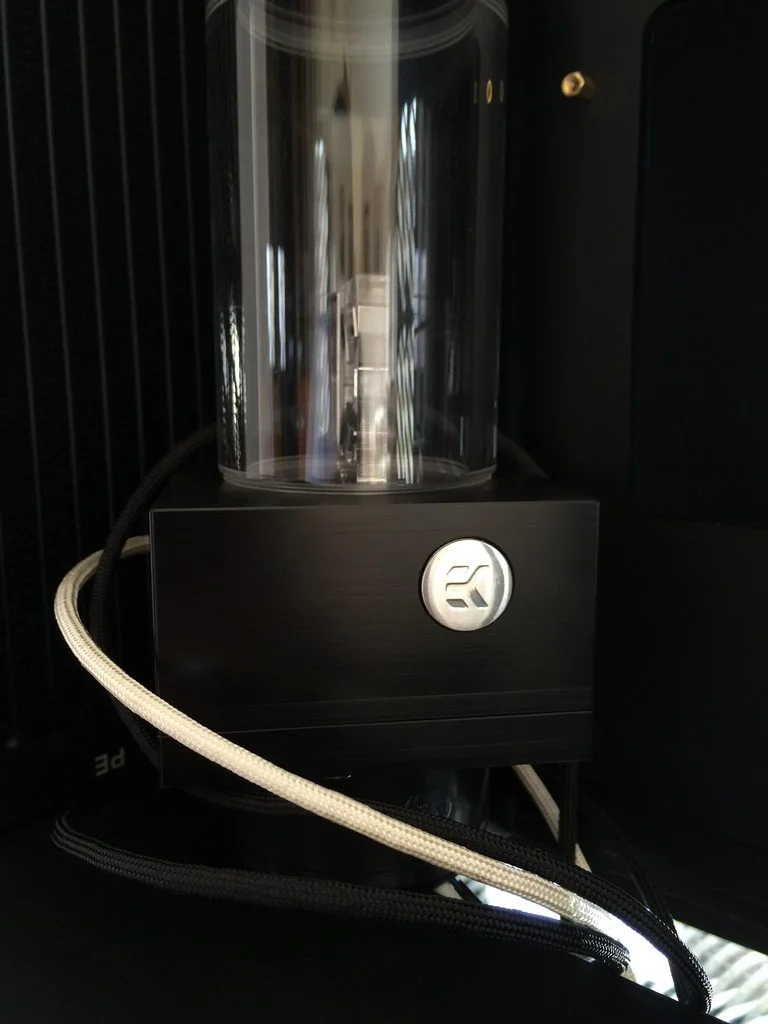
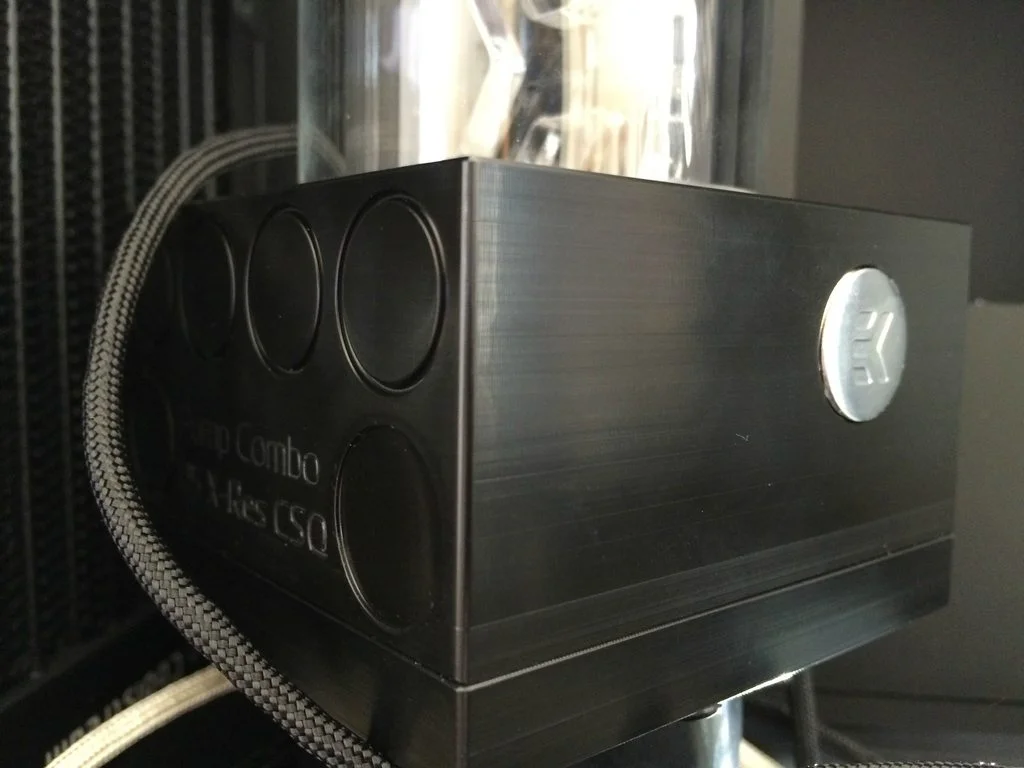
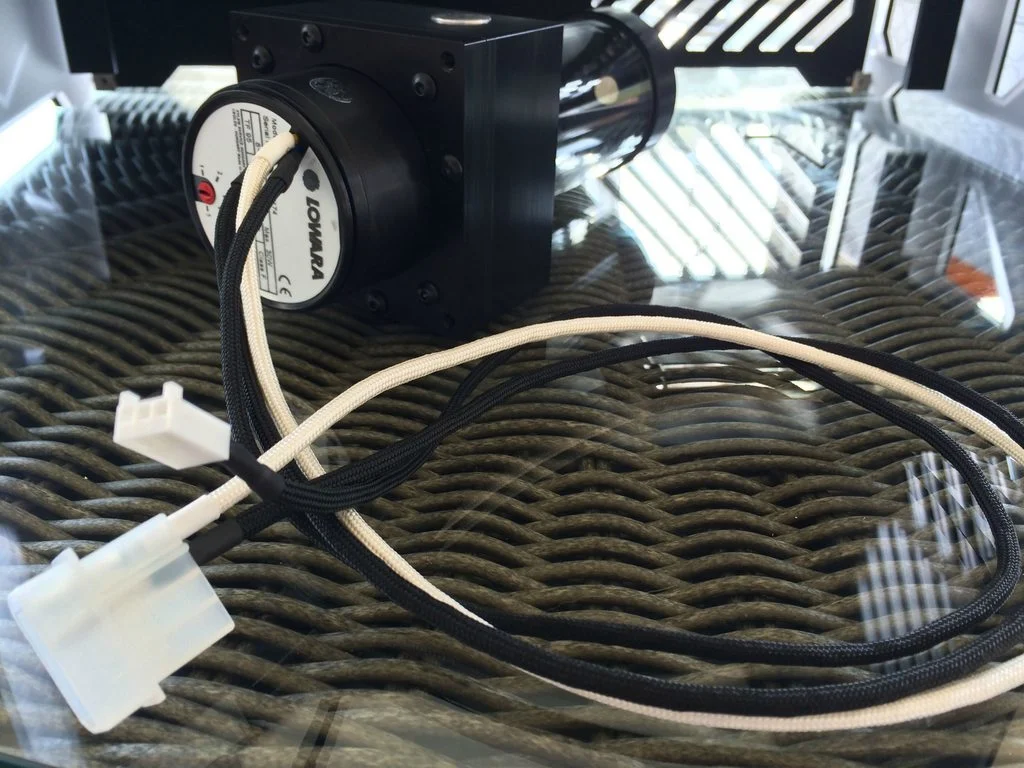
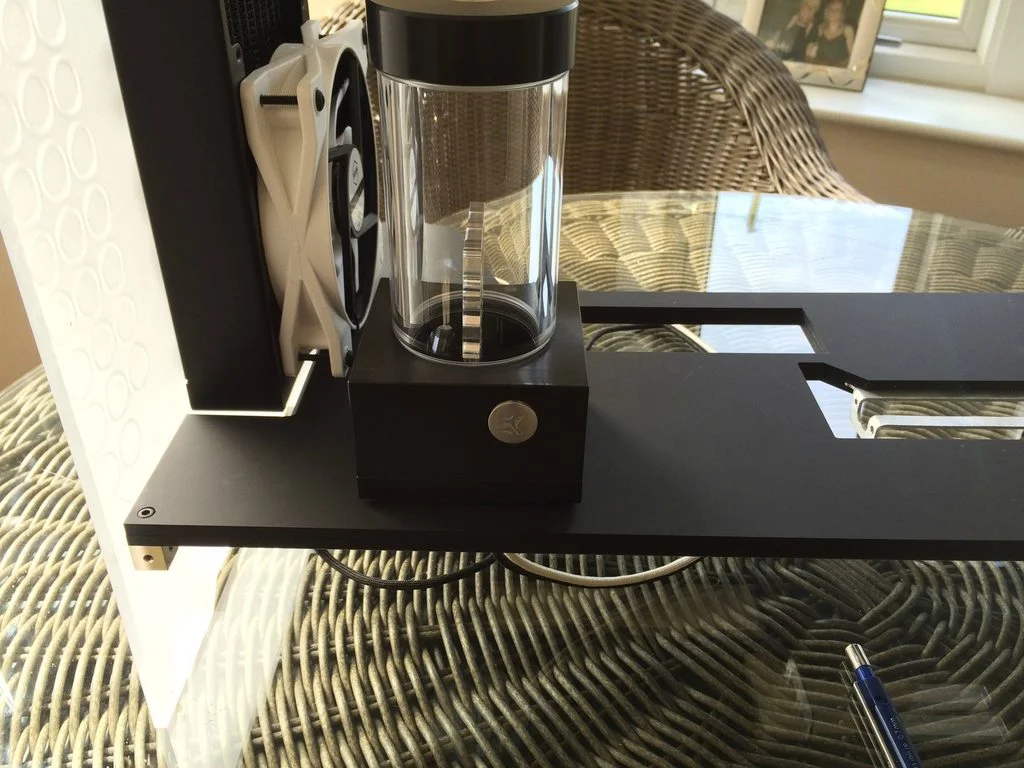
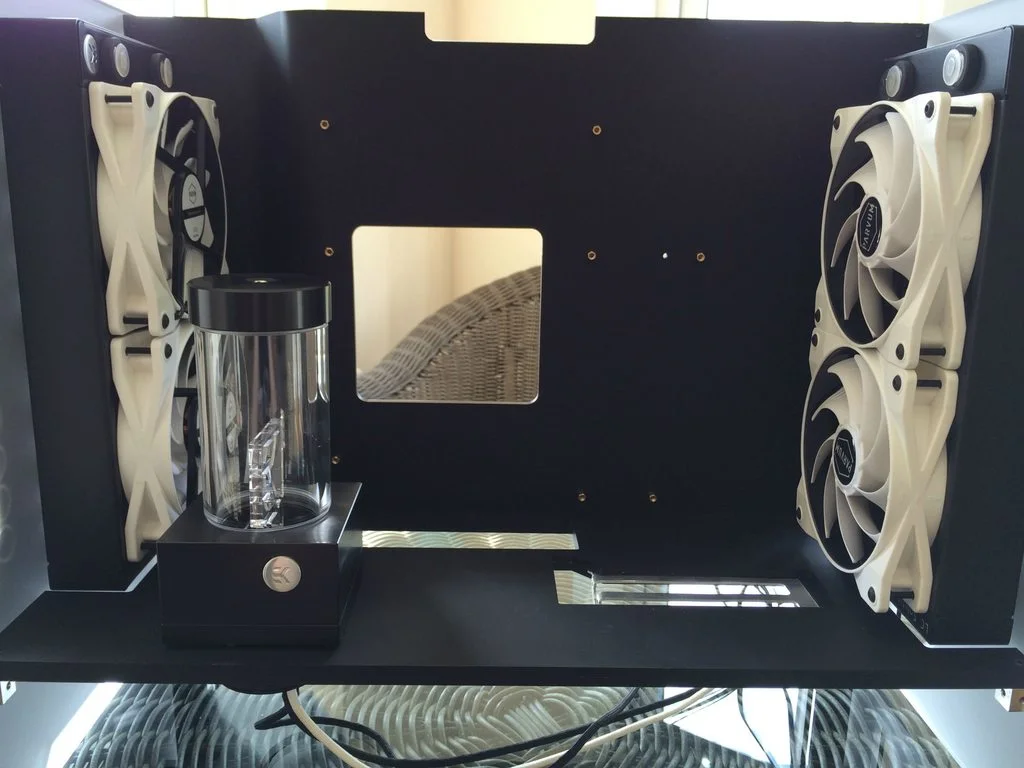
So to get things started off here is the pump that I have used for this project. An EK D5 Combo res. My old EK DCP 4.0 pump was on it's last legs and I think I had some growth in my old loop so I wanted new parts so to avoid contaminating the coolant.
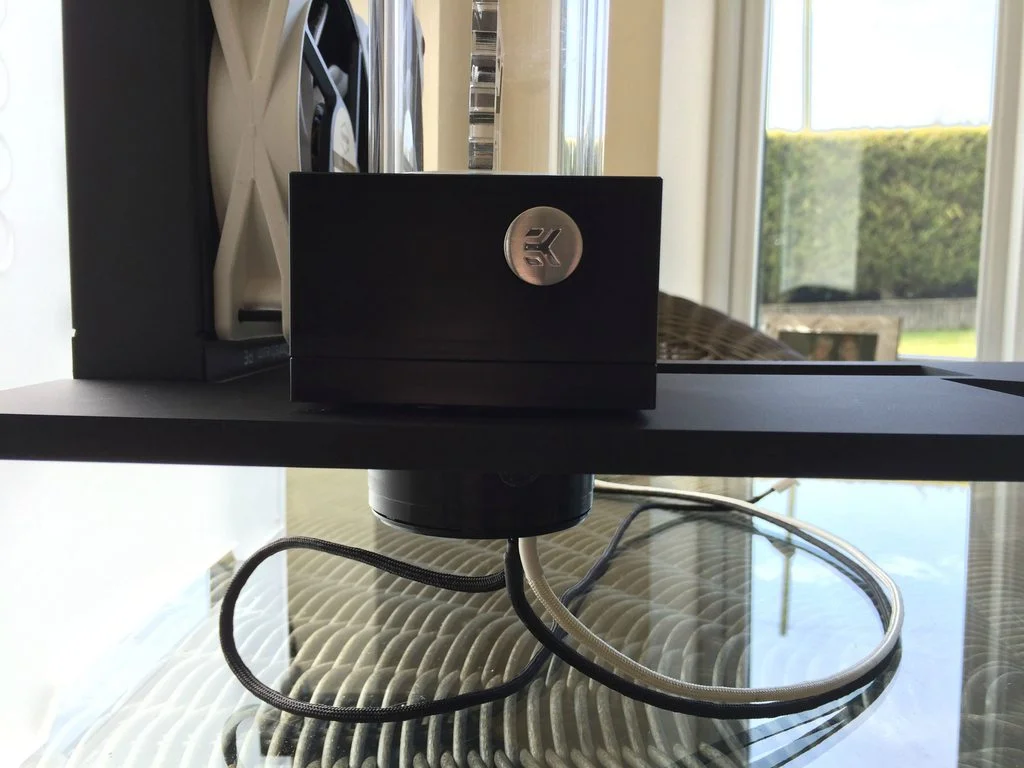
Here it is anyway with the cables sleeved up. I moved the EK sticker to the side that I wanted facing the front too as to hide the inlet port. Wish they did this in the frosted CSQ style though!
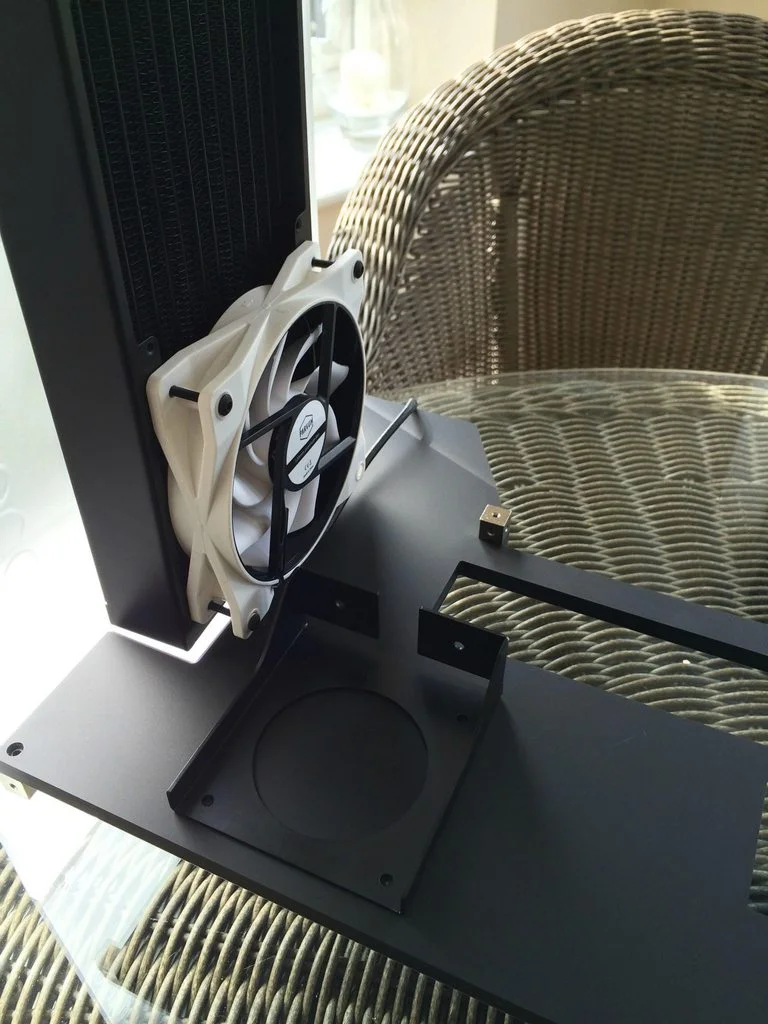
Next here is me deciding on where to slot the pump. I wanted to have the res on display but without the end of the pump making it look like a stubby lightsaber. I ended up cutting a hole in the bottom of the case for it to slot in and stand upright in.
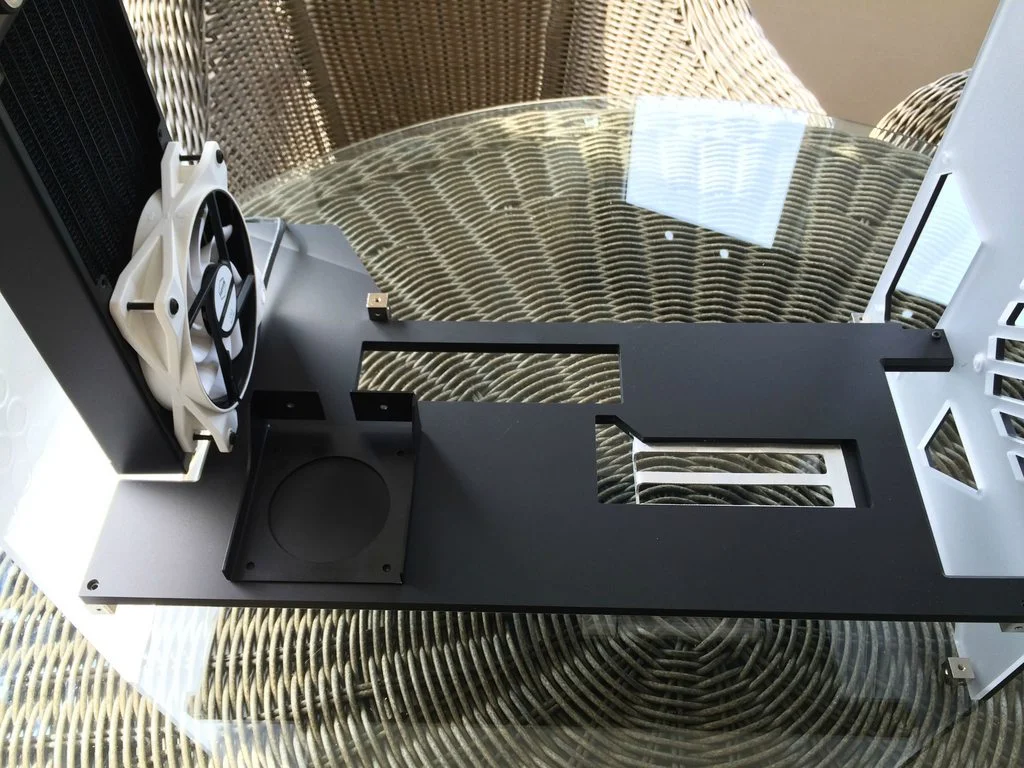
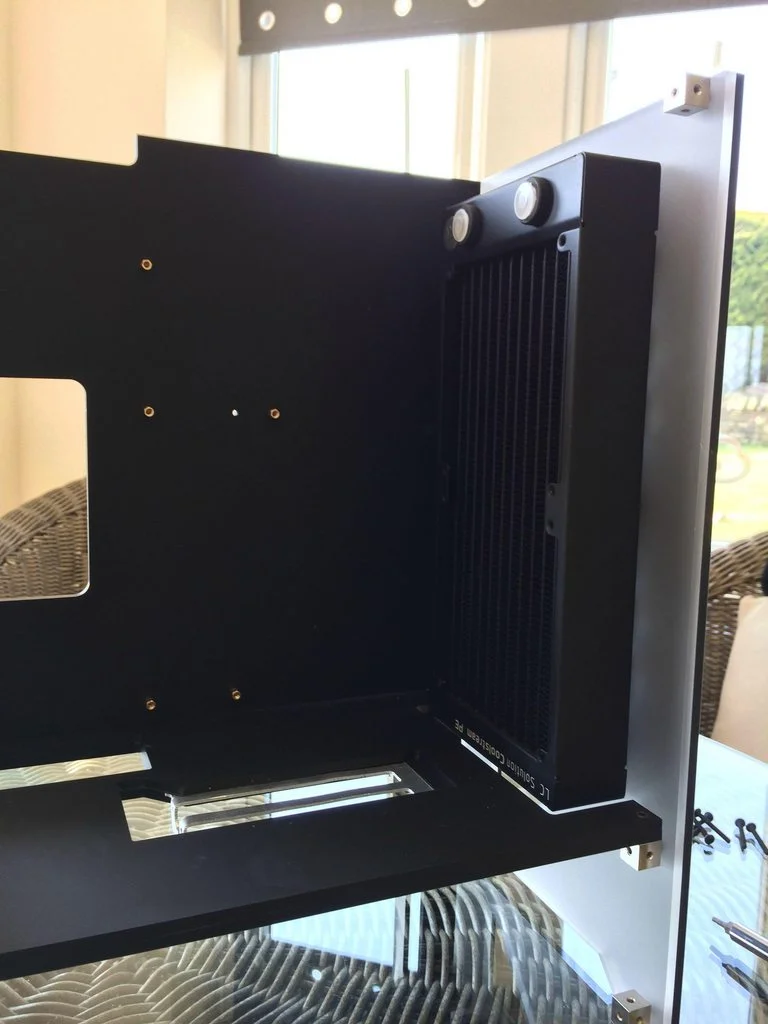
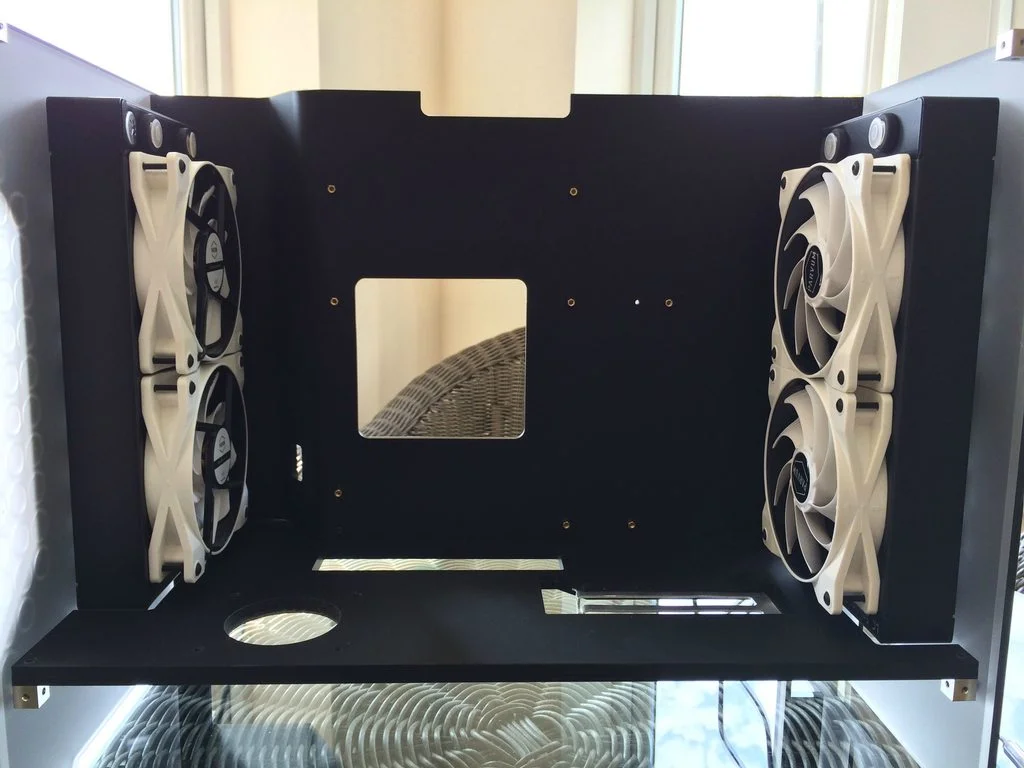
Here's some small progress with me installing the rest of the fans and radiator. Still so much room for activities!
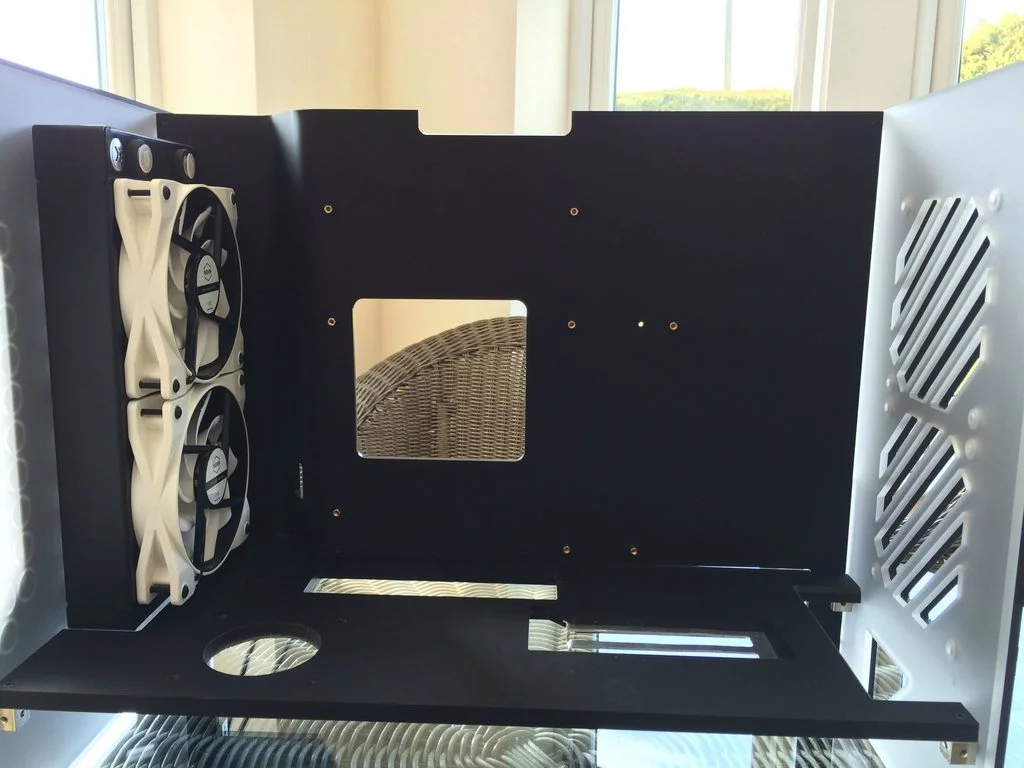
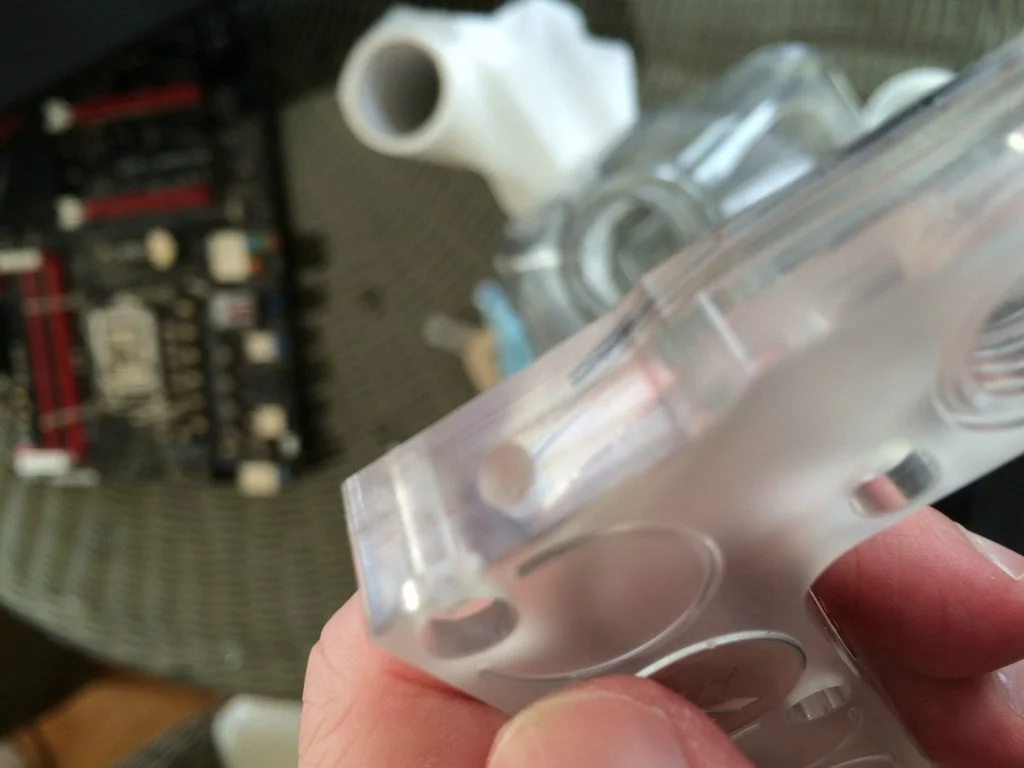
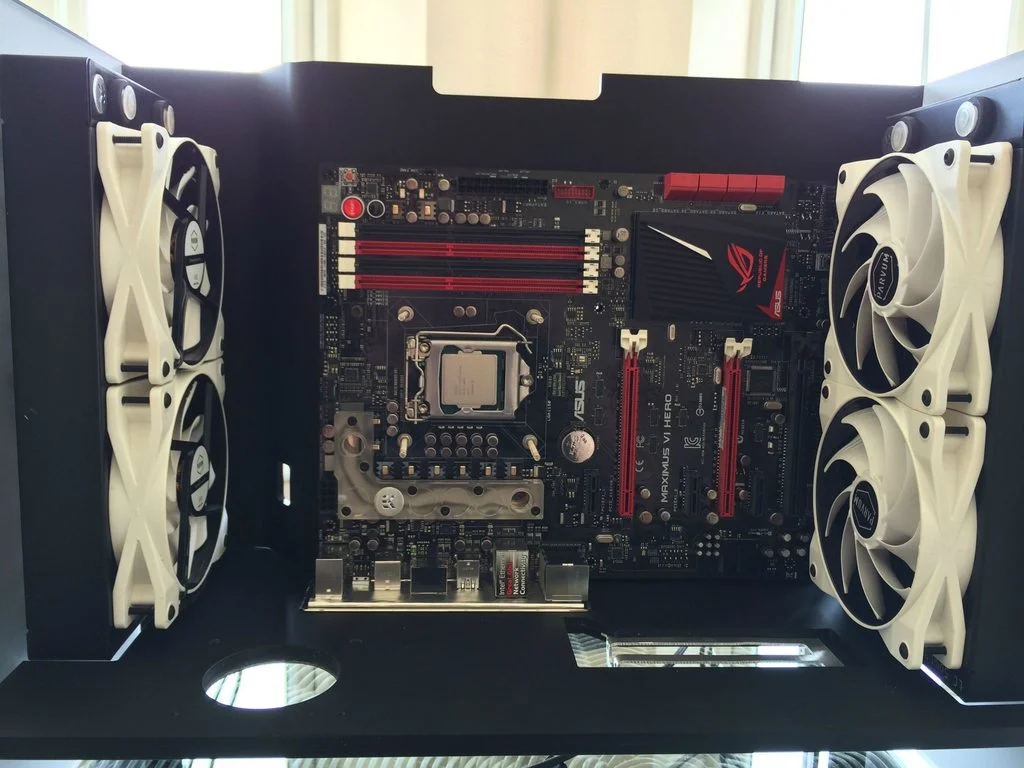
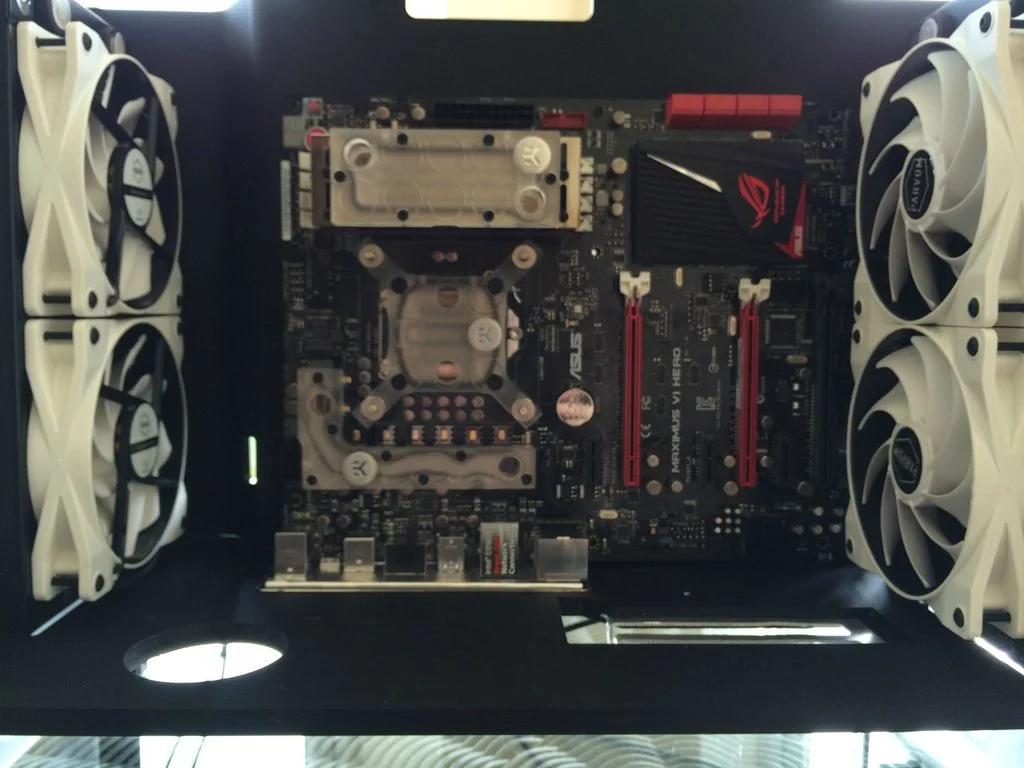
Now we can move onto installing my motherboard which has already been used so no real glamour shots of it yet. I decided I wanted to have individual white LED's in all of the blocks but the mosfet one didn't include any holes. Easy enough to drill an extra hole for one right?
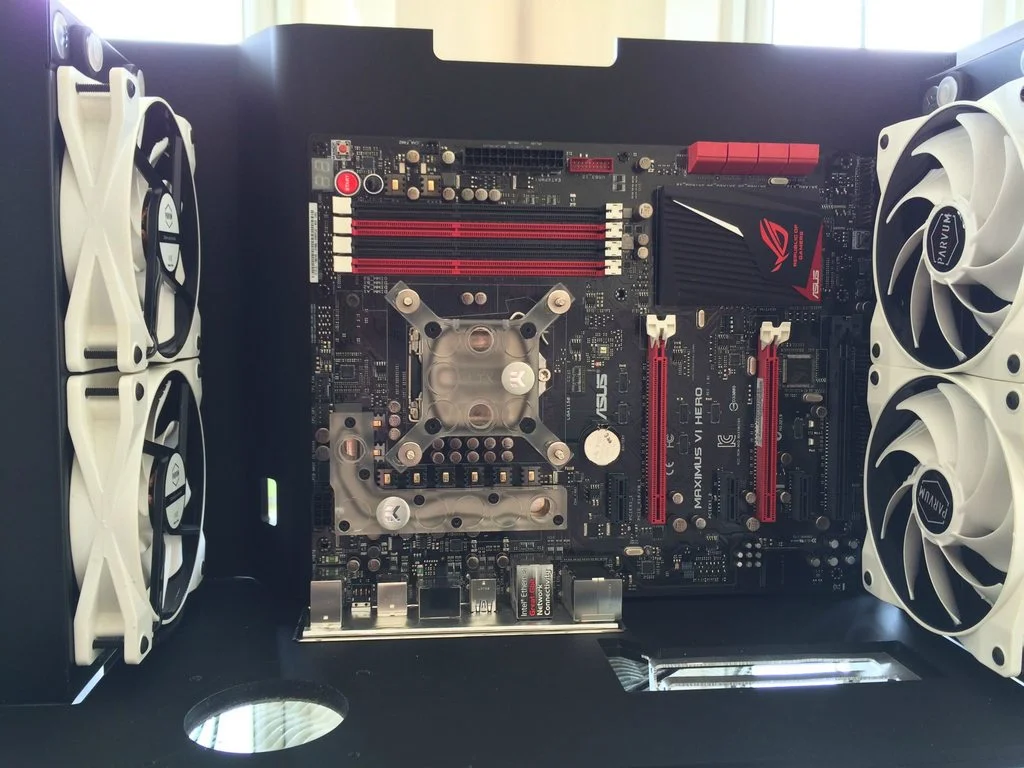
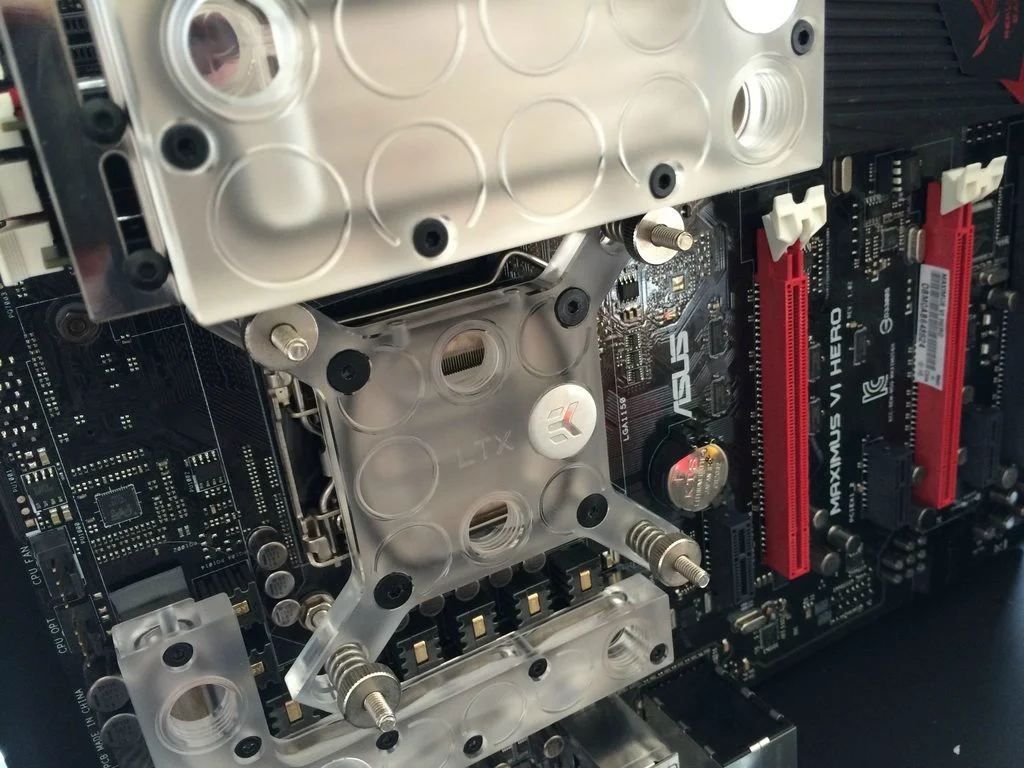
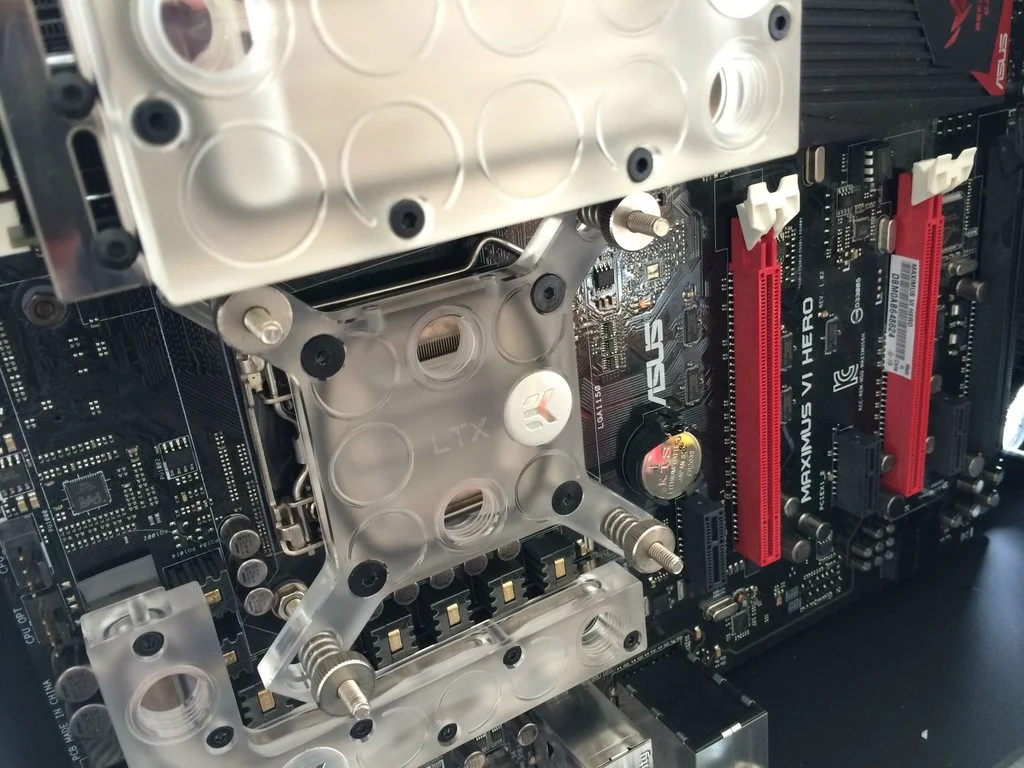
Next we can add the CPU block. Again, already been used and I like that it matches the rest of the blocks. Didn't fancy paying another £60 for something that looks nearly identical and will only offer a few degrees cooling.
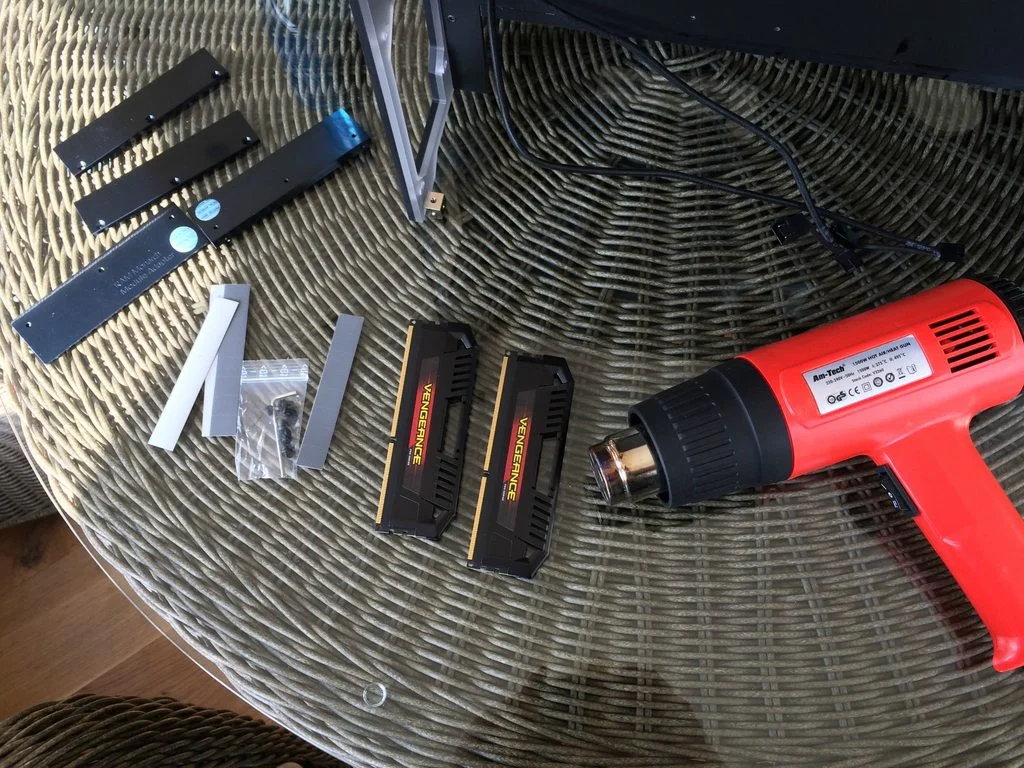
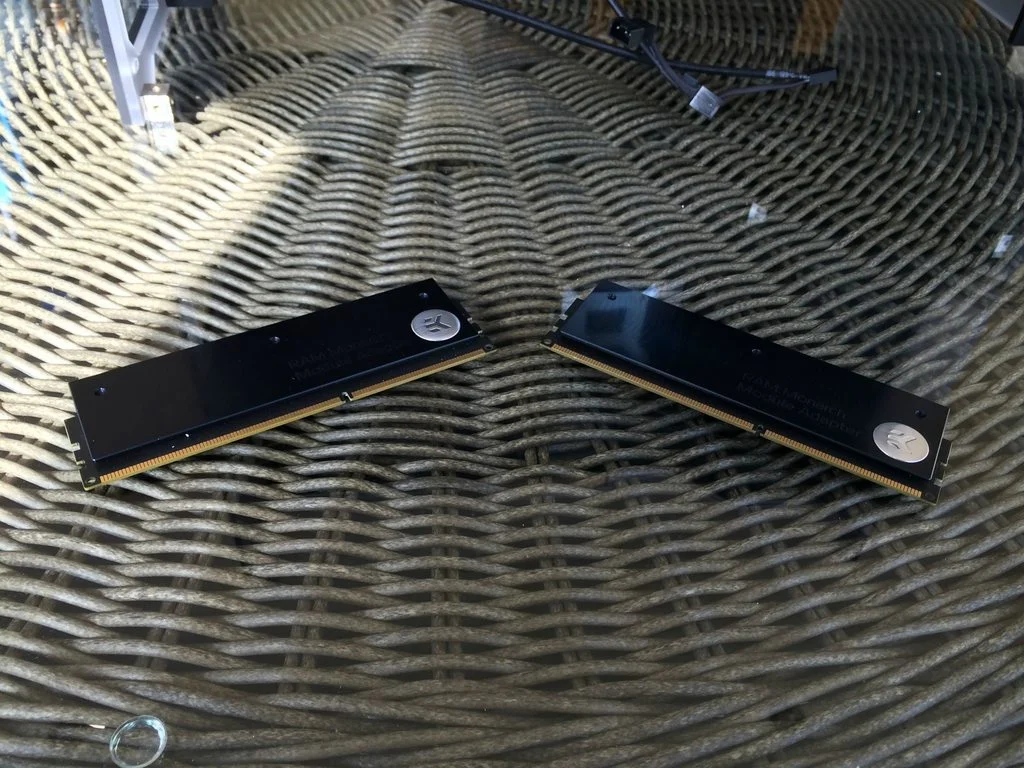
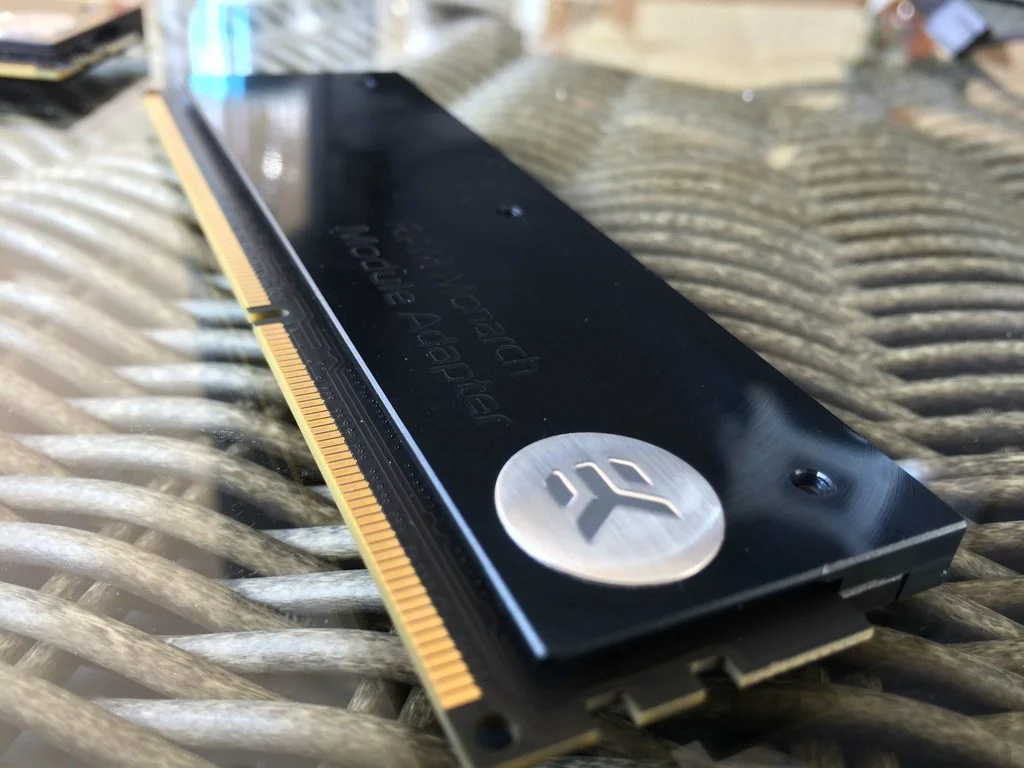
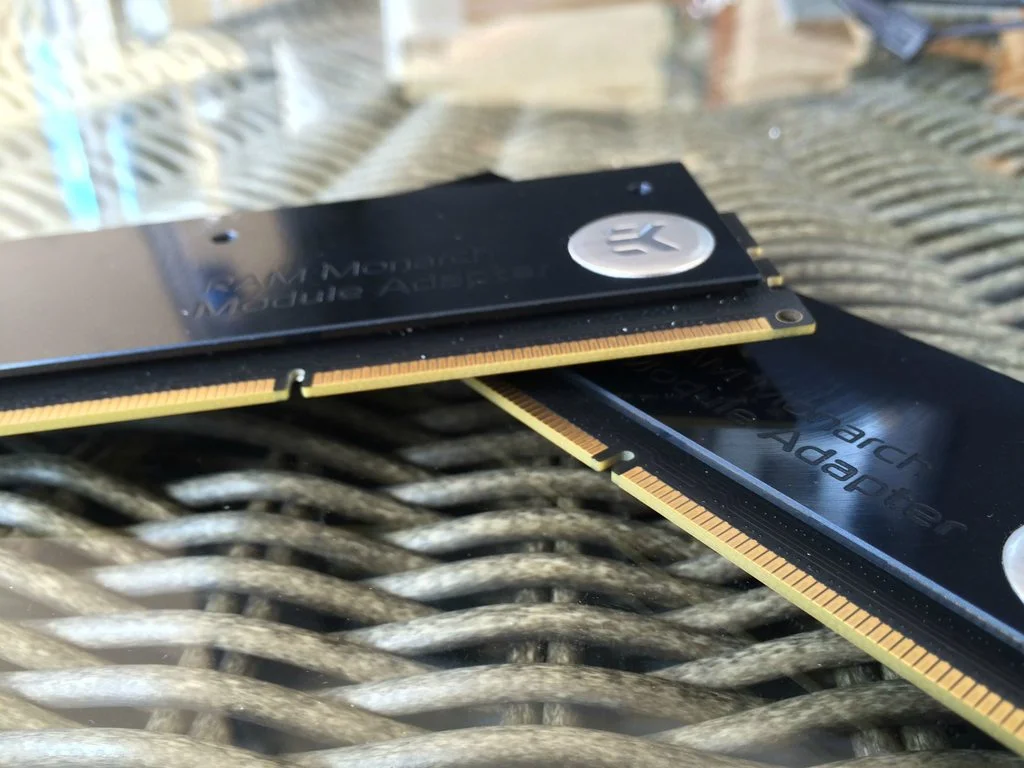
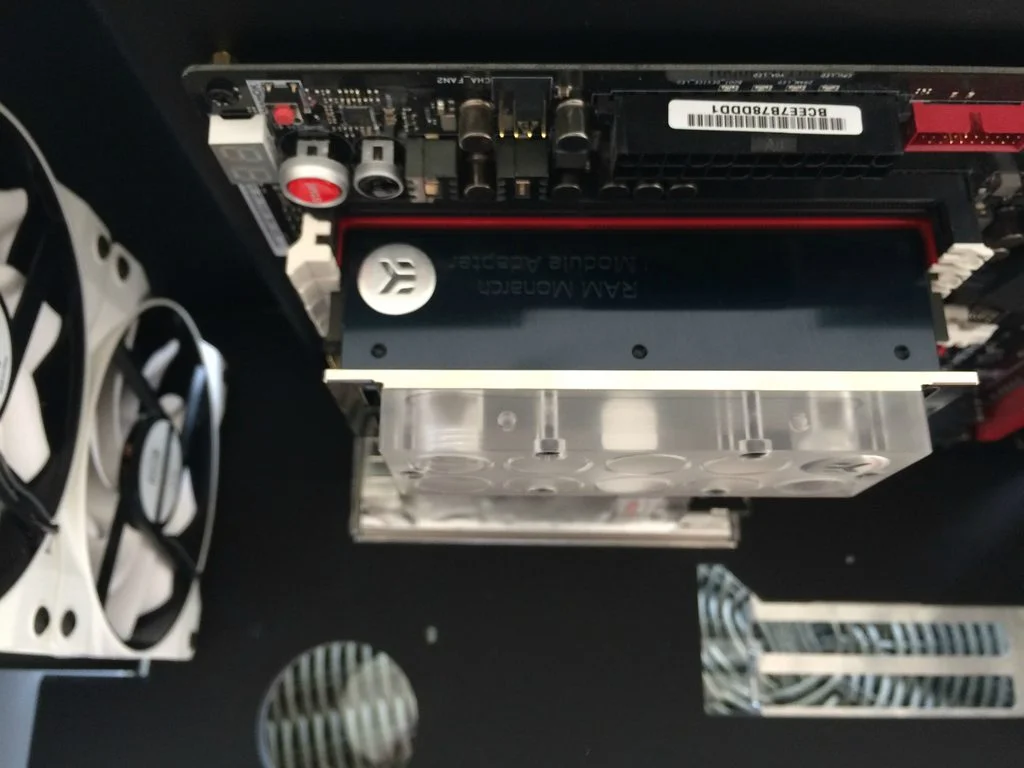
Now we get to move onto the Ram blocks. This is my first time doing Ram blocks as they are really only for aesthetics. Shame that this build is all about looking cool then eh? All in all they were really easy to do and just adds again to the overall CSQ theme.
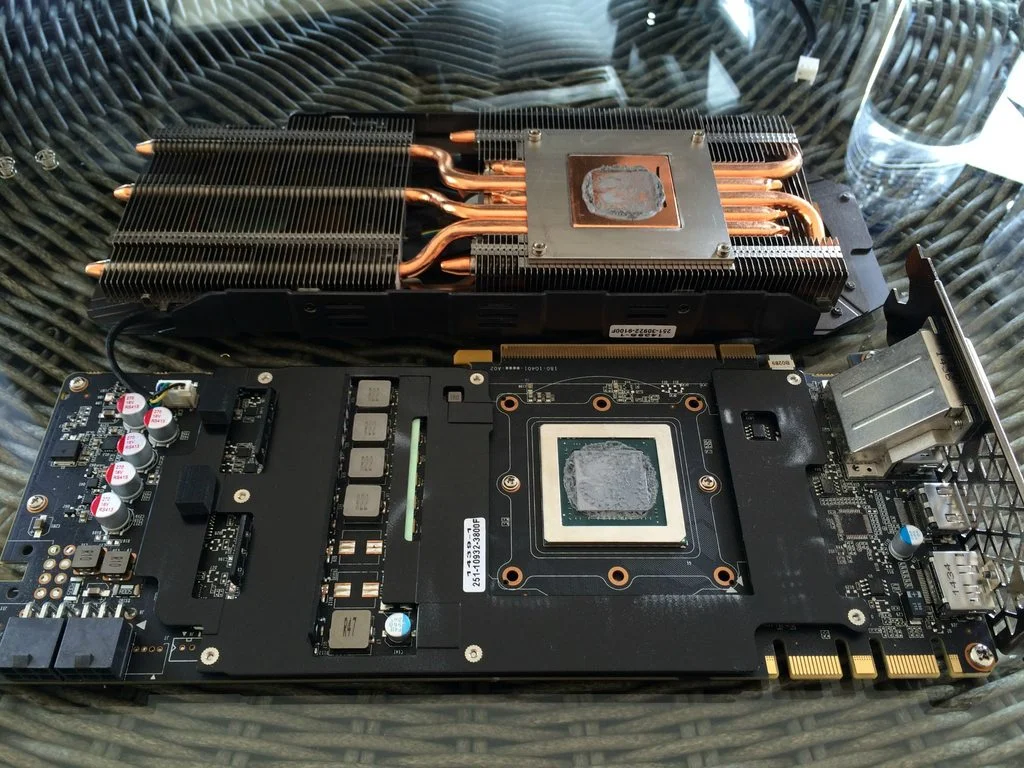
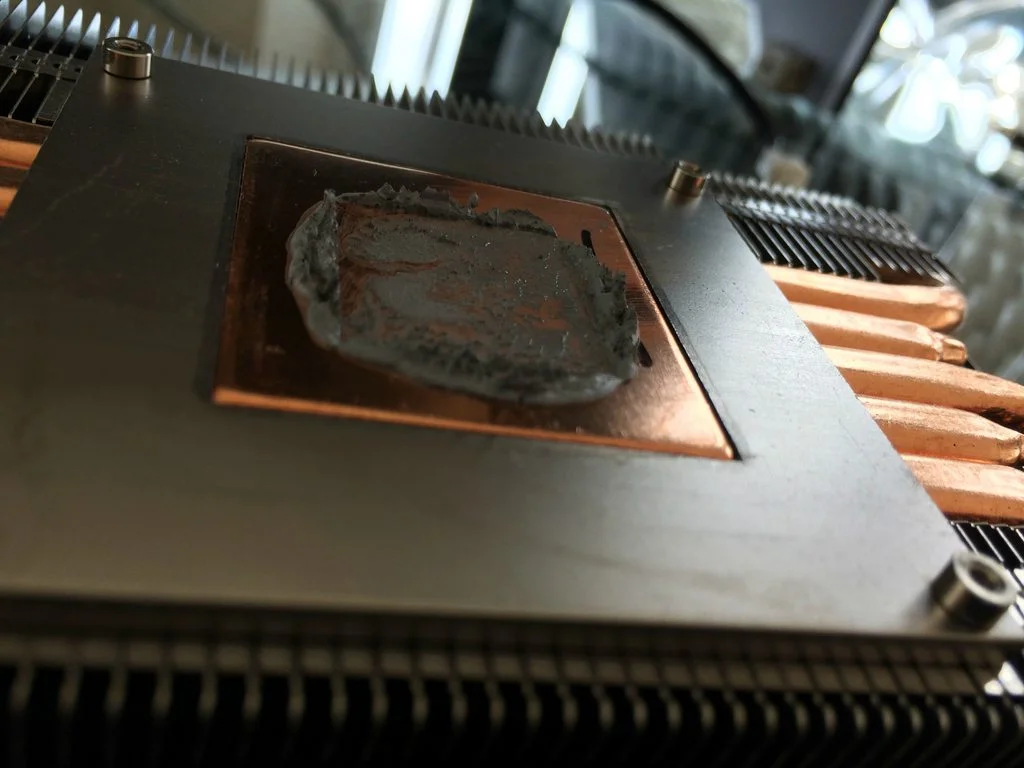
Now its time to strip the GFX card down and block her up. I was bloody suprised how much thermal paste there was on there though. Zotac, chill out lol. Again, easy process for this. Managed to keep the back plate on too which will help later on in the build!
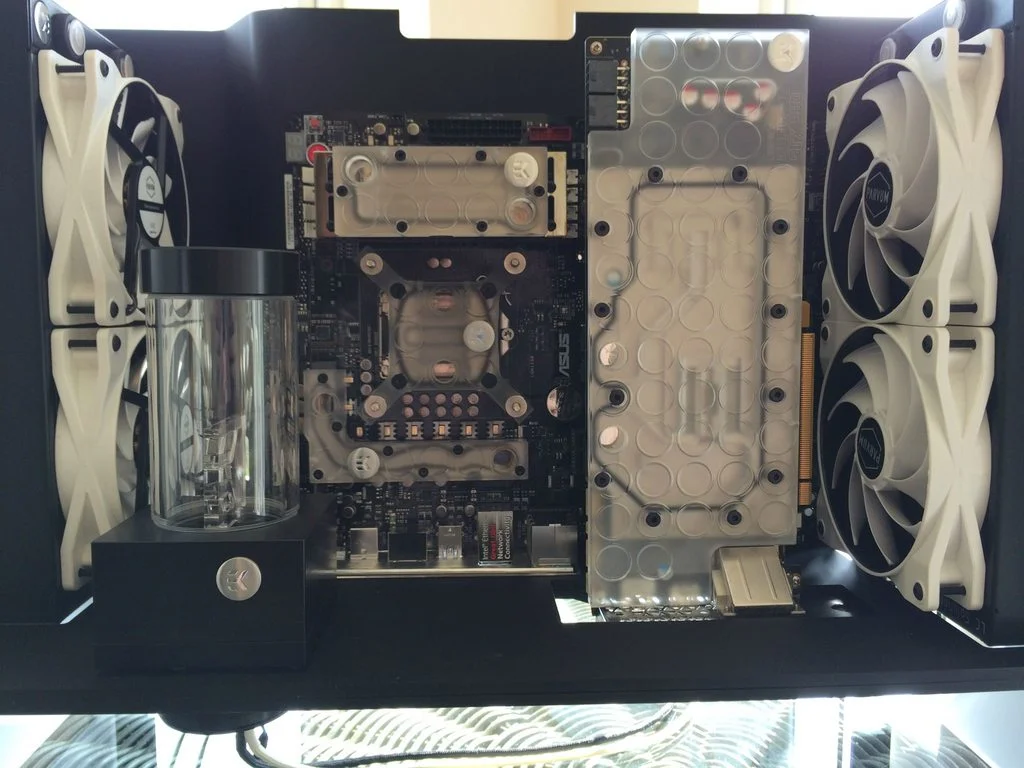
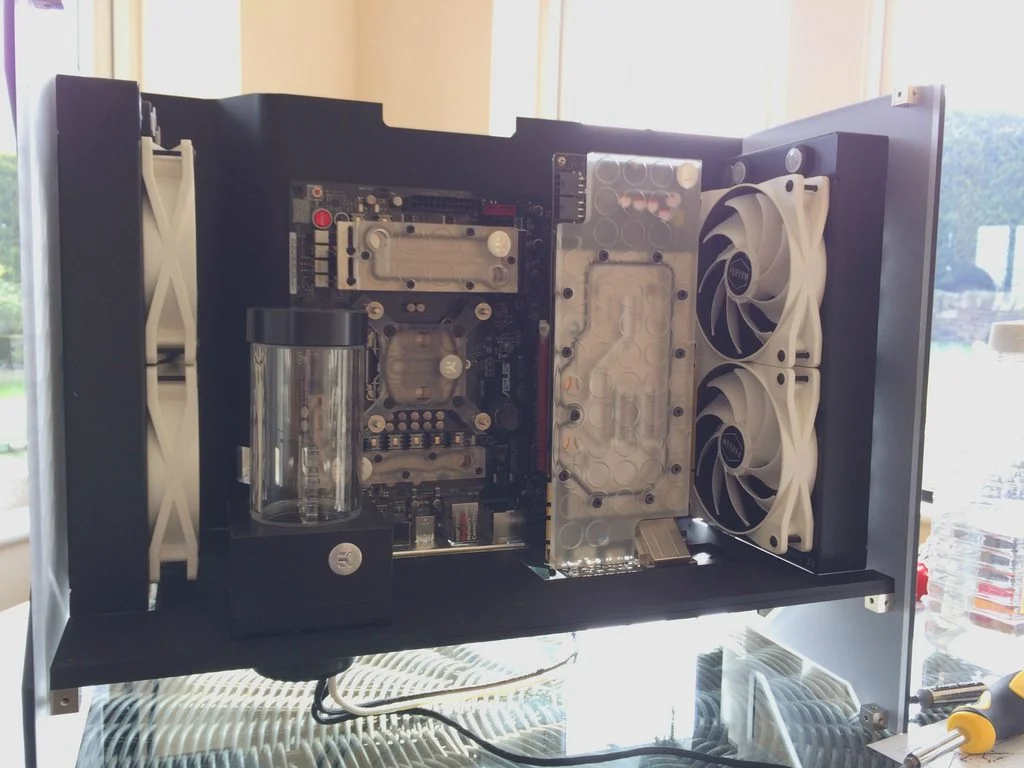
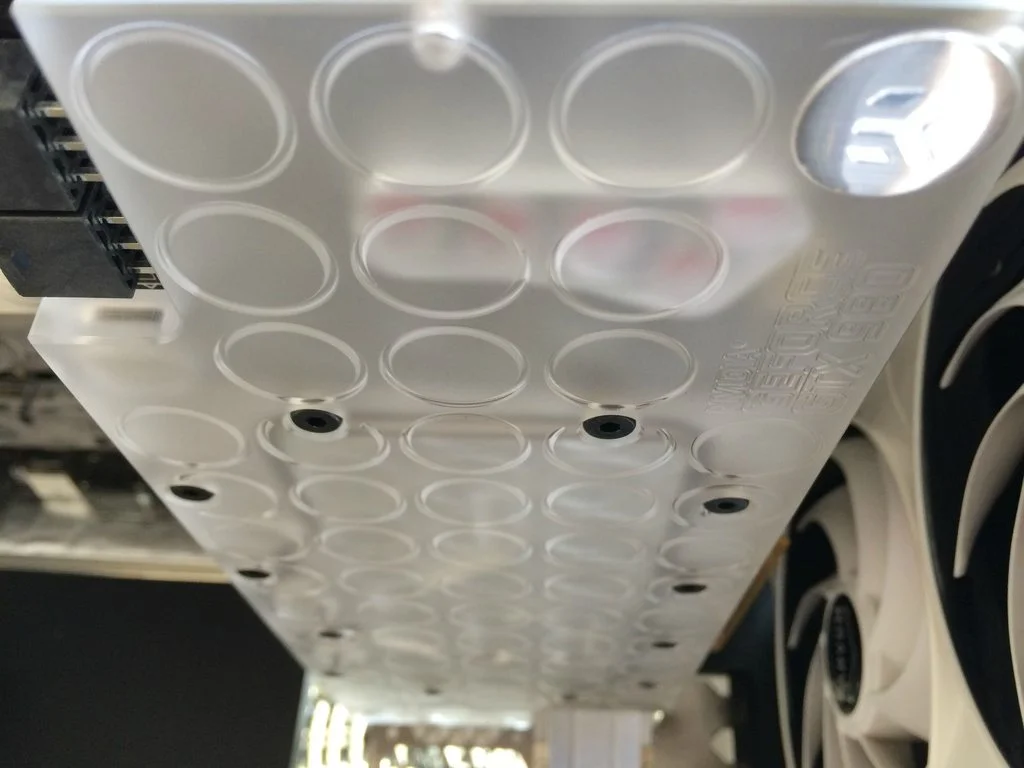
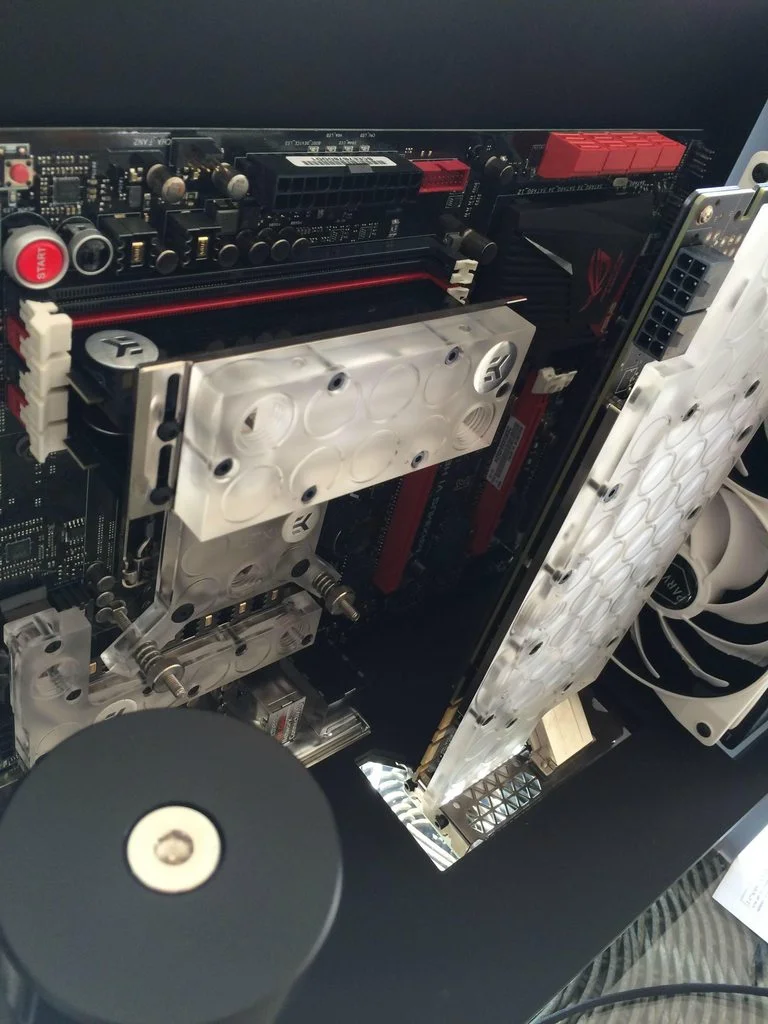
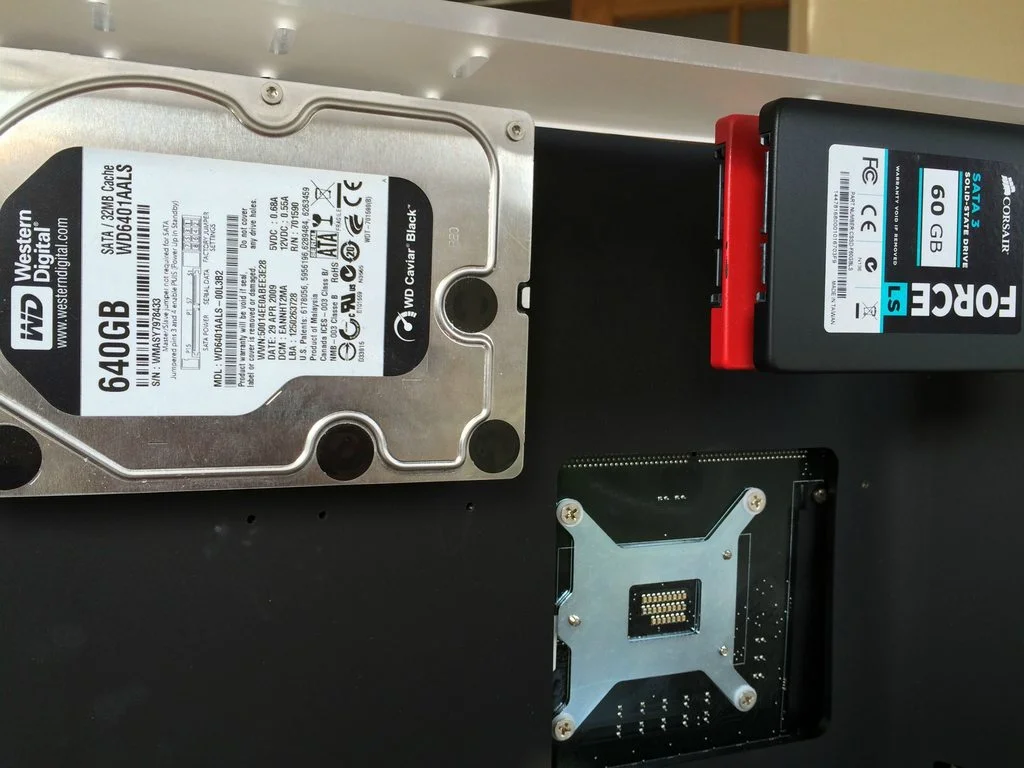
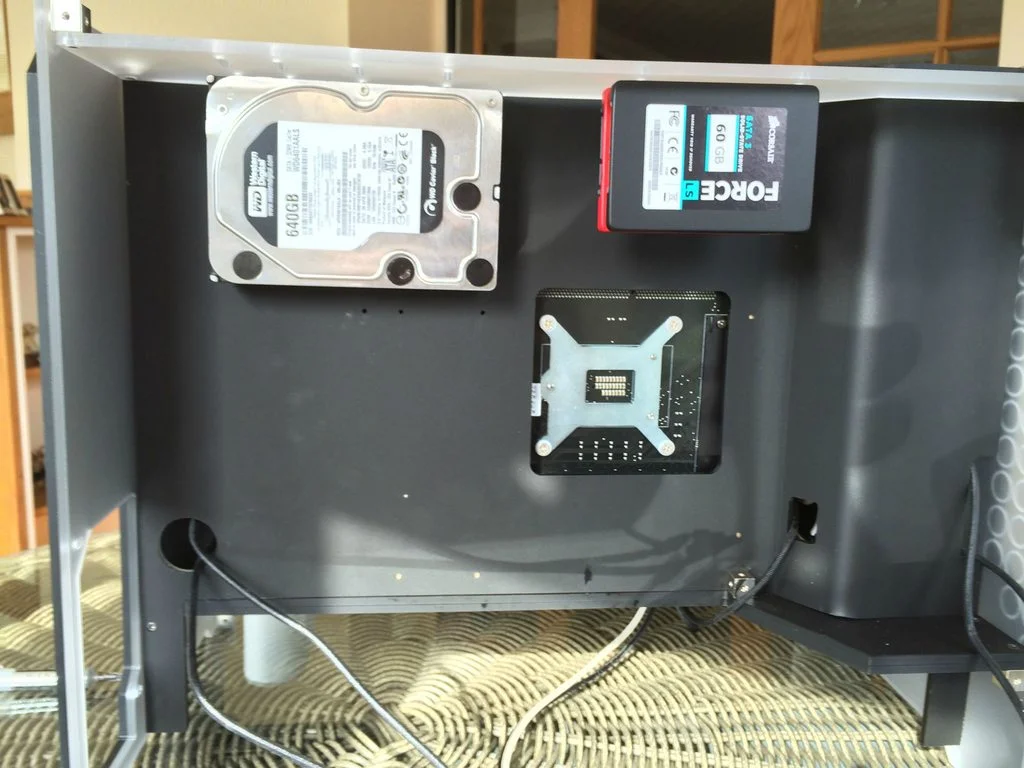
Here's a bare shot of the back and my storage solutions. 2x SSDs (64GB and 128GB) and a 640GB WD Black. There is a little give in the mounting solutions but it wont be seen and when the back plate is on they will be out of sight and out of mind!
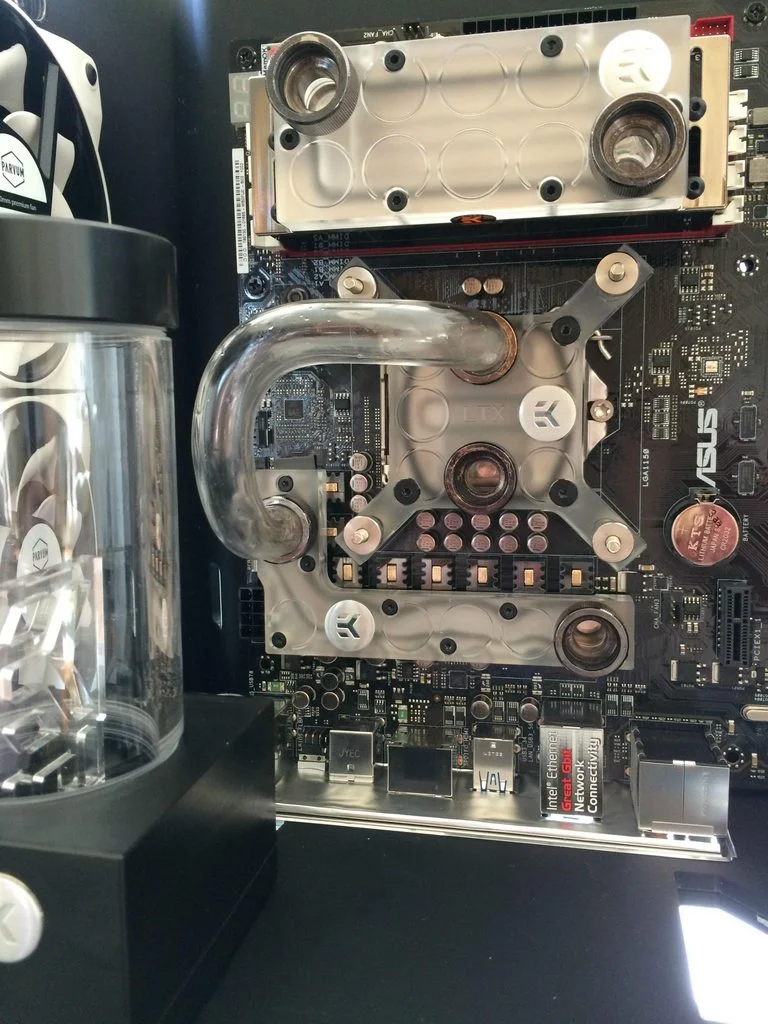
Now comes the bloody tedious bit! Bending all this acrylic. What a pain in the butt it was but I only had one tube that broke due to me trying to bend it when it was too cooled down. I managed to use that tube elsewhere though so no real loss. Ended up with a full unused tube out of the 6 I bought!
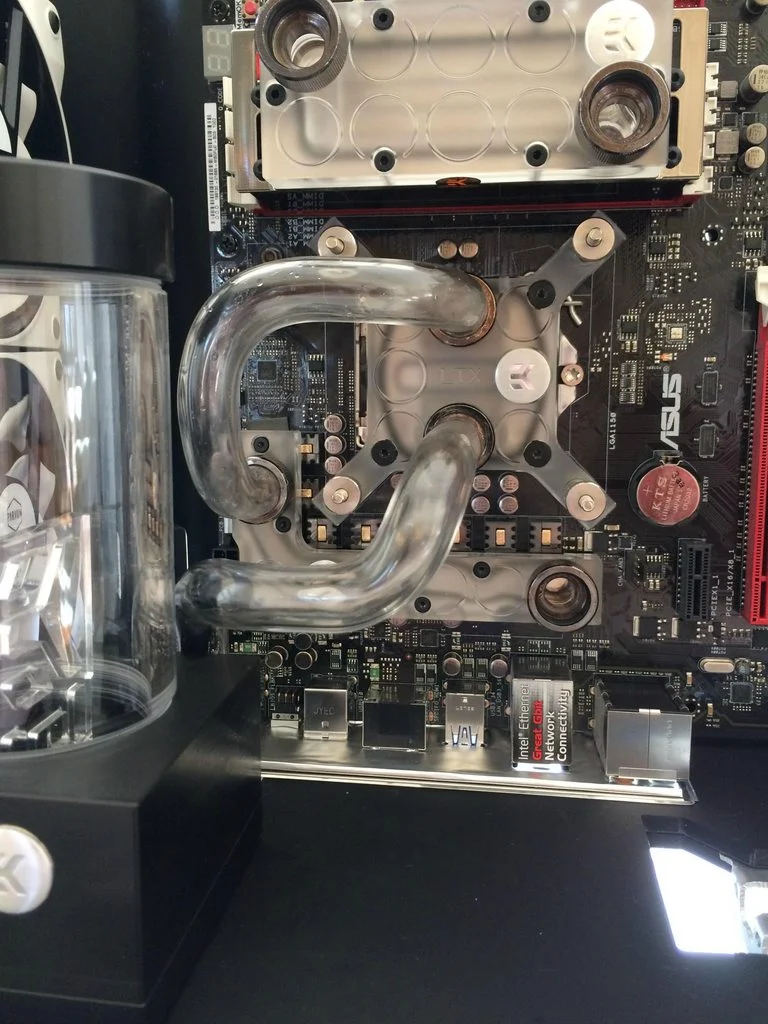
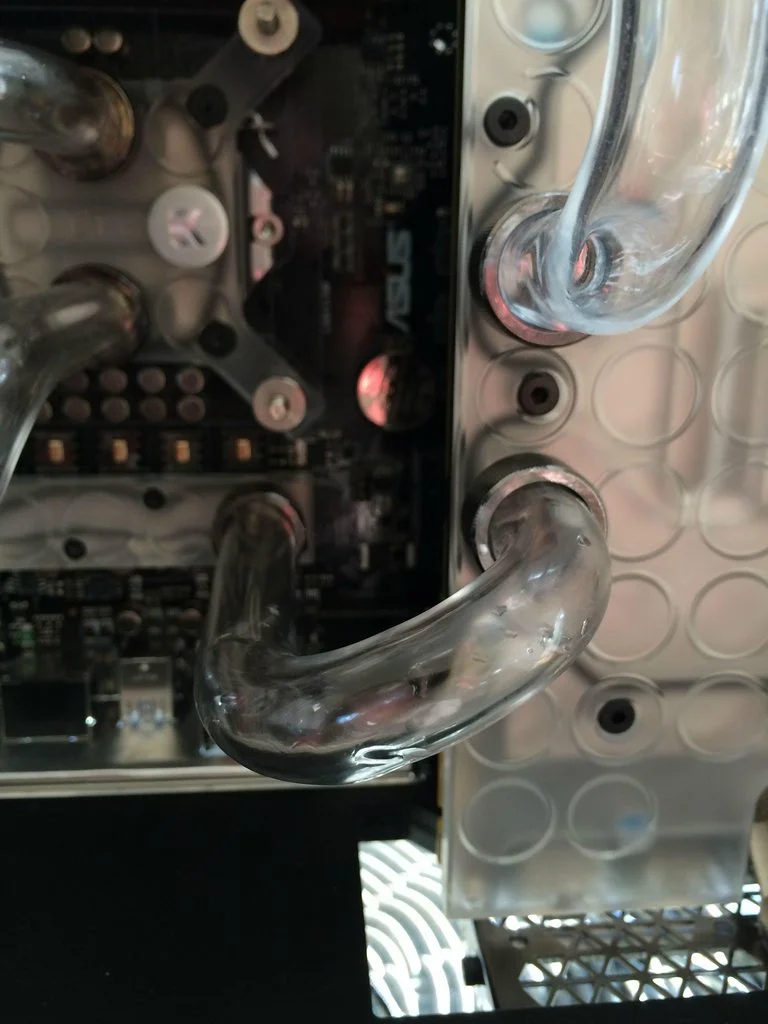
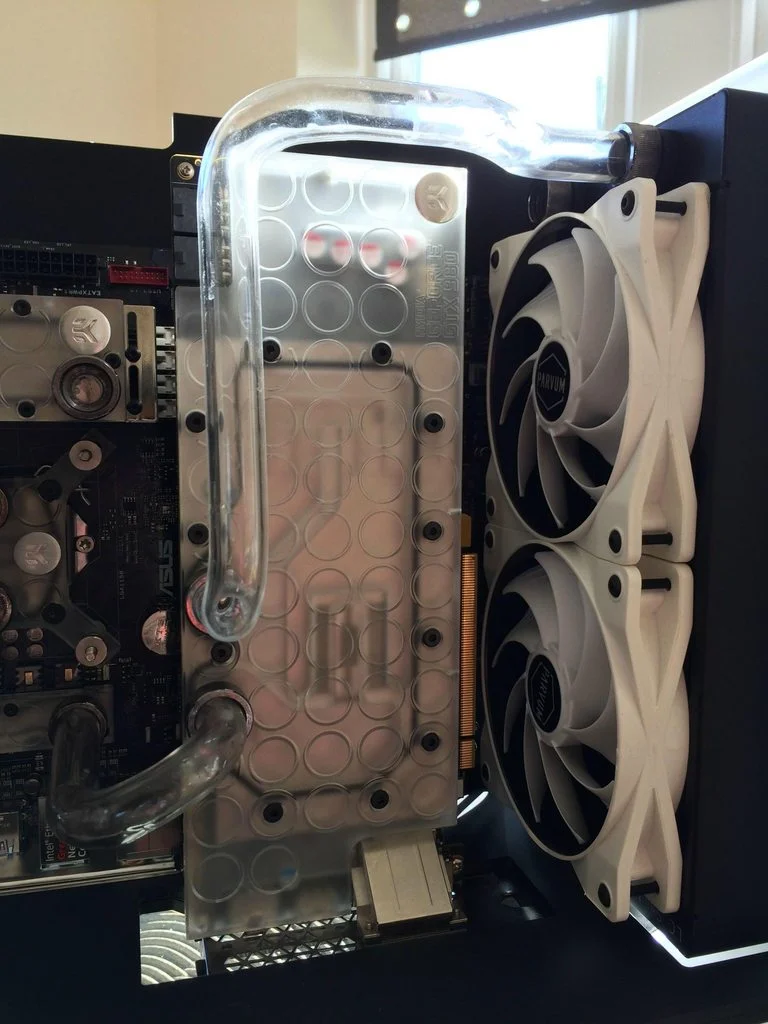
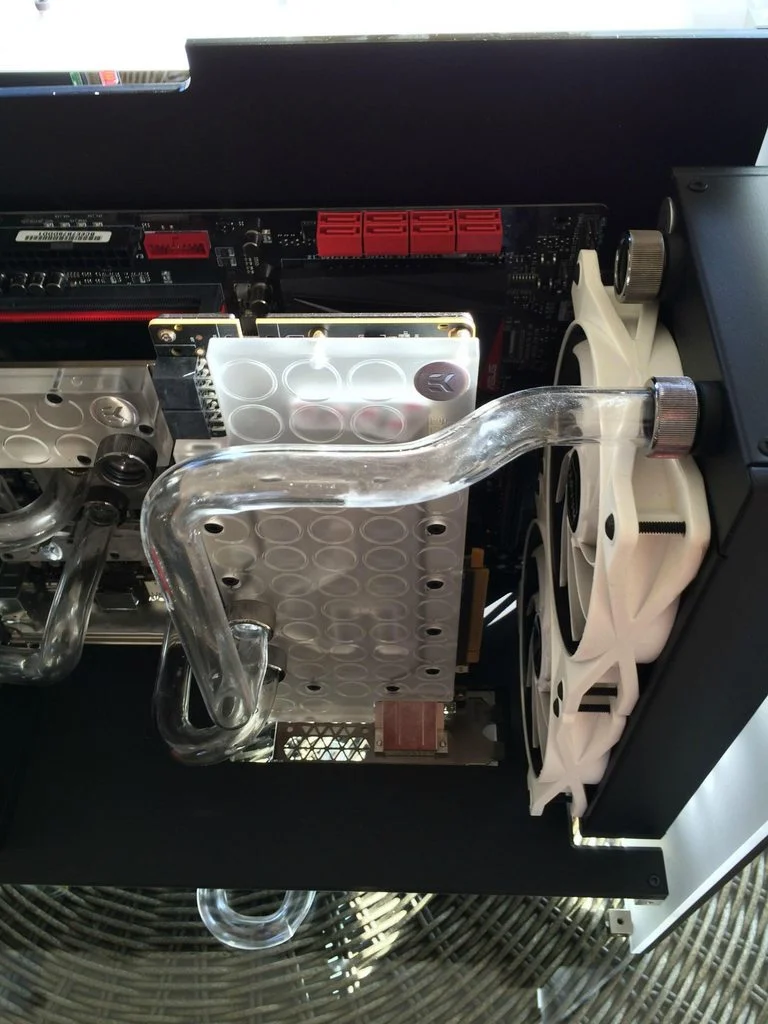
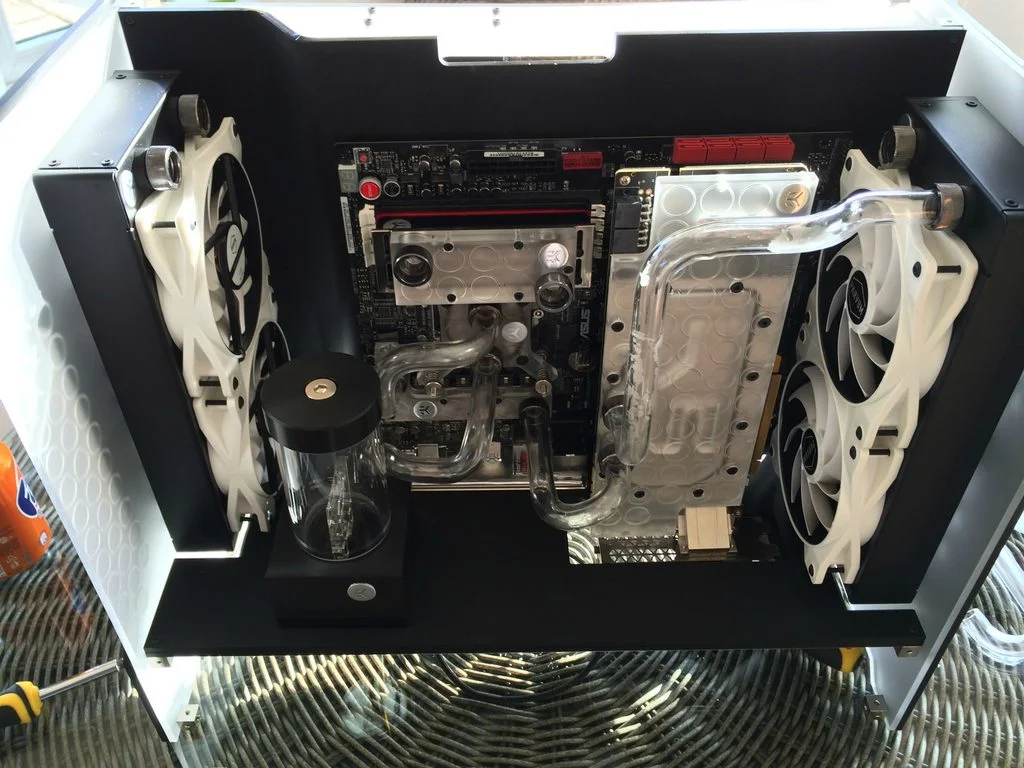
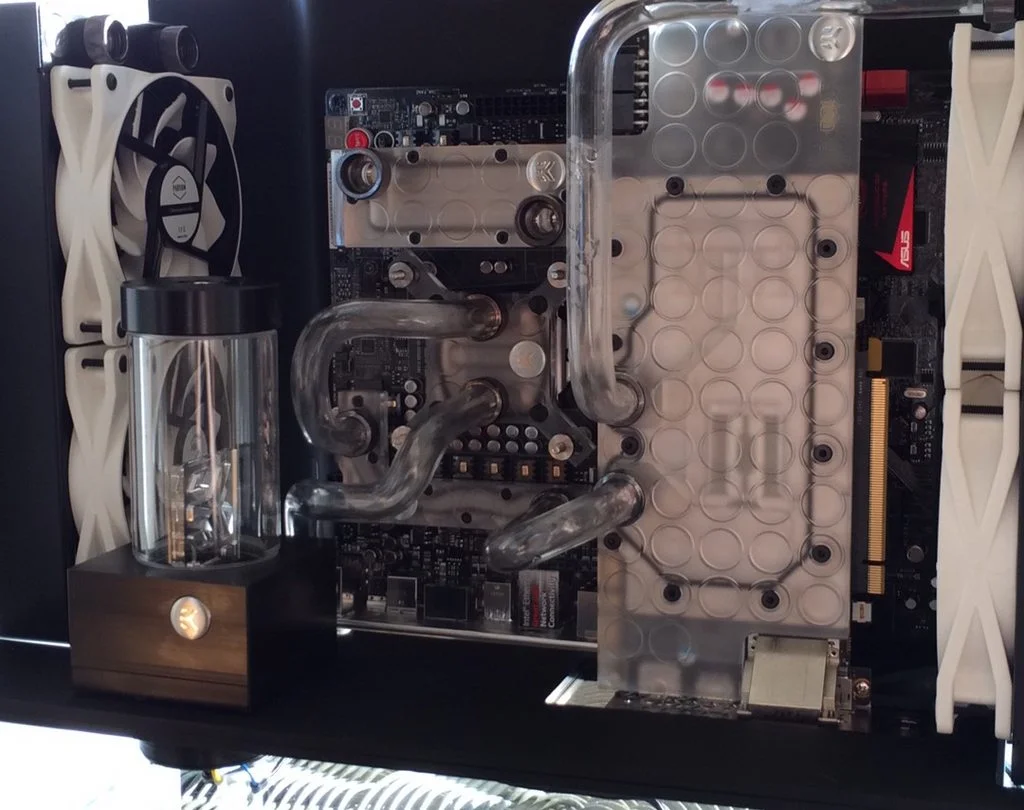
I was originally going to fit eveything first, leak test it, then frost the parts if everything was okay. I decided against that since it would be a huge ball ache and began frosting them once they fit. No point making more work taking everything apart if no leaks are there right?
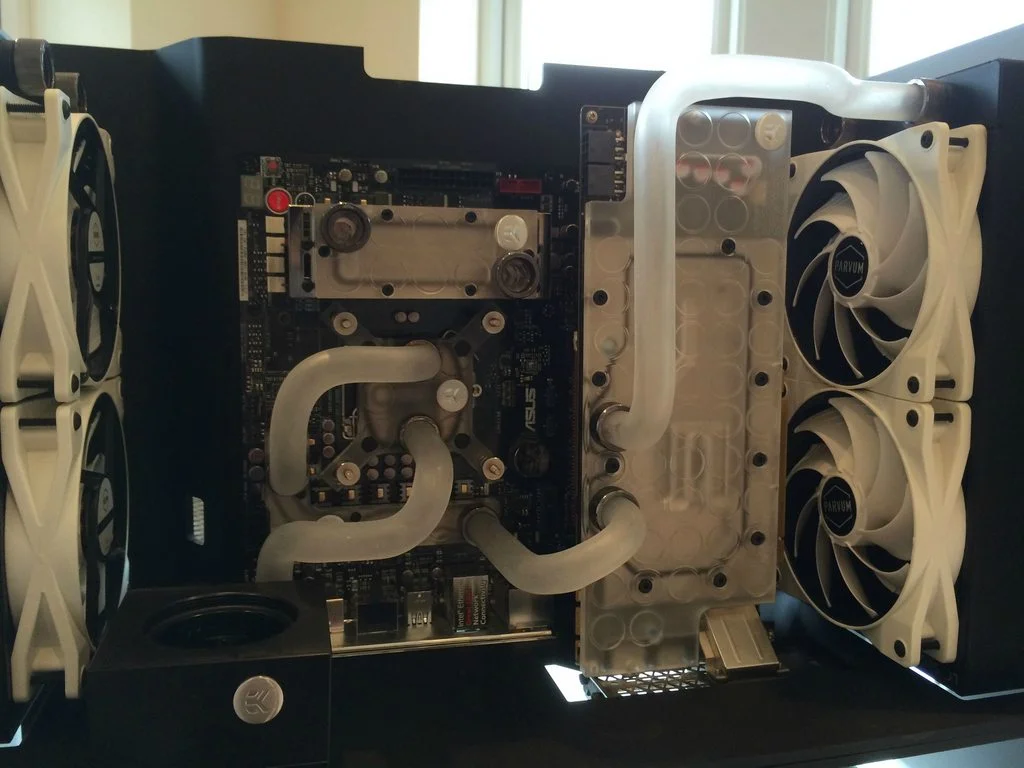
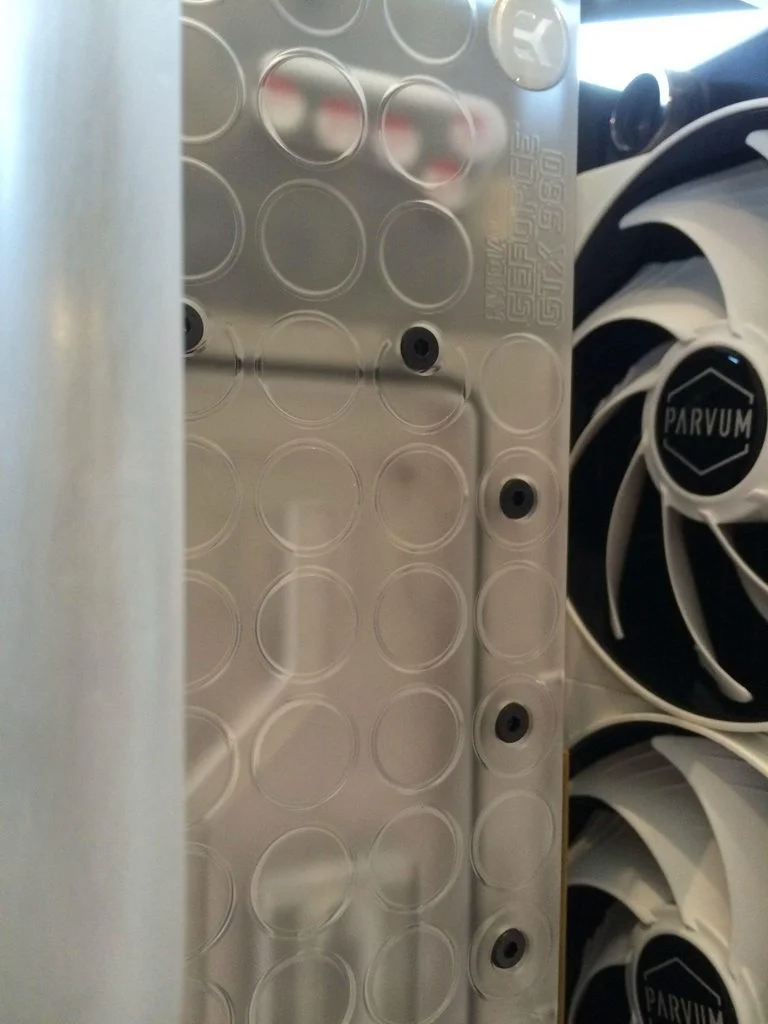
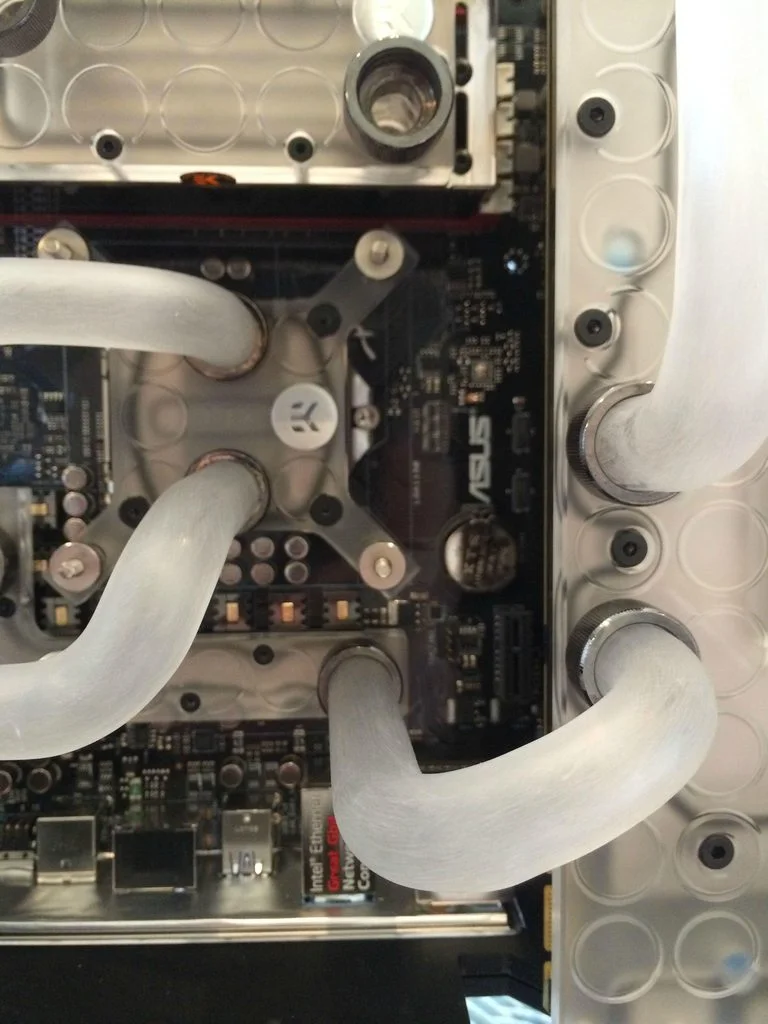

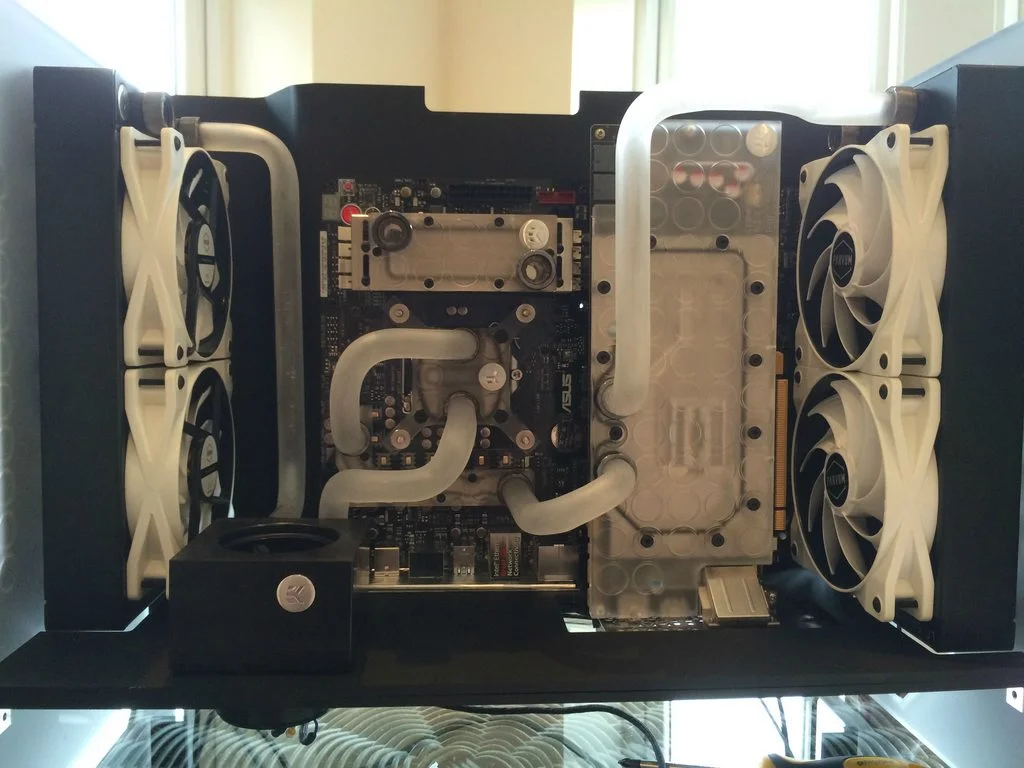
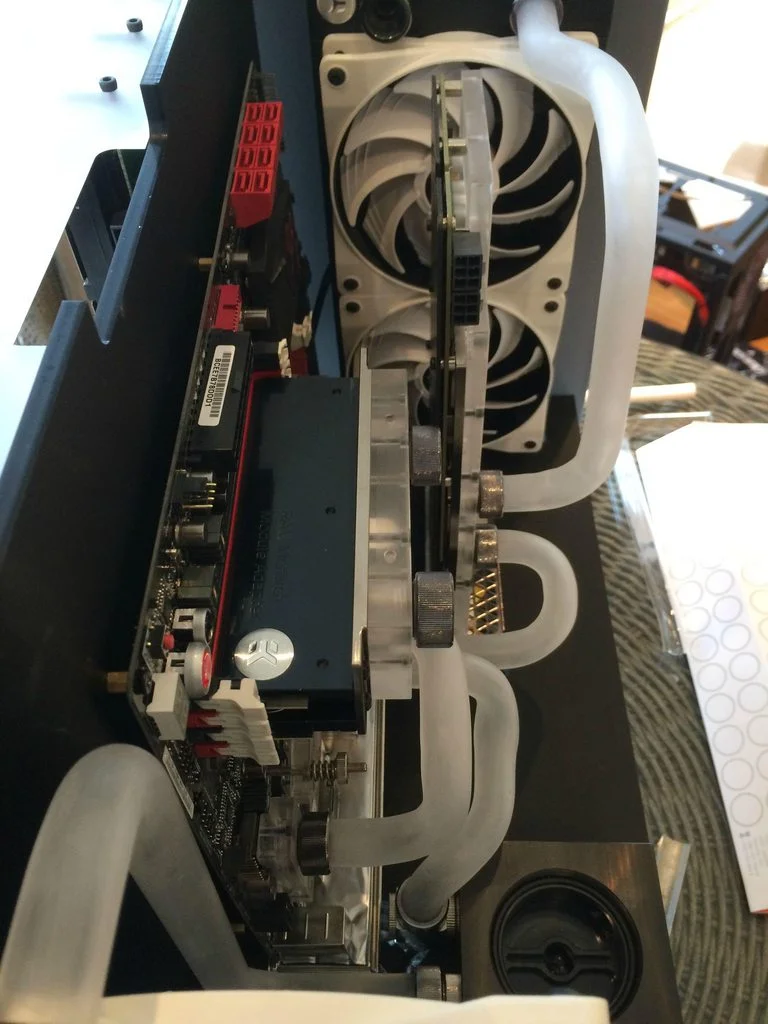
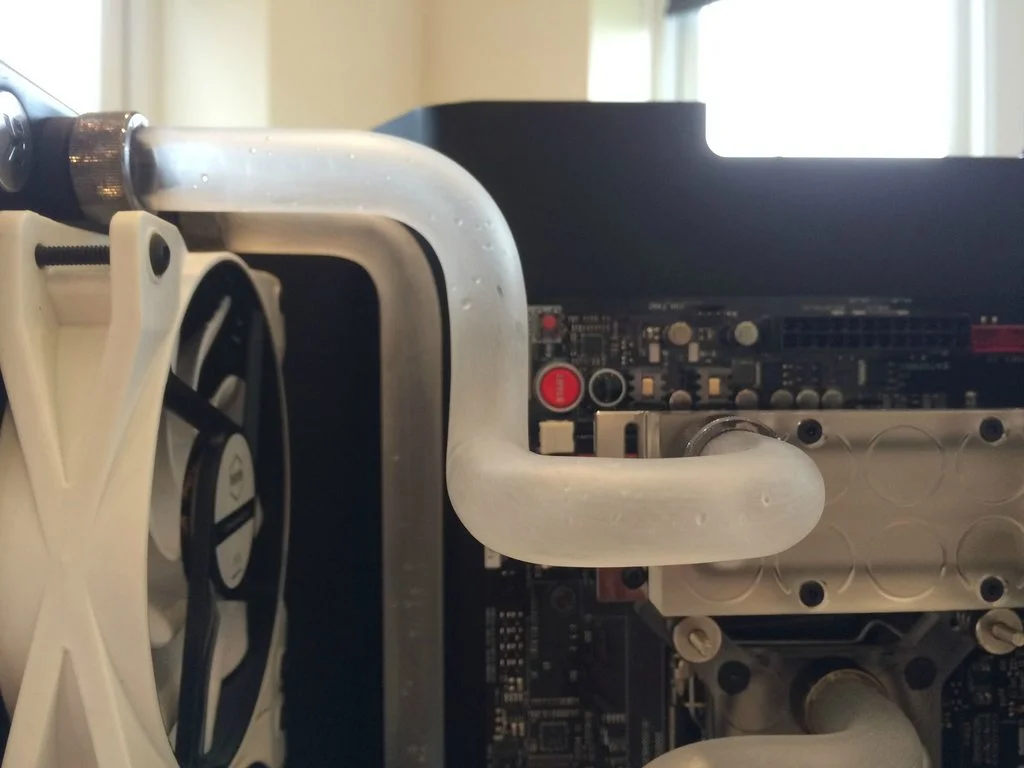
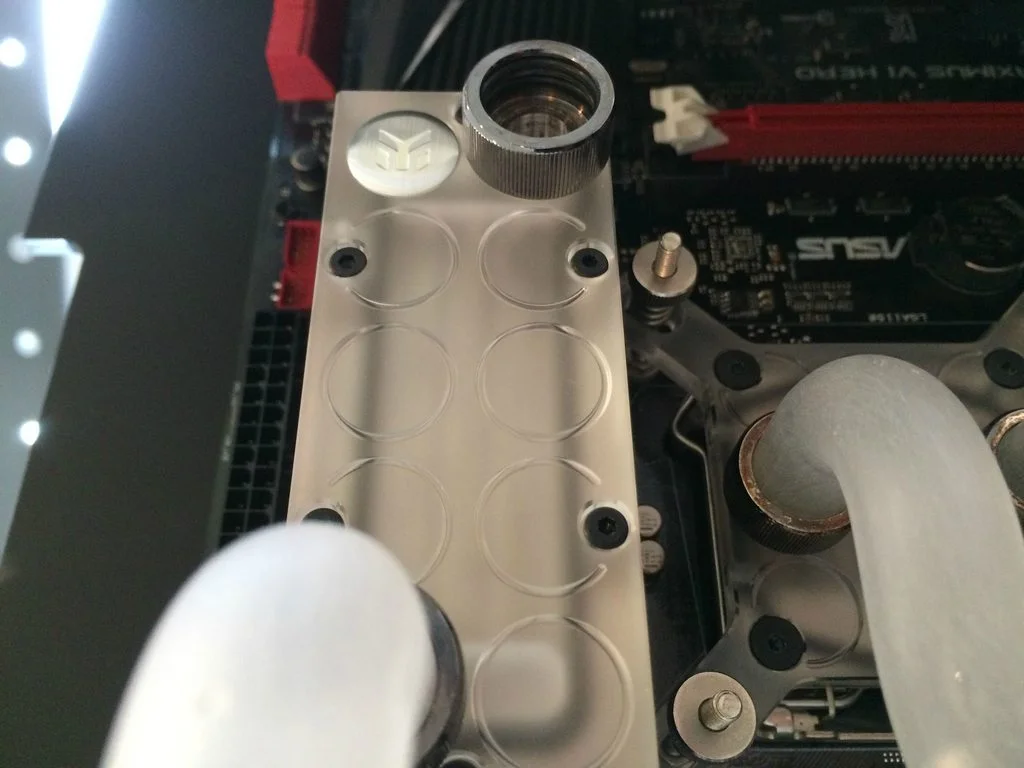
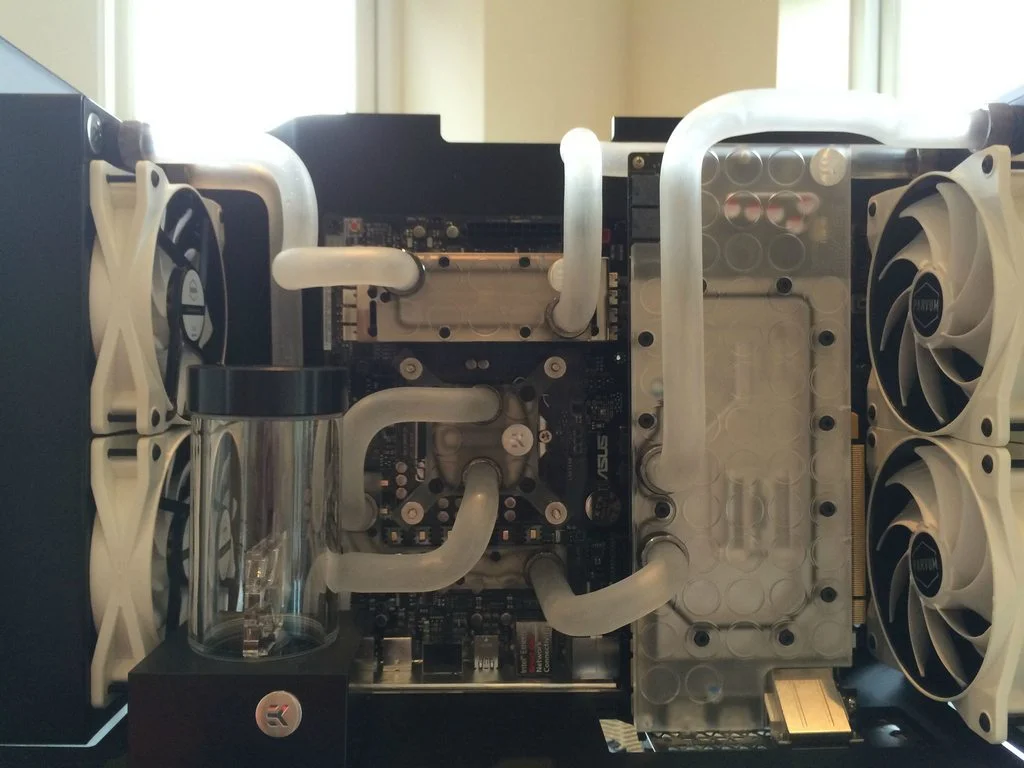
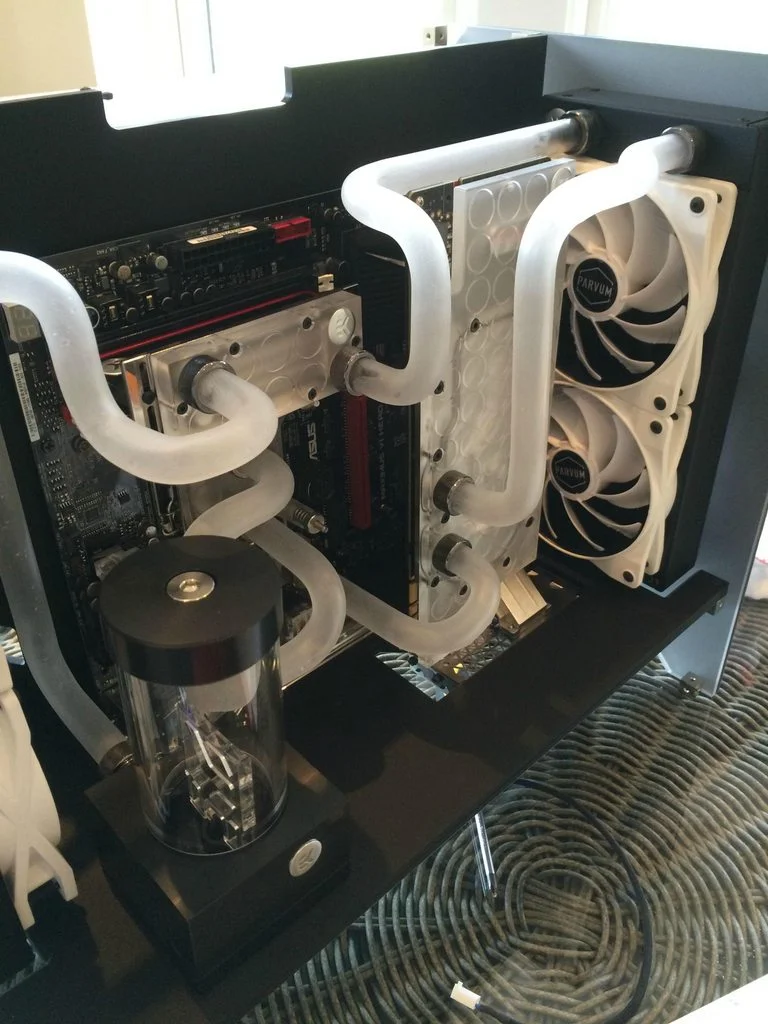
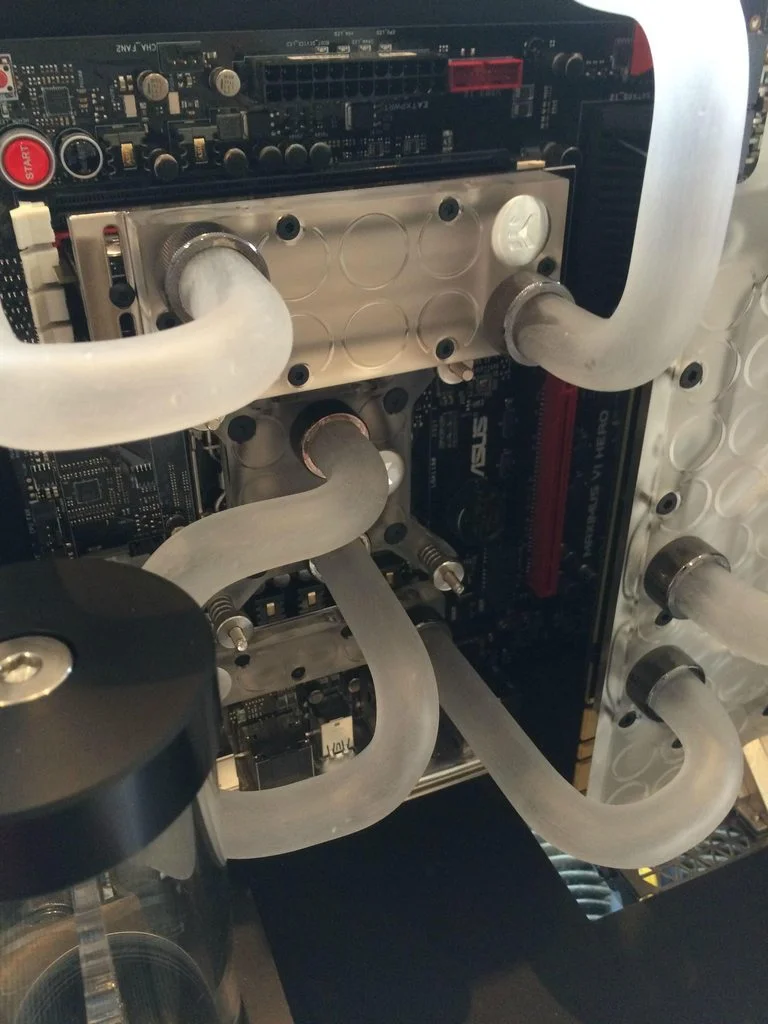
Before filling up for the first time I did the blowing in air pressure test and it felt all good. No loss of pressure I could feel anyway. MOMENT OF TRUTH!
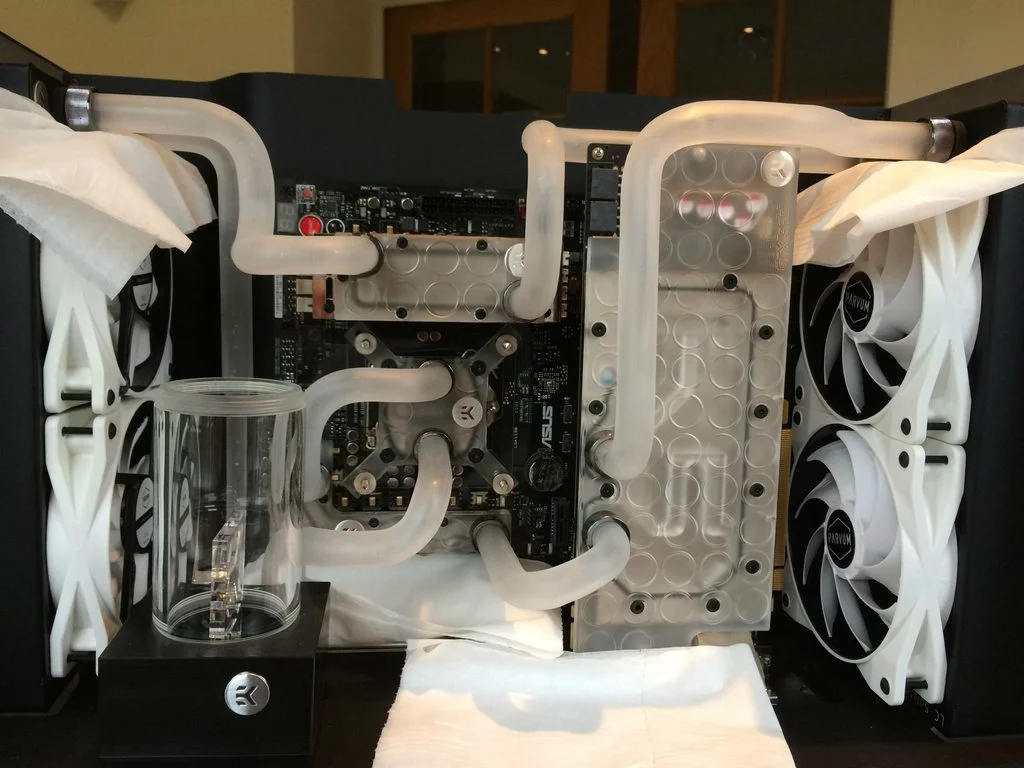
SHE LIVES!
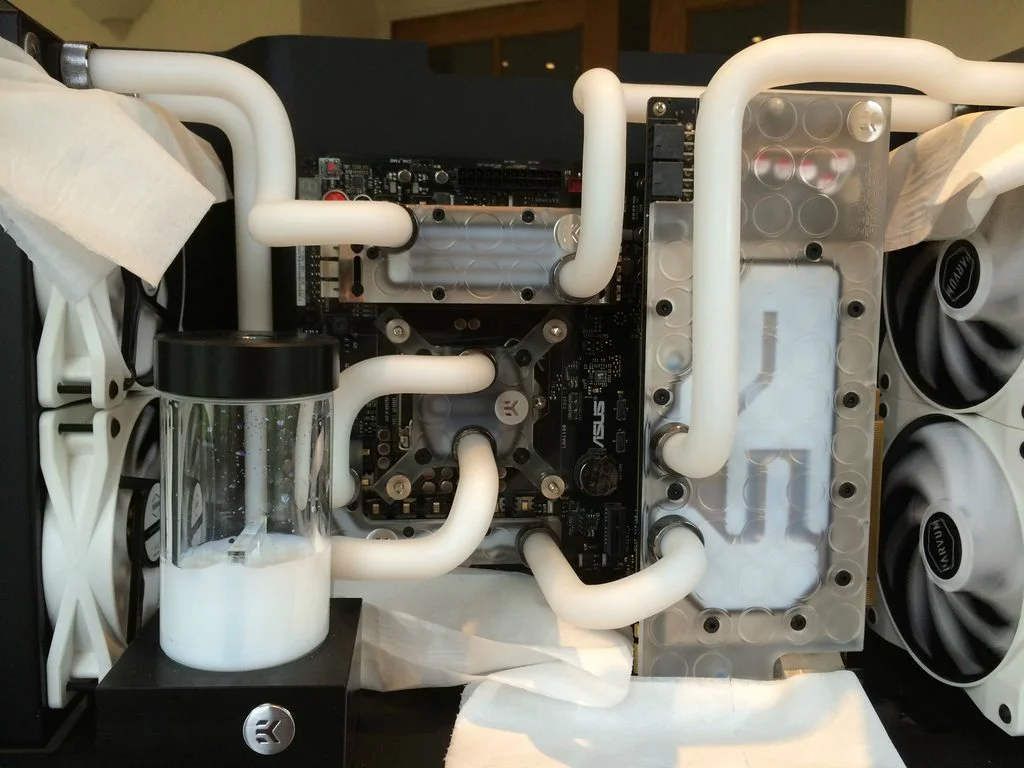
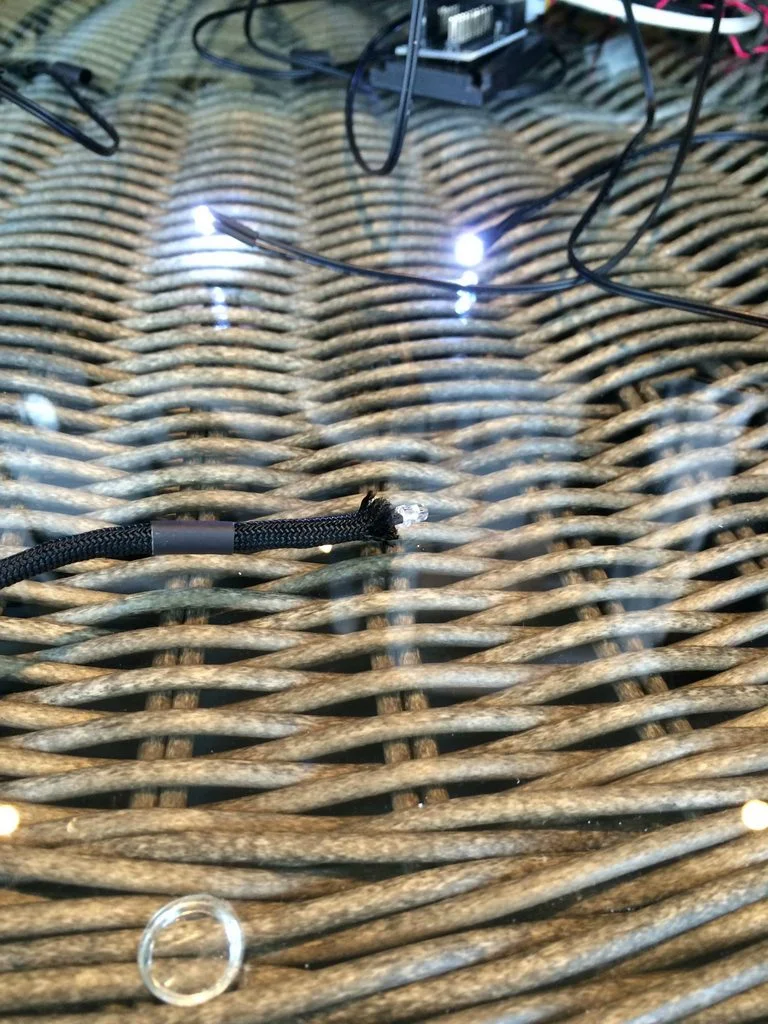
Sleeving up the LED lights for the blocks.
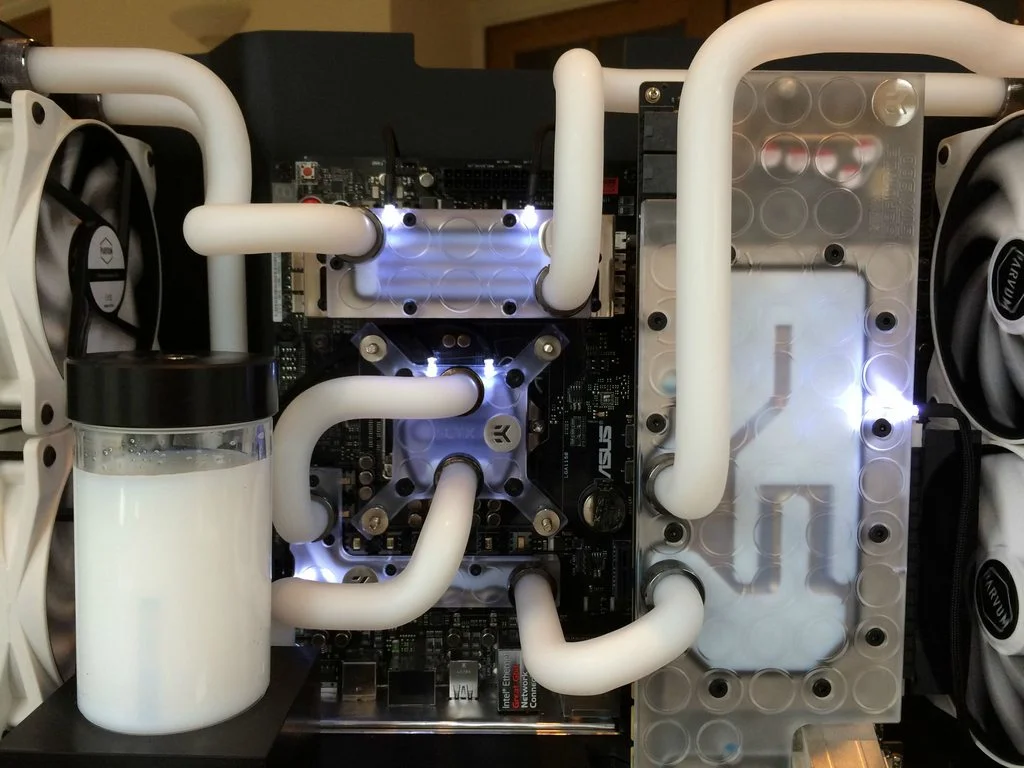
Installing the RGB Lighting. One on the top pictured. Two behind the rads, and one behind the GPU.
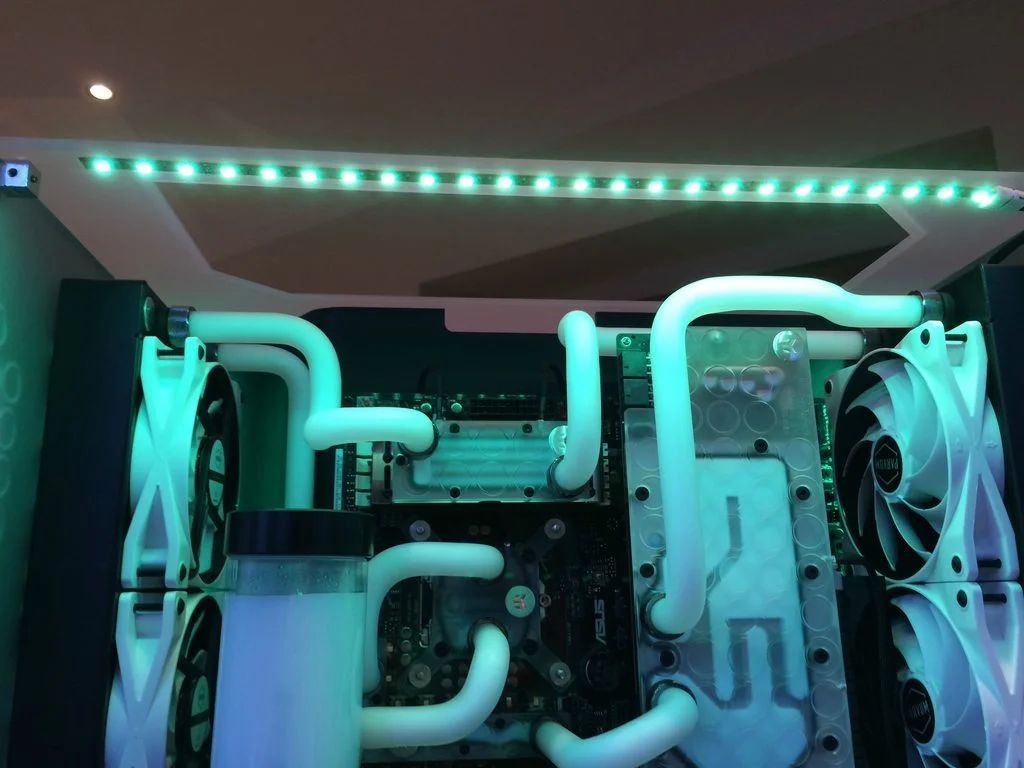
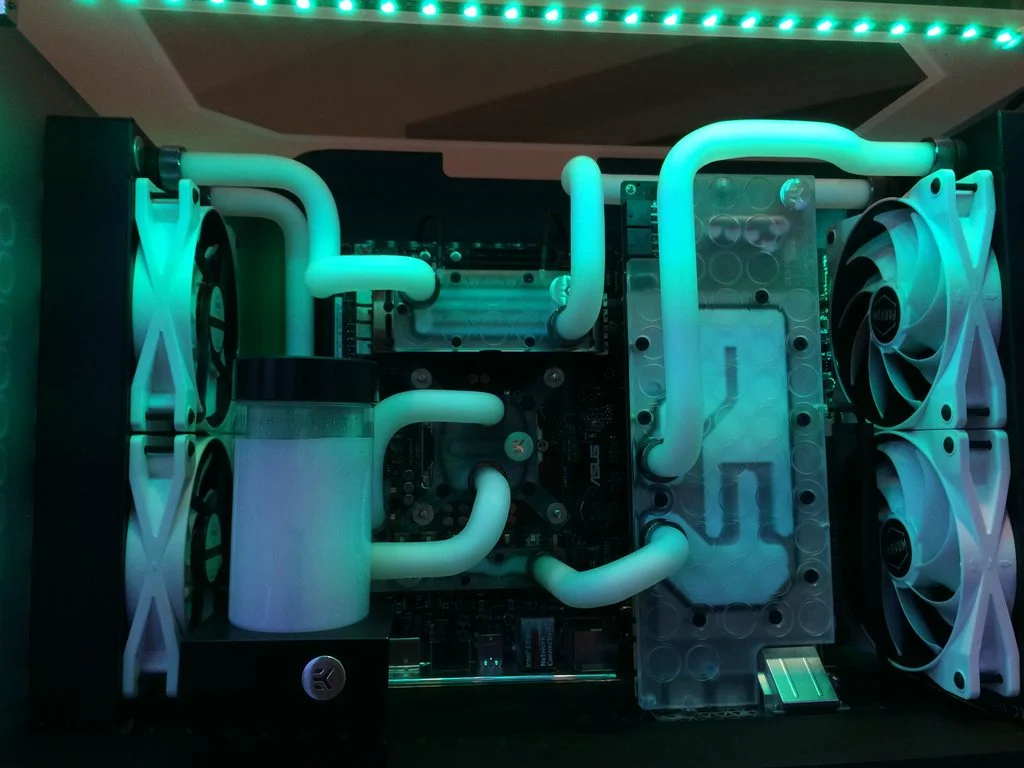
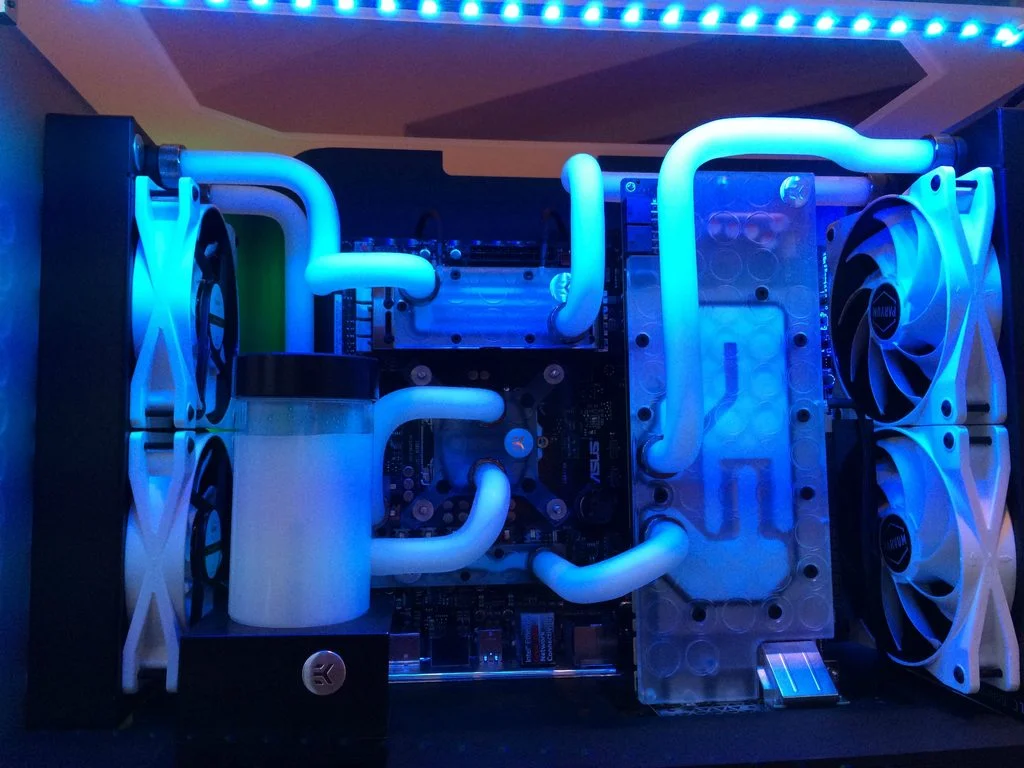
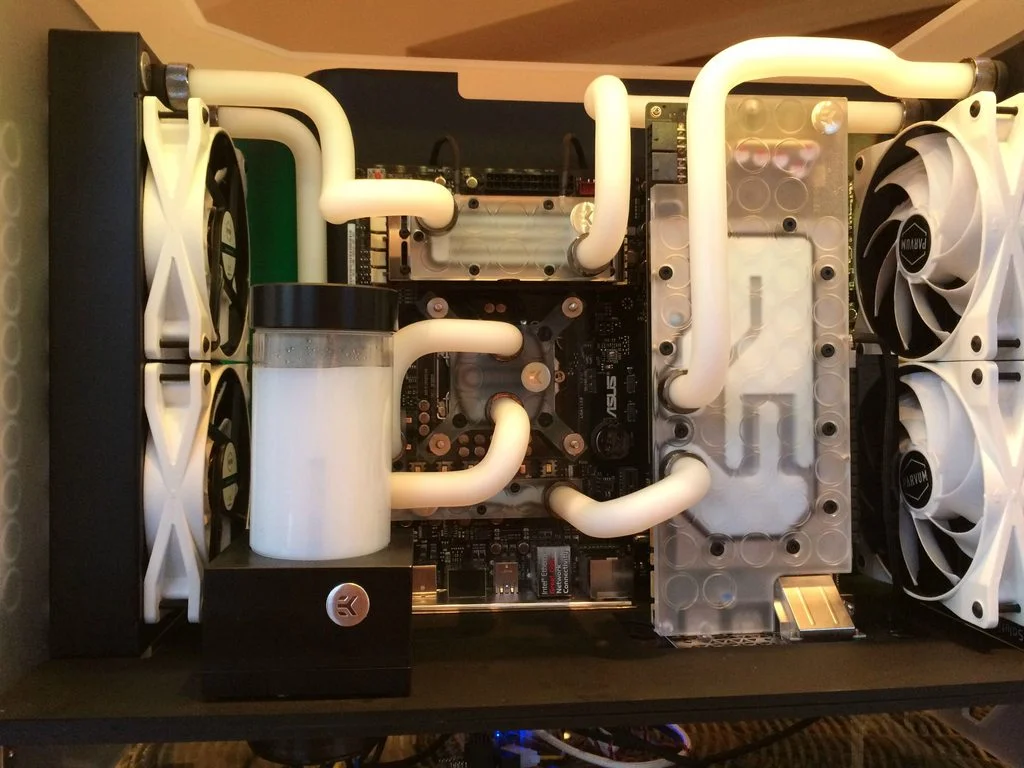
The front looks really cool when lit up different colours!

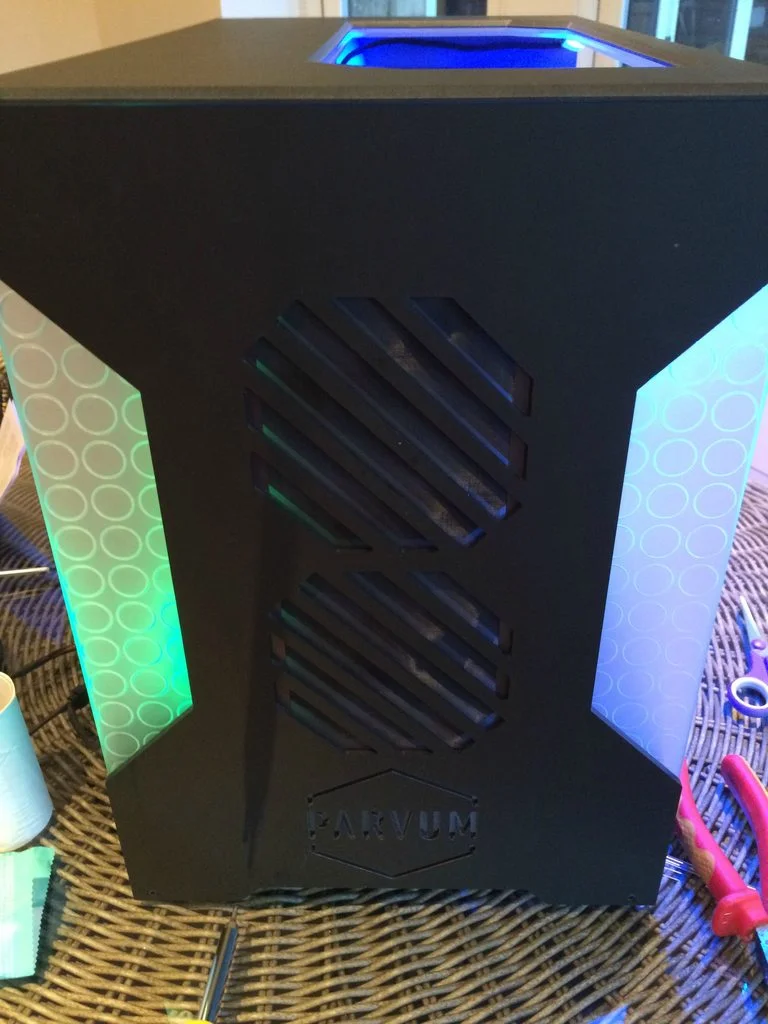
Here is the final form. Notice in the later pictures I have added white cable sleeving kits!
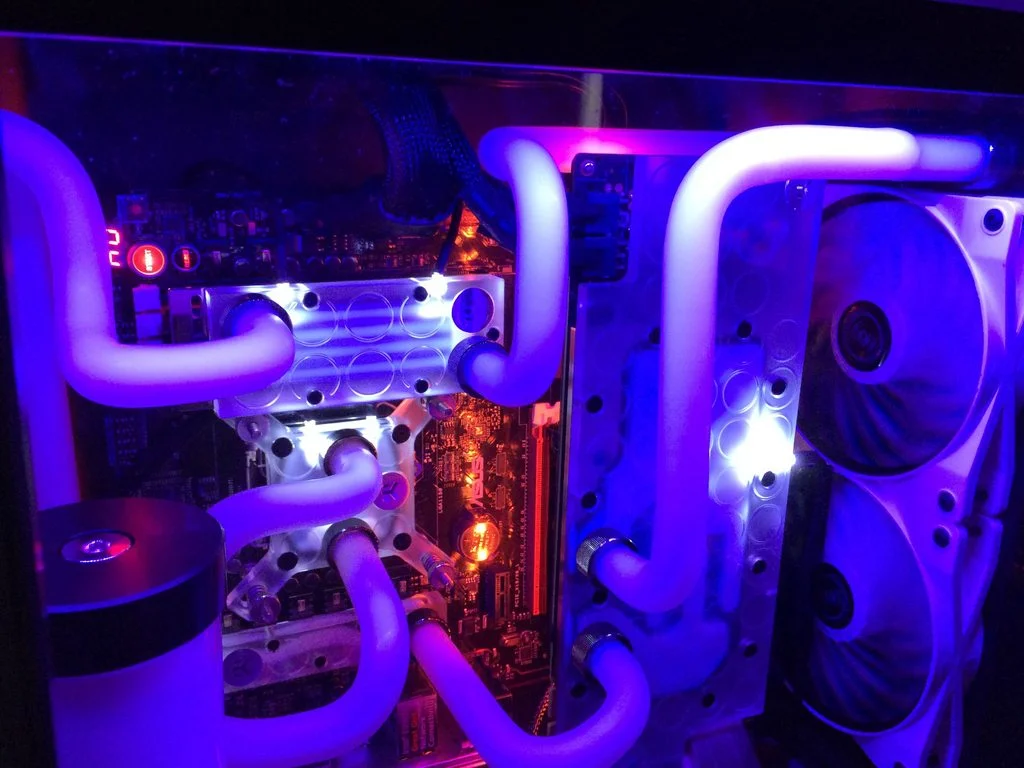
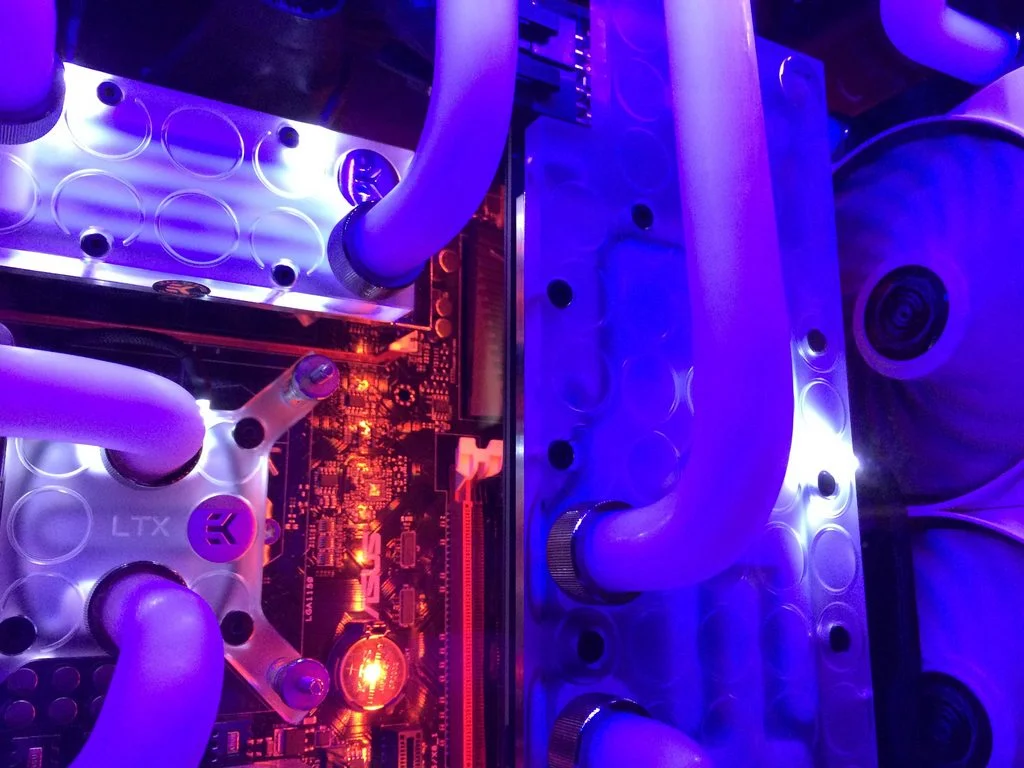
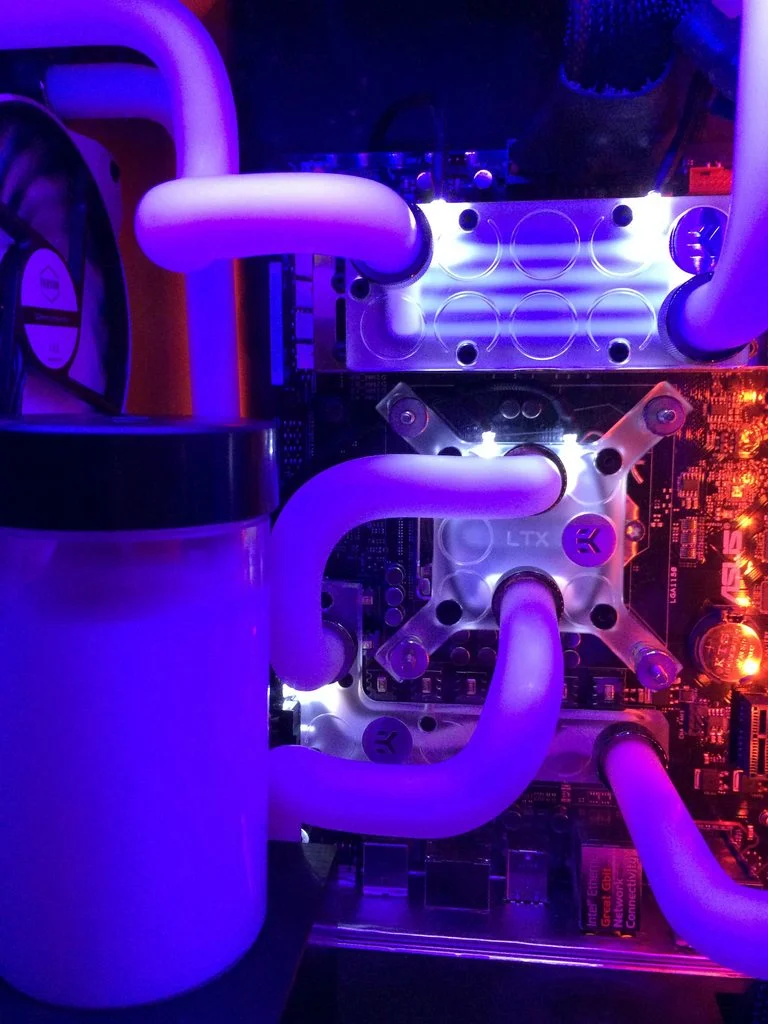
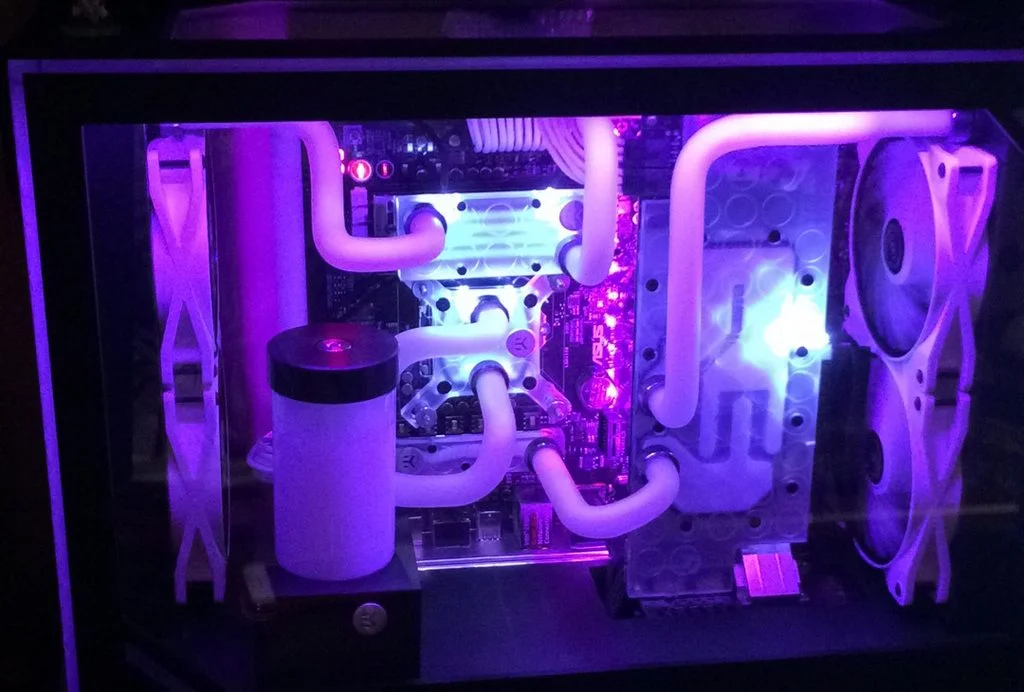
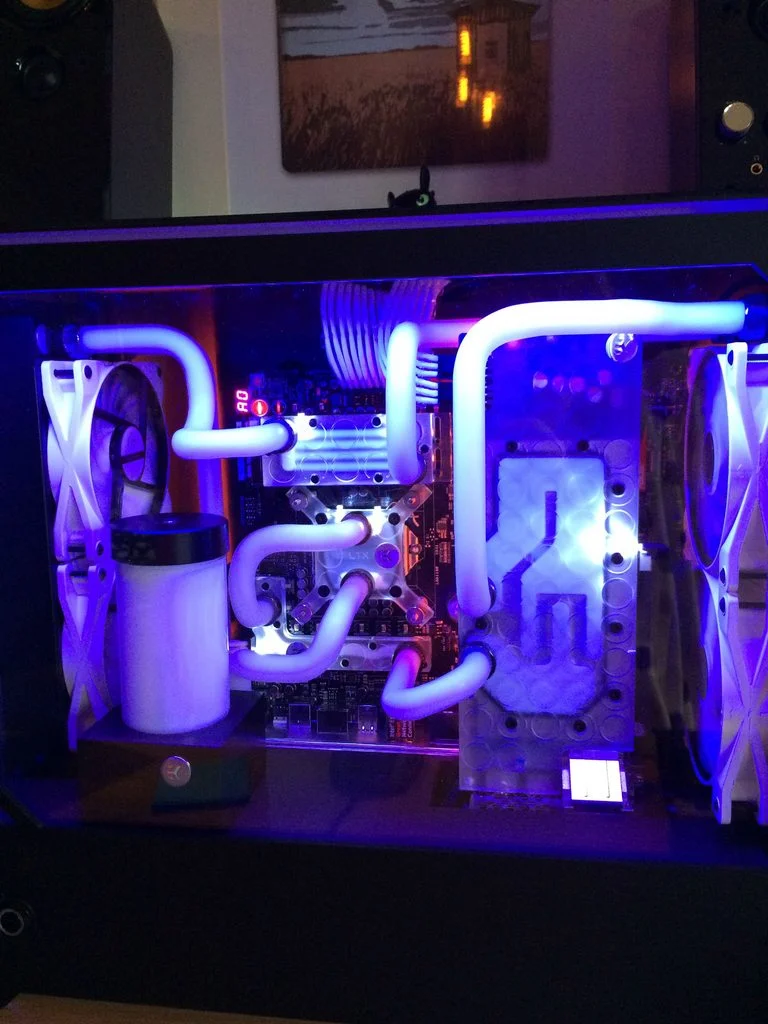
High res glamour shots to follow in a week or two once I get a nice backdrop and a better camera! Hopefully it will be 100% finished by then too.
As a reward for scrolling all through that, here is a demo of the RGB lights cyling through the colours!
Hope you all enjoyed the process even though it was a huge rush over the easter weekend.
Alright guys, Finally got it 99% finished, Just waiting on a single spare LED light for the GPU block as well as a new top window and a new side pannel with a button hole and usb holes too.
So to get things started off here is the pump that I have used for this project. An EK D5 Combo res. My old EK DCP 4.0 pump was on it's last legs and I think I had some growth in my old loop so I wanted new parts so to avoid contaminating the coolant.
Here it is anyway with the cables sleeved up. I moved the EK sticker to the side that I wanted facing the front too as to hide the inlet port. Wish they did this in the frosted CSQ style though!
Next here is me deciding on where to slot the pump. I wanted to have the res on display but without the end of the pump making it look like a stubby lightsaber. I ended up cutting a hole in the bottom of the case for it to slot in and stand upright in.
Here's some small progress with me installing the rest of the fans and radiator. Still so much room for activities!
Now we can move onto installing my motherboard which has already been used so no real glamour shots of it yet. I decided I wanted to have individual white LED's in all of the blocks but the mosfet one didn't include any holes. Easy enough to drill an extra hole for one right?
Next we can add the CPU block. Again, already been used and I like that it matches the rest of the blocks. Didn't fancy paying another £60 for something that looks nearly identical and will only offer a few degrees cooling.
Now we get to move onto the Ram blocks. This is my first time doing Ram blocks as they are really only for aesthetics. Shame that this build is all about looking cool then eh? All in all they were really easy to do and just adds again to the overall CSQ theme.
Now its time to strip the GFX card down and block her up. I was bloody suprised how much thermal paste there was on there though. Zotac, chill out lol. Again, easy process for this. Managed to keep the back plate on too which will help later on in the build!
Here's a bare shot of the back and my storage solutions. 2x SSDs (64GB and 128GB) and a 640GB WD Black. There is a little give in the mounting solutions but it wont be seen and when the back plate is on they will be out of sight and out of mind!
Now comes the bloody tedious bit! Bending all this acrylic. What a pain in the butt it was but I only had one tube that broke due to me trying to bend it when it was too cooled down. I managed to use that tube elsewhere though so no real loss. Ended up with a full unused tube out of the 6 I bought!
I was originally going to fit eveything first, leak test it, then frost the parts if everything was okay. I decided against that since it would be a huge ball ache and began frosting them once they fit. No point making more work taking everything apart if no leaks are there right?
Before filling up for the first time I did the blowing in air pressure test and it felt all good. No loss of pressure I could feel anyway. MOMENT OF TRUTH!
SHE LIVES!
Sleeving up the LED lights for the blocks.
Installing the RGB Lighting. One on the top pictured. Two behind the rads, and one behind the GPU.
The front looks really cool when lit up different colours!
Here is the final form. Notice in the later pictures I have added white cable sleeving kits!
High res glamour shots to follow in a week or two once I get a nice backdrop and a better camera! Hopefully it will be 100% finished by then too.
As a reward for scrolling all through that, here is a demo of the RGB lights cyling through the colours!
Hope you all enjoyed the process even though it was a huge rush over the easter weekend.
Last edited:

Soldato
- Joined
- 27 Feb 2012
- Posts
- 6,586
Mightly impressed, if only i had your talents.
I love people who have an eye for detail, makes enjoyable viewing
I love people who have an eye for detail, makes enjoyable viewing

Wow! Looks epic , how the hell does the gpu connect to the mobo when it's placed like that ? I'm looking at the same case hopefully , what's it like for dust filters are they easy to fit ?
You use a PCI-E riser. Basically an extender of the slot. Glad it's hidden well enough
 .
My overall experience with my Parvum has been pretty good tbh. With it being a custom case for an ATX board it took a while to get but well worth it. They are very roomy cases and you'd be surprised on how easy it makes building the computer when you can remove the roof as well as the front. The dust filters are sandwiched between the front pannels. Basically just the magnetic ones you can buy from OcUK. They are removable but they involve you taking the front off via unscrewing allen bolts. That's my only gripe with the case. Having to remove then replace millions of screws each time you want to take a pannel off is a ball ache. well worth it aesthetically though when you're all done!
You use a PCI-E riser. Basically an extender of the slot. Glad it's hidden well enough
My overall experience with my Parvum has been pretty good tbh. With it being a custom case for an ATX board it took a while to get but well worth it. They are very roomy cases and you'd be surprised on how easy it makes building the computer when you can remove the roof as well as the front. The dust filters are sandwiched between the front pannels. Basically just the magnetic ones you can buy from OcUK. They are removable but they involve you taking the front off via unscrewing allen bolts. That's my only gripe with the case. Having to remove then replace millions of screws each time you want to take a pannel off is a ball ache. well worth it aesthetically though when you're all done!
Nice ! It most definitely is, sweet build ! I'm gonna wait to see what amd and nvidia do in summer (390x/980ti) then go from there! Been looking at these cases for a while now, like you said the aesthetics are top notch bet they look amazing in person ! Those dust panels then , do you have to cut them out to sandwich them in between ? As they come with a magnetic strip don't they round the side , and this case all fits together flush?
And I don't think I'll mind all the screws as Ive been using an antec 902 for the last 5 years the dust filters are a nightmare haha , fans are starting to make a bit of a racket now too!
Not really no. They come in like 240mm sizes which are the ones I have. There is a groove for it to just sit in there nicely. So its just a matter of placing it there and then putting the front panel over.
The case is pretty much flush yes. There is a bit around the back where the psu fits in that is a tight gap but thats because I had to run wires behind the psu to get to the correct places as well as hide them. If I didn't do that it would be flush yes.
Ah cool thanks for the info will keep that in mind when I come to upgrade
Can't actually believe it has taken almost 2 months to get a few replacement LED's for the waterblocks.
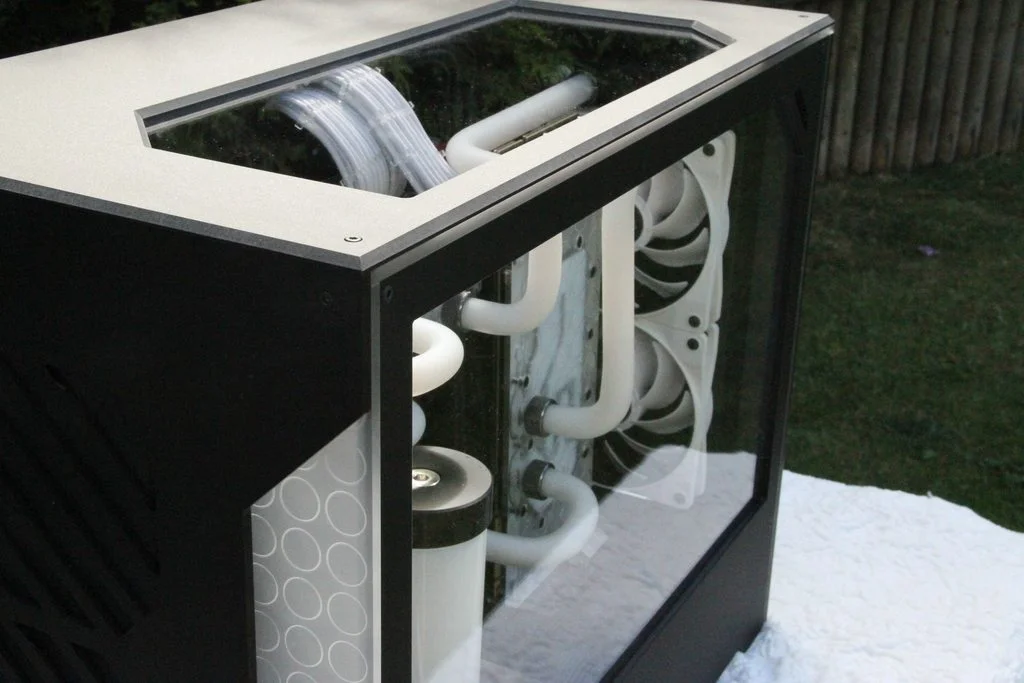
Sorry to be digging this thread up from the grave but here are the final shots of my project in all its glory.
Want to say a huge thanks to the guys over at Parvum for making this build a reality because without them I'd be stuck with some other case!
Enjoy!
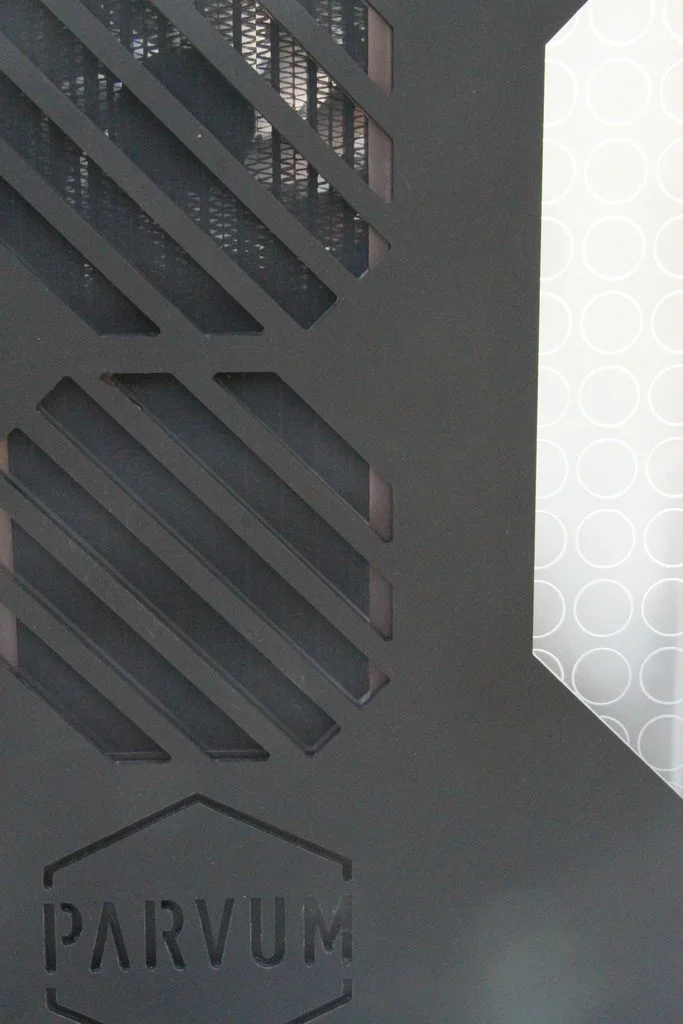
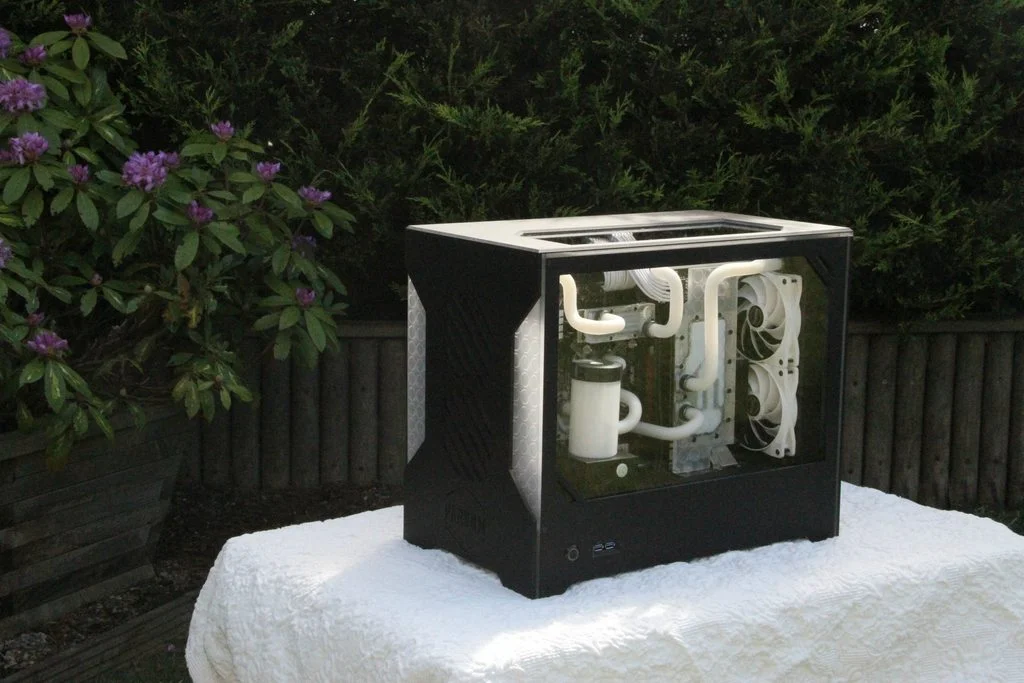
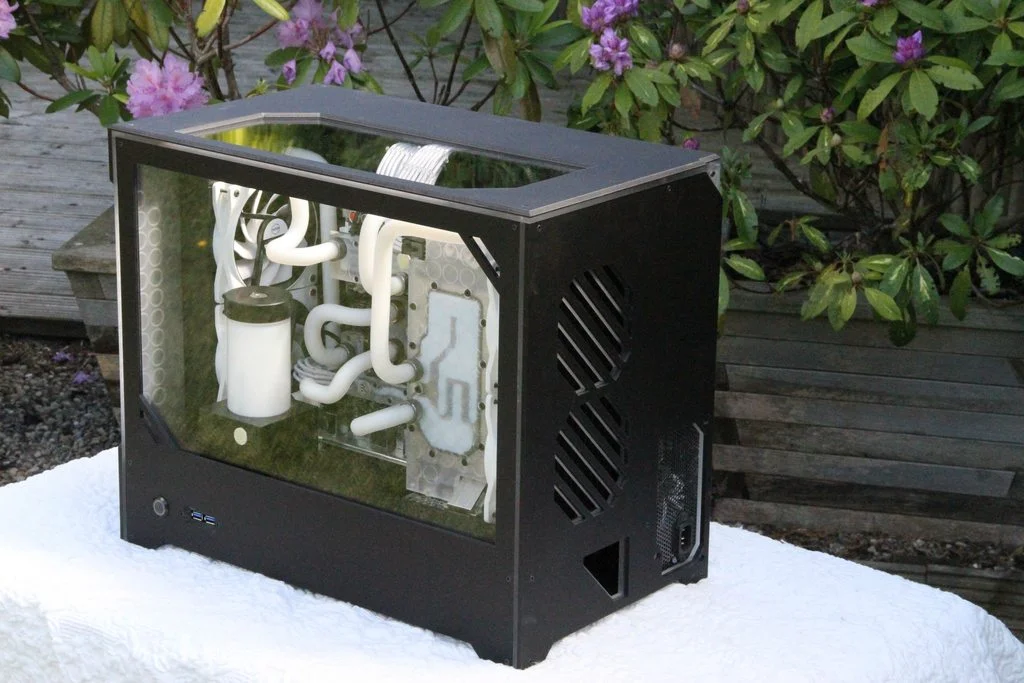
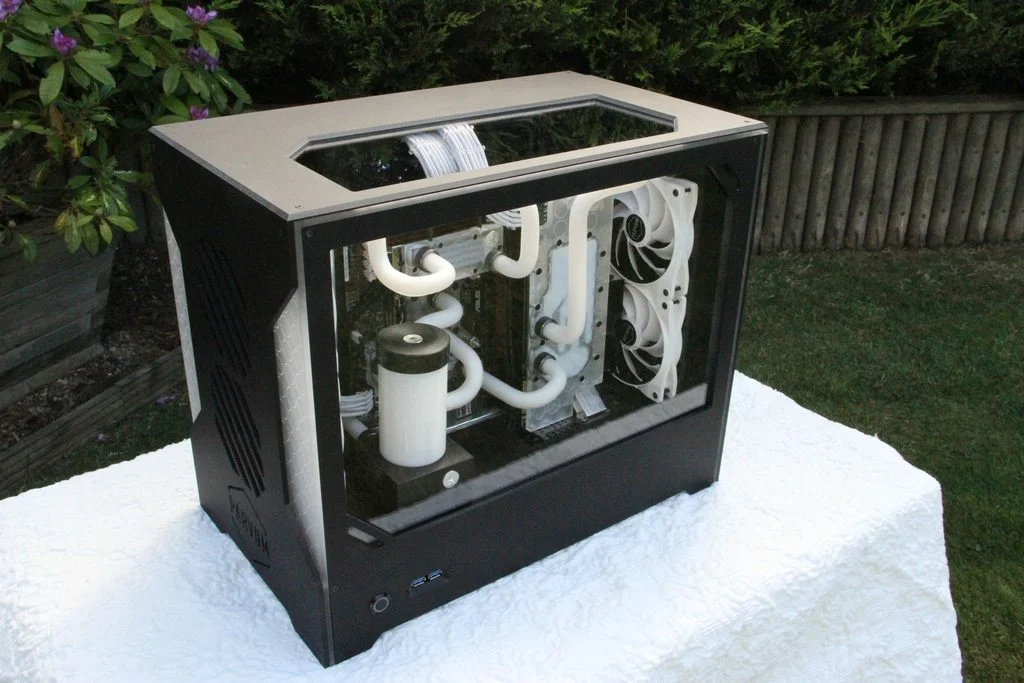
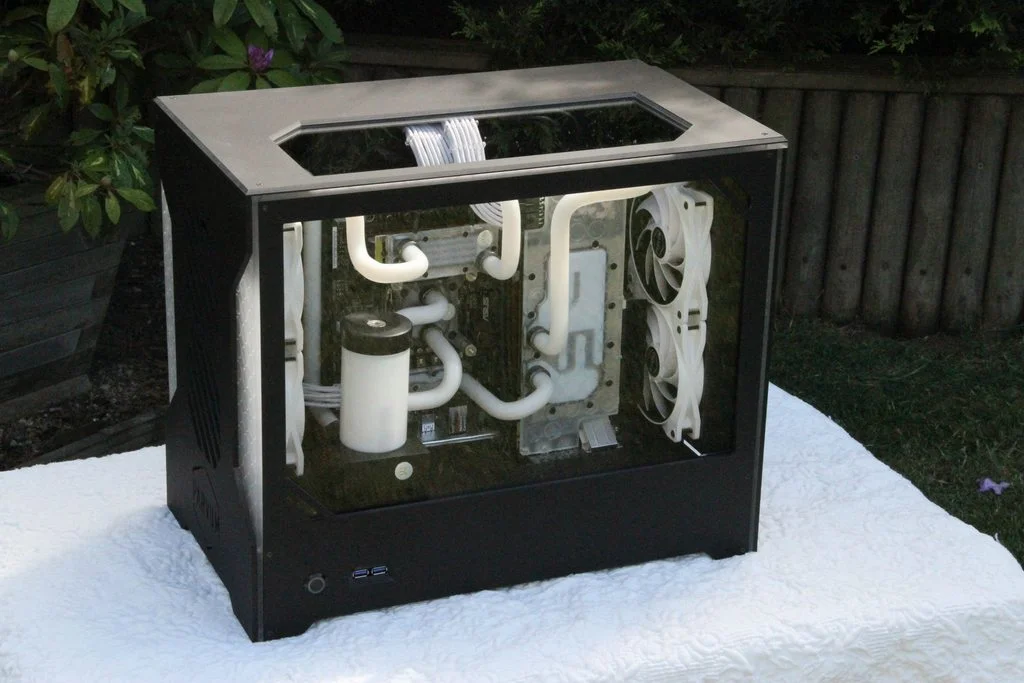
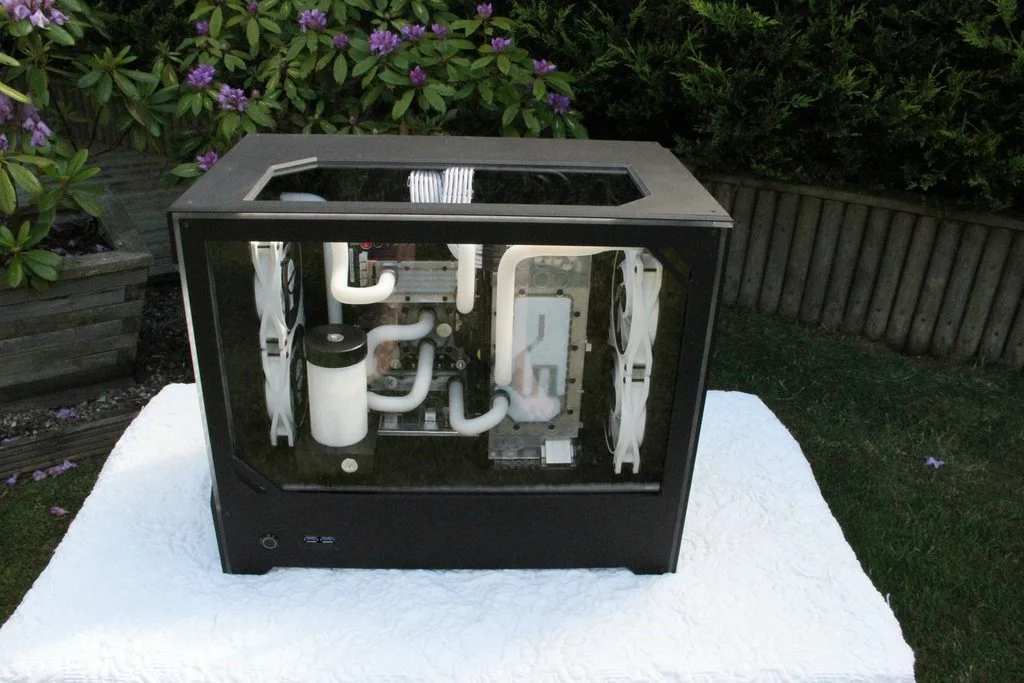
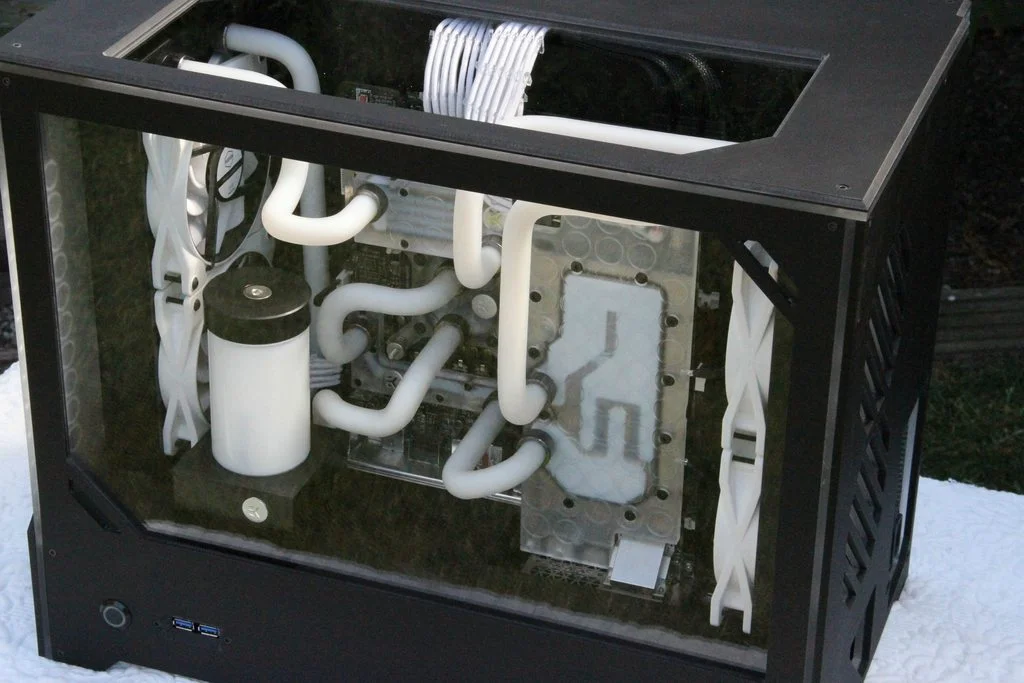
And with my chosen colour of lighting deep pink and indigo!
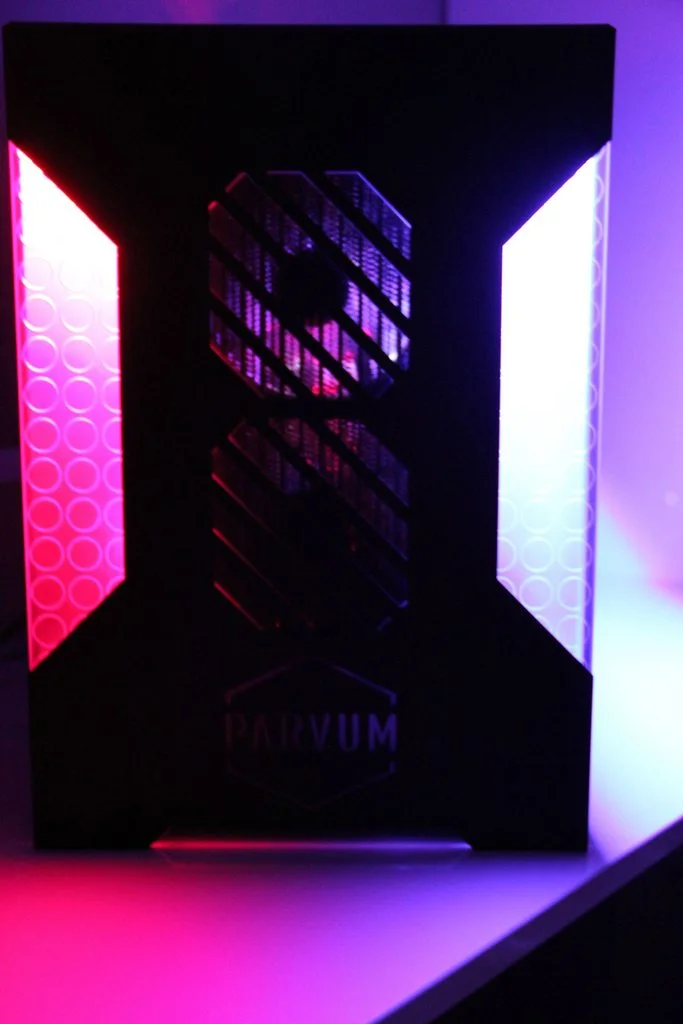
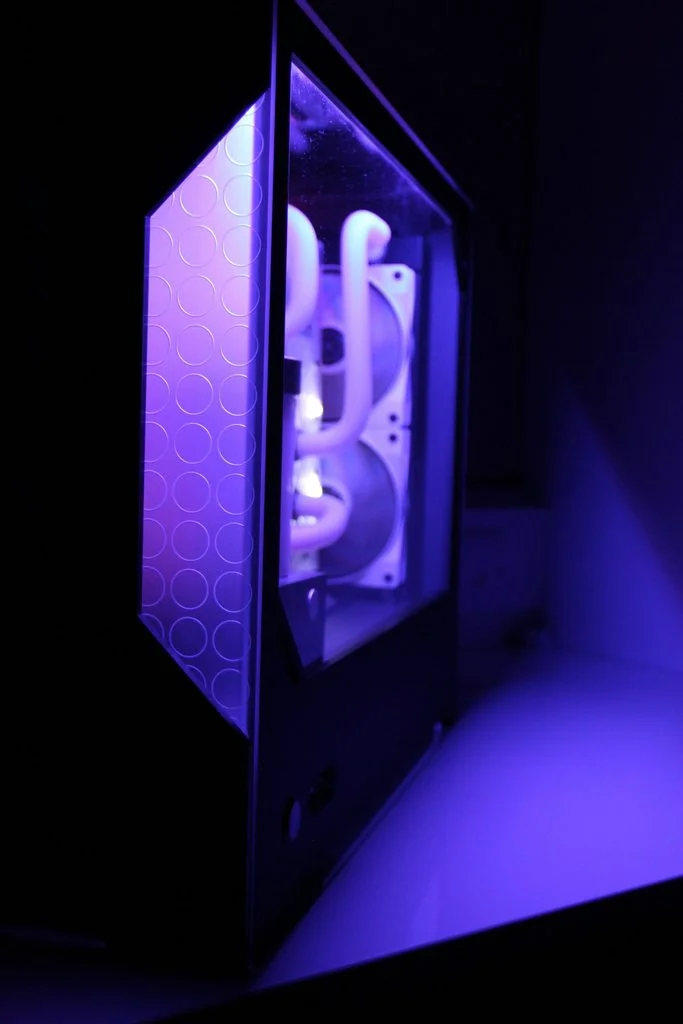
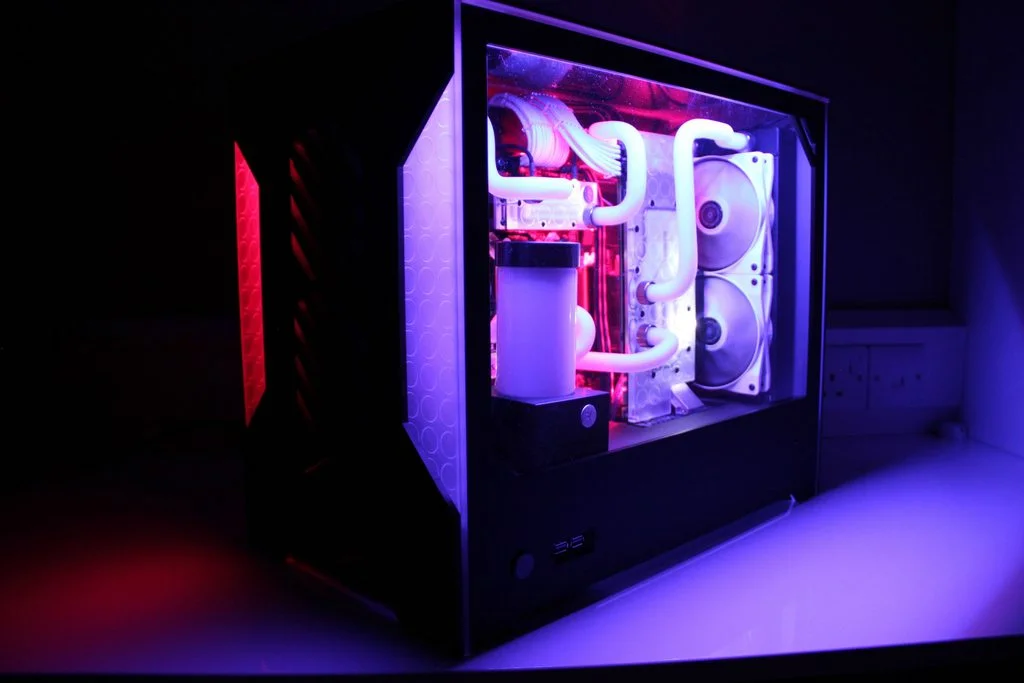
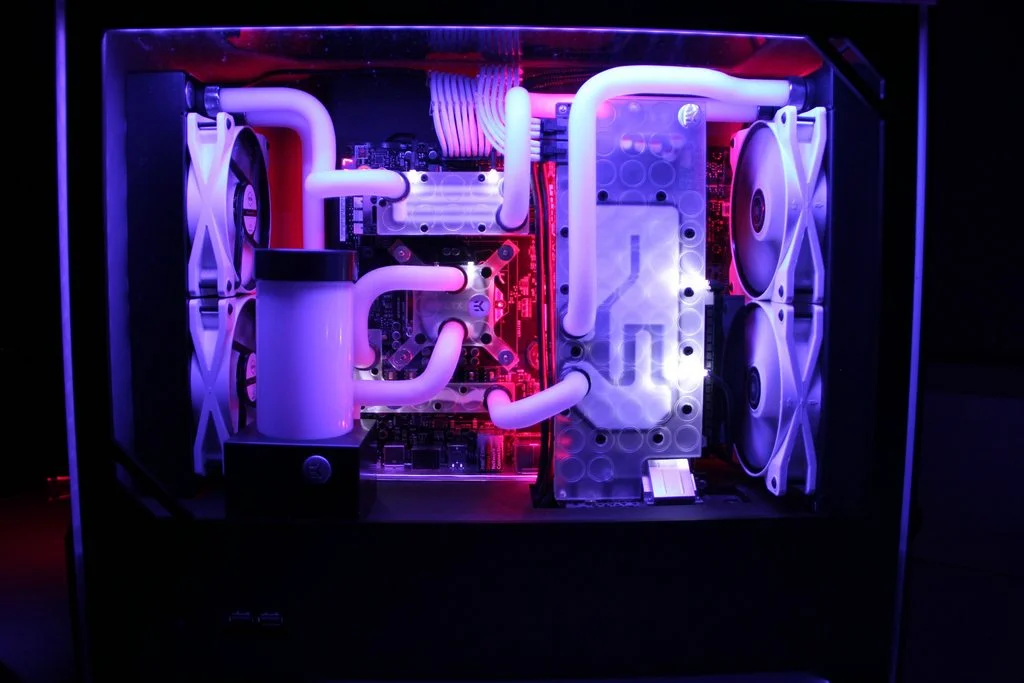
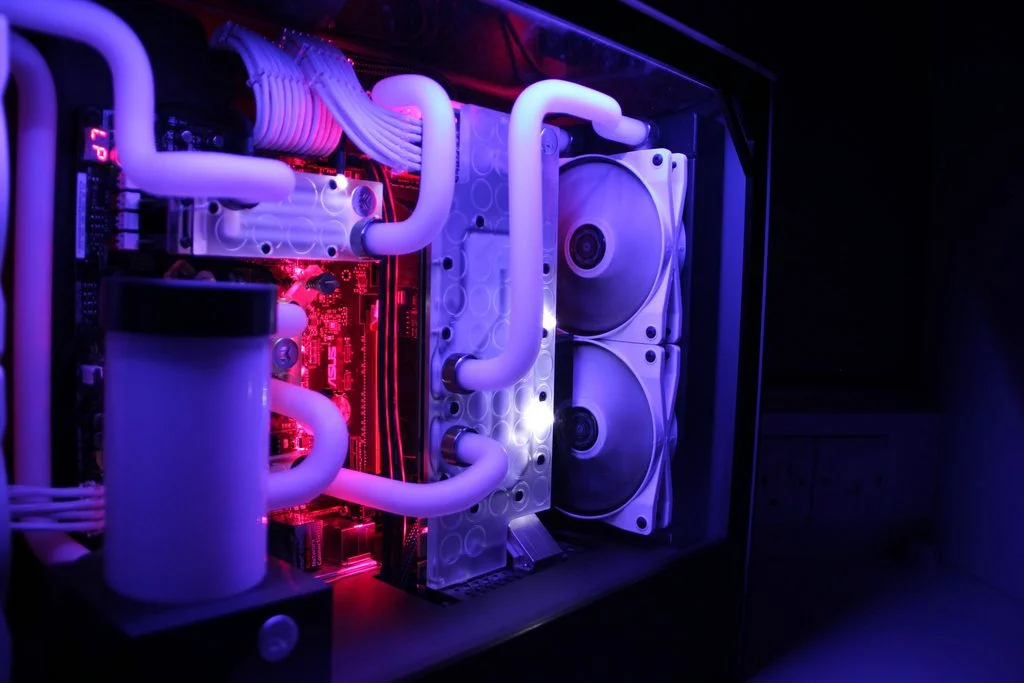
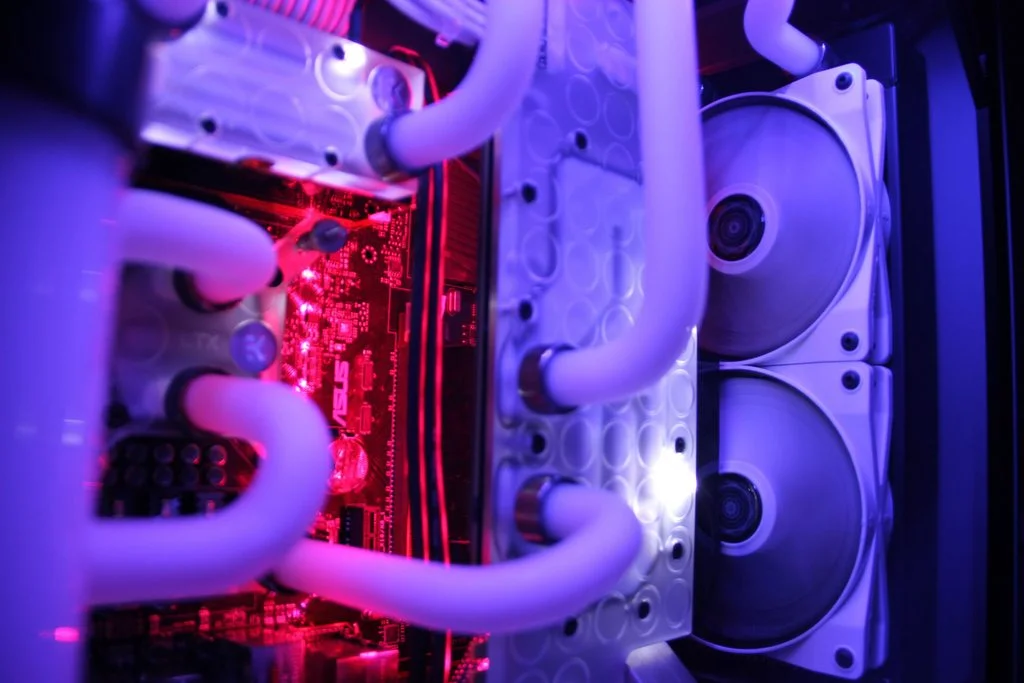
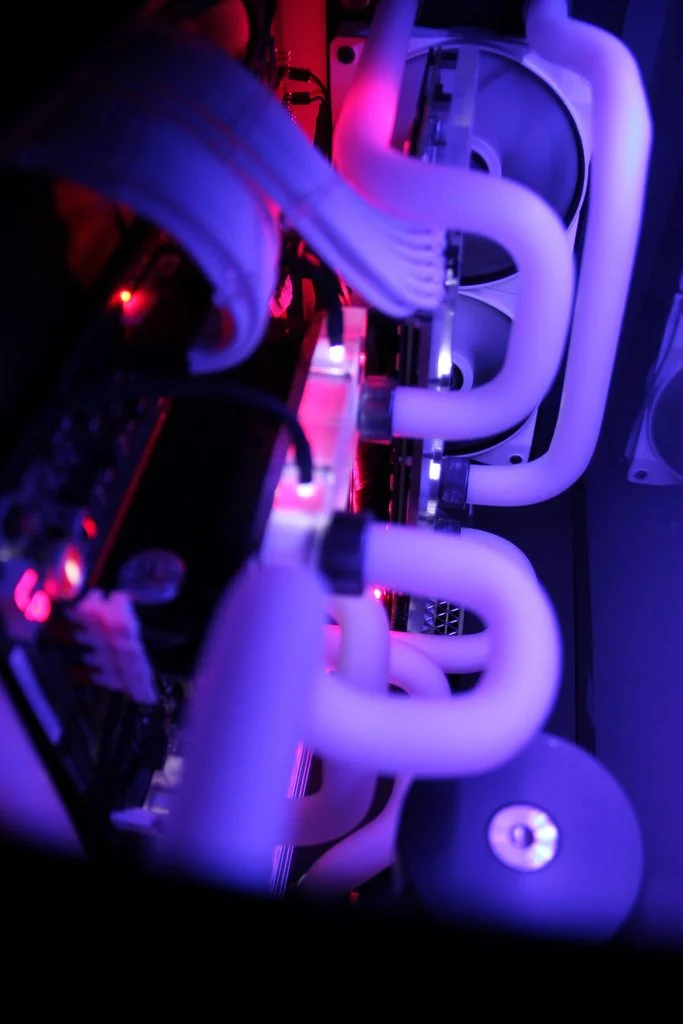
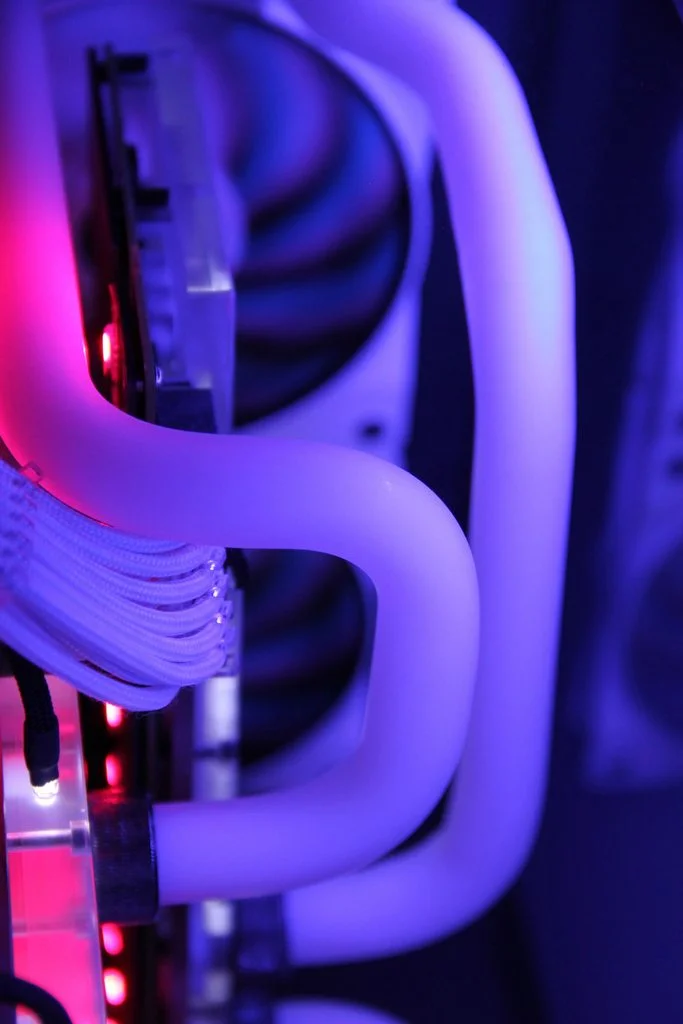
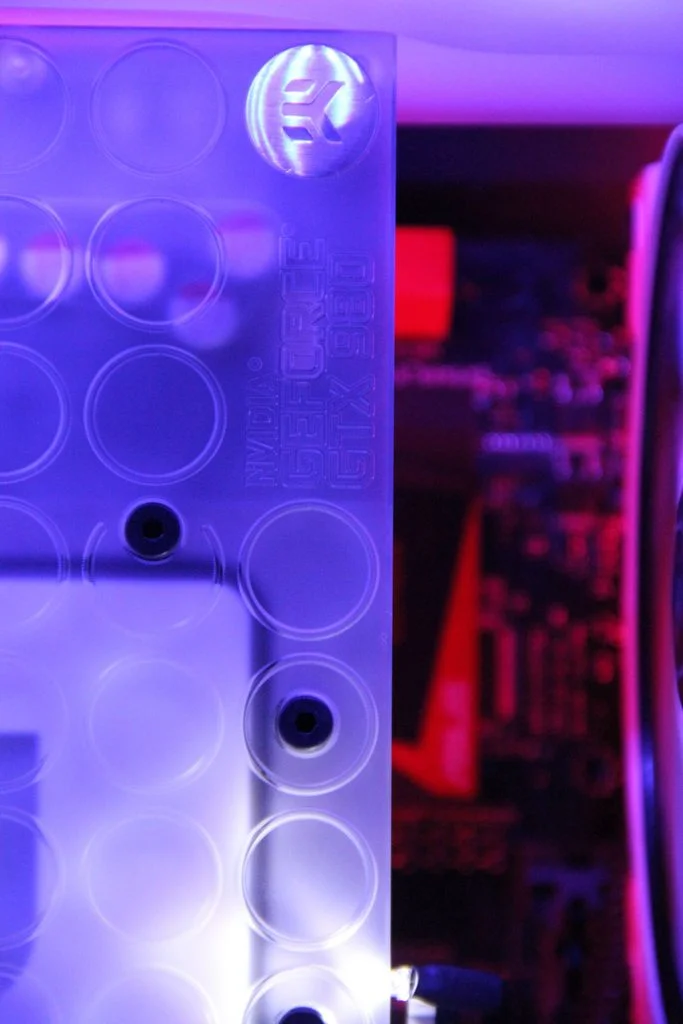
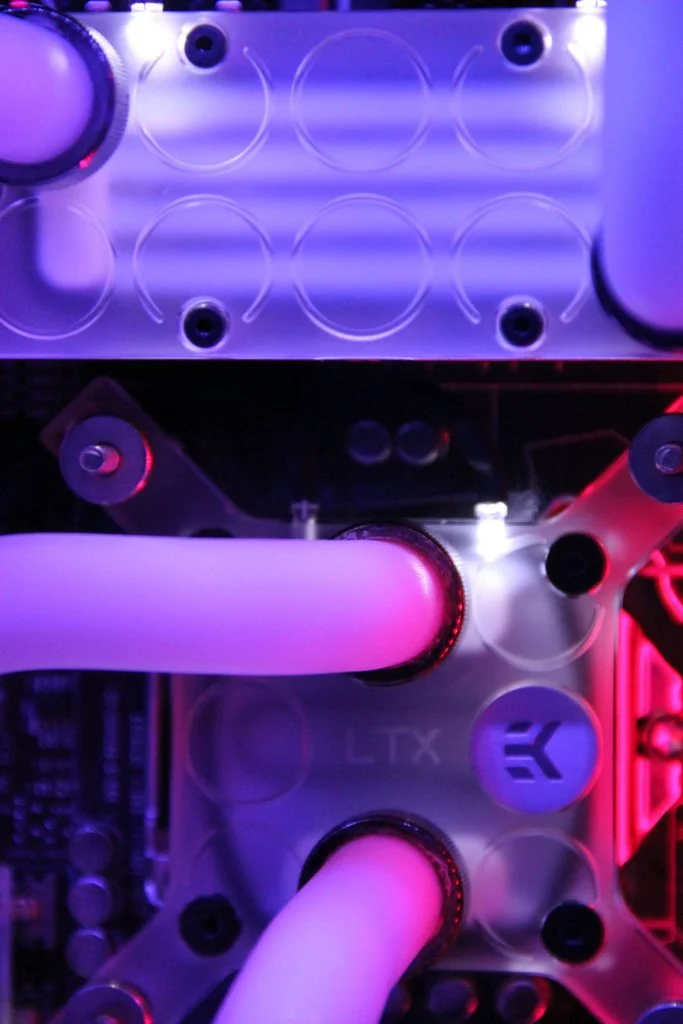
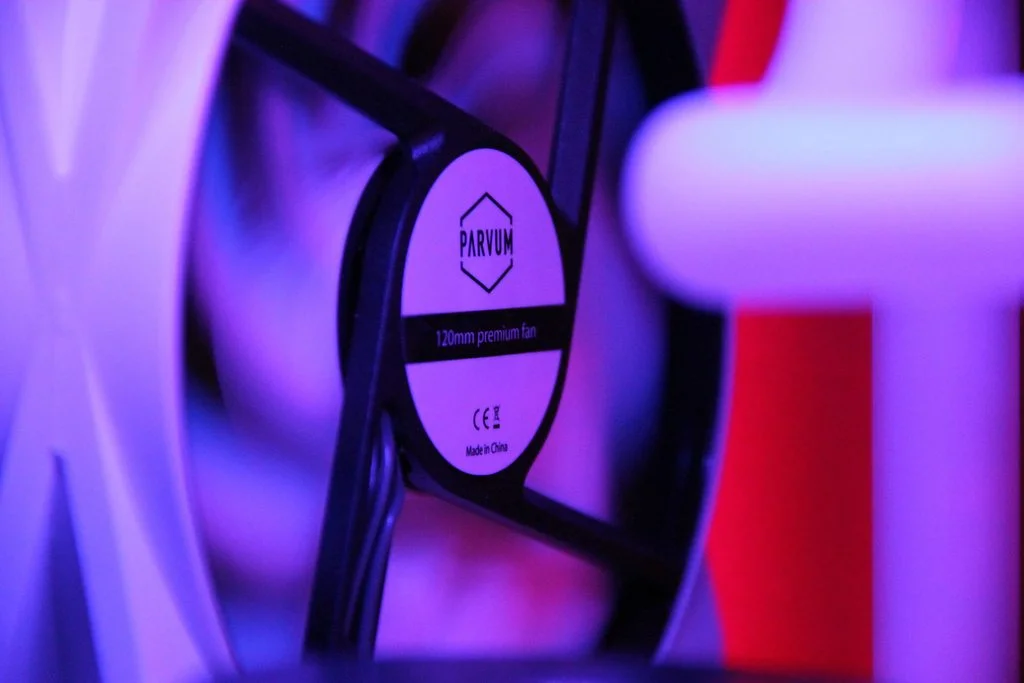
Sorry to be digging this thread up from the grave but here are the final shots of my project in all its glory.
Want to say a huge thanks to the guys over at Parvum for making this build a reality because without them I'd be stuck with some other case!
Enjoy!
And with my chosen colour of lighting deep pink and indigo!
What an amazing rig! Thank you for taking the time to post some many detailed photos for us to enjoy. I absolutely love your idea to run the cables from the bottom and to the side. I imagine changes are more work, but it makes that EK block really become a show piece.

Soldato
- Joined
- 29 Dec 2014
- Posts
- 2,630
- Location
- The "North"
This build looks great, nice clean tubing runs with perfect bends. The LED's just add a nice effect to the system.