Project Battlestar
Water cooled project using Corsair 540
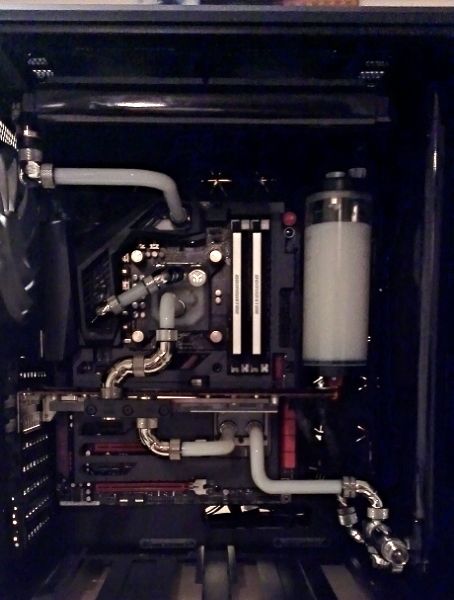
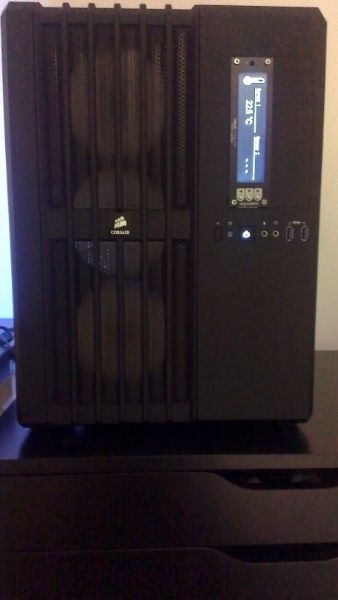
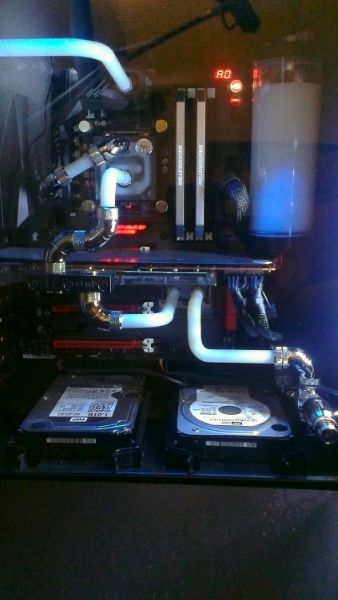
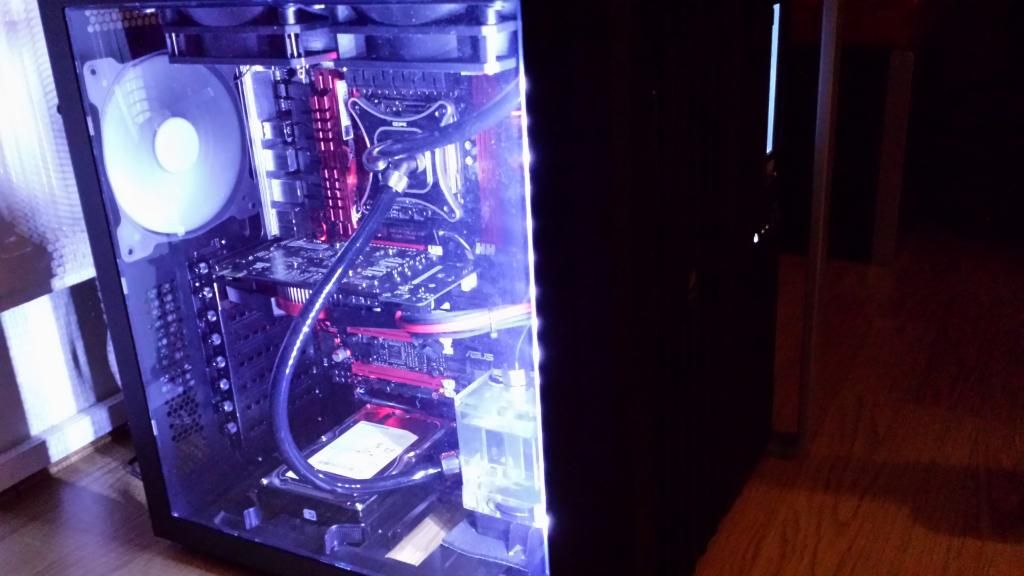
One of the criteria for this build was to show the reservoir and not hide it around the back so had decided to use the Bitspower 150ml reservoir. It's dimensions work well with the case size. to get the res to fit I had to opt for slimline rads and used the Black Ice stealth range. (See full specs for parts.) I'm really pleased I did, the cooling is excellent. Another criteria was to hide the fans, I really didn't want a case full of fans and I think watercooling is a great opportunity to clean up the inside of the case. The heart of the project had to look good, perform well, and have full board water cooling blocks from EK, the Asus Maximus Formula VI fulfills all of these. Throughout the build I had concerns how I was going to mount the reservoir. Ordinarily I would have used the brackets that came with the res and I always had in mind mounting it to the front radiator with a custom bracket. As it happens, by using a crossflow 240mm radiator for the top the exit aperture is in just the right position, I was able to mount the reservoir directly to the radiator by using a Bitspower male to male rotary fitting, this locks it in place with the added benefit of less tubing and fittings. No CD/DVD drive here, plumbed one in I had kicking around just to load the OS then removed immediately. Generally very happy with this case, would have liked the 5.25 bay to have been horizontal, the Aquaero fan controller would have looked better horizontal. Also, although the SATA connectors are a good idea at the bottom of the case the cables are hard wired and cannot be removed, they are way too long and tried as I may they make a real mess of the wiring in the back compartment. Hope you like it. More pics to follow.
Specs :
Corsair Carbide 540.
Asus Maximus Formula VI.
Corsair AX 860 Platinum PSU.
Intel i7 4770K Overclocked @ 4.6 MHz.
16 GB Dominator RAM.
2 x WD Black 1 TB spindle drives.
1 x Samsung Evo 250 GB SSD.
AMD R290 Graphics card (voltage unlocked).
EK Supremacy CPU water block.
EK-FB KIT ASUS M6F - Nickel Motherboard block (covers chipset and Mosfets).
EK-FC R9-290X with full backplate (This fits the R290 as it's physically identical to the R290X).
Bitspower 150ml Reservoir.
D5 Pump installed in rear of case.
E22 Acrylic tubing 10mm ID 12mm OD. Used EK silicone bending kit and heat gun to make the bends.
Bitspower fittings.
1 x 360mm Black Ice Stealth Radiator for front.
1 x 240mm Black Ice Stealth radiator Xflow for top.
3 x 120mm Noiseblocker PL2's on front radiator (push facing in).
2 x 120mm Noiseblocker PL2's on top radiator (push facing in).
Standard exhaust case fan.
Aquaero 5 pro fan controller.
2 x Mod My Toys pcb fan splitters.
1 x Aquacomputer coolant temp sensor. Fitted to intake of top radiator after all components.
Temps :
CPU Idle 27.0 +/- 1.0 (average)
GPU Idle 29.0 +/- 1.0 (average)
Coolant Idle 22.5 (average)
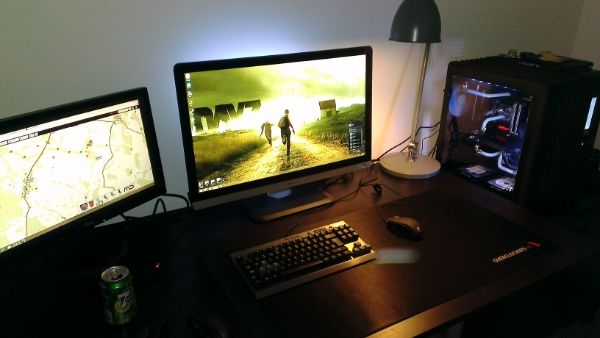
After 2 hours solid Battlefield 4 / DayZ
CPU 46.0 +/- 1.0 (average)
GPU 49.0 +/- 1.0 (average)
Coolant 32.0 +/- 1.0 (average)
I guess the above is meaningless without ambient temps, will update soon.
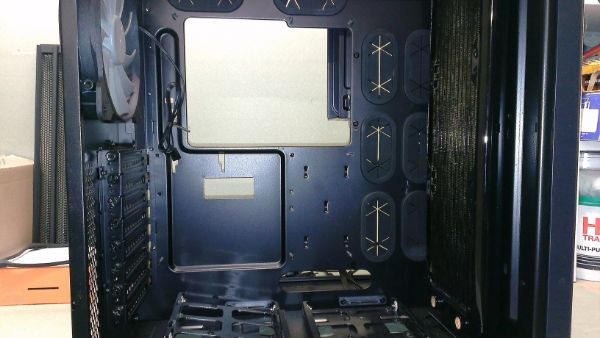
Case showing front Black Ice Stealth radiator. Note Inlet and outlet apertures at bottom, the proximity to the drive bays has been a concern for some. By using Bitspower 90 degree rotary fittings the clearance is fine.
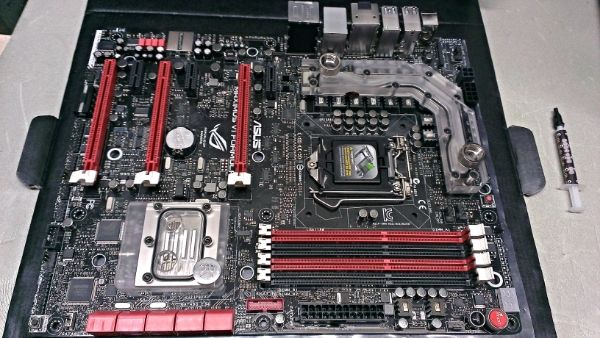
Full EK Board blocks minus the CPU block and vanity cover
Water loop flow order.
Reservoir => Pump => Front 360mm radiator => Chipset => GPU => CPU => Mosfet => Top 240mm radiator =>.


