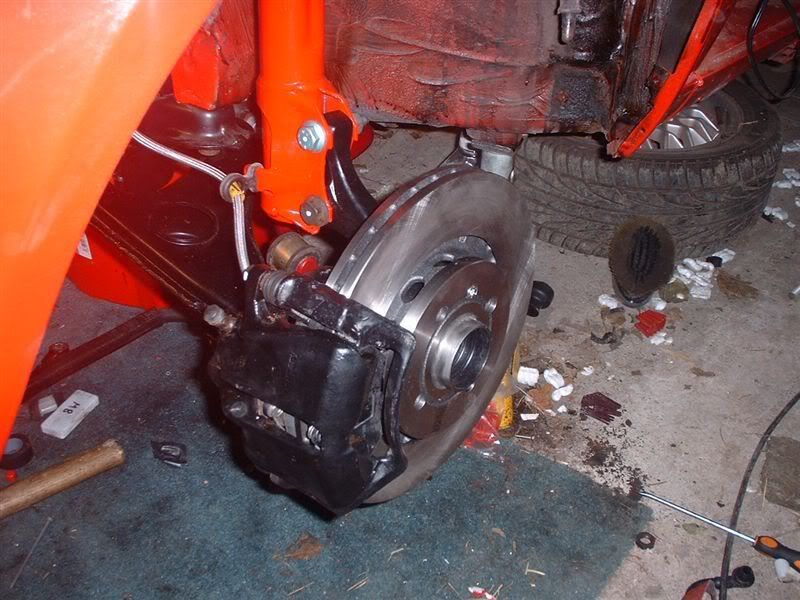
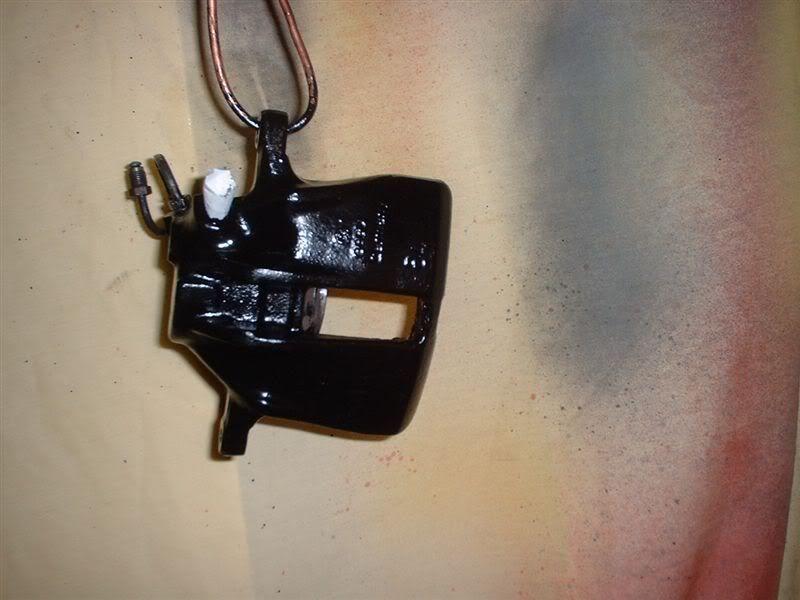
Faithless said:Yum! What paint are you using on the calipers my good man?
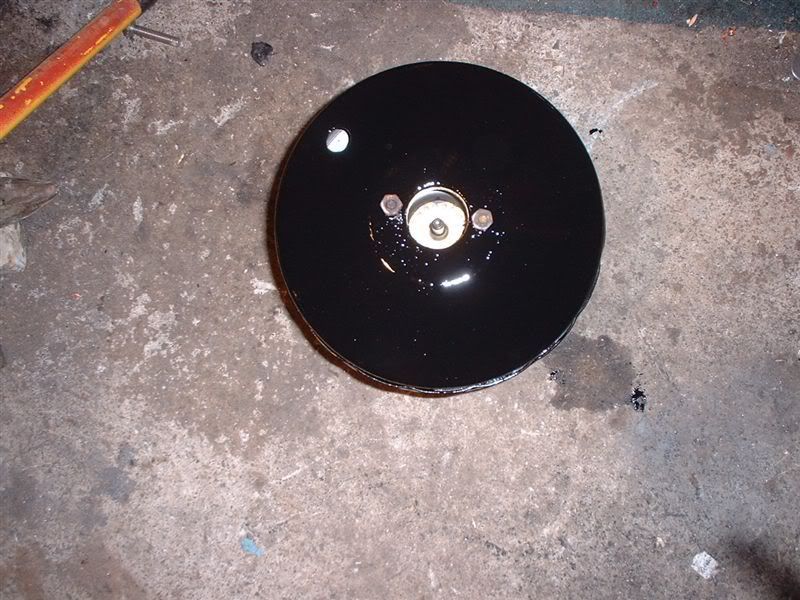
Halfords High Temp Engine Paint, it's Satin Black I think. Matches the powder coating I had done nicely.
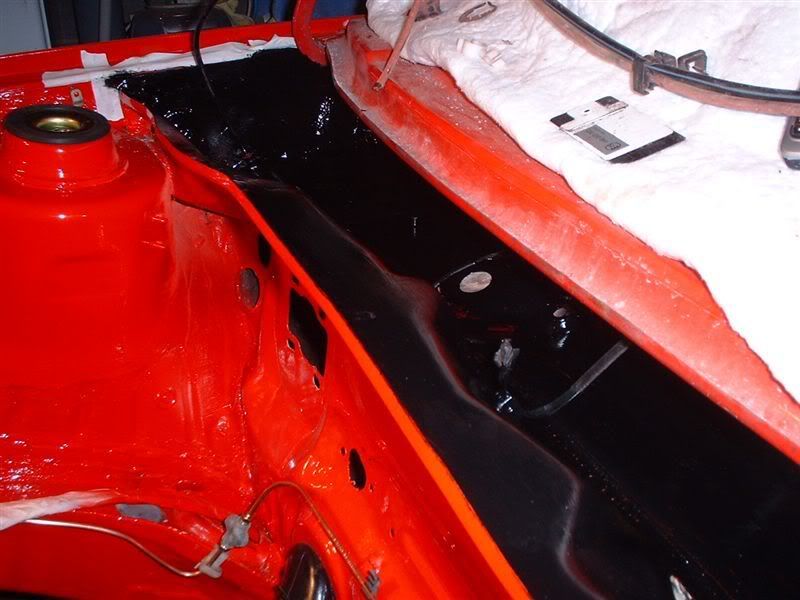
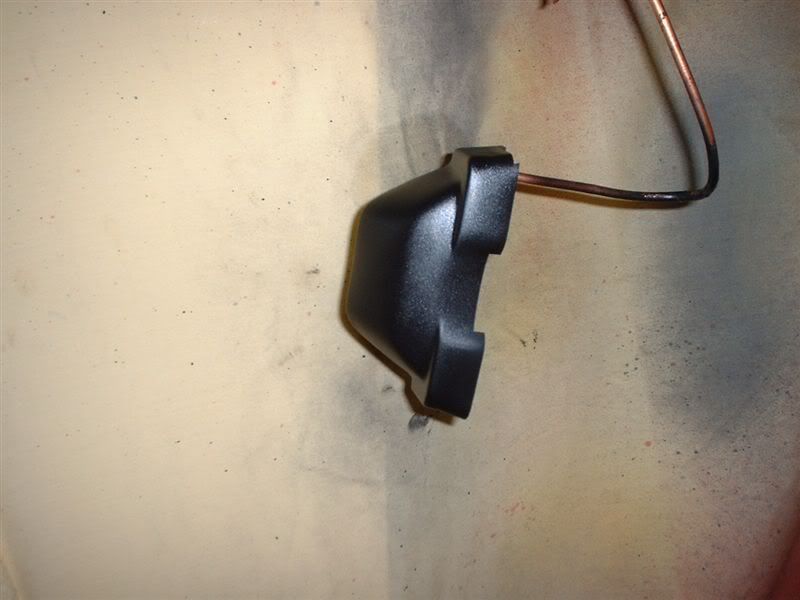
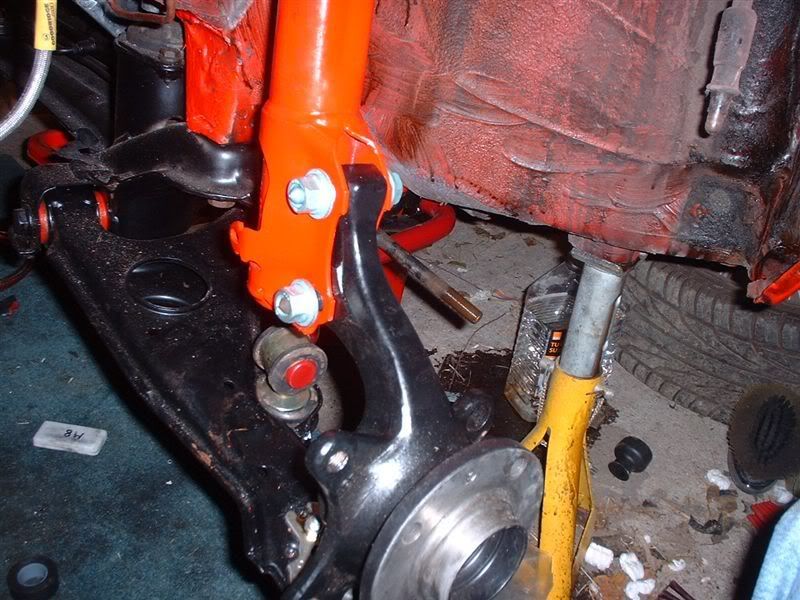
Caliper has come up well, I spent an hour on prep before painting!
Faithless said:Yum! What paint are you using on the calipers my good man?
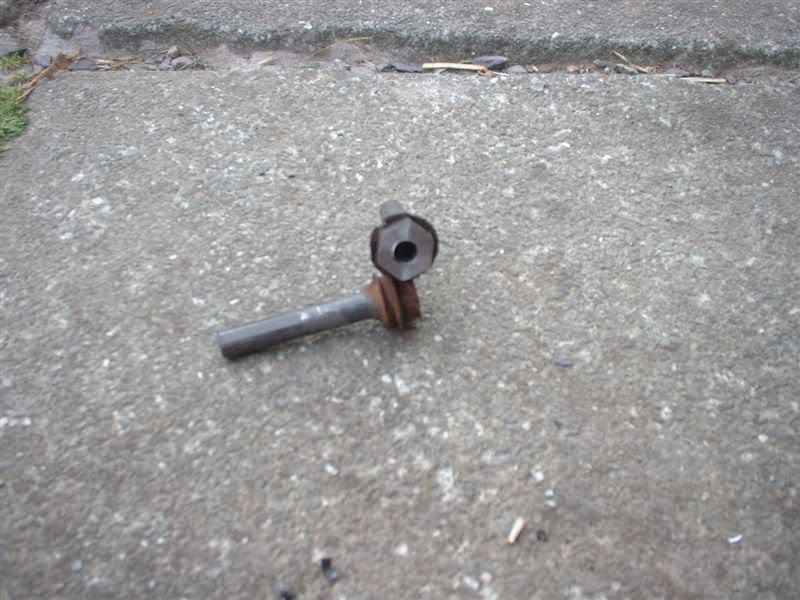
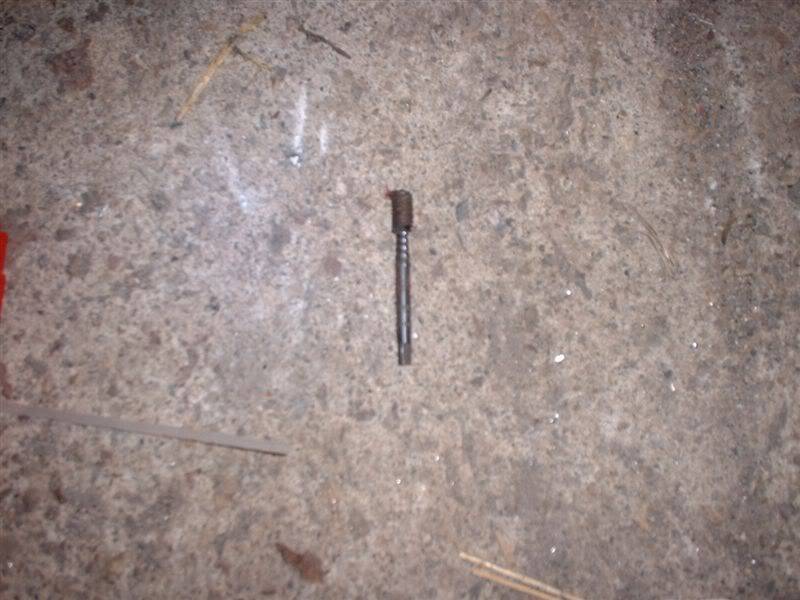
Lopéz said:Tool arrived dude, I recognised the handwriting- cheers, it's a whopper!
Firestar_3x said:How did you find the paint was it the spray on stuff?
I did my crossover tubes and intake in it lastnight (Red) and it fingerprints like mad!
Firestar_3x said:Didn't explain myself very well, primed / sprayed / dryed overnight, but since the finish is very matt and has no overcoat it picks up... say i have a little bit of oil on my hands it picks that up and sticks like mad, can you buy high temp laquer?
Faithless said:The temperature tolerance of normal laquer is amazingly high. It would certainly be ok for most hot applications (rocker covers et al)
Thanks for the info L1J - contemplating giving my calipers a spring clean and paint but might stick with some hammerite stuff.
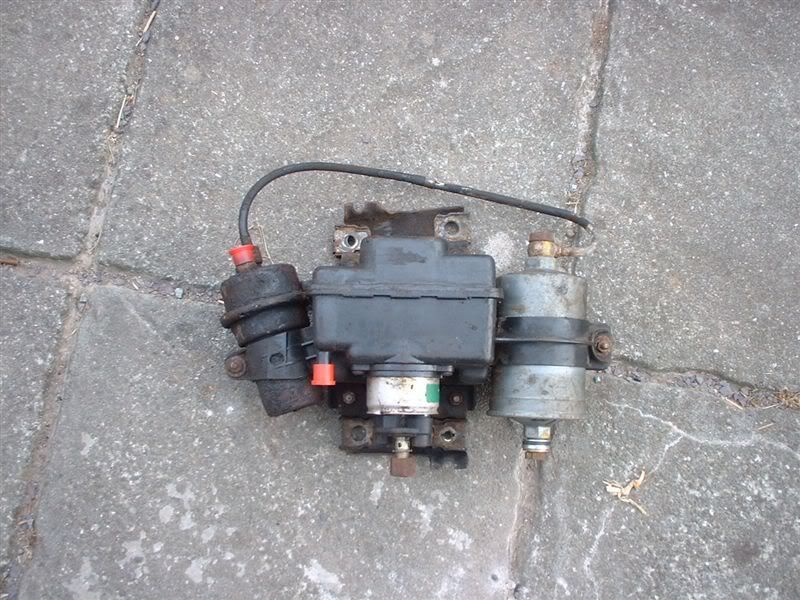
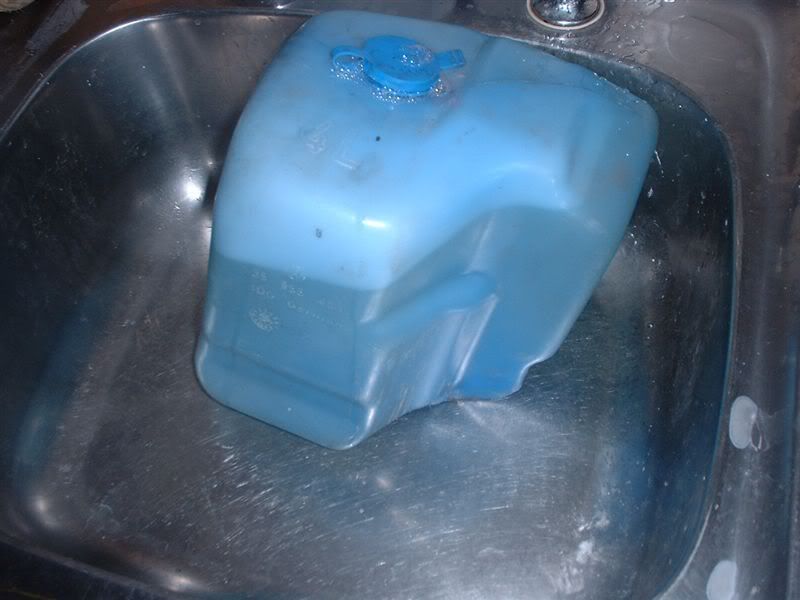
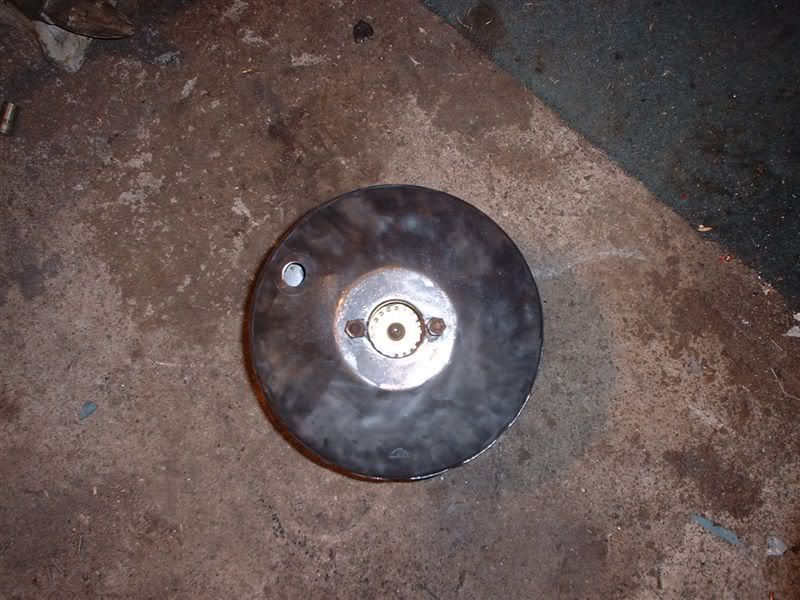
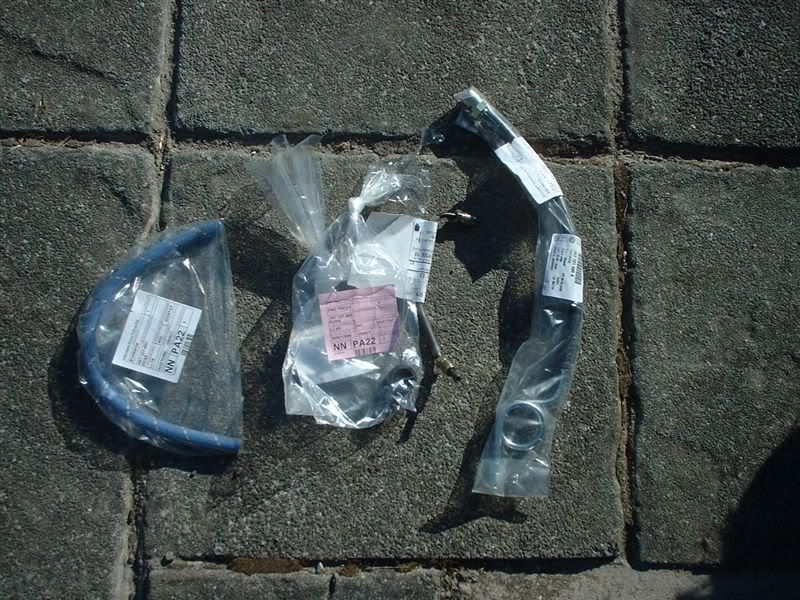
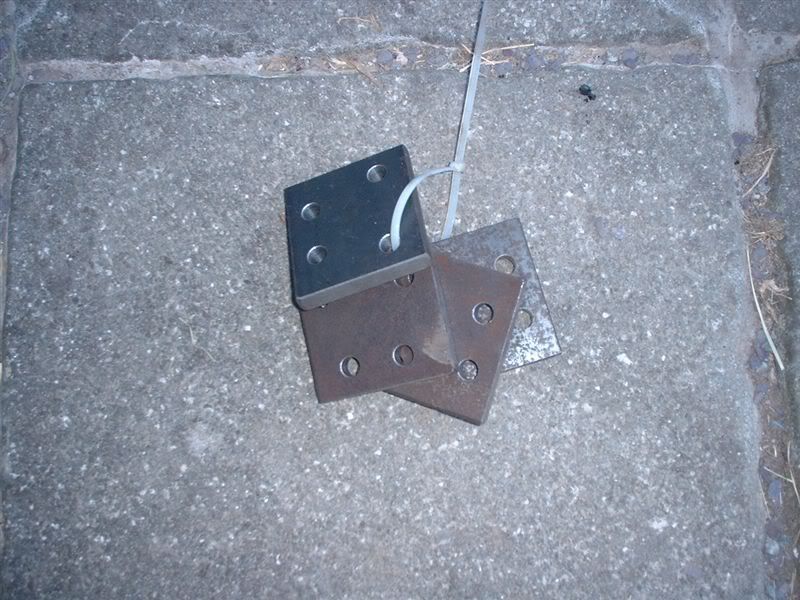
 so here it is soaking in bleach

Shaz]sigh[ said:Go on then, when do you expect to be finished?
RR?
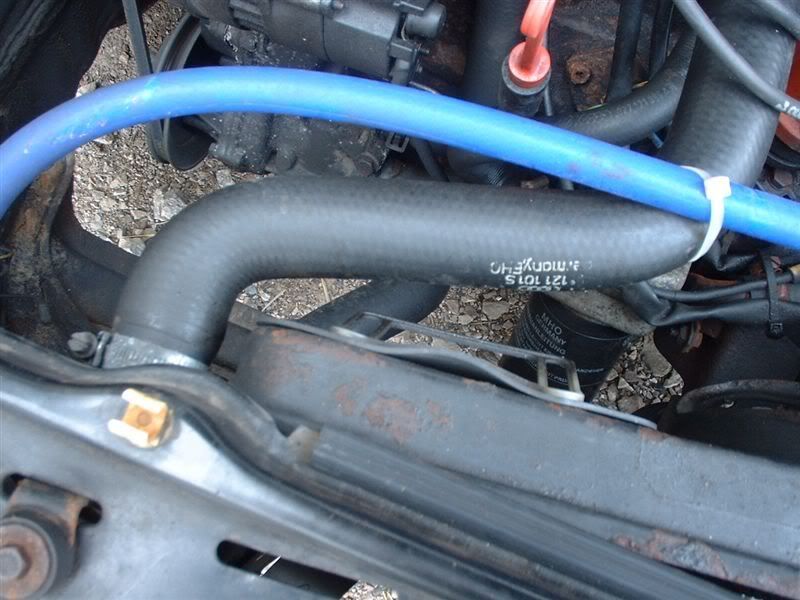
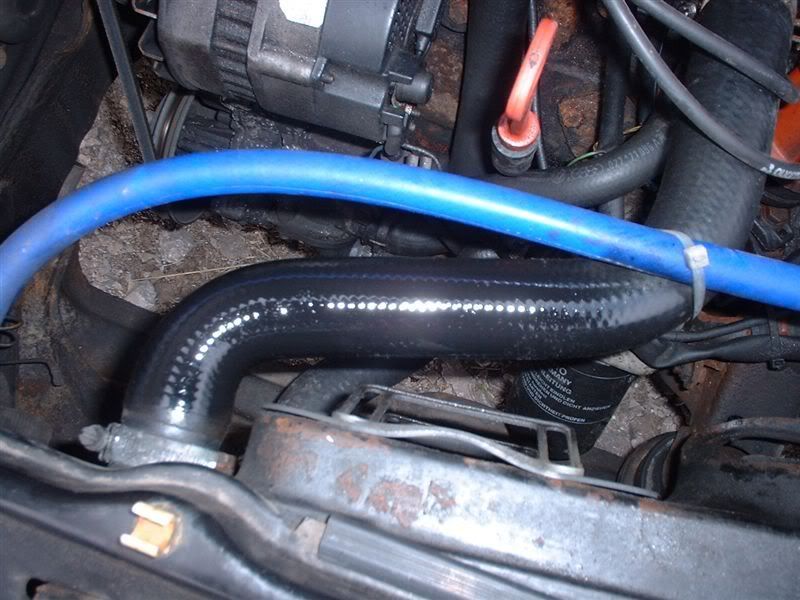
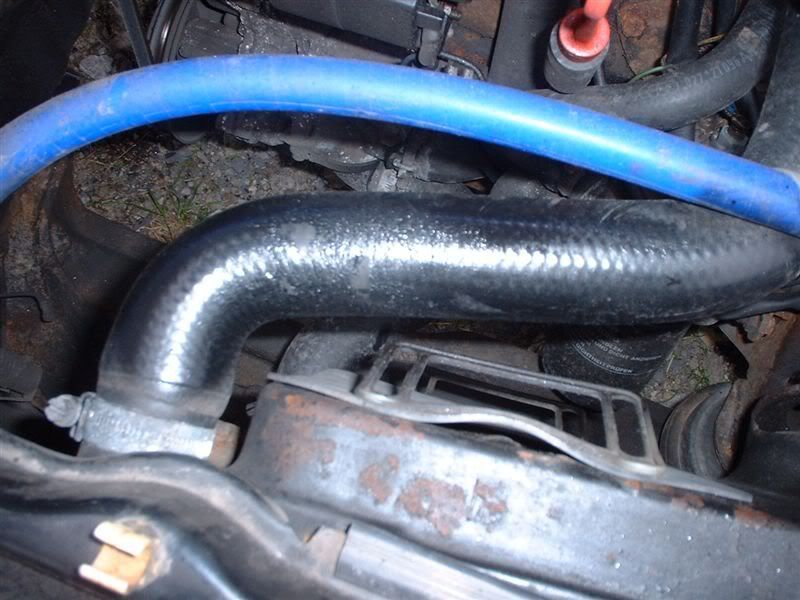
Faithless said:Would that Vinyl paint work on those hoses or would it crack and split with heat, etc?
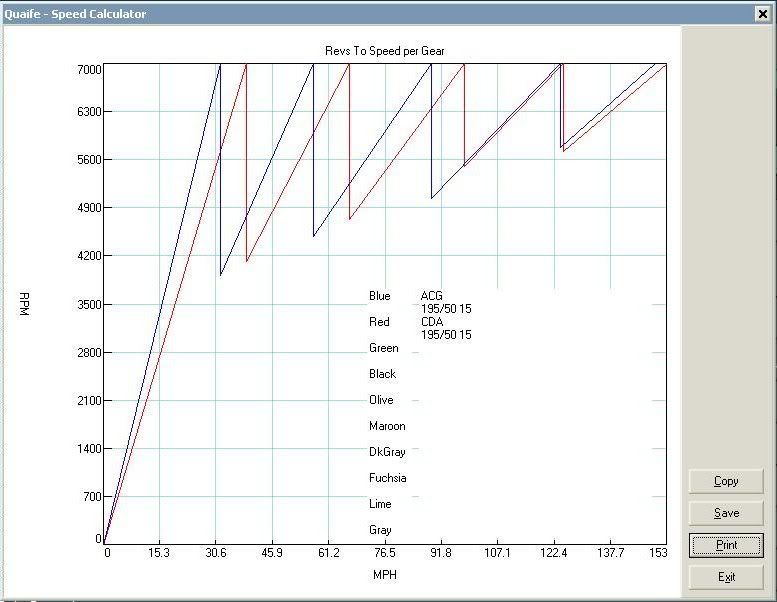
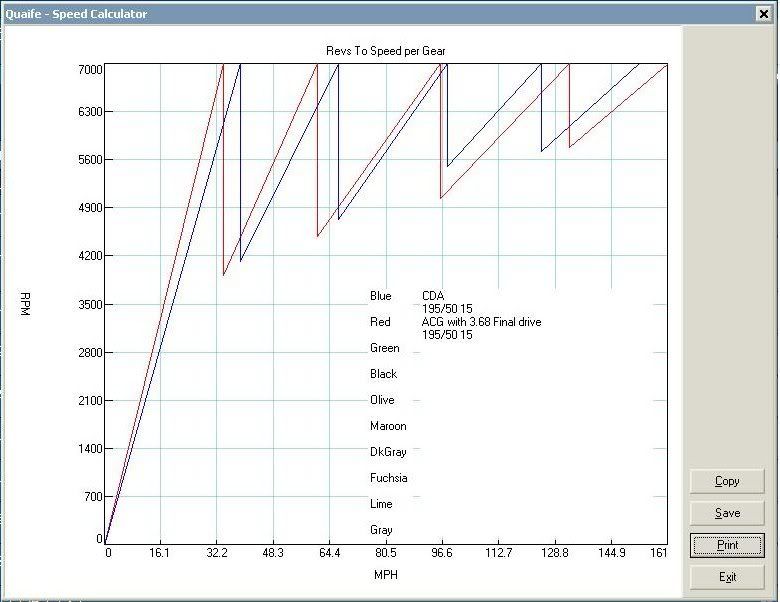
paul_64l said:woudlnt you be better off with a close ratio gearbox for acceleration.. also a longer final drive doesnt really mean you have a higher top end... you will need more power to get you where you need to go with longer gears
")
Faithless said:Would that Vinyl paint work on those hoses or would it crack and split with heat, etc?
benneh said:Excellent work chap. Really nice to see an old motor come to life.
tbz_ck said:So what happened yesterday? We need updates I tell ya !!
tbz_ck said:We are spoiled, but you set the tone of the thread with your excellent regular updates, so we demand excellence and regularity in return")


tbz_ck said:OOooo Ooooooo a good mystery. Do tell
turbojunk said:Snip...
Goliath said:Llyr -
Congrats on a fantastic looking project (and a detailed & regular build thread - a rarity
John.