You are using an out of date browser. It may not display this or other websites correctly.
You should upgrade or use an alternative browser.
You should upgrade or use an alternative browser.
Opteron Prime - Supermicro 4P folding mayham
- Thread starter Hukkel
- Start date
More options
Thread starter's posts3 x power leads at the back
That's because at the front there is 3 power supplies, common to have 2 or 3 in a server case for redundancy. And no point having 3 power supplies on 1 inlet because then you're back to a single point of failure

Subbed, looks very interesting. I have a question, obviously you'll be putting a lot of effort into the physical build of the machine, but will you please give us an idea of how you actually set up the software for folding on such a beast (Once you get to that stage of course)? I have no concept of the complexity of such a setup, maybe it's relatively straight forward?
Look forward to seeing more in the future, good luck.
Look forward to seeing more in the future, good luck.
Absolutely Epic. This thing just gets better and better. I never realised just how big that case was until I saw it stood on your 'WorkMate'  It's an absolute monster, and that's before it's slotted into the outer case. I hope whereever it's placed is very sturdy, that's going to weigh as much as a small car when fully built
 It's an absolute monster, and that's before it's slotted into the outer case. I hope whereever it's placed is very sturdy, that's going to weigh as much as a small car when fully built
Subbed, looks very interesting. I have a question, obviously you'll be putting a lot of effort into the physical build of the machine, but will you please give us an idea of how you actually set up the software for folding on such a beast (Once you get to that stage of course)? I have no concept of the complexity of such a setup, maybe it's relatively straight forward?
Look forward to seeing more in the future, good luck.
Hey Colin, yeah man I will explain it step by step at some point hopefully.
I might have to do it afterwards. But I will explain the entire route.
Absolutely Epic. This thing just gets better and better. I never realised just how big that case was until I saw it stood on your 'WorkMate'It's an absolute monster, and that's before it's slotted into the outer case. I hope whereever it's placed is very sturdy, that's going to weigh as much as a small car when fully built

Yeah it scares me as well. It will need to be shipped across the world to trade shows. That is going to be a costly experience. Plus I am really affraid it will get damaged along the way. I am going to build a transport case for it. But first this needs to be finished and time is running out for the deadline.
this is some crazyyy ****loving it
Good to read

3 x power leads at the back
That's because at the front there is 3 power supplies, common to have 2 or 3 in a server case for redundancy. And no point having 3 power supplies on 1 inlet because then you're back to a single point of failure
Exactly. I have 2 PSUs in the 3 slots now. If I ever get GFX cards in as well a 3rd PSU could be in the cards.
----------------------------------------------
I have done many small things to the case that aren't really worth mentioning.
And I ran out of metal saws, black spraypaint and Dremel cutting blades

So I have to get them this week.
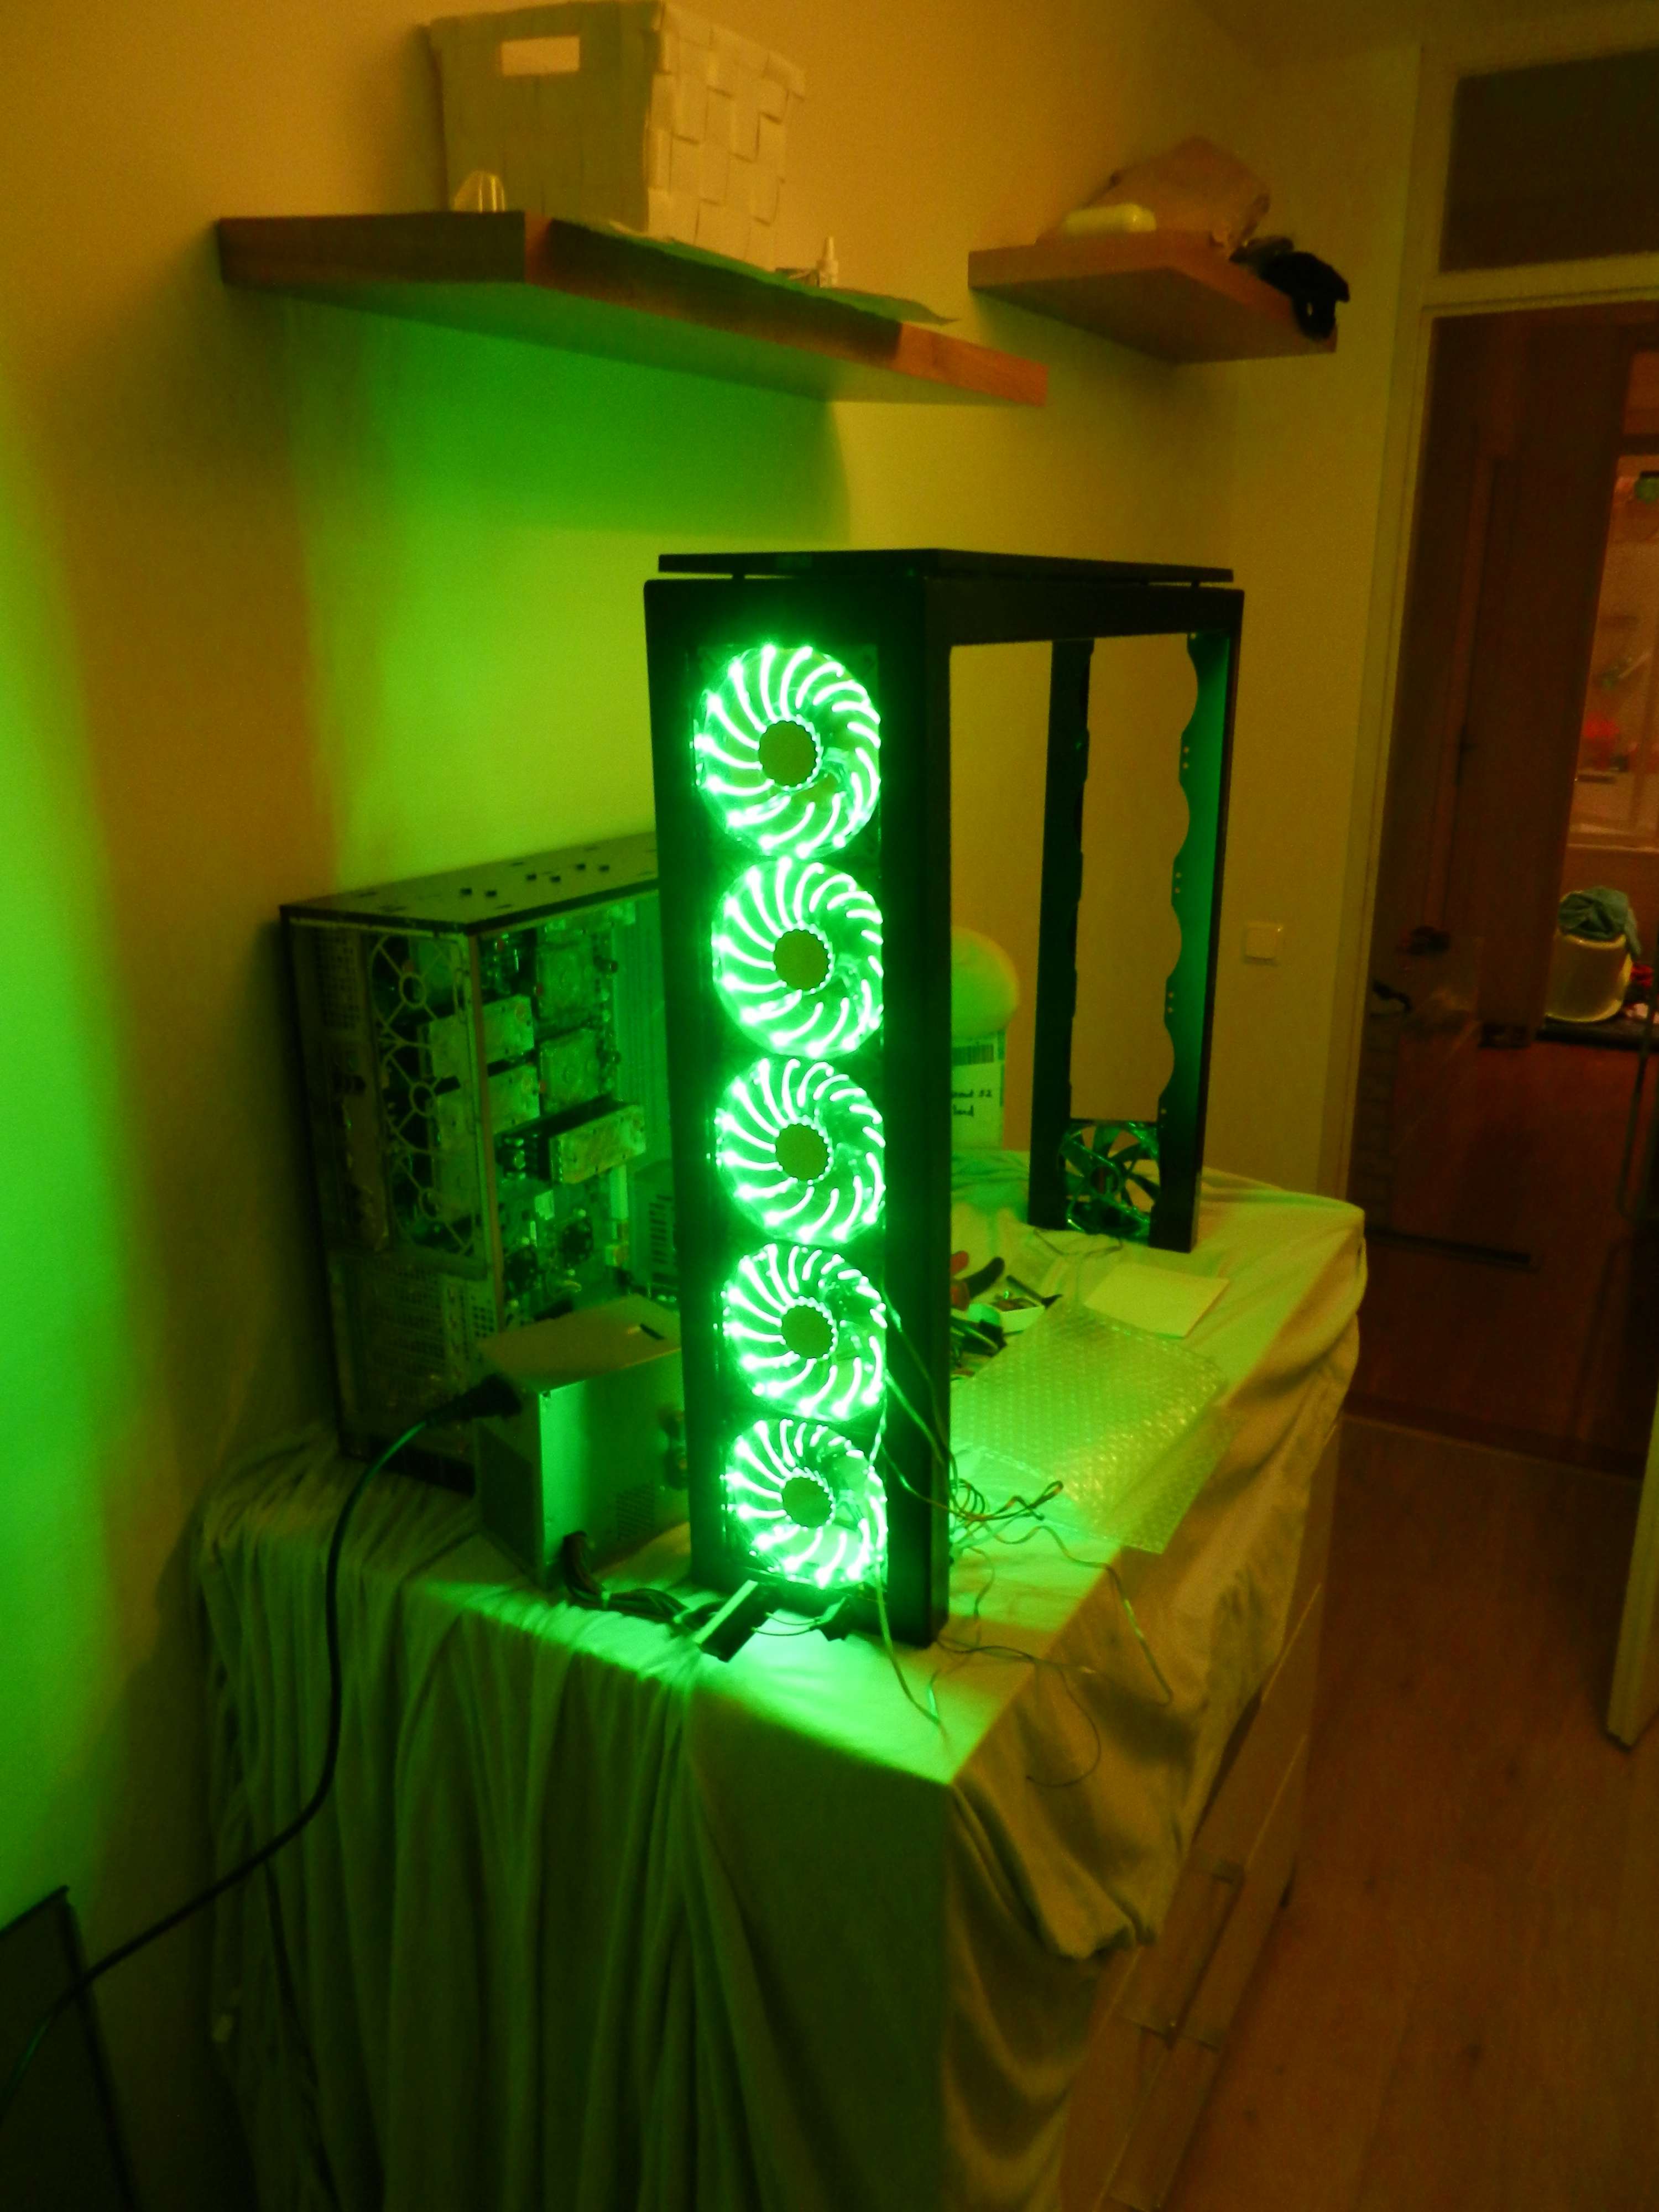
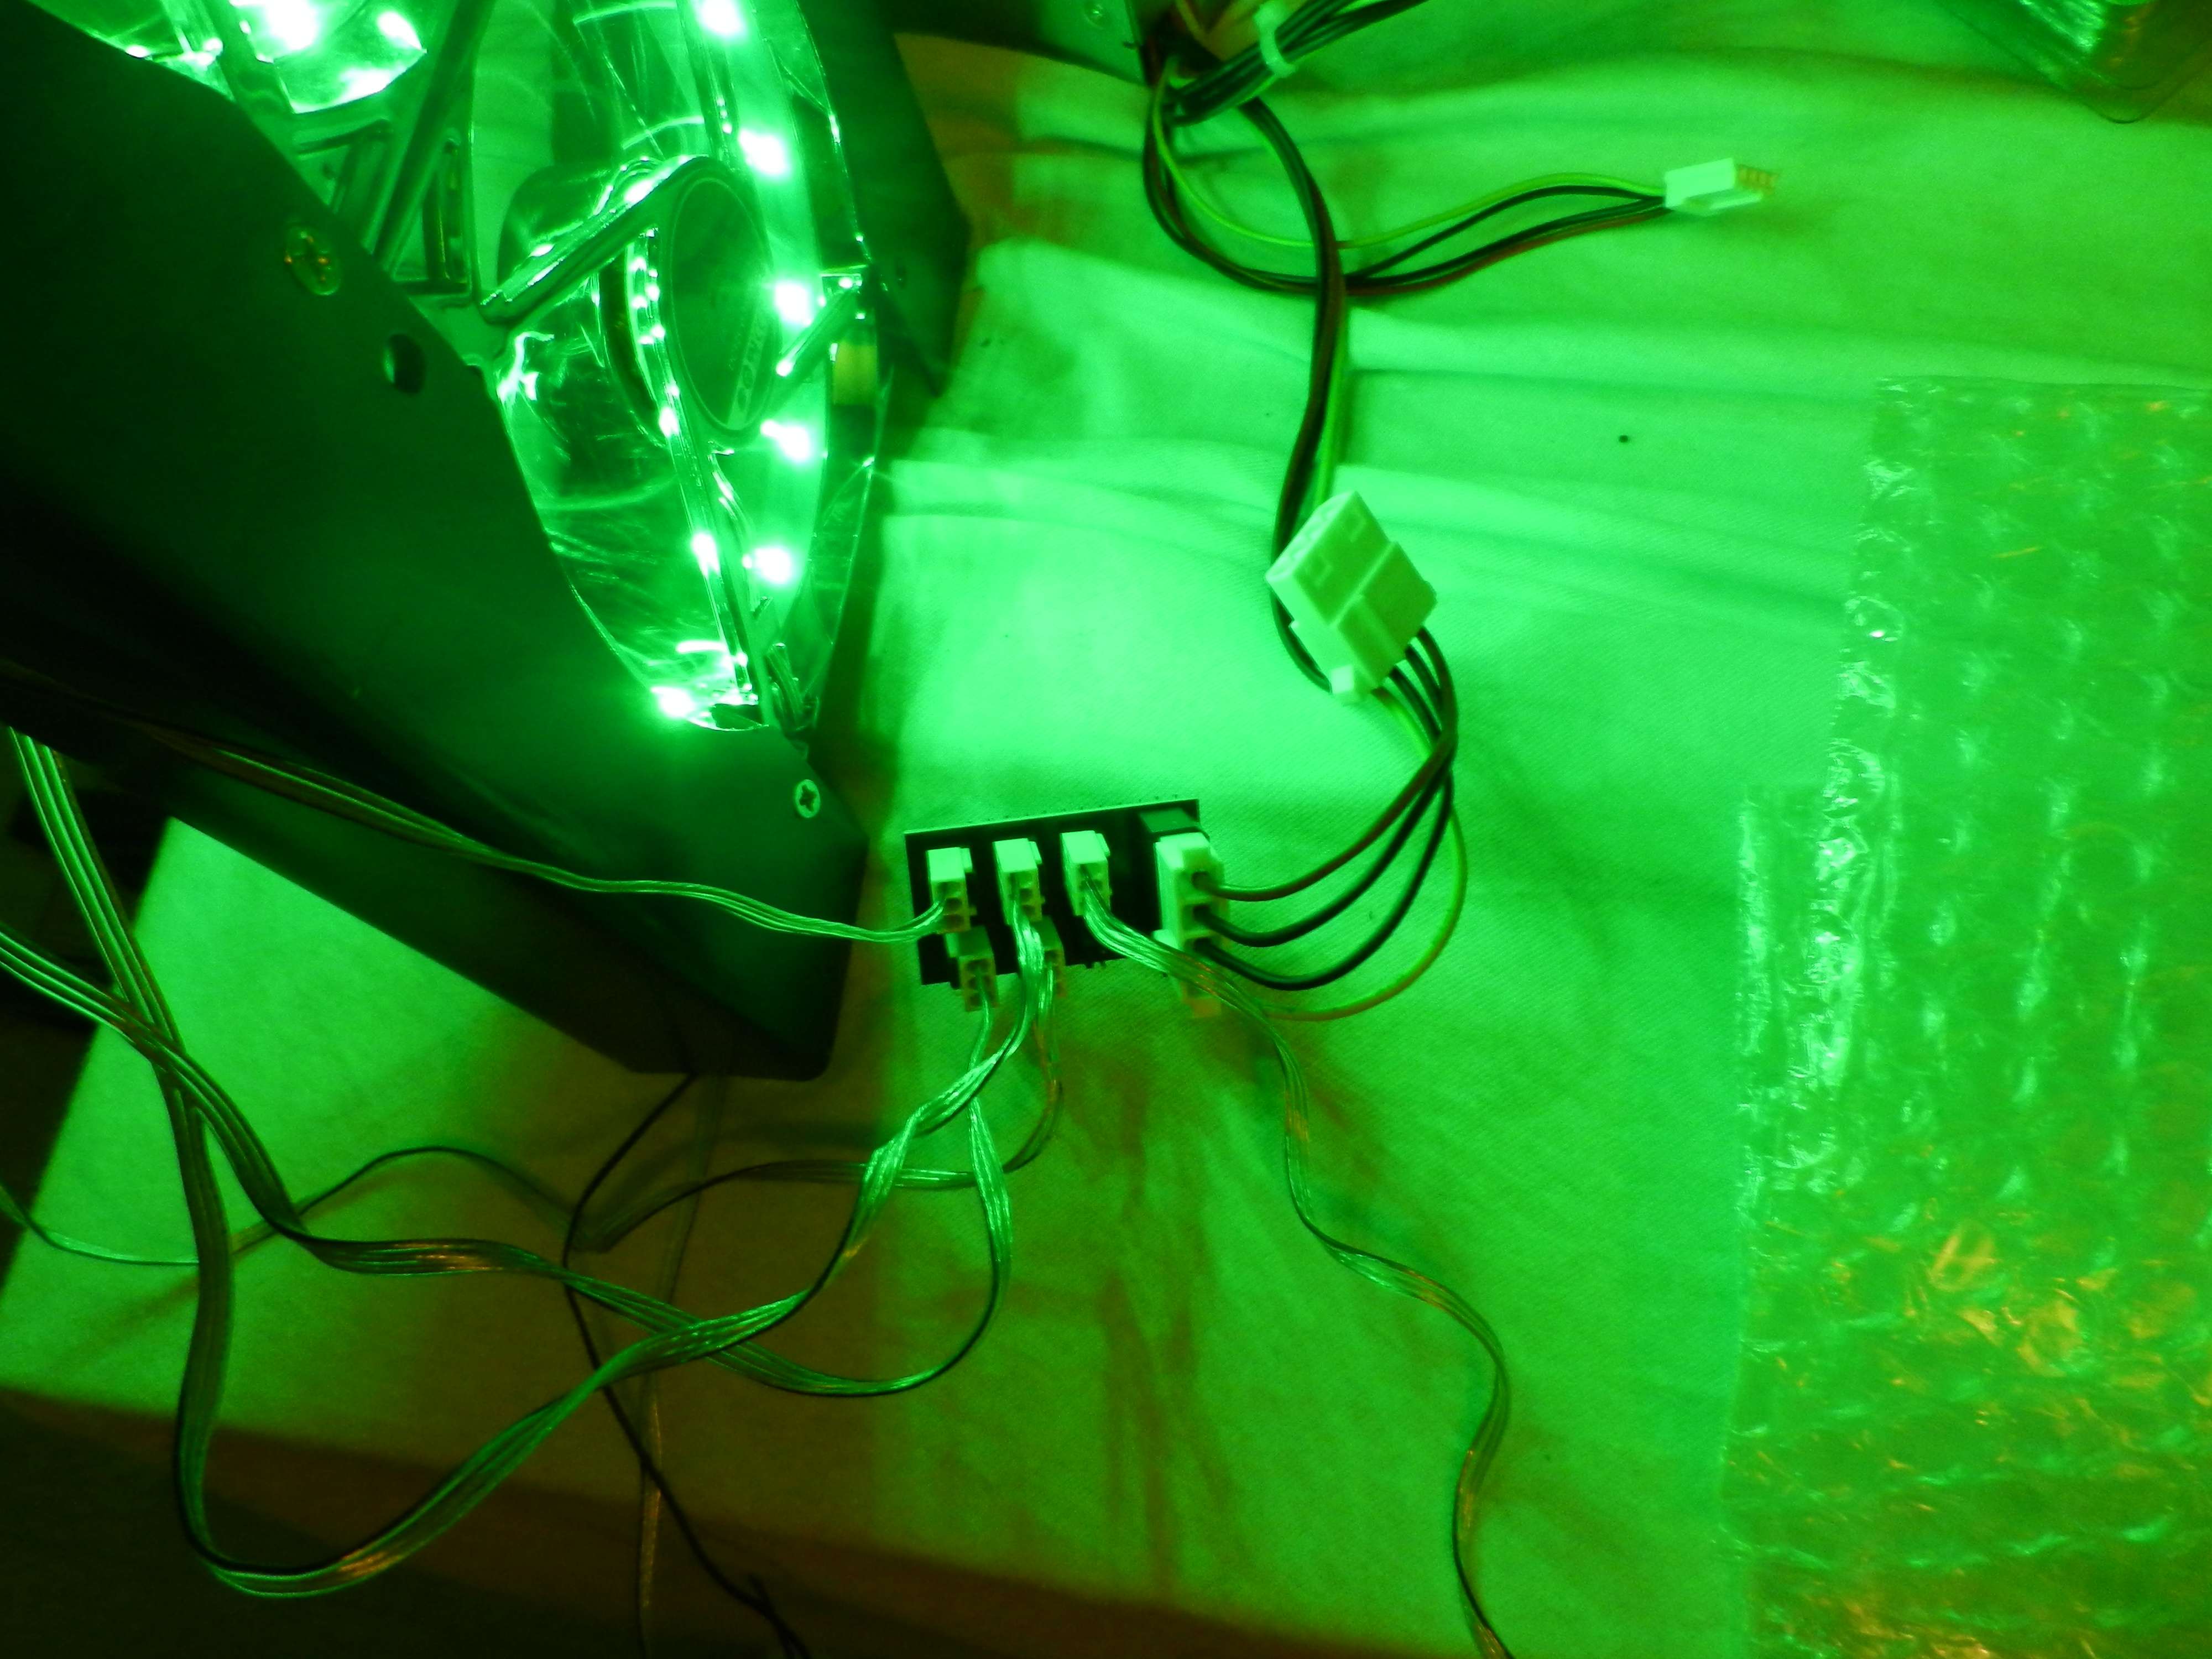
But I did get to fiddle with the fans and test them a bit.
Here is a picture of it

Associate
- Joined
- 28 Feb 2013
- Posts
- 1,710
- Location
- Leeds
That......case....is....huge.
Love the green fans aswell
Keep them coming!
Love the green fans aswell

Keep them coming!
Associate
- Joined
- 20 Feb 2013
- Posts
- 203
- Location
- Carnoustie
With all the green I keep thinking "HULK FOLD!!!!!"
Subbed, looks very interesting. I have a question, obviously you'll be putting a lot of effort into the physical build of the machine, but will you please give us an idea of how you actually set up the software for folding on such a beast (Once you get to that stage of course)? I have no concept of the complexity of such a setup, maybe it's relatively straight forward?
Look forward to seeing more in the future, good luck.
Most of us who fold using the heavy iron have followed the following guide at the HardOCP forum:
Ubuntu Desktop Installation Guide for F@H
However they have a new concept with the "appliance" route.
[H] Ubuntu Folding Appliance -- alternative approach to Linux folding
As you will have noticed from the description to get the most out of these beasts you need to be using Linux and running on the CPU's only. Then you can get upwards of 7-800K PPD on and AMD rig and near 1 million PPD on an equivalent Extra Spicey Intel quad cpu setup.
Compare that to a quad Titan rig which gets around 4-500K PPD on windows but with a lot higher power consumption.
Running gpu's on them at the same time is currently a no-no other than as an artistic experiment, because it the bigadv work units these rigs crunch are very sensitive to time, any delay can drop the PPD down more than adding the GPU's would make up for, at best you may get equivalence or slightly above but you are then using about double the power to get the same amount of output.
It can be a bit daunting at first, but it doesn't have to be, the software is a lot more user friendly nowdays and there is a huge amount of community support, here, at other forums like [H] and at the offical Folding@Home forums
That......case....is....huge.
Love the green fans aswell
Keep them coming!
Thanks Jonny!
I have those fans in my case they look awesome, even more so when I see them in that pic...
HA thanks Colin. They are EOL. It took me ages to find one missing one I needed. Finally found a used one on a German auction website O.0
With all the green I keep thinking "HULK FOLD!!!!!"
Hahaha indeed. HULK MAD, HULK FOLD xD
Most of us who fold using the heavy iron have followed the following guide at the HardOCP forum:
Ubuntu Desktop Installation Guide for F@H
However they have a new concept with the "appliance" route.
[H] Ubuntu Folding Appliance -- alternative approach to Linux folding
As you will have noticed from the description to get the most out of these beasts you need to be using Linux and running on the CPU's only. Then you can get upwards of 7-800K PPD on and AMD rig and near 1 million PPD on an equivalent Extra Spicey Intel quad cpu setup.
Compare that to a quad Titan rig which gets around 4-500K PPD on windows but with a lot higher power consumption.
Running gpu's on them at the same time is currently a no-no other than as an artistic experiment, because it the bigadv work units these rigs crunch are very sensitive to time, any delay can drop the PPD down more than adding the GPU's would make up for, at best you may get equivalence or slightly above but you are then using about double the power to get the same amount of output.
After reading that Biffa I feel like I'm only just dipping my toes into a very big pond ! All sounds rather daunting after having read up on the subject for the last couple weeks.
It can be a bit daunting at first, but it doesn't have to be, the software is a lot more user friendly nowdays and there is a huge amount of community support, here, at other forums like [H] and at the offical Folding@Home forums
Thanks A LOT for the information you have shared Biffa.
For everyone who is interested in this; this forum has an active folding team and they can help you wit hall of your folding questions and problems.
Alright. Finally have some time to post the progress of the past few days.
I have been really busy, even though it might not look like that in the photos

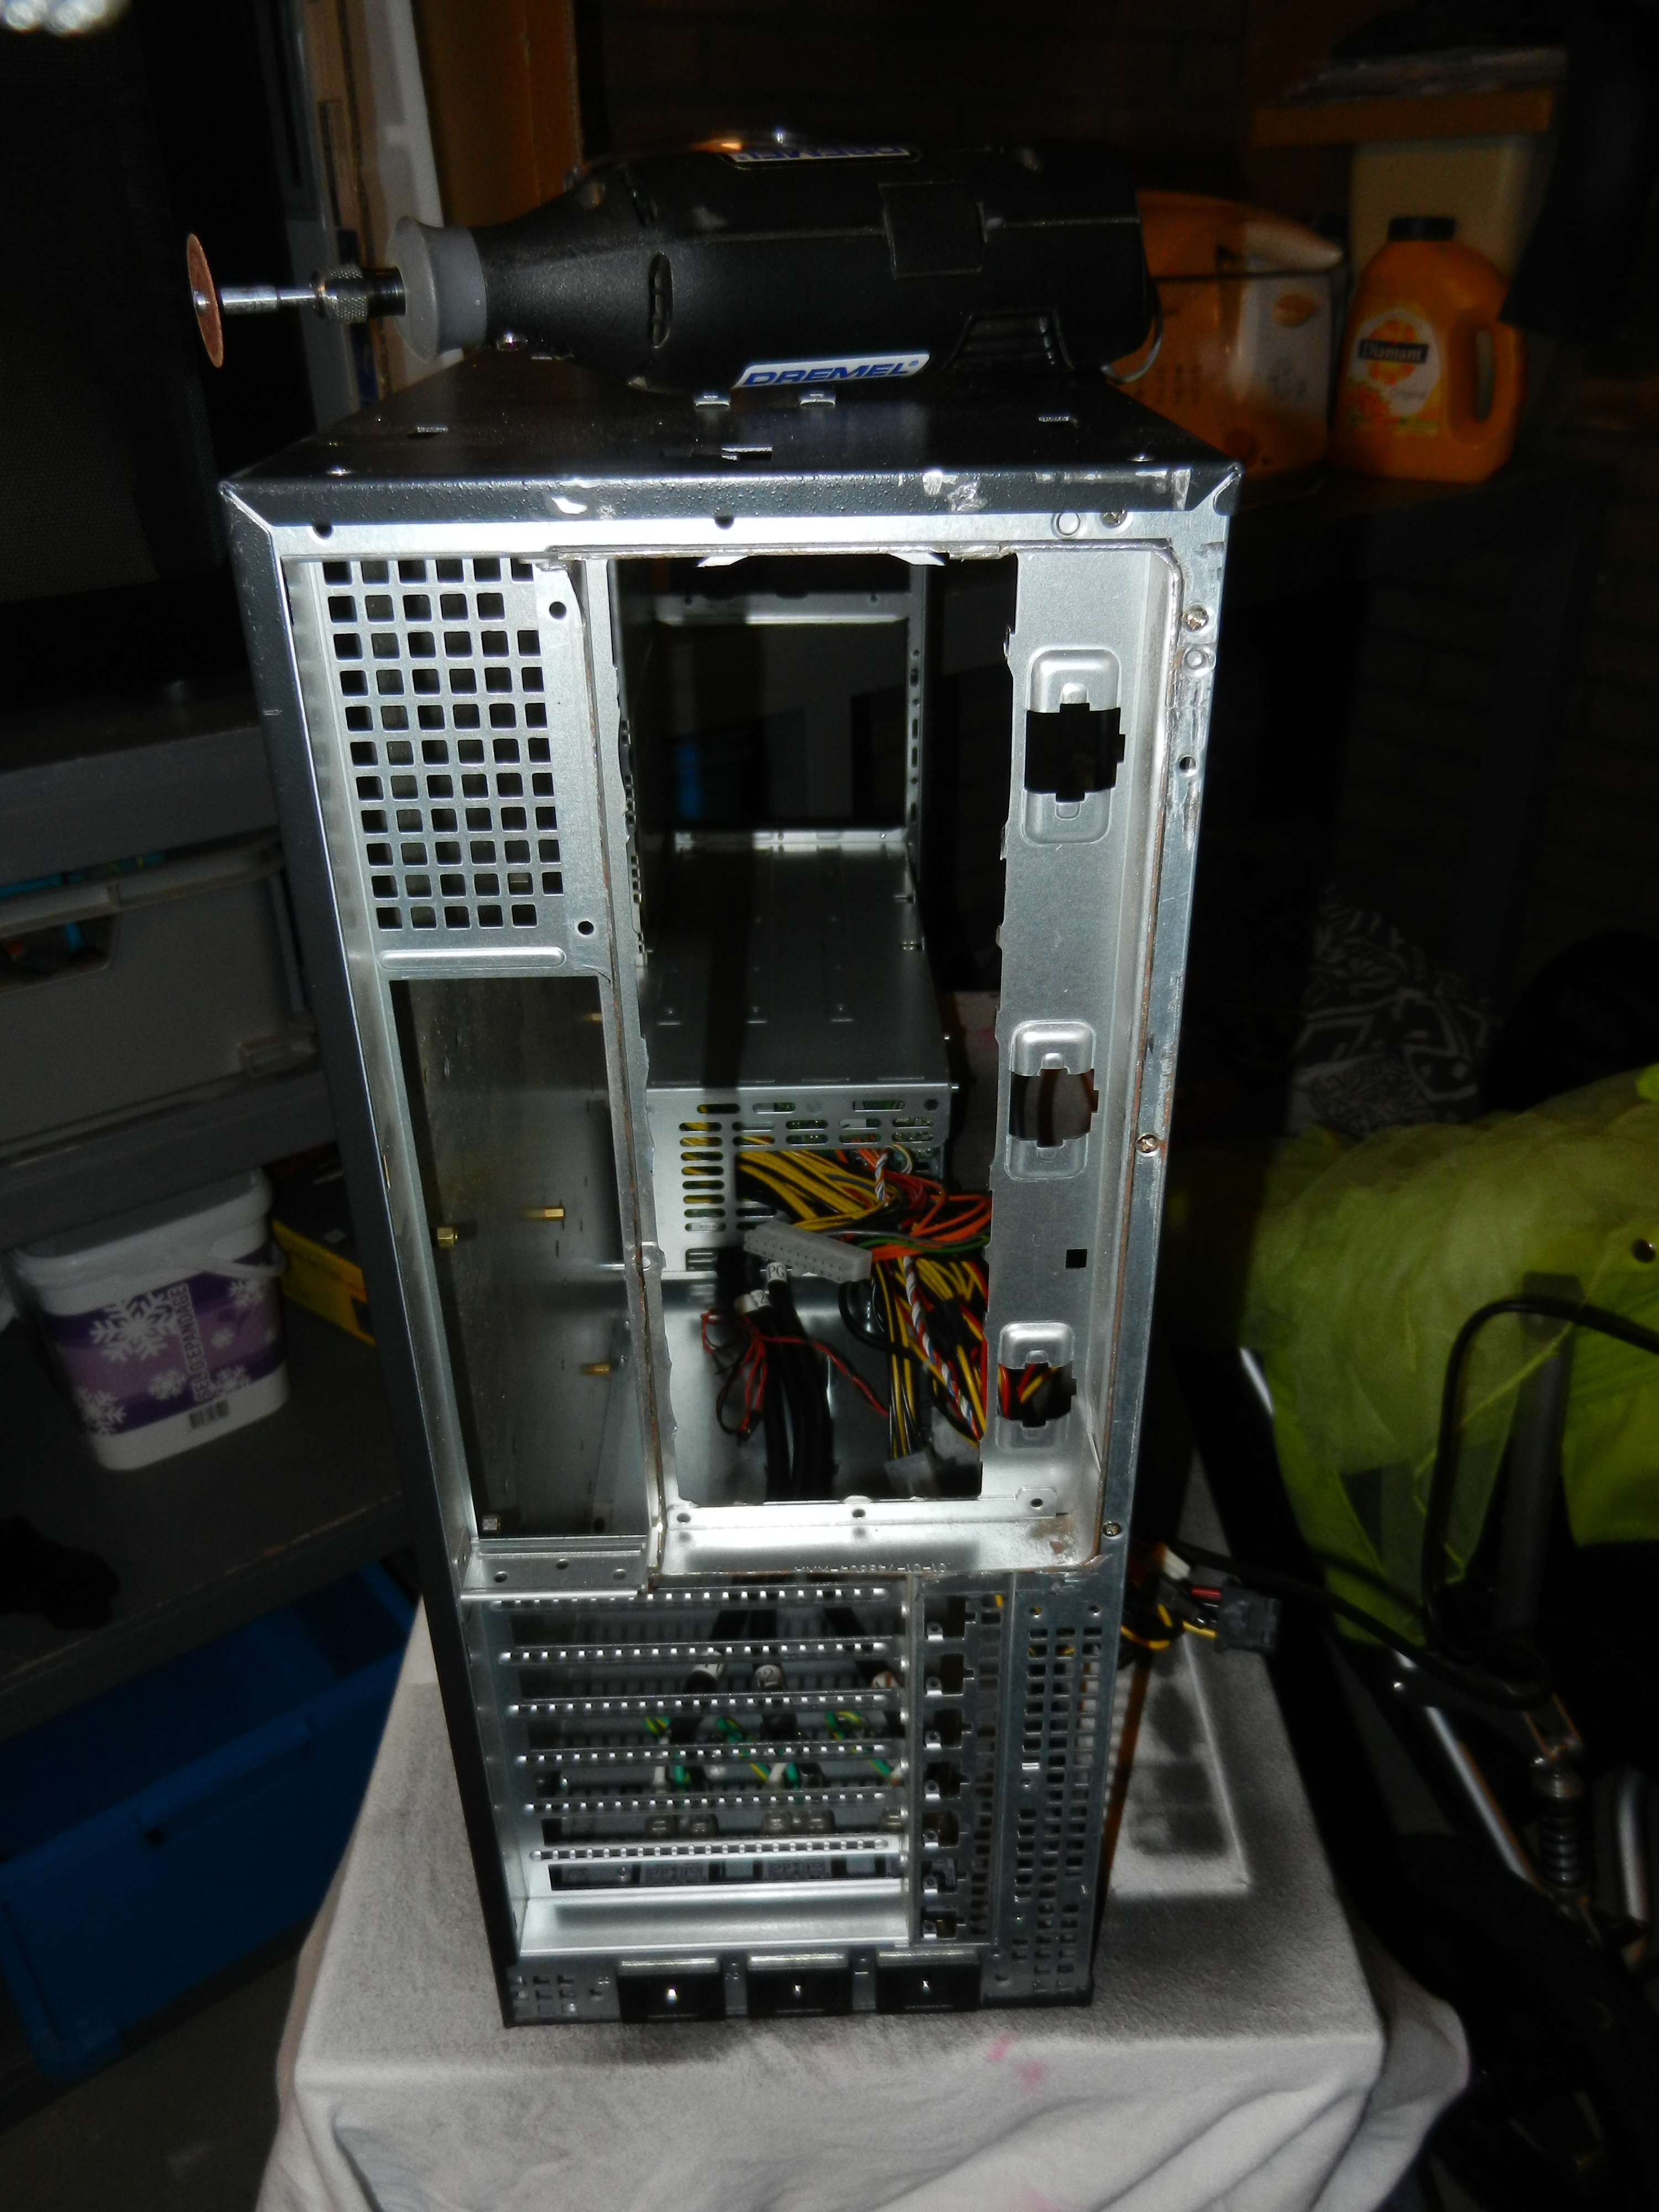
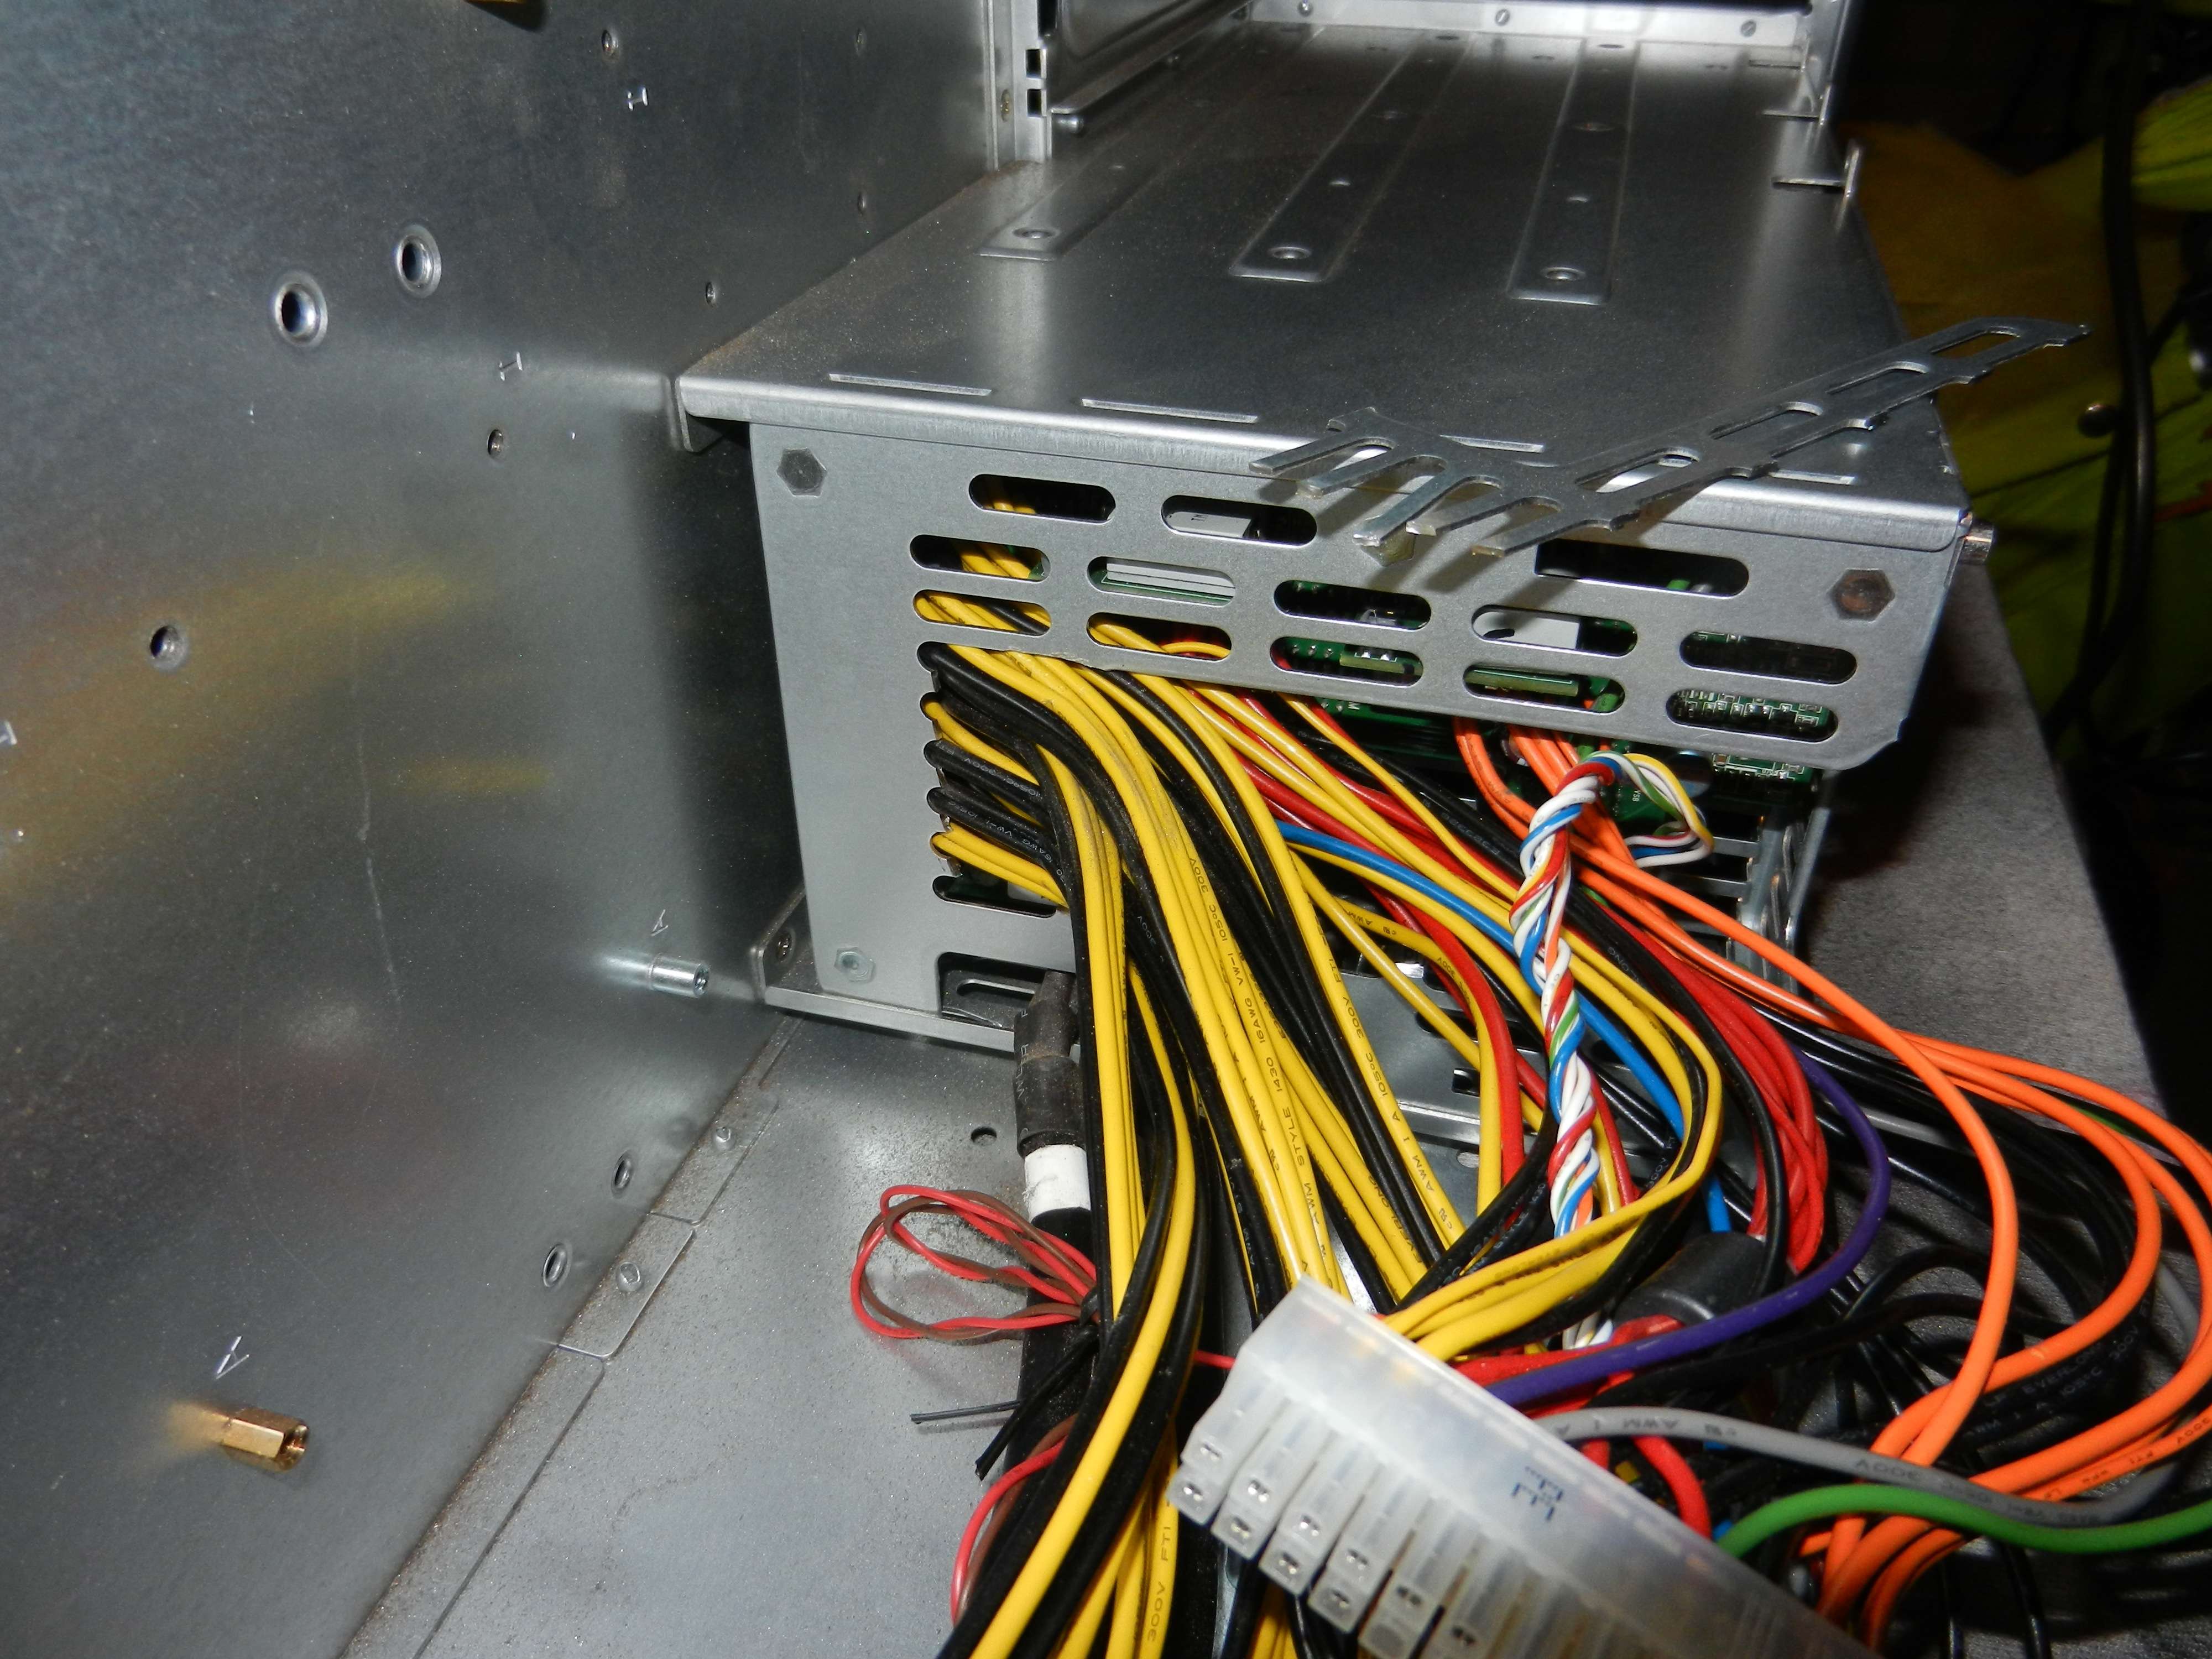
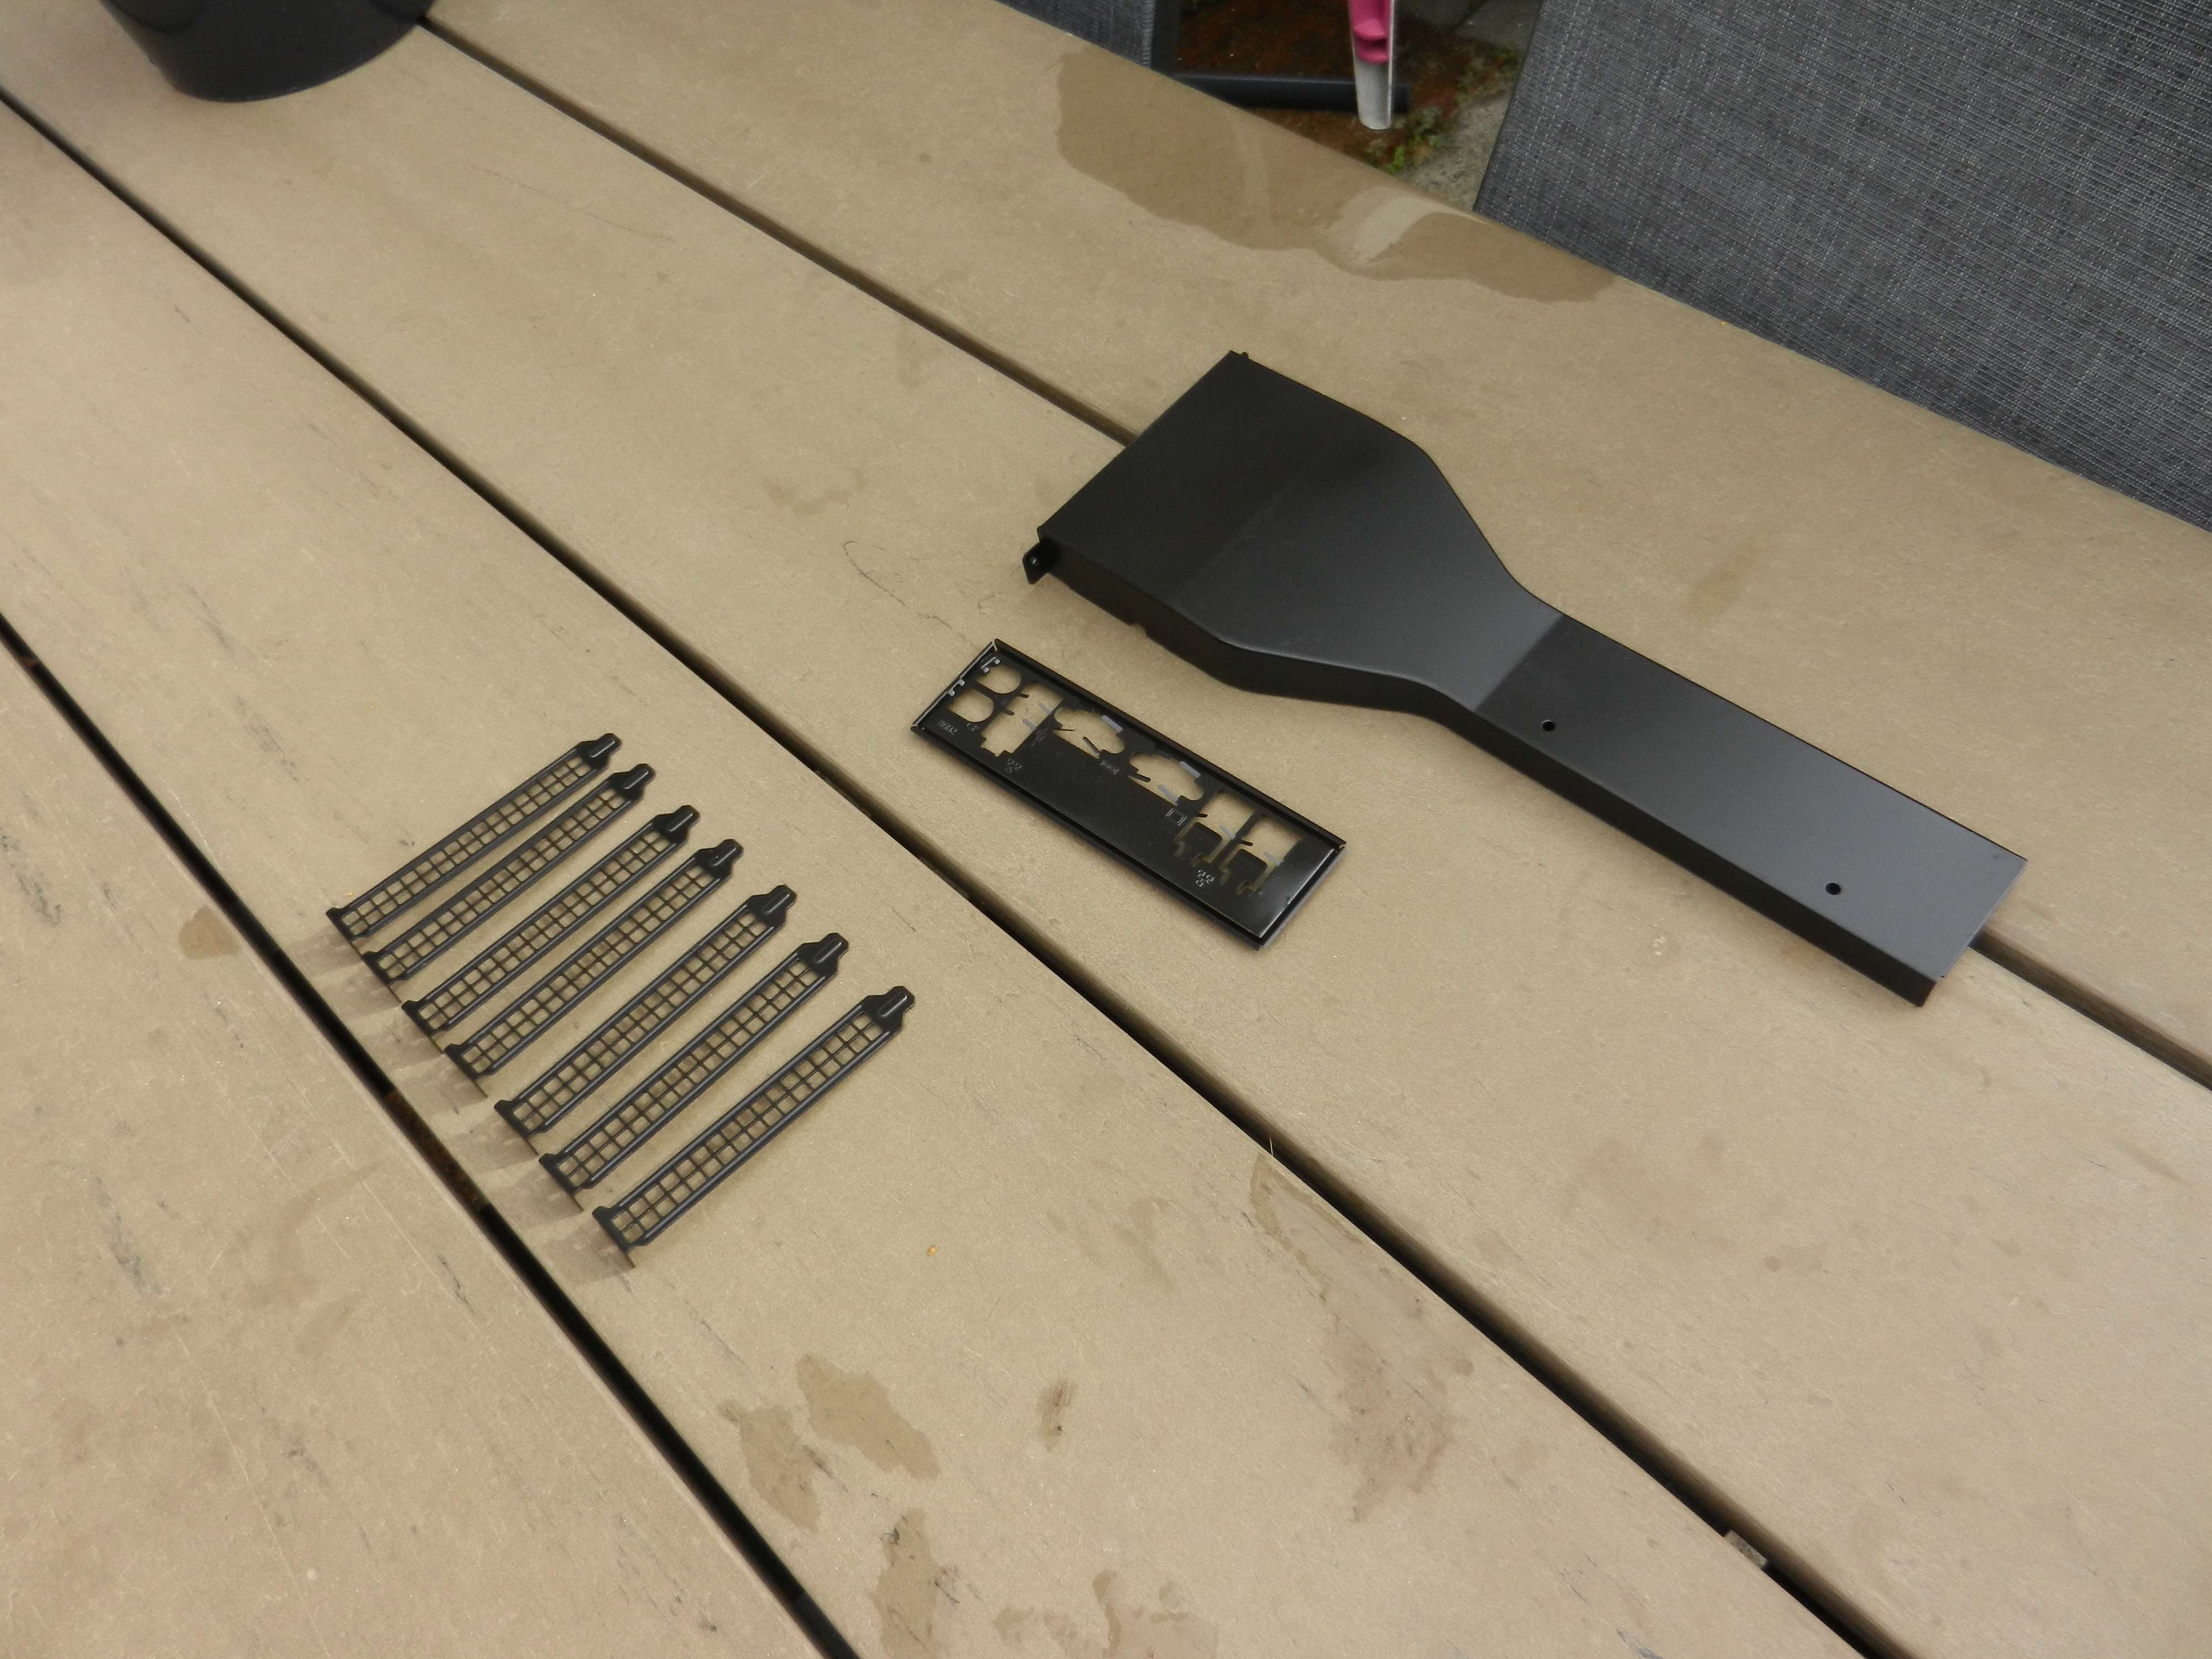
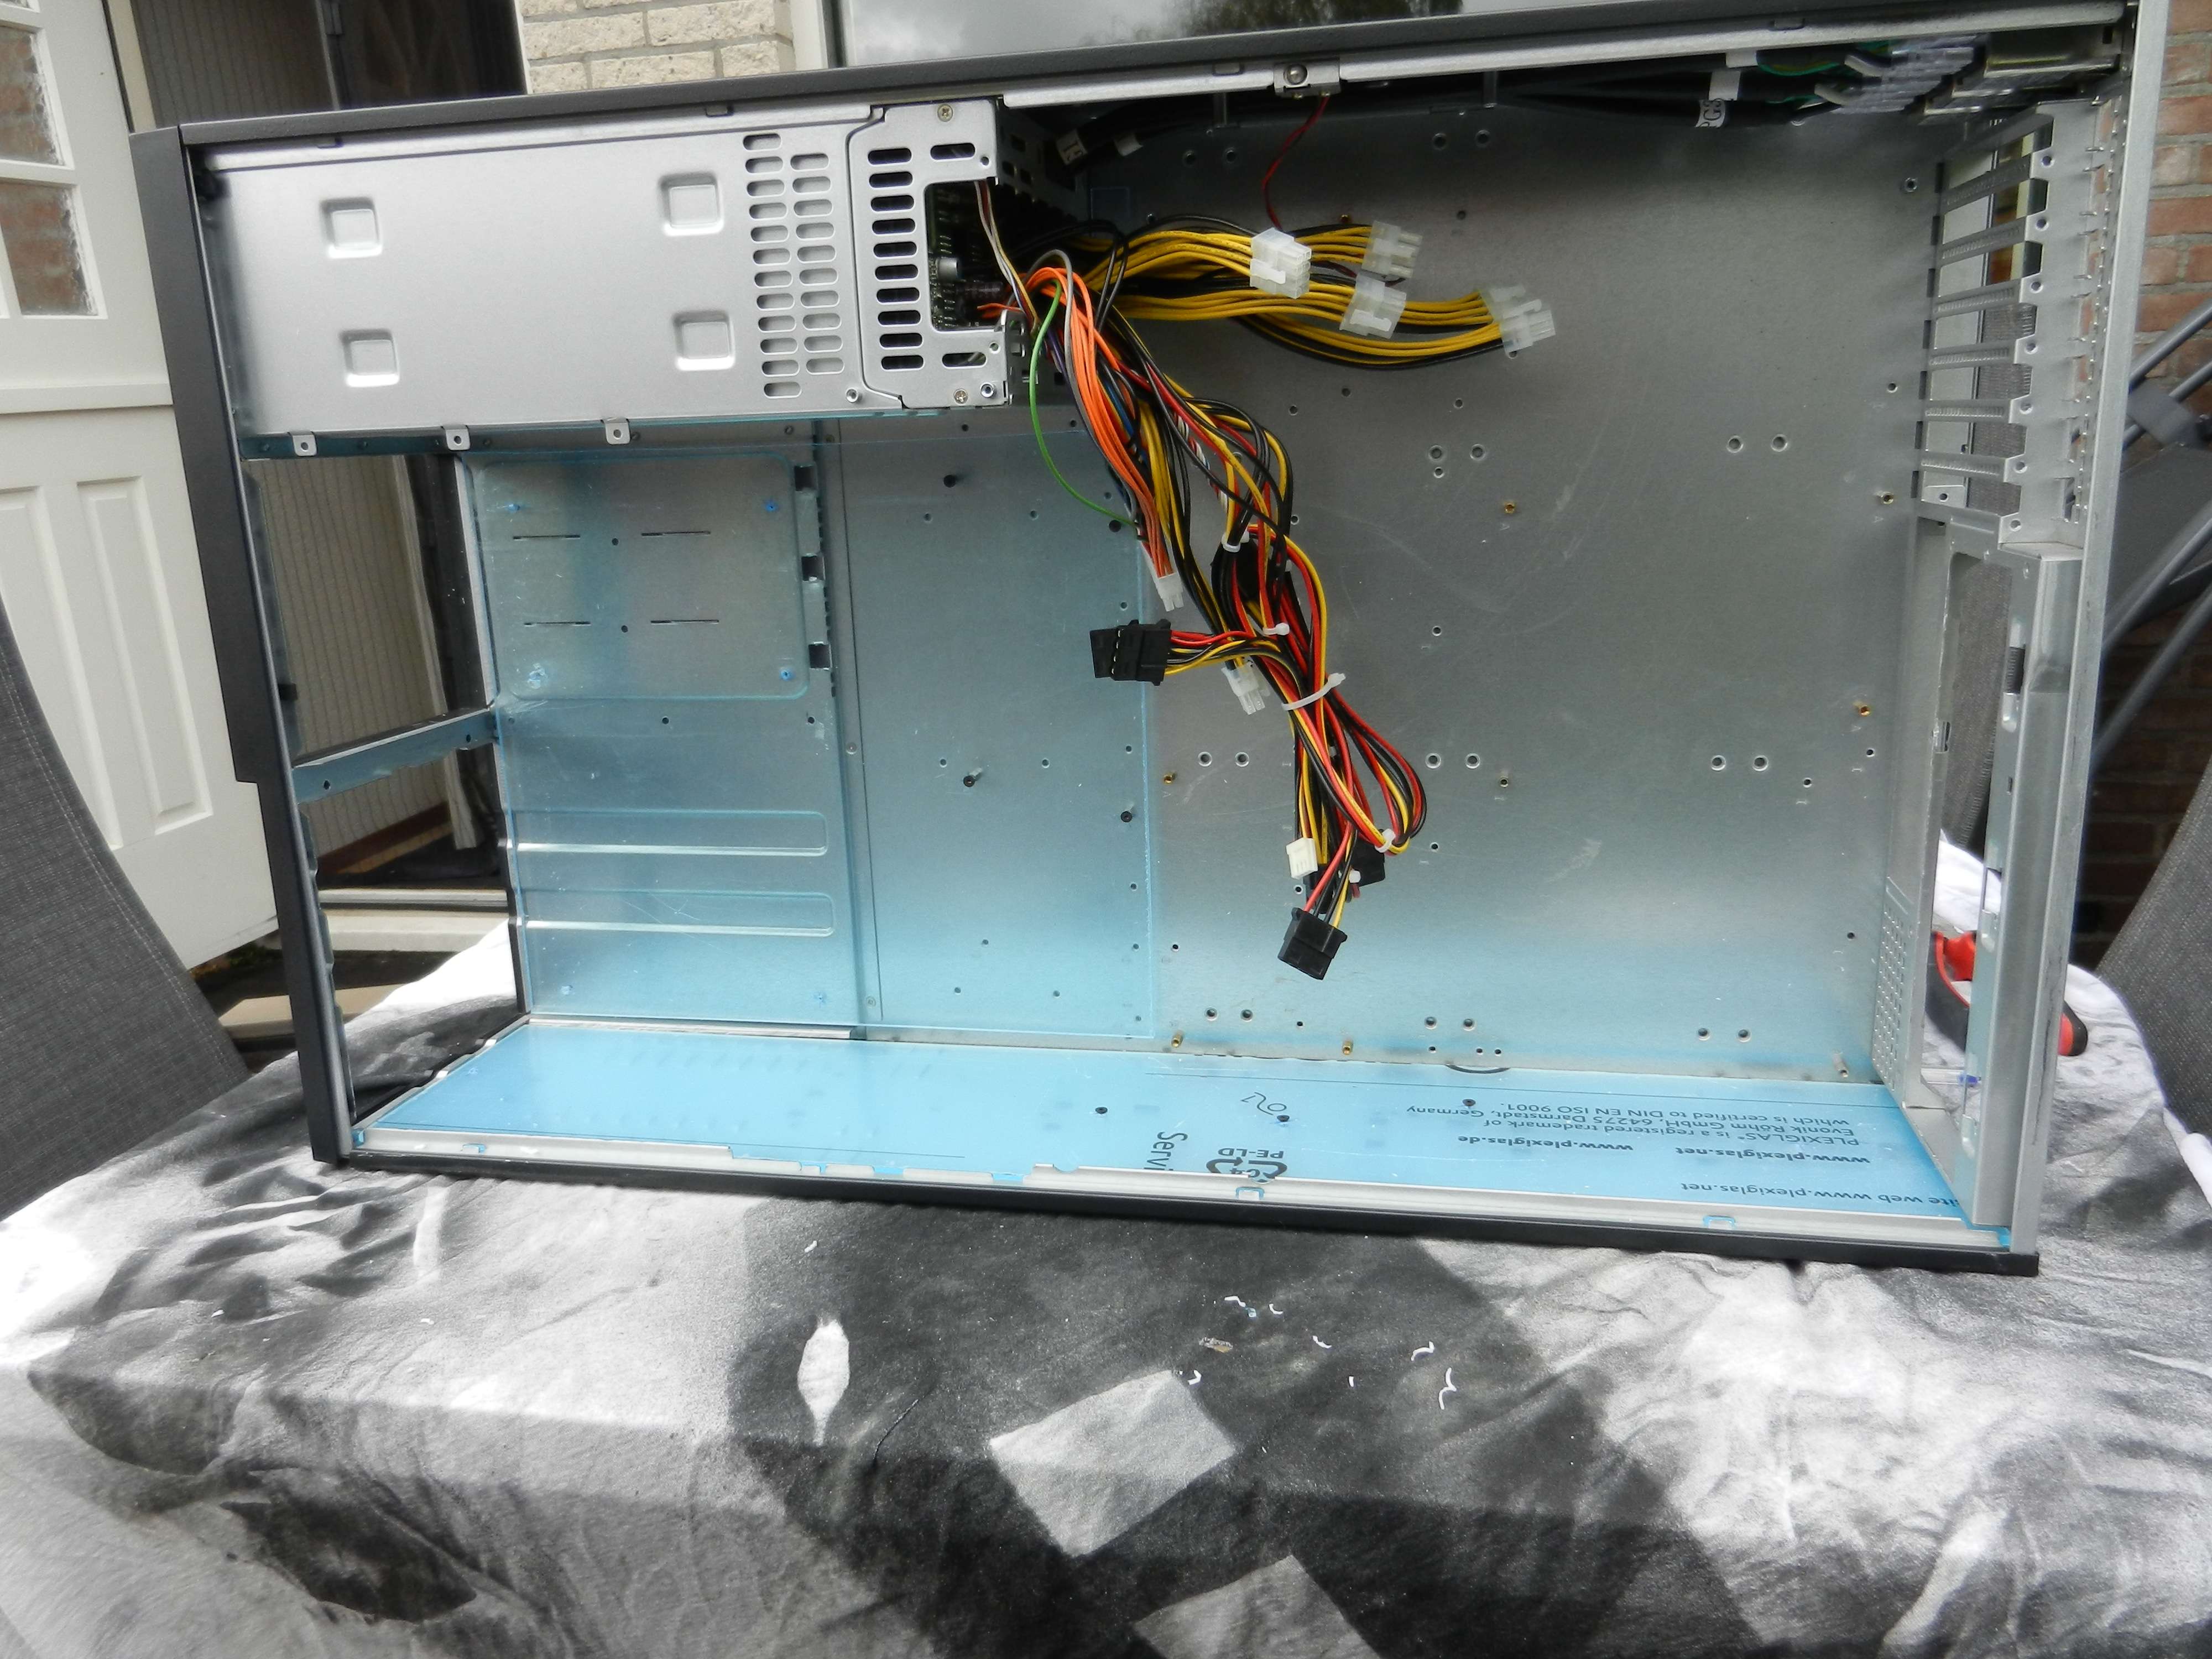
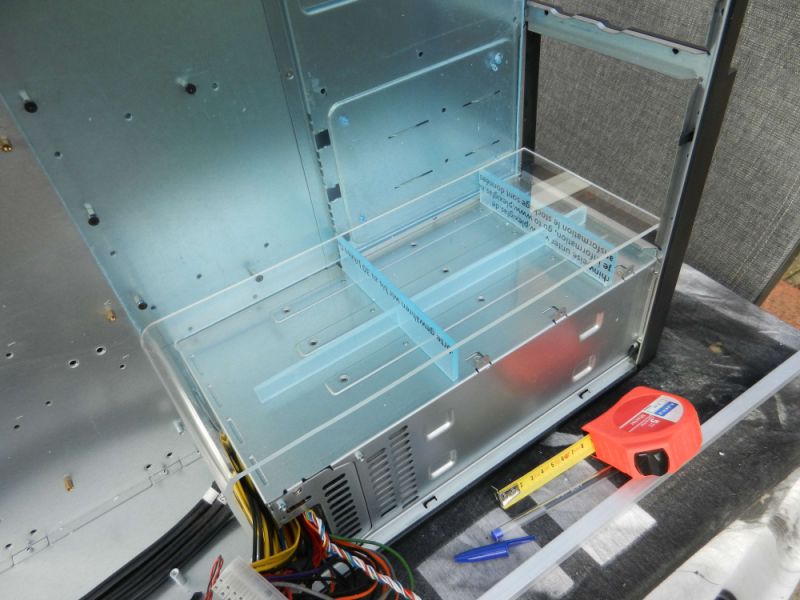
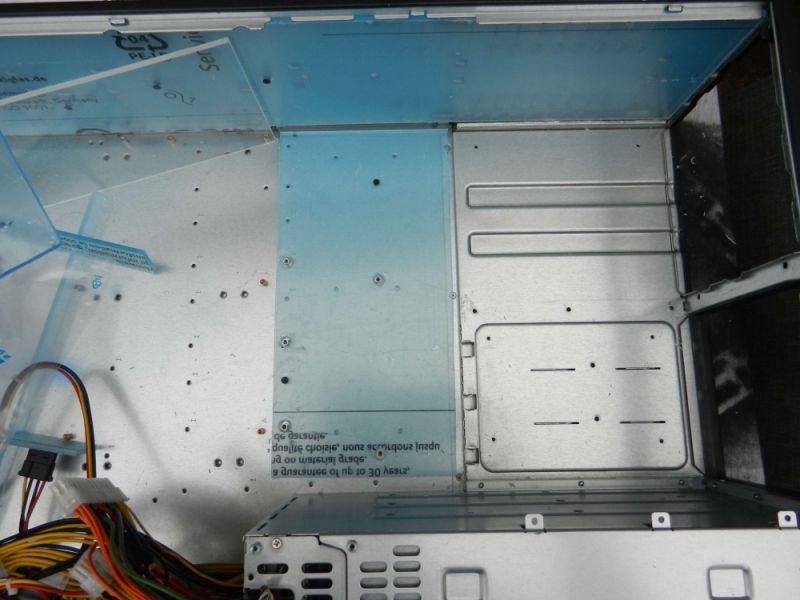
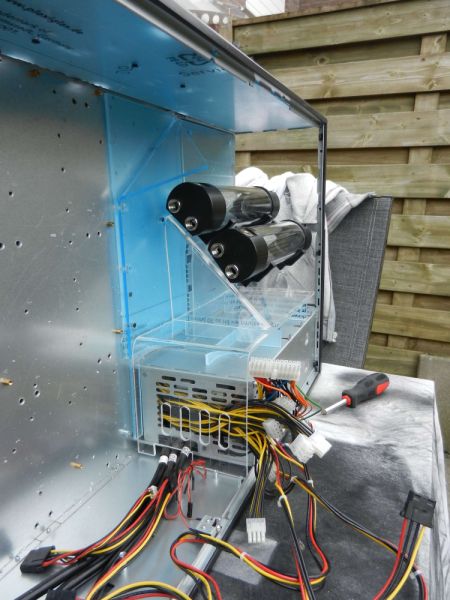
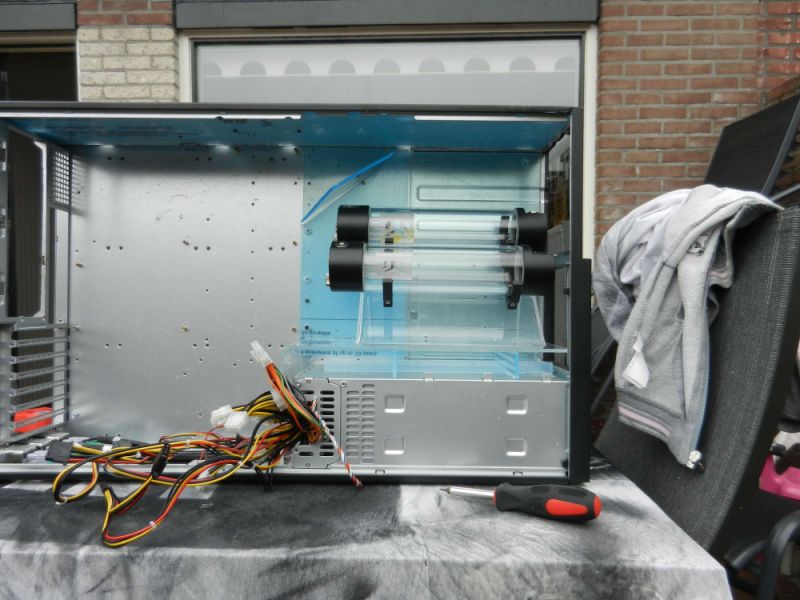
So I took out two pieces of rosters from a case. The rear grill had quite different shapes to it. Plus I took out part of the PSU front grill. I needed to make some room for the sleeving before I paint the inside of the case black.
As you can see I painted some internal loose parts to begin with.
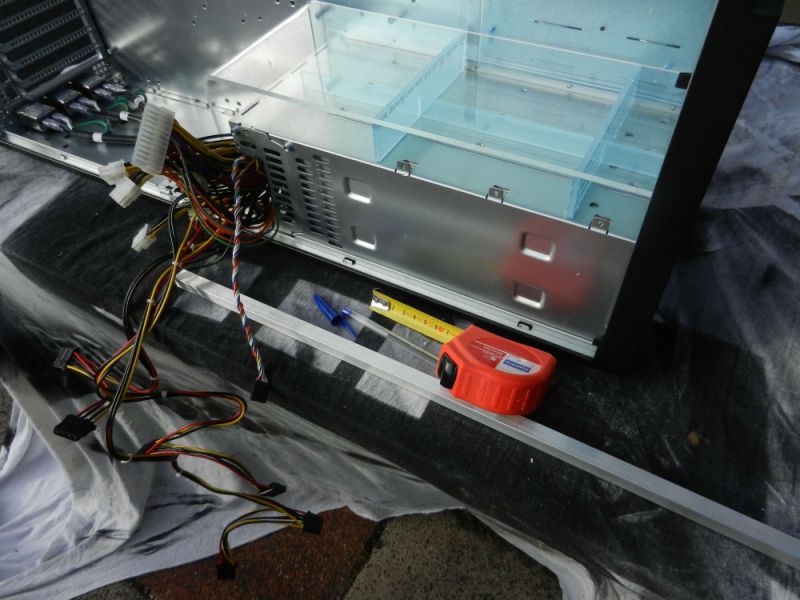
I created a top plexi piece. It will create a much more clean looking top and will also give me some options regarding graphics.
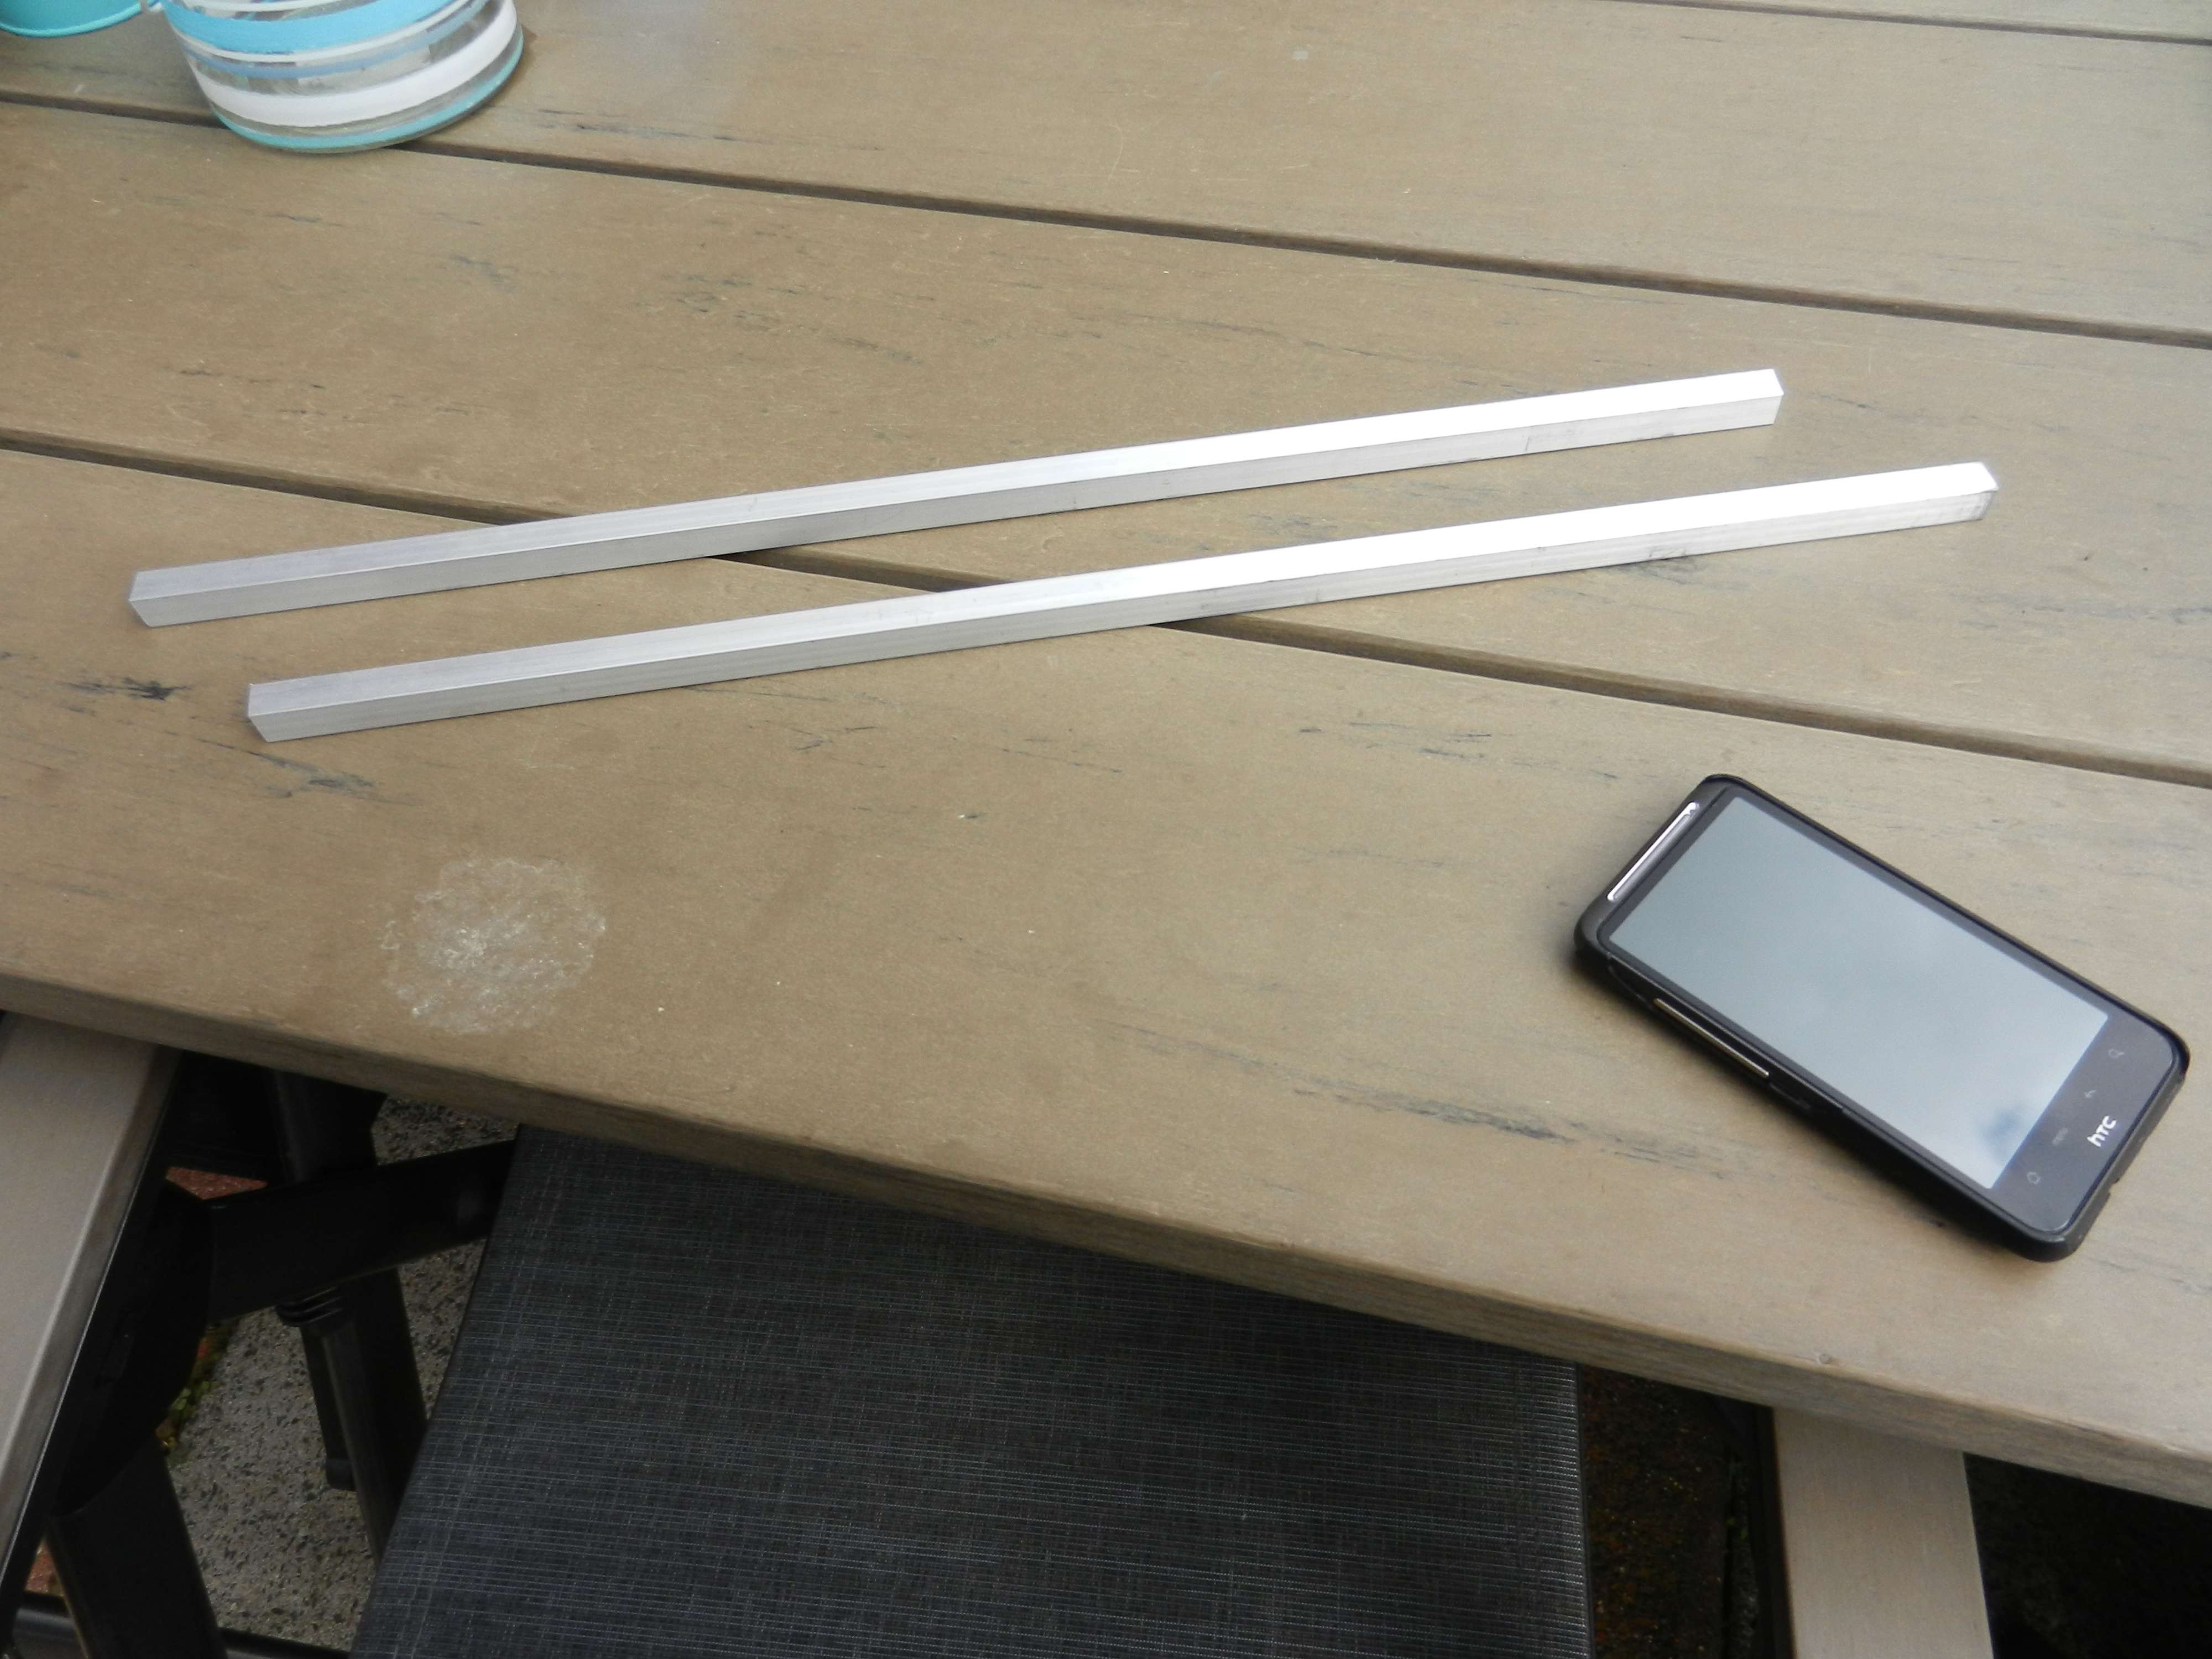
Ordered two pieces of square long 12mm aluminum to later on fit all the acrylic together and make it sturdy for transport.
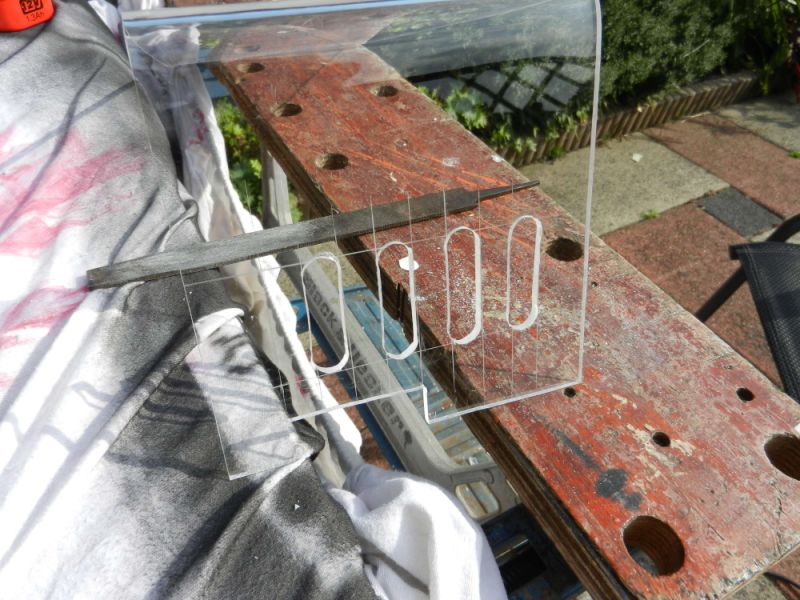
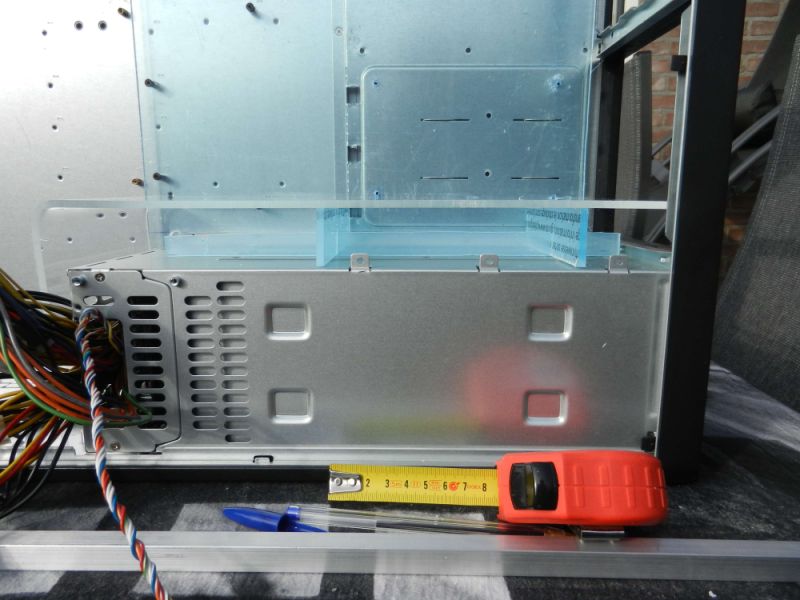
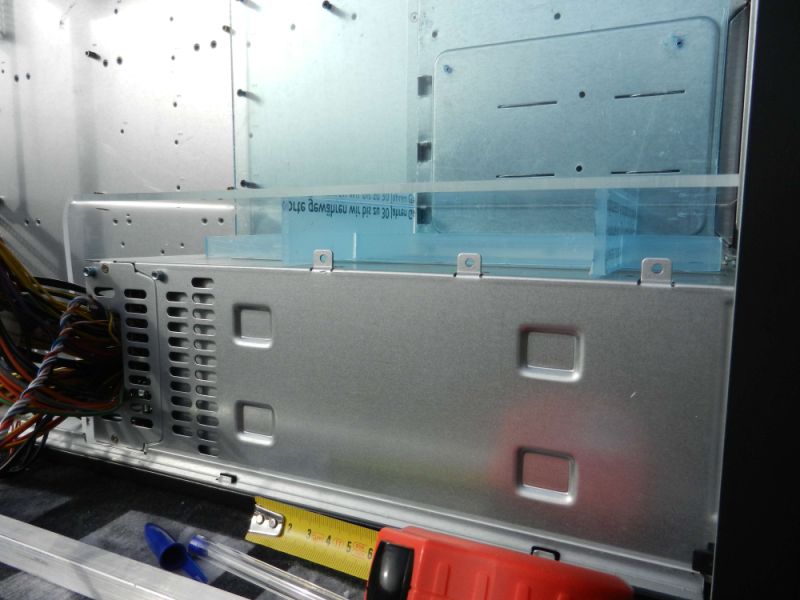
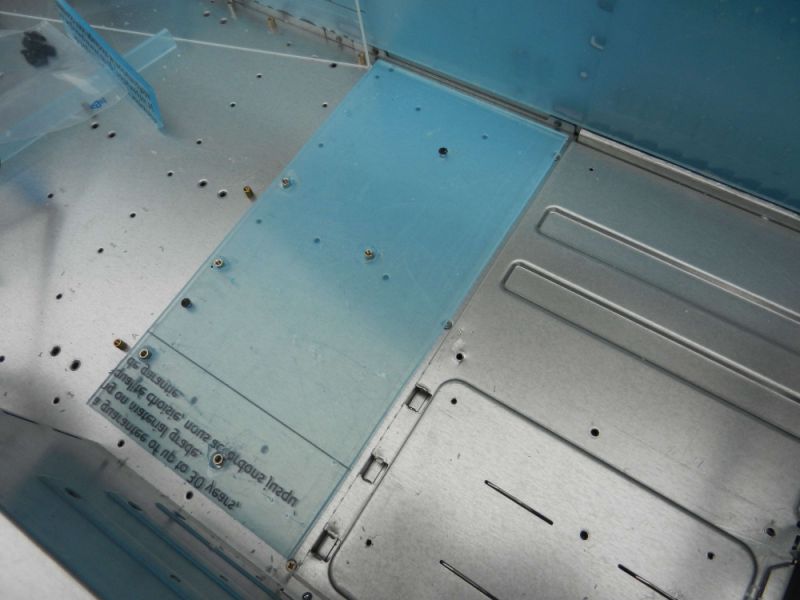
I then created a few openings in the PSU plexi front so I can put wiring through it with sleeving eventually. I will need to create a few horizontal openings above it for hot air leaving the PSUs. I will need to make those before I paint the plexi black.
After this I created a small roster for under the plexi PSU cover so it will stay level and sturdy also when I fit more stuff to it like the reservoir mounting and the coolant inside of it.
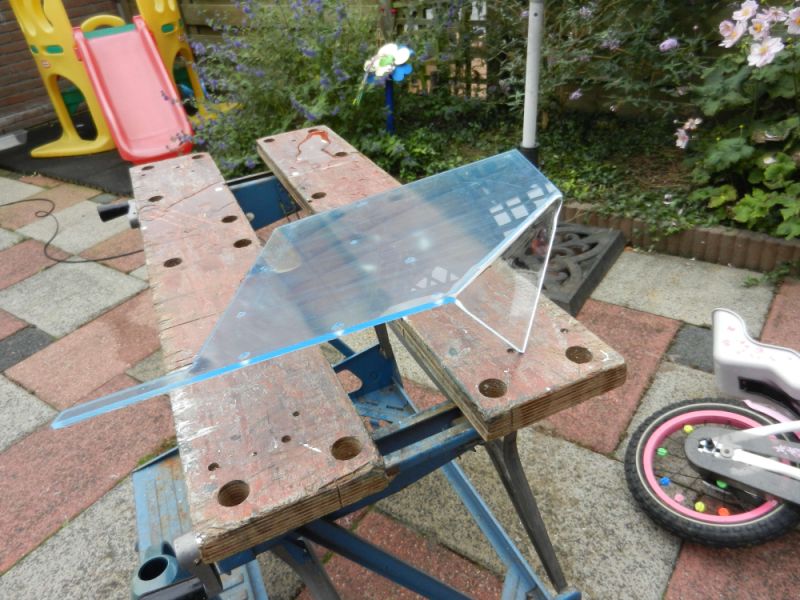
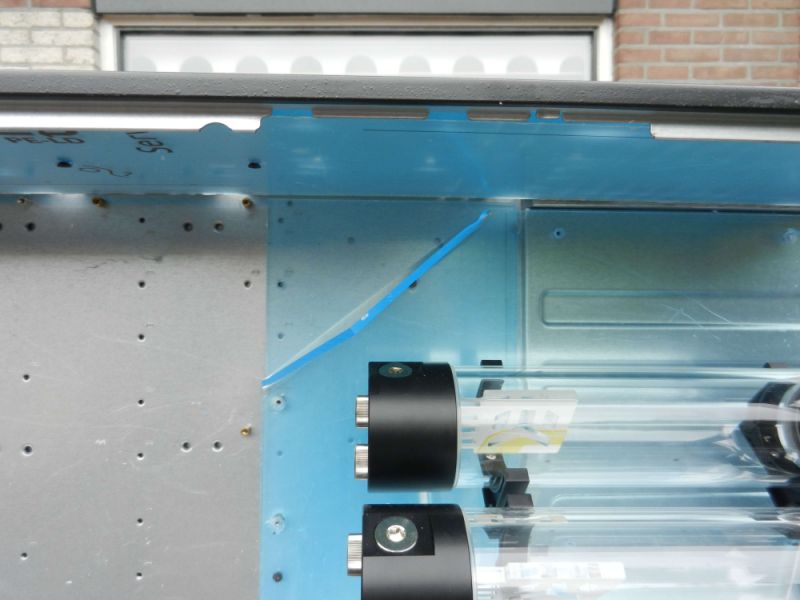
I then created a second plexi piece for under the backside panel. It actually has a function but I will talk about that later.
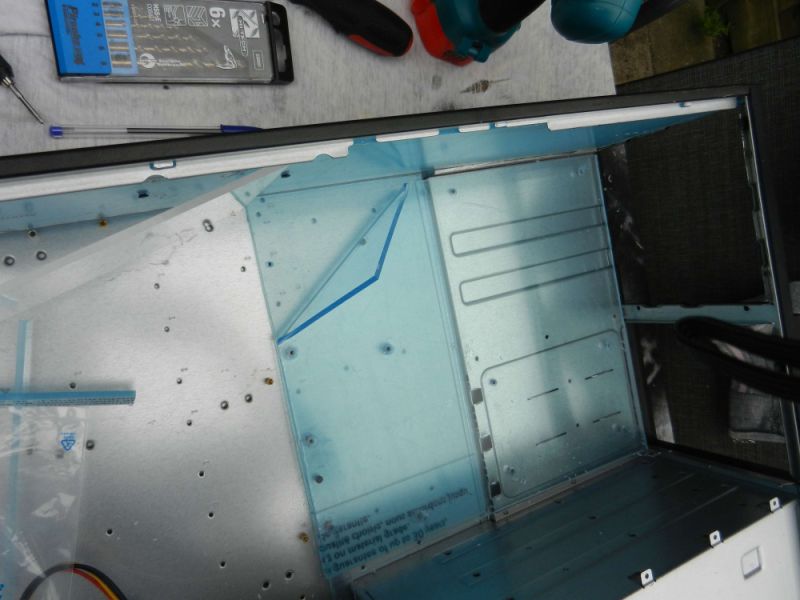
After this I bent a corner in the top left of the covering rear panel. Actually I FOLDED the corner (CWUTIDIDTHAR
 )
)This way it will show a piece of what is under there (the second piece of acrylic).
After this did a final mockup seeing if everything fits.
Here are the photos of the work of today.














Associate
- Joined
- 28 Feb 2013
- Posts
- 1,710
- Location
- Leeds
that is a very cool idea 

Wee question for you. When you drilled the holes in the plexi and then cut into slots, did you have to tape the front and back side of where you were cutting? I've used this stuff at work occasionally and taped it to stop it from cracking at the edges.
Maybe you removed it before taking the photo's? I'm just curious. I'm liking the res holder canted at that angle btw, will/can you place anything under that section?
Keep up the good work.
Maybe you removed it before taking the photo's? I'm just curious. I'm liking the res holder canted at that angle btw, will/can you place anything under that section?
Keep up the good work.
Very cool, great work Hukkel
Thank you very much sir!
that is a very cool idea
Thanks

Wee question for you. When you drilled the holes in the plexi and then cut into slots, did you have to tape the front and back side of where you were cutting? I've used this stuff at work occasionally and taped it to stop it from cracking at the edges.
Maybe you removed it before taking the photo's? I'm just curious. I'm liking the res holder canted at that angle btw, will/can you place anything under that section?
Keep up the good work.
The plexi comes with foil on both sides. Makes working with it much easier. When I do small holes and cuts in it with the foil off I use water or cutting oil to keep the warmth a tad down otherwise it will litterally melt on- and into your tools.
Yeah I can put stuff under there. Not sure if I will but I most certainly can

I am still looking for the best spot for the SSD. It will be either under there or above the top res against the back.
---------------------------------
Small update of two things: first of all I bought 12*12mm*50cm aluminium bars. To drill and tap them and cut them in size.
I did a large piece in the rear corner to fit 3 panels together and keep the sides in exacly 90 degrees. Was quite some work to get all the holes done and tapped O.0
Then a couple of small pieces with 2 holes drilled and M3 tapped so I could fit multiple panels.
Might seem like a tad "too much" but this thing is going to travel the world and I don't want it to fall apart during travel.
In the pictures you see the finished product (for now). After this it is waiting for the WC stuff to arrive so I can cut holes for the fill ports and drain ports etc.
Figure out the loop. Also see how the tubing will run under that PSU panel. As well as the cables running to and from the PSU to spots such as the fan hubs and the ledstrips.
Once that has been done as well I will take it apart one last time to pray it black completely. It will become one matt black piece, nice and clean.


And this is what I am going to fill up the loop with. Bundles of UV green Mayhems. This is actually the lime yellow (that truns into bright UV green when under UV light). I have some blue dye with it to make the daylight coolant also be as green as I want it to be.


Sir Michael of Mayhems was kind enough to again support me, now with this project. He instantly understood I needed quite a bit to fill this baby up. And because in the US it will be filled again I also received that dose. Plus some to try and figure out the best colour as well.
Thanks a million Michael!

http://www.mayhems.co.uk/shop2/pastel-uv-lime-yellow-250ml.html
http://www.mayhems.co.uk/shop2/blue-10ml.html
Associate
- Joined
- 20 Feb 2013
- Posts
- 203
- Location
- Carnoustie
I look forward to your updates on this log. It's just huge.
I told one of my friends who is a server engineer what you were building and showed him the pic of the board with all the blocks on it. His response was "Jesus, is he building Skynet???"
Can't wait to see more mods in there.
I told one of my friends who is a server engineer what you were building and showed him the pic of the board with all the blocks on it. His response was "Jesus, is he building Skynet???"
Can't wait to see more mods in there.
I don't know HOW but I completely missed an update on here. It was the one before the last one.
I am putting it up here anyway. My appologies for the forgetting
---------------------------------------------------------------------
I had some work done today.
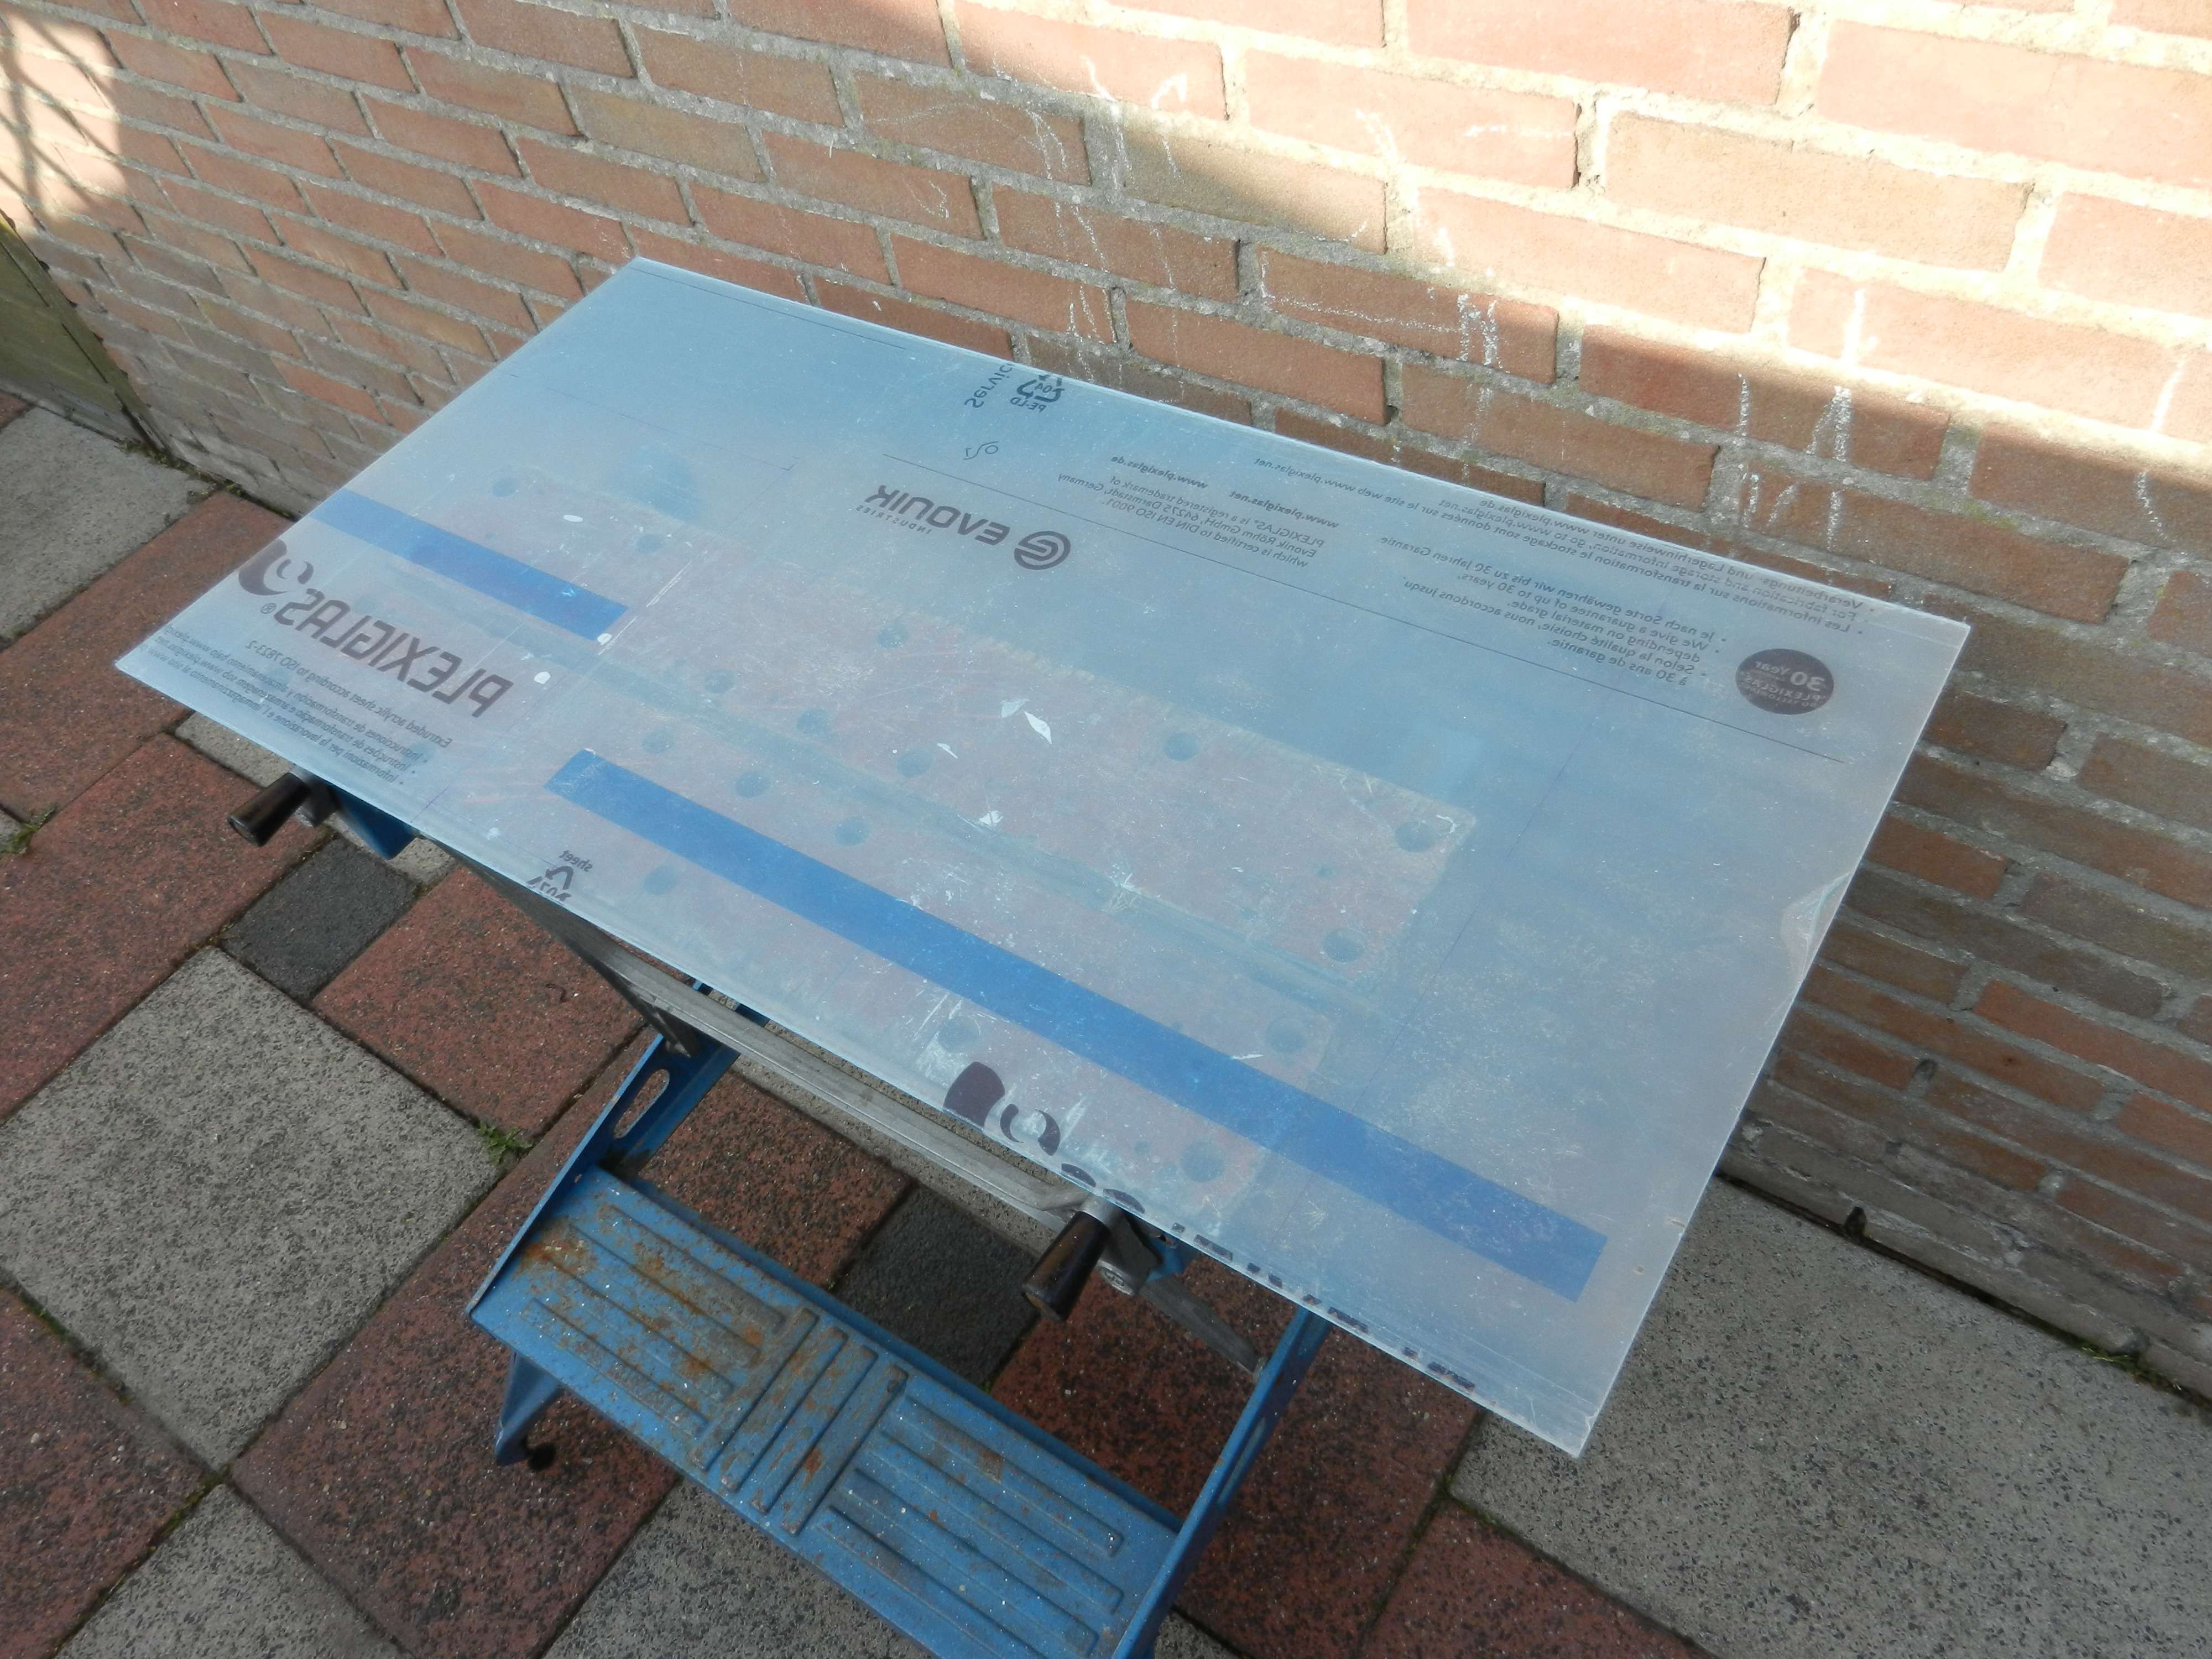
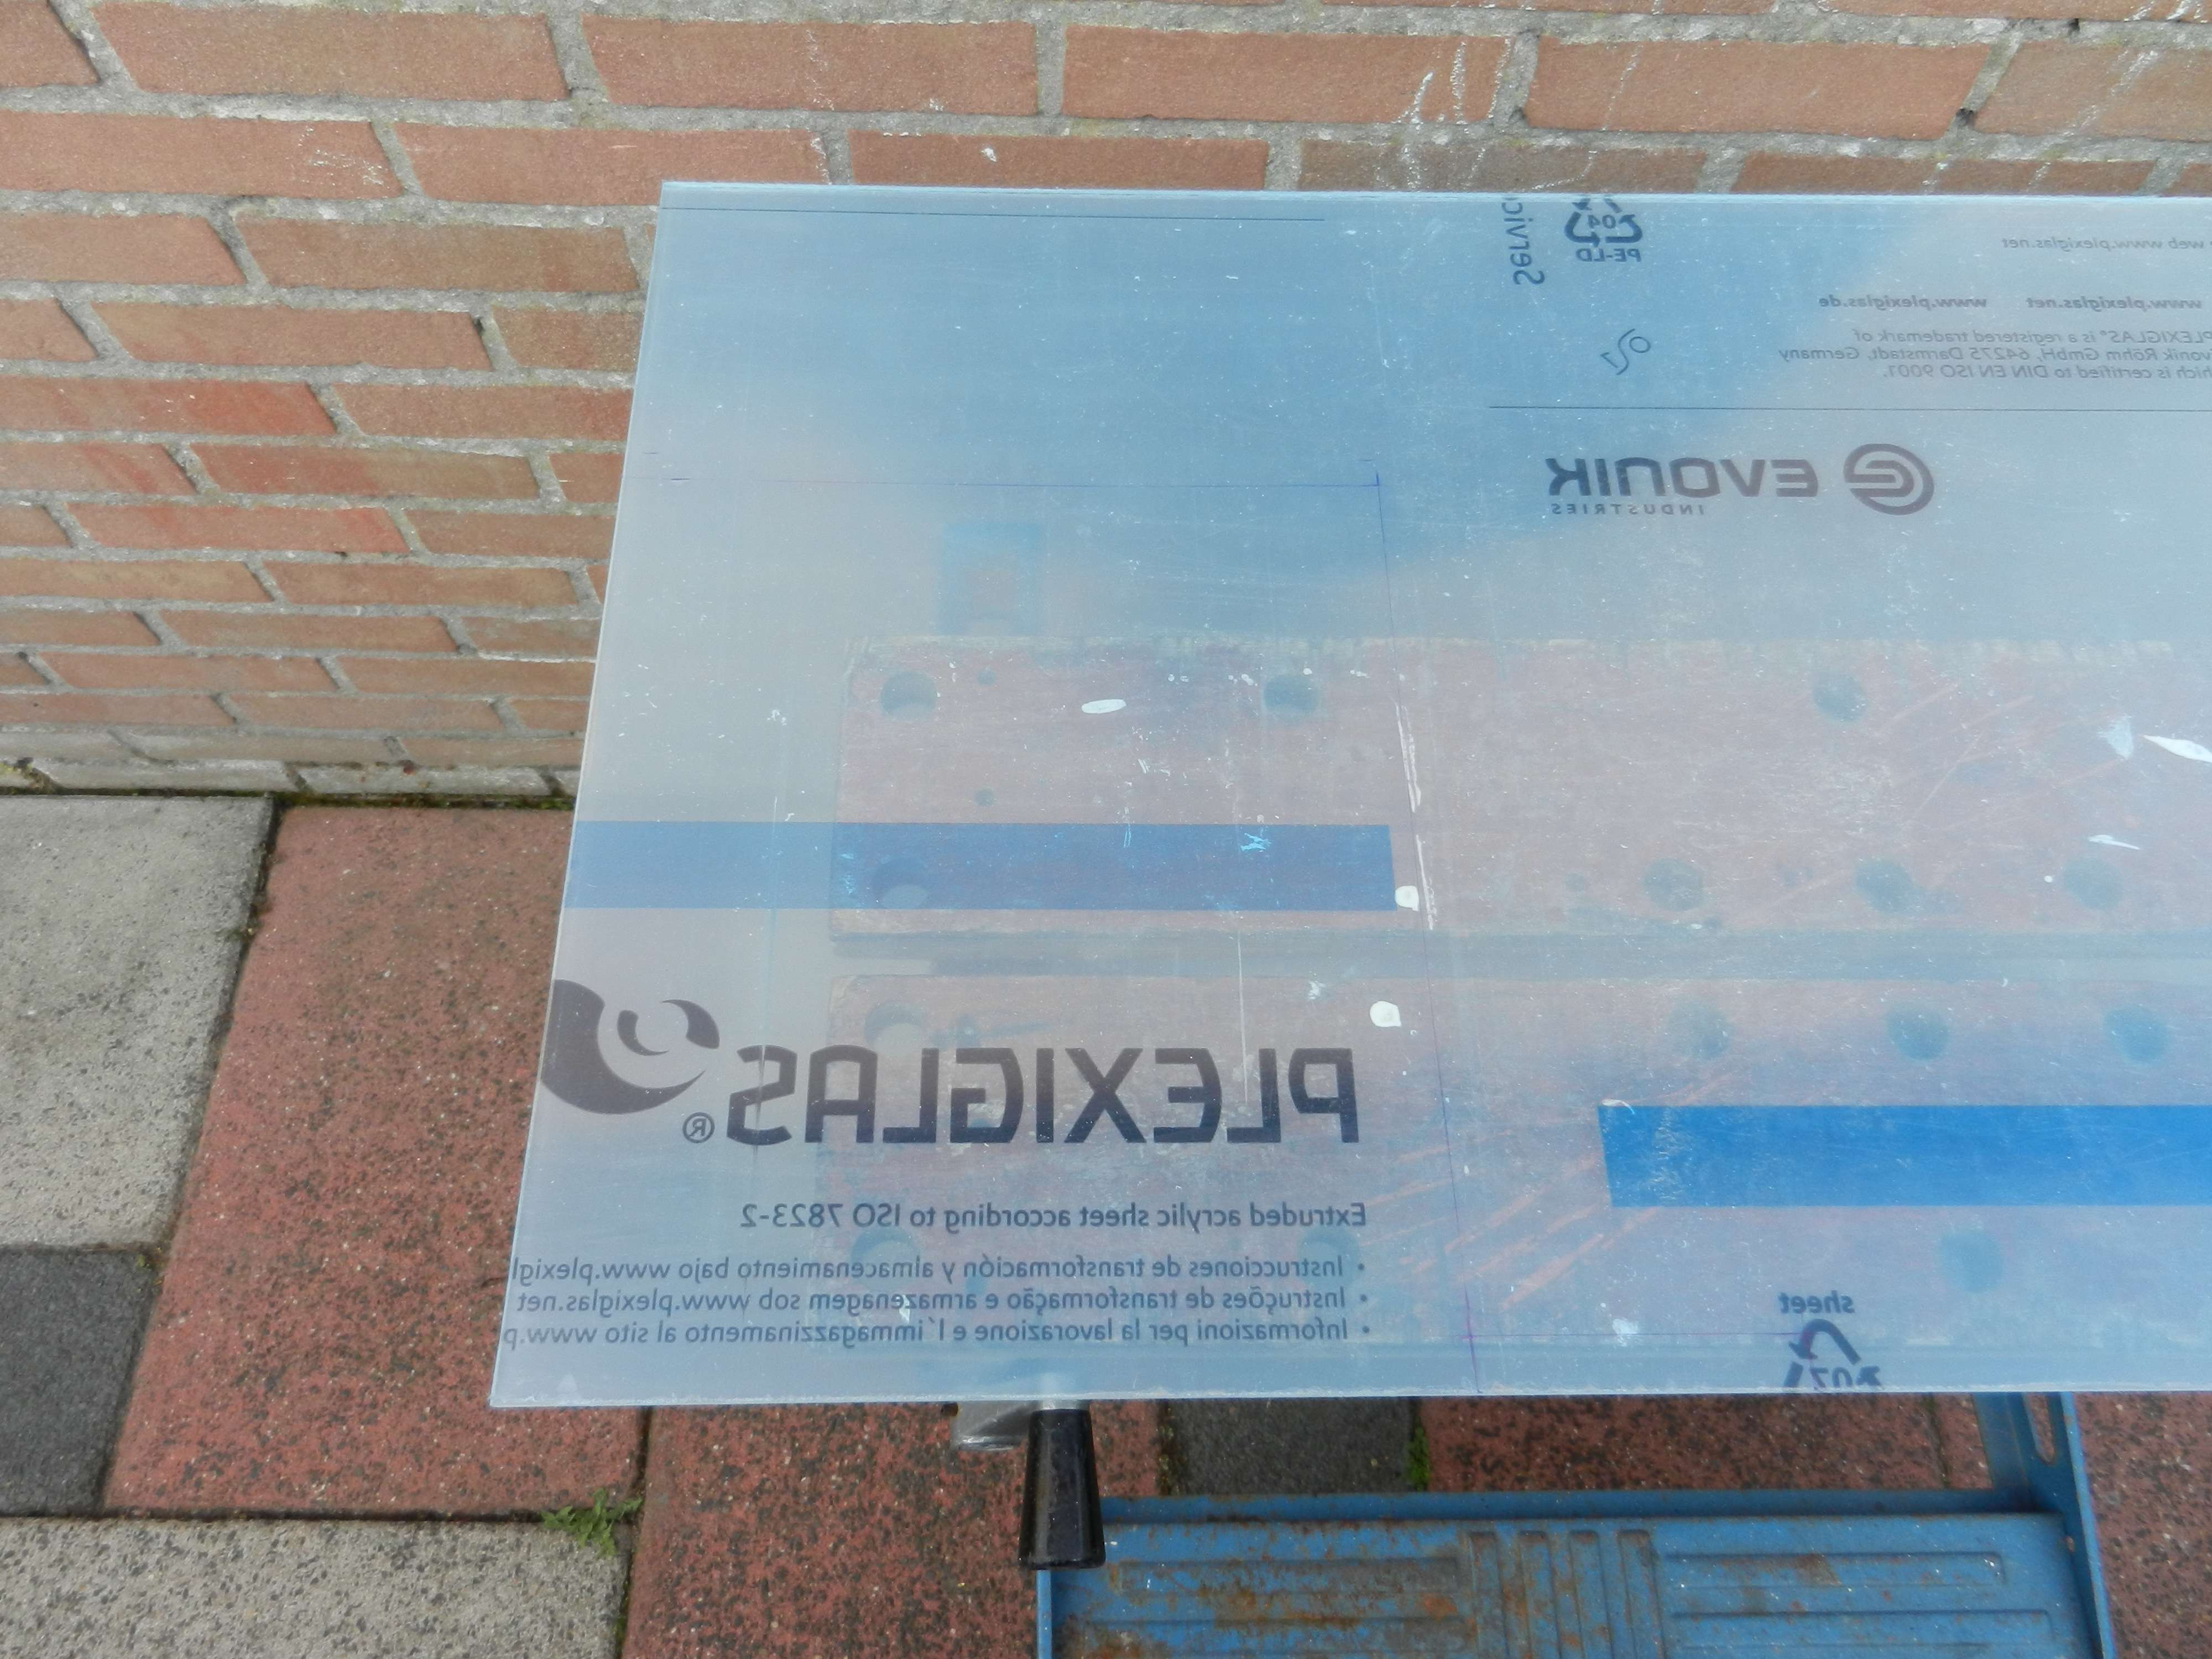
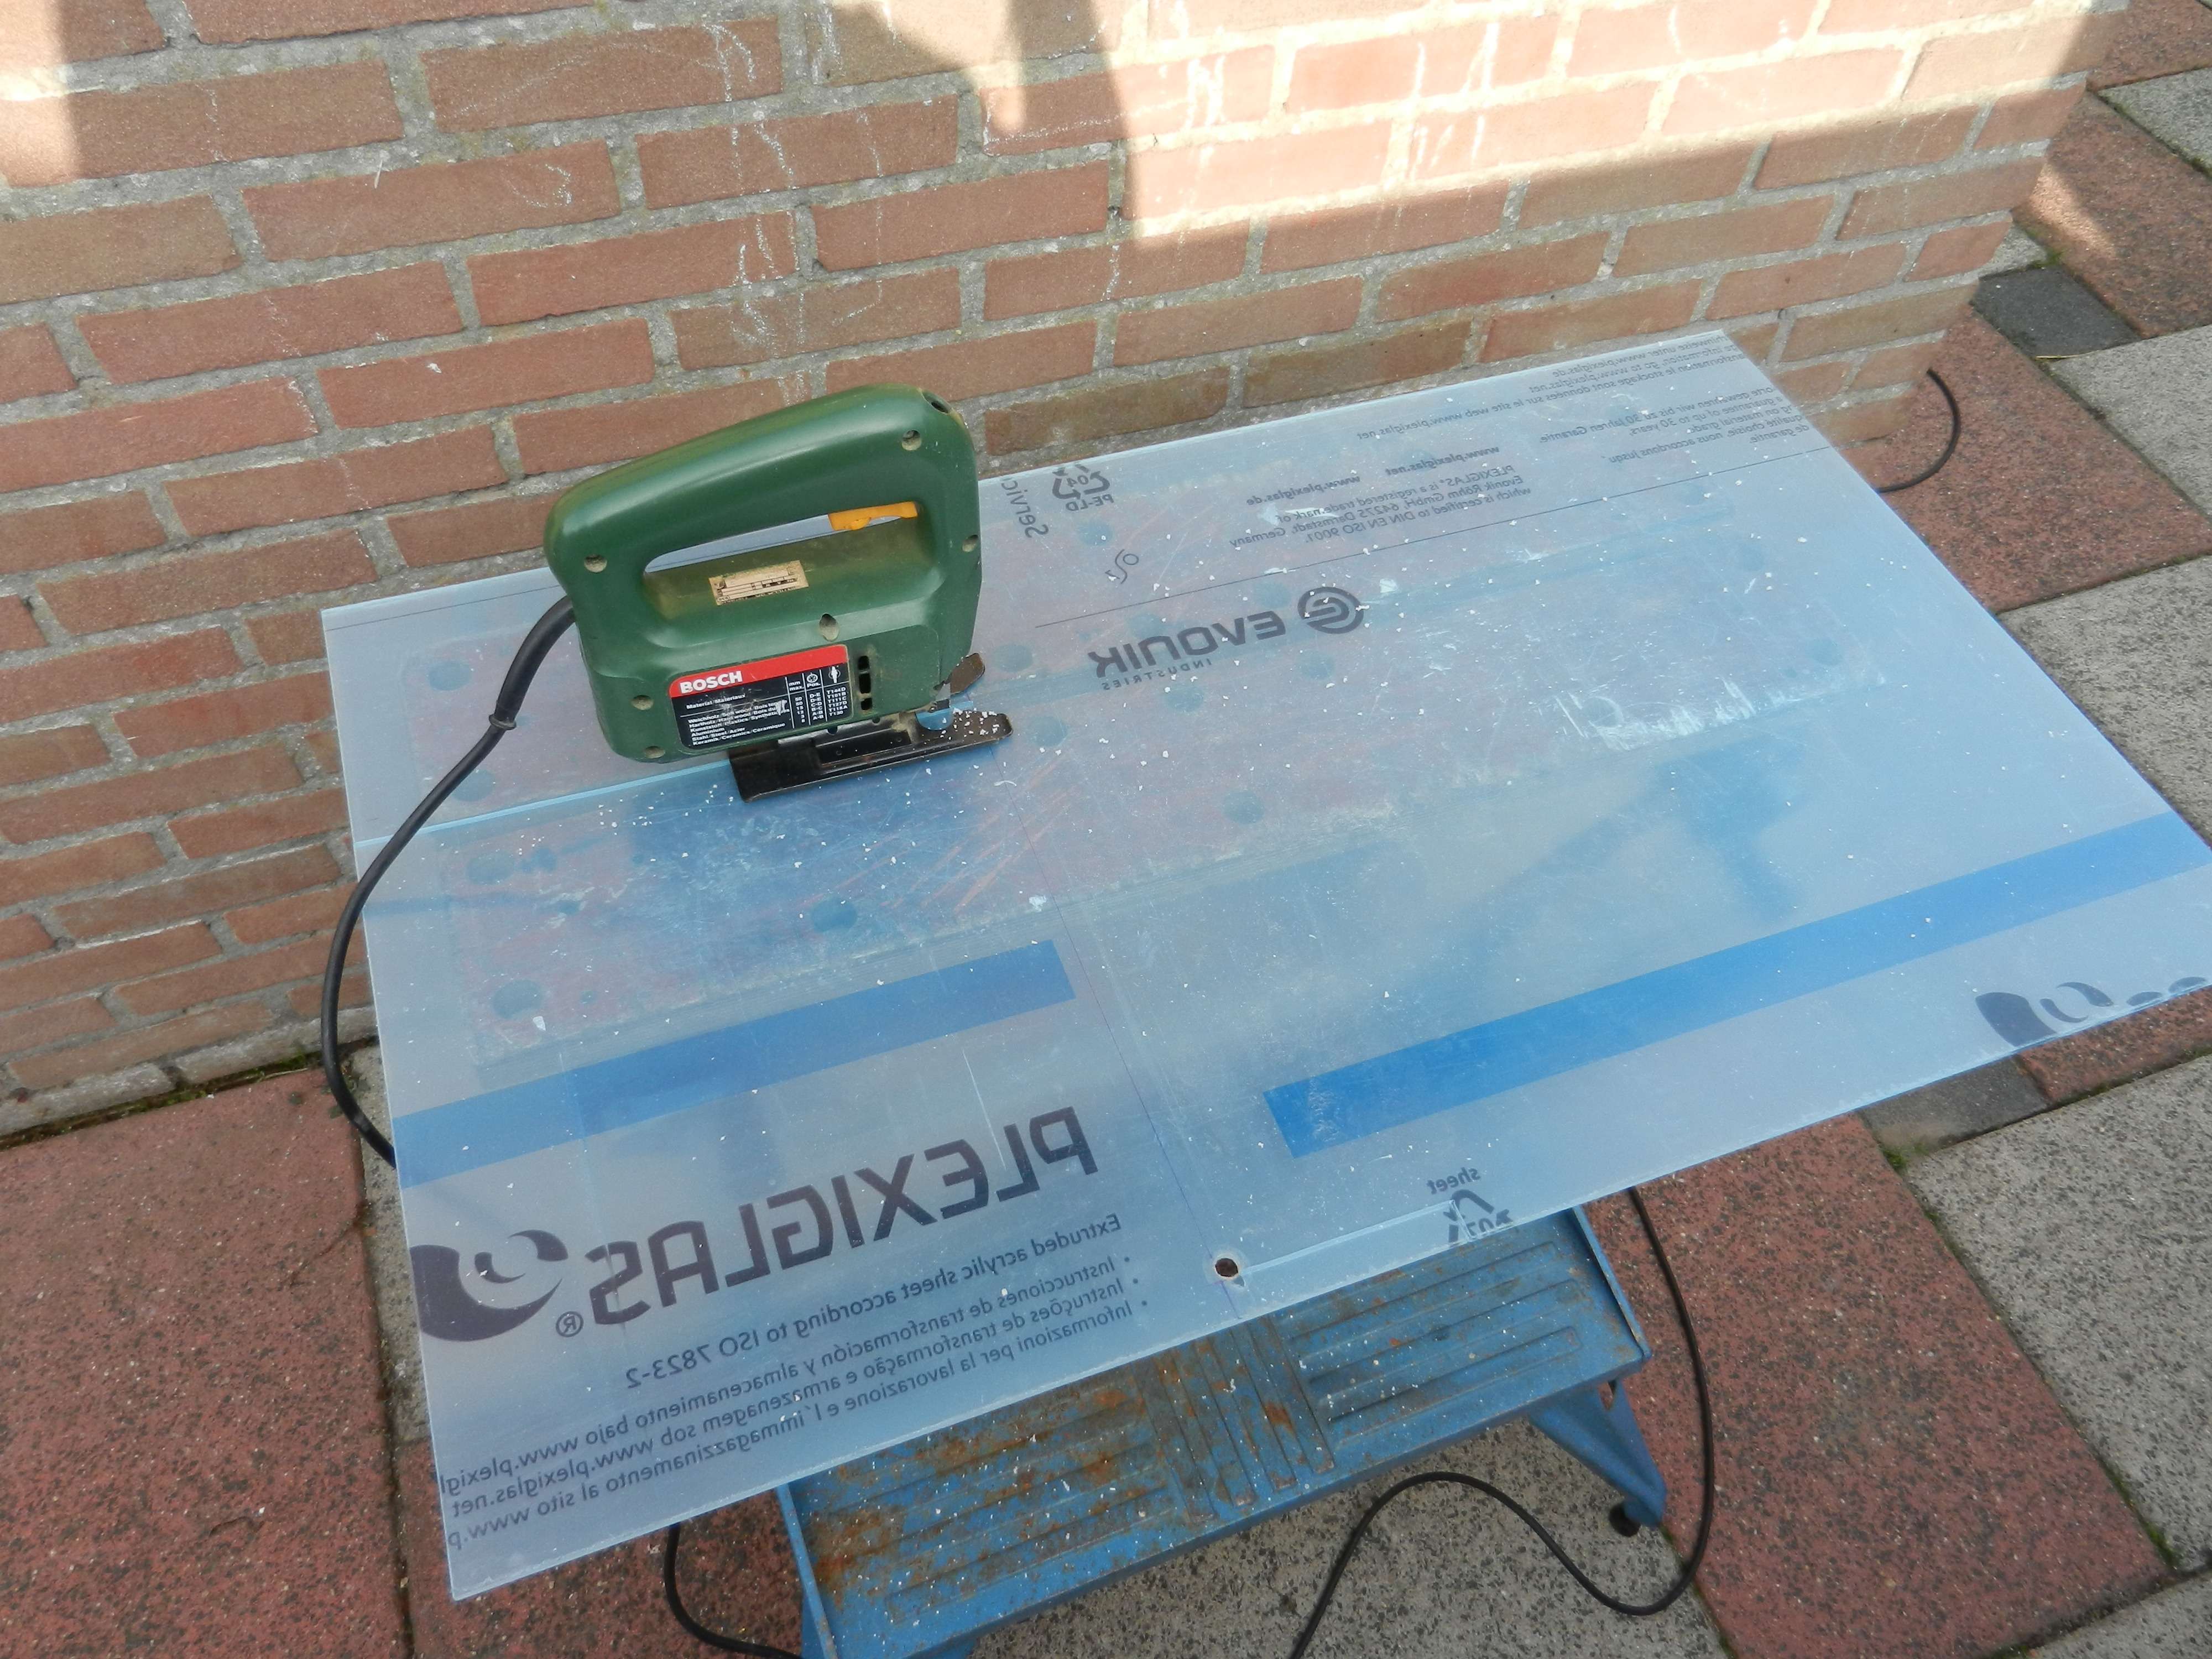
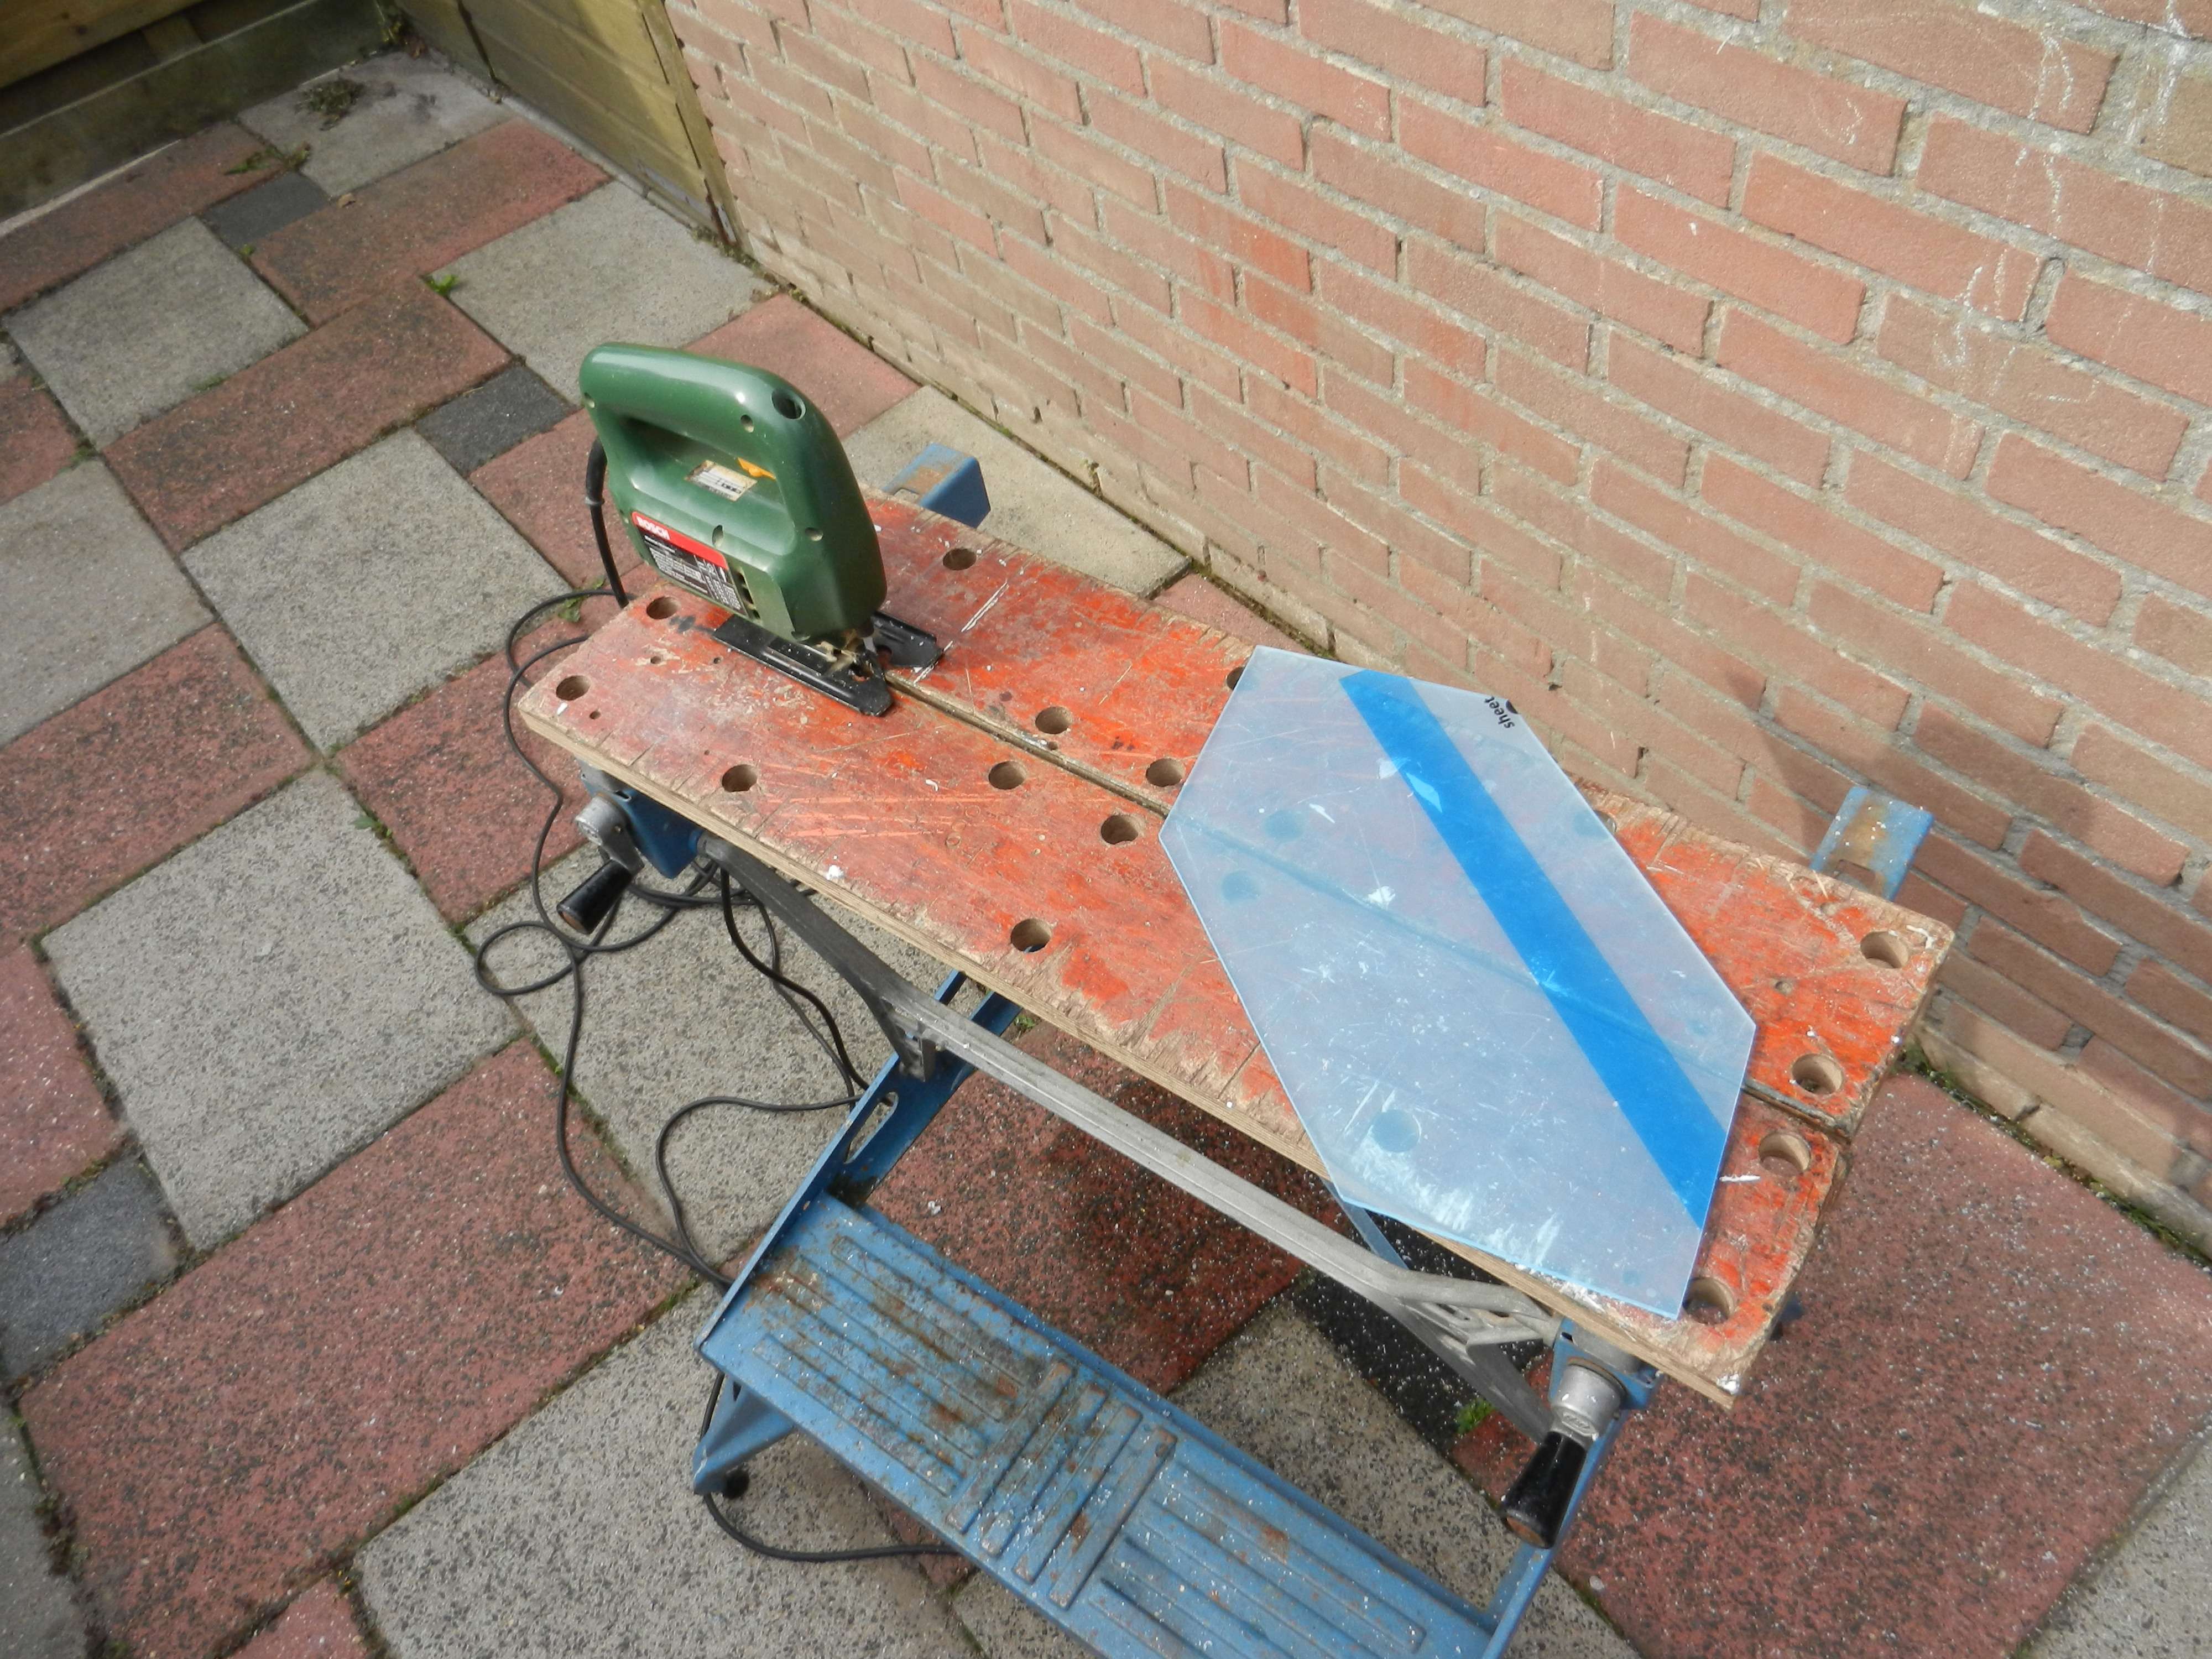
I received the plexi plate 100 cm * 50 cm * 4mm.
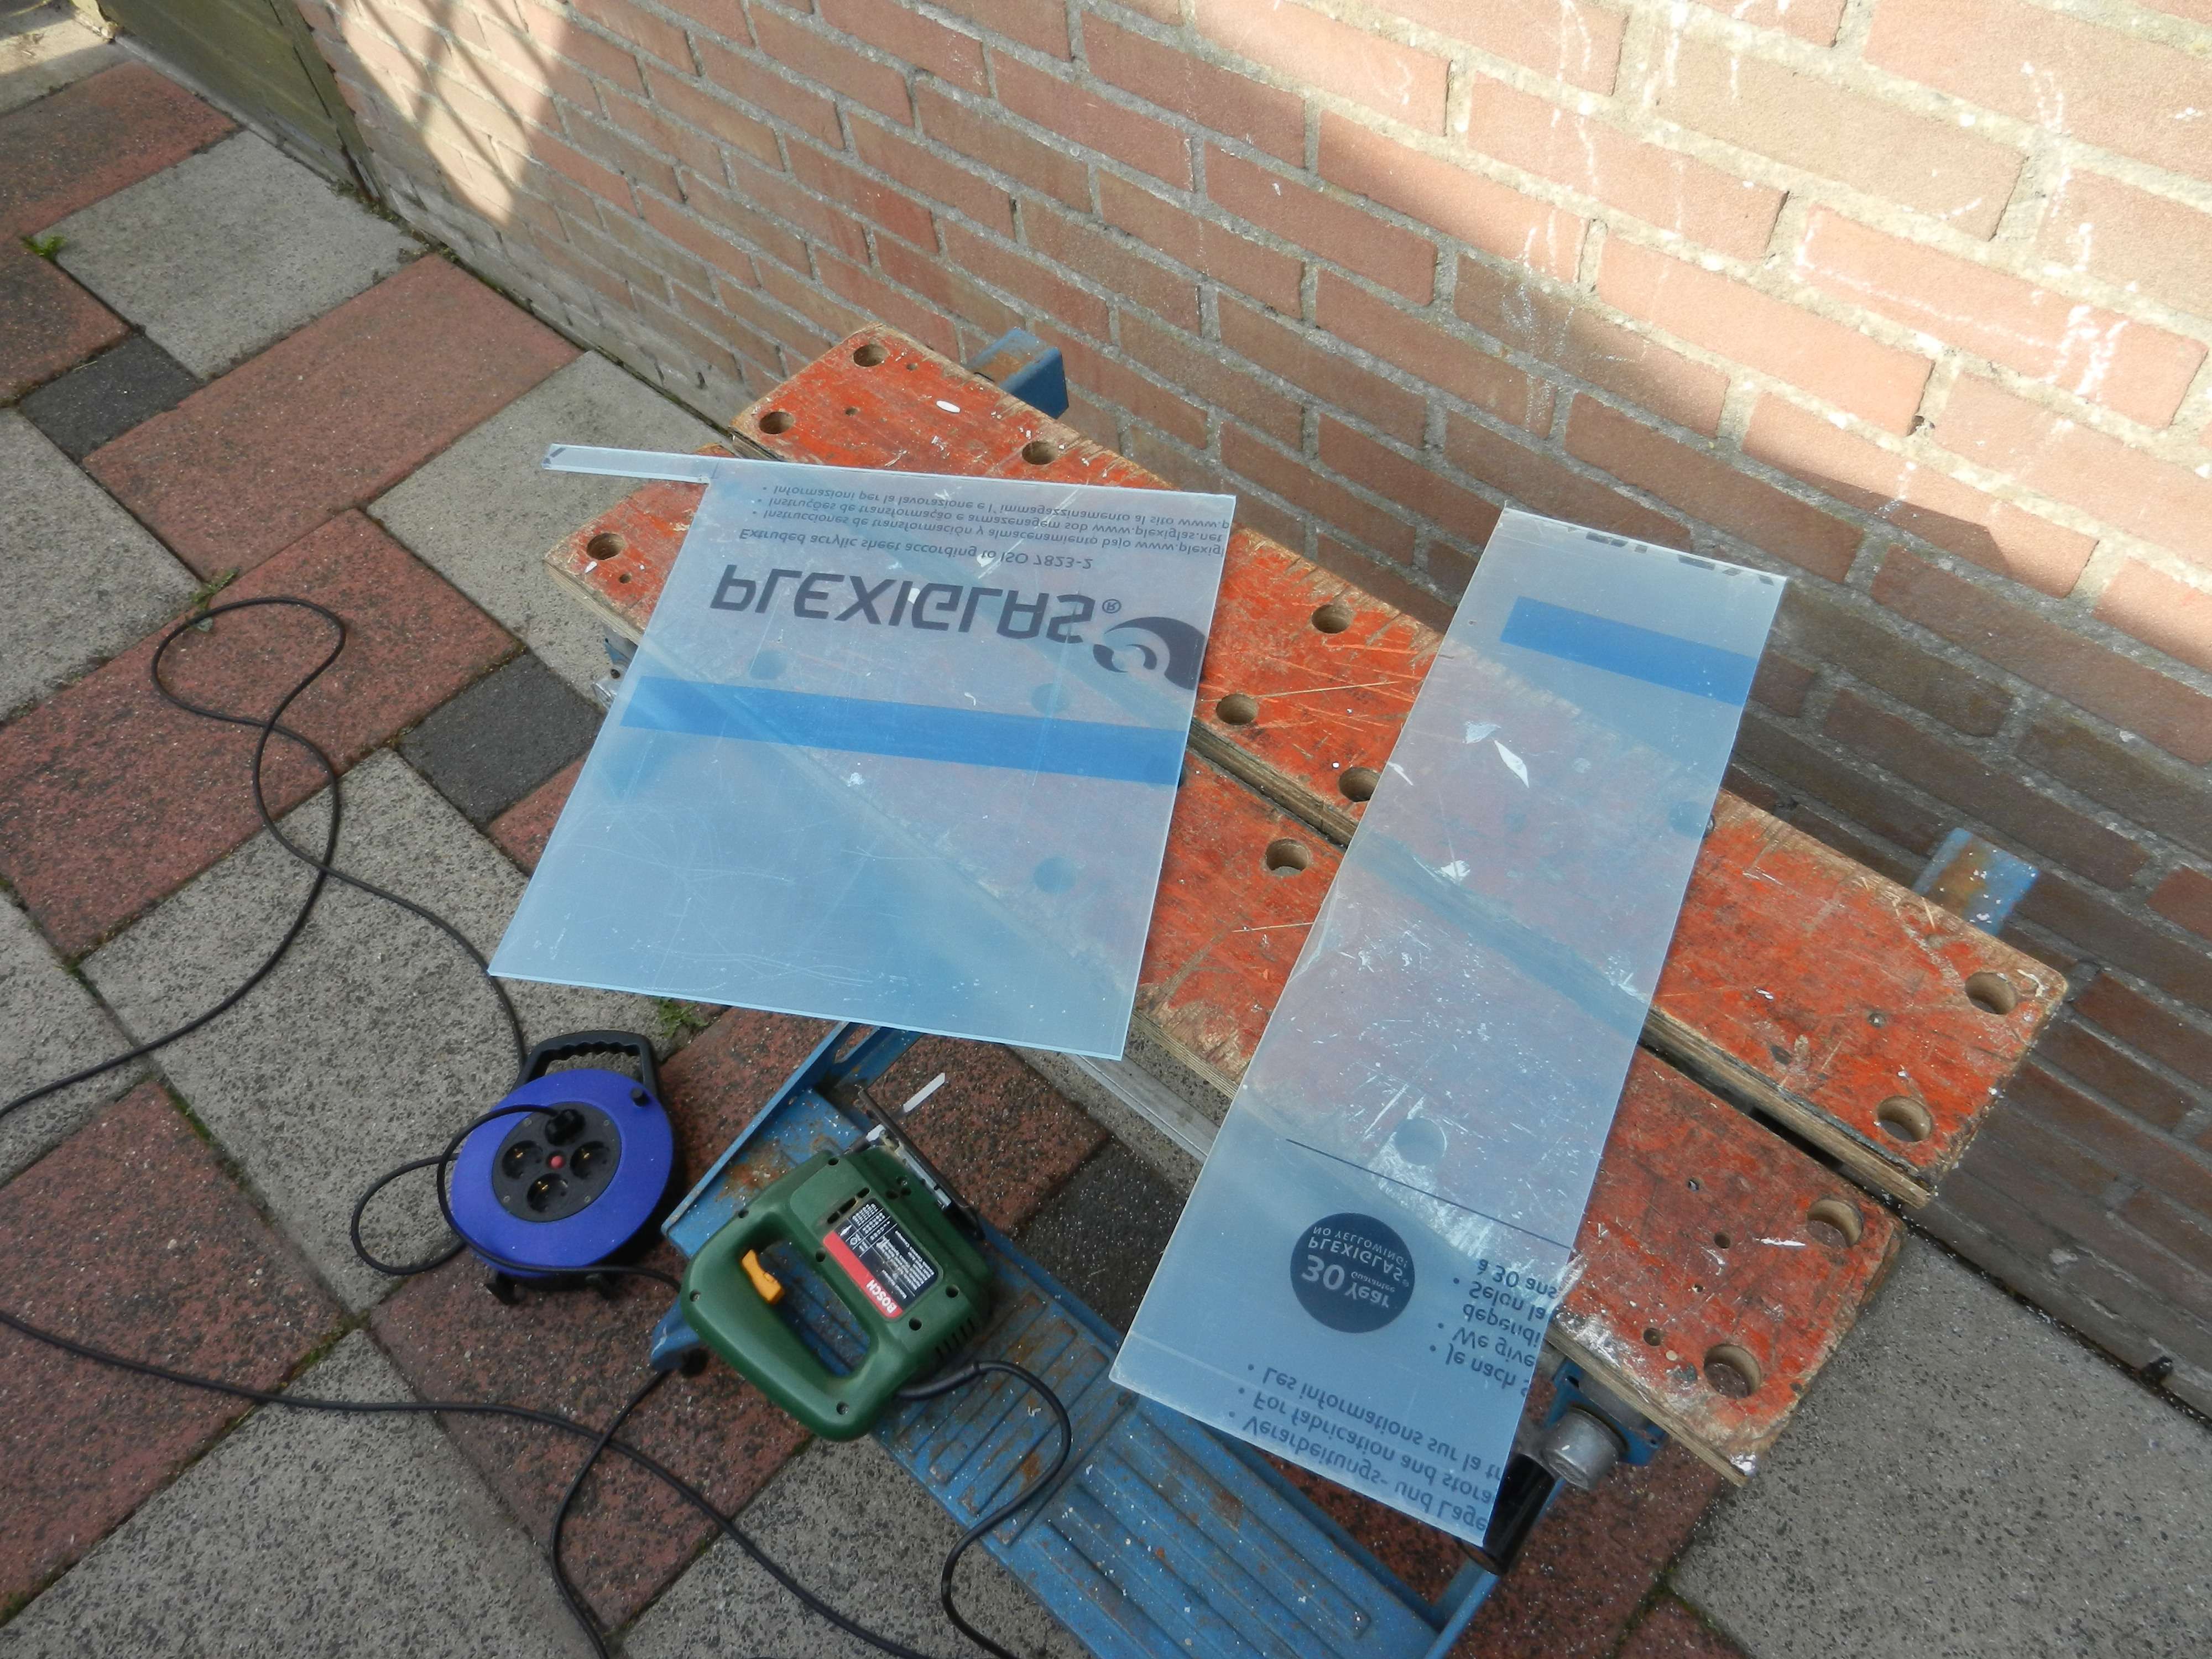
Time to measure, draw some panels, saw them out and create a mock up piece.
With the foil still on both sides it's easy to saw them. When they are off the saw line melts instantly. Odd stuff.
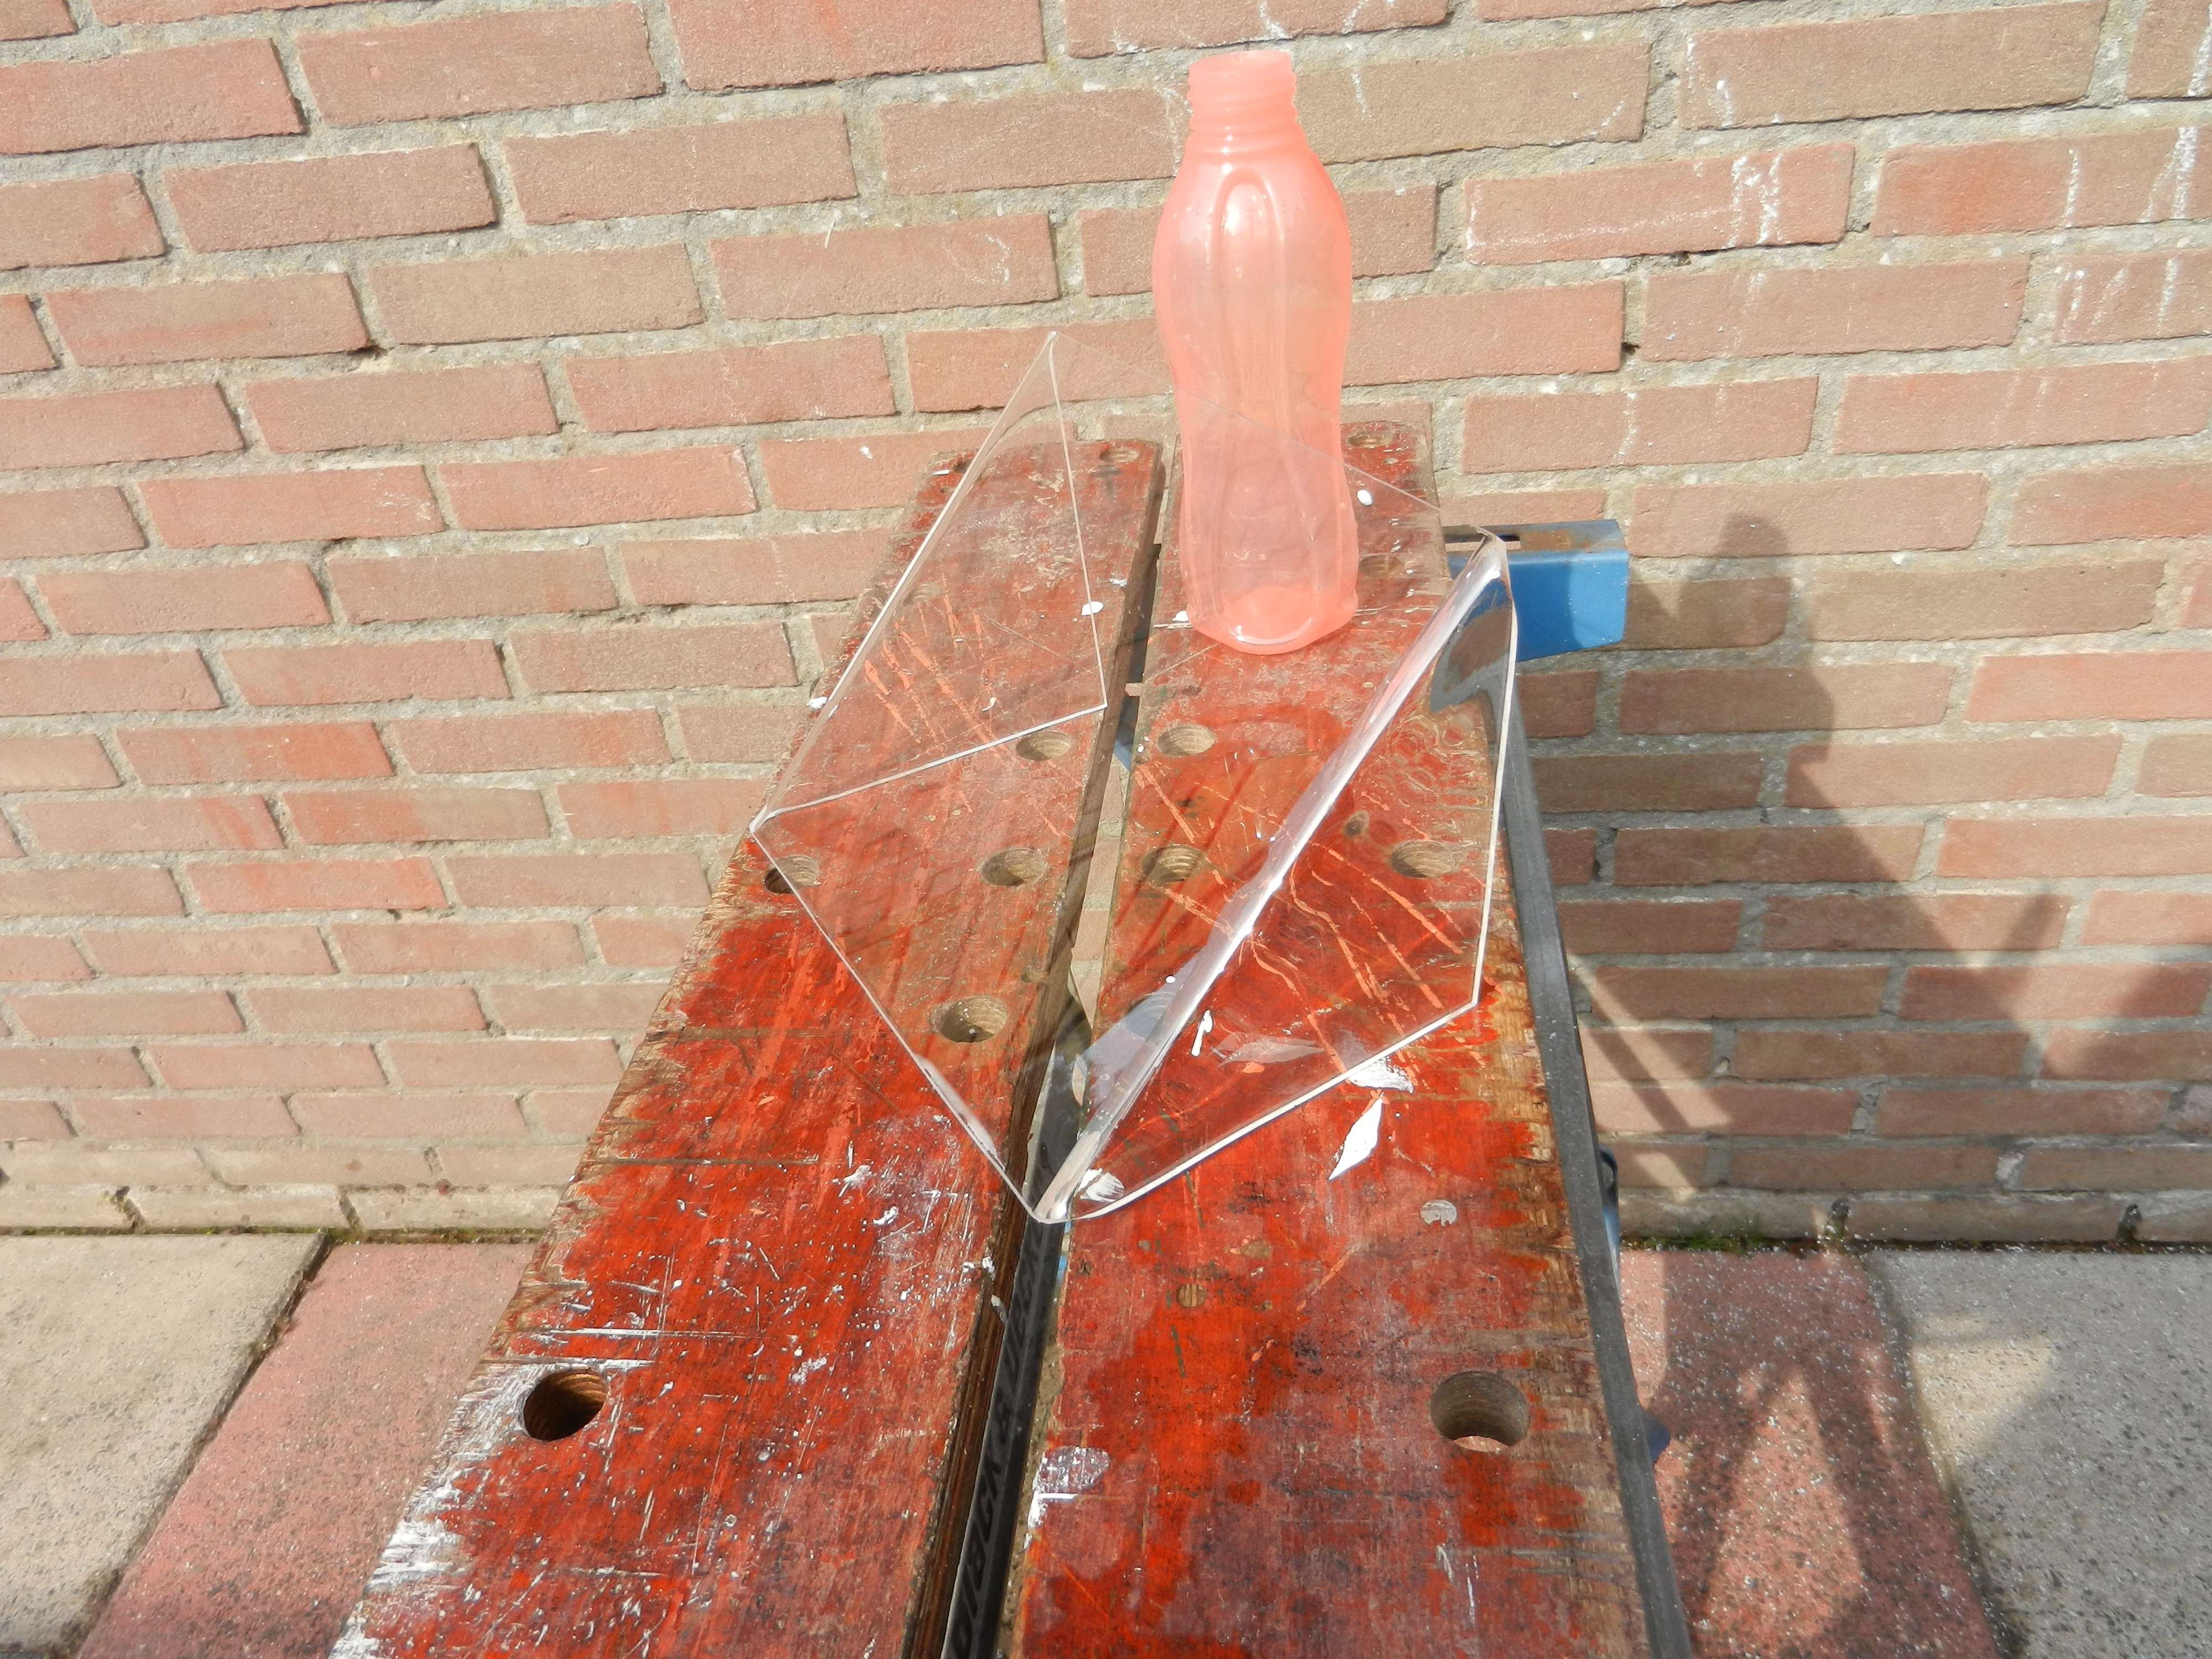
I have created a flat panel for the rear.
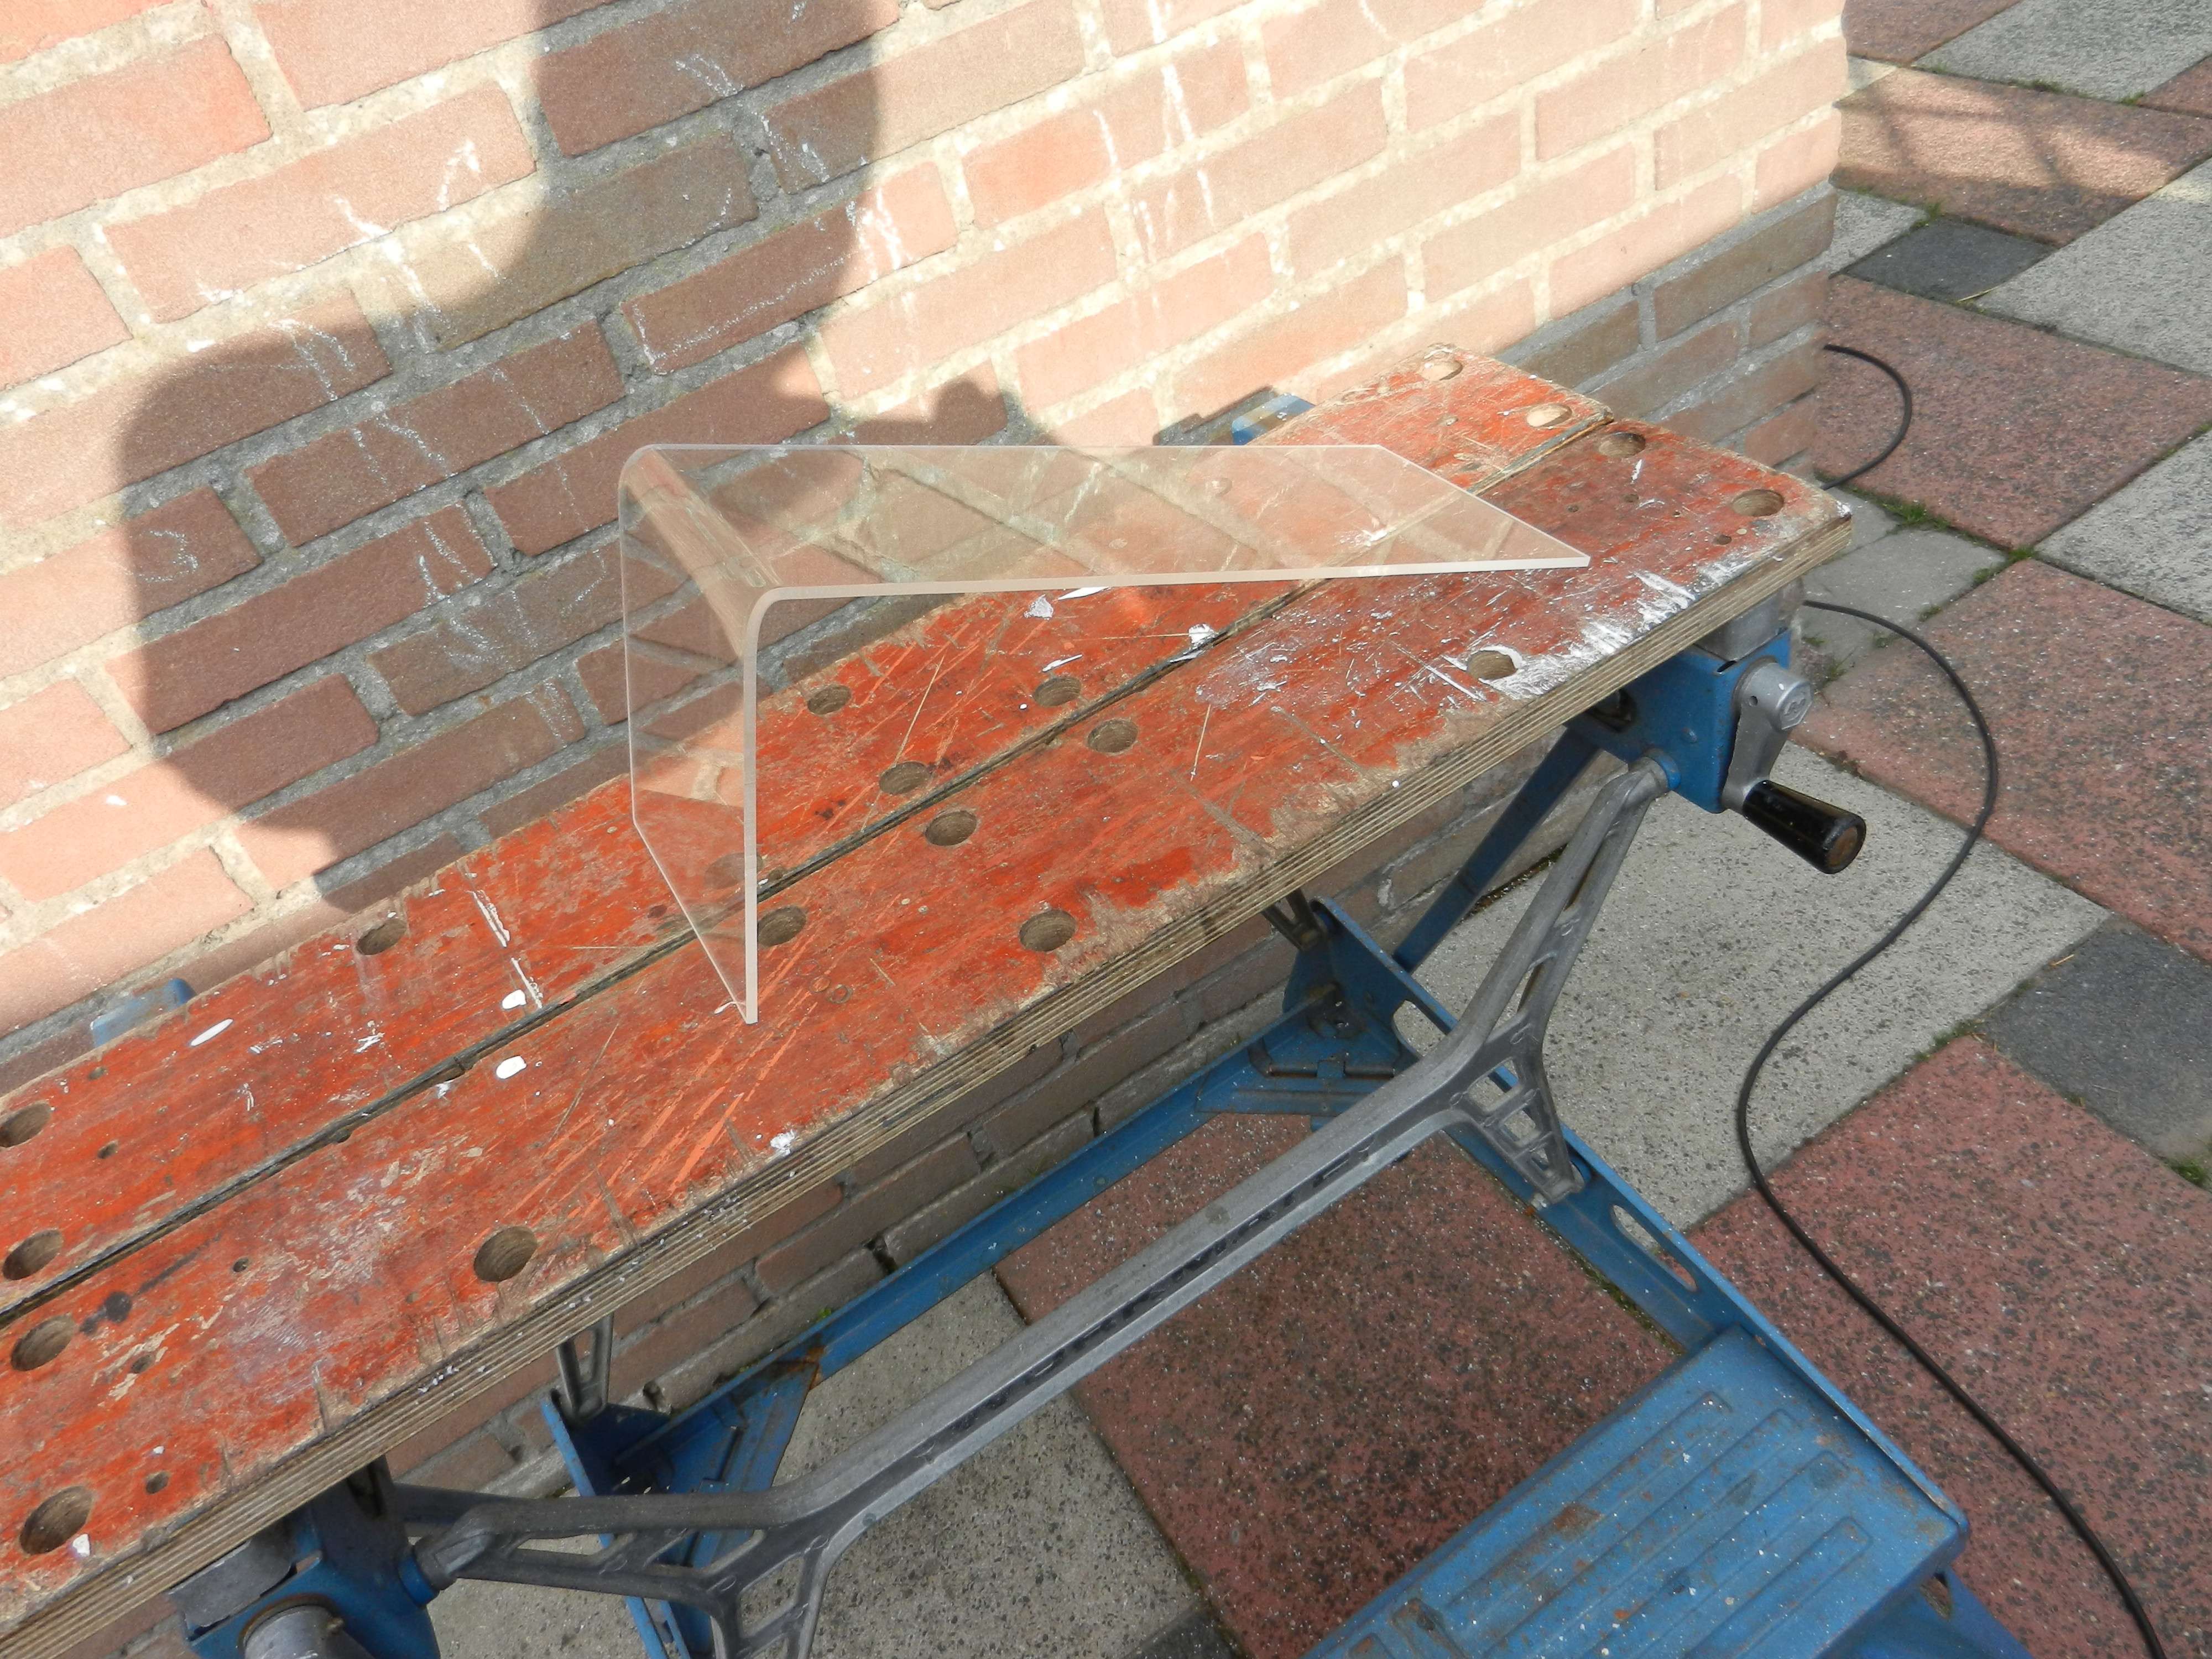
A bent plate for over the PSU all the way up to the floor. I want to have room in between for wiring and tubing. Trying to make it look as clean as possible. The side will be closed on the real version.
The front will have holes for the motherboard wiring. I will sleeve them and make them come out there.
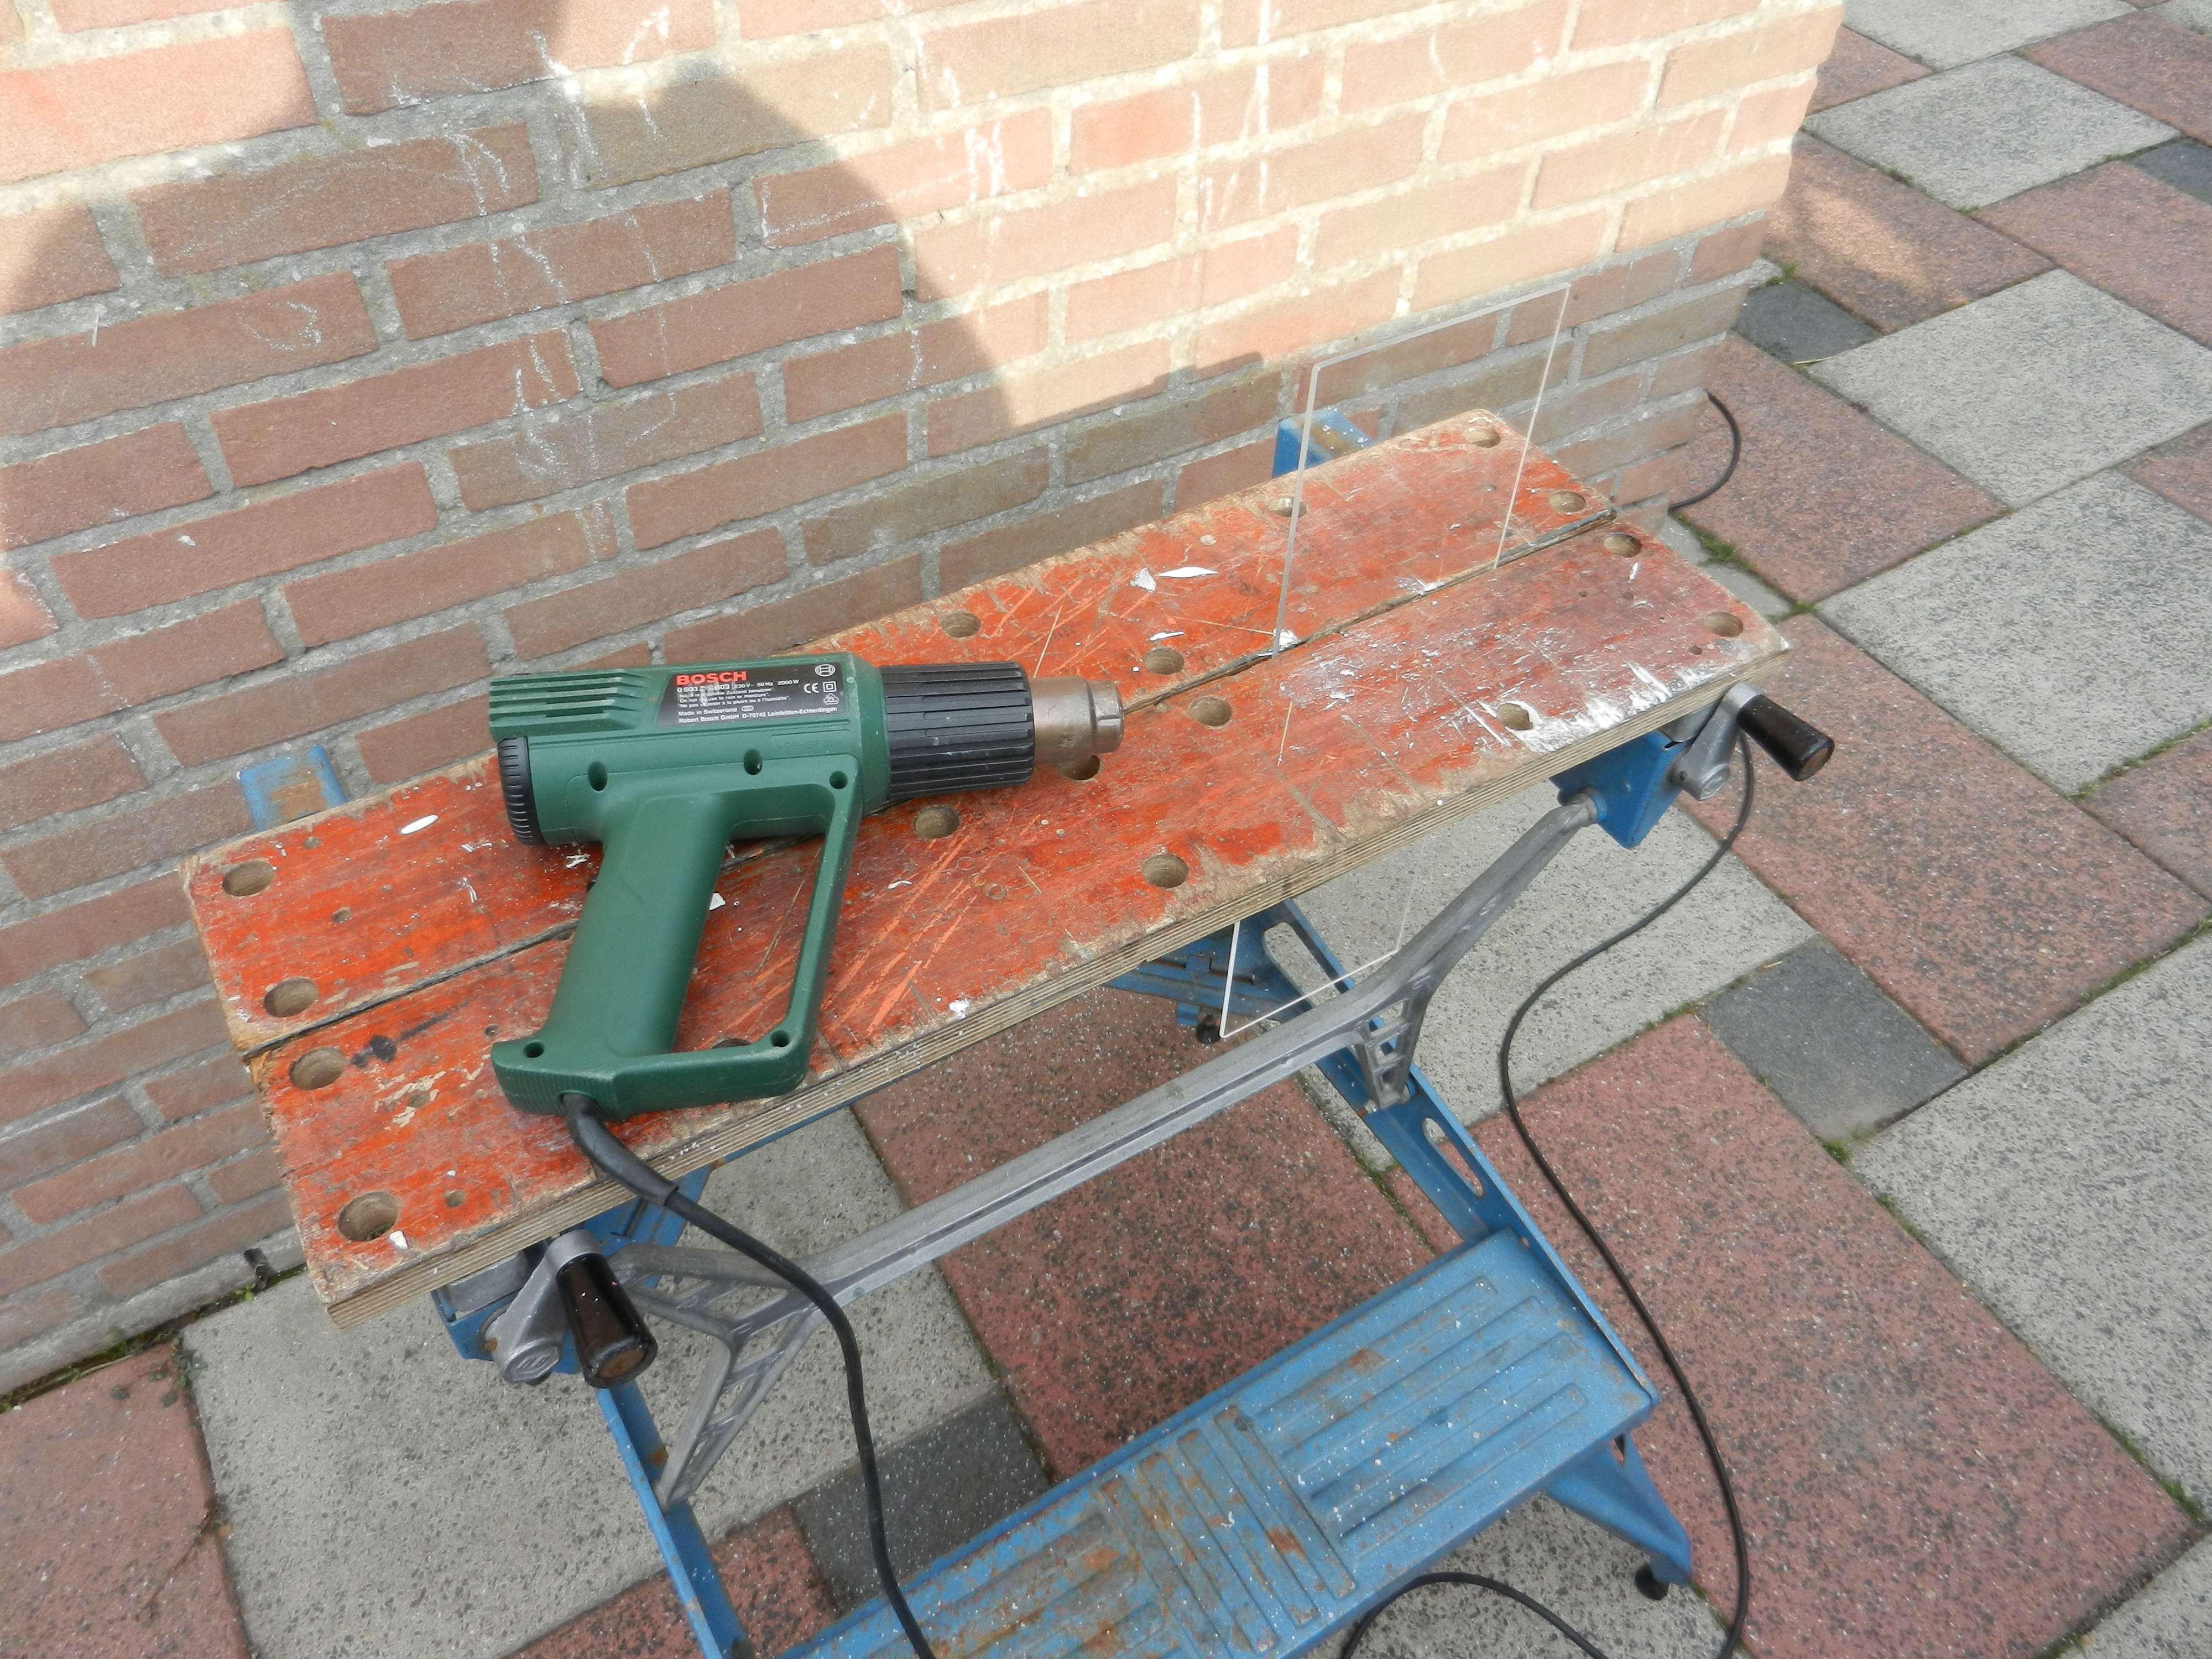
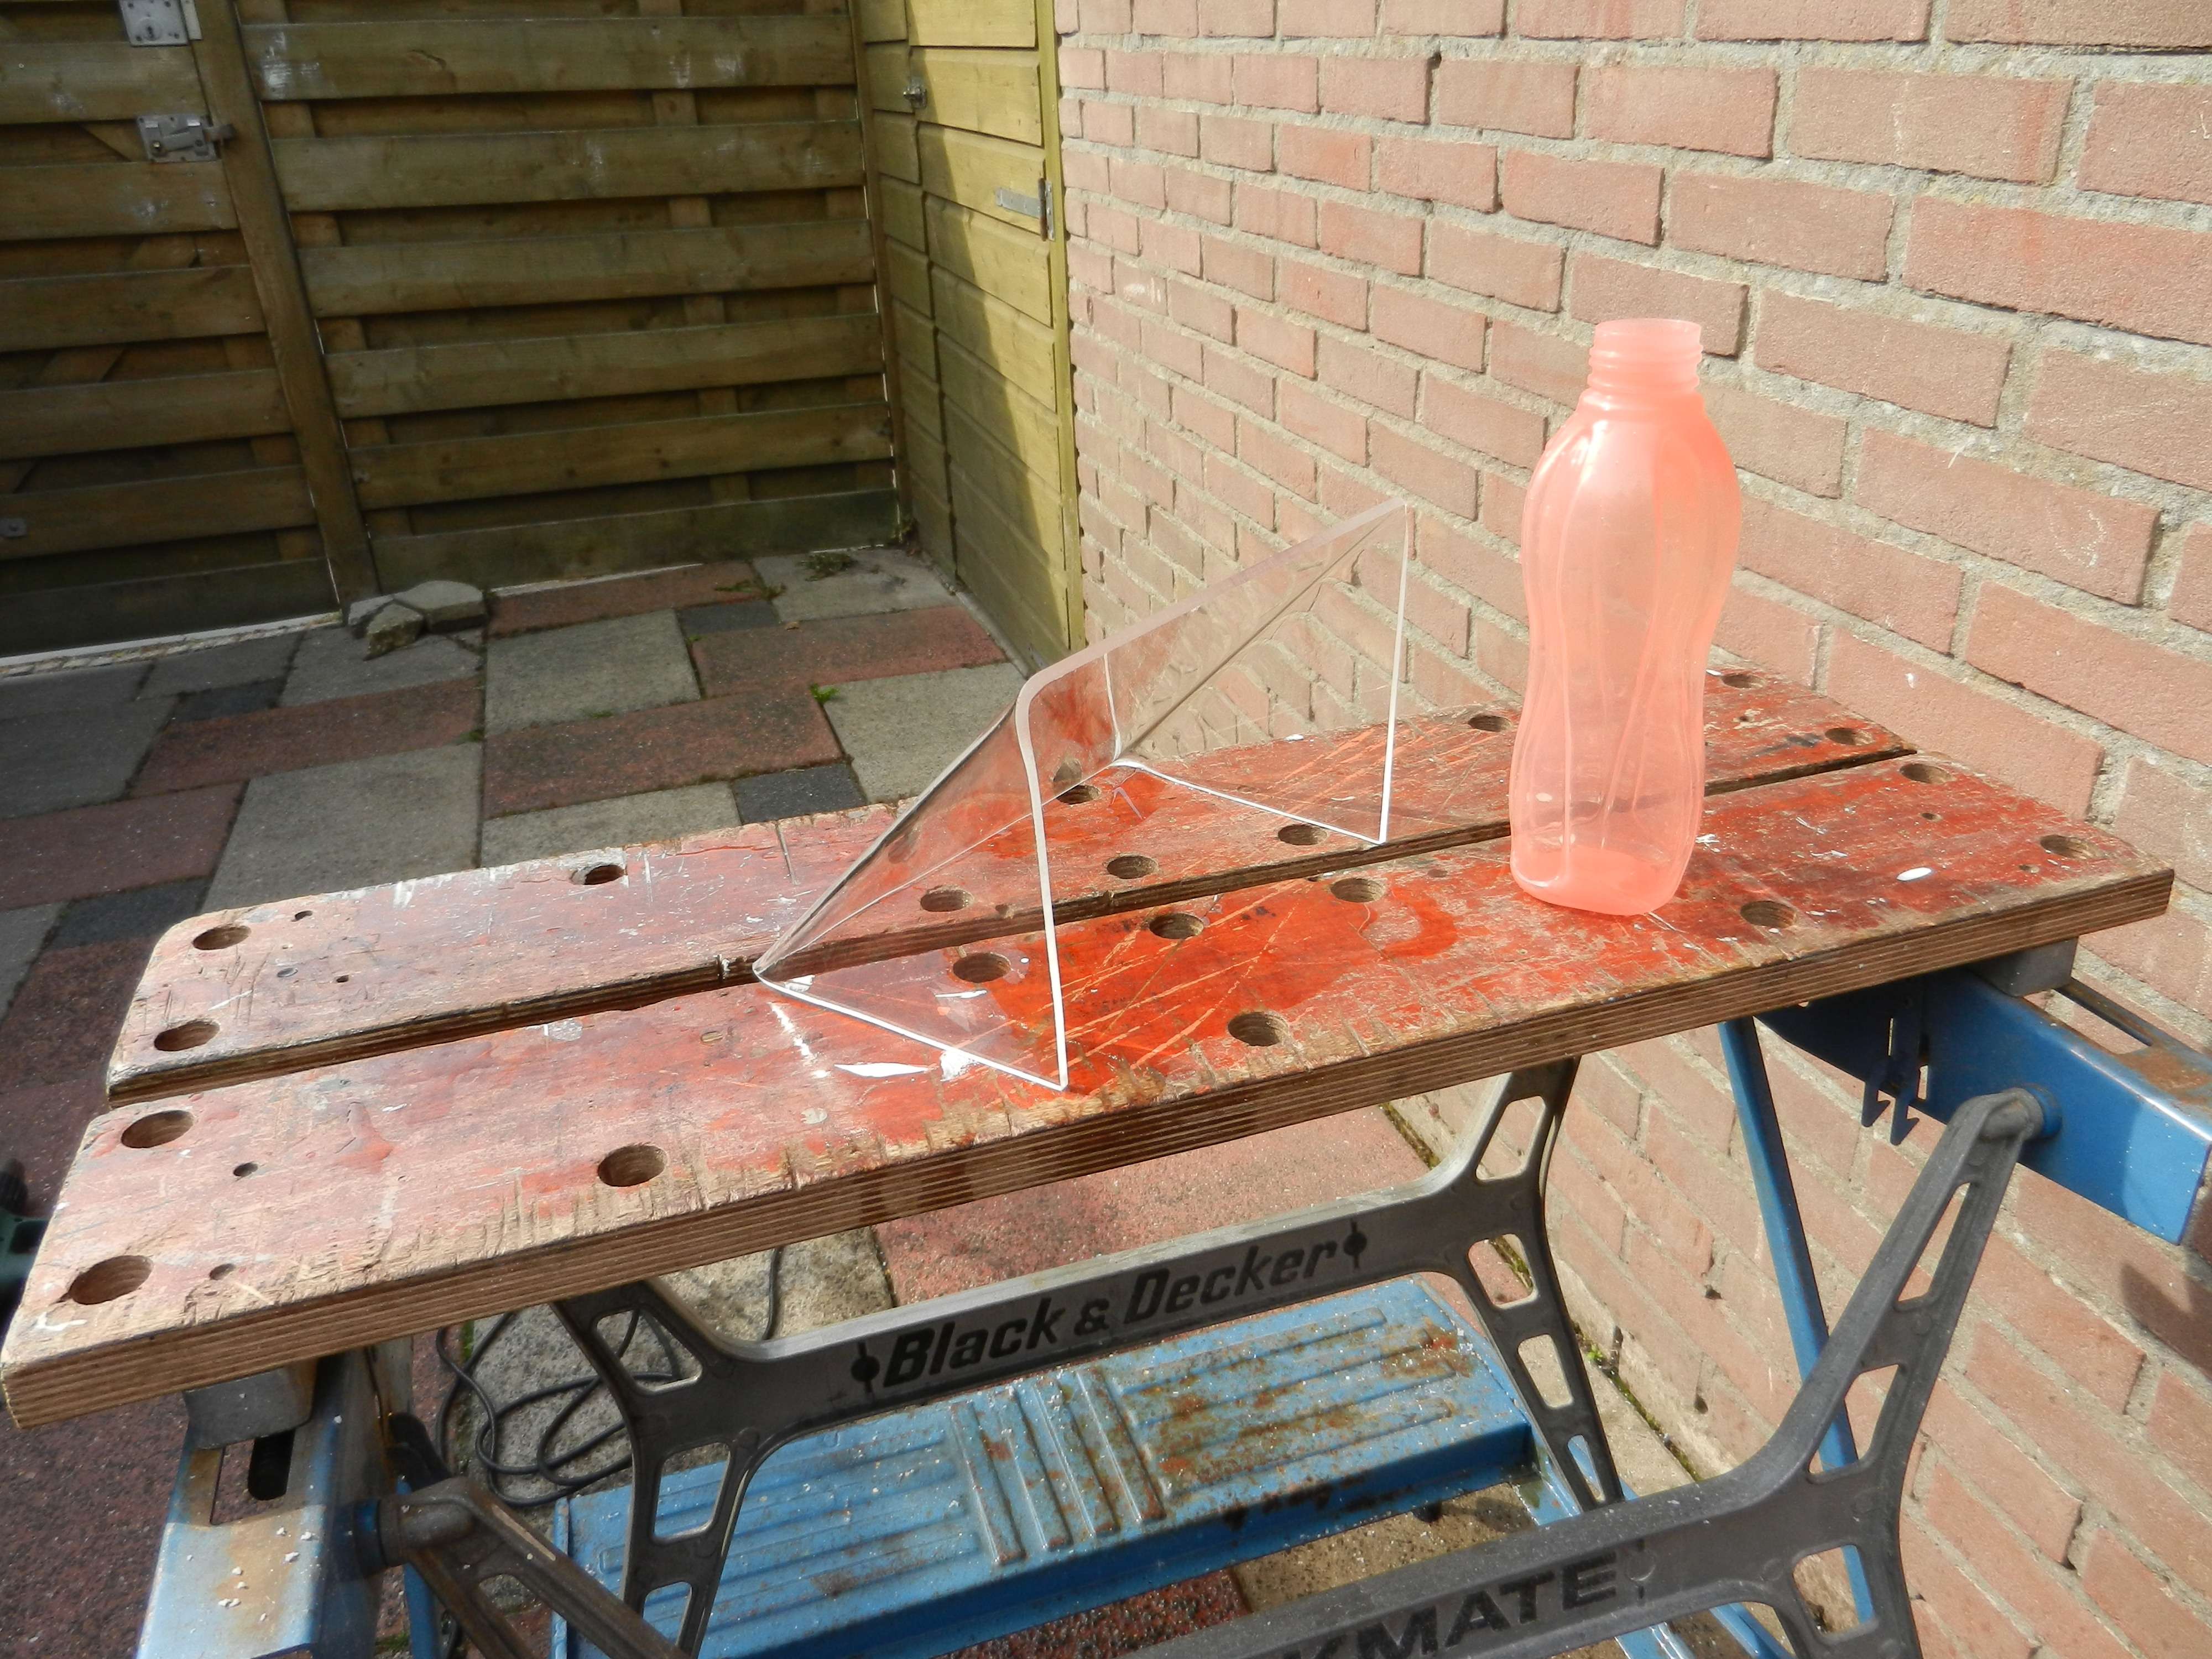
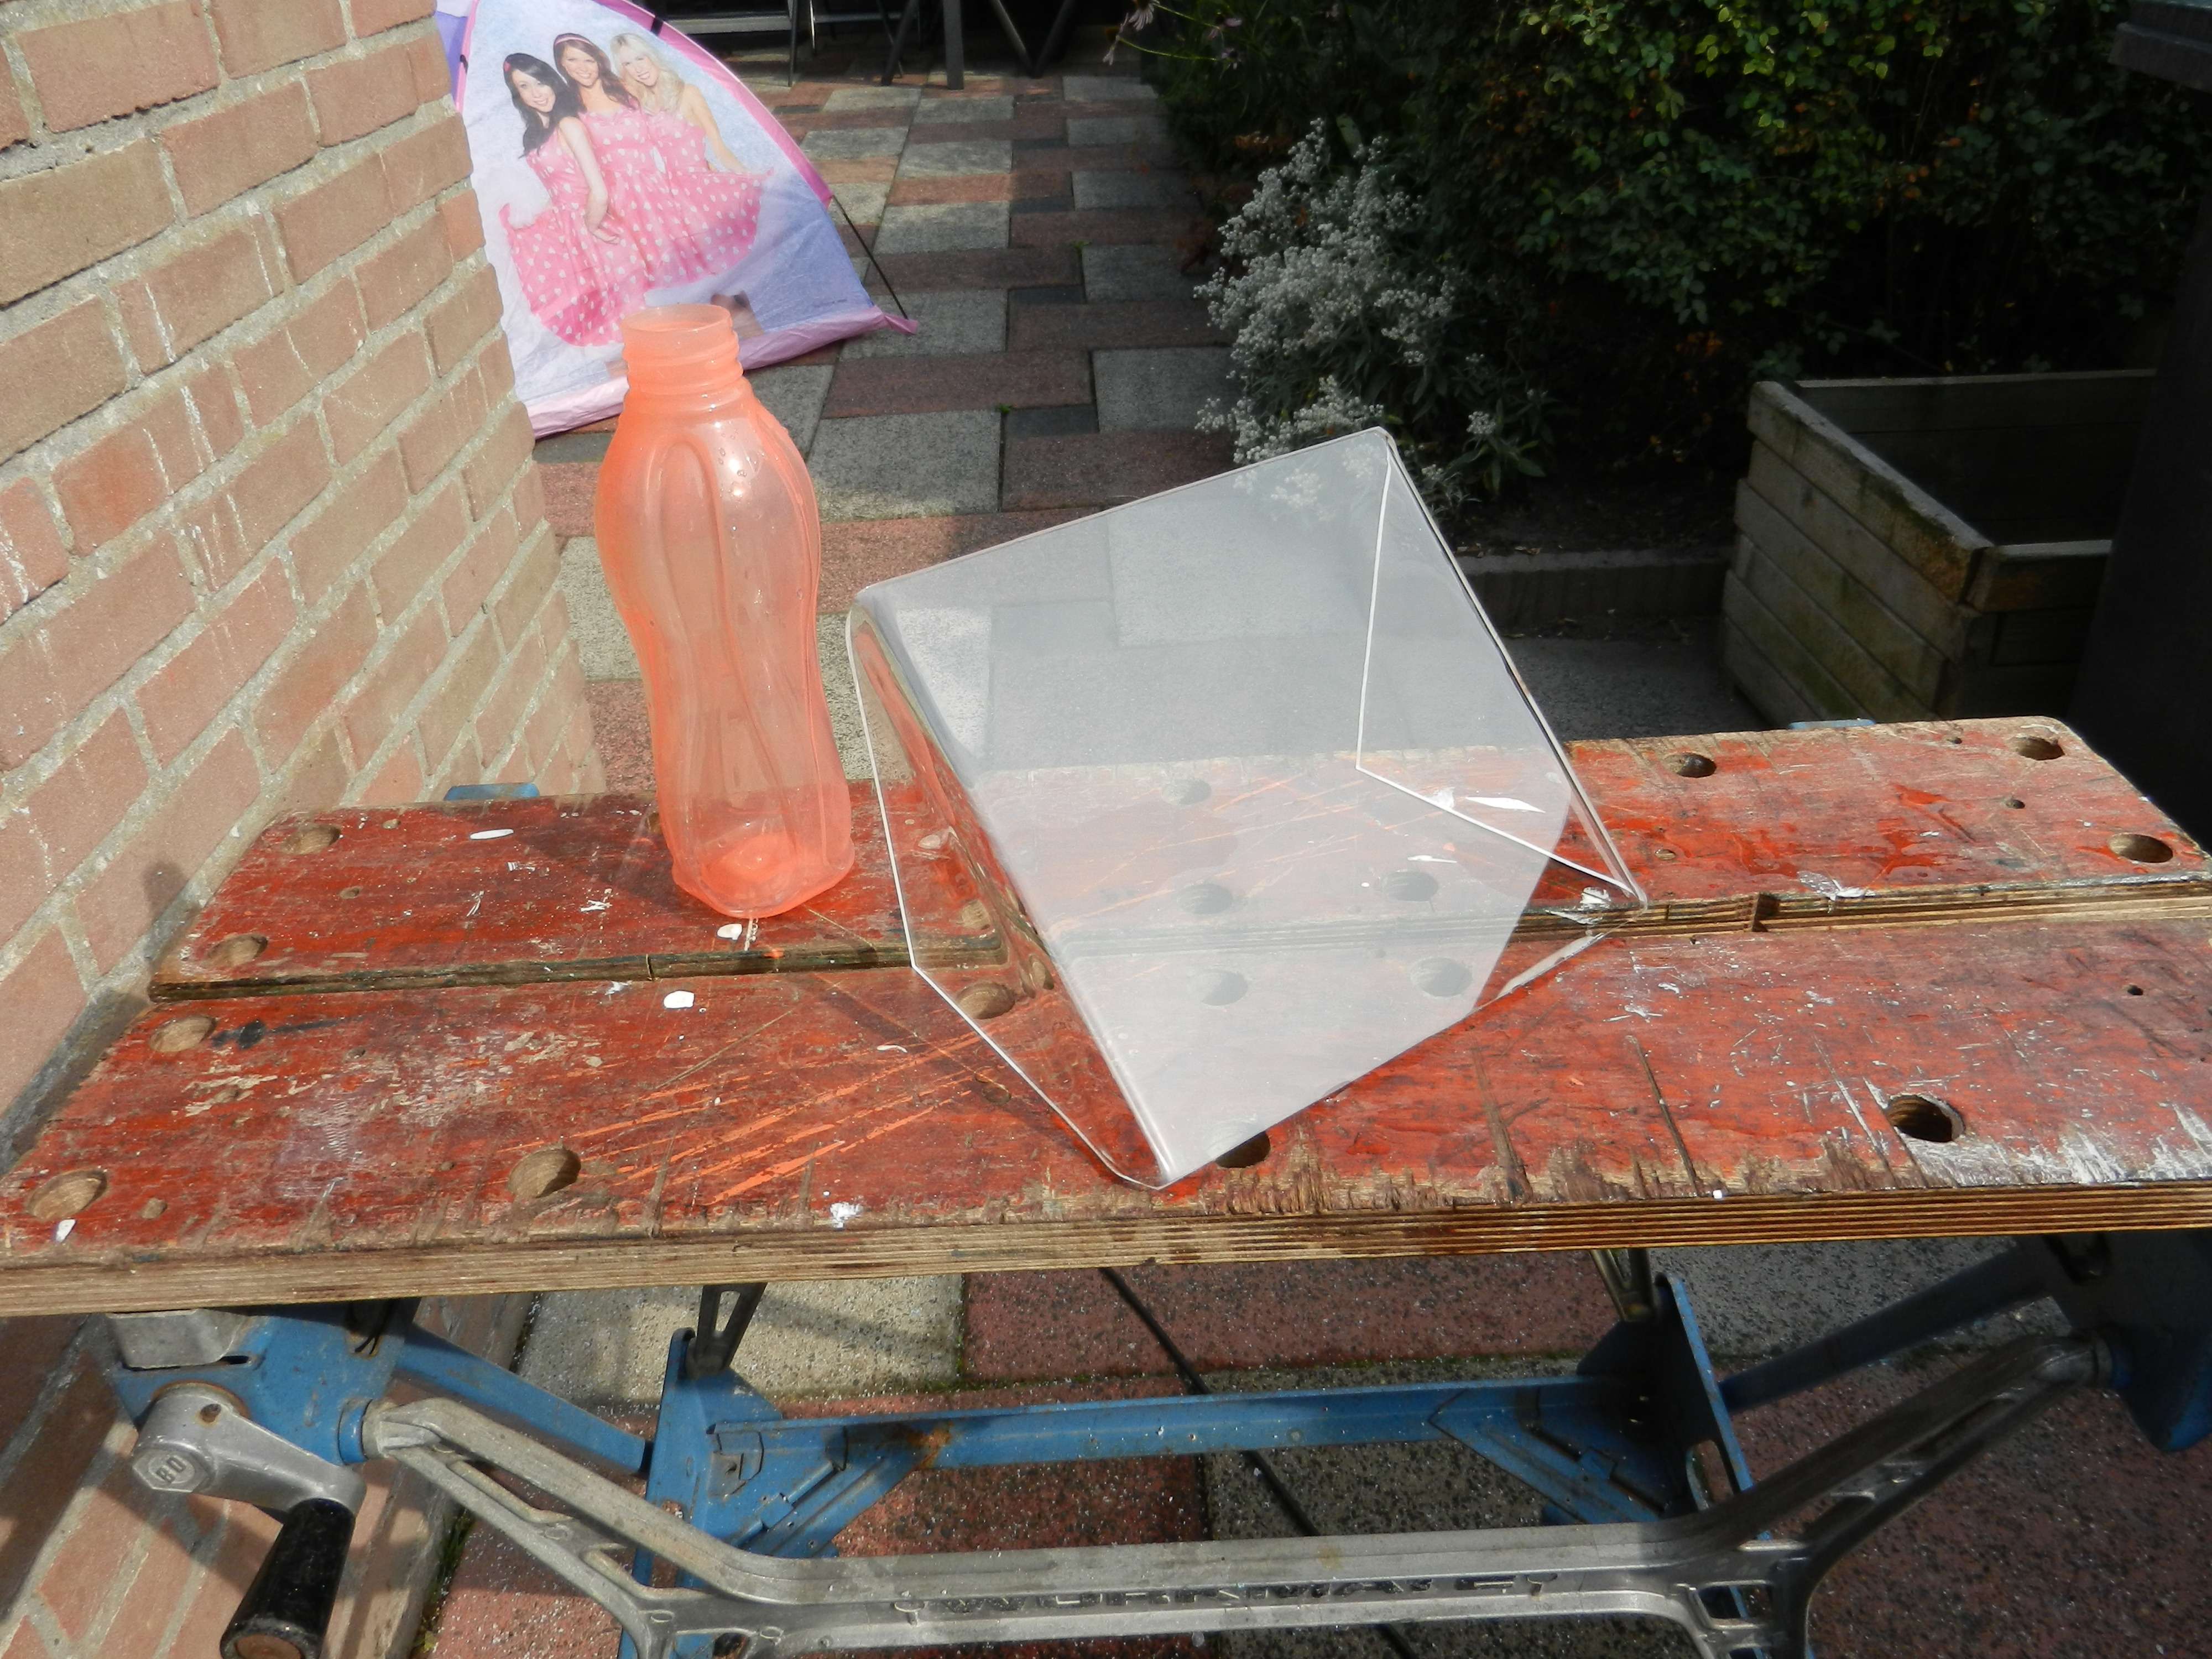
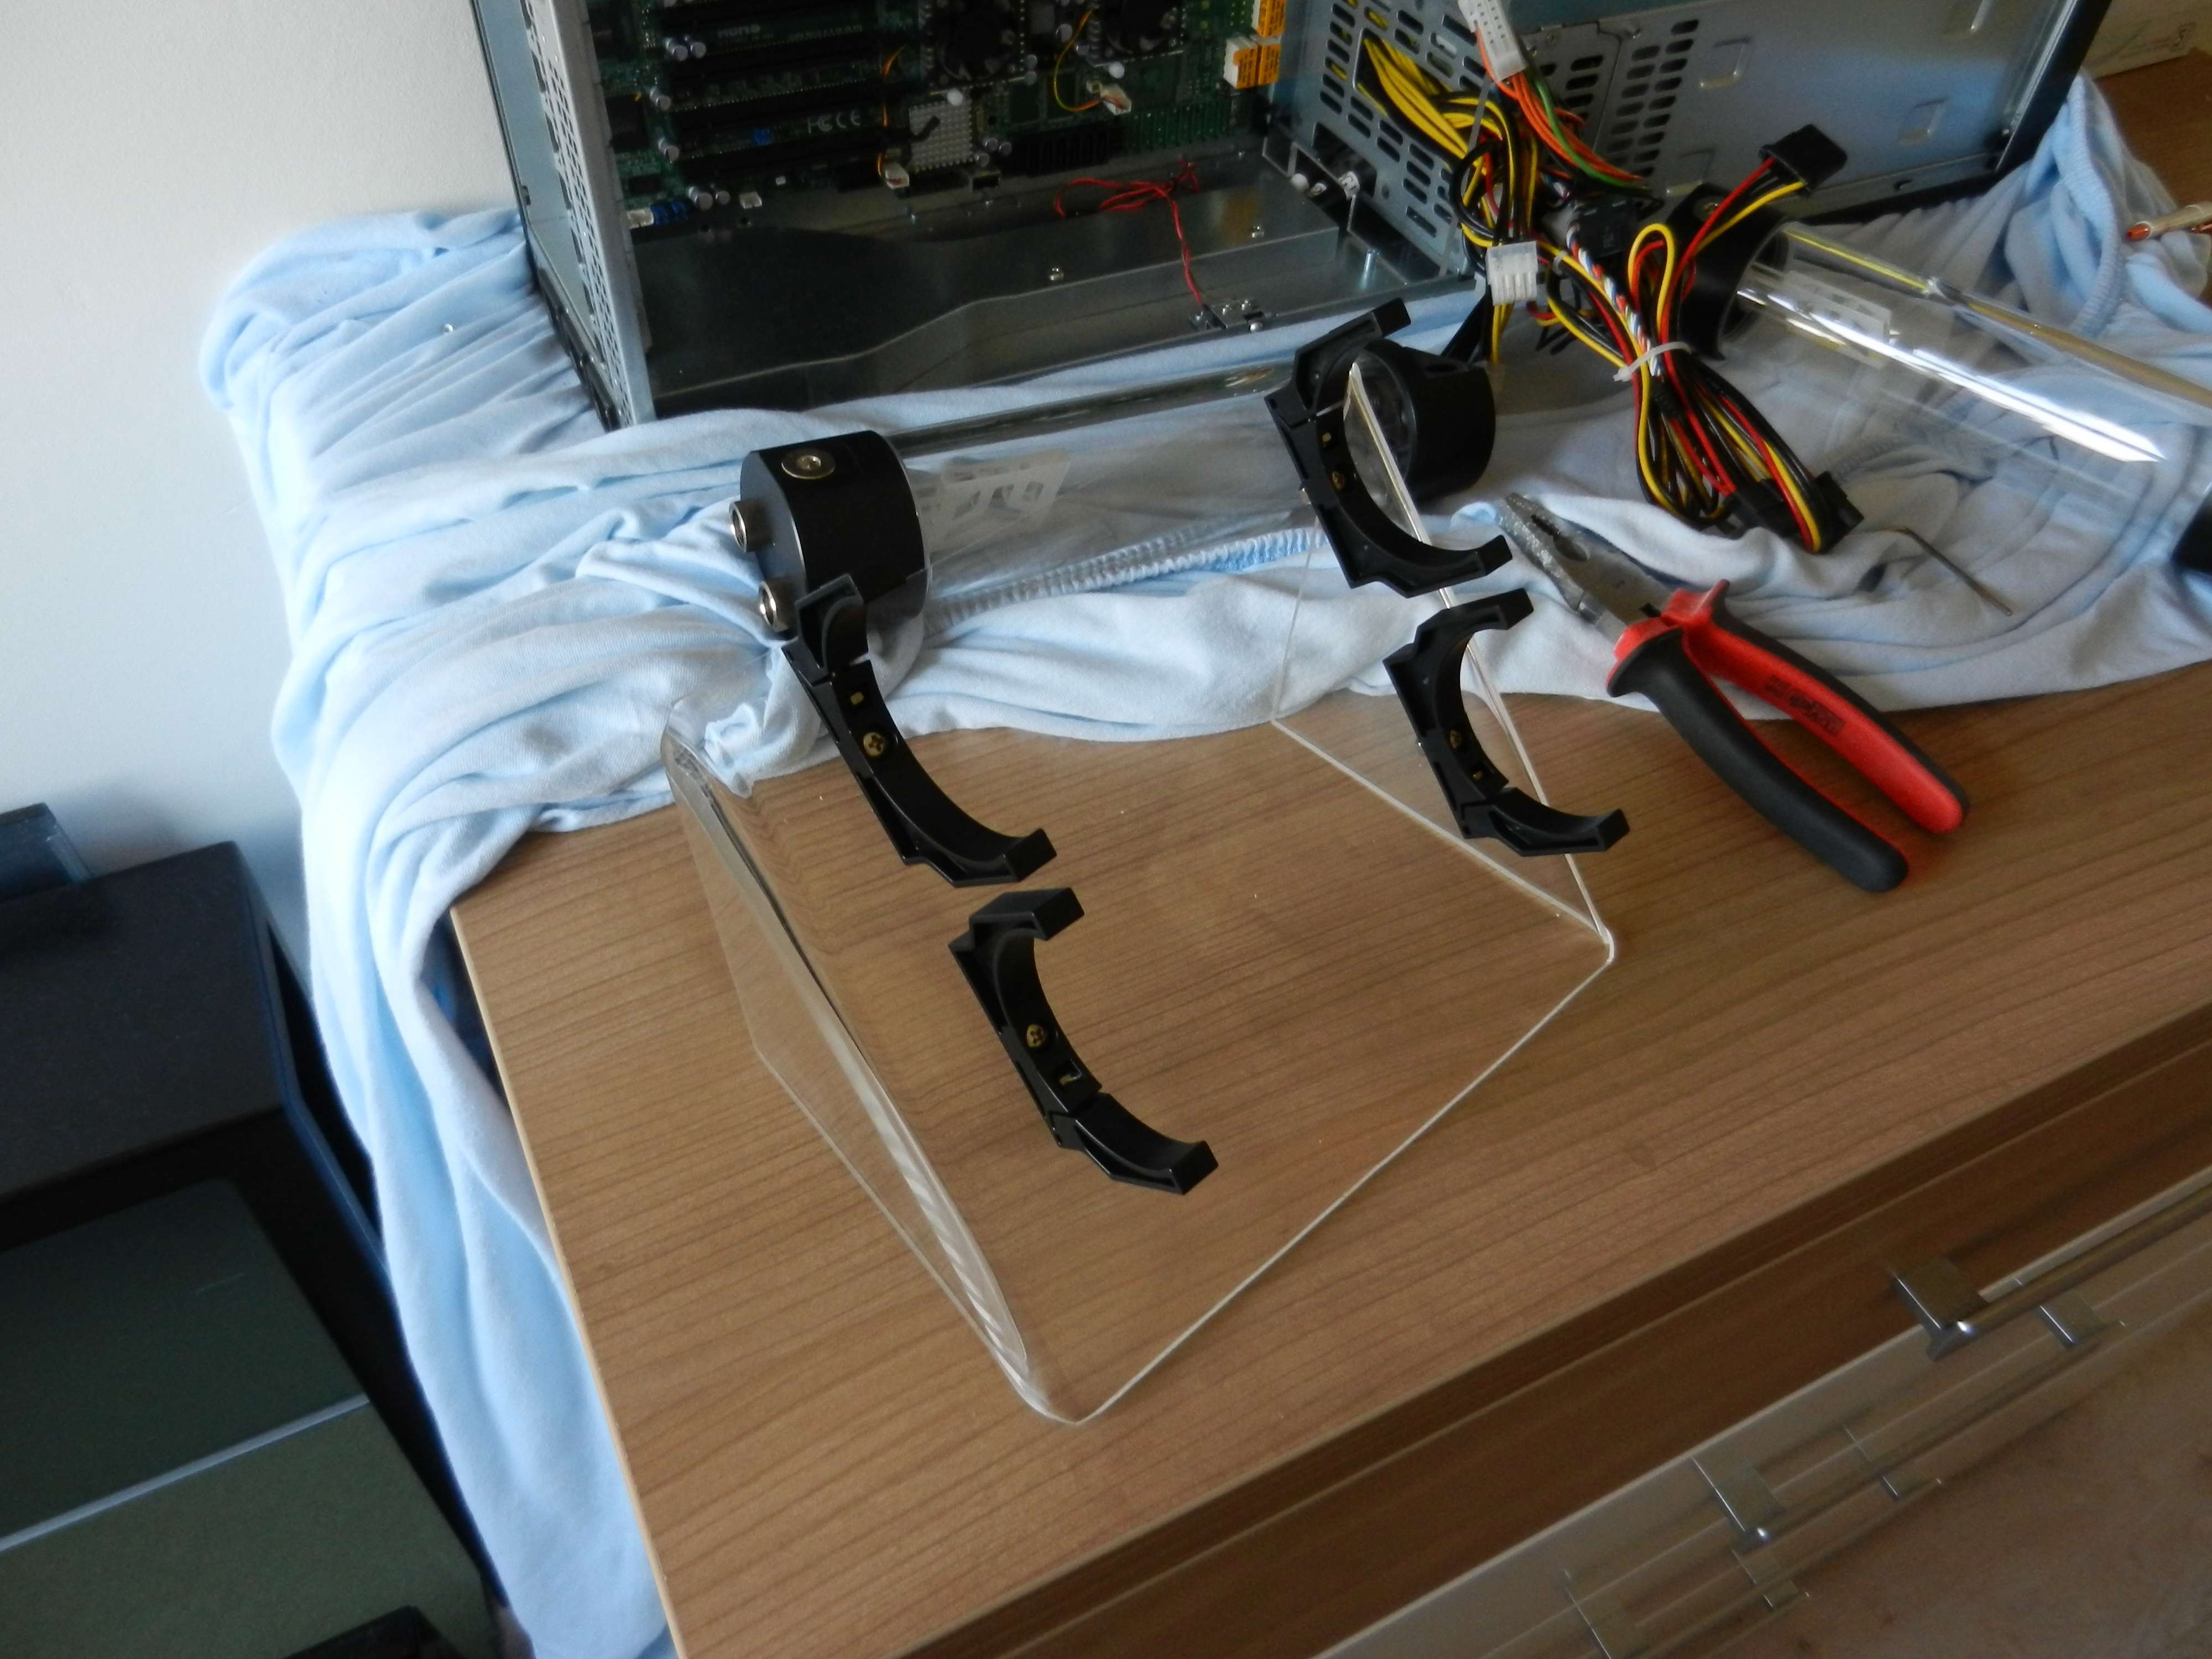
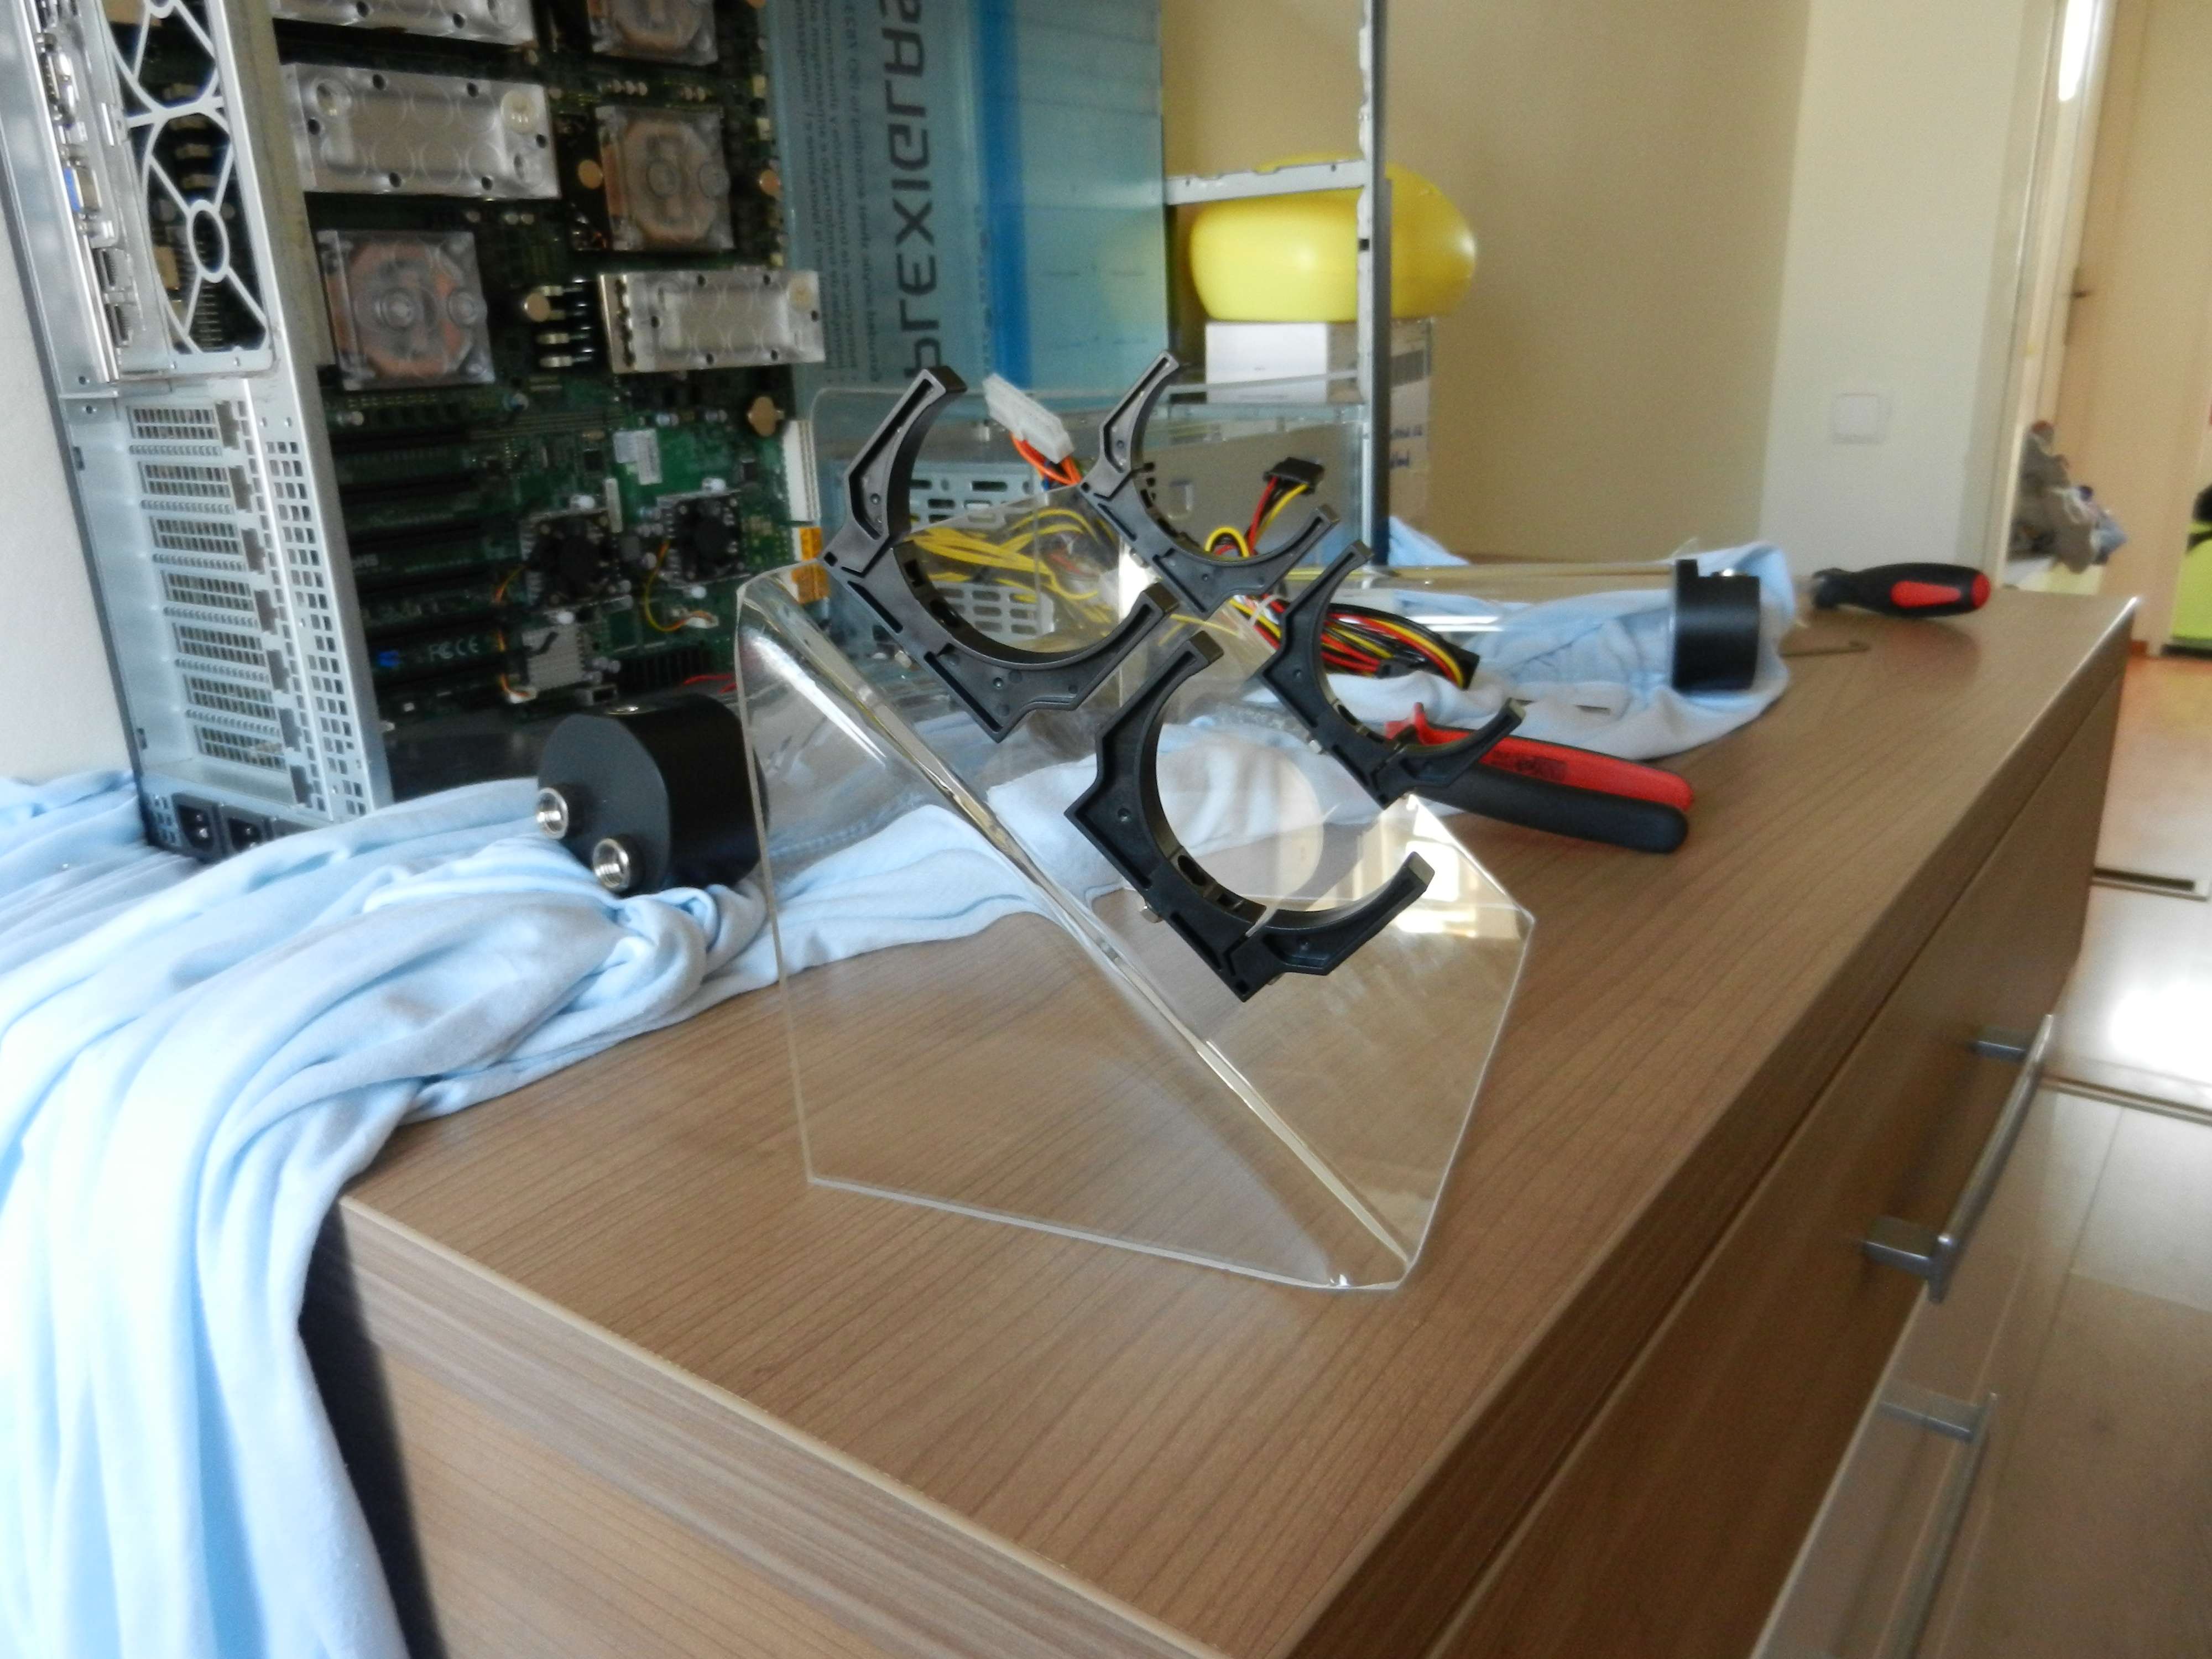
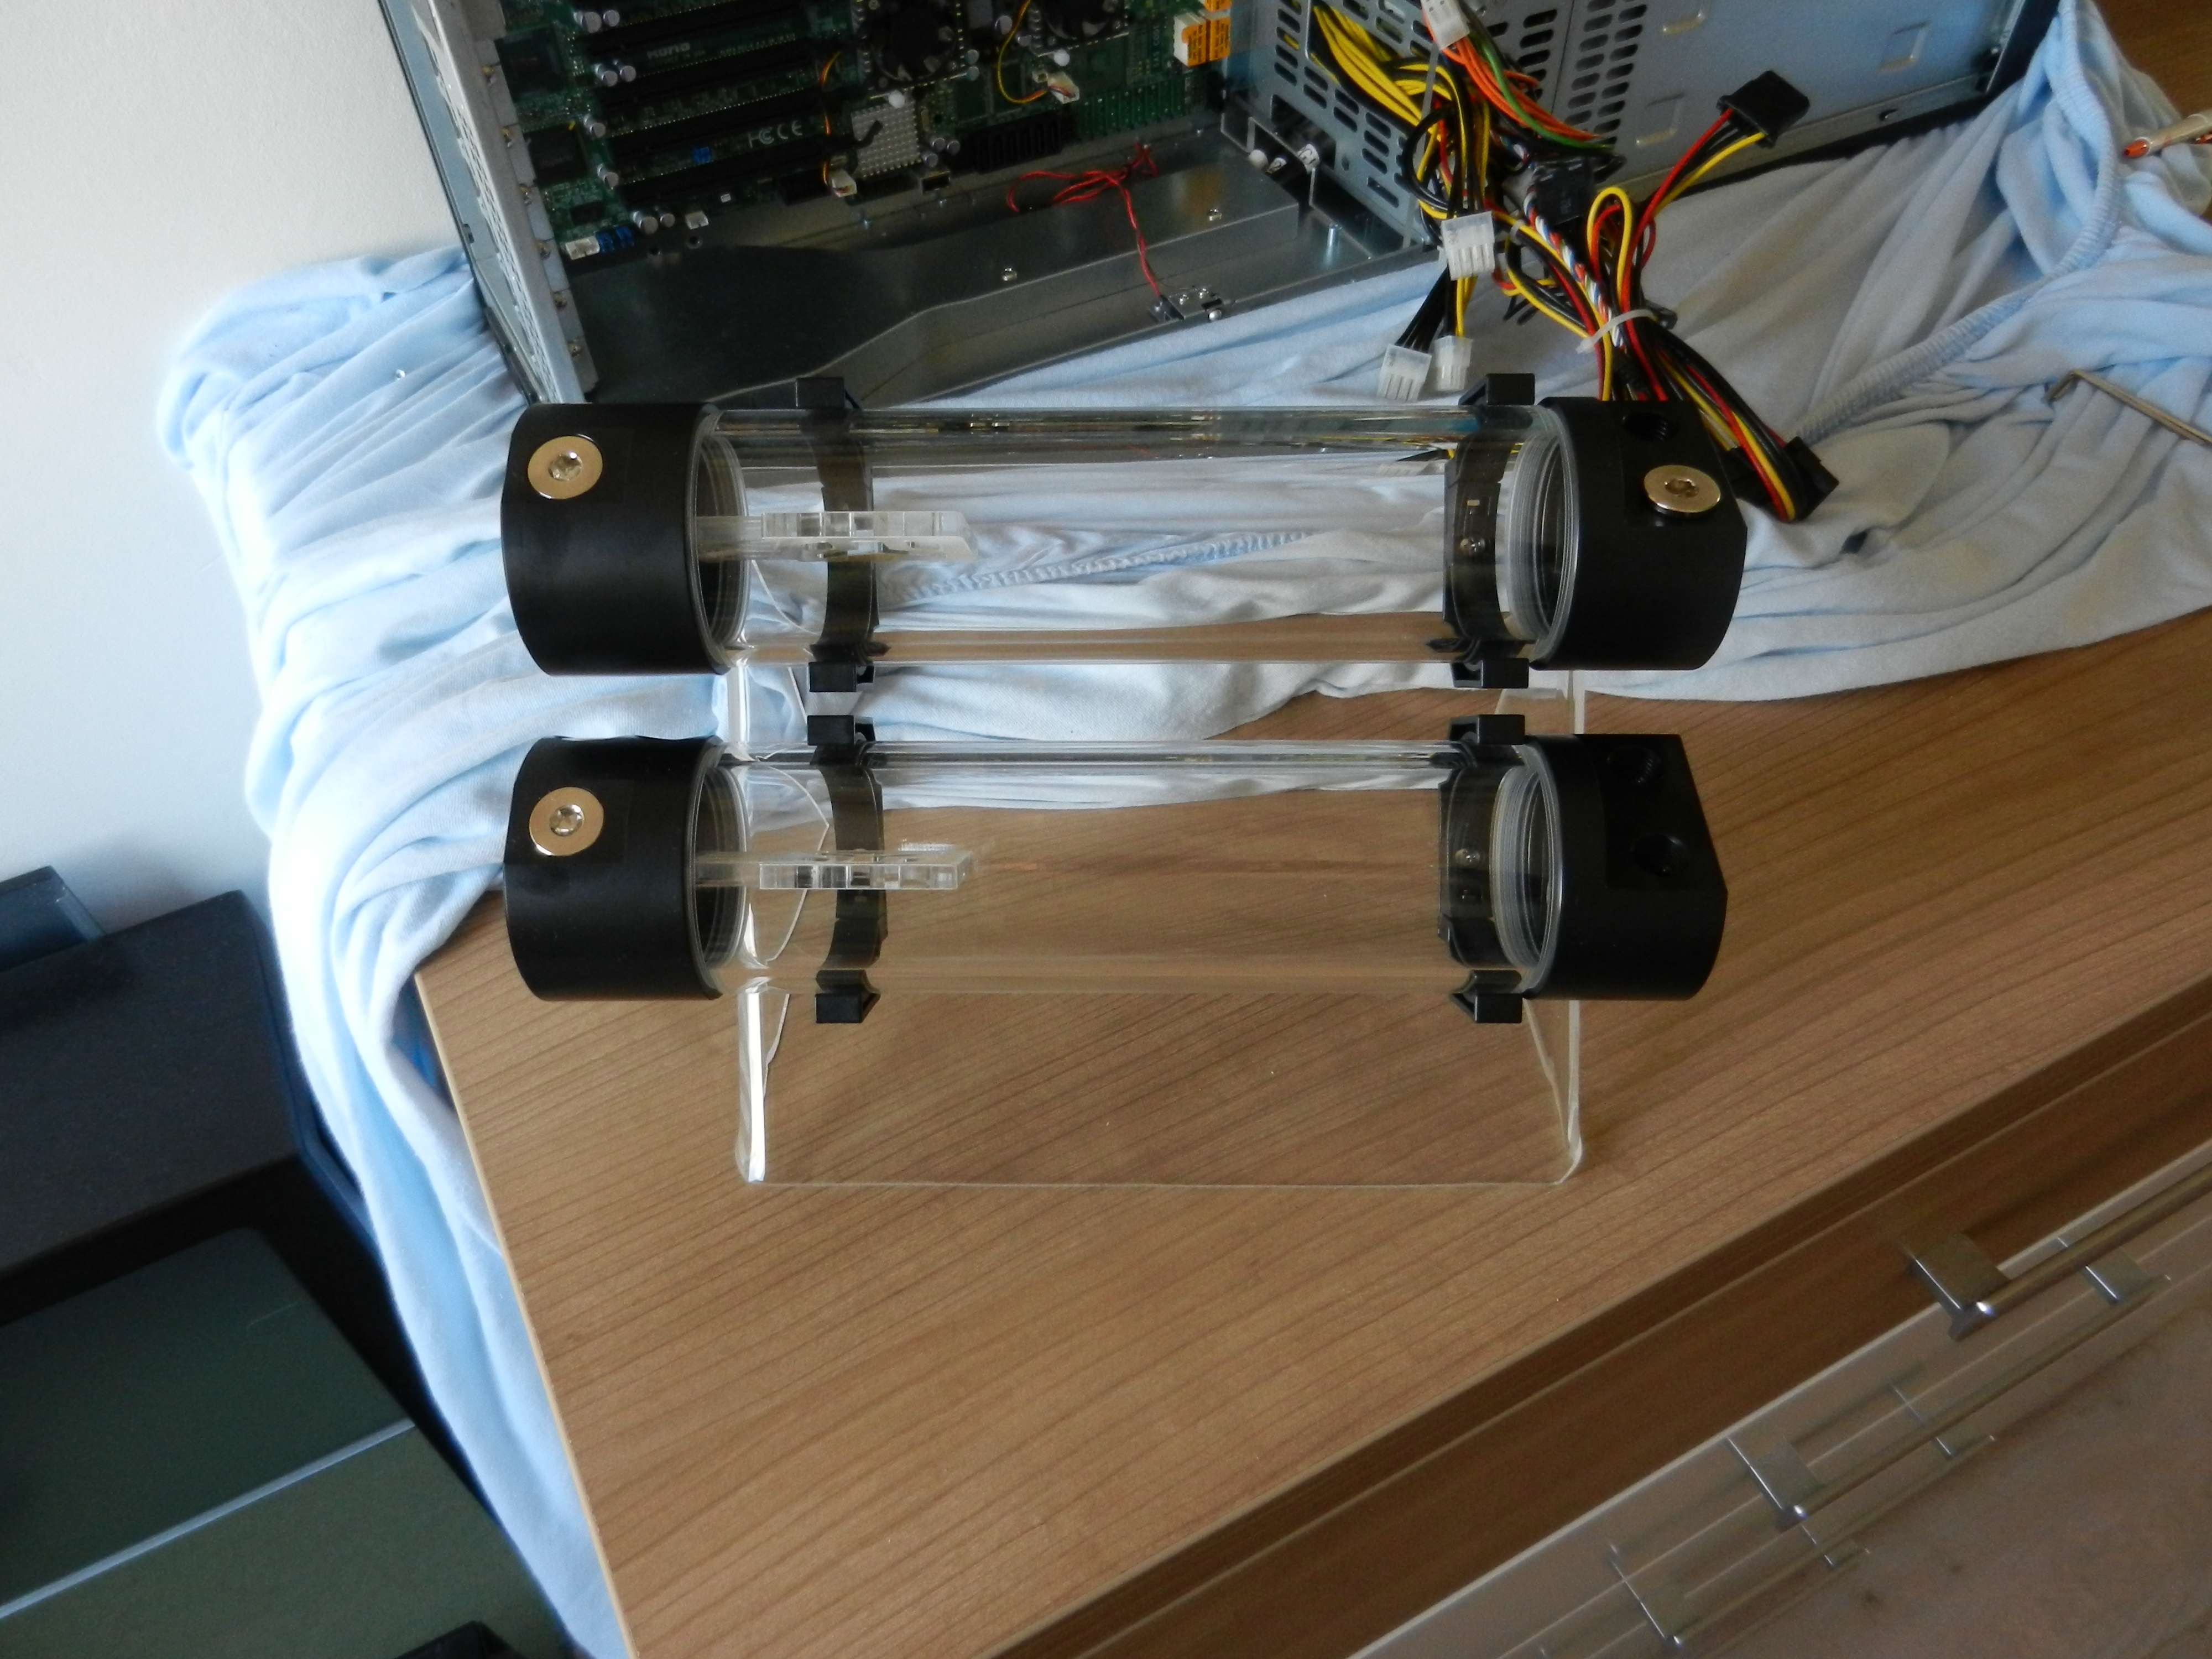
Then I created another bent piece where I could mount the reservoirs on. I have created a 45 degree one so with the correct fittings I can make 2 straight lines down to the pumps and 4 lines straight up for the routing to and from the waterblocks.
I have to say the bending was quite doable.
I still need to figure some things out but that is what this moment is perfect for. I have the mock up. I can draw and drill and saw and especially measure.
And when I have what I want I can make the panels for the final setup with everything in place.
I am still thinking of where to place the SSD. I might try and place it under somewhere. Or against the rear panel.
What do you guys think?
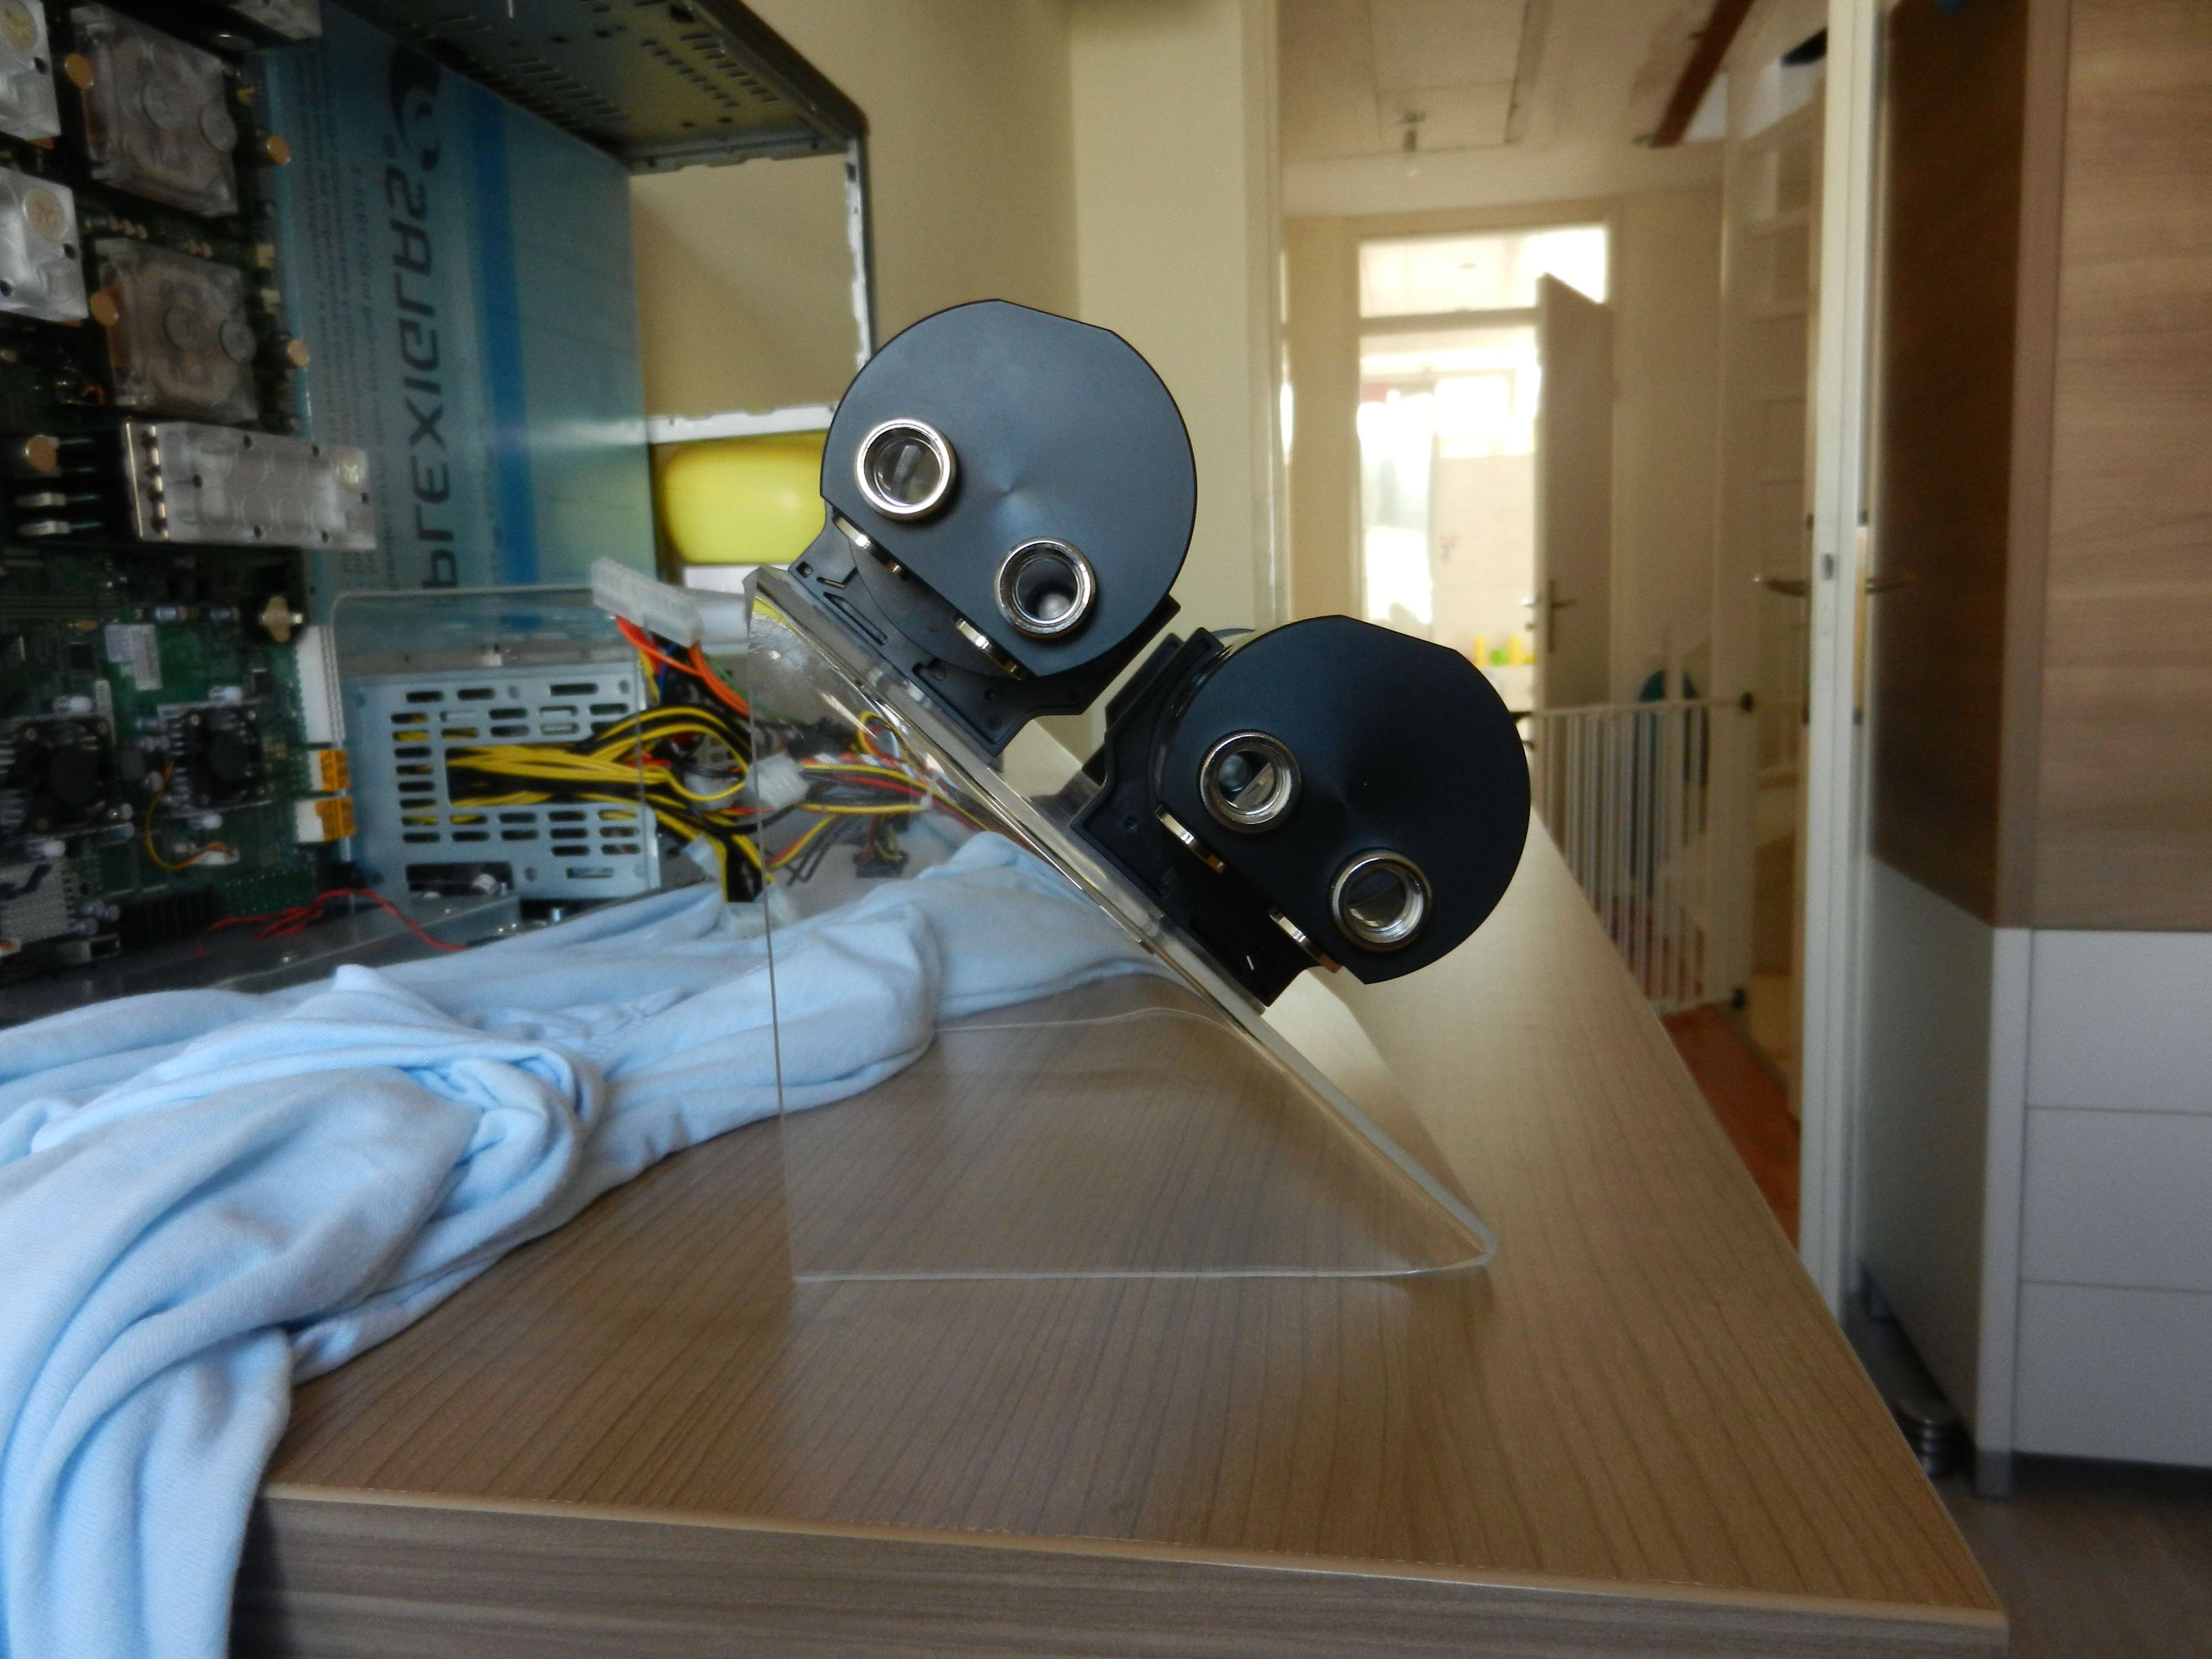
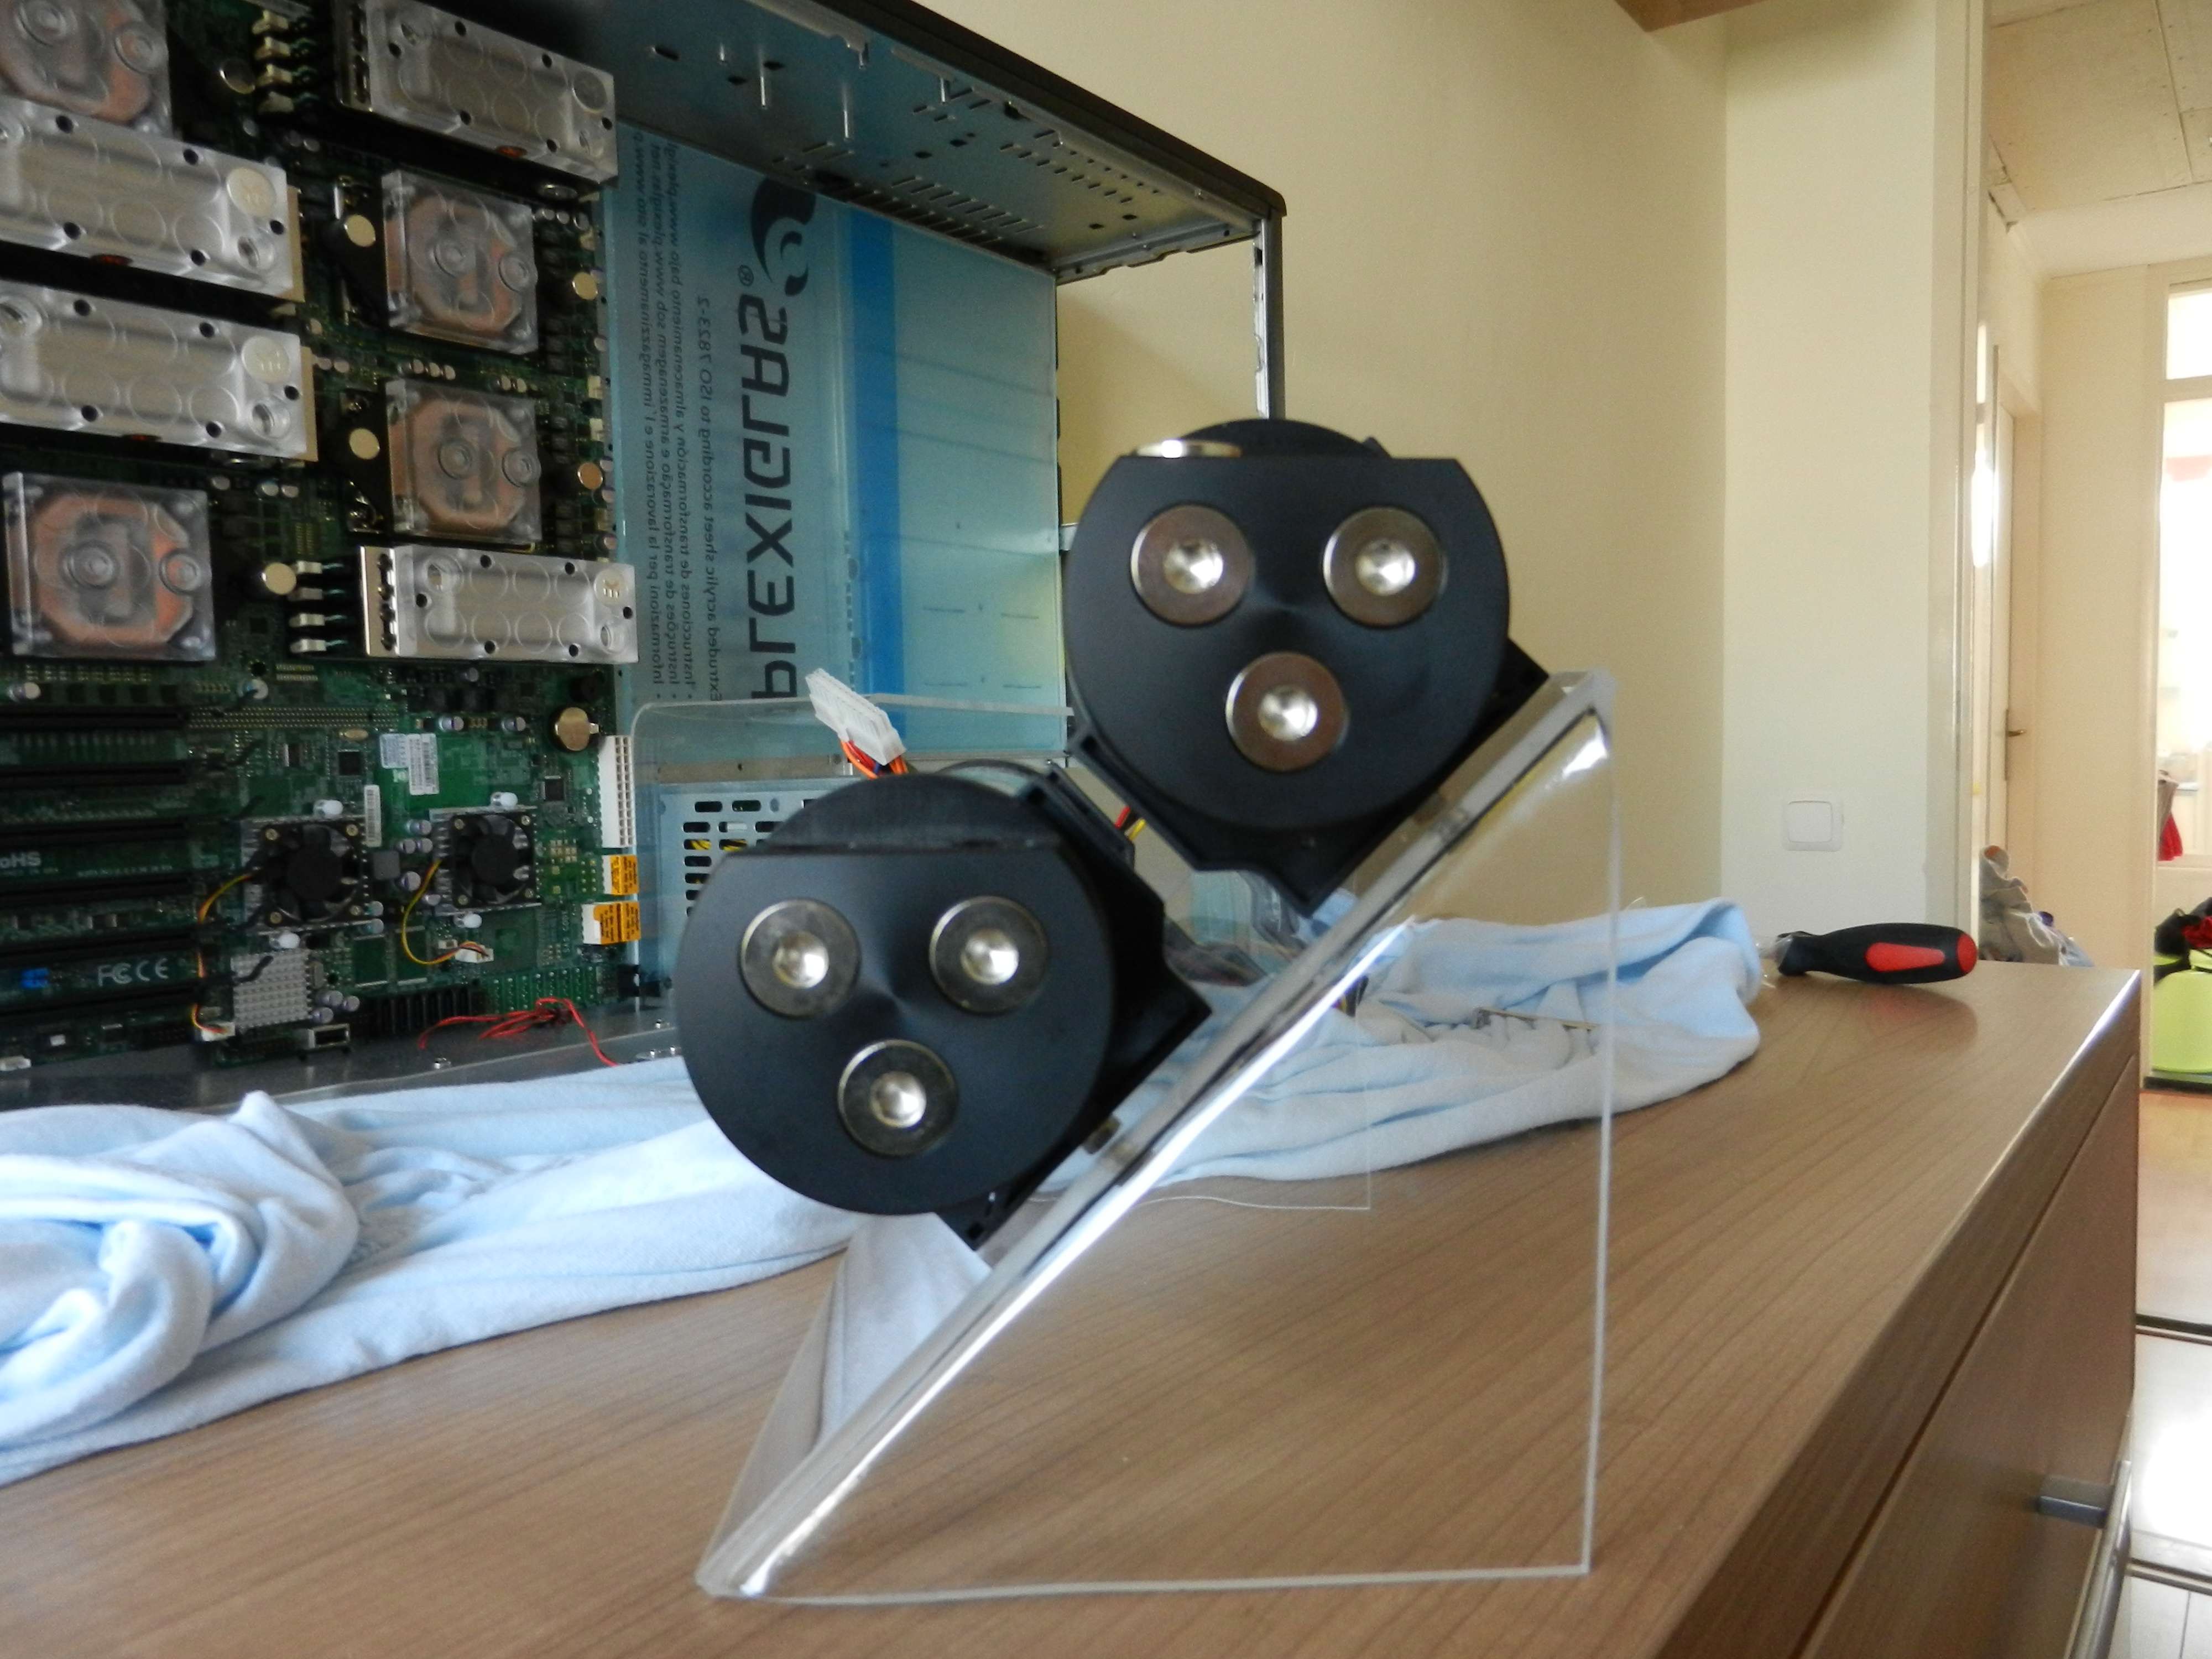
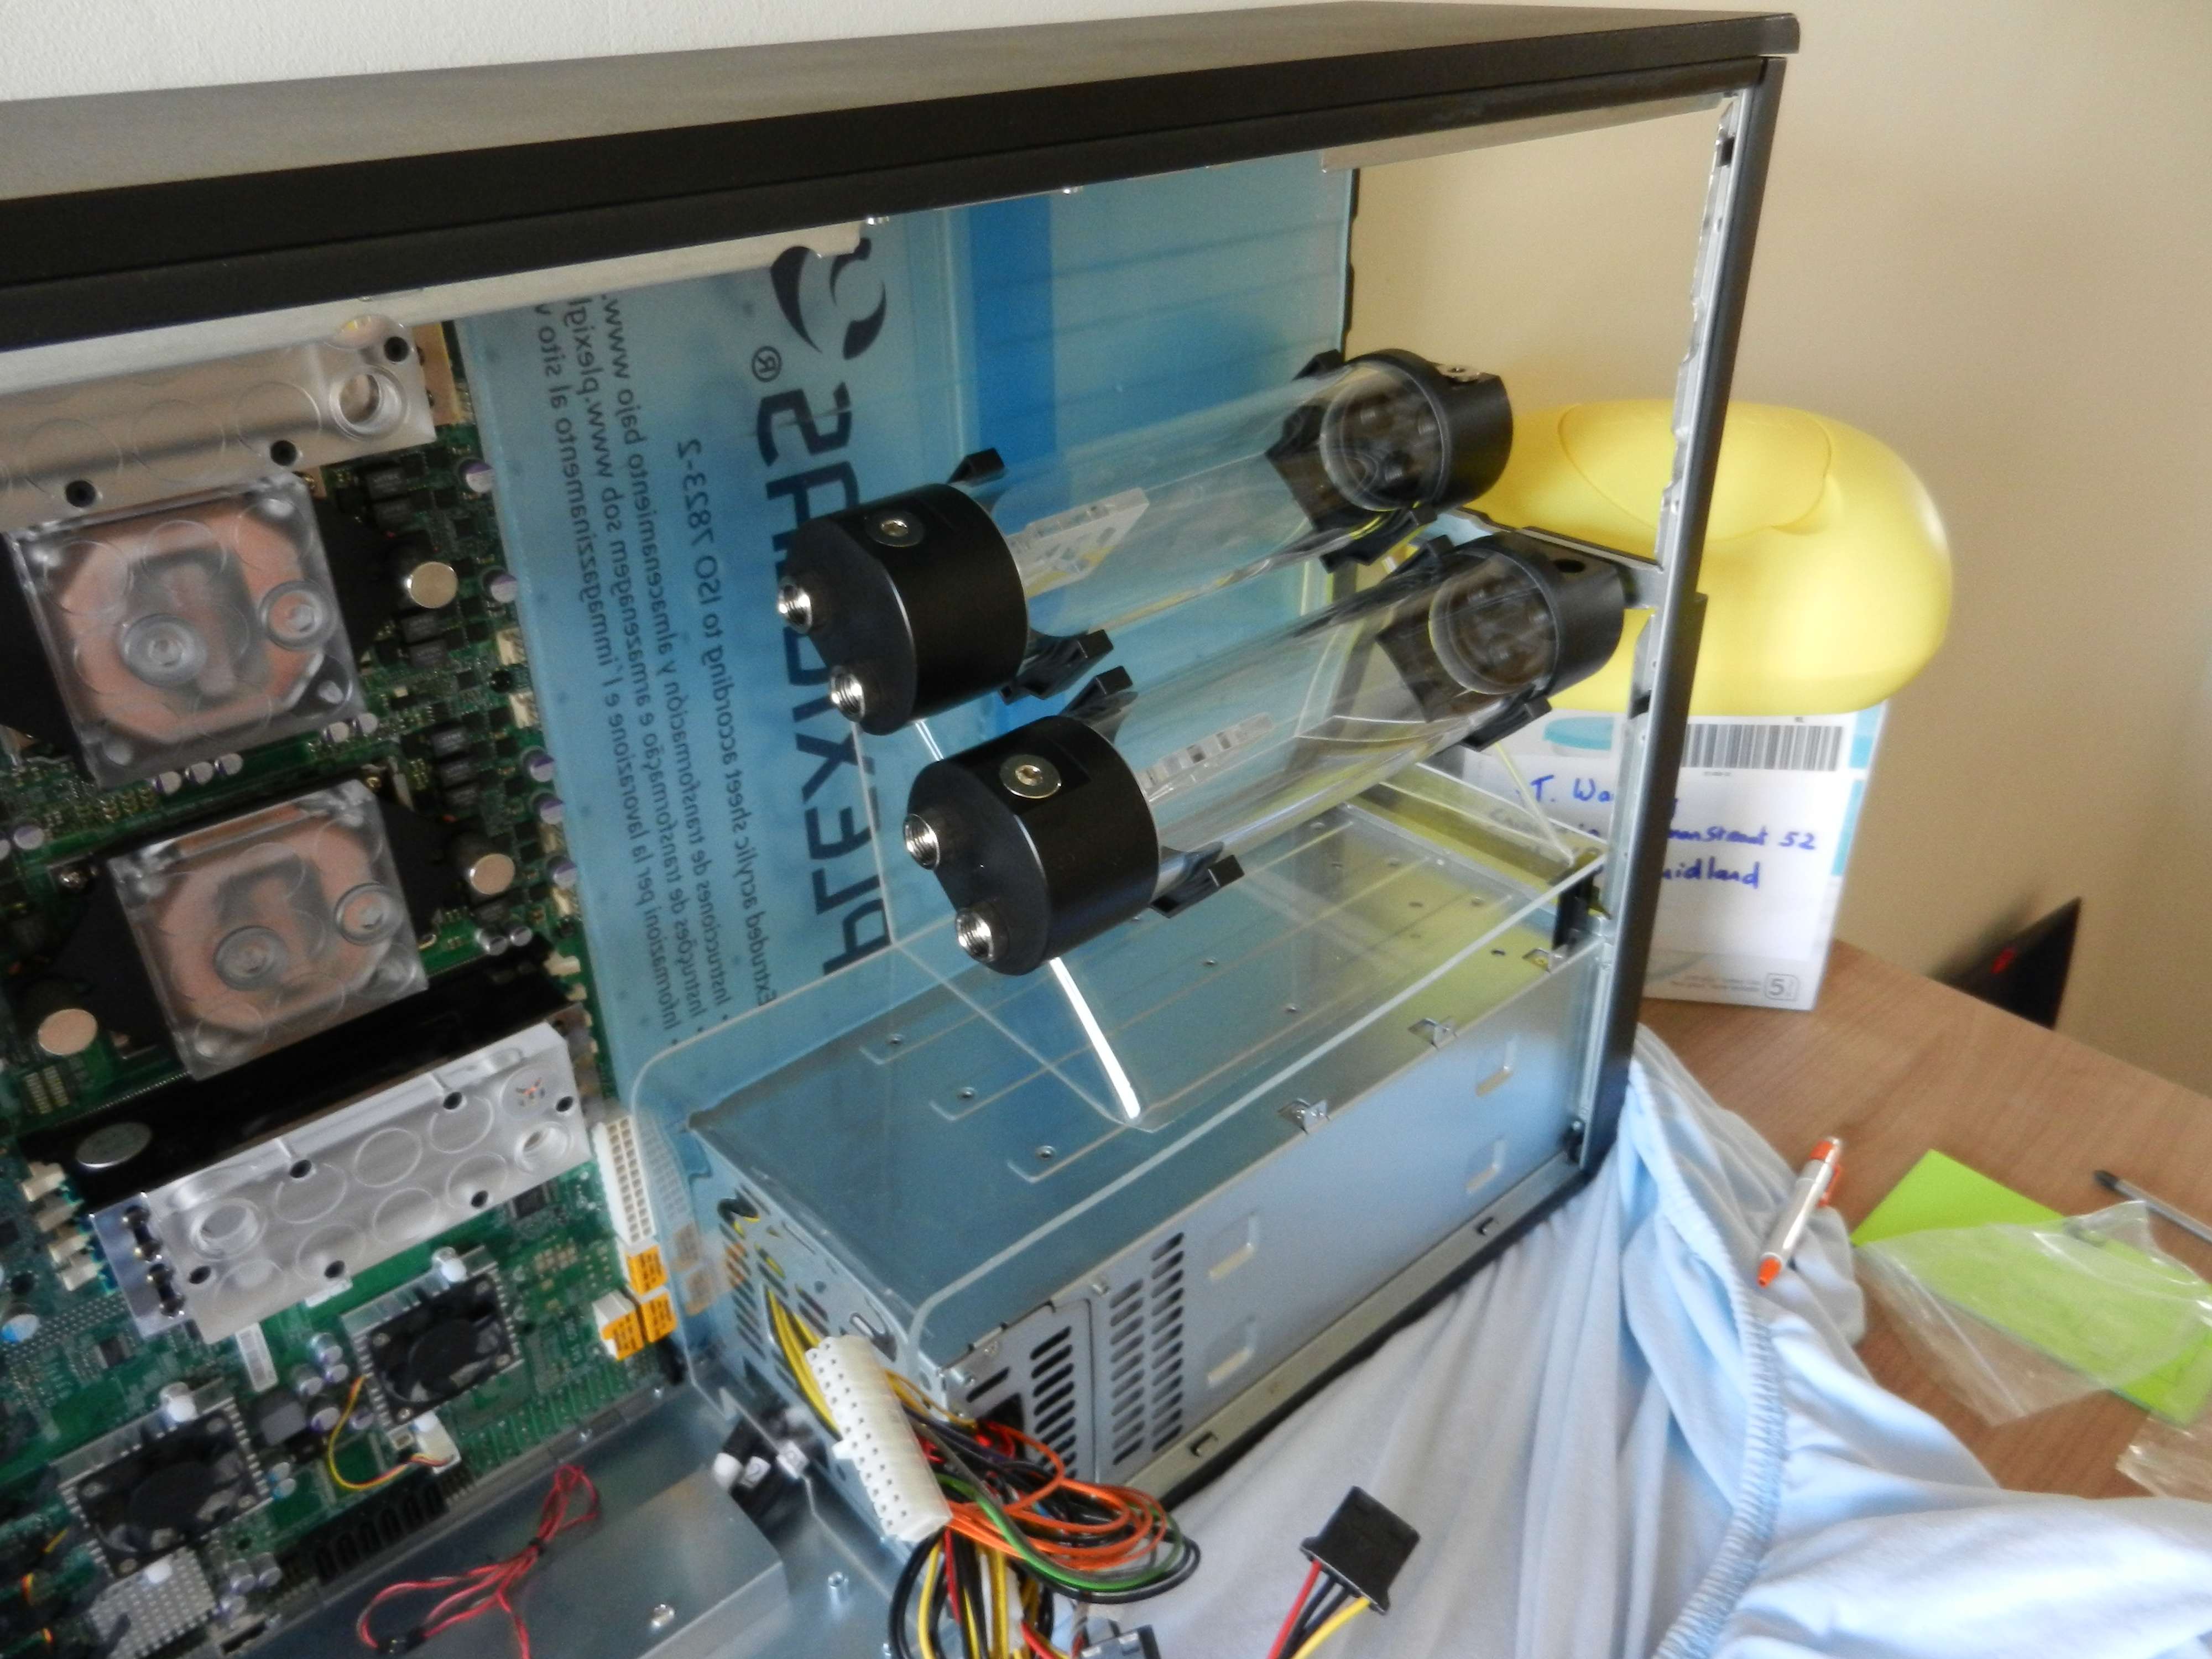
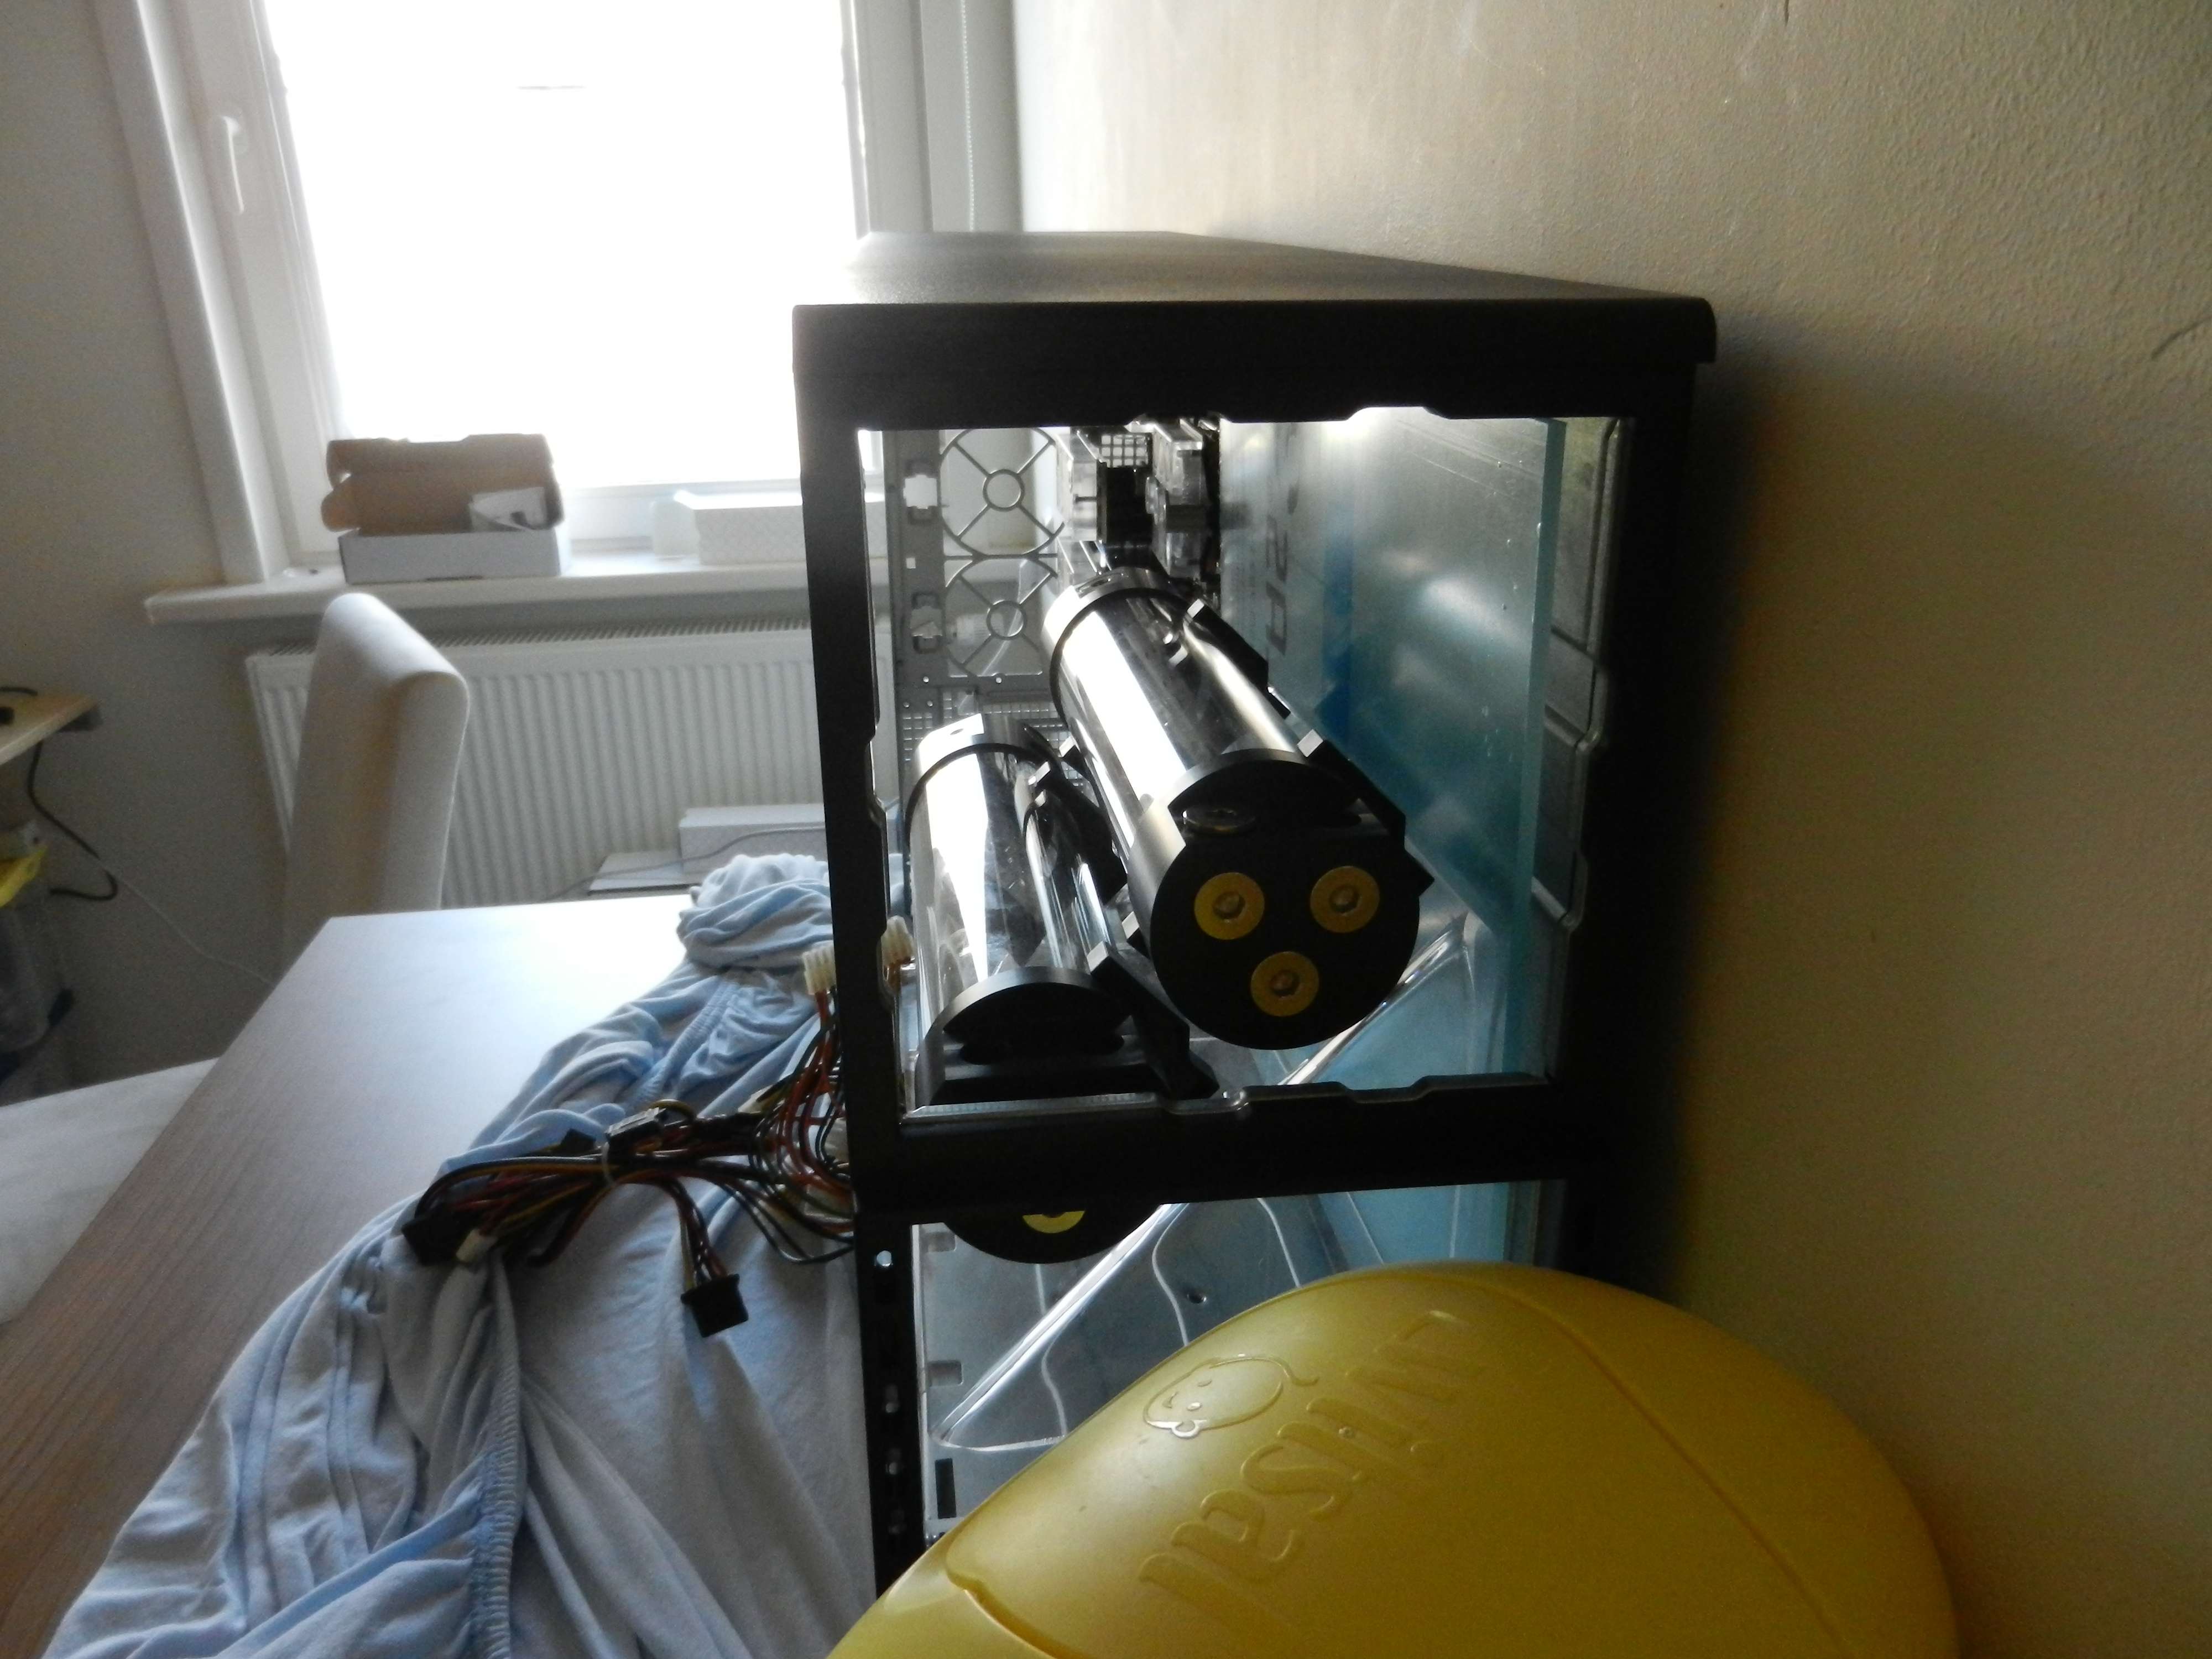
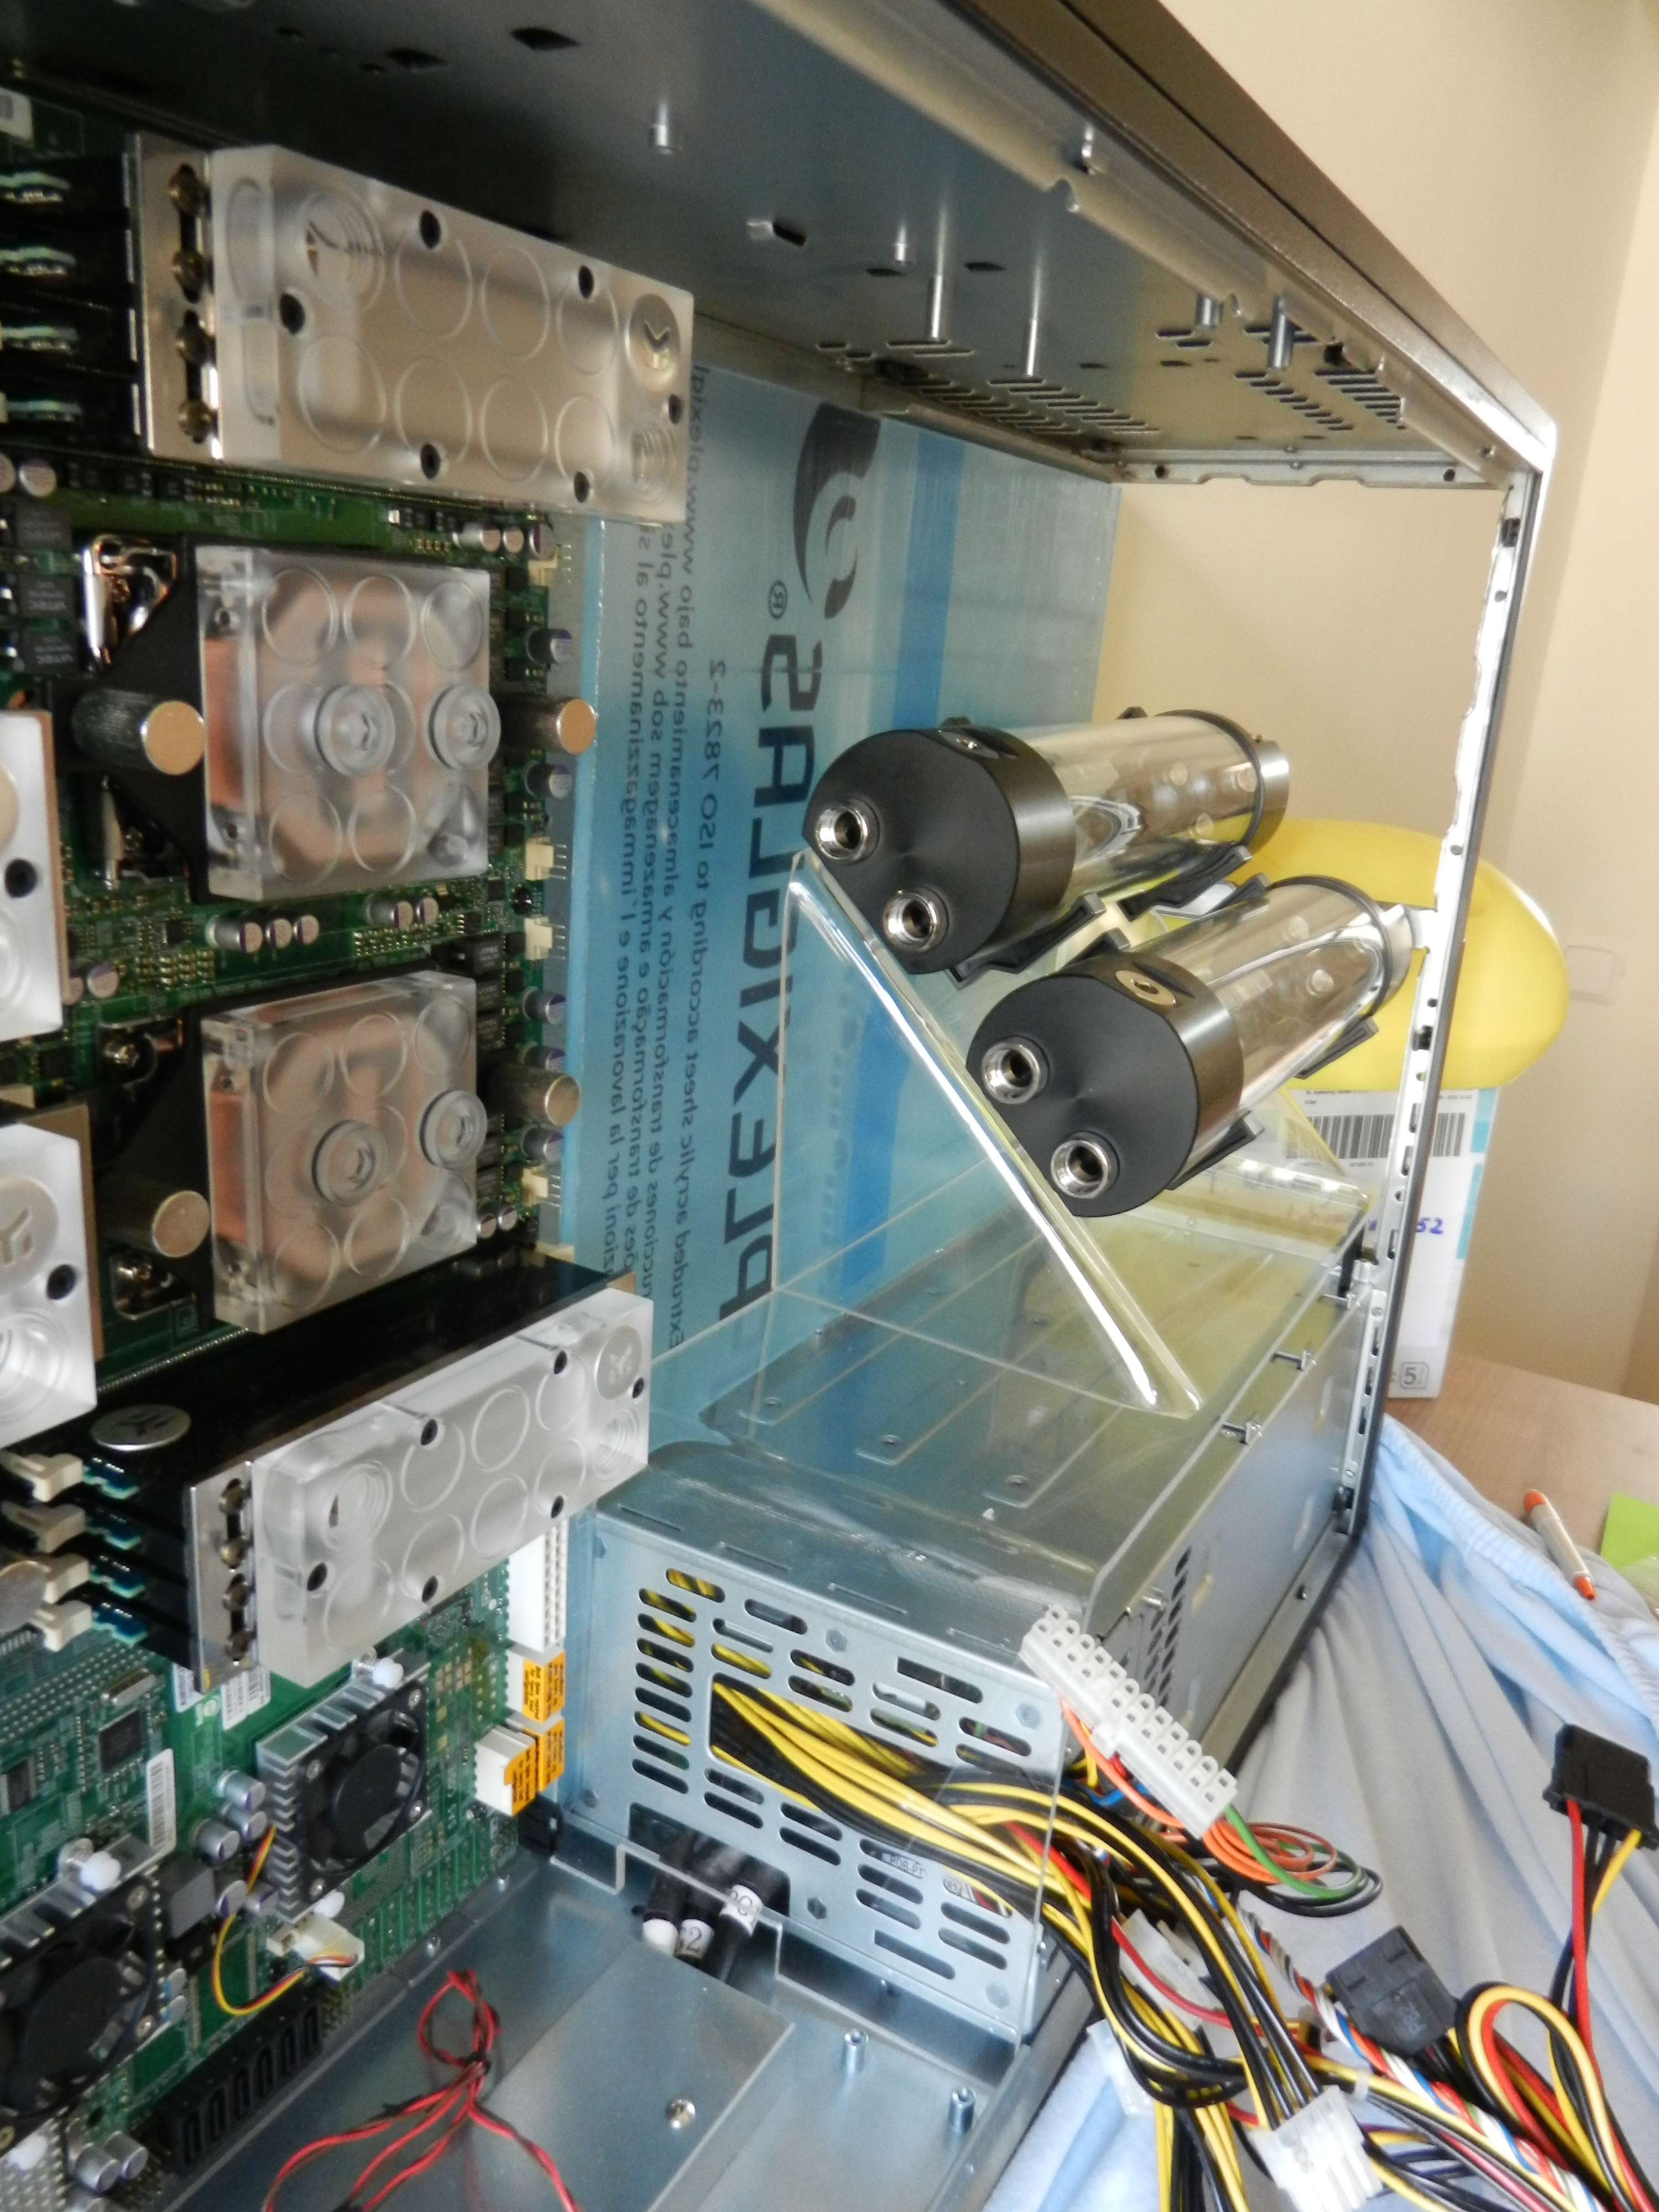
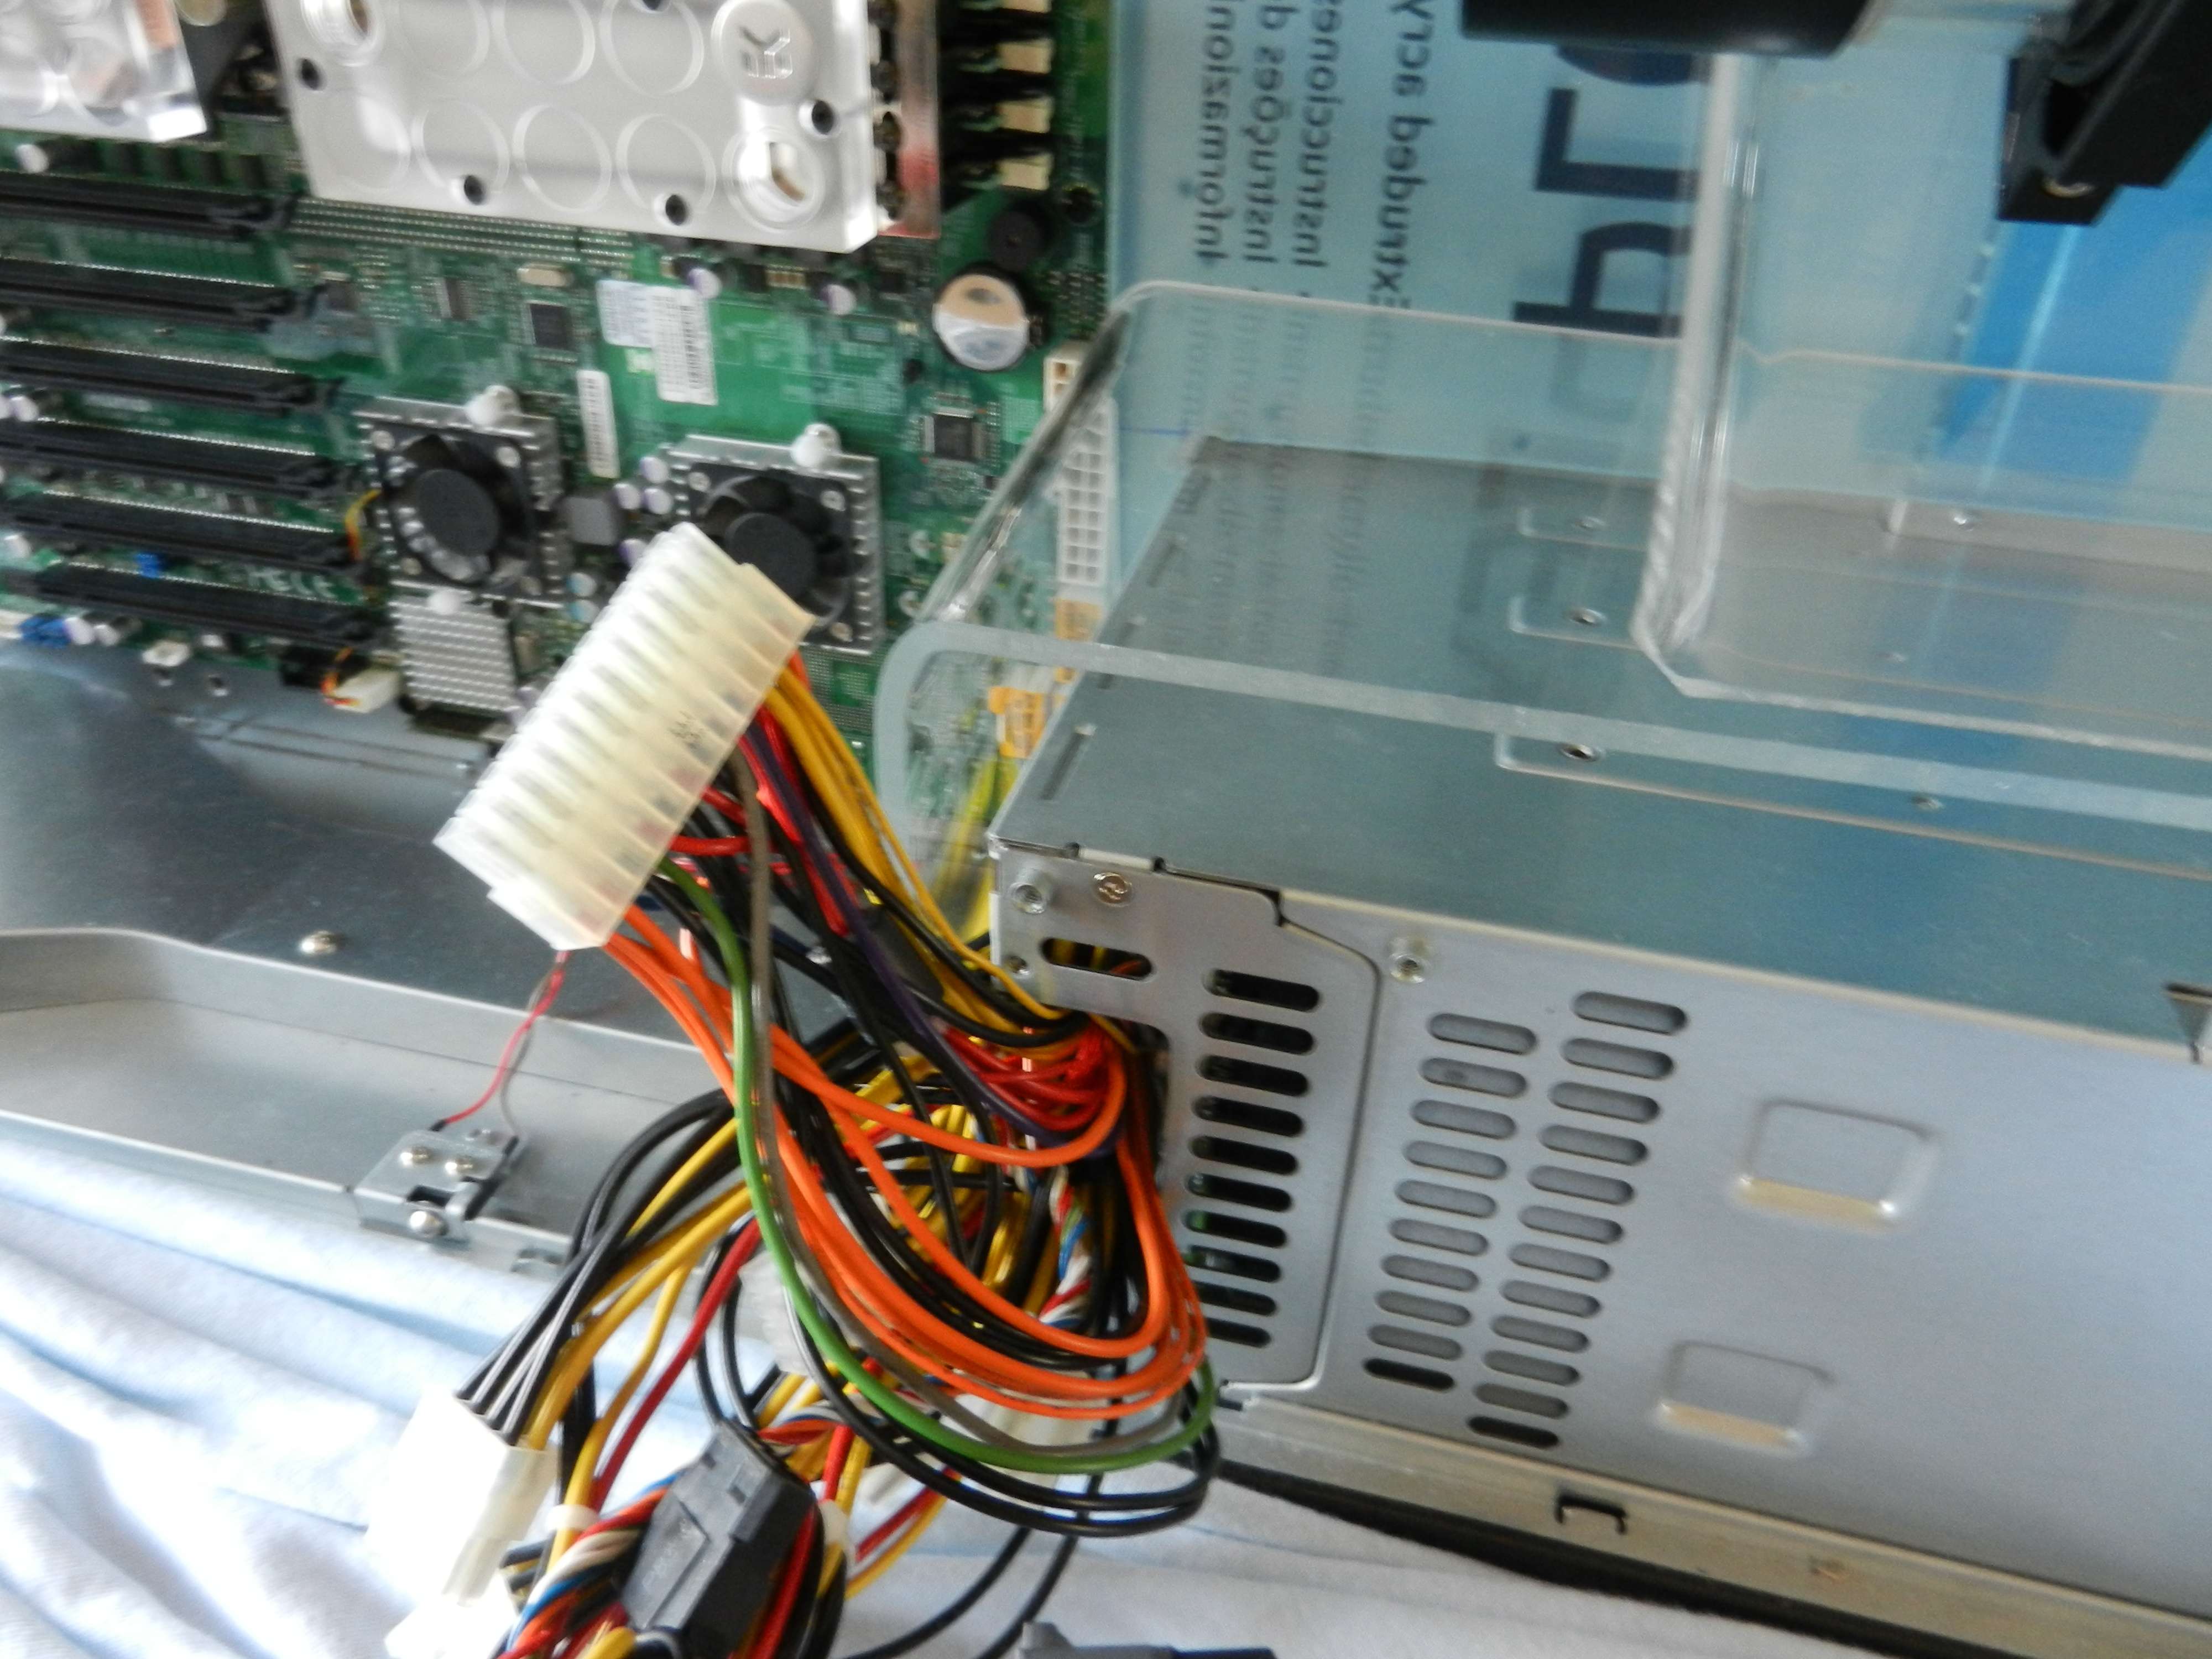
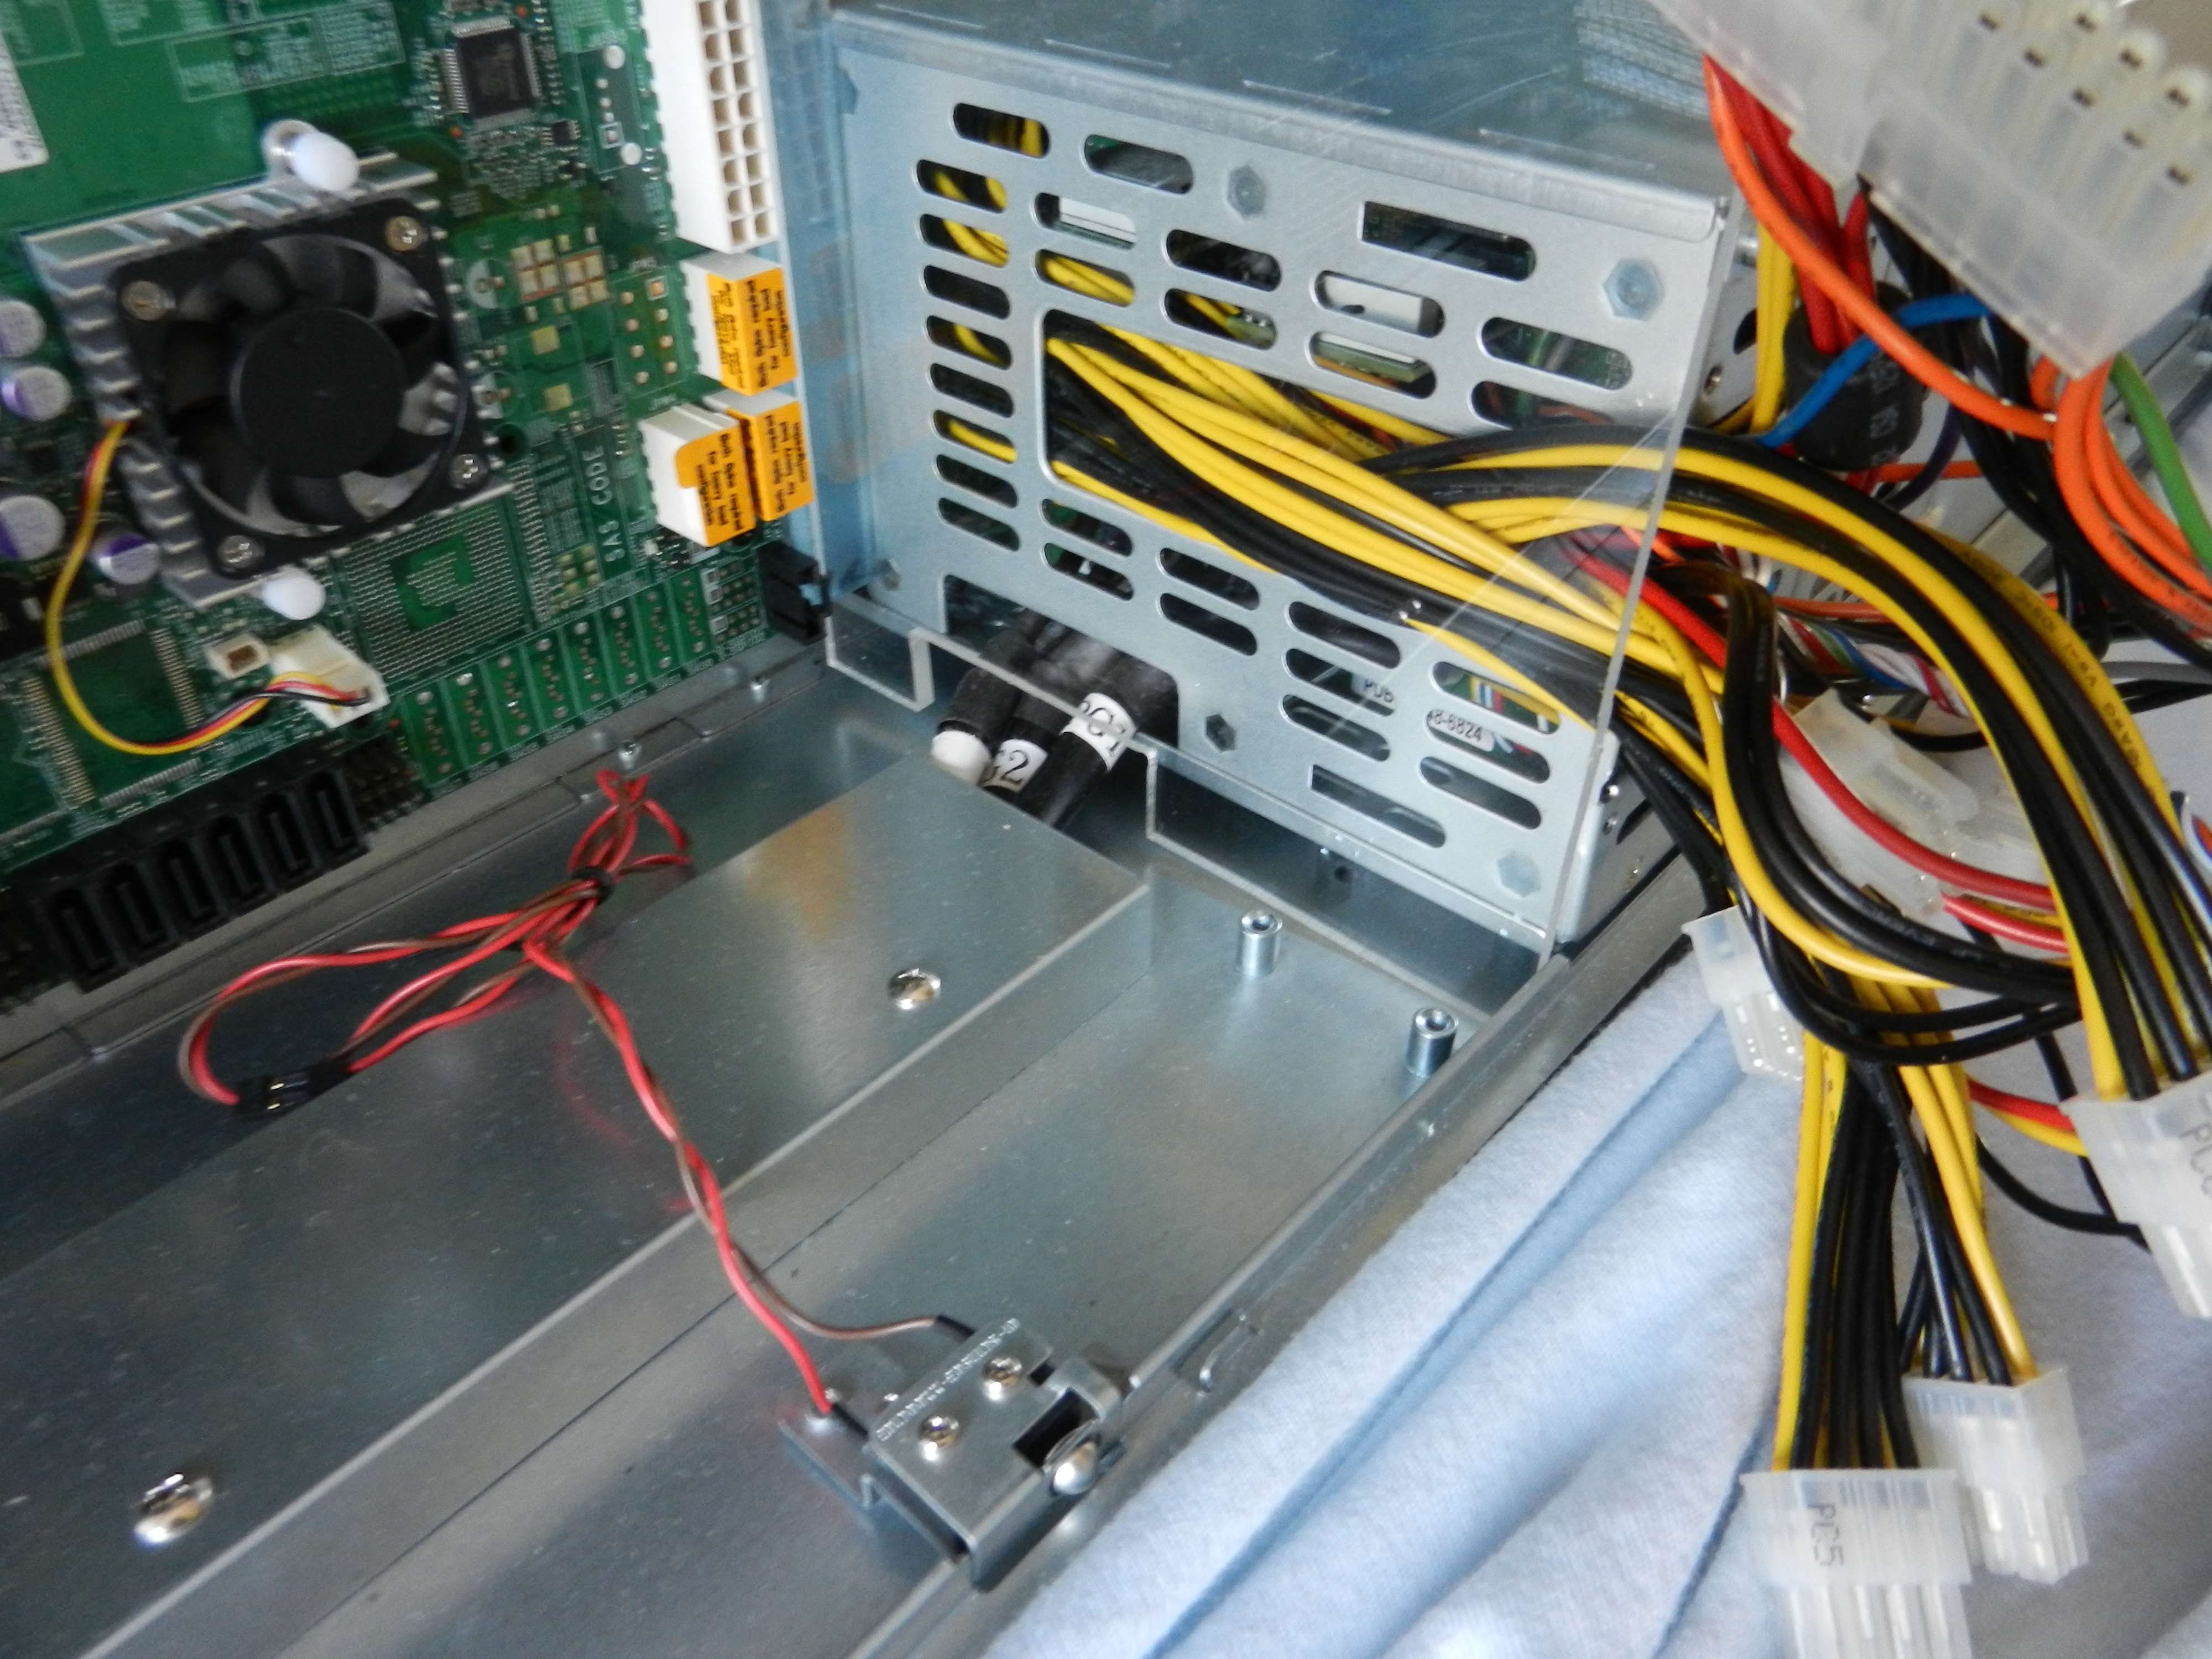
I am putting it up here anyway. My appologies for the forgetting

---------------------------------------------------------------------
I had some work done today.
I received the plexi plate 100 cm * 50 cm * 4mm.
Time to measure, draw some panels, saw them out and create a mock up piece.
With the foil still on both sides it's easy to saw them. When they are off the saw line melts instantly. Odd stuff.
I have created a flat panel for the rear.
A bent plate for over the PSU all the way up to the floor. I want to have room in between for wiring and tubing. Trying to make it look as clean as possible. The side will be closed on the real version.
The front will have holes for the motherboard wiring. I will sleeve them and make them come out there.
Then I created another bent piece where I could mount the reservoirs on. I have created a 45 degree one so with the correct fittings I can make 2 straight lines down to the pumps and 4 lines straight up for the routing to and from the waterblocks.
I have to say the bending was quite doable.
I still need to figure some things out but that is what this moment is perfect for. I have the mock up. I can draw and drill and saw and especially measure.
And when I have what I want I can make the panels for the final setup with everything in place.
I am still thinking of where to place the SSD. I might try and place it under somewhere. Or against the rear panel.
What do you guys think?


Soldato
- Joined
- 31 Oct 2011
- Posts
- 2,545
- Location
- Leyland
About time, shame its back dated  when will we be seeing some more?
 when will we be seeing some more?
