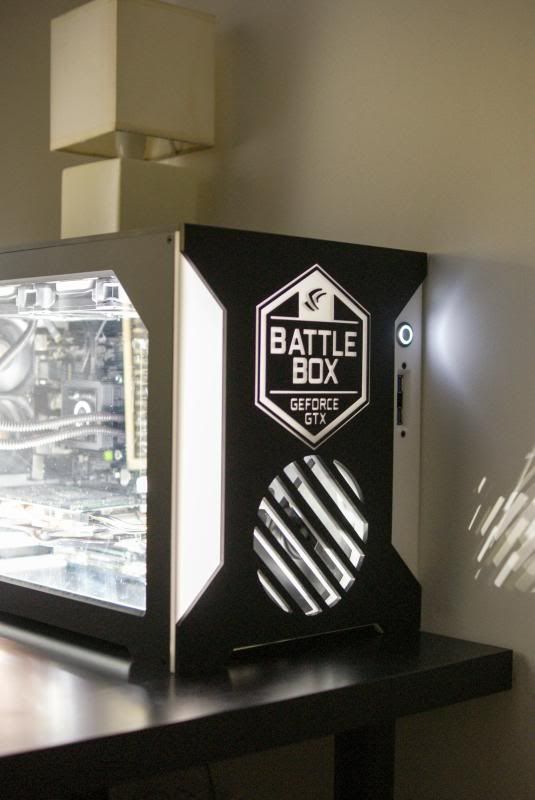
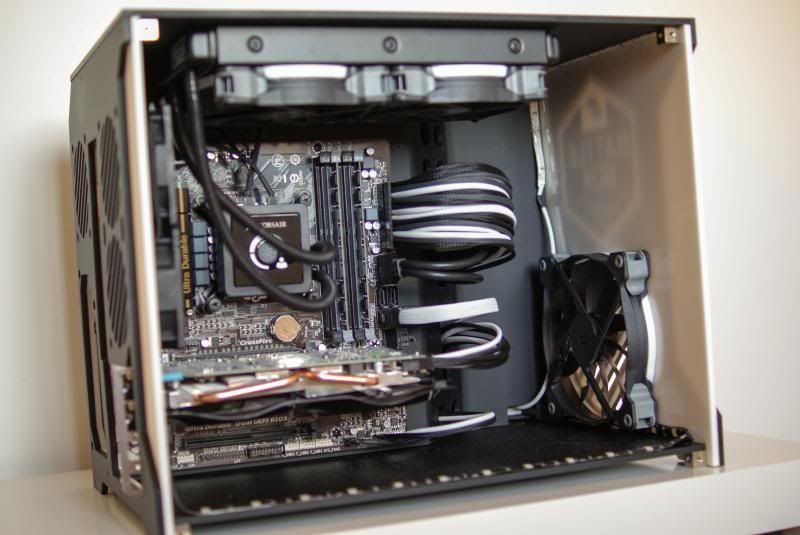
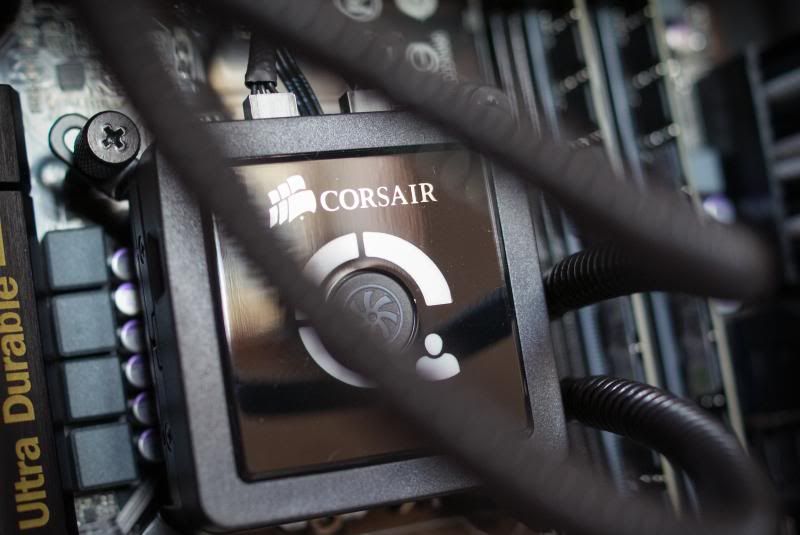
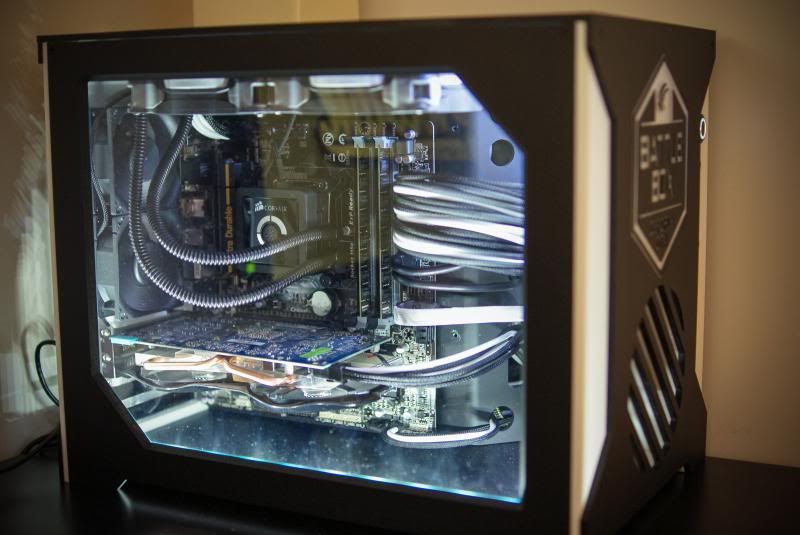
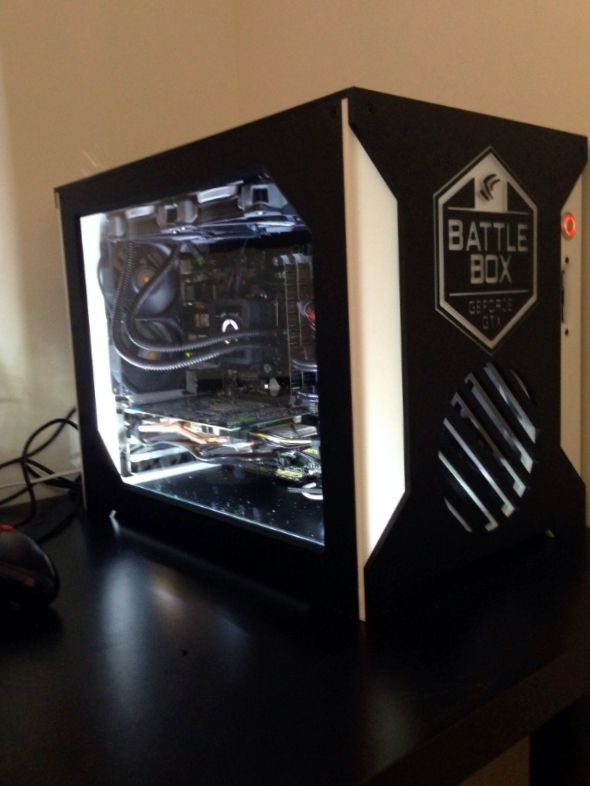
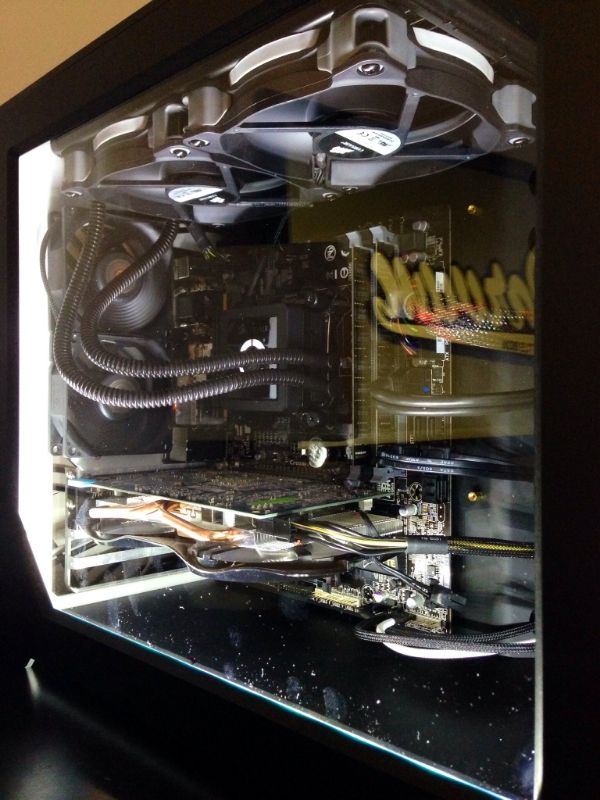
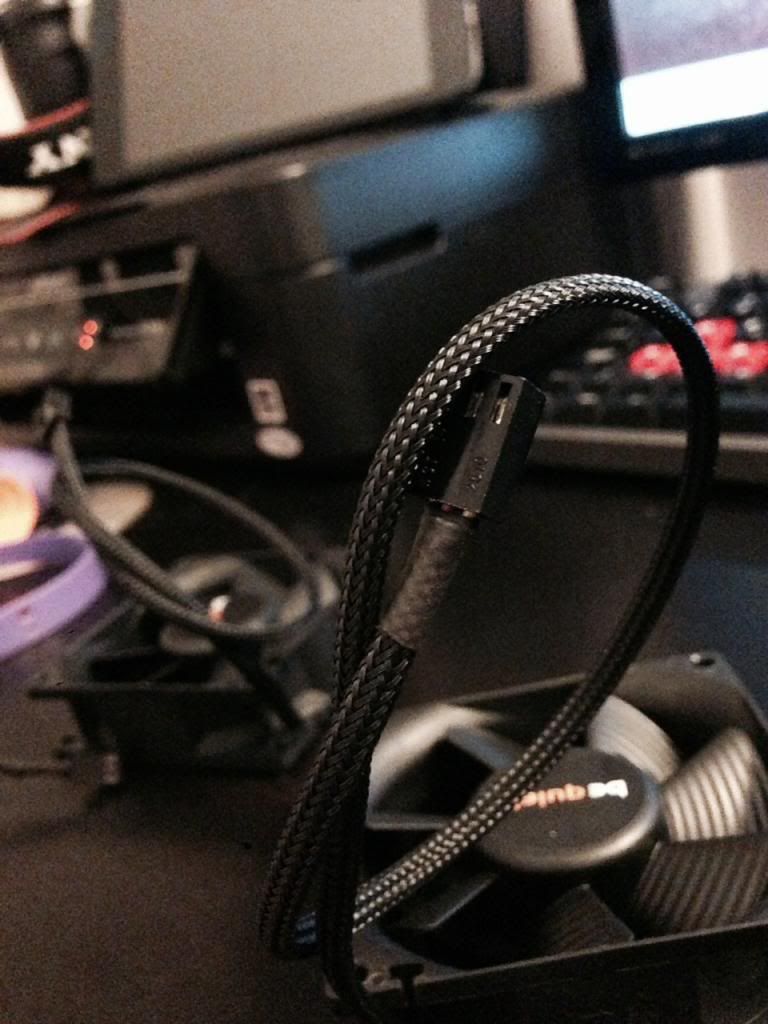
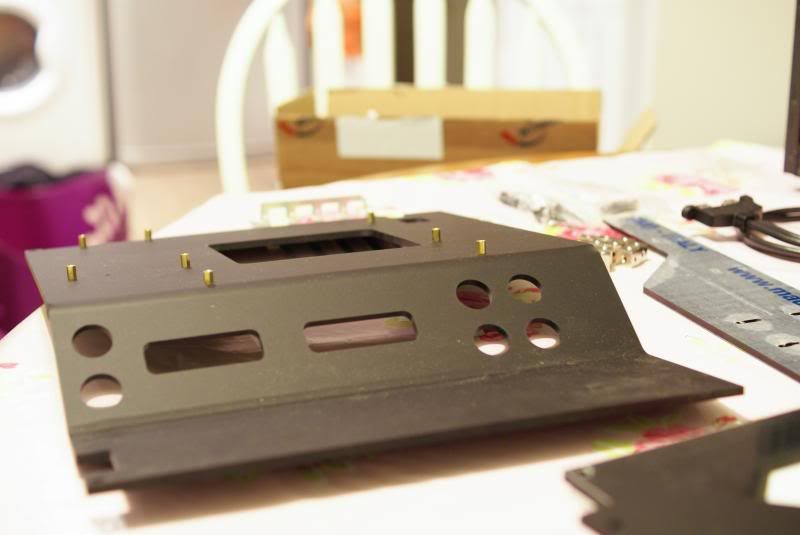
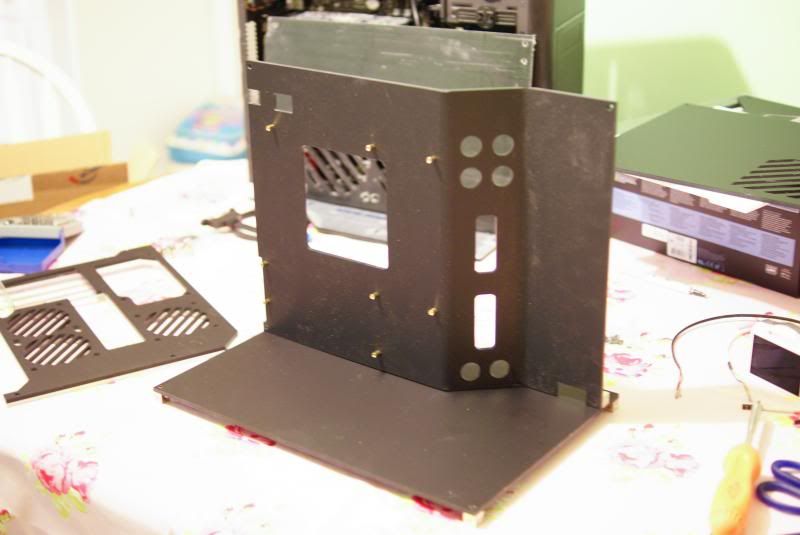
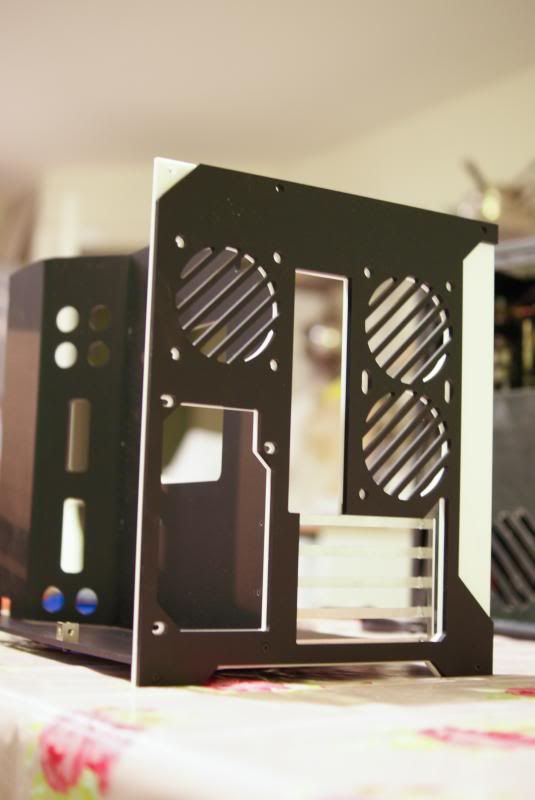
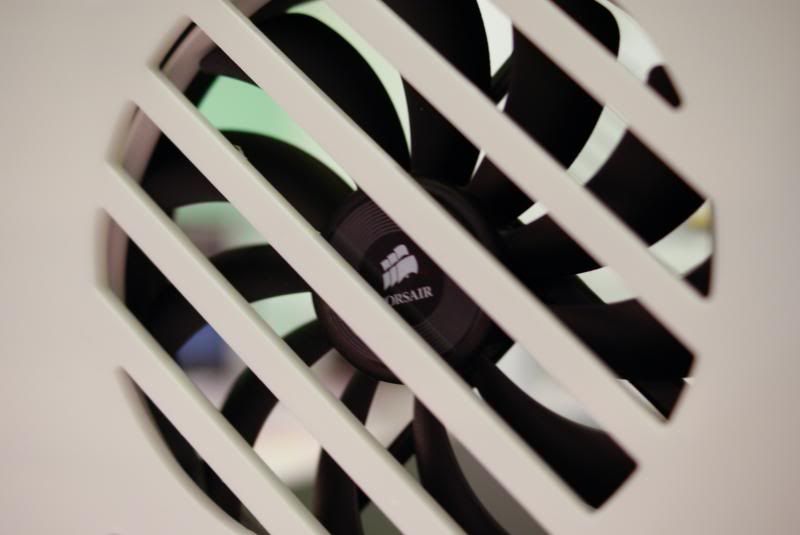
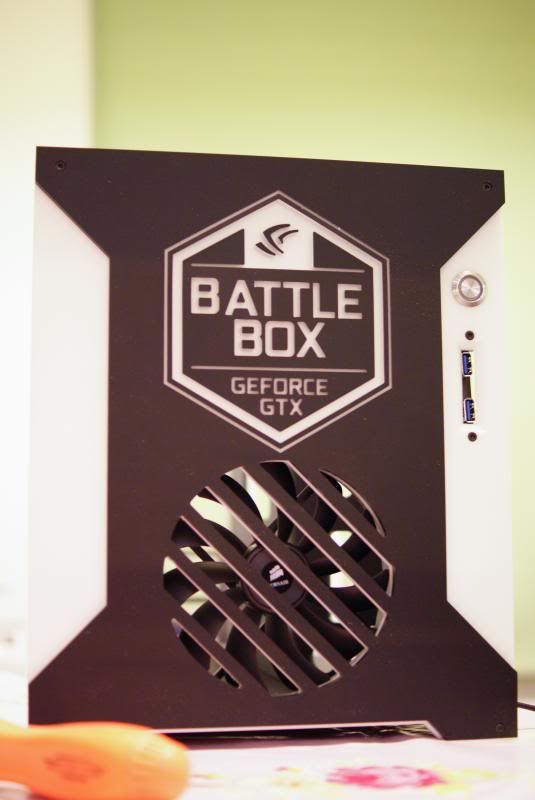
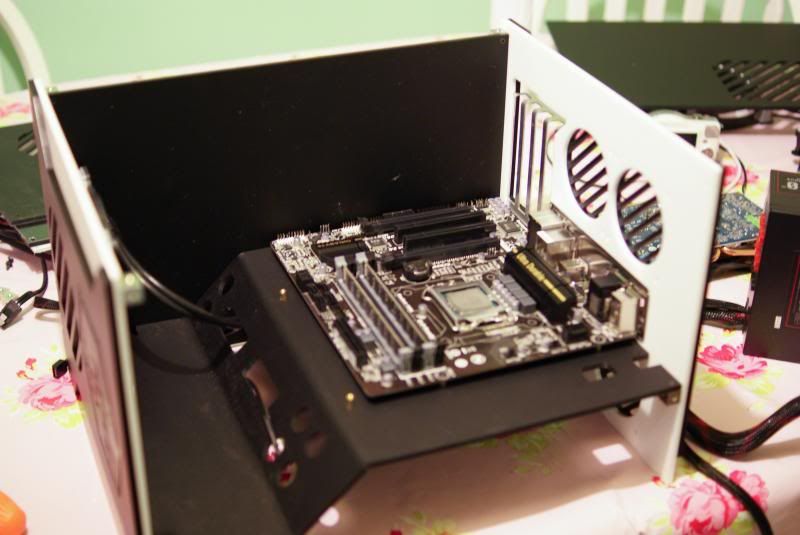
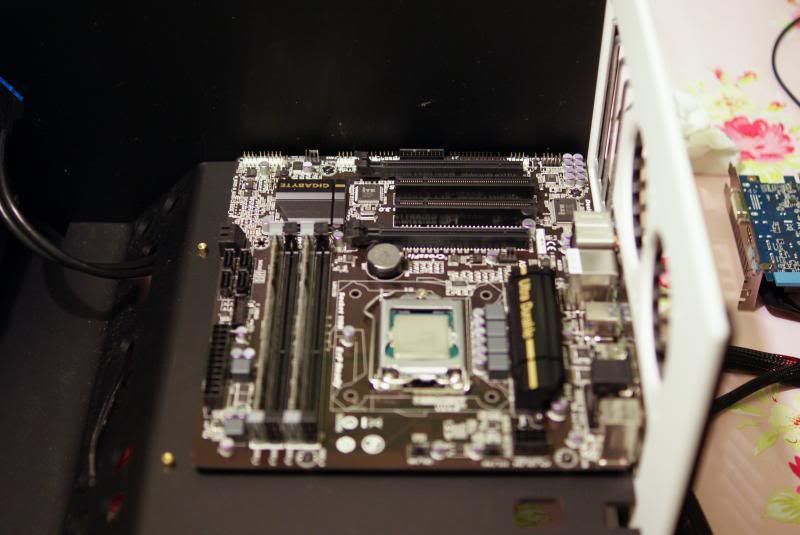
well all i can say for now is that the case is a joy to build. i have most of it done and have been taking pictures during building but i stopped at 12 last night so will finish it off today and get the pictures up later.
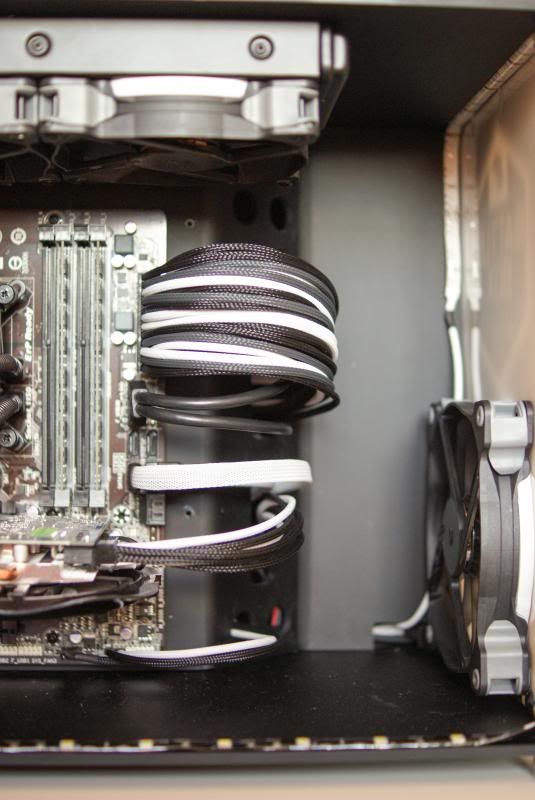
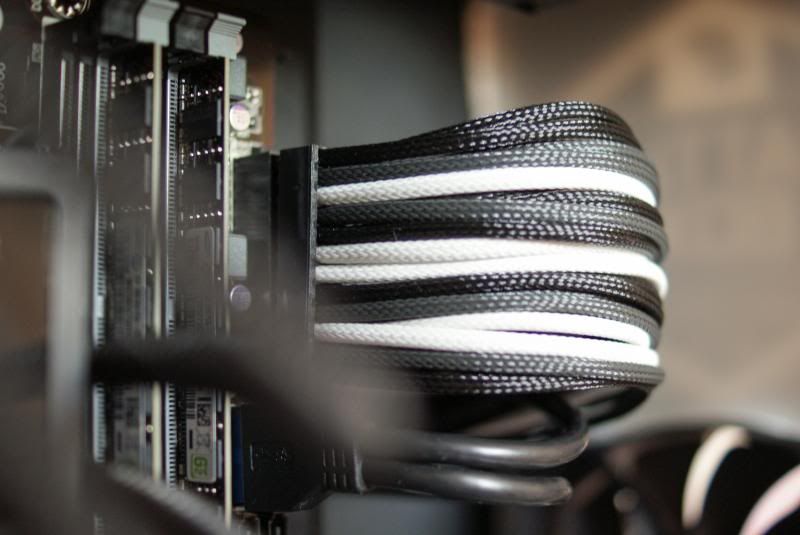
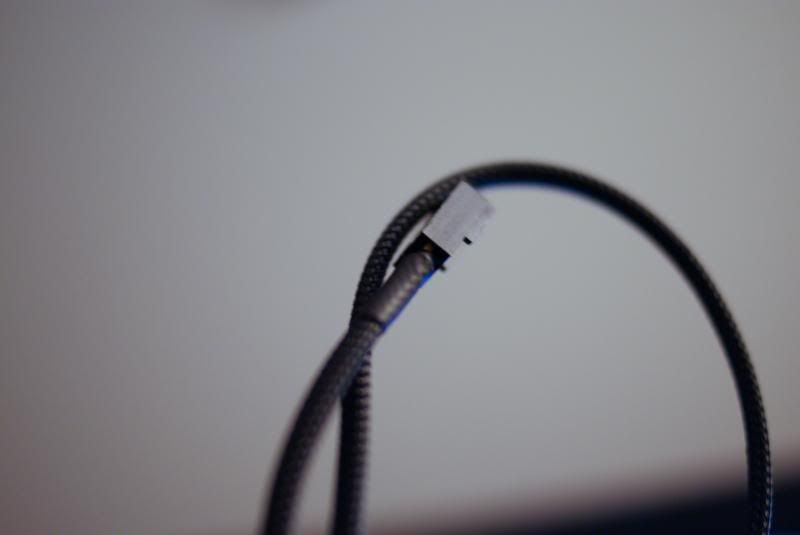
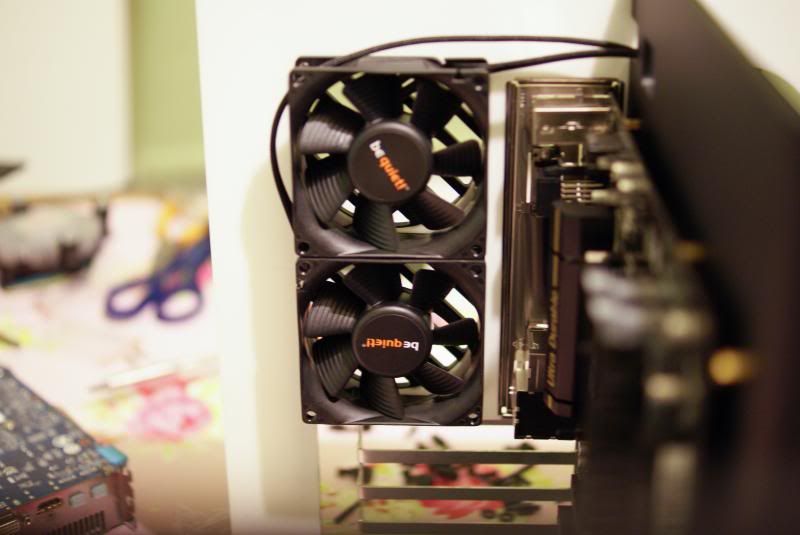
the case went together like a glove and the rear chamber means you can hide all the nasty cables down the back easily.
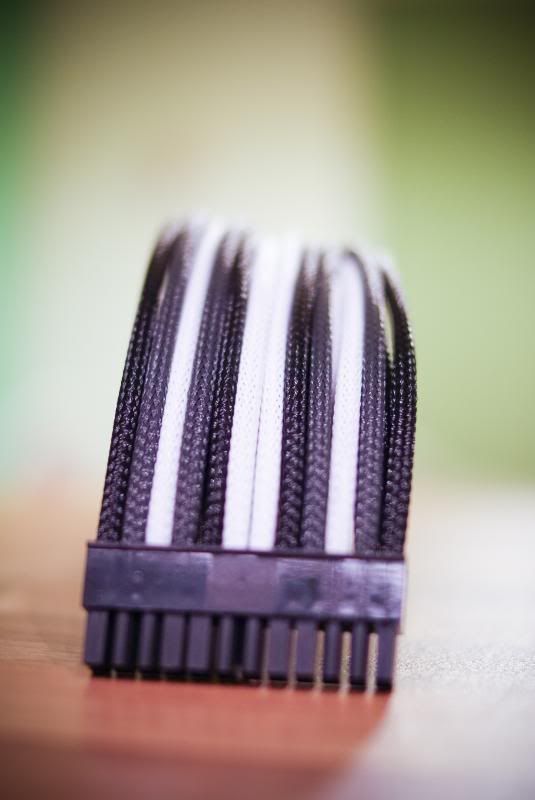
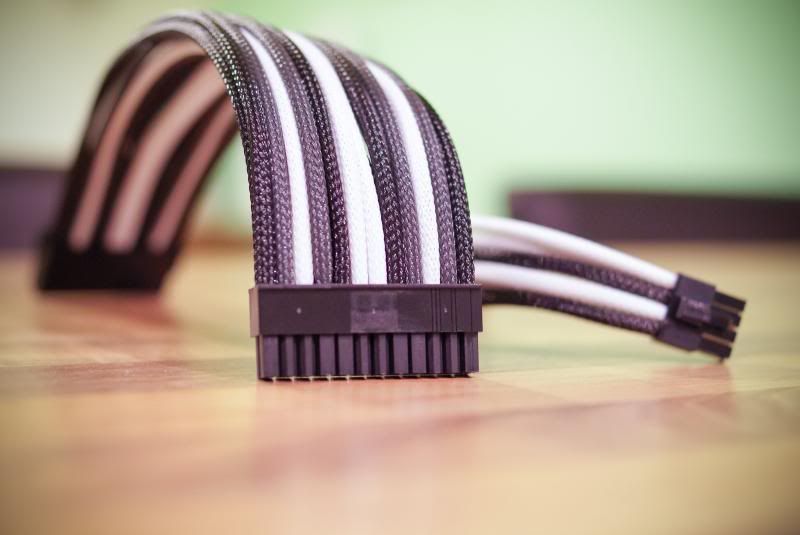
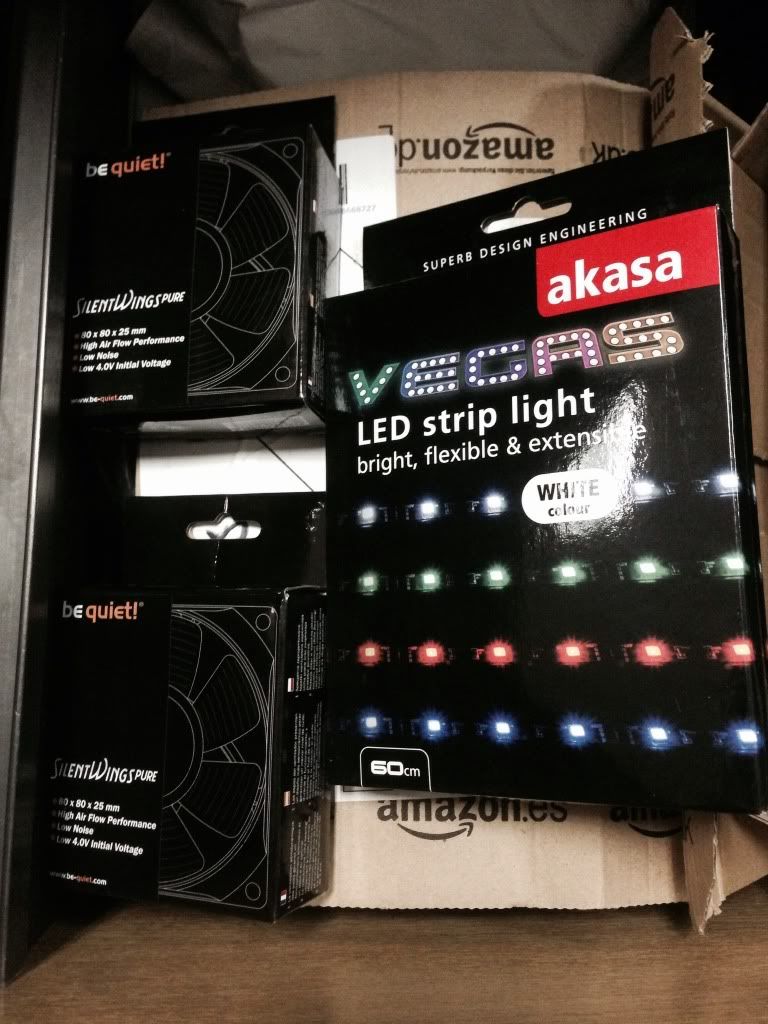
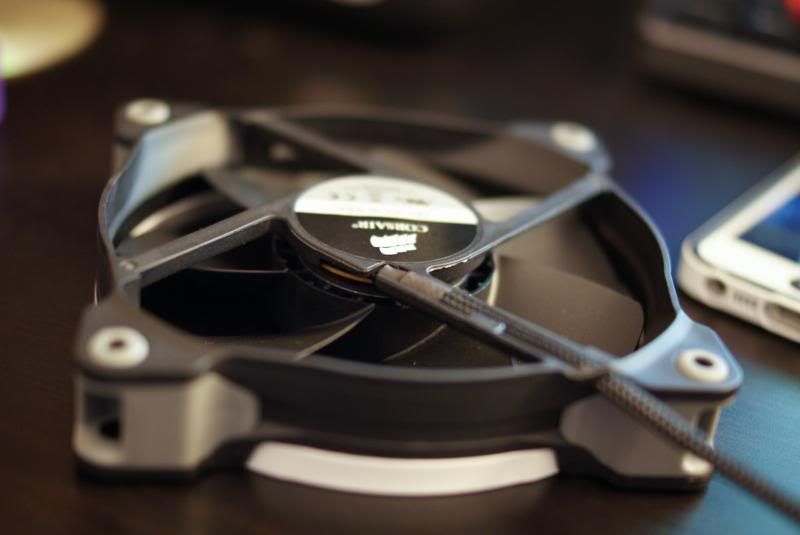
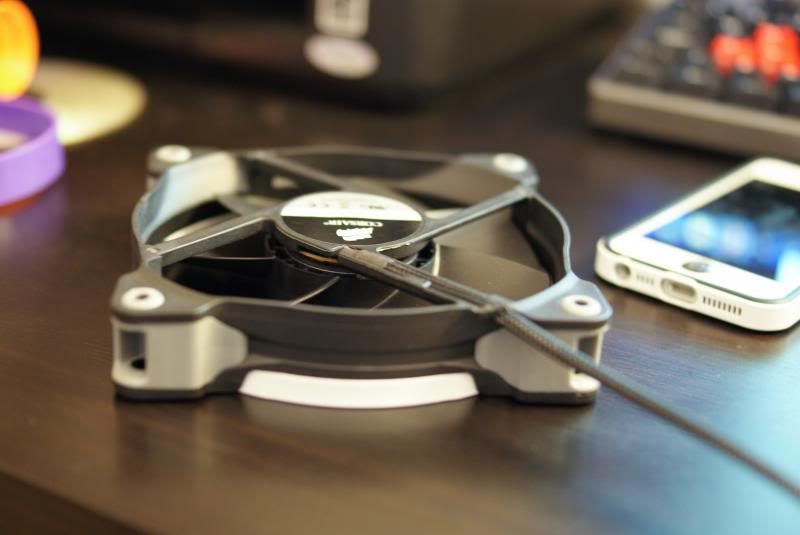
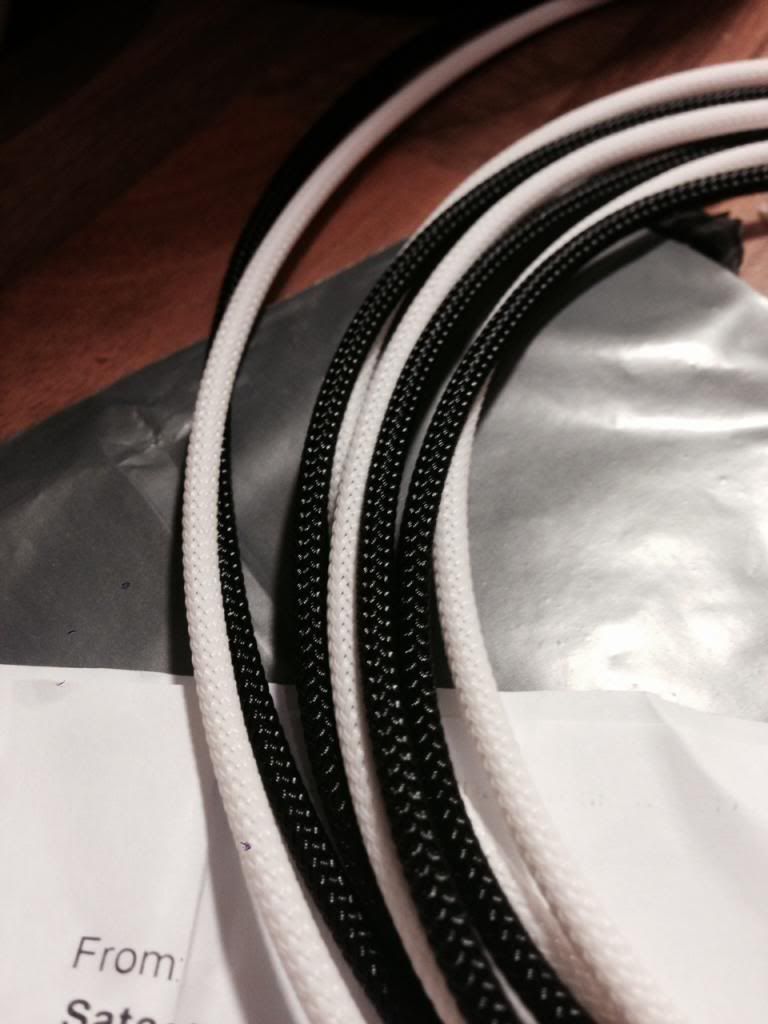
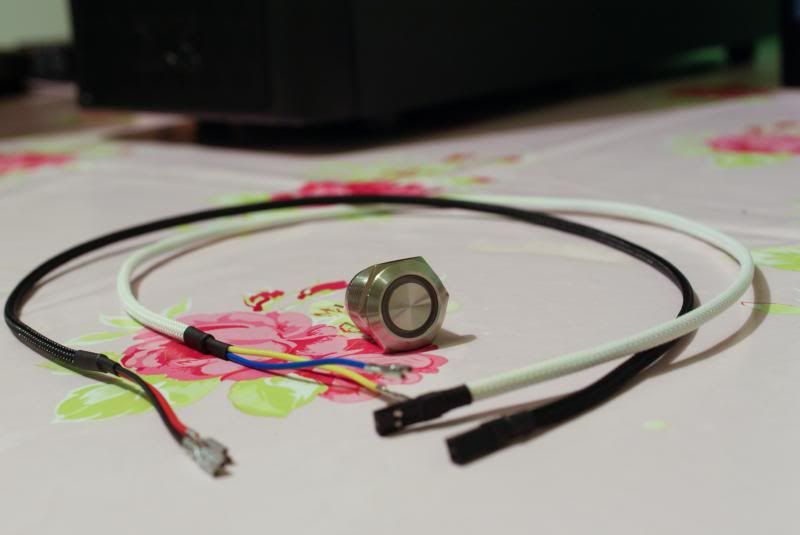
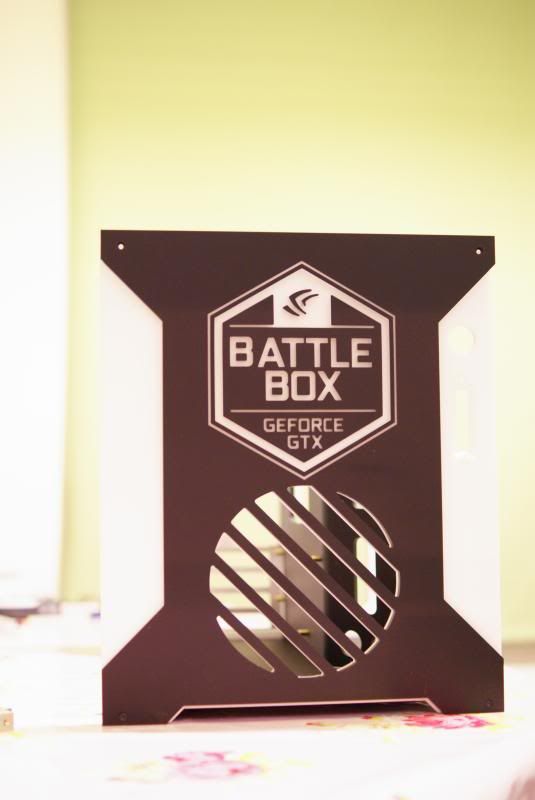
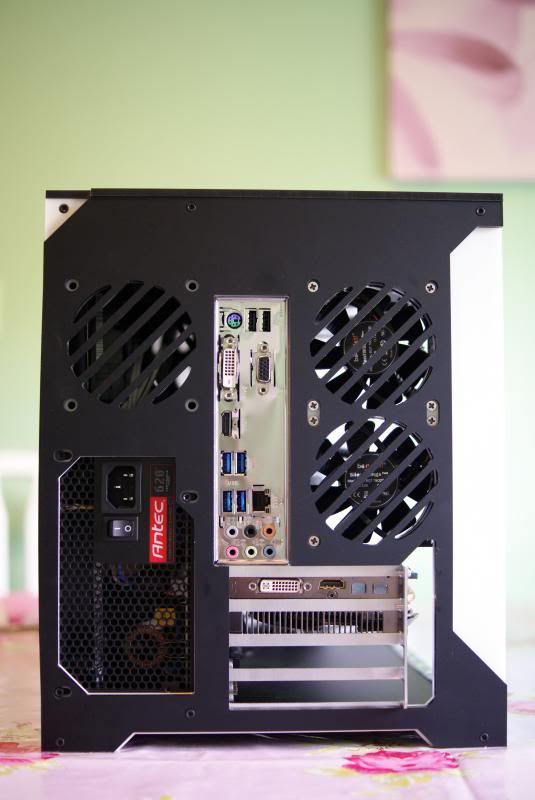
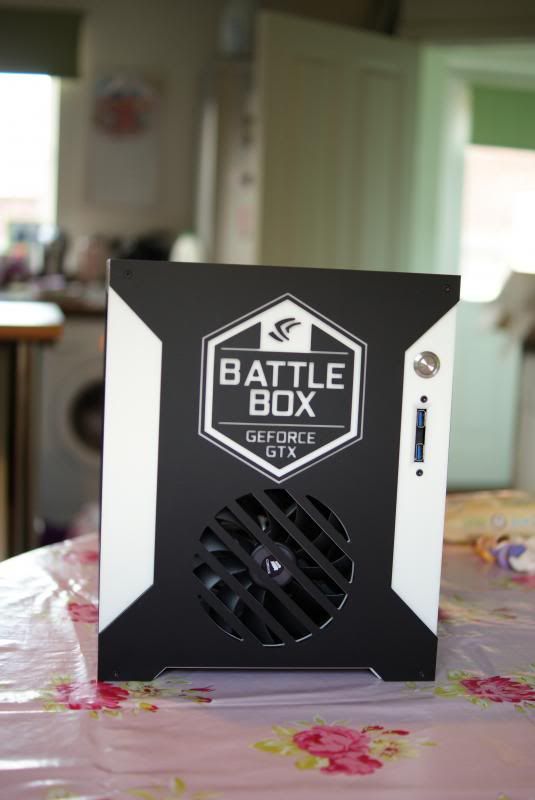
once its done today i will still have a few more bits left to do, i will need to fit my extensions, i have a black switch coming to take place of the silver one and i have another strip of lights to give it some more glow.
the case went together like a glove and the rear chamber means you can hide all the nasty cables down the back easily.
once its done today i will still have a few more bits left to do, i will need to fit my extensions, i have a black switch coming to take place of the silver one and i have another strip of lights to give it some more glow.


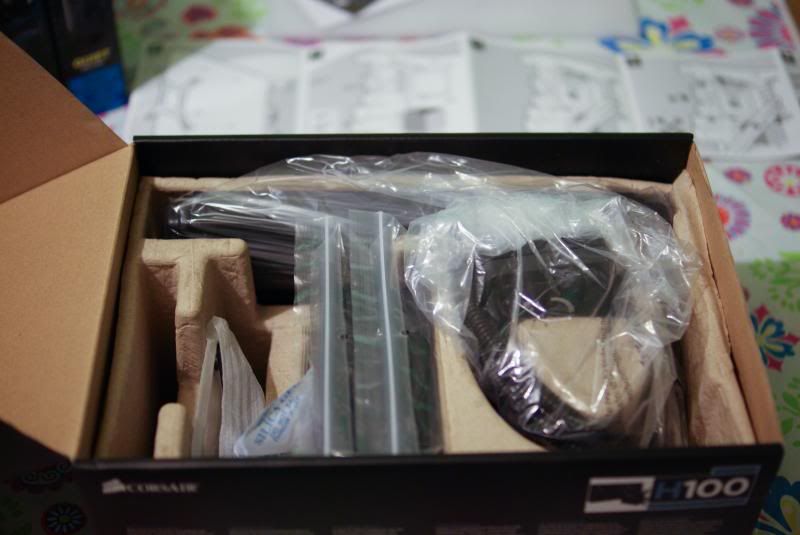

")
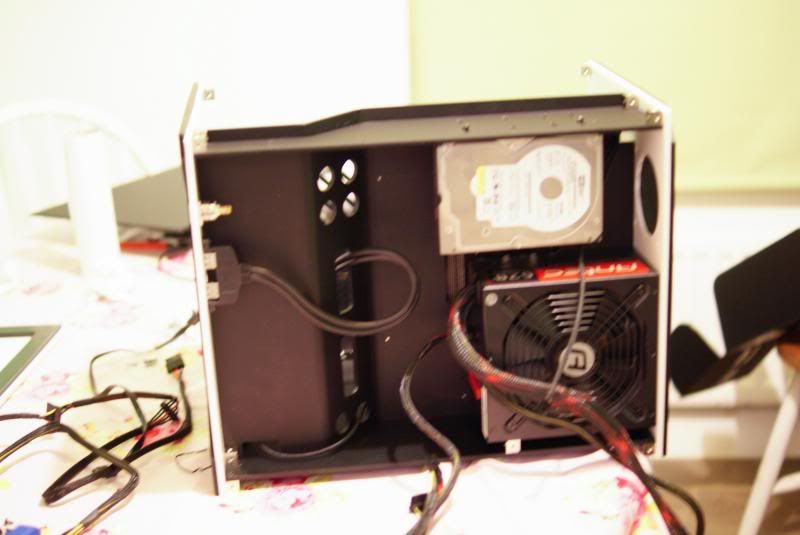
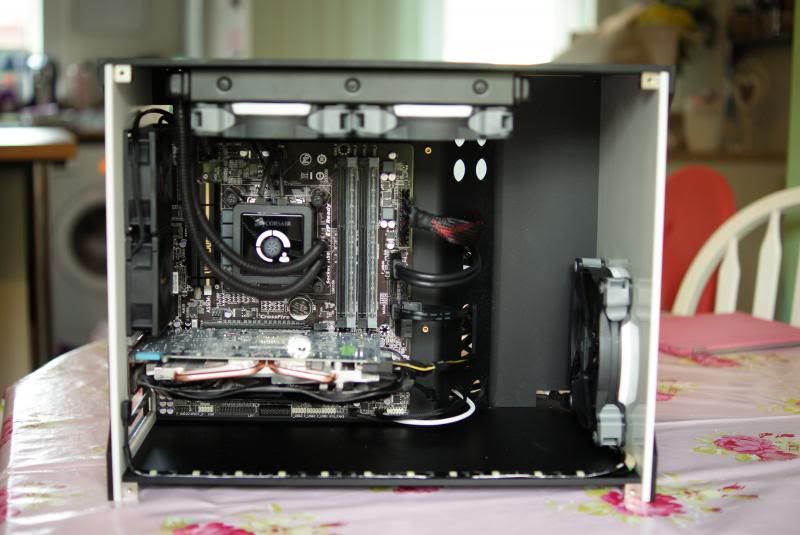
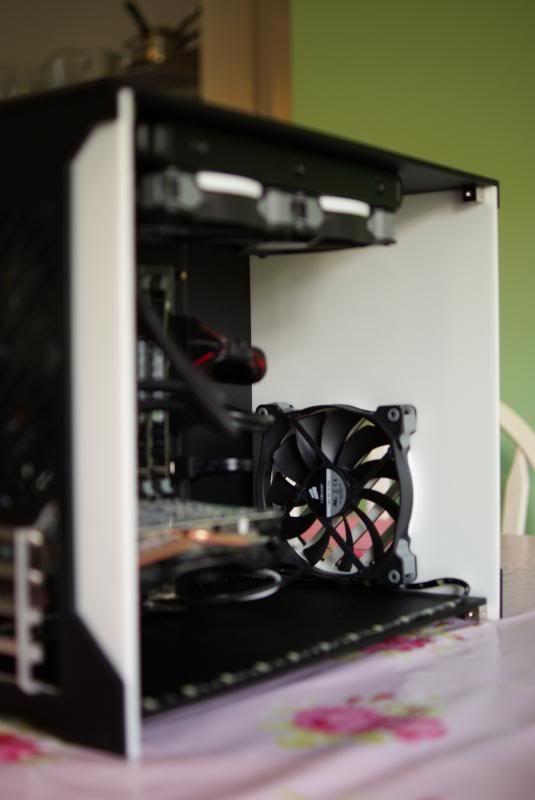
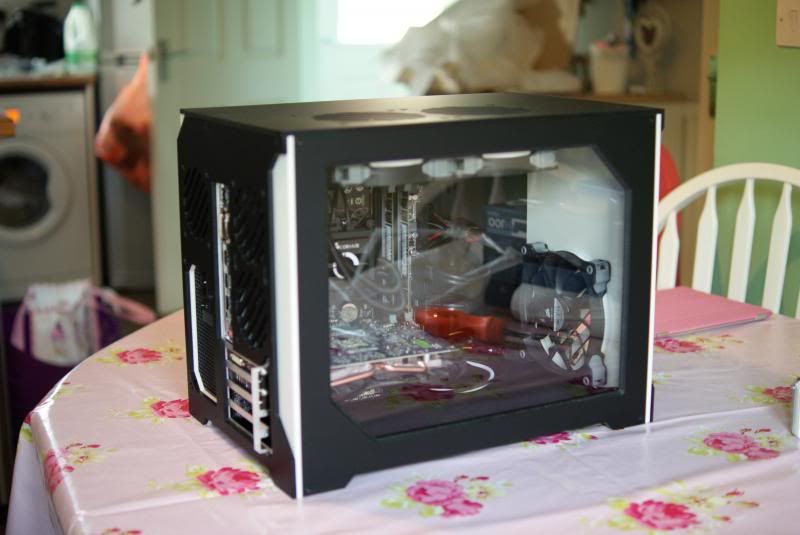
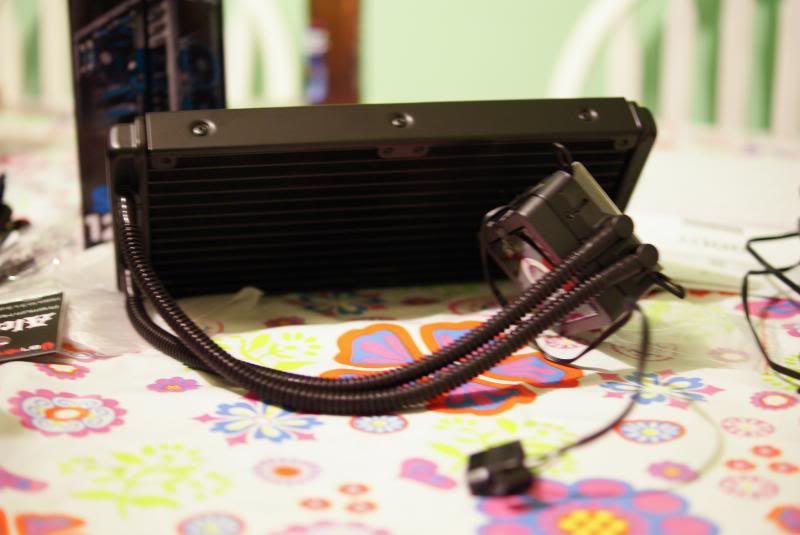
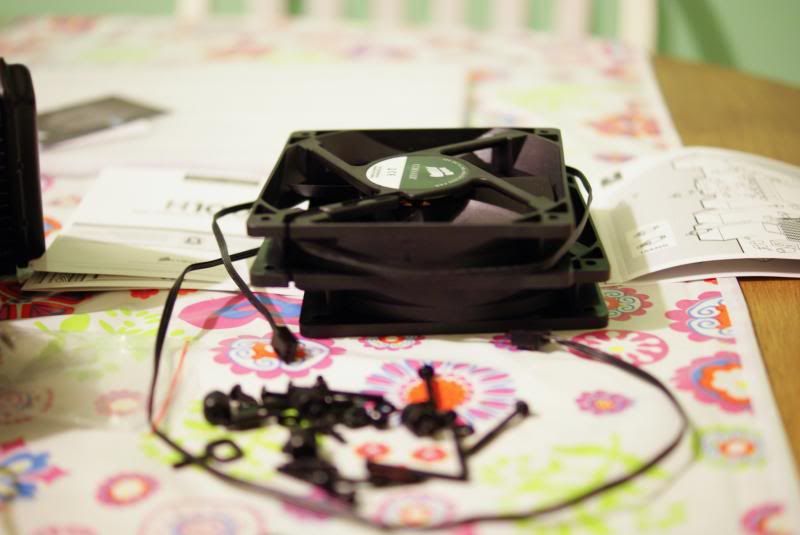
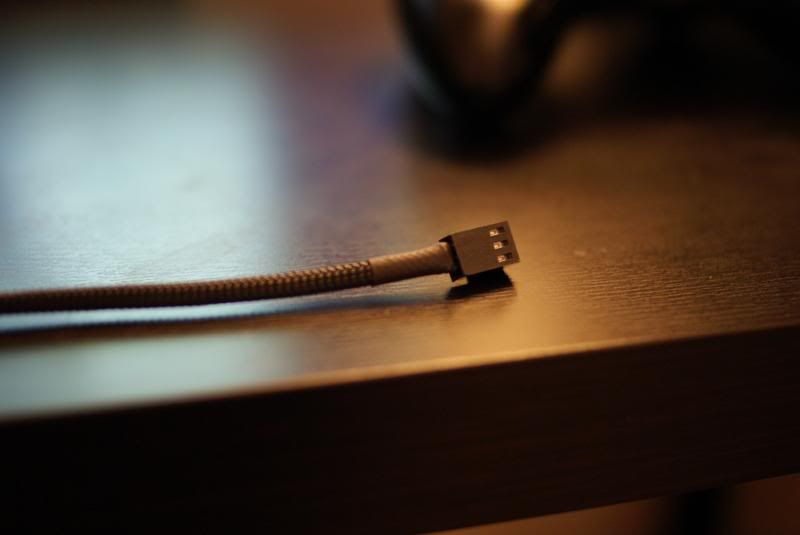
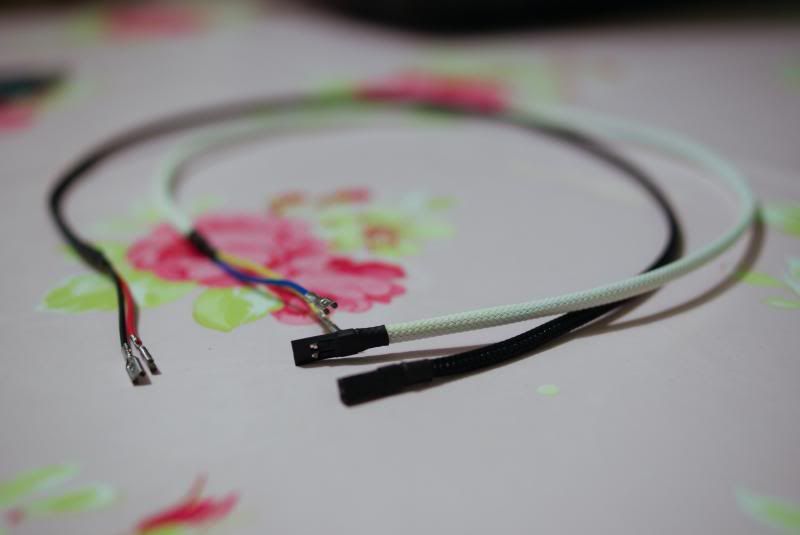
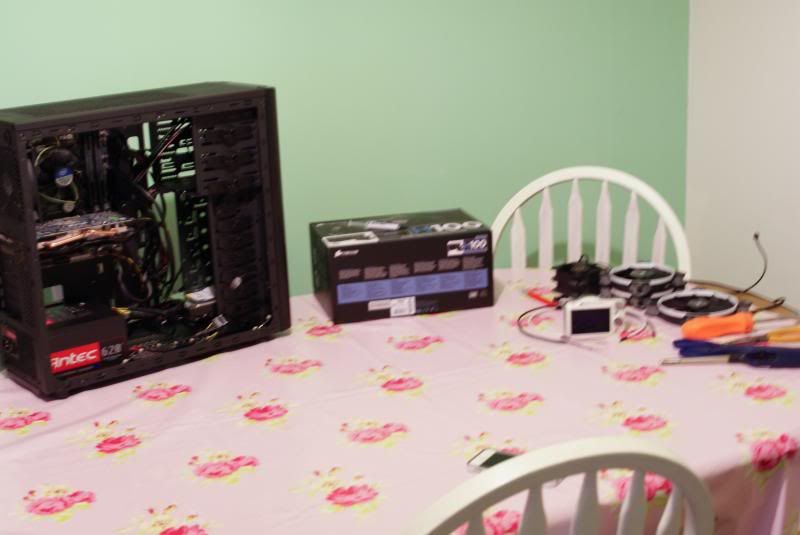
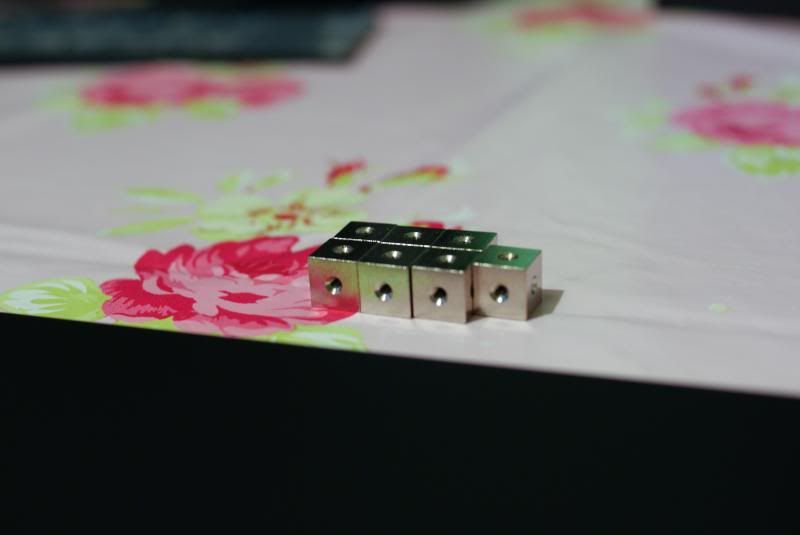
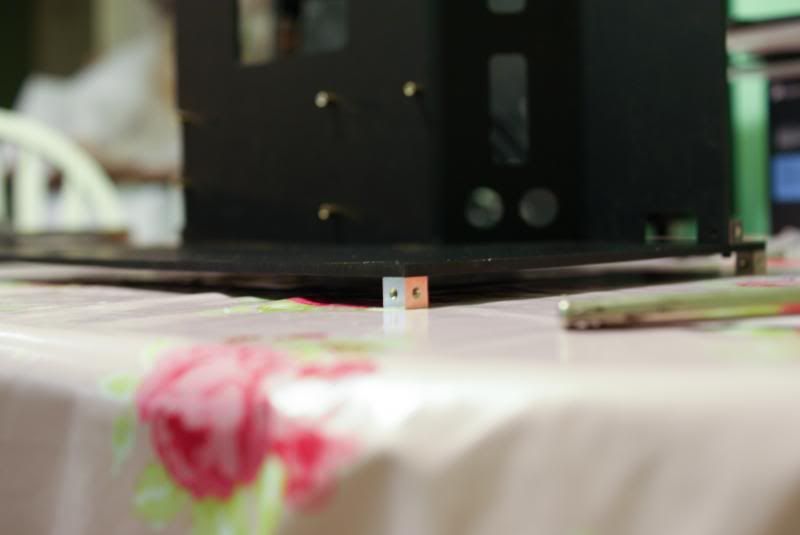
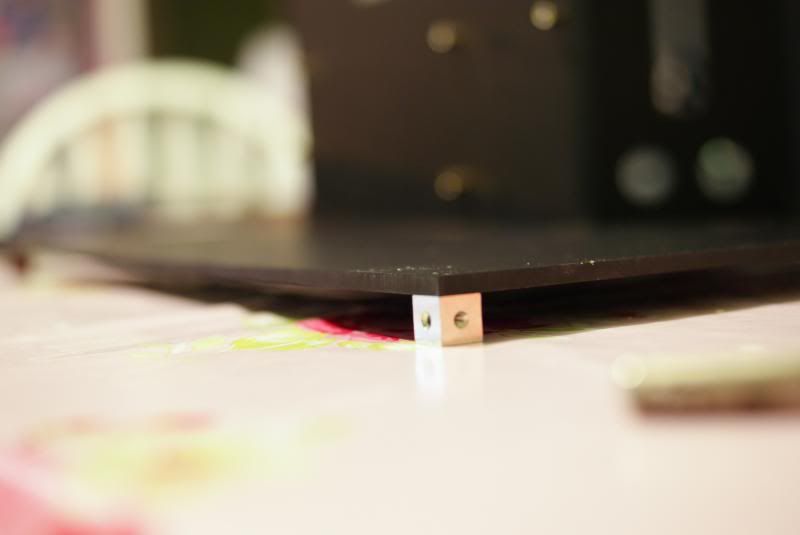
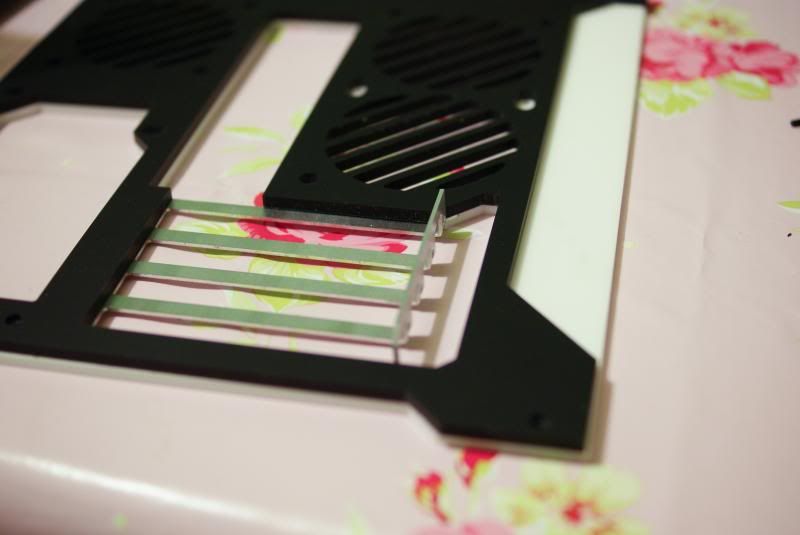
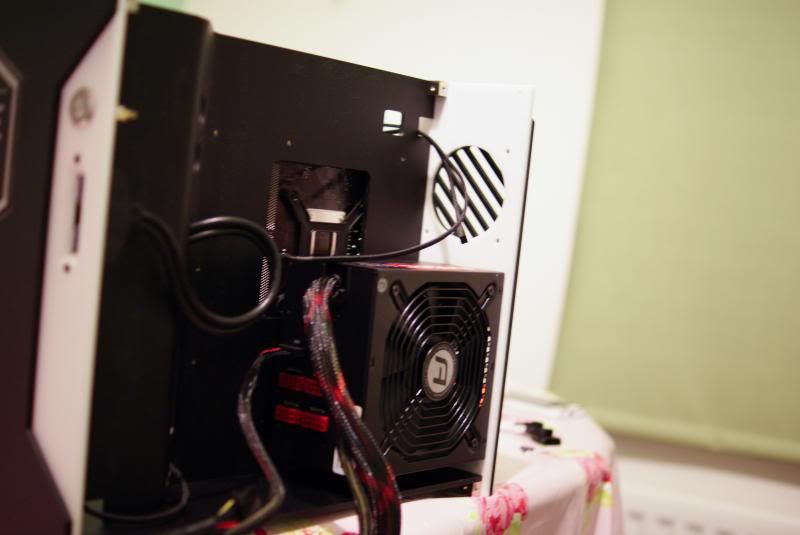
 And a lovely table cloth.