** PHANTEKS ENTHOO PRIMO - THE ULTIMATE WATERCOOLING CHASSIS **

Soldato
Joined
1 Jul 2011
Posts
8,641
My Enthoo Primo arrived today, it's huge :eek:
Hopefully should be a good upgrade from my Evolv ATX.
ROFL

Being a retired custom joiner I'm very concussions of real-life size compared to dimensional drawings. When opening my Primo I was still shocked at it's size. It just fit under my desk .. but I had to go completely custom with 30mm castors on threaded studs into 10mm solid birch plywood base to make a base I could roll in and out that would fit.
:D
 
Associate
Joined
1 Jan 2007
Posts
1,151
ok guys so quick question, im thinking of getting this case, ive just bought a 5930, gigabyte x99 ud4, 16gb 2400 mhz ddr4, i already have 2 x 980 t'is, and im thinking of getting an ocuk tech labs aio water cooler, what will fit in here will i be best to go for a 240 mm, or different size.
 
Associate
Joined
31 Jul 2014
Posts
204
ROFL

Being a retired custom joiner I'm very concussions of real-life size compared to dimensional drawings. When opening my Primo I was still shocked at it's size. It just fit under my desk .. but I had to go completely custom with 30mm castors on threaded studs into 10mm solid birch plywood base to make a base I could roll in and out that would fit.
:D

Not having wheels or atleast good mounts for wheels are this cases biggest drawback
 
Caporegime
Joined
14 Dec 2005
Posts
28,071
Location
armoy, n. ireland
ok guys so quick question, im thinking of getting this case, ive just bought a 5930, gigabyte x99 ud4, 16gb 2400 mhz ddr4, i already have 2 x 980 t'is, and im thinking of getting an ocuk tech labs aio water cooler, what will fit in here will i be best to go for a 240 mm, or different size.

240 or a 280 will fit no problem, as should any triple solution if using the top mounting points.
 
Soldato
Joined
20 Jul 2012
Posts
3,298
Location
Manchester
ROFL

Being a retired custom joiner I'm very concussions of real-life size compared to dimensional drawings. When opening my Primo I was still shocked at it's size. It just fit under my desk .. but I had to go completely custom with 30mm castors on threaded studs into 10mm solid birch plywood base to make a base I could roll in and out that would fit.
:D
Yep it only just fits under my desk too, I can't even get a finger in the gap.

I've had one problem with the case:
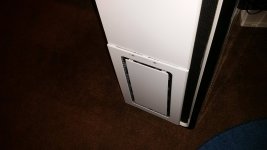
Unfortunately the clips on the fan filter panel seem to be broken and the panel doesn't stay on now :confused:
 
Soldato
Joined
1 Jul 2011
Posts
8,641
Yep it only just fits under my desk too, I can't even get a finger in the gap.

I've had one problem with the case:
Unfortunately the clips on the fan filter panel seem to be broken and the panel doesn't stay on now :confused:

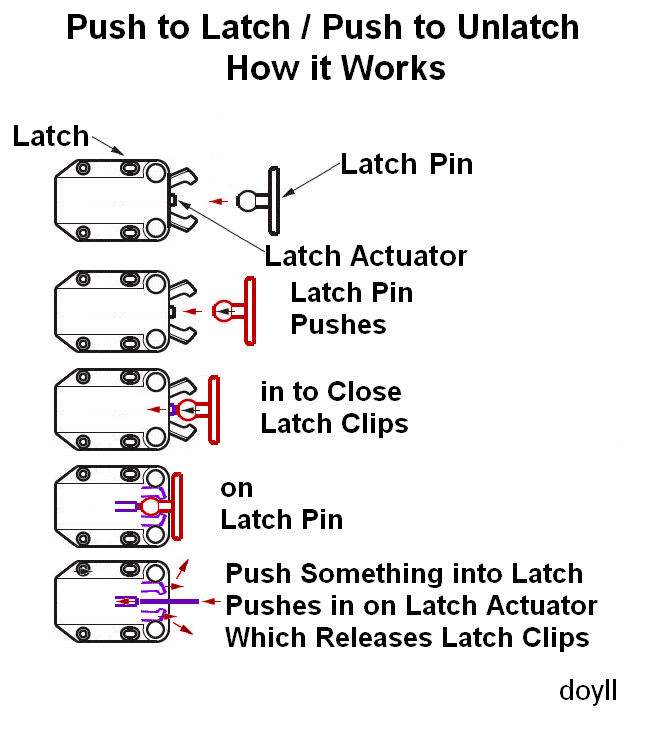
While these clips are very nice in many ways, they need to be 'pushed to unlatch' as well as 'pushed to latch'. This means if they inadvertently get 'pushed to latch' while cover is off, they will not accept cover and 'push to latch'.

Latch has a tab on cover and latch inside of case. That latch has catches on either side with a button in the middle behind them. This button is what trips the latch to unlatch and latch it.

Also the front case panel cross section / piece with latch in it flexes when the latch is pushed into it making it hard for the tip to push the 'push to latch' latch. I (and many others) found that the easy way to get it to latch / unlatch is to remove bottom 5.25 bay cover and grip the lower case cover and front cover through that hole with fingers on inside and thumb on front and presto!, cover latch or unlatches.


#2 are latch catches in open position (in closed position they are flush with surface of latch housing)
The little thing between these two catches is the latch button
Latch catches have to be in this open position or latch pin (R5 in far right image)cannot go in latch.
Place something small enough to go between catches into latch and push on latch button to release latches from closed position to open position.

push-to-close-latch-16787-3916131.jpg


Edit: Maybe this will be easier to see how it works .. maybe not. ;(
Push-to-latch-release%20clips_zpsaydg6obn.png
 
Last edited:
Associate
Joined
27 Dec 2009
Posts
764
just a quick note on a couple of things that might be of interest .. the top clip on filter is actually made of three parts .. the outer mesh (on the top) that is bend under to hold it on the plastic frame (underneath) and also a fine gauze between the two .. it stops a "LOT" of air from passing through .. I have taken mine out and have dropped case temp by 3 degrees .. so much more air gets through .. also, the aftermarket Phanteks Enthoo Primo filters sold by OCUK (although expensive) are really very good ... I've got the filters installed on the side vents as well as the rear vents and seal up nicely .. just FYI folks :D
 
Associate
Joined
25 Nov 2014
Posts
182
Location
Leeds
Hi all

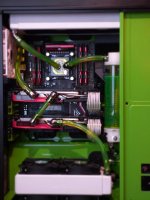
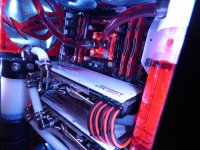
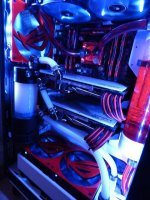
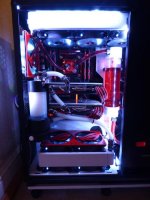
After I posted my build on this thread (post #1116) I was always tempted to go into watercooling but never had the confidence or knowledge on what to do so after some serious research I purchased the parts and redid my whole build.

I did consider going hardline however as it was my first ever watercooled rig I decided to go for soft tubing for now.

Few parts are recycled from another build to keep costs down, currently awaiting an Aquaero 6 XT.

Asrock Z97X Killer Motherboard
4790k CPU
Gigabyte G1 Gaming GTX 980
2x Samsung 850 Evo in Raid 0
Alphacool XT45 420 Rad
Alphacool XT60 280 Rad
Cable Mod sleeved cables
EK Supremacy EVO CPU Block
EK Compression/90'/45' Fittings
Alphacool Fittings
Alphacool VPP655 D5 Pump PWM
Primochill 12/16 Clear Tubing
EK Blood Red Coolant
EK250 Lite Reservoir
EK-FC980 WF3 GPU Block
10x Noctua 140mm Fans

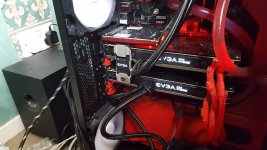
I enjoyed doing the whole build and working with the components, the Enthoo Primo is a dream to work in with the amount of space available.

The only part I was worried about was filling/leak test however as I had made sure all the fittings were secure I didn't come across any leaks :cool:

IMG_0833.jpg


IMG_0837.jpg


IMG_0835.jpg


IMG_0836.jpg


IMG_0838.jpg


IMG_0834.jpg


IMG_0839.jpg


IMG_0848.jpg


IMG_0846_1.jpg


IMG_0844.jpg


IMG_0850.jpg


If anyone is wondering how I got the clear side panel window, here's how.

IMG_0842.jpg


I used a clear Acrylic sheet which I cut to size and some hook & loop tape with the tabs pushed in if I ever wanted to refit the crappy stock smoked window.
 
Last edited:
Back
Top Bottom