You are using an out of date browser. It may not display this or other websites correctly.
You should upgrade or use an alternative browser.
You should upgrade or use an alternative browser.
Project Dianoga
- Thread starter ALXAndy
- Start date
More options
Thread starter's postsSo here is the rig as it stands.
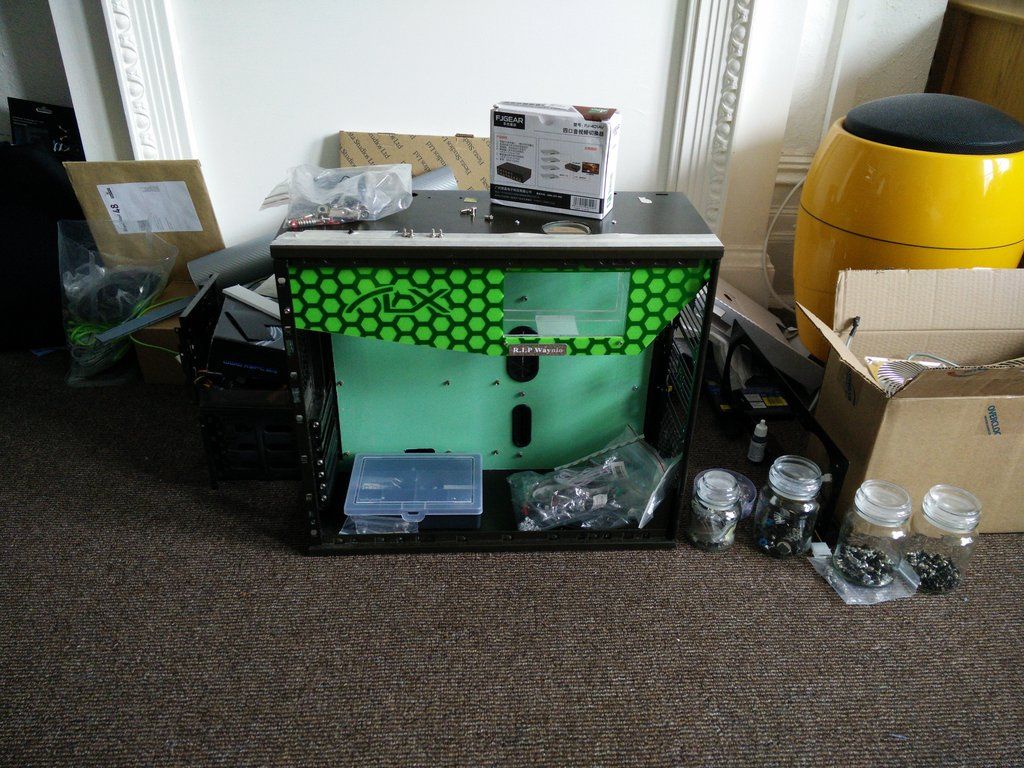
I put a bracket in yesterday to straighten up the warped panel. Worked well Not much to see, but pic.
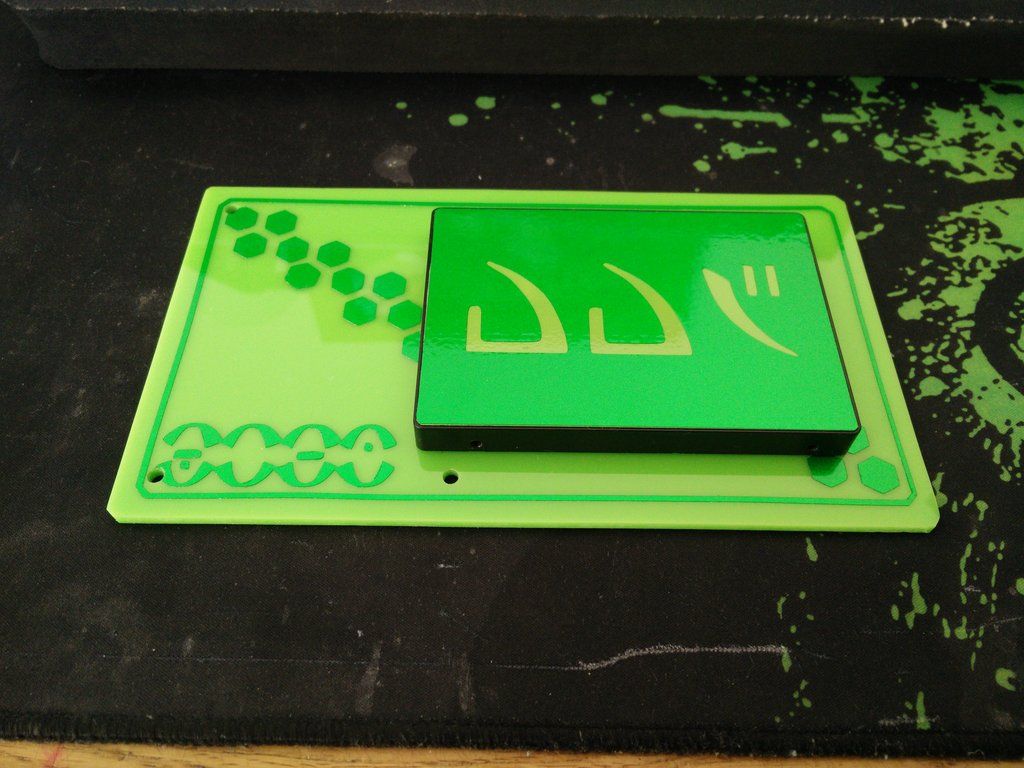
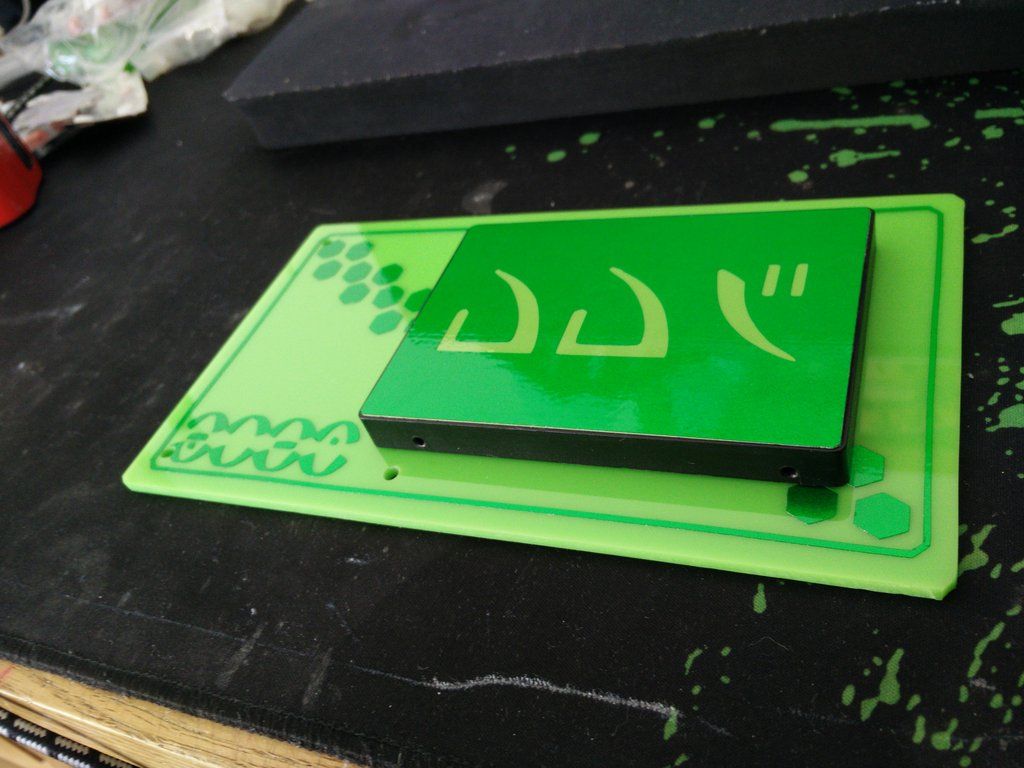
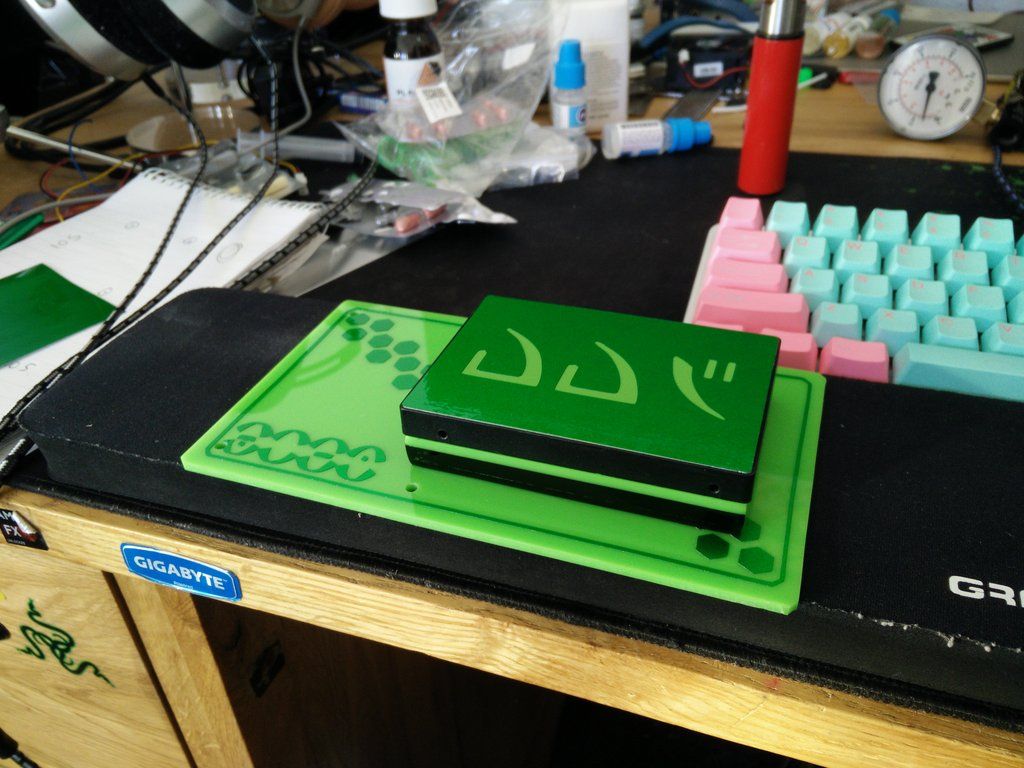
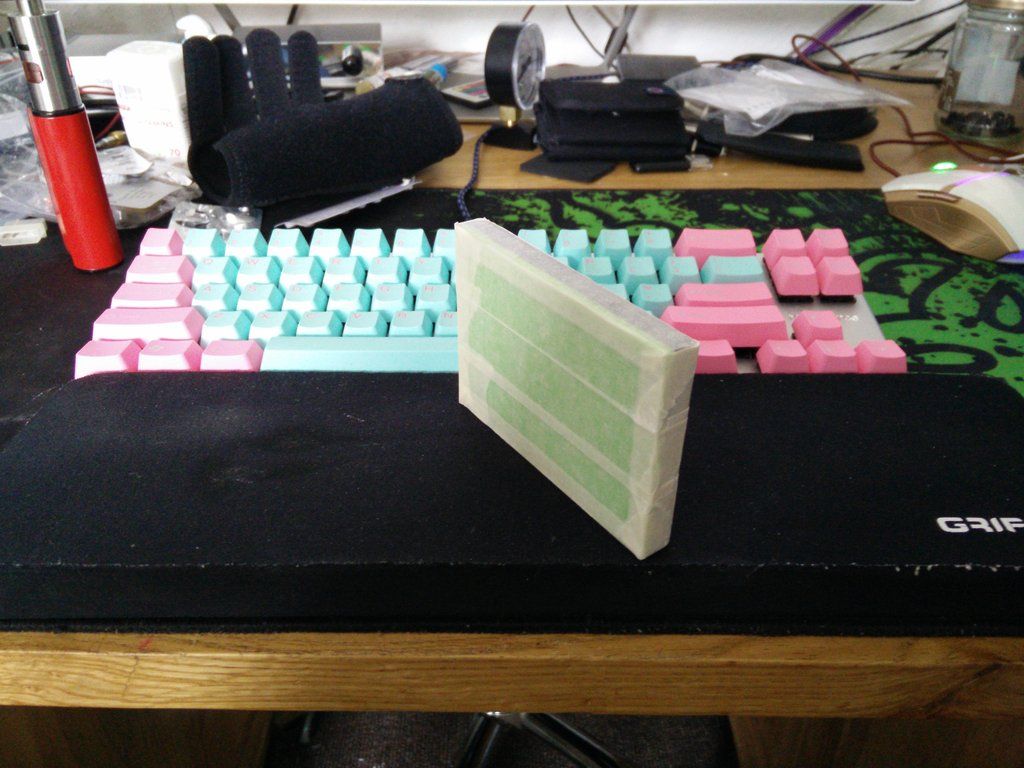
So today I decided to finish the SSD platform. First up was masking the light clump.
Marked for LED holes.
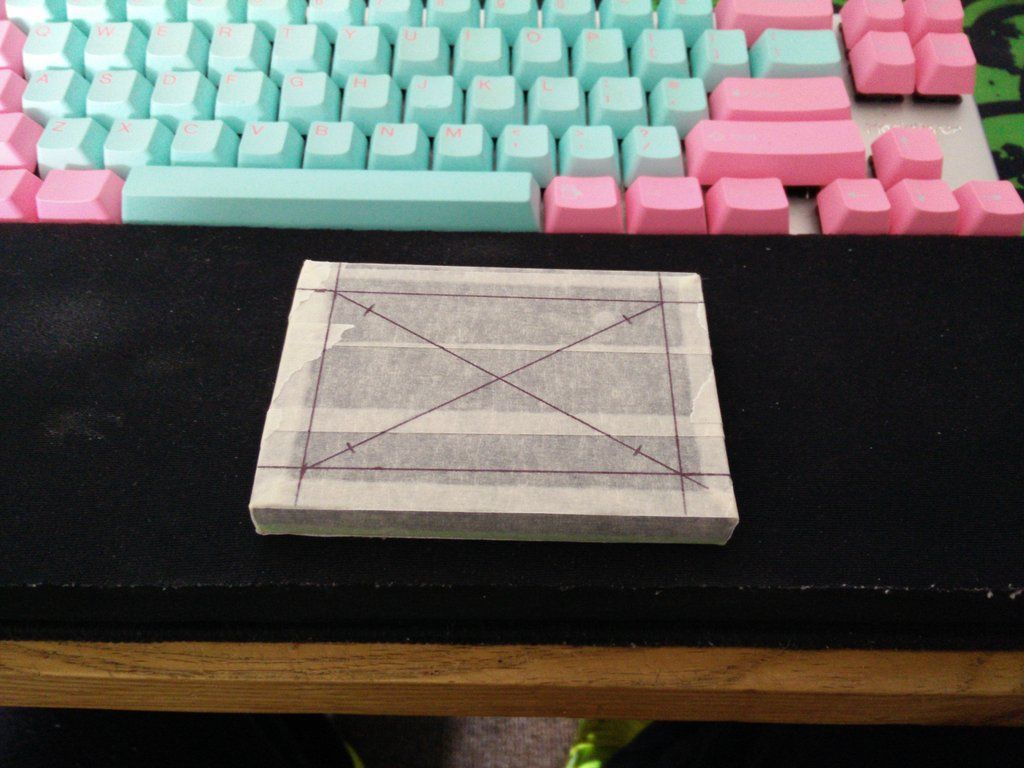
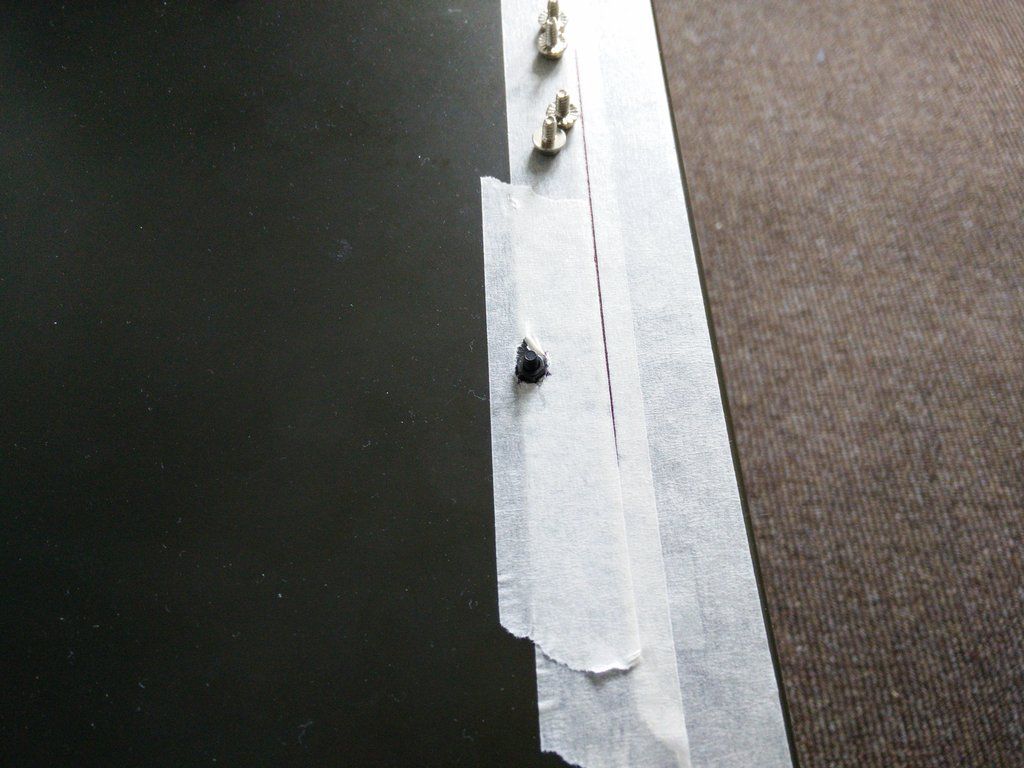
Here in the ghetto we don't have drill presses so we use masking tape
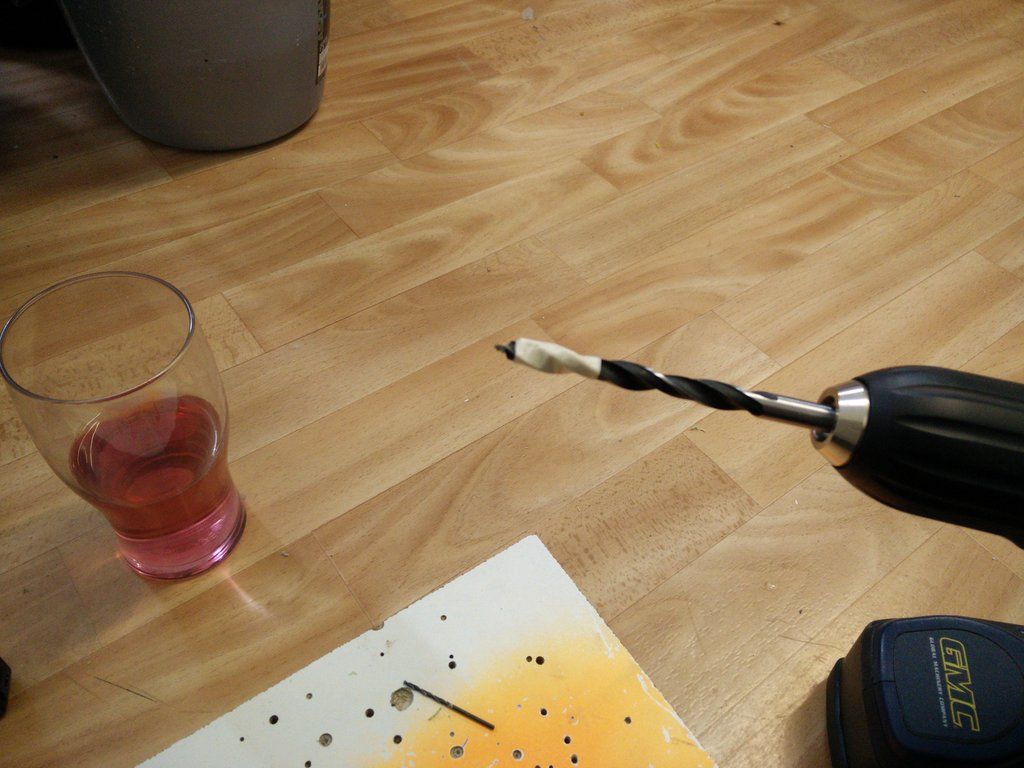
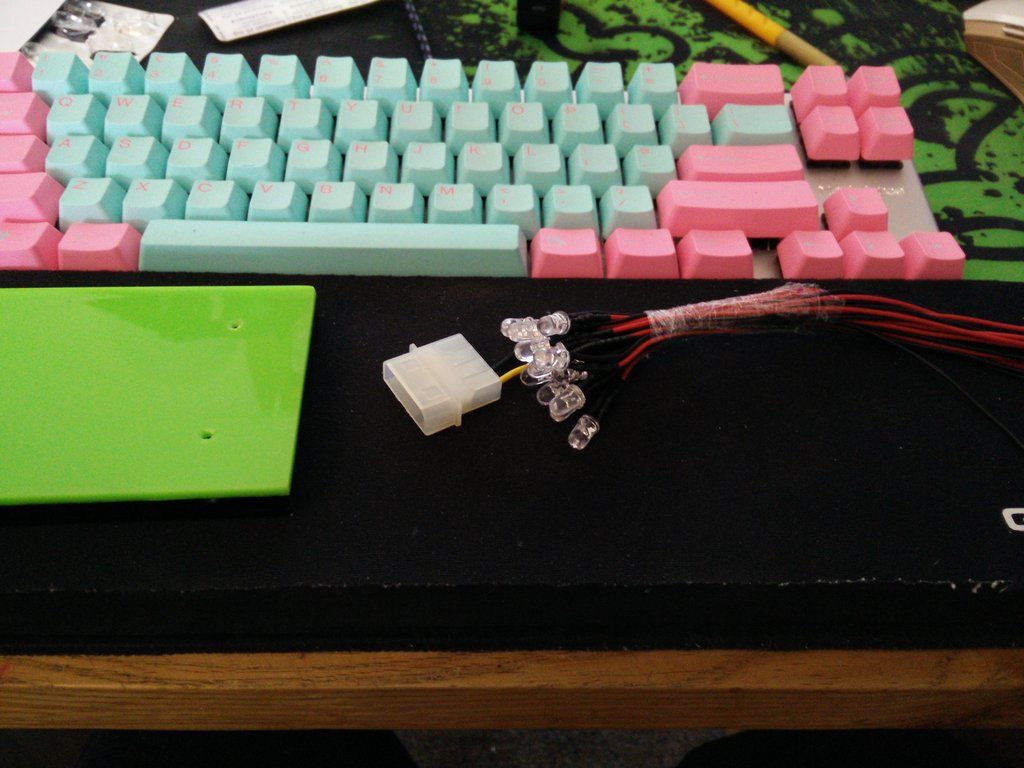
The idea was to drill 2mm pilots, then 8mm holes 3mm deep (to clear the black) and then 5mm holes 8mm deep to clear the smoked and hold the LEDs. That kinda looks like this.
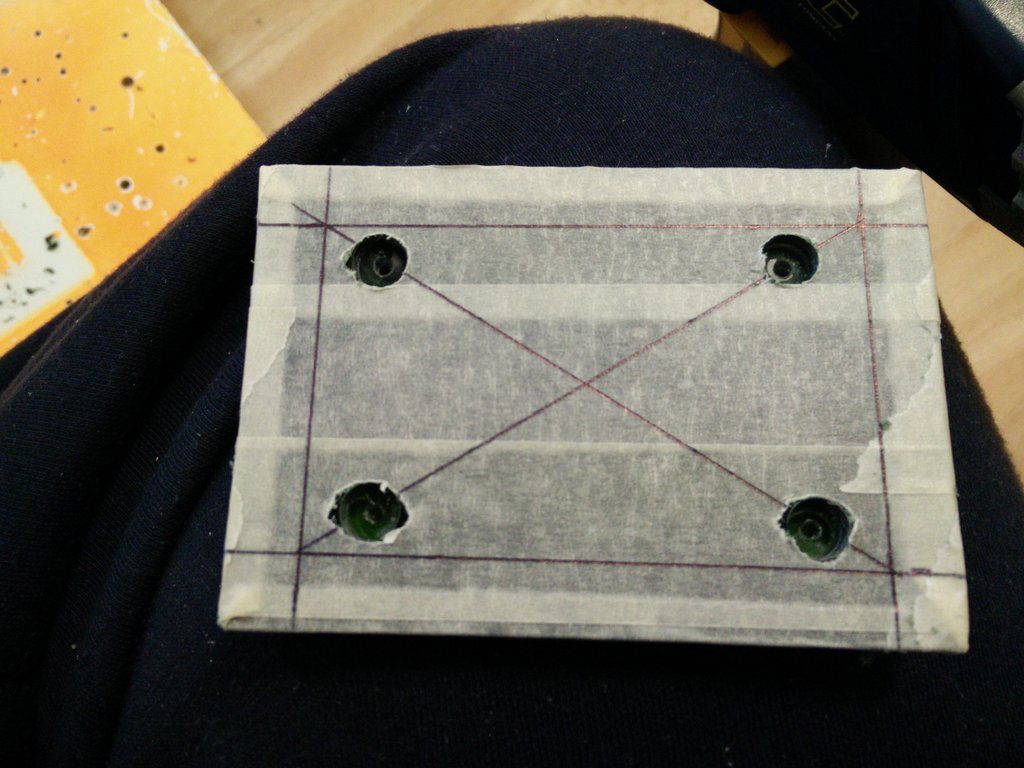
It's very dark and miserable today, so I used my torch to show what I have done.
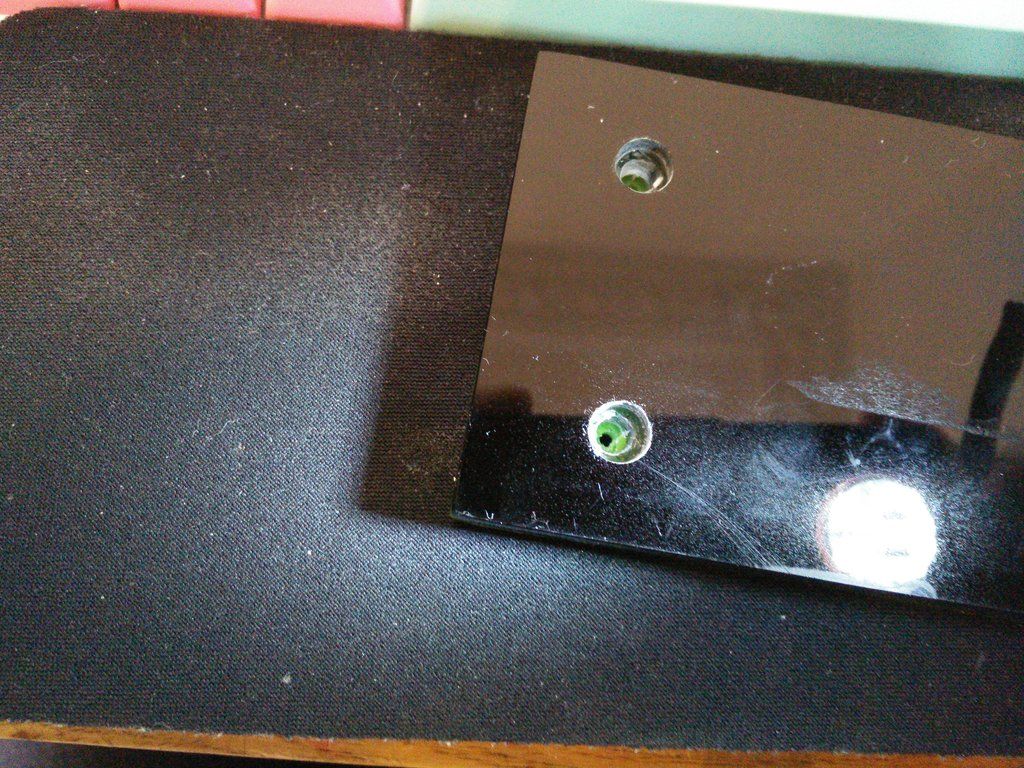
LED time, my favourite time
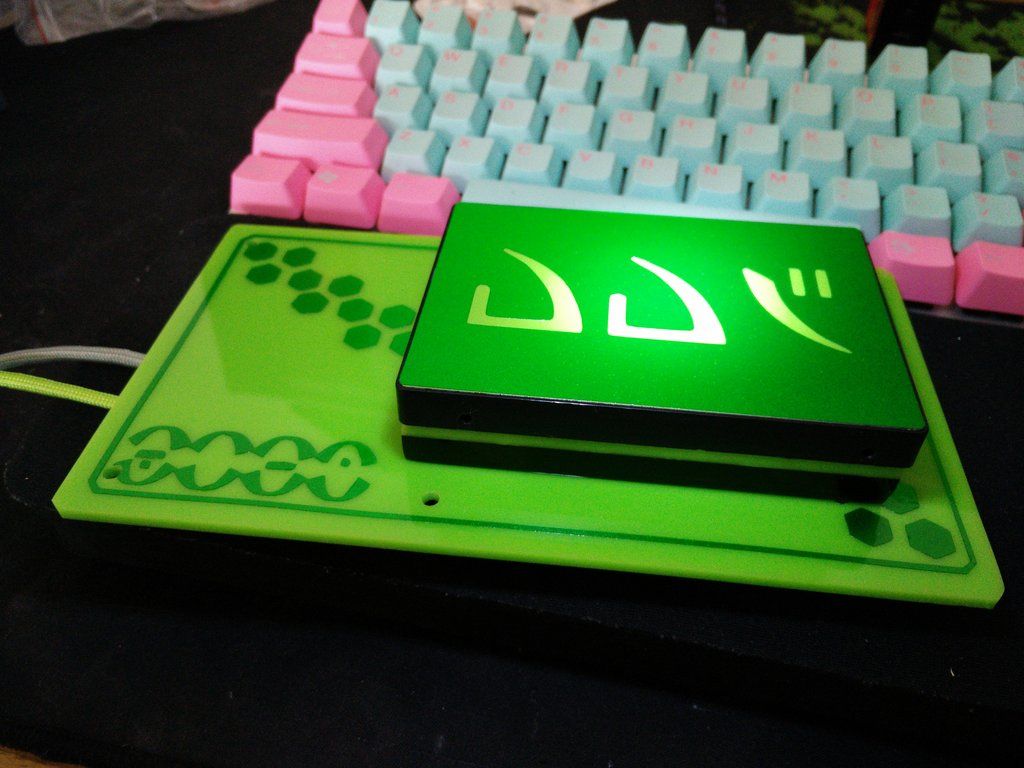
In this pic I have introduced some light by using my torch to show the metallic finish
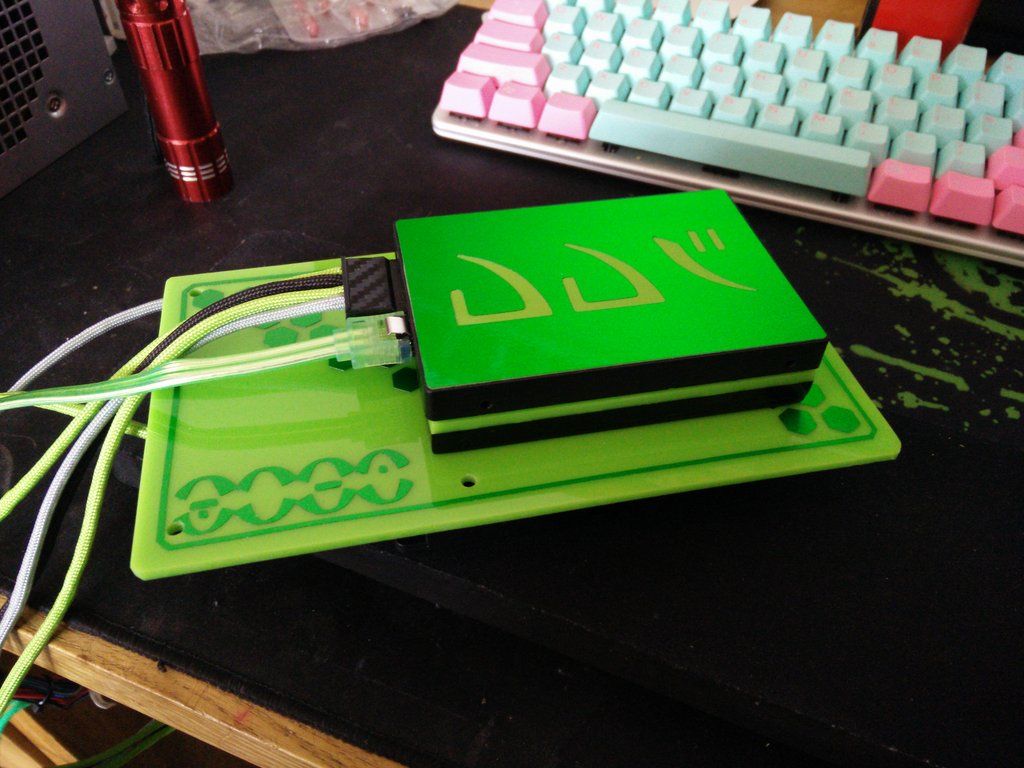
Make sure all the cables fit OK.
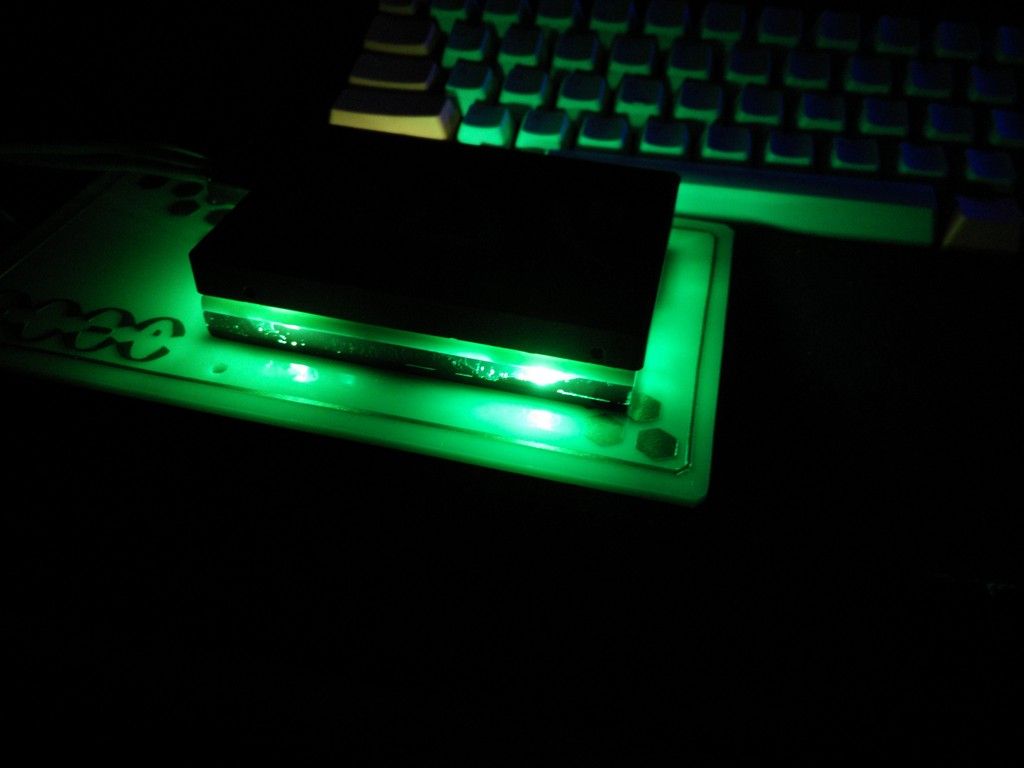
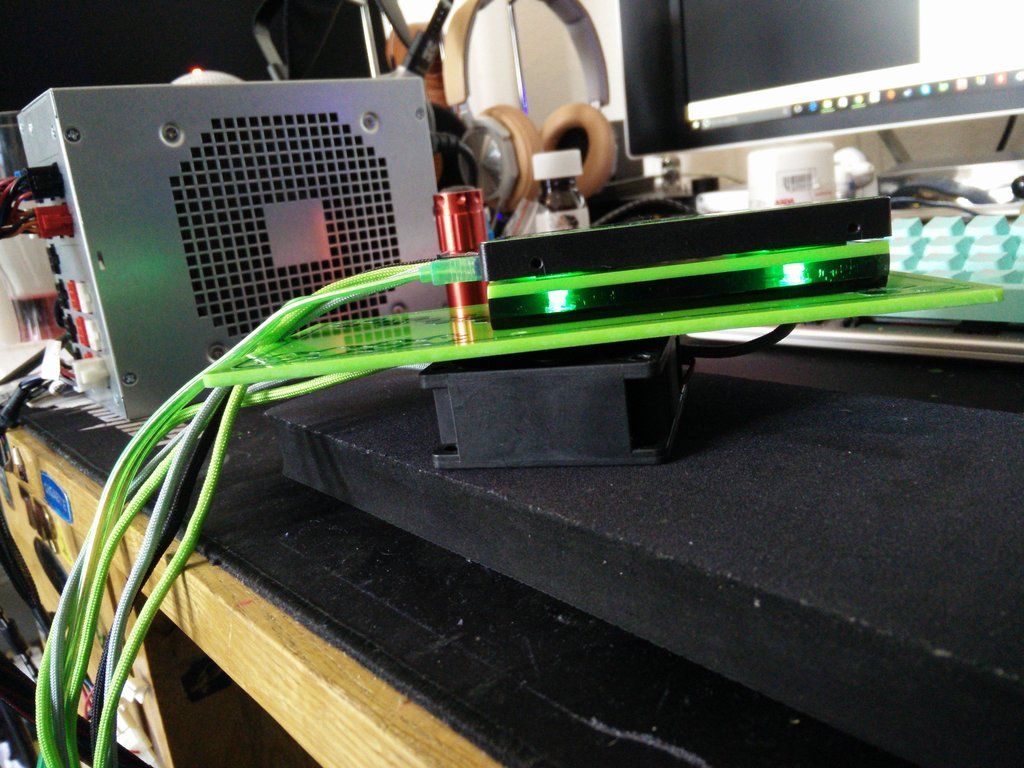
Bring on the night

I put a bracket in yesterday to straighten up the warped panel. Worked well
 Not much to see, but pic.
So today I decided to finish the SSD platform. First up was masking the light clump.

Marked for LED holes.

Here in the ghetto we don't have drill presses so we use masking tape


The idea was to drill 2mm pilots, then 8mm holes 3mm deep (to clear the black) and then 5mm holes 8mm deep to clear the smoked and hold the LEDs. That kinda looks like this.

It's very dark and miserable today, so I used my torch to show what I have done.

LED time, my favourite time


In this pic I have introduced some light by using my torch to show the metallic finish


Make sure all the cables fit OK.

Bring on the night


Being a complete noob to water cooling (hey, I'm learning !) I realised that I was not going to get away with just the fittings I had. At certain points the hose needed to twist or turn too harshly which would cause kinking. It needs to be sent 90' so it can stay straight.
I had a real result today. I went to a certain website and they were having a one day sale. So, I ordered six of these.
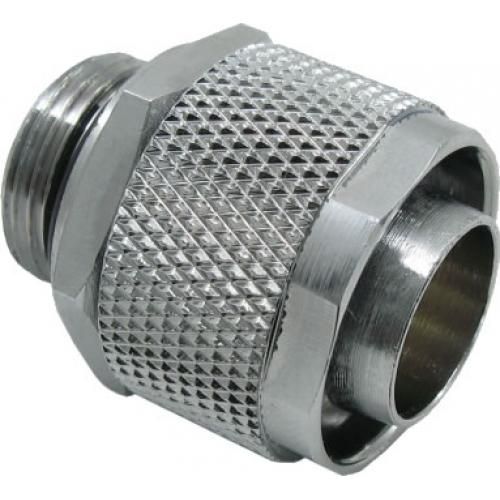
For 99p each ! I also ordered three of these for £1 each
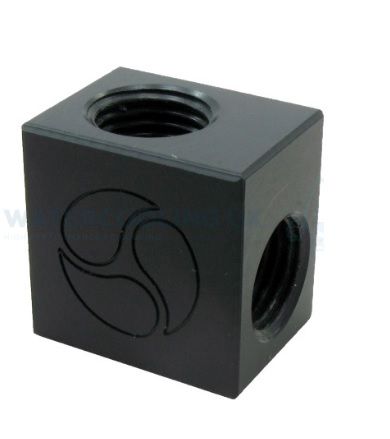
And these were 60p, so I have ordered two.
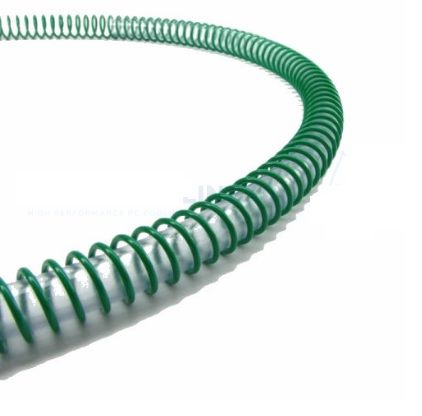
You will not see the coils, they are only for where the hose passes through the top of the res (I made a channel there) and for the hose coming out of the rad into the res (again, hidden from view). It's a safety thing more than anything. I will also use the chrome fittings on the rad (so you don't see them) and on the chrome ball valve (so they will match) and then use the XPSC fittings to fit into the elblow blocks to get me around corners.
Very happy, total order price was about £16 to literally finish the rig. I have only spent around £45 on fittings so far, if that. So the only thing I am missing now is the actual water haha.
I had a real result today. I went to a certain website and they were having a one day sale. So, I ordered six of these.

For 99p each ! I also ordered three of these for £1 each

And these were 60p, so I have ordered two.

You will not see the coils, they are only for where the hose passes through the top of the res (I made a channel there) and for the hose coming out of the rad into the res (again, hidden from view). It's a safety thing more than anything. I will also use the chrome fittings on the rad (so you don't see them) and on the chrome ball valve (so they will match) and then use the XPSC fittings to fit into the elblow blocks to get me around corners.
Very happy, total order price was about £16 to literally finish the rig. I have only spent around £45 on fittings so far, if that. So the only thing I am missing now is the actual water haha.
So the only thing I am missing now is the actual water haha.
Battery top-up water from Halfords, £4 for 5 litres, drop in a kill coil or biocide and you're done. Fully distilled water is about 4 -5 times the price.
Battery top-up water from Halfords, £4 for 5 litres, drop in a kill coil or biocide and you're done. Fully distilled water is about 4 -5 times the price.
I'm currently in talks about a small sponsorship. Well, it's more of a donation really
 Hopefully I can get something ready to go.
Either way it doesn't matter. Cenedd has had my back so far so that I don't royally muck it up and the coil has been ordered and is here with my fittings

I'm so, so happy with that buy today. I thought it was going to cost me a fortune for those remaining fittings.
I know everything looks a bit discombobulated atm but that's how it is with me. I start by building a picture in my head and then work from that. It's chaotic, but that's me

So my order of fittings etc is here  I've now made up all of the parts that needed assembling and it's all now ready to have hose fitted.
The penultimate order from HK is in too, the 6 way fan splitter.
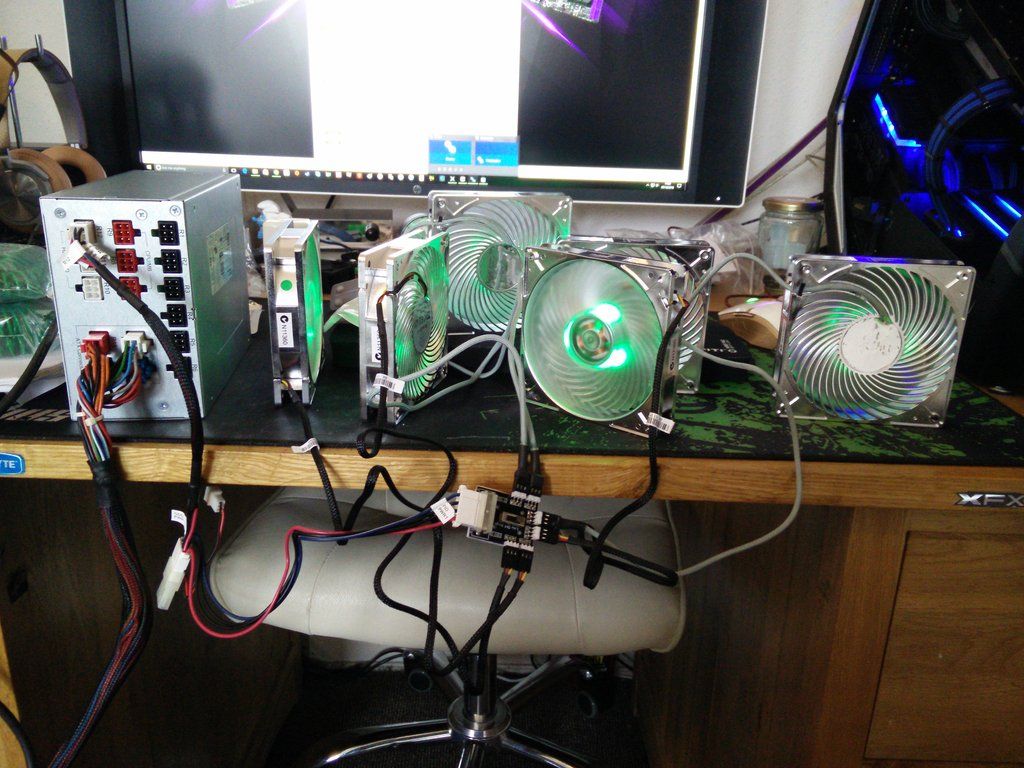
I wasn't expecting much of it but it's excellent. I said before that the fans were very quiet at 12v. Well I was wrong, especially when you are running six. One was barely audible but man get six of them going it sounded like a typhoon was passing through the living room Thankfully the low speed option brings them all down to barely audible as a whole. Very happy with that, can just throw the switch for benching.
OK so today I will not be working as I visit my mother every Friday. So I had some free time last night and got to thinking about the name of the project. Elvis was fine, but that was supposed to be a joke with the crappest water cooling parts you could buy. It's gotten a bit more serious since then and I wanted to dedicate it to Wayne who sadly died a while back.
So the project now has a new name. I was poking around a few days ago for a name that would suit the build. This ended up leading me to alien names, which then led me to Dianoga.
A quote from the Wiki page - "Dianoga would often prove a nuisance by nesting in bodies of water, sewage systems, and whatever other large concentrations of dirty, appalling liquid that they could locate"
Sounds absolutely perfect So I present the banner, and will be changing the name of the thread myself where I can.
 I've now made up all of the parts that needed assembling and it's all now ready to have hose fitted.
The penultimate order from HK is in too, the 6 way fan splitter.

I wasn't expecting much of it but it's excellent. I said before that the fans were very quiet at 12v. Well I was wrong, especially when you are running six. One was barely audible but man get six of them going it sounded like a typhoon was passing through the living room
 Thankfully the low speed option brings them all down to barely audible as a whole. Very happy with that, can just throw the switch for benching.
OK so today I will not be working as I visit my mother every Friday. So I had some free time last night and got to thinking about the name of the project. Elvis was fine, but that was supposed to be a joke with the crappest water cooling parts you could buy. It's gotten a bit more serious since then and I wanted to dedicate it to Wayne who sadly died a while back.
So the project now has a new name. I was poking around a few days ago for a name that would suit the build. This ended up leading me to alien names, which then led me to Dianoga.
A quote from the Wiki page - "Dianoga would often prove a nuisance by nesting in bodies of water, sewage systems, and whatever other large concentrations of dirty, appalling liquid that they could locate"
Sounds absolutely perfect
 So I present the banner, and will be changing the name of the thread myself where I can.
You'll have to have another crack at Elvis in the future, just start putting aside left over parts now so you have some saved up 
Are you still waiting on some parts to be delivered to finish this PC or is just a case of finding the time to finish it off now?

Are you still waiting on some parts to be delivered to finish this PC or is just a case of finding the time to finish it off now?
You'll have to have another crack at Elvis in the future, just start putting aside left over parts now so you have some saved up
Are you still waiting on some parts to be delivered to finish this PC or is just a case of finding the time to finish it off now?
There is one "part" left to arrive from China but it is decorative. I have ordered some tools though, as some of the fittings literally have to be fitted before the G 1/4 is screwed in and I will have problems with access so I have ordered some of those bent needle nose pliers to help with this. I also have a proper pipe cutter on order and need that also.
The steel mesh arrived yesterday but I was too busy with the SSD platform so I have not done that yet (there's a triple 5.25 gaping hole in the face panel of the case). I will need to build that of course.
I have to completely tear it all down and give the inner chassis a bath.
Then there's some painting left to do (the face panel, mesh, memory cooler and whatever else I have forgotten) and so on. I reckon one day of paint ought to do it but it will be a whole day..
I also need to make up three LEDs (one for the front badge and two for the side badges).
All small jobs now really but they still need to be done. I also need to find a way to mount the power switch as being 19mm it won't fit in the front but I have had a really cool idea for that...
It's weird because with this build literally everything is modular and will all come together right at the very end.
Now is about the time where I write a list, but I've just done that here so don't need to bother now

So I will admit that Dianoga has been about experimenting. Ever since I was a child I liked taking things apart and once I was done having fun I would toss them in the shed. Broken VCRs, telephones etc.
Now with the water run in Dianoga there are certain parts of it that make me wish I would have had the balls to go with hard line tubing. However, I feel it would have been a step too far for my first ever water loop.
So how does one make curled up and very thick hose go back to being straight? well, the answer is heat. Like many forms of plastic polyurethane is made up of units. These units have a memory, and at a certain heat they will return to their original shape. Overdo it however and you destroy their properties and they go limp.
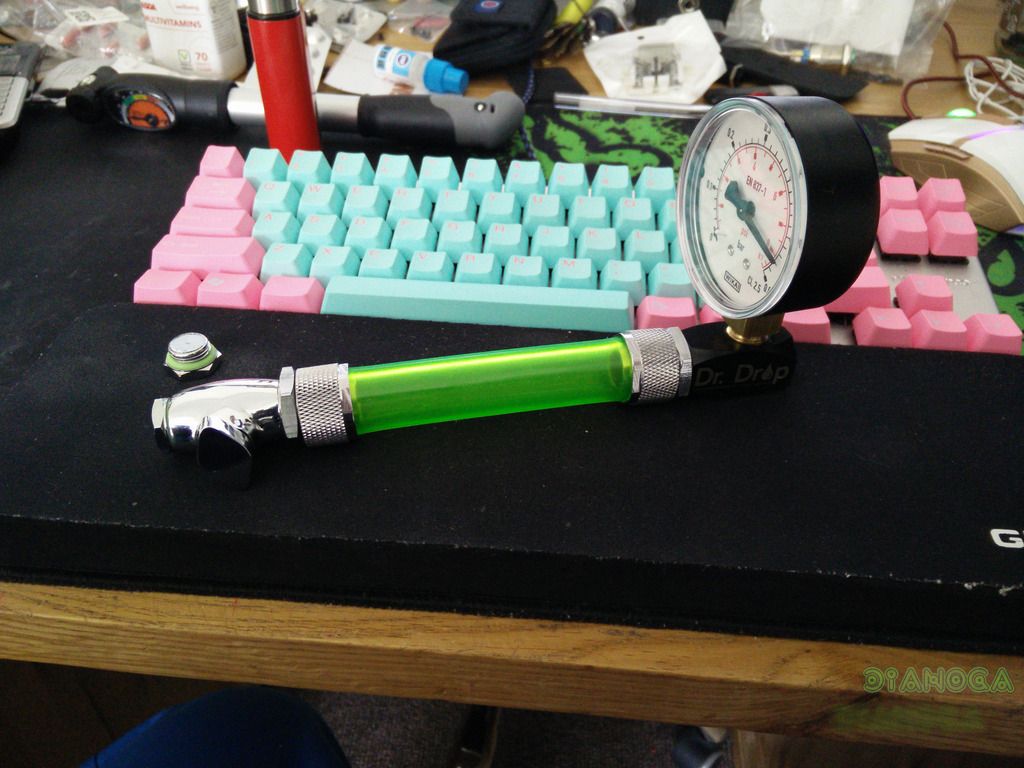
So whilst this may not look like much in the pic this is a perfectly straight piece of PVC hose, holding 8.5 bar of pressure. I wanted to make sure that after this heat it would remain safe and seal up properly.
This is really great it should actually make the runs even easier than before.
Now with the water run in Dianoga there are certain parts of it that make me wish I would have had the balls to go with hard line tubing. However, I feel it would have been a step too far for my first ever water loop.
So how does one make curled up and very thick hose go back to being straight? well, the answer is heat. Like many forms of plastic polyurethane is made up of units. These units have a memory, and at a certain heat they will return to their original shape. Overdo it however and you destroy their properties and they go limp.
So whilst this may not look like much in the pic this is a perfectly straight piece of PVC hose, holding 8.5 bar of pressure. I wanted to make sure that after this heat it would remain safe and seal up properly.

This is really great
 it should actually make the runs even easier than before.
Looking good. Sorry, got stuck on-site the last couple of days.
Fans will be noisier when there's more than one. Partly for the obvious reason and partly because they spin at fractionally different speeds so you get a beating effect as they go in and out of sync and the noise alternates between constructively interfering (noisier) and destructively interfering (quieter). Less noticeable at slower speeds mainly because there's less noise to add up.
Test the anti-kink coils before you trust them too much. I tries some years back and found they didn't really help much - to he fair, they were plastic so if yours are metal, they may retain their coil-spacing better and keep the tube round.
Heating the hoses: I'm no materials scientist but I would have thought that as long as you've not given it enough heat to start it melting and it holds the pressure, you should be good - wish I'd known this when I wanted some hard "soft" tubing to be straight many years back!
I've got your back but I wouldn't say I'm necessarily more clued-up than everyone! I'll at least tell you when I think I clueless though!
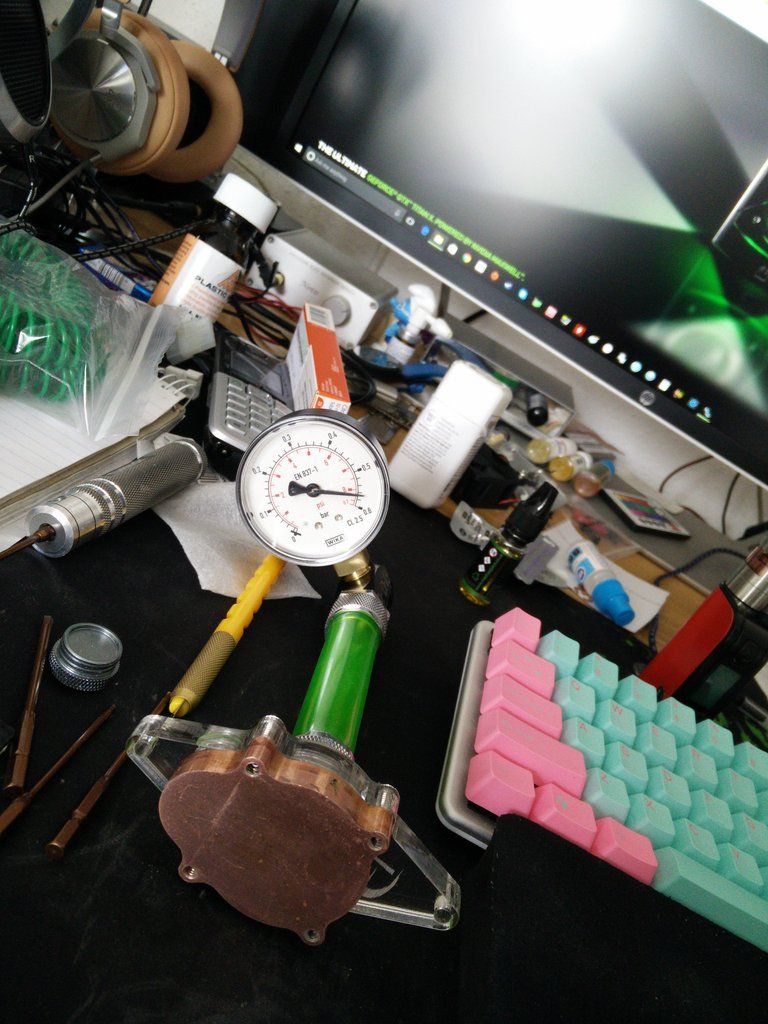
Pressure gauge: I think it's 0.5 bar or 8.5psi if I remember correctly. Decent rads are pressure tested to 5 bar and the Industrial version brass terminals instead of delrin) of my overkill rad is rated for 10 bar.
Fans will be noisier when there's more than one. Partly for the obvious reason and partly because they spin at fractionally different speeds so you get a beating effect as they go in and out of sync and the noise alternates between constructively interfering (noisier) and destructively interfering (quieter). Less noticeable at slower speeds mainly because there's less noise to add up.
Test the anti-kink coils before you trust them too much. I tries some years back and found they didn't really help much - to he fair, they were plastic so if yours are metal, they may retain their coil-spacing better and keep the tube round.
Heating the hoses: I'm no materials scientist but I would have thought that as long as you've not given it enough heat to start it melting and it holds the pressure, you should be good - wish I'd known this when I wanted some hard "soft" tubing to be straight many years back!
I've got your back but I wouldn't say I'm necessarily more clued-up than everyone! I'll at least tell you when I think I clueless though!

Pressure gauge: I think it's 0.5 bar or 8.5psi if I remember correctly. Decent rads are pressure tested to 5 bar and the Industrial version brass terminals instead of delrin) of my overkill rad is rated for 10 bar.
Last edited:
No worries man, I know how it is when life/work gets in the way 
I will test out the coils before I use them yeah, just as I have with everything else so far.
BTW that Dr Drop? it's 100% the valve dude. If you pry it outward with a small screwdriver it seals and stays sealed for hours. I will order a new one soon, but only really need it two more times so could just soldier on with it as it is.
Riddle me this, Batmen and Batwomen !
Hi all. Some one has very kindly given me an old Danger Den block. ATM I have it apart cleaning it, but when I attempted to put my fittings in it I noticed it had a sloped channel. Let me illustrate the difference between it and my other blocks... This is a G 1/4 fitting.
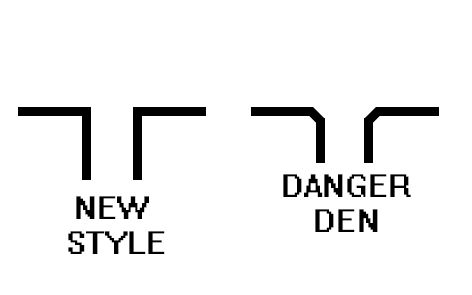
OK so that's basically what the G 1/4 threaded holes look like.
How did people used to seal barbs in? did they use bigger Orings in those days? is it even possible for me to use this?
Hi all. Some one has very kindly given me an old Danger Den block. ATM I have it apart cleaning it, but when I attempted to put my fittings in it I noticed it had a sloped channel. Let me illustrate the difference between it and my other blocks... This is a G 1/4 fitting.

OK so that's basically what the G 1/4 threaded holes look like.
How did people used to seal barbs in? did they use bigger Orings in those days? is it even possible for me to use this?
It could be that hidden o-ring designs weren't as common then.
Does the o-ring sit on the flat outside the bevel or in the bevel? If the latter, does it seal and hold pressure? If not, would doubling up the o-ring make it seal - it's a bit dodgy but if it holds pressure reliably....*shrug*
Does the o-ring sit on the flat outside the bevel or in the bevel? If the latter, does it seal and hold pressure? If not, would doubling up the o-ring make it seal - it's a bit dodgy but if it holds pressure reliably....*shrug*
This should explain it dude..
Update. So some one very kindly sent me an old S939 Danger Den cooling block. I immediately had ideas of using it on my northbridge assembly and even more so because on my board the fets, NB and SB are all linked. Originally my board came to me looking like this.
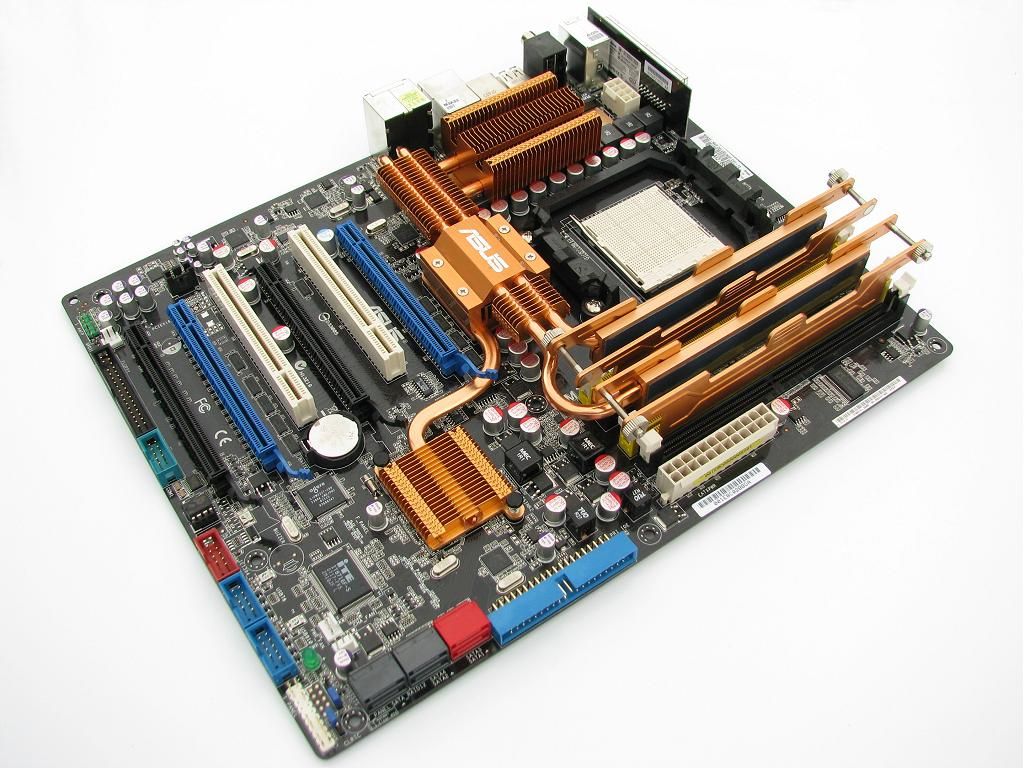
Note the extra cooling and wrap around memory cooling plates? well sadly it had turned a bit green so I removed it and it then looked like this.
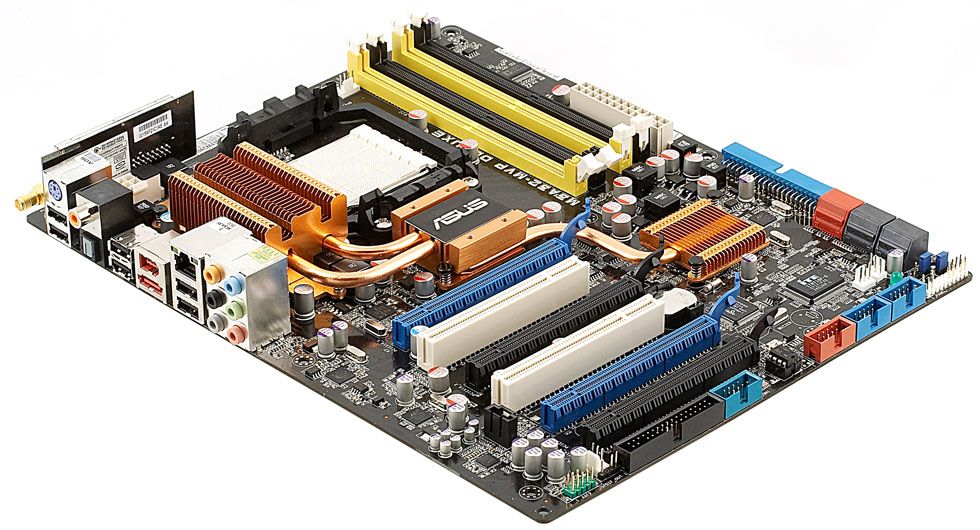
So the idea is to basically make a heat transfer plate from 5mm alu. This will then be bolted to the NB cooler (there are four holes) with countersunk screws and thermal paste. I will then fit the block to the plate again using thermal paste. This way the block can keep that entire assembly cooler
Oh here is the block BTW. I had to take off the face plate and flip it, as the old G 1/4 holes were kinda odd.
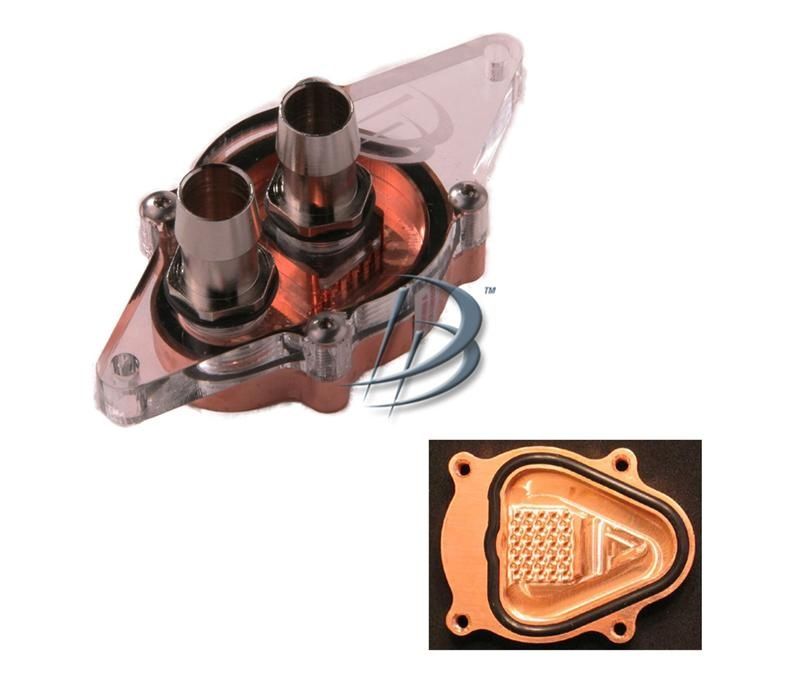
And here it is with Dr Drop in its buttocks. It's been like this for over 30 mins now with no drops at all.
That feeling when you go to your stash and find out you threw away the 5mm alu offcut. DOH.
Update. So some one very kindly sent me an old S939 Danger Den cooling block. I immediately had ideas of using it on my northbridge assembly and even more so because on my board the fets, NB and SB are all linked. Originally my board came to me looking like this.

Note the extra cooling and wrap around memory cooling plates? well sadly it had turned a bit green so I removed it and it then looked like this.

So the idea is to basically make a heat transfer plate from 5mm alu. This will then be bolted to the NB cooler (there are four holes) with countersunk screws and thermal paste. I will then fit the block to the plate again using thermal paste. This way the block can keep that entire assembly cooler

Oh here is the block BTW. I had to take off the face plate and flip it, as the old G 1/4 holes were kinda odd.

And here it is with Dr Drop in its buttocks. It's been like this for over 30 mins now with no drops at all.

That feeling when you go to your stash and find out you threw away the 5mm alu offcut. DOH.
Fail ! 
So here is the heat transfer plate I made.
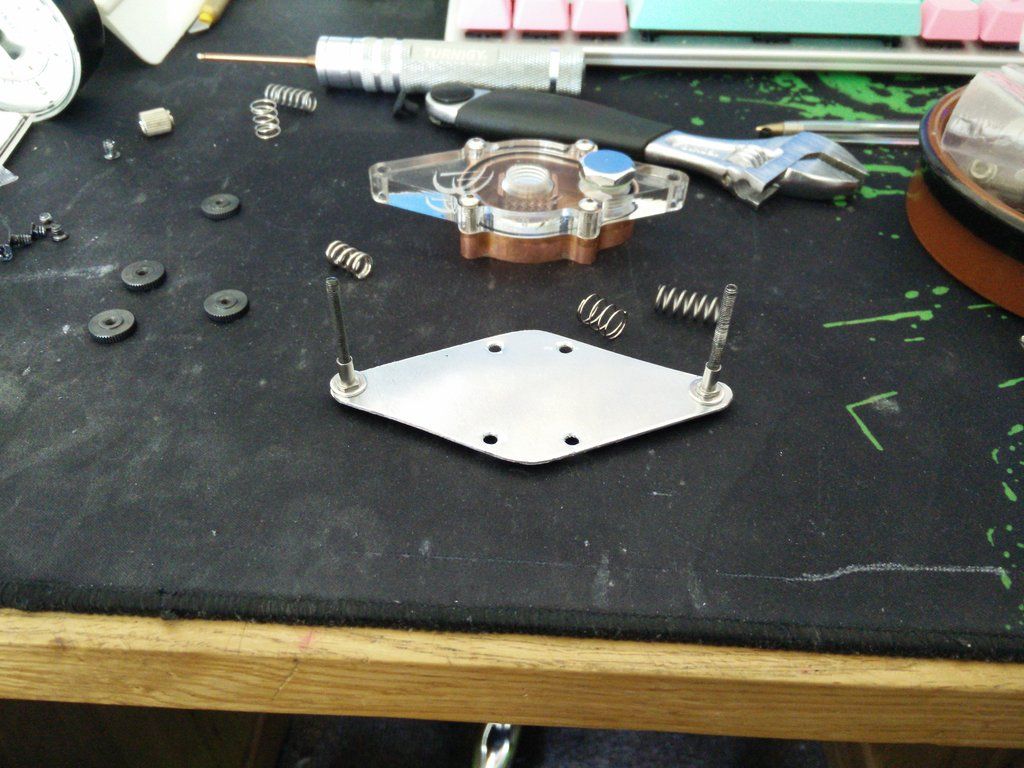
I made it so that the counter pressure from the lower springs would stop it bending (plus that metal sheath).
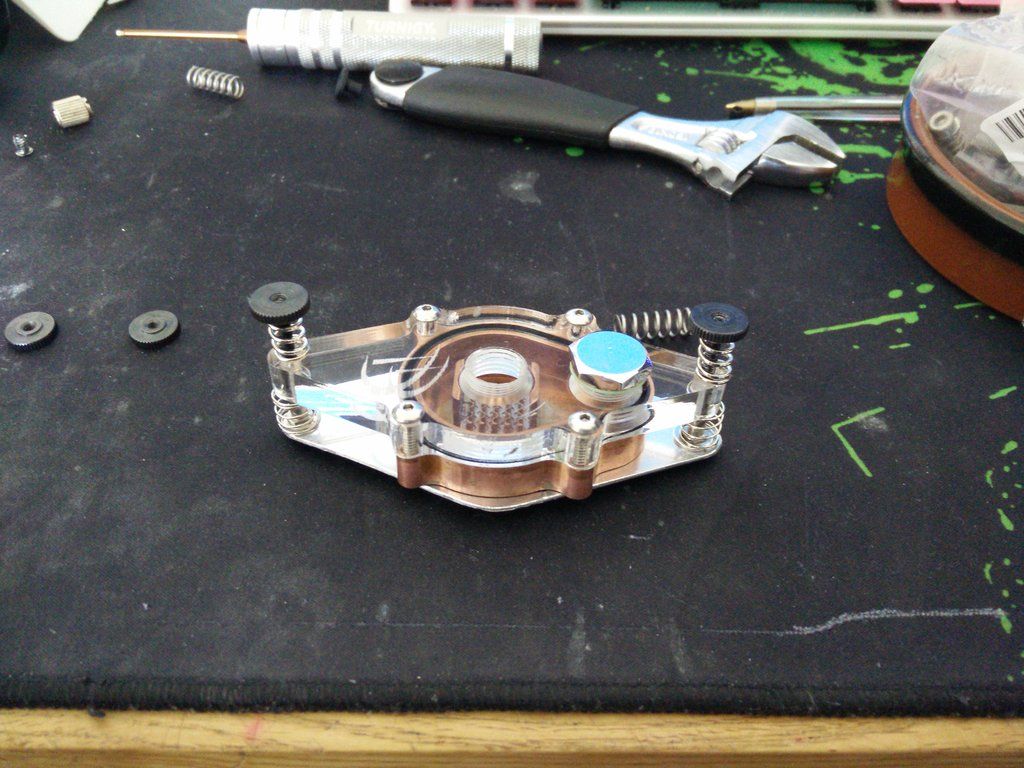
I then fitted it to the board but the screws were too proud. So I figure I will mill the block a little to cover the screws. Sadly the block is a lot thinner than it looks at the thinnest part and I hit it, putting a hole in it lmao.

Ah well, not all of your ideas are good ones !

So here is the heat transfer plate I made.

I made it so that the counter pressure from the lower springs would stop it bending (plus that metal sheath).

I then fitted it to the board but the screws were too proud. So I figure I will mill the block a little to cover the screws. Sadly the block is a lot thinner than it looks at the thinnest part and I hit it, putting a hole in it lmao.

Ah well, not all of your ideas are good ones !
Hehe that old danger den stuff was funky, i still have a couple of chip set coolers and a CPU cooler, i think the maze 3 was the last one i used before i went phasechange. I only held onto them as theyre big flat chunks of copper that come in handy when ya have to mcguyver a cooler for summat. Its not often ya have to do that anymore though as EK seem to be on the ball nowadays.
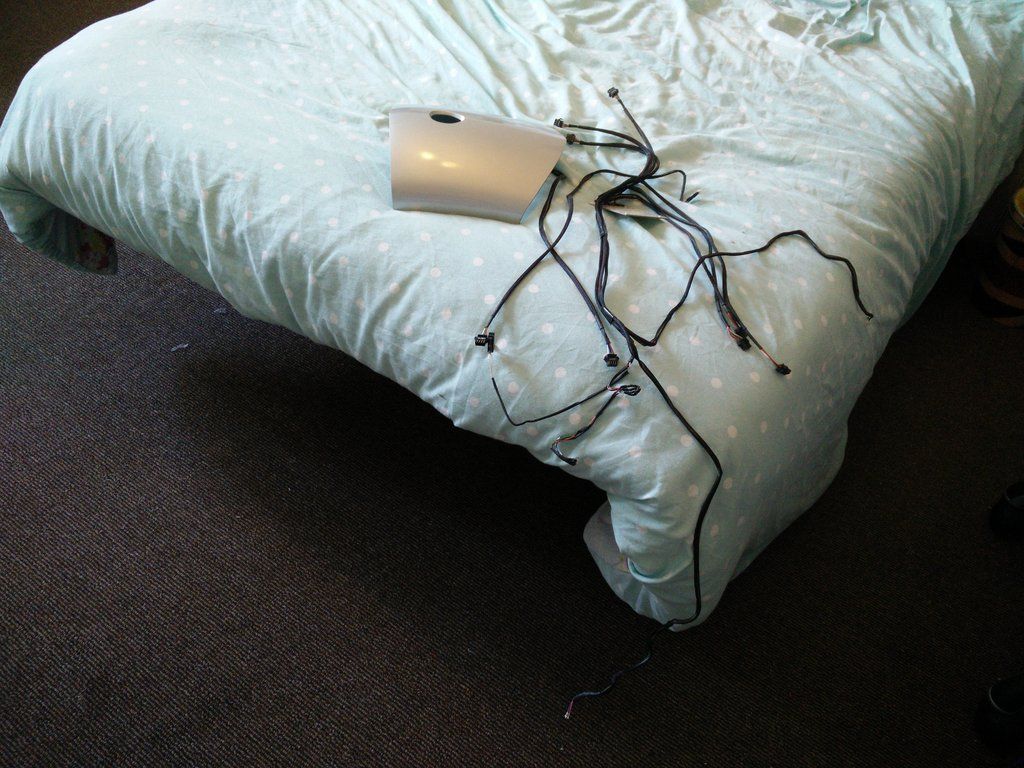
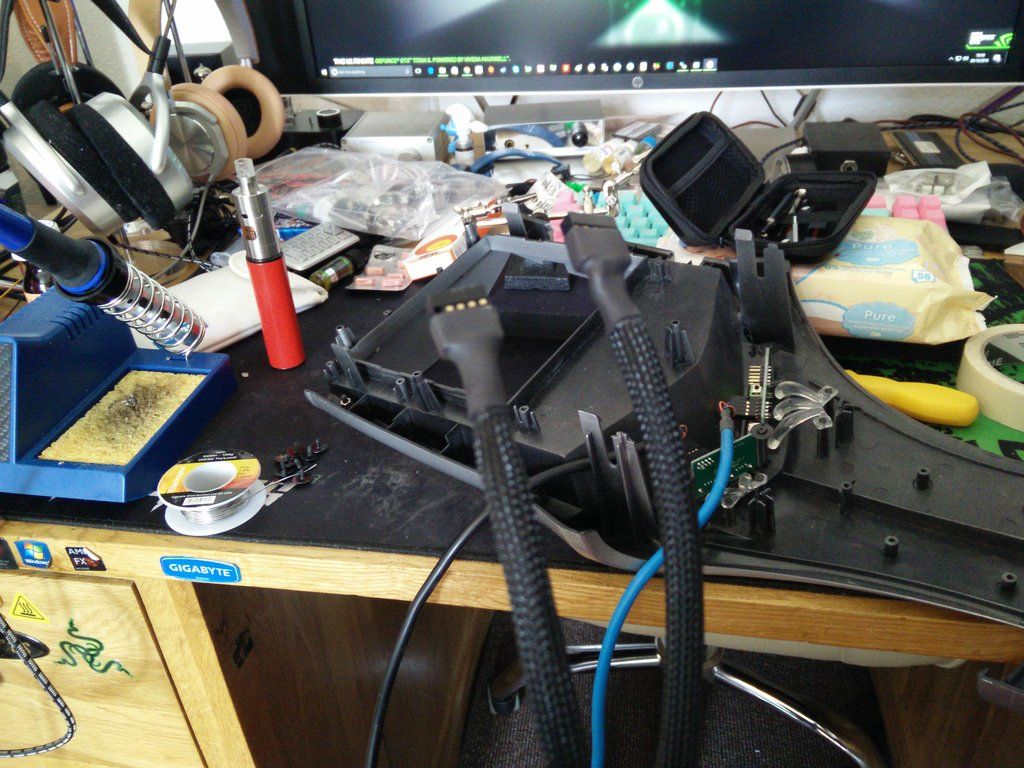
So today I have started sorting out the front panel. It's a mountain of a thing, full to the brim with wires and circuit boards. However, as I only want the three heads on the rig to light green I decided to remove all of the RGB stuff in order to allow me more space to hide wiring. The loom on this thing took up considerable space. So here is the front stripped down.
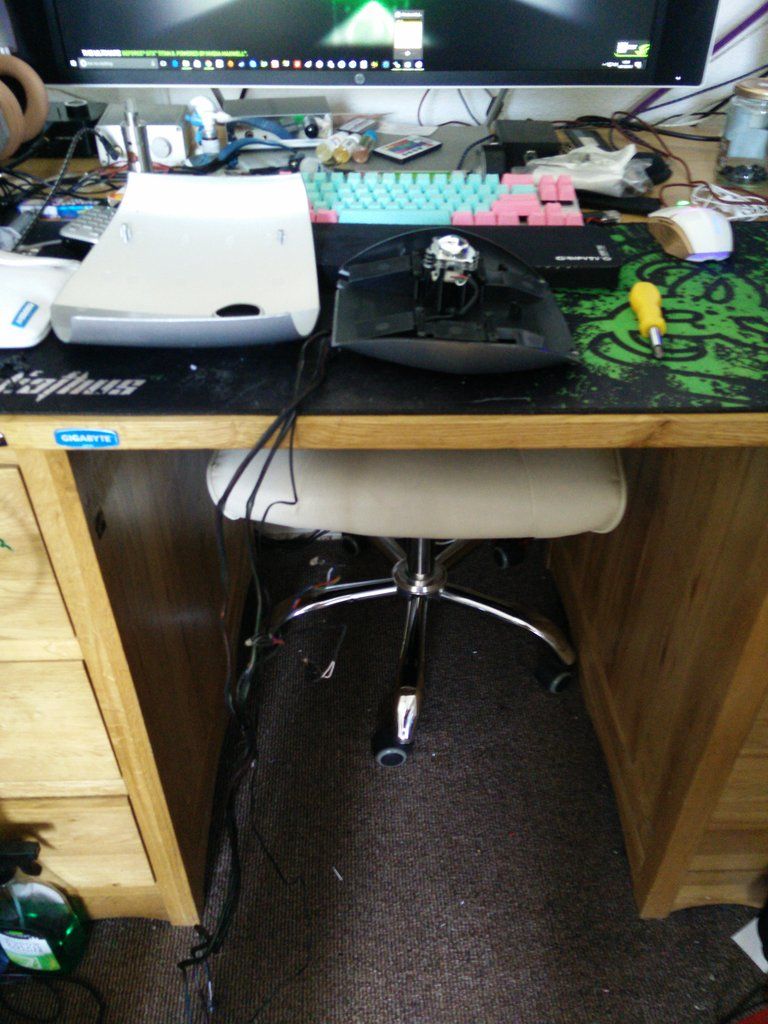
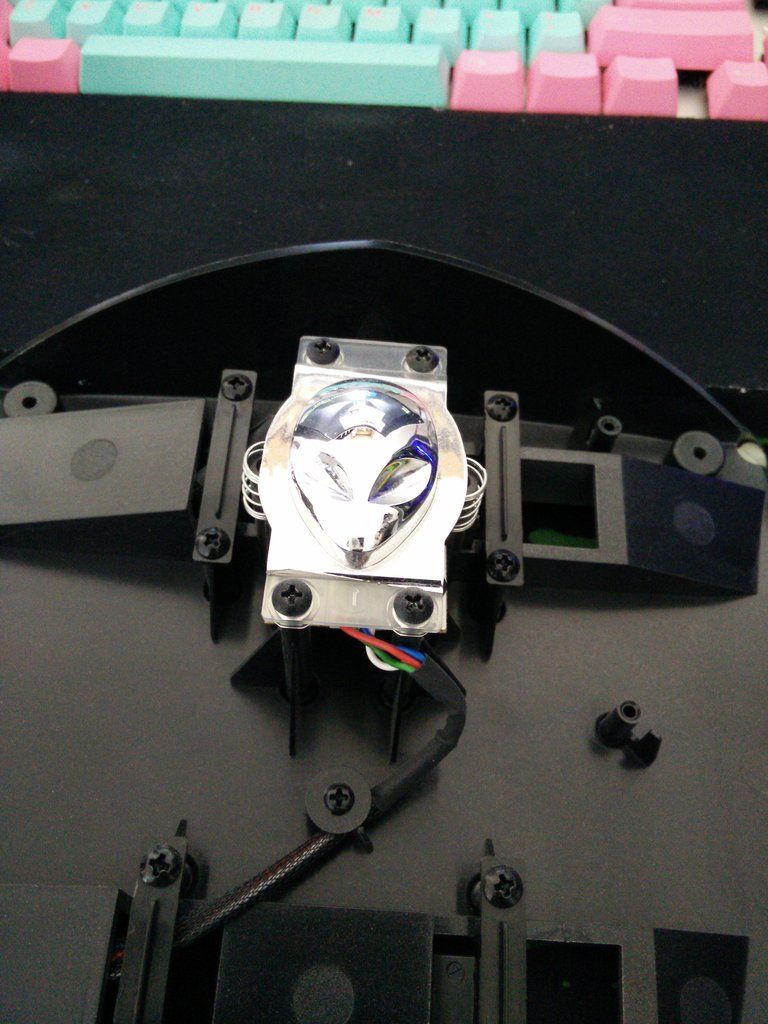
I had to remove the main connector and remove the LED wiring leaving the power button wires in place.
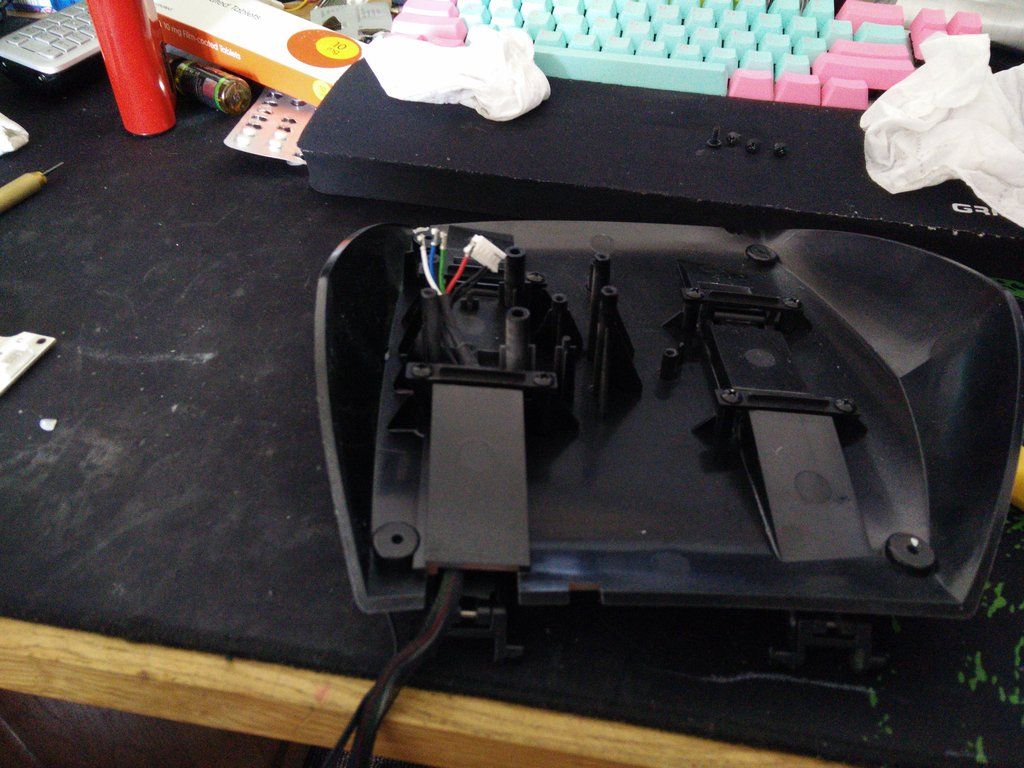
Here is what was in there before.
Better.
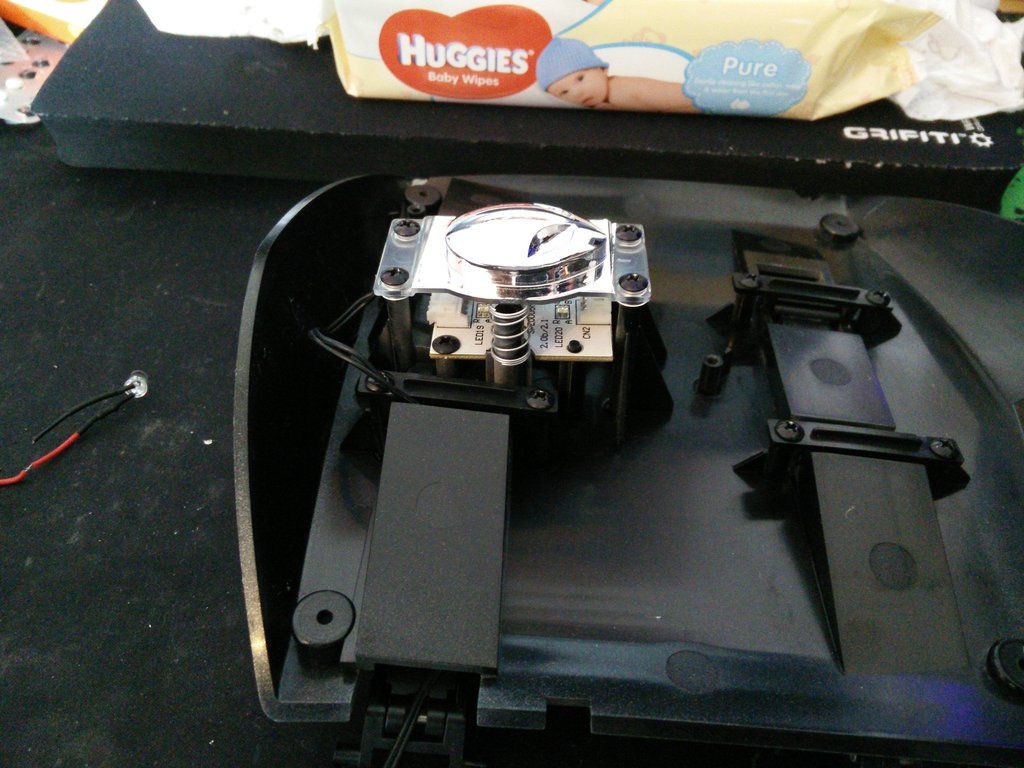
Two LEDs fitted into the face and braided the power switch cable.
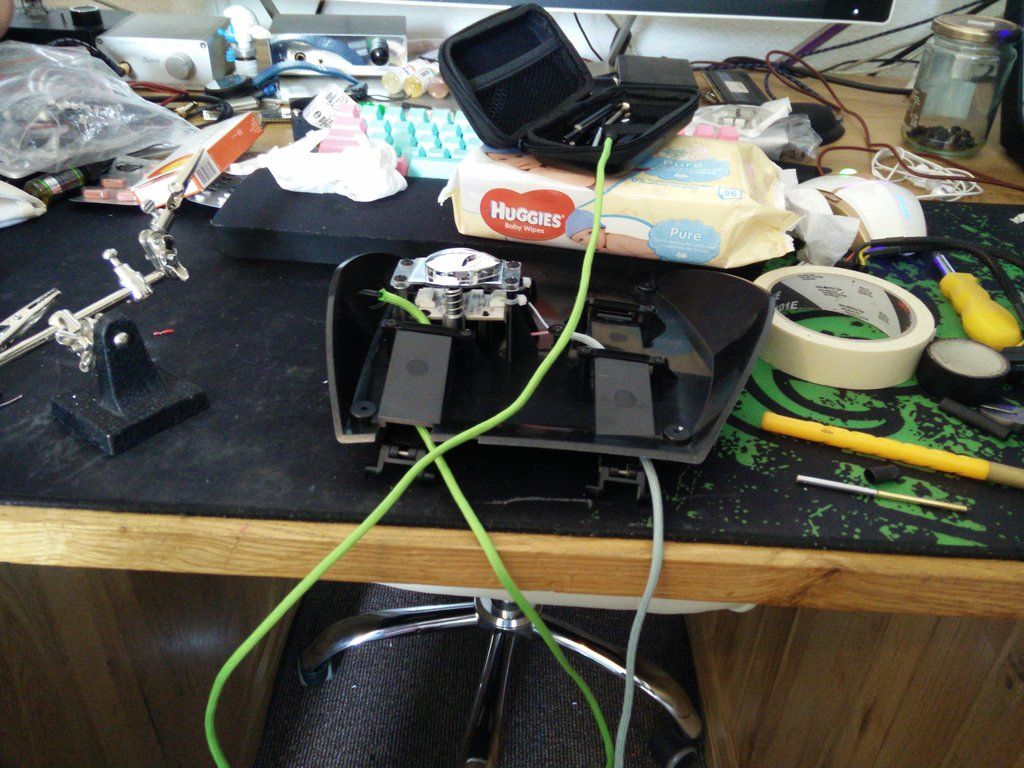
Assembled the face panel and hinge assembly.
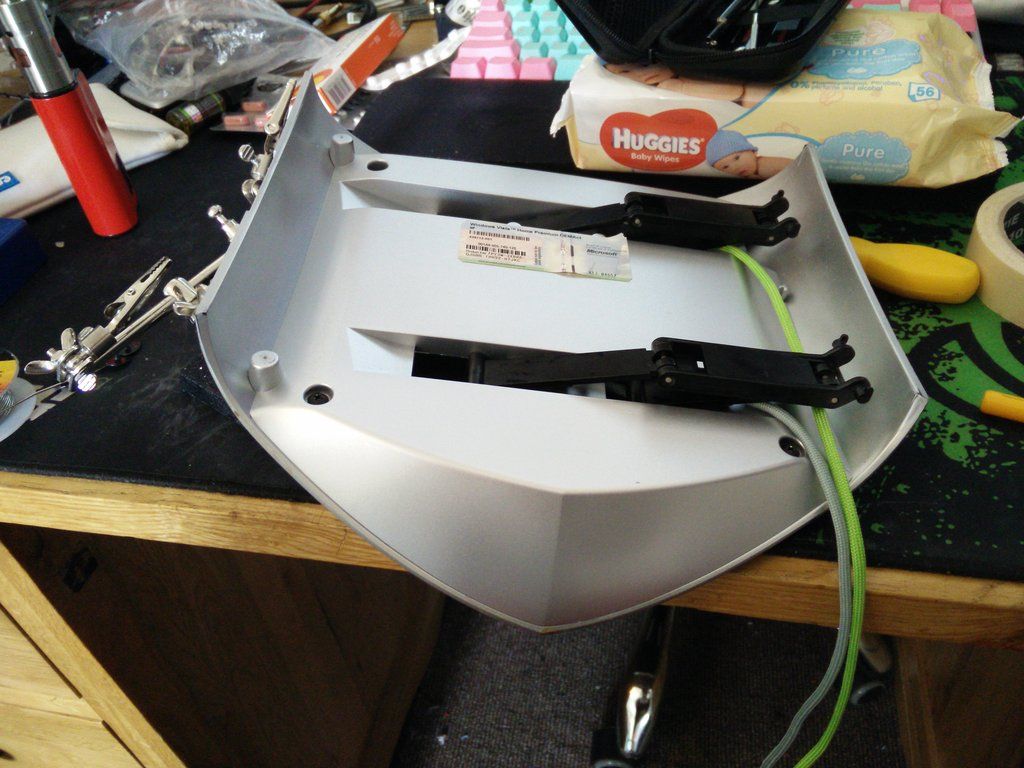
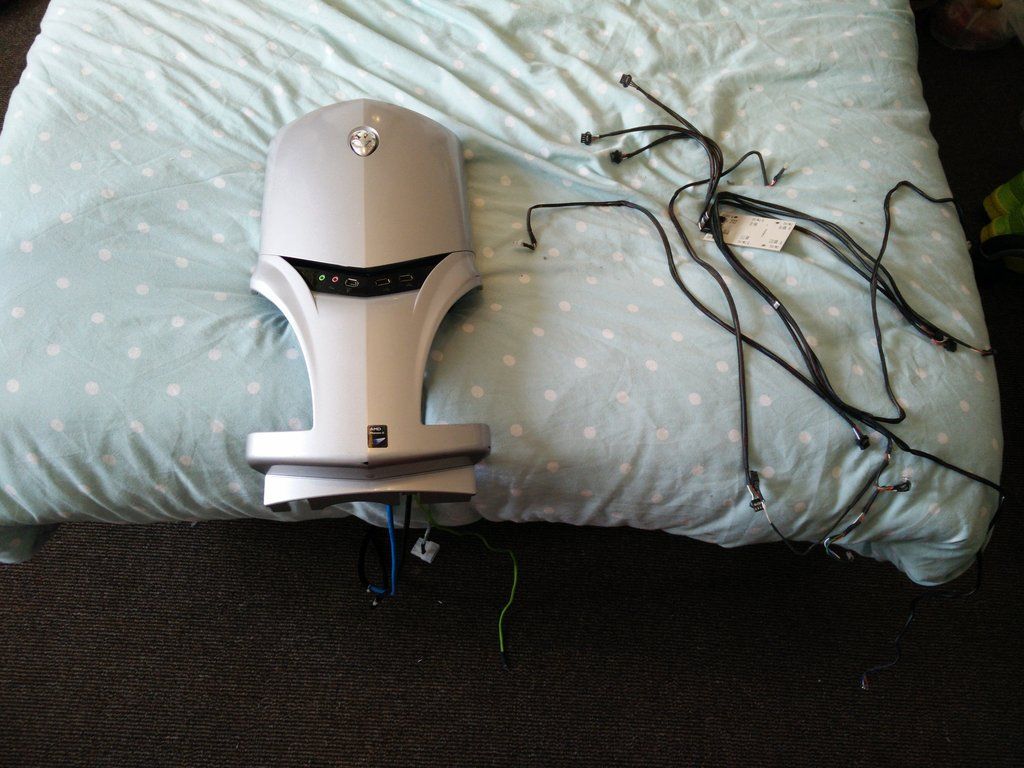
Braided about 25cm of the USB and Firewire cables (the parts that come into the case)
And done.
I might look into some touch up paint but once it's assembled the rubs are not as apparent. Either way it's something to look into. Now I just need to strip down both side panels and perform a similar procedure :S


I had to remove the main connector and remove the LED wiring leaving the power button wires in place.

Here is what was in there before.

Better.

Two LEDs fitted into the face and braided the power switch cable.

Assembled the face panel and hinge assembly.

Braided about 25cm of the USB and Firewire cables (the parts that come into the case)

And done.

I might look into some touch up paint but once it's assembled the rubs are not as apparent. Either way it's something to look into. Now I just need to strip down both side panels and perform a similar procedure :S
Mmm, firewire. Useful!  I was going to ask whether the holes were the right spacing to swap out USB for 3...but then I remembered this is ghetto and the board doesn't have any
Seriously? There was that much wiring for an RGB led?! And I thought mine were bad!
 I was going to ask whether the holes were the right spacing to swap out USB for 3...but then I remembered this is ghetto and the board doesn't have any
Seriously? There was that much wiring for an RGB led?! And I thought mine were bad!


