Project Dianoga

I was only kidding - figured it was just a typo.

I find that Gorilla Glue (like superglue but actually sets) is great for hand wounds. Paper cuts especially. Wash the wound, stop the bleeding by holding it over your head and then glue the edges together. Gives it some protection and means you don't leak over what you're trying to do.

Metal splinters are never fun - a real pain to find the small ones. Shoes dude, wear shoes! :D


Disclaimer: I am not medically qualified (apart from basic stuff) and while I believe this is perfectly safe and has not harmed me the many times I have done so, you should ascertain for yourself whether this is safe rather than take my word for it.
 
The cut I have shown (the worst one) is multiple slashes dude. That's why it's open like that. I can't glue it :( It's just one of those things that will take some time to heal.. Since then I found a large adjustable spanner and a 22mm spanner that fits the Thermochill fittings. They have a spanner section on them. The XSPC ones are the best, easily doing up and sealing. The smoked ones I bought? you can't do them up on the block etc. That's how I nearly killed my GPU. So those have a rotating cuff so I will fit those to the hoses, then do them up into the object. I hope that makes sense :S
BTW I think I have sorted old Dr Drop. The new valves came but my pump seems unable to work with them (they're a tiny bit shorter, so if I press with a screwdriver and blow they work, yet my pump ain't having none of it. So what I did was take out the bad valve* and then take out the release valve fitting that in there and putting one of my brass ones into that. However, it was still doing the same thing :confused:

So in the end I undone the main valve about one turn and it seems to now be working perfectly. So the fault, it seems, is with the "lump" made out of acrylic.

I only need it to work maybe one or two more times now any way. However, I am in talks about a 60mm thick 120mm EK rad, so may add that too if the price is right. I will only need two more "two bob" straight fittings to add it in there.
 
Yay :D

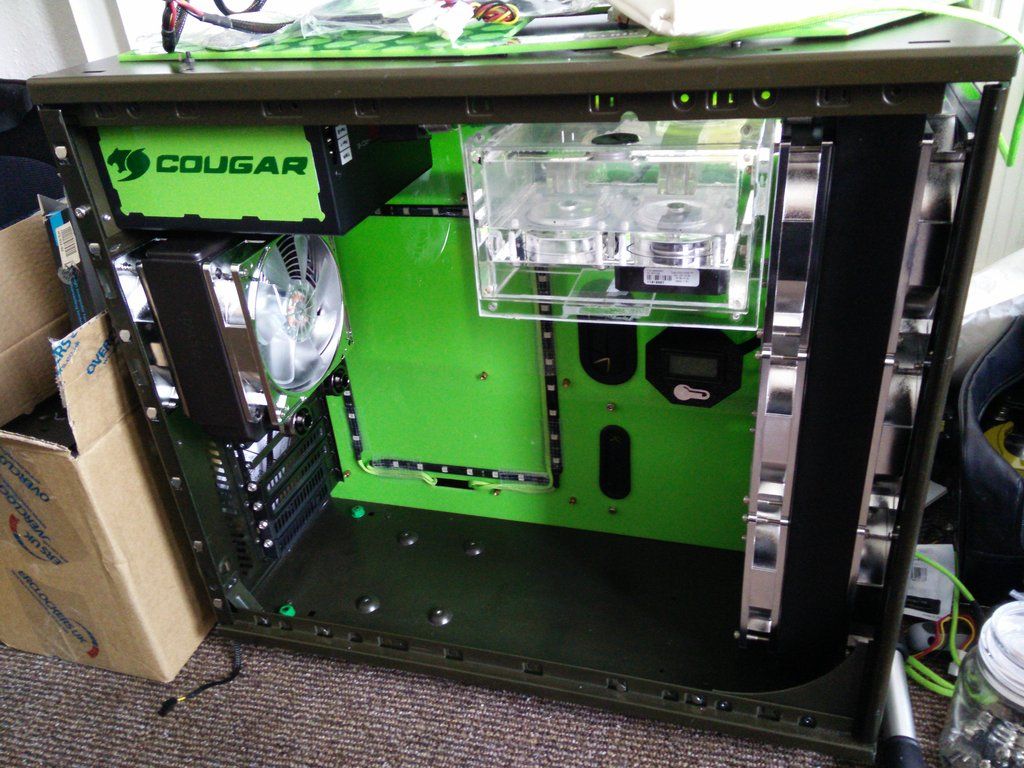
Because this has been so much work I really wanted to add another rad. I know that every one will think "What's the point the hardware is all Tom Tit" but that is beside the point. I could switch out the mobo and GPU in a heart beat, leaving me with a very nice case stuffed full of cooling gear.

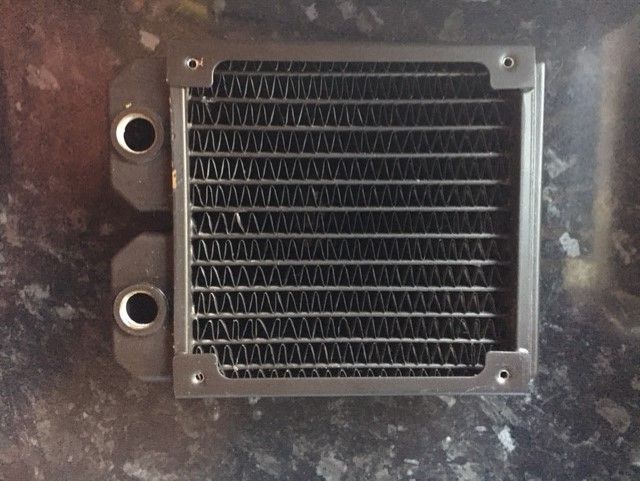
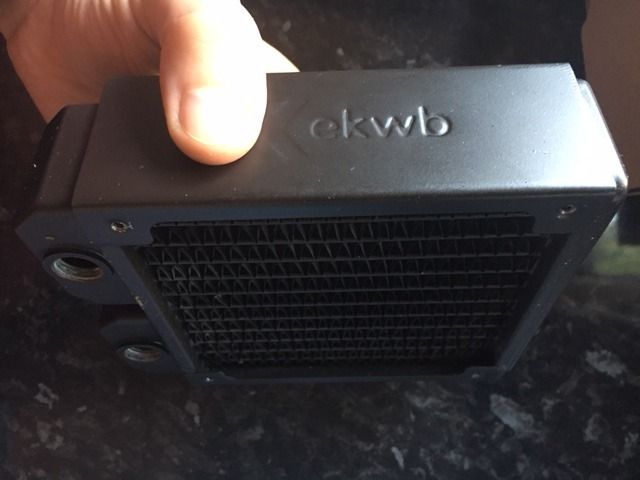
So any way, a couple of days back I thought that it really wouldn't be that much aggro to add in a 120mm rad to the back. One of those Über thick ones that look really mean. I wasn't too fussy though, anything would have sufficed so long as it wasn't alu. I stuck up a couple of wanted ads and have been offered this for a tenner.


It will need some touching up, but given that if you even so much as breathe near an EK rad the paint falls off I am used to fondling them. A lot.

Two more fittings will run me about a tenner posted, really can't say no to that.

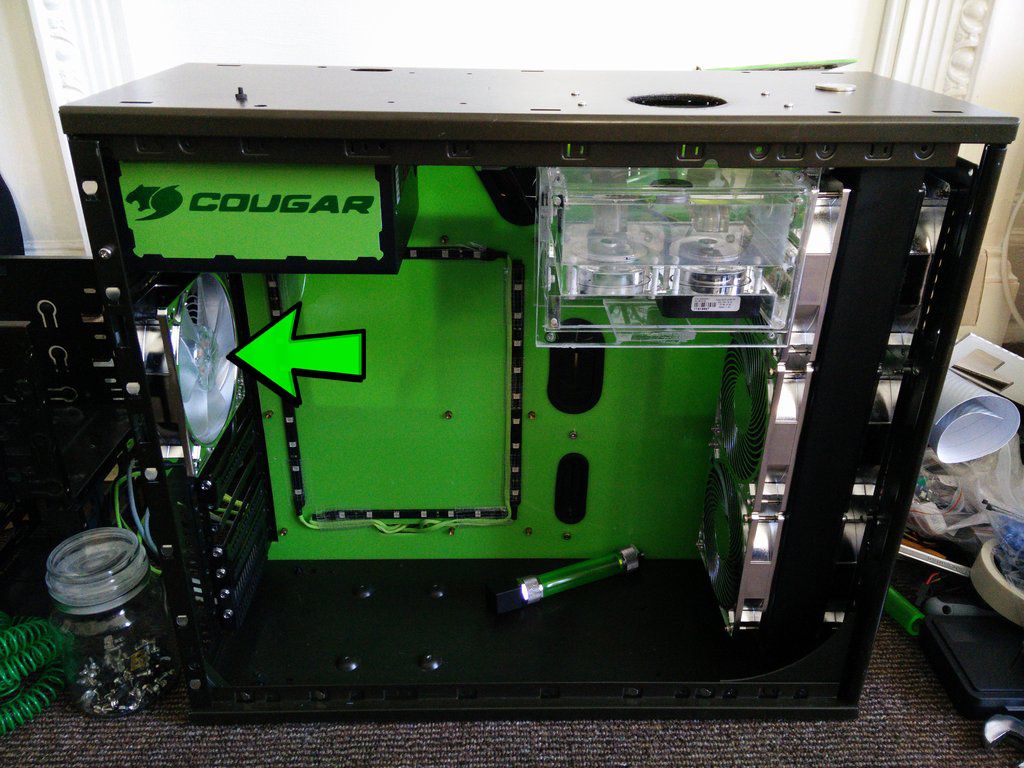
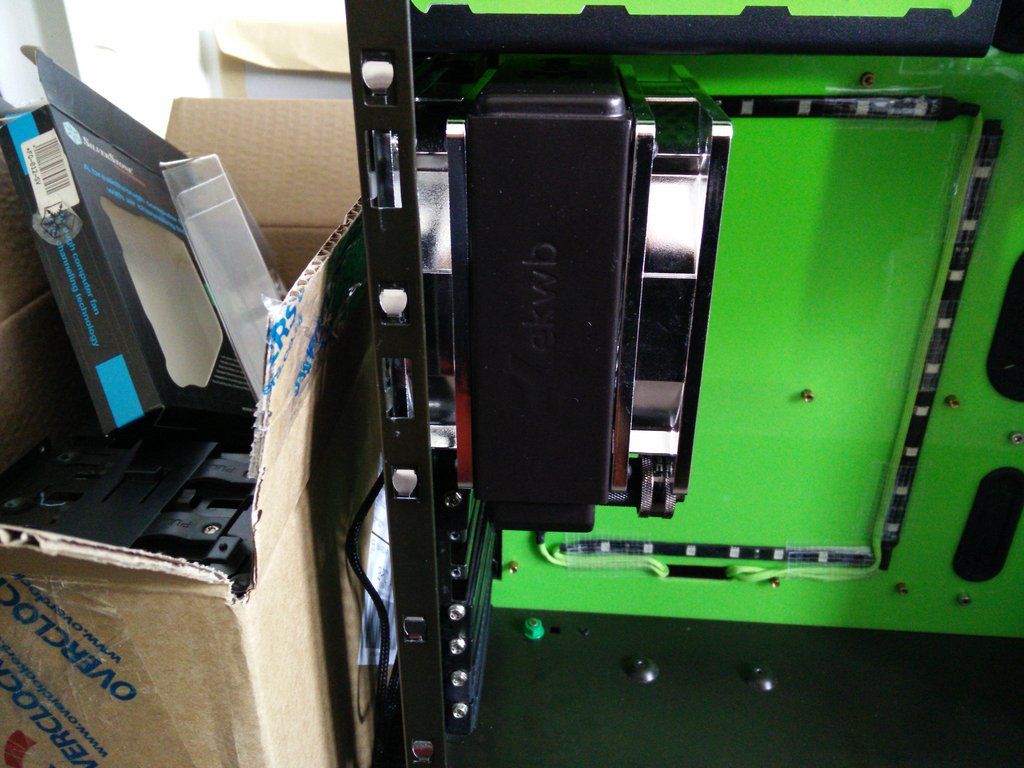
It will go here, BTW, with the fittings at the bottom because there is a metal piece toward the top that will stop it going in otherwise.


Another thing, I am going to have to fit it push pull also because it will not mount flat into the case. This means I am then short of an intake fan for the left side panel (for the GPU) but I am not sure I will need it tbh. I'm pretty sure I have some old fans kicking around somewhere. Could use the black EVGA one that came with my Hybrid.

Tell you what, sitting around bored is an expensive passtime lol.
 
Tell you what, sitting around bored is an expensive passtime lol.

Tell me about it. Sometimes <insert online dealer here> is not your friend!

You probably already know that push/pull > push > pull but the other thing you'll find if you look hard enough is that the differences in most things that are proclaimed as all-important is really quite minimal in real life. Usually you're talking 1°C or less. Given that, it's often perfectly functional to go with what's convenient or works with the theme. So you could slap just one fan behind it to give the mounting it needs and have that either exhausting from the case (pull) or blowing into the case (push). The upside to the latter is that you'll push fresh, cold air through the rad. The downside to the latter is that you'll be blowing warm air into the case...so it depends how you've got your other fans set as to whether that's a massive issue or not.
 
hahaha great minds :D been a lot of that lately !!

In the Triad build I thought long and hard about push pull. I know push is perfectly adequate but it was originally (the Triad case, Alienware call it that BTW it's not just me being daft) pull only. So basically you could see the rad. Eww. Again it will not mount flat, and Bionic fans are stupid expensive (around £18 each) so I basically took an old Corsair fan (plain black, the ones that sound like a SR-72) and cut everything out of it, leaving just the outer shroud. Nobody knew that 'til now lmao.

A few years back I did a lot of experimenting with fans and extension shrouds. They say that in push the airflow is lessened by the contact with the rad. You ended up with a large dust sized donut. These days the fan does not bolt directly to the fins like it used to (they've figured it out and left a gap) but back in the day (around 07/08) yeah, it was like that. So I fitted push - spacer - rad - spacer - pull to my Corsair H50. It looked absolutely hilarious.

In the end I concluded that it wasn't worth bothering with. Funny that. I also ended up about twenty quid poorer than before too. Not so funny :D

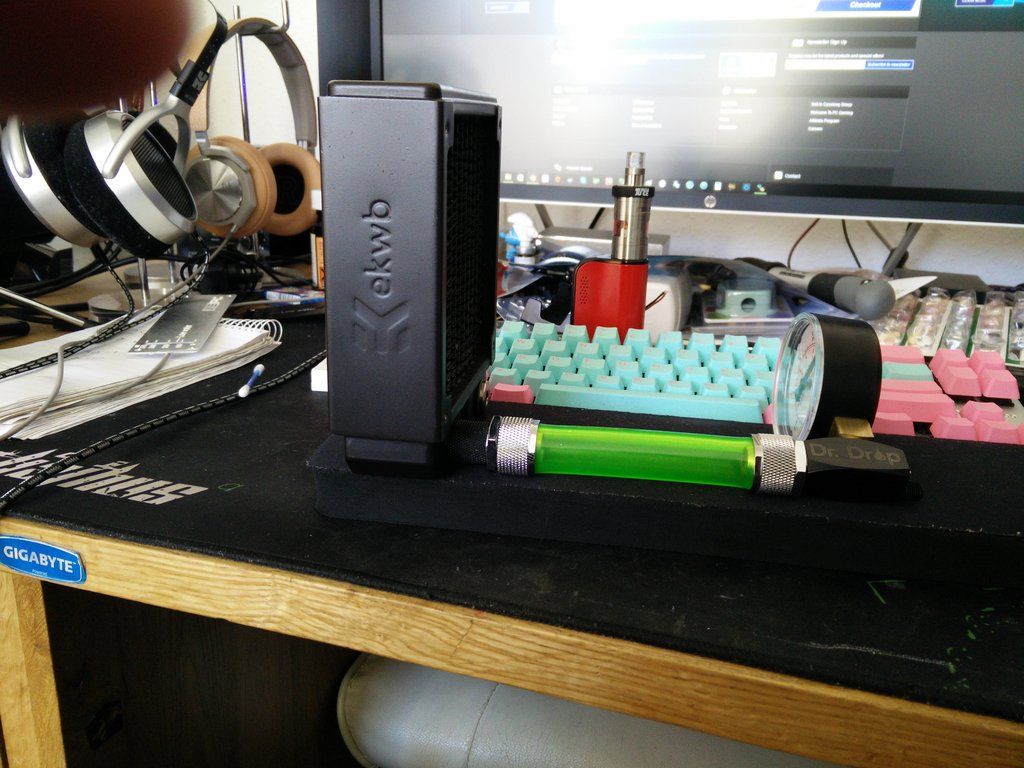
Ed. This is the rad I got.

https://www.ekwb.com/shop/ek-coolstream-rad-xt-120
 
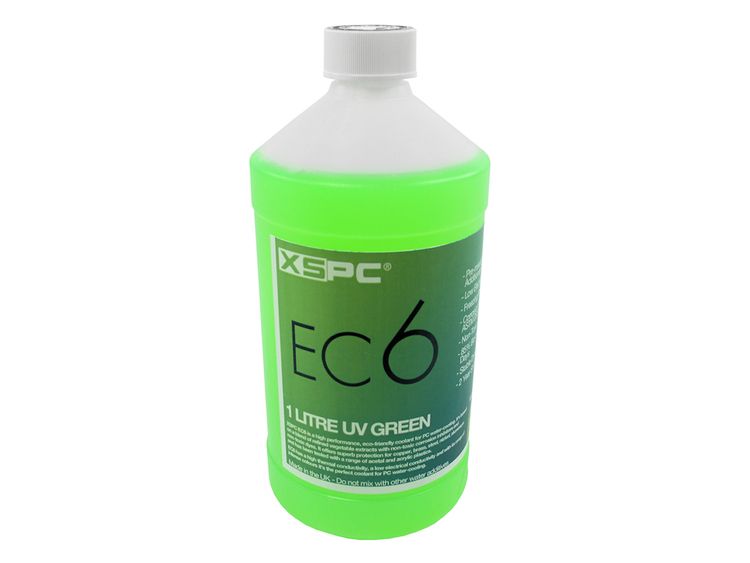
Well the penultimate order is in. I had ear marked some green coolant a while ago. I like the look of it. So I ordered that last night. I will pick up some distilled water from the car spares shop next week, might need a tiny bit to top up with.


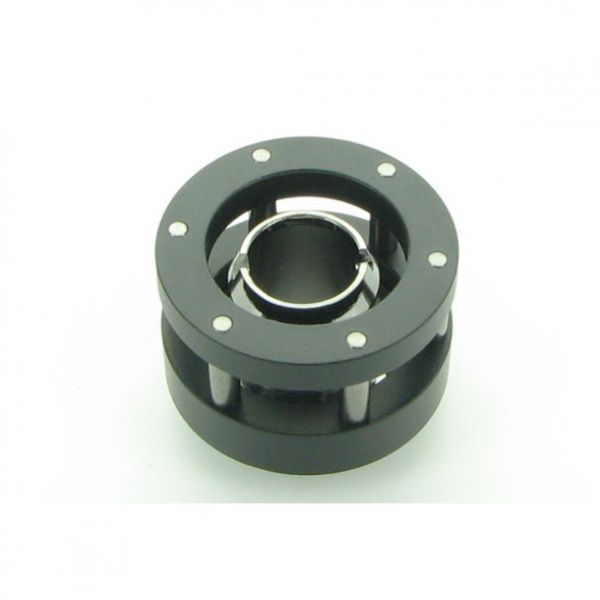
Overclockers of course :) I also needed two fittings, because I am adding in another rad (that has been sent today by UPS and should be here Monday, and the USB cable extension should be here there too !) but the postage on certain other sites meant it would have cost me an extra tenner, even for fittings costing 99p. So in the end I found these on OCUK (one left of each) for £1.99 and added them to my order with free shipping :)
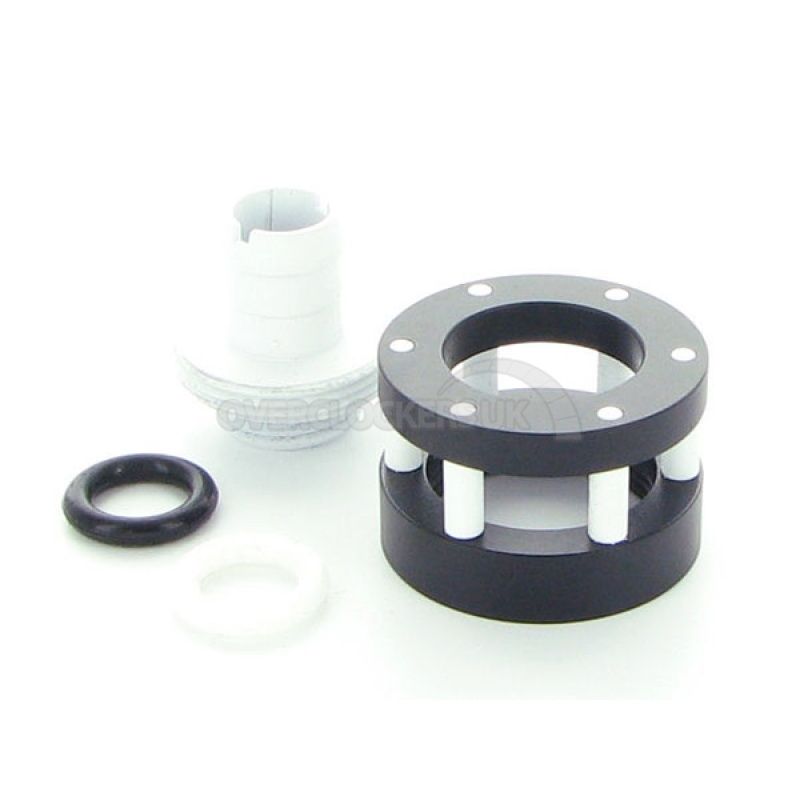


One in white, one in chrome (was all they had left at that price)


Now I have two options here. Either I can remove the fitting from the top and put them up there and then use the two chrome Thermochill fittings for the back rad, or I can paint the outer bars black on both. One will still be white inside, but I don't think you would see that any way.

Oh yeah, I have ordered some very small model painting brushes today, as there are a couple of small jobs left to do.
 
Good afternoon every one :) after a pretty hard day yesterday I have decided to take the weekend off. It wasn't really through choice, I am stuck waiting for some parts before I can continue (the last rad, fittings, liquid, duct tape etc).

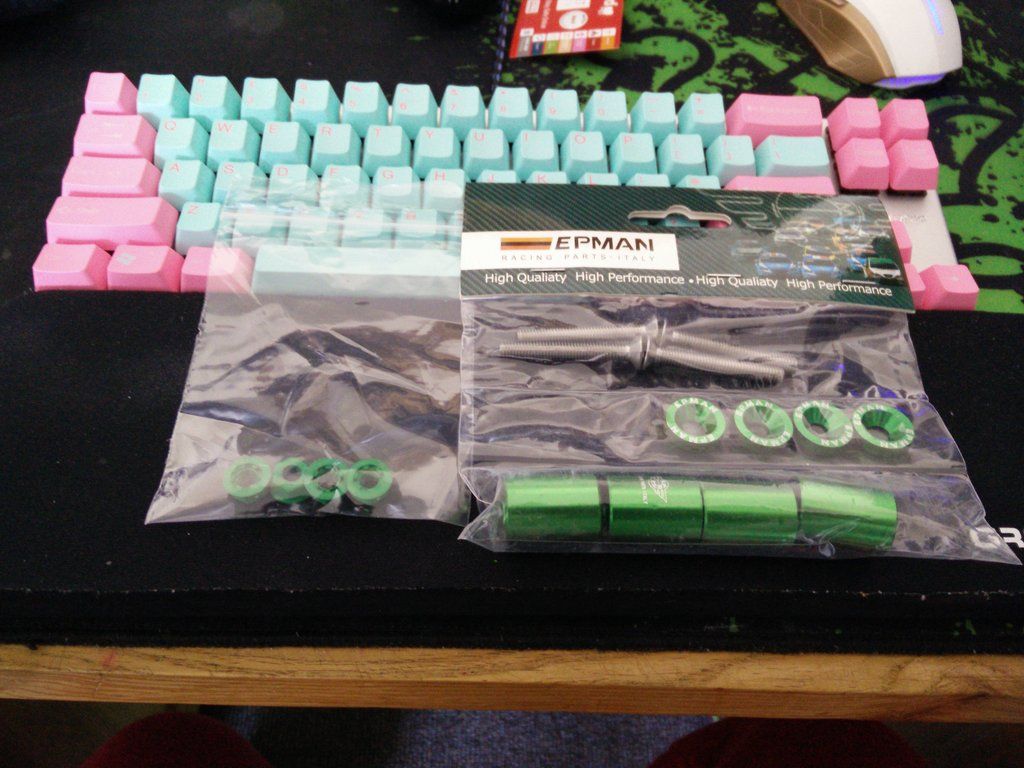
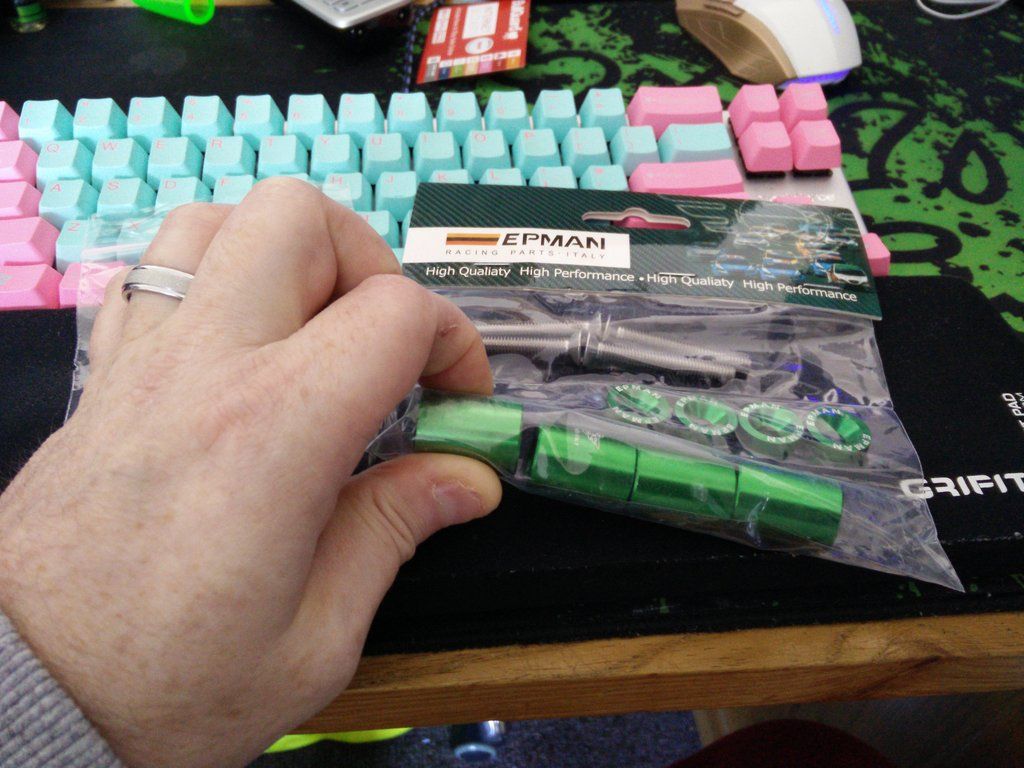
Any way, this morning the feet (well, hood spacers) came.


They tend to look at lot bigger in the pics, but to give you guys an idea of scale here is one of my battered hands.


So they make absolutely perfect feet. You can also see I've ordered four green M6 nylon nuts to hold them on. Even though it's my day off I may go cut down the bolts in a little while :)

If not then I will see you all again on Monday, for some vinegar and pressure testing shenanigans :D
 
Nice job! Where did you get the LED strips? Do they have molex connectors on?

Hey man thanks. I get the LEDs from the bay with fleas on it. They come in from Hong Kong and no, they don't come with any molex etc so you need to be good with a soldering iron :)

My days off are usually short, but I beat the record here. I lasted for exactly four minutes after posting.

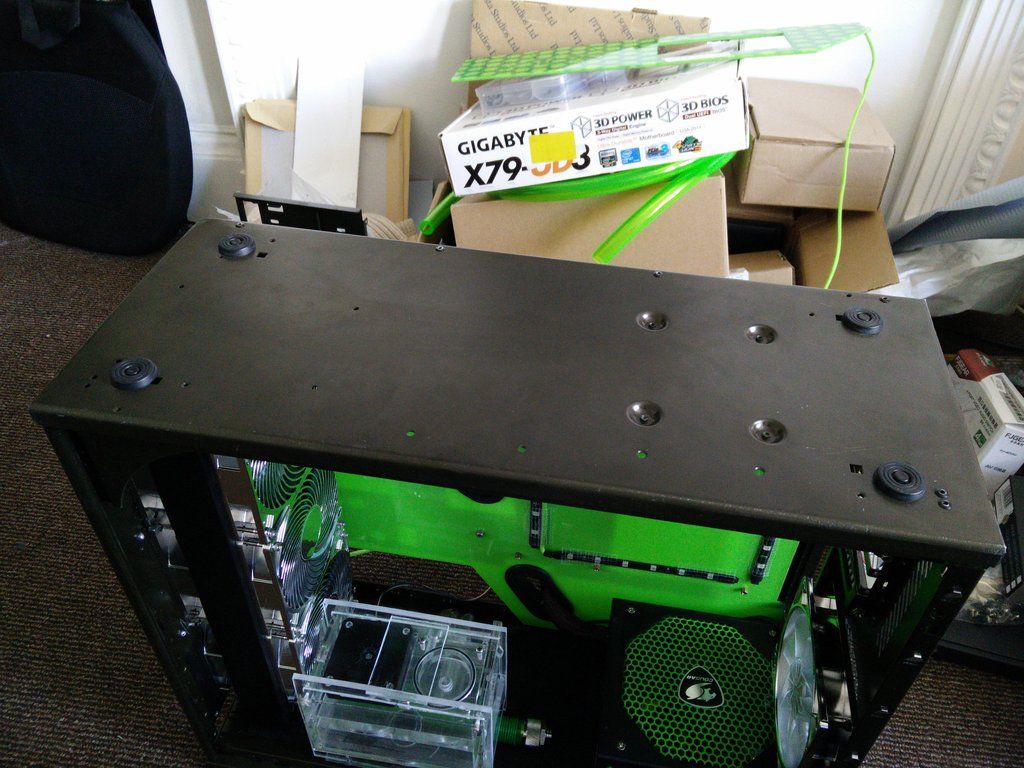
Before.


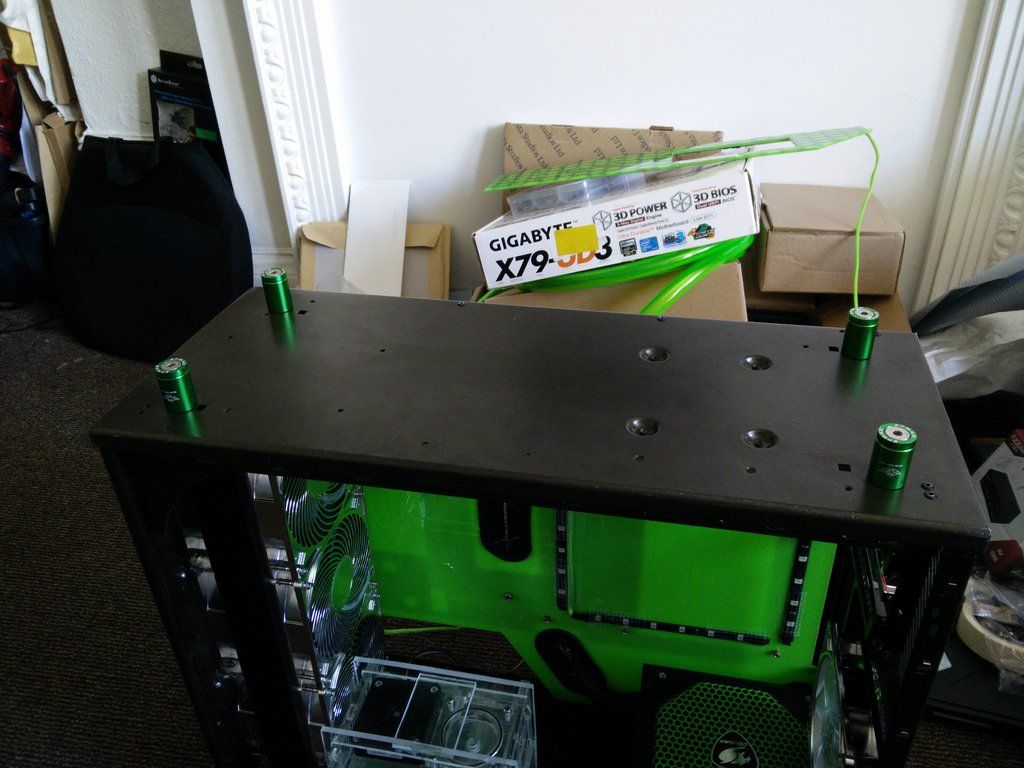
After. I cut the bolts down.


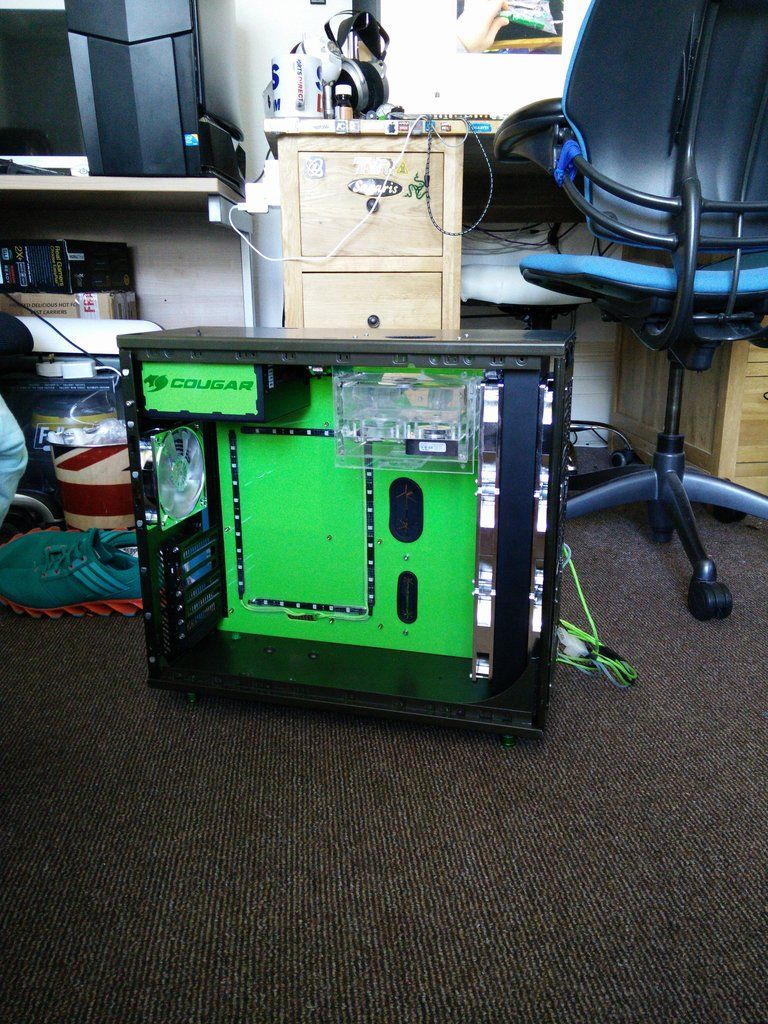
And up on its new shoes.


Win.
 
It's certainly addictive Lewis yes :D even more so because for three weeks I did nothing but messy dirty spade work and now comes the fun part, just putting it together.

I'm really excited for Monday. I will have loads to do then :)
 
At last..

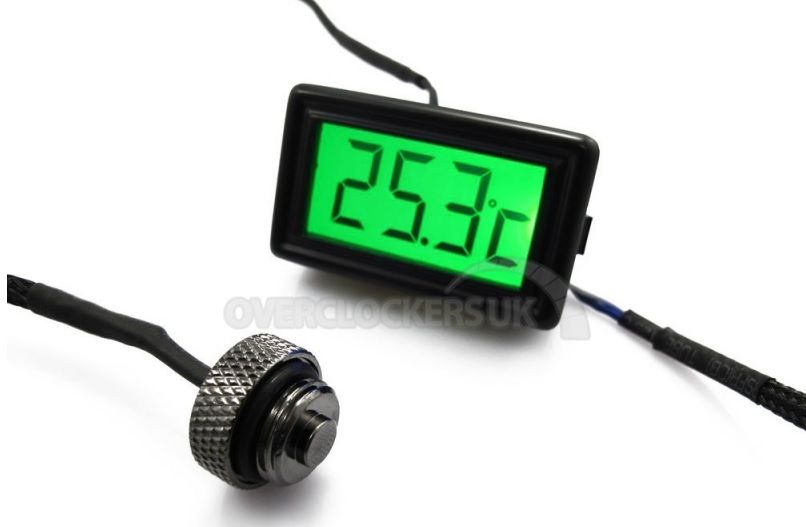
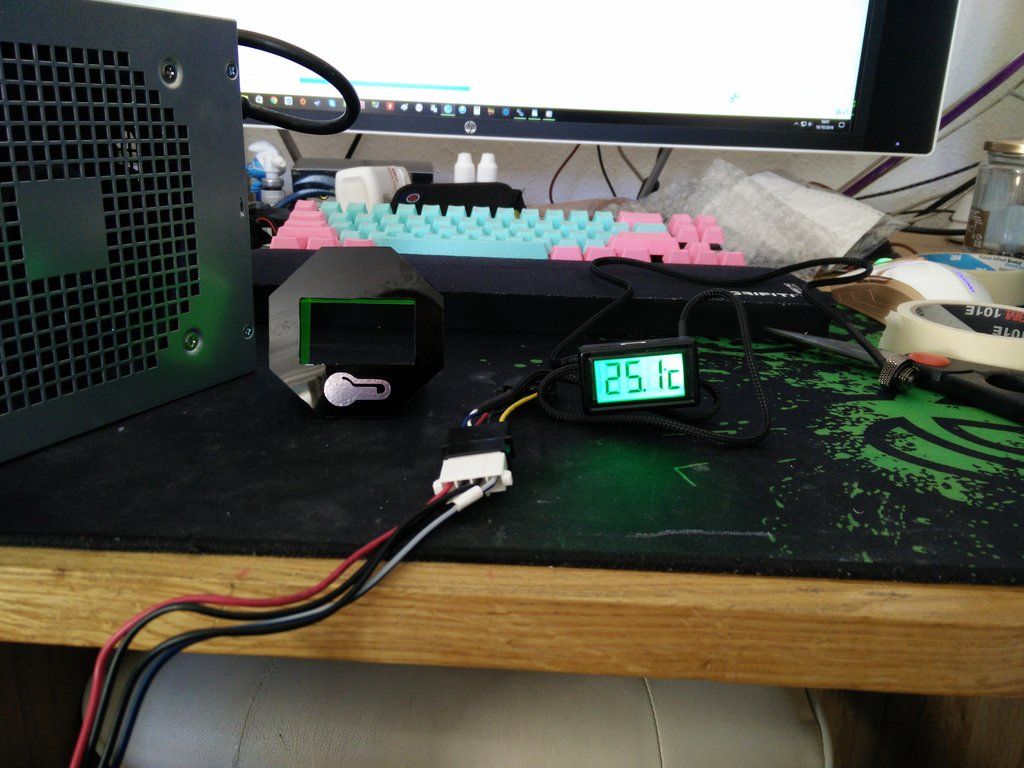
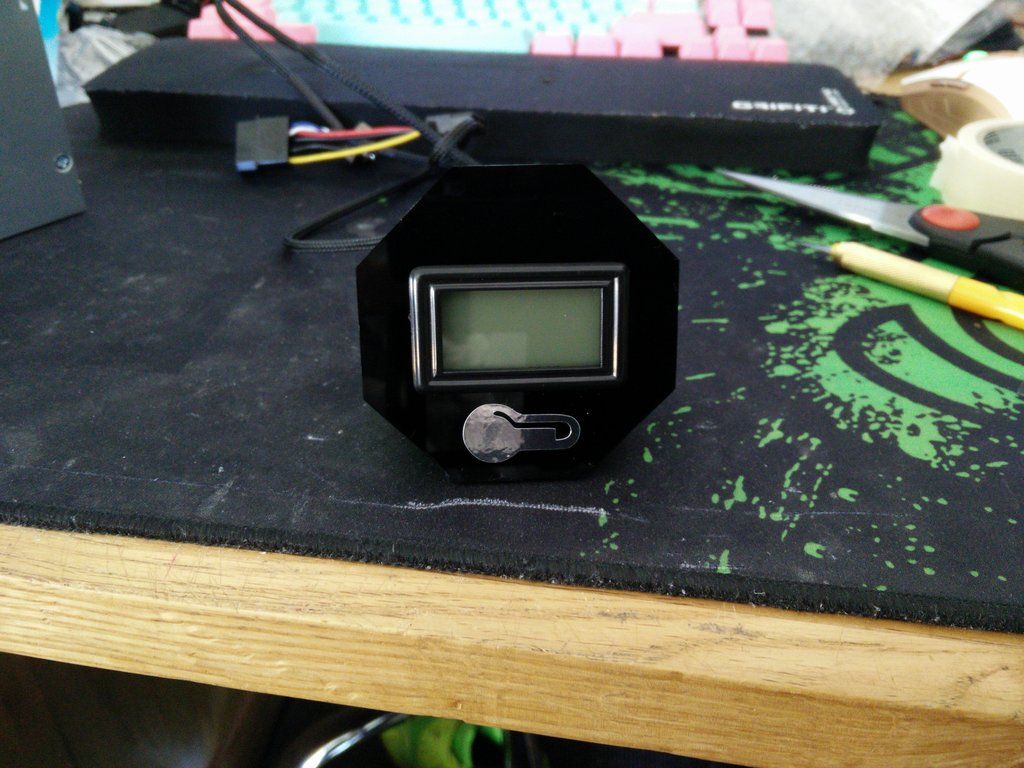
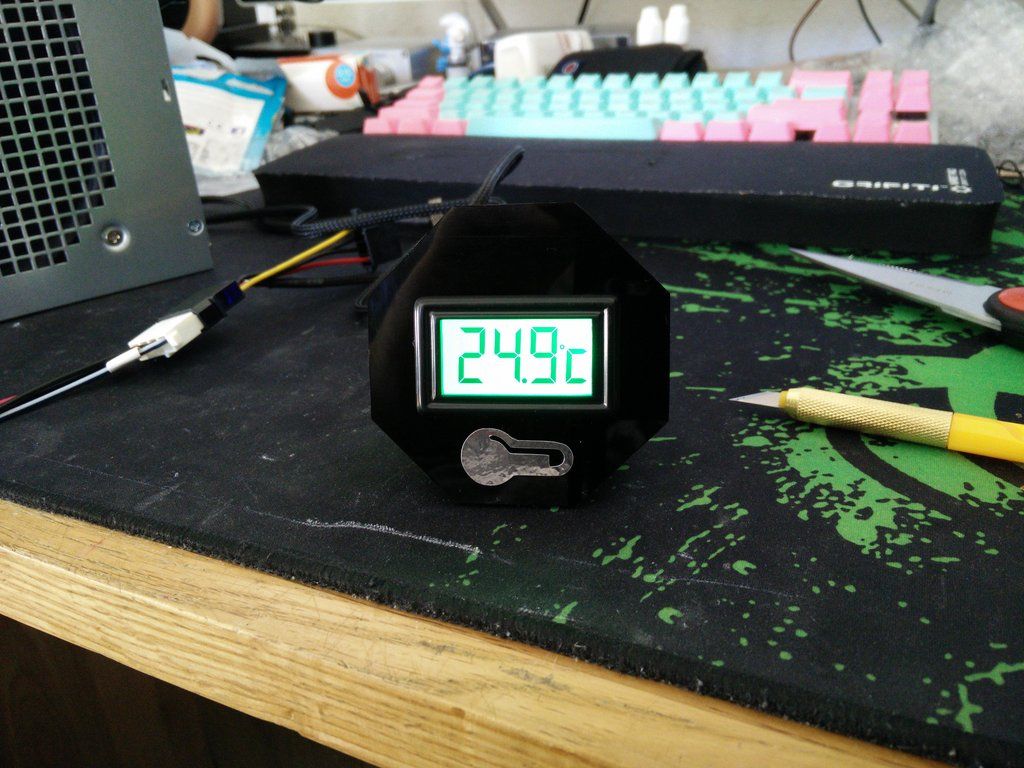
Last week I was poking around on the bay and found a temp gauge. I nearly ordered it, then realised it was useless to me - phew. In the end I realised I needed a G 1/4 thermometer and gauge. I tried to find a green one but they were upward of £18. I almost settled on a white one, then thought "I wonder if OCUK have them".

Sure enough they did.


£5.99. I was thrilled. I even managed to wangle free shipping somehow so an enormous thanks to OCUK.
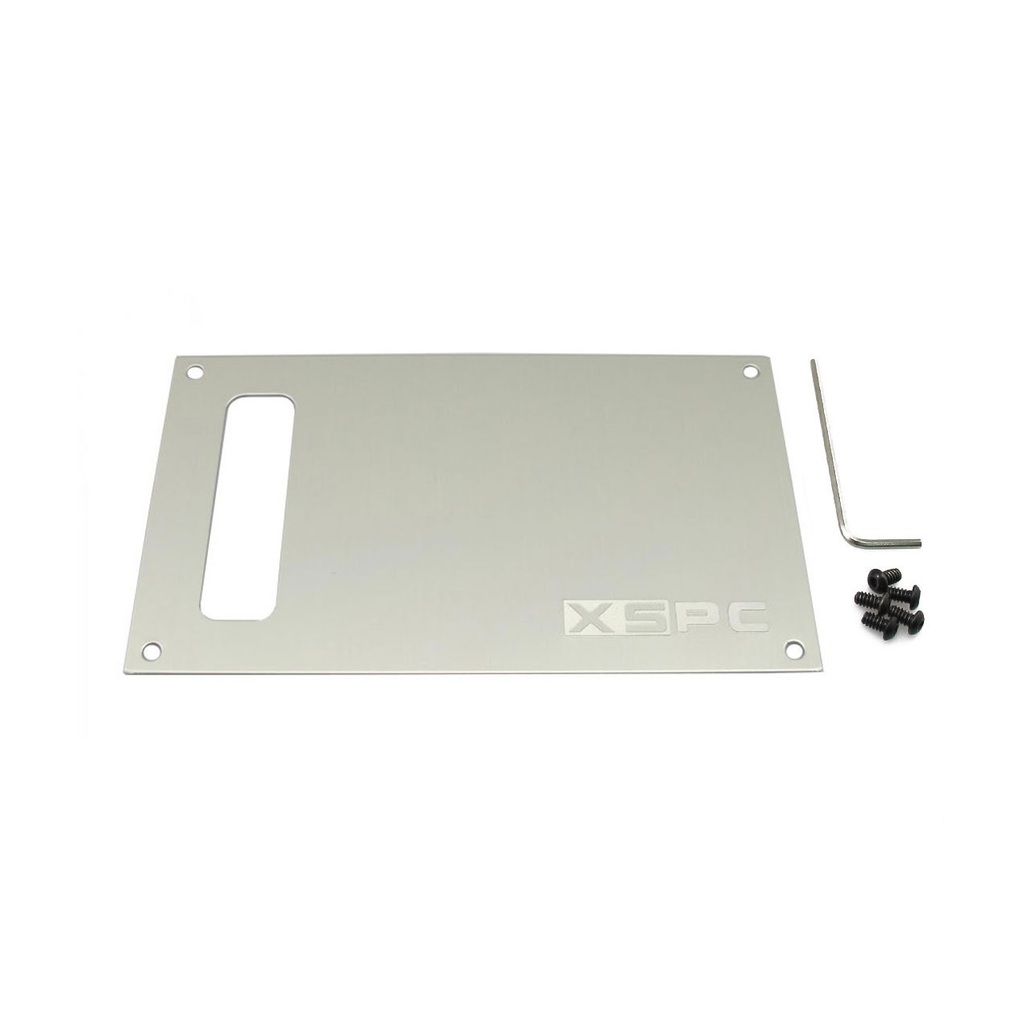
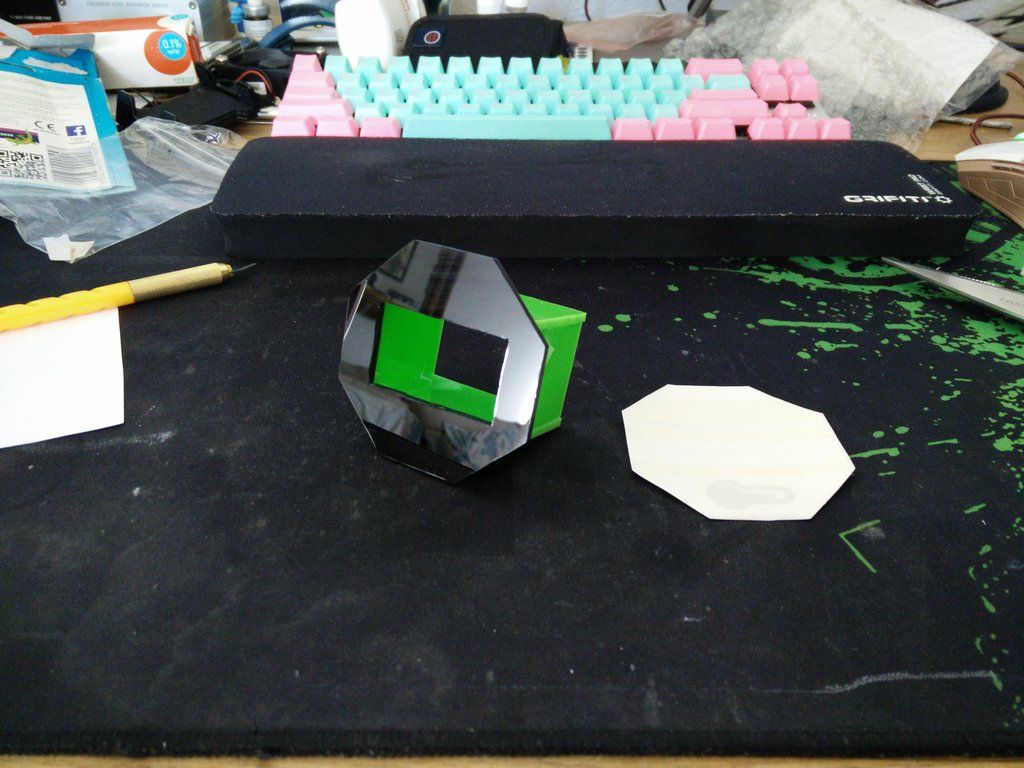
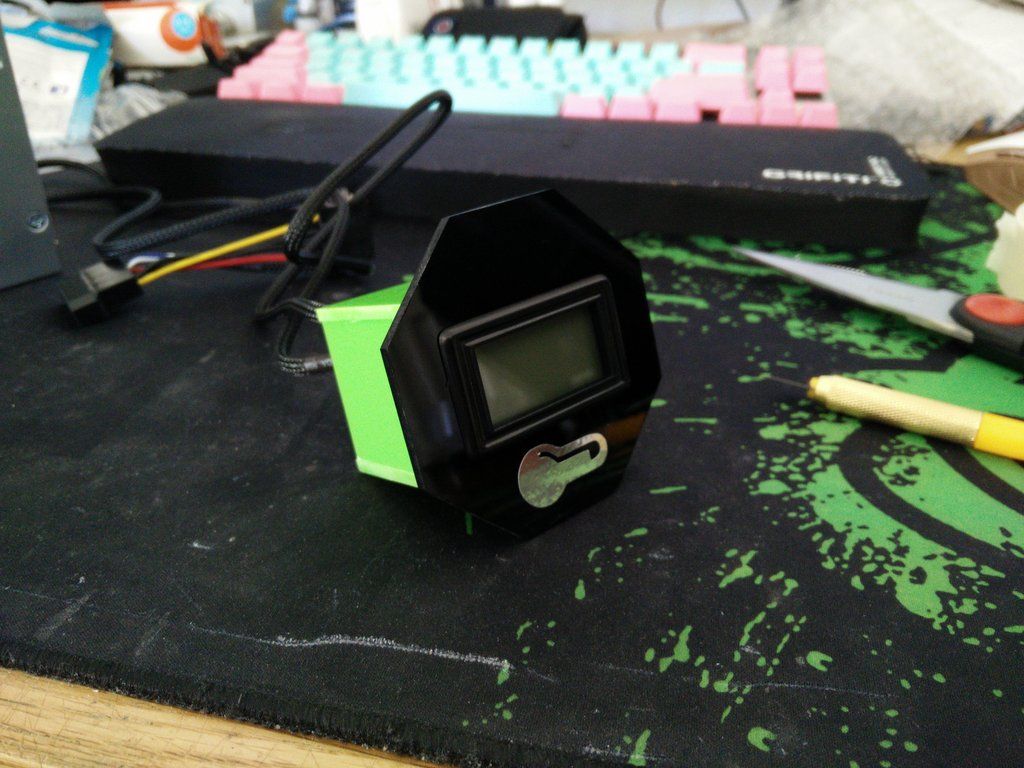
OK, so I had nowhere to mount it. I knew as soon as I hit the order button that placement was going to be an issue. Had I known about it at the beginning I could have planned and cut it into the shroud somewhere (though real estate is tight back there). So for the past few days I've had a few ideas going backward and forward in my brain. In the end I settled for a octagon.


And top and bottom.


And two sides.


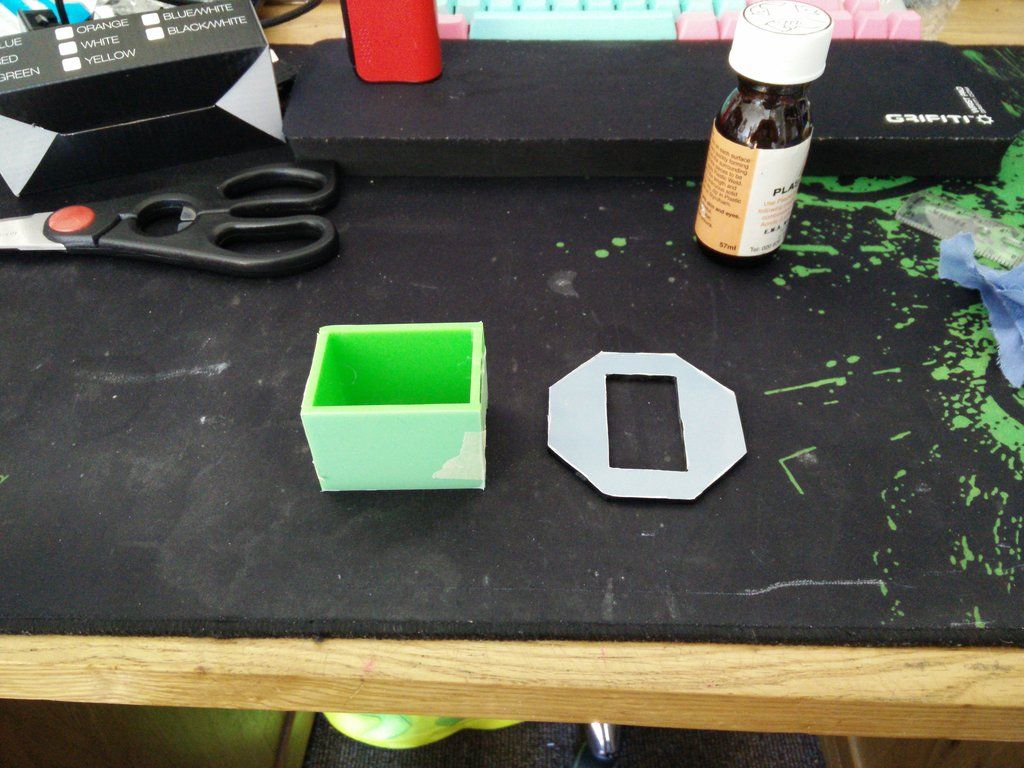
So I cut it and polished the edges and then made up the back box/cover part.


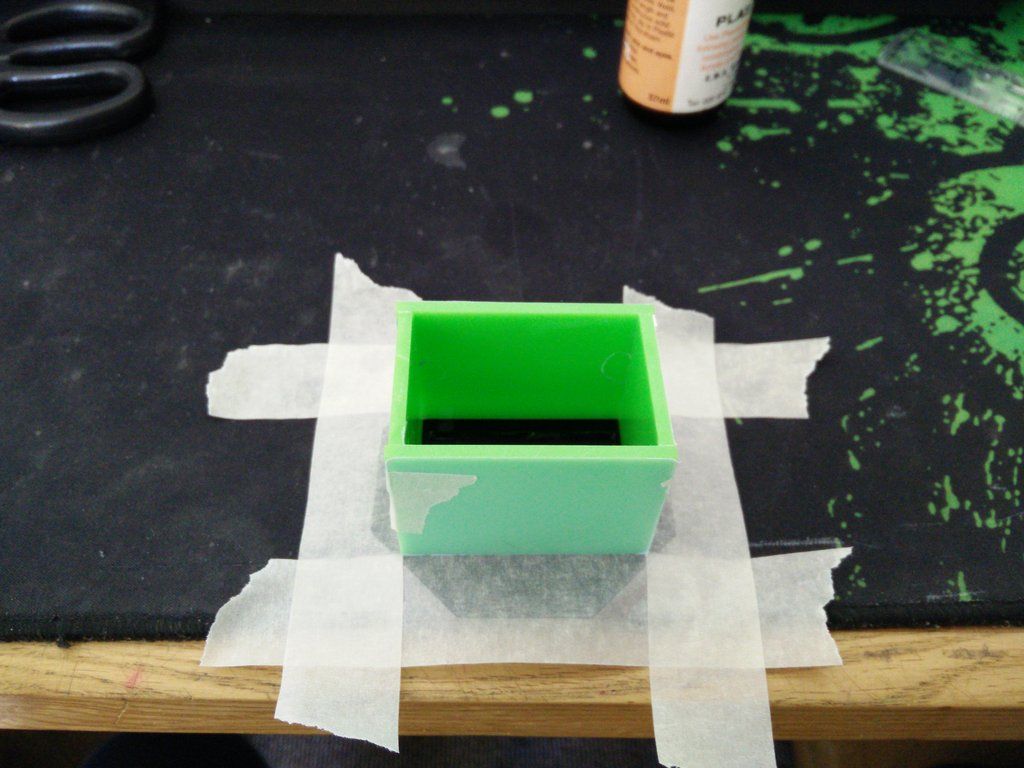
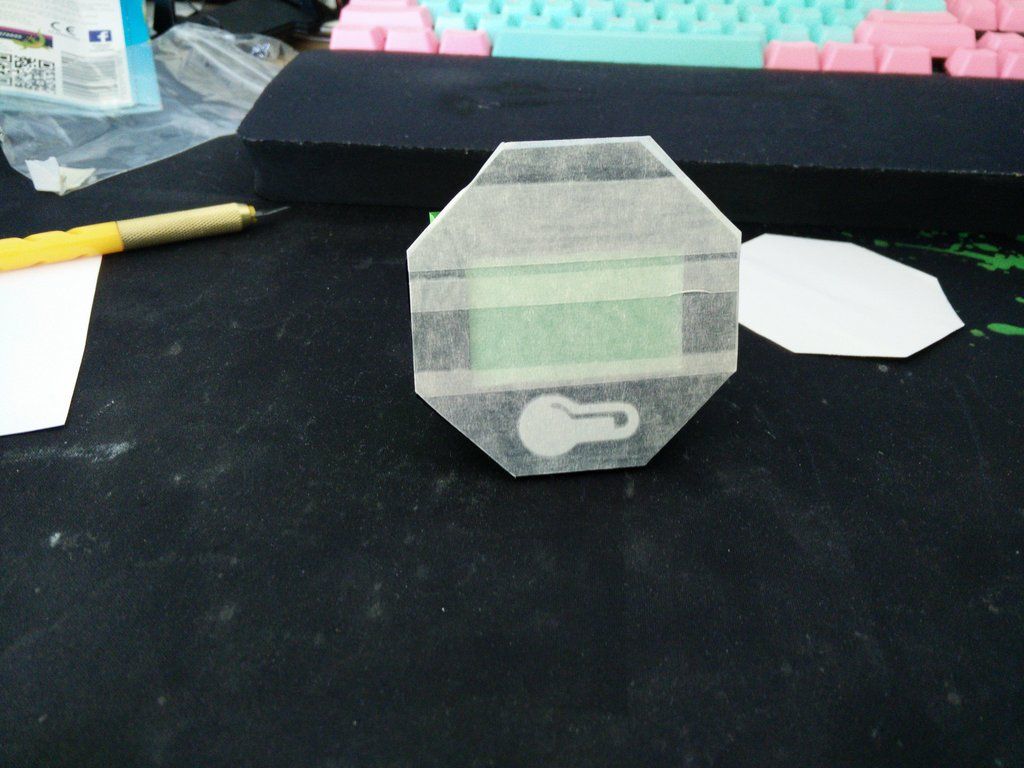
Then marked where it was going and covered the leftover surface with tape. I did this to stop the plastic weld peeing out everywhere and destroying it.


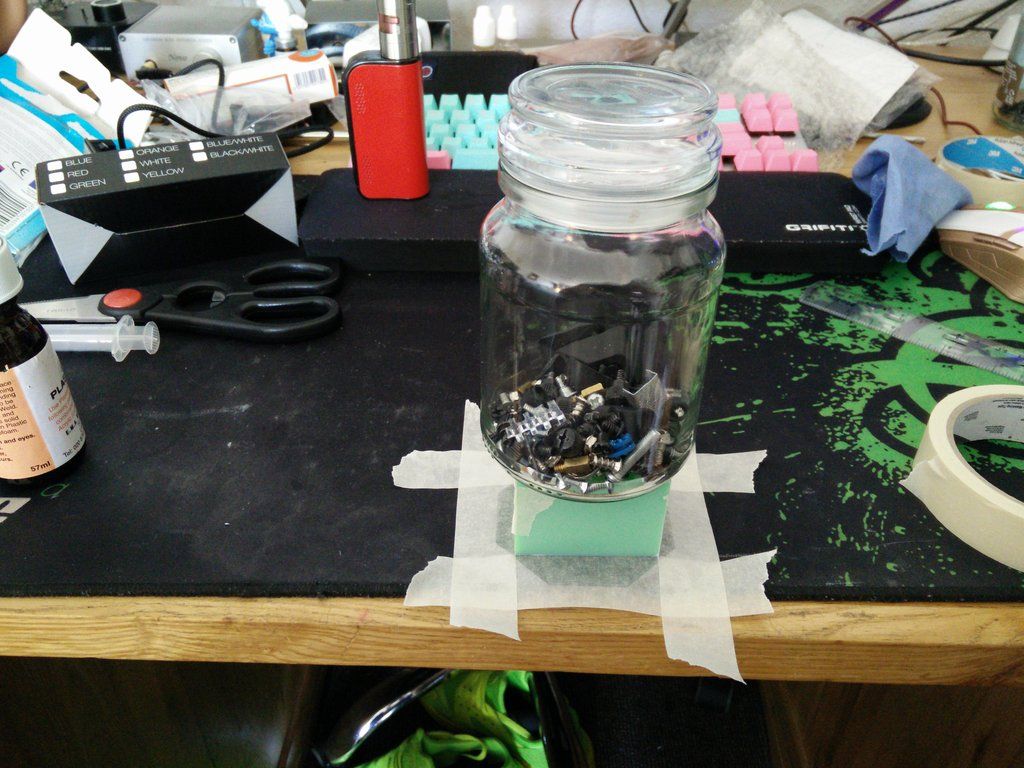
Weld.


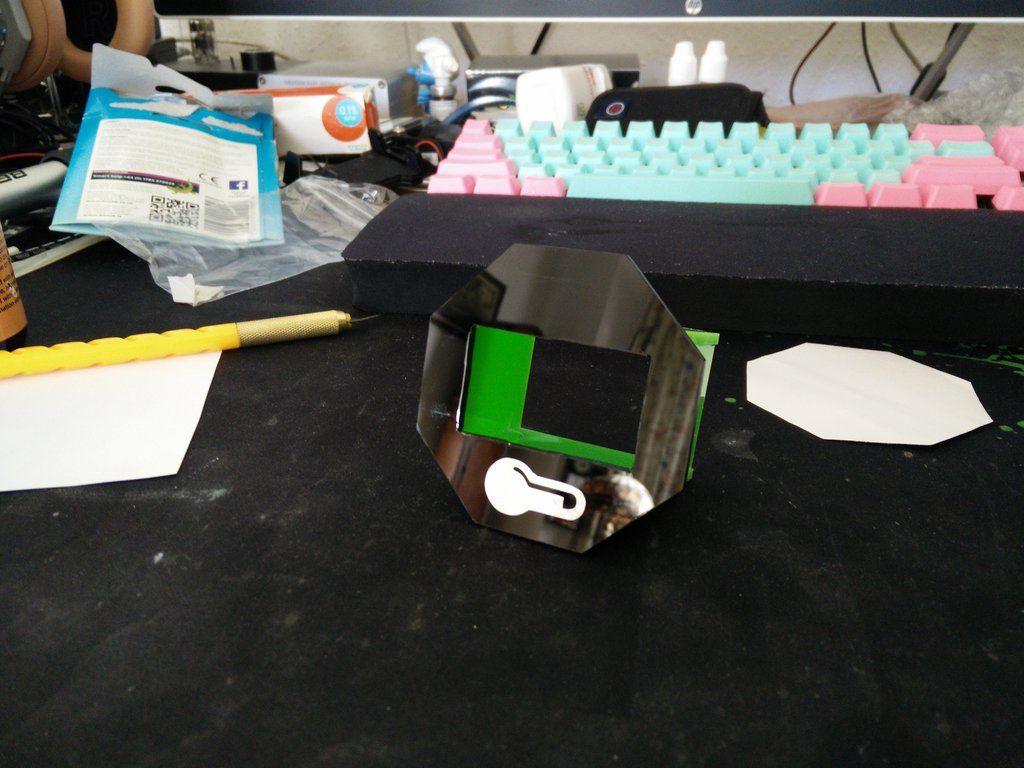
Please note there are going to be smudges and dirty finger prints on it in the next few pics. They're not damage/scratches etc. I cut a graphic out of chrome.


Fit.


Peel.


Test it so that it goes up the right way.


Fit.


Test.


And all done.


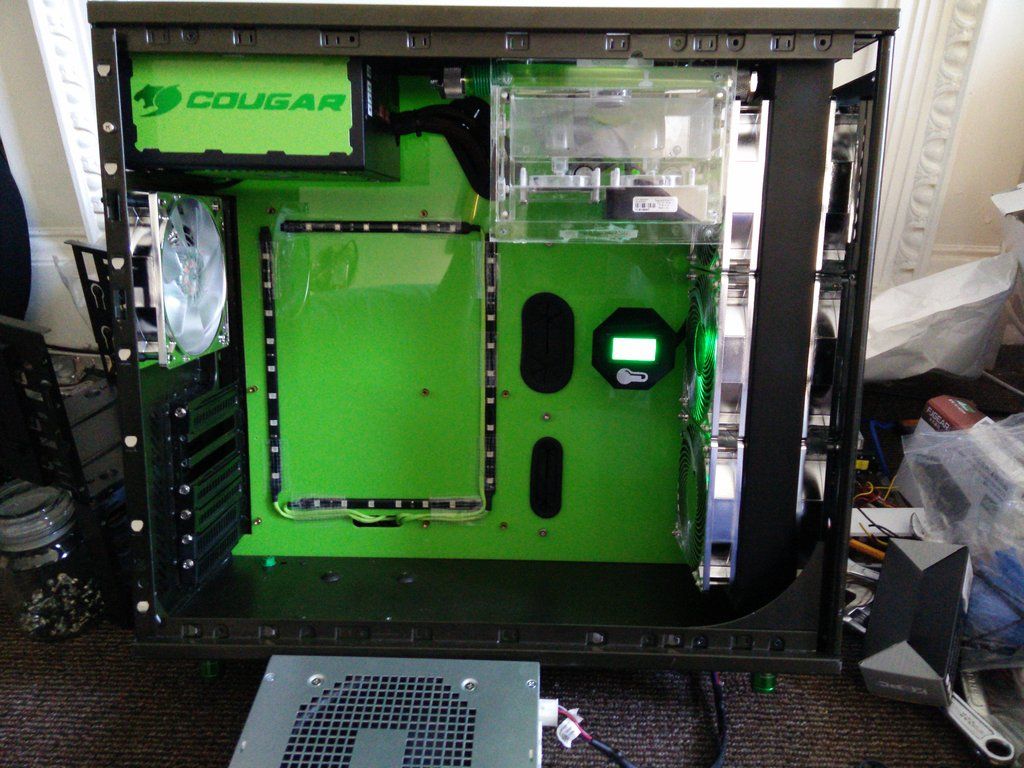
I'm not quite sure where I am going to fit it yet, but the idea was to make it out of the same colours as the res. I'm pretty sure I can basically fit it wherever I like, now that it has a housing.

:)
 
So I decided to fit it.


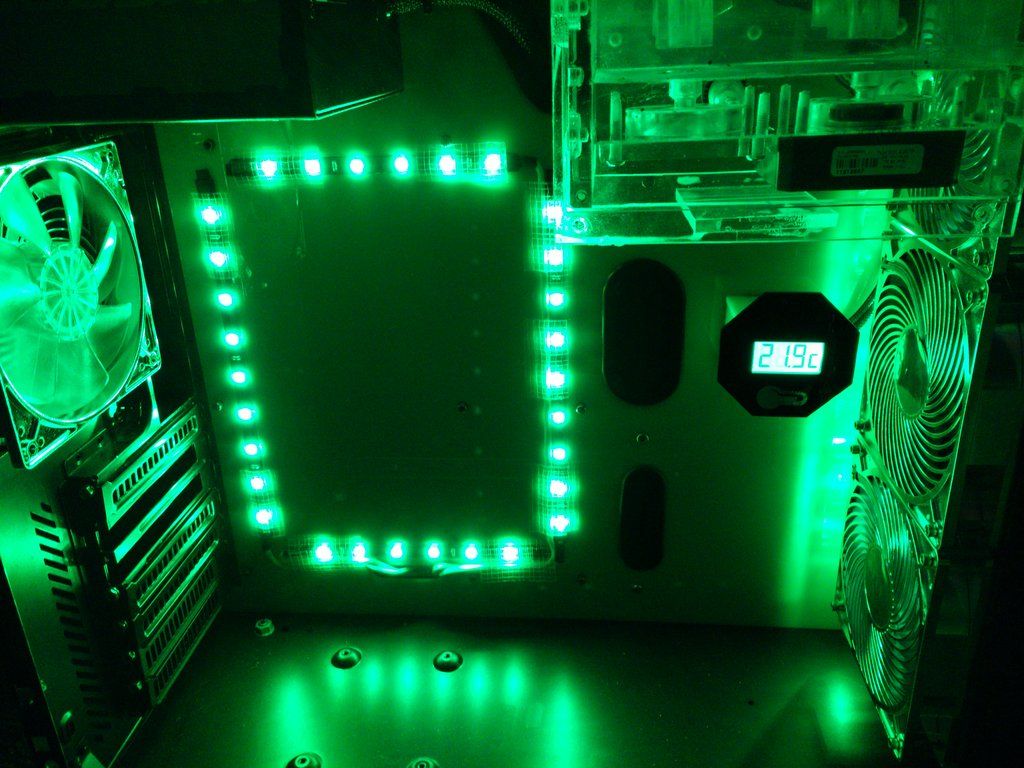
Sadly it's too dark to get a decent pic of it now but it's all connected up to the res etc :)
 
I took this pic late last night.


You can see I have the LED strip behind the radiator firing now :)

Today the second rad, liquid and fittings are coming. Not sure what will come with the postie but hoping on the duct tape (I started managing cables last night but it ran out). Sadly my lady forgot to order the vinegar, but DPD aren't coming until later so I will probably nip down to the local mini mart place and see if they have any in.

Should hopefully have a nice update coming later :)
 
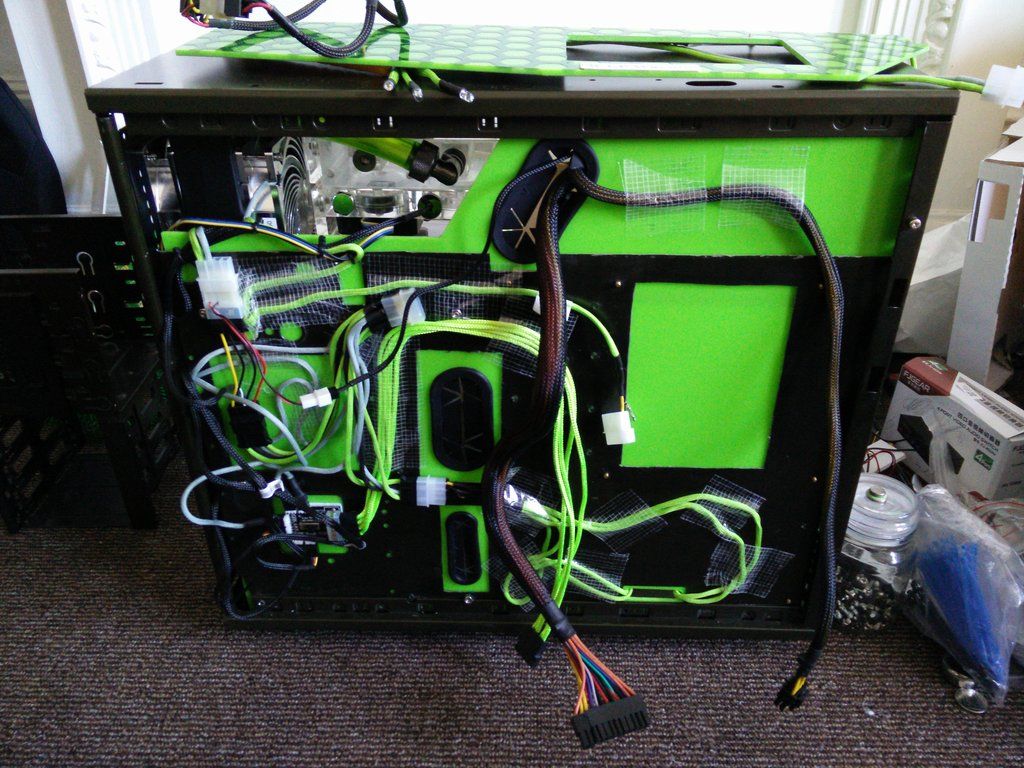
I've started the cable management. This includes sticking down all of the molex connectors with 3m foam tape and duct taping down the wires.


It was never going to look nice tbh. Sadly I ran out of tape, so had to stop about half way through. That should come tomorrow hopefully, then I can sort it all out. I managed to snap a molex pin though so that will need replacing.
 
The rad for the back came.


Sadly it does not work with any of my fittings, as it needs extensions. I decided to remove one from a fitting on the res and that was where the fun began. For three hours I was desperately trying to track down a leak. In the end I traced it to a bad Oring, replaced it and all was good in the world again but I managed to get absolutely nothing else done apart from a bit of a touch up on the rad. Maybe later tonight I will flush it.

I did buy this though.

 
Another £15 (rad and fittings). Four hours of pretty much stripping the entire loop down yesterday because I had to remove a extender I had used and had a leak. One hour of stinking like the fish and chip shop. One hour of asst painting (touching up etc). Then the fan hit the fittings so I had to mod that (another 30 mins).
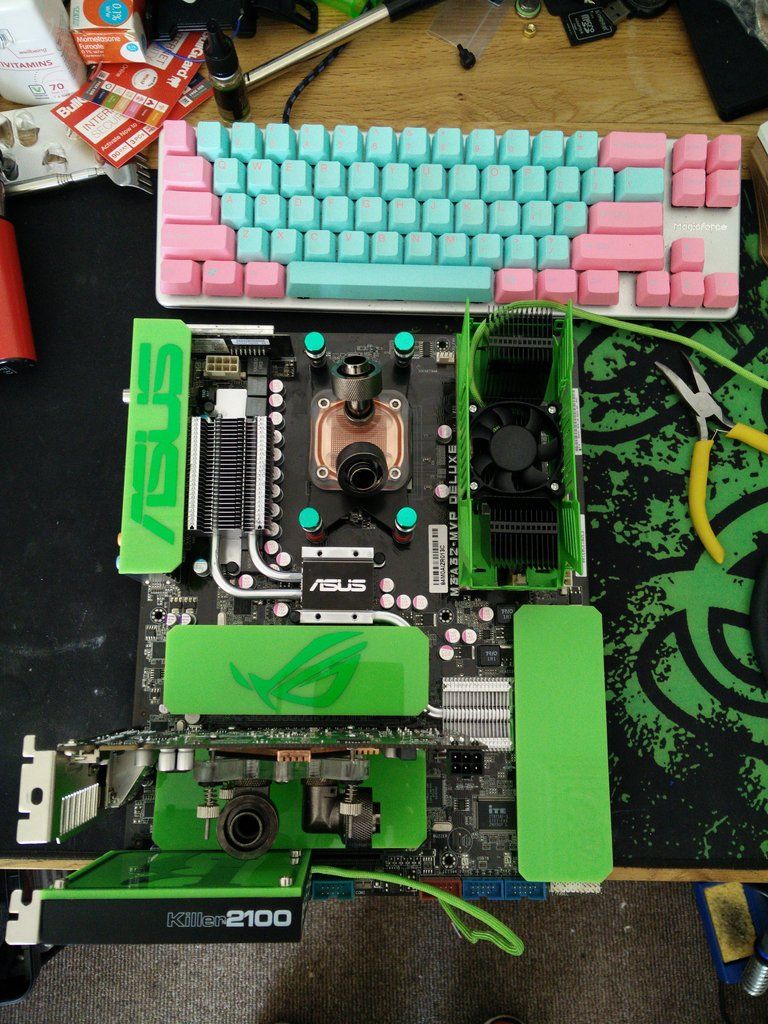
Was it worth it?


/Cartman - Totally.


The duct tape arrived this morning. I will get onto the cable work later :)
 
Thanks man :)

Couple of scars as the paint wasn't quite set.


And.


And I should be able to get that into the rig tomorrow.
 
Back
Top Bottom