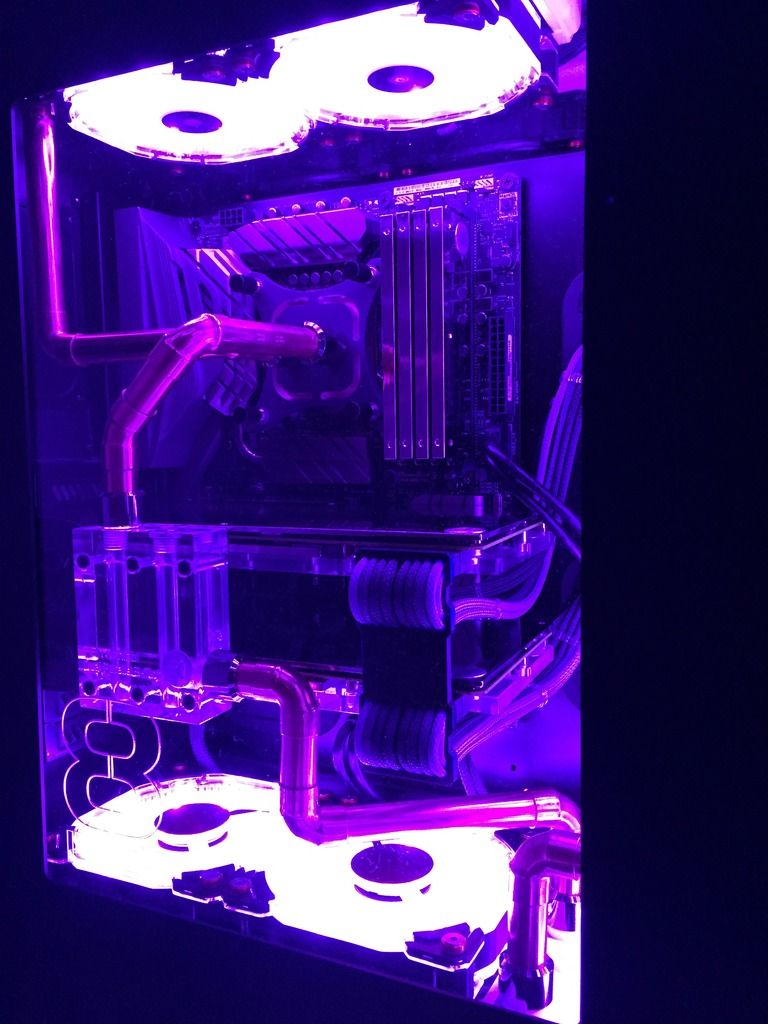
Project Smurf 3.0

Soldato
OP
Joined
4 Dec 2015
Posts
3,221
Location
London
:) it's a nice more subtle combo isn't it - played with the idea of a colour accent but with the amount of copper it's just not needed. One thing I do dislike is the cable combs, way to wide compared to some of the tighter 8 way ones I've got.
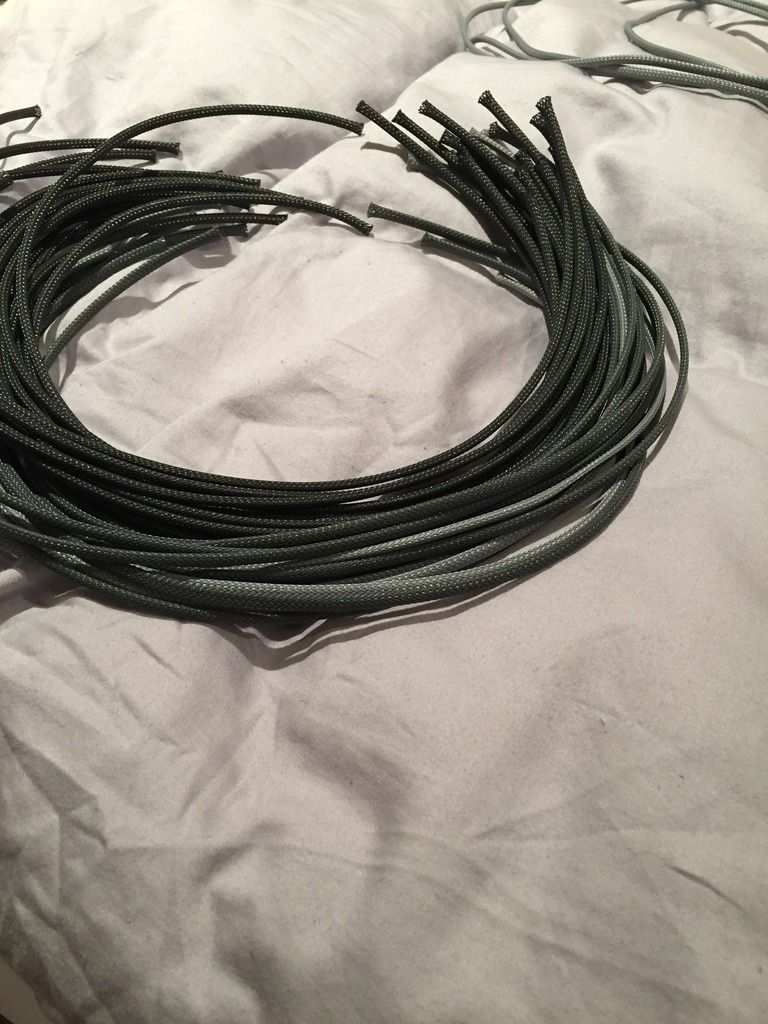
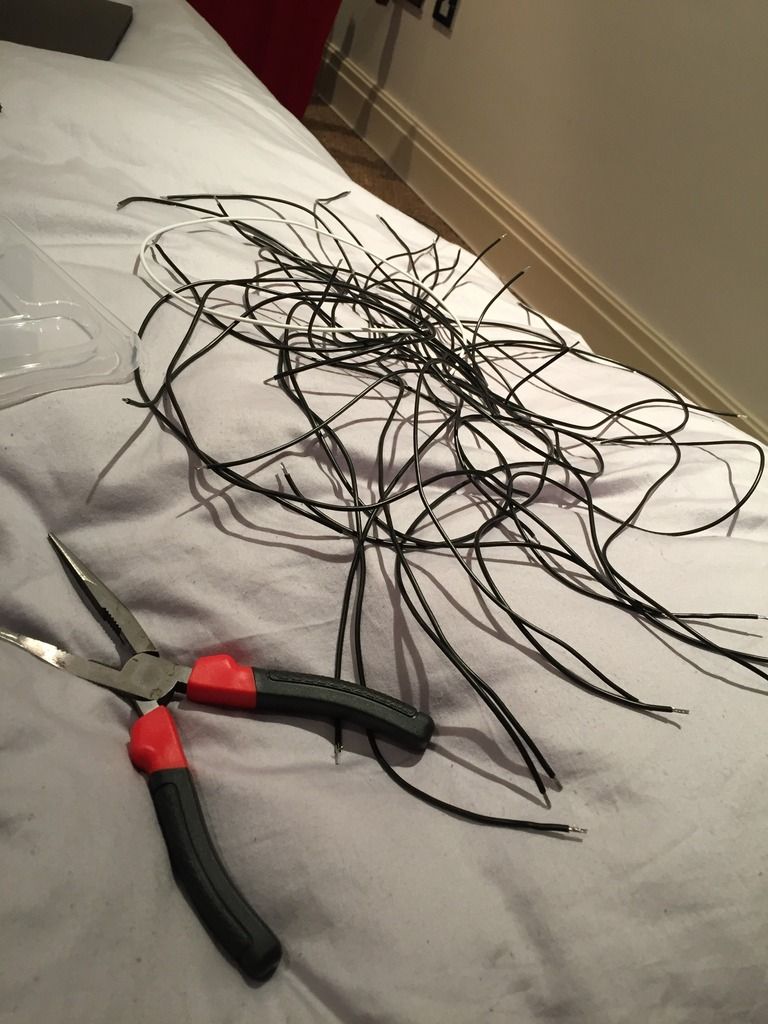
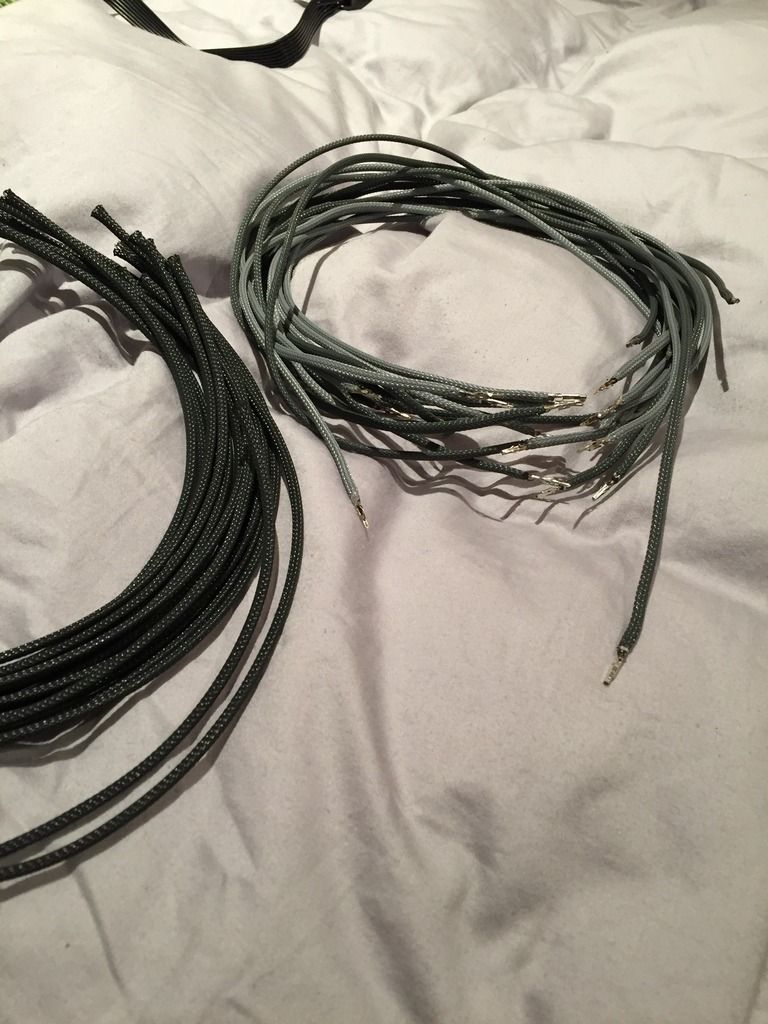
Will sort that later though, final 16 cables to crimp up after work and I'll have the GPUs done. Cenedd owes me £80 now coz I just bought the EV2 fittings... unless they don't measure up then they're going back.
 
Soldato
OP
Joined
4 Dec 2015
Posts
3,221
Location
London
Some more exciting cable pics... Over the course of doing this I've got slowly better at it so my tips for it being less of a pain are:

1. Get beer in
2. Work on a flat surface, mark out your measurements with tape on it for speed
3. Batch the wires, then the sleeves (I did my sleeve unstretched the same as the unstripped wire which I found bang on once sleeved). Always melt the cut sleeve slightly immediately.
4. Use proper wire strippers for the same length at speed
5. Fold back the stripped wire end when you feed through the sleeve so it doesnt stab you and get caught constantly

Once the kit is all prepped literally start making them up, I found I got faster and faster and doing it this way allowed me just to focus on the task at hand not flit between cutting wire, sleeve then making it and going back and forth. Probably obvious but why not say it for anyone else.

Batching stuff:

IMG_2329_zpscwhqrrr6.jpg

IMG_2330_zpsw4ruplrk.jpg


Part done GPU sleeves:
IMG_2331_zpselvyldvh.jpg


A few now in place:

IMG_2328_zpsosezv9xr.jpg


I've decided I don't much like the central highlight so its probably going to get swapped over later on to have the lighter shades on the outside and a thick middle section in shade 19.

More to come, almost done...
 
Soldato
Joined
4 Jun 2007
Posts
2,619
Location
Watford, UK
Nice. You could always try the lighter shade between the black and grey - 4th in from each end to give 3B/1P/4G/1P/3B (where B=black, P=platinum, G=grey).

Looking good with that stripped down board. Much classier :D
 
Soldato
OP
Joined
4 Dec 2015
Posts
3,221
Location
London
Cenedd;30491350 said:
Nice. You could always try the lighter shade between the black and grey - 4th in from each end to give 3B/1P/4G/1P/3B (where B=black, P=platinum, G=grey).

Looking good with that stripped down board. Much classier :D

I shall give it a go... you missed the part where you owe me £80 mate
 
Soldato
Joined
4 Jun 2007
Posts
2,619
Location
Watford, UK
You're right, I did completely miss that post. Fair enough though. I'll get my rubber chequebook out! ;)
Hope they fit and look good.
Incidentally, I'm a big fan of your step 1! :D
 
Soldato
OP
Joined
4 Dec 2015
Posts
3,221
Location
London
Full write up to follow but: almost same size, look good, feel cheap, instructions for the Ikea of fittings are terrible. :)

Firmly repeating step 1 now though so don't care.
 
Soldato
Joined
4 Jun 2007
Posts
2,619
Location
Watford, UK
Good job what I pointed you in the direction of wasnt something irritating! *cough* Least they look good.
Had a great week myself so having run out of beer, finished the wine and the vodka, it's going to be a great morning! :eek:
 
Soldato
OP
Joined
4 Dec 2015
Posts
3,221
Location
London
I think you may need to make it clearer in your instructions when to stop repeating step 1 and move onto step 2! ;)
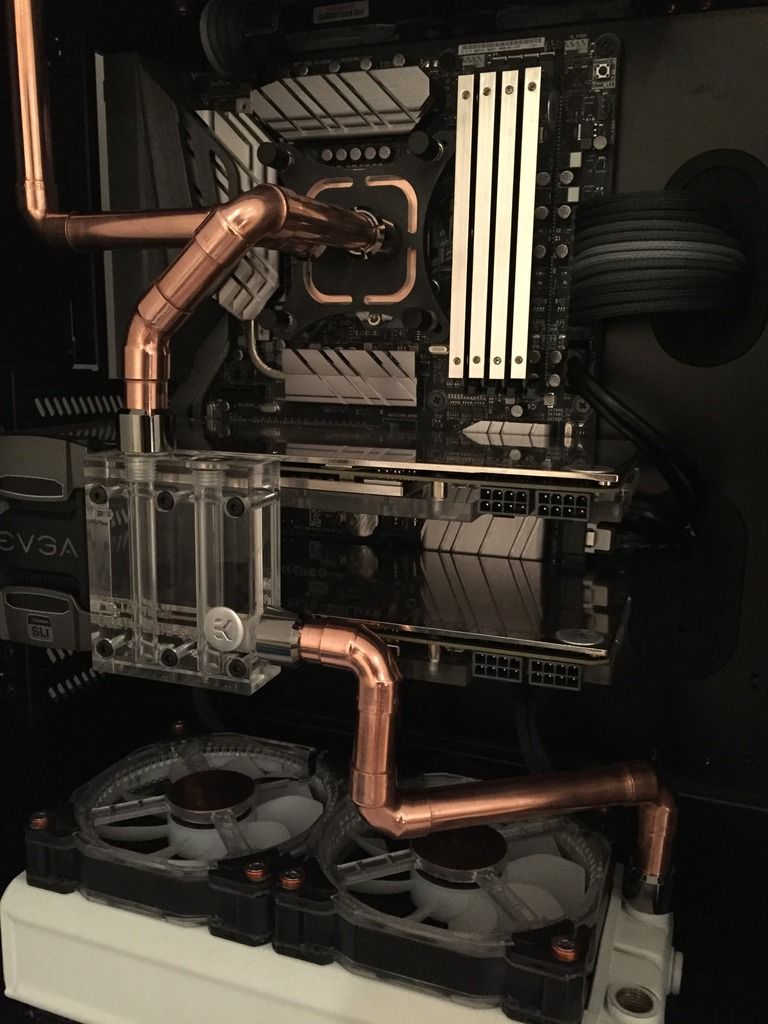
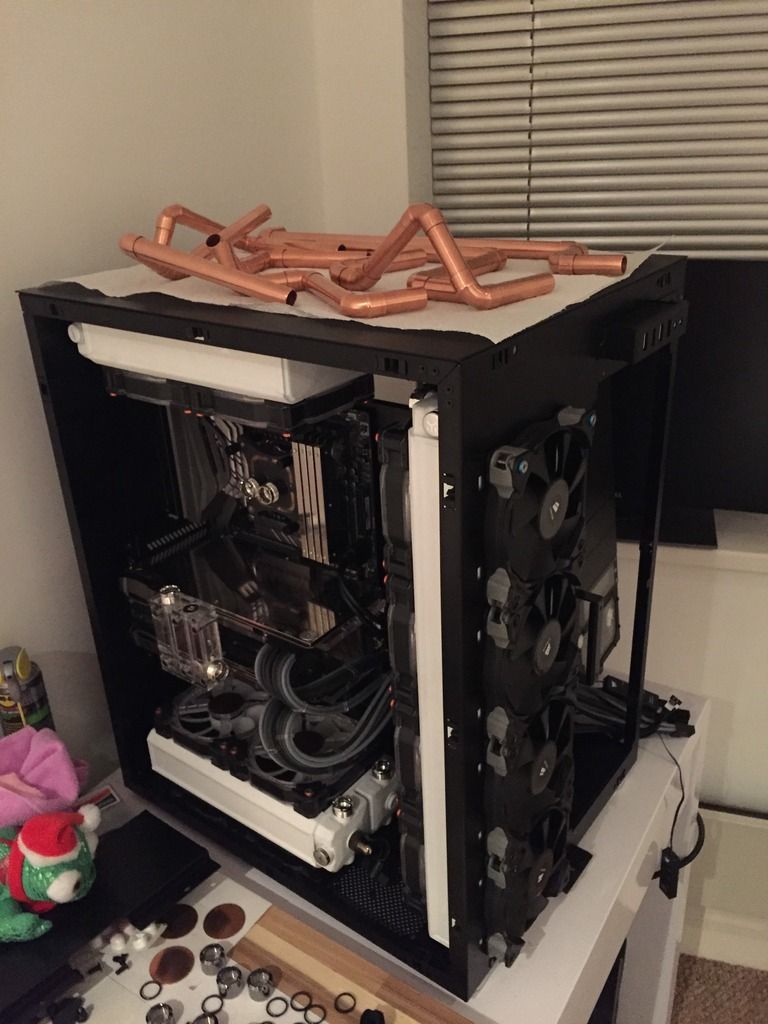
Haha, its often a good idea to repeat it... Here's my efforts, need to do the power cables etc but you'll see below things got a bit sidetracked. 24 pin reconfigured and looks much better in my opinion, still probably going to get some new cable combs to keep it under control but that will be an order later down the line.

IMG_2344_zps03uxo6w9.jpg


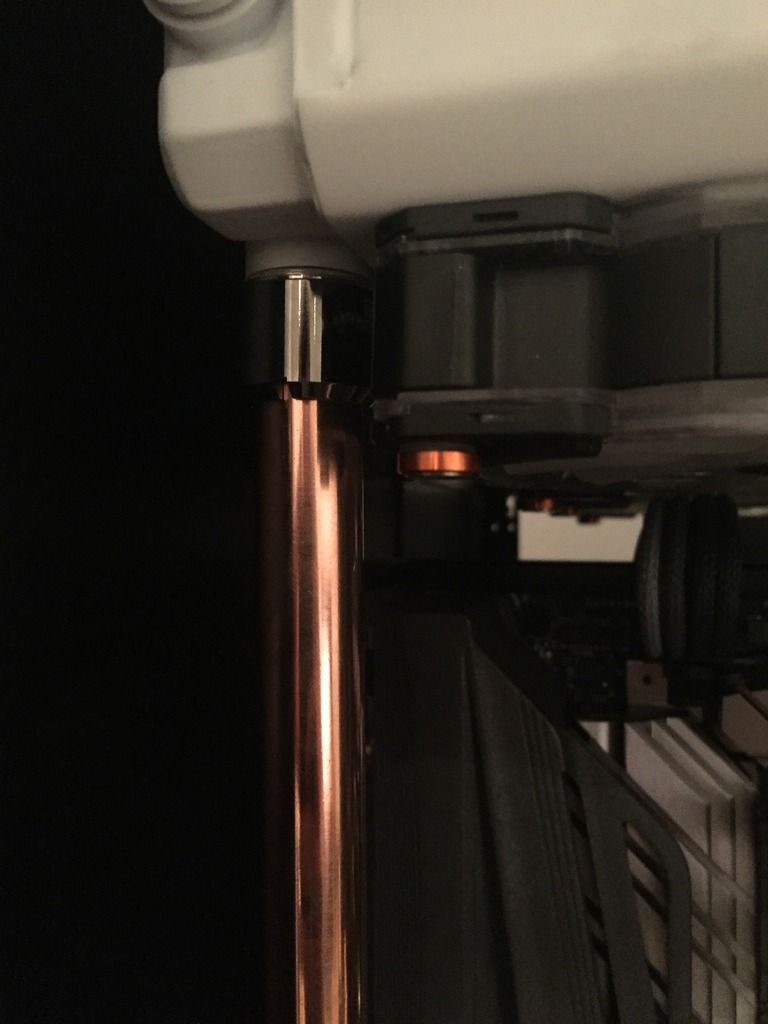
Notice the new fittings... Still waiting for the cheque Cenedd. Size wise they are almost the same as EKHD when fitted but ever so slightly taller, the double O rings are good at gripping the tube and it comes with the two sizes so depending on the tube diameter you fit whats required. Its got some stupid piece of card that you're supposed to stick the tube in and figure out which bag of O-Rings you need which is frankly badly described so i'm not sure why they dont just write the sizes on the bag. You have to build every fitting, bottom O-Rings, internal x2, looks like its going to be annoying but its not too bad.

Summary of the fittings in brief, might consider posting up a bit of a review in the WC thread:

1. Look really nice/premium but feel quite cheap/light
2. Instructions are a bit rubbish for the tube guide although obviously I didn't need them
3. The tool it comes with is not strong enough, it bends vert easily which results in you killing your hands/risk of scratching the fitting or other parts
4. The fit is good, I would definitely say they should stick to a large Alan key to tighten the threaded piece as the using the tool in tight spaces is annoying
5. The fuzzy box they come in might look nice but it sheds all over the inside of the fittings so just a bit unnecessary
6. CRITICAL especially for PETG: When you fit the compression cap you MUST, MUST make sure the tube is 100% straight before trying to screw it down with larger tube. The internal edges are quite sharp and it will scratch the tube if not, as everyone knows they are often slightly off but just to get the cap screwed you need to be really careful or your tube will look like crap. Mines scratched but I can sort that, can't do the same with plastic can you...

So not perfect but they fit well and look nice.

Close up:

IMG_2342_zpsopmystpx.jpg


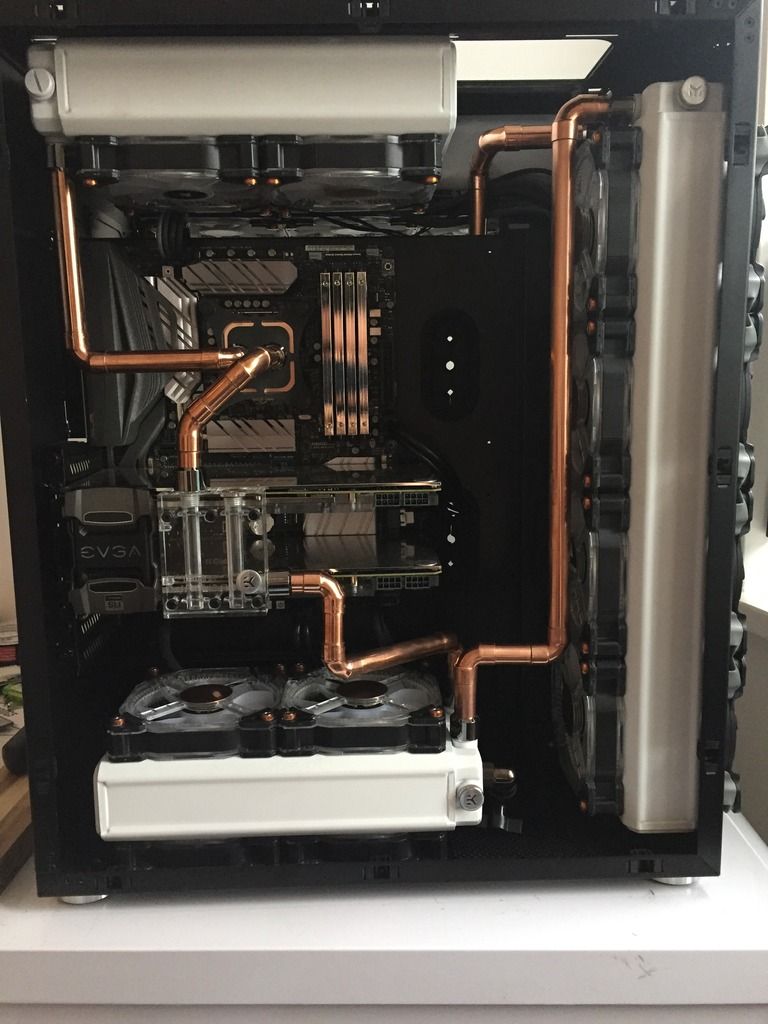
All fitted, basically I made the tube filthly doing this because I should have worn gloves etc... Needs to be cleaned AGAIN.

IMG_2350_zpsnuqlj9o0.jpg


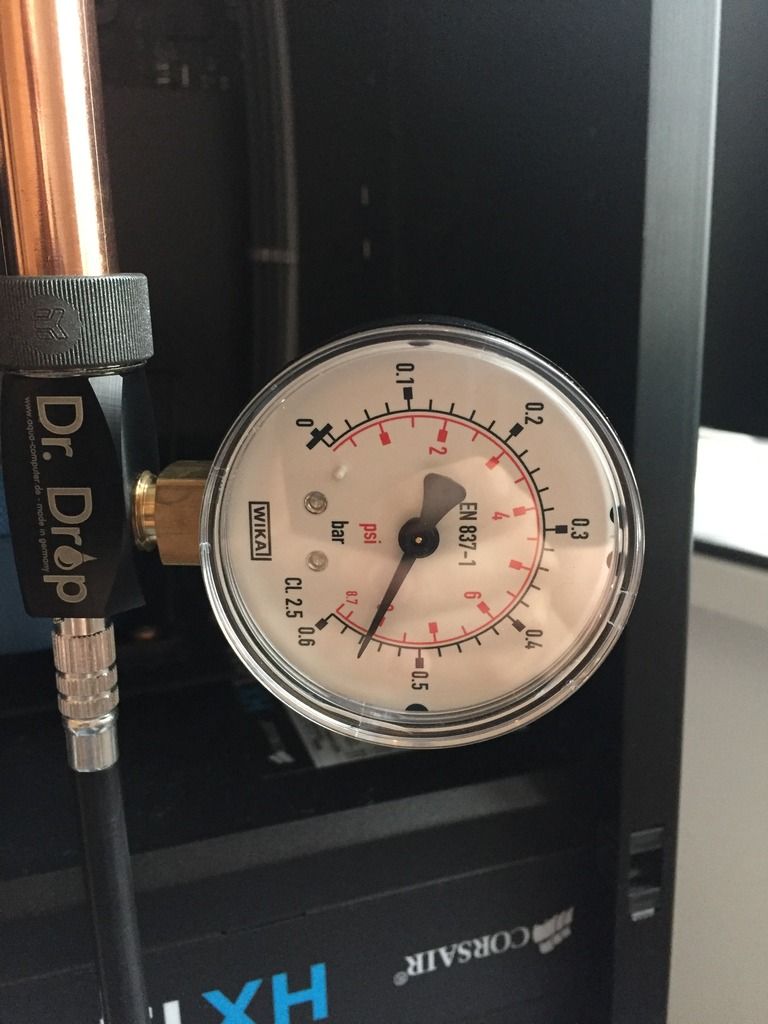
Tested, using Mr. Drop:

IMG_2349_zps4amnjk2l.jpg


All good, no sign of it dropping at all... Surprising.

GPU cabling:

IMG_2354_zps3t3mwx8b.jpg


IMG_2355_zpsqaz0jmjw.jpg


Probably going to arrange them some how so that they dont look so crap:

IMG_2356_zpsww4doj3l.jpg


And then just when you're making loads of progress you remember you haven't tested the LEDs, time for some more cable nightmares round the back... Basically 3 of them worked, WOOHOO! After a bit of messing about its clear the little hubs are a bit of a pain, first thing to learn about them is that they don't work at all if you don't follow the ports in order - so if you plugged one in to 6 because it was easier time to rethink. After a lot of testing and fiddling I've concluded that 3 of the fans just don't work (LEDs), can't see why and didn't have time to figure out how the hell you get in them so I decided to swap things about so the visible fans at least are all good. I'll then have another go fixing them outside the case next week when I've got time, not sure where I stand on them given I've removed the connectors a few times with the warranty and the cables are less than 'new'.

Heres the front with them set on the light purple static colour, the yellow/gold/orange looked ok... White and purple also looked good:

IMG_2369_zps9mtpjnlq.jpg


So thats it for now, notice the 24pin adapter to test the fans... Bothered to look why it wasn't working and even though I bought it on OCUK (I think) pre-made the pins where plugged in wrong so move it over 1 and all good. Almost time to fill her up.
 
Soldato
Joined
4 Jun 2007
Posts
2,619
Location
Watford, UK
That's shocking the ATX jumper was wired wrong. Good job it wasn't sending power somewhere dangerous!
Fittings are looking good as are the fans. GPU cables look good and nice that the ATX cable echoes that.
 
Soldato
OP
Joined
4 Dec 2015
Posts
3,221
Location
London
That's shocking the ATX jumper was wired wrong. Good job it wasn't sending power somewhere dangerous!
Fittings are looking good as are the fans. GPU cables look good and nice that the ATX cable echoes that.

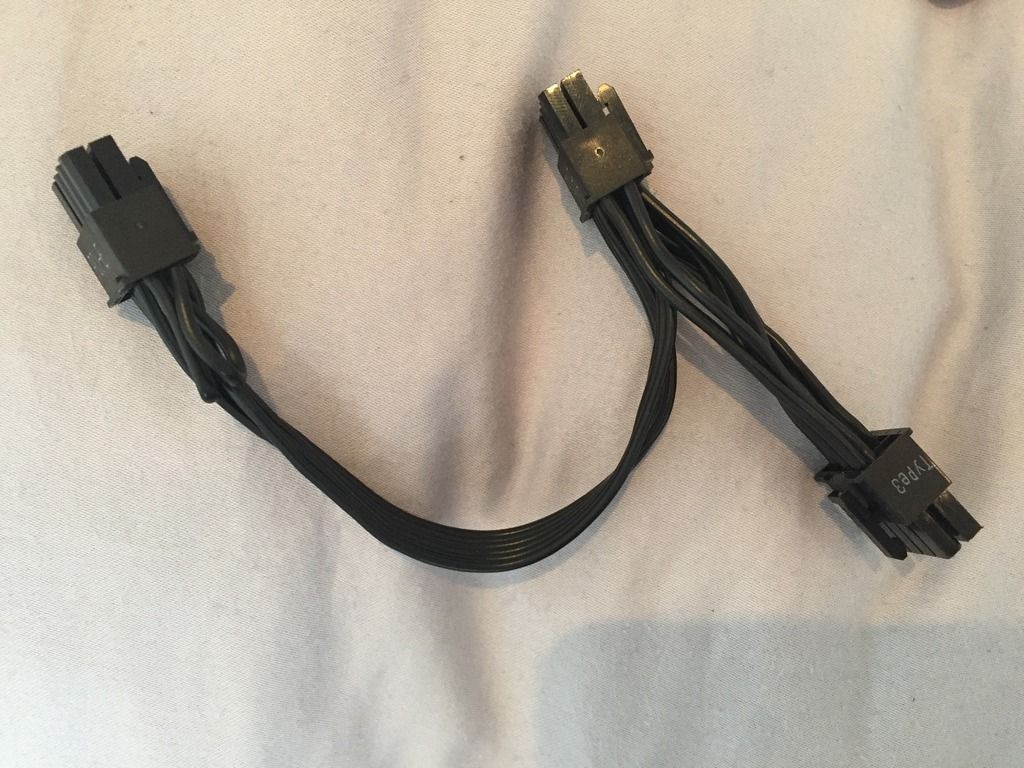
Yeah no idea really, the pinouts seem to suggest either side of the PSU on is a COM port but the 4th in wasn't having any of it so wired the other side and works a treat. Was the same on the stock cable so can't be my dumb ass wiring :)
 
Soldato
OP
Joined
4 Dec 2015
Posts
3,221
Location
London
And the saga continues... Spent an afternoon making the last of the cables and sorting out the fans with dead LEDs (mounted in the rear with no LEDs required anyway). Dare I say thats all the cables done now, I think?!!

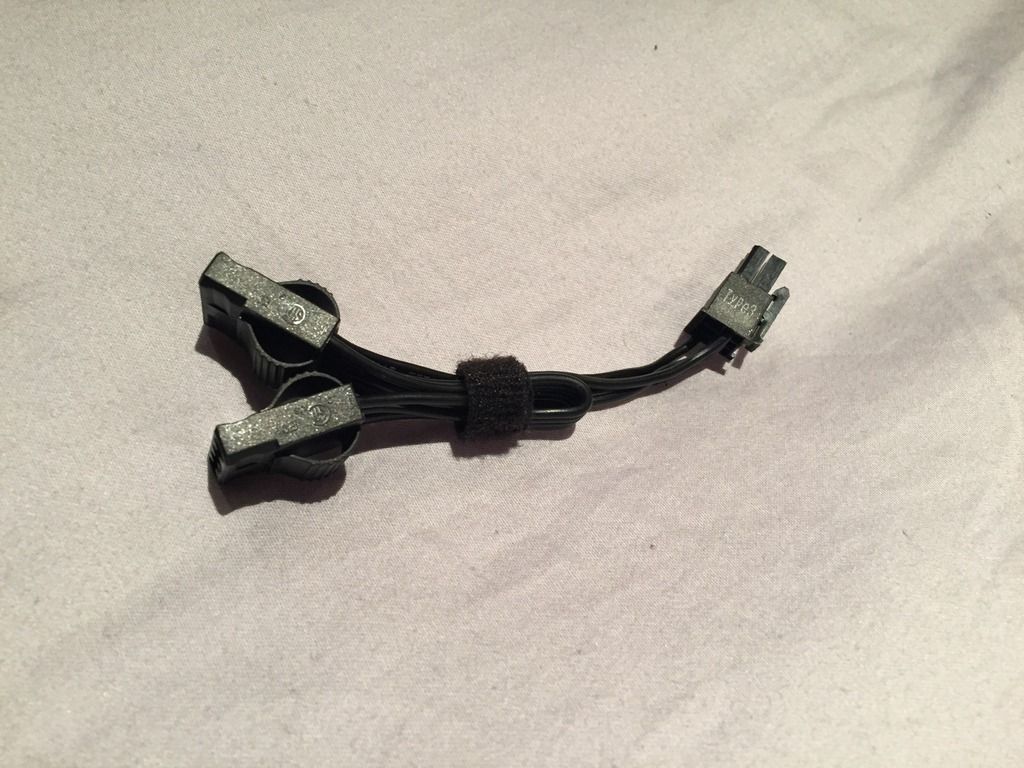
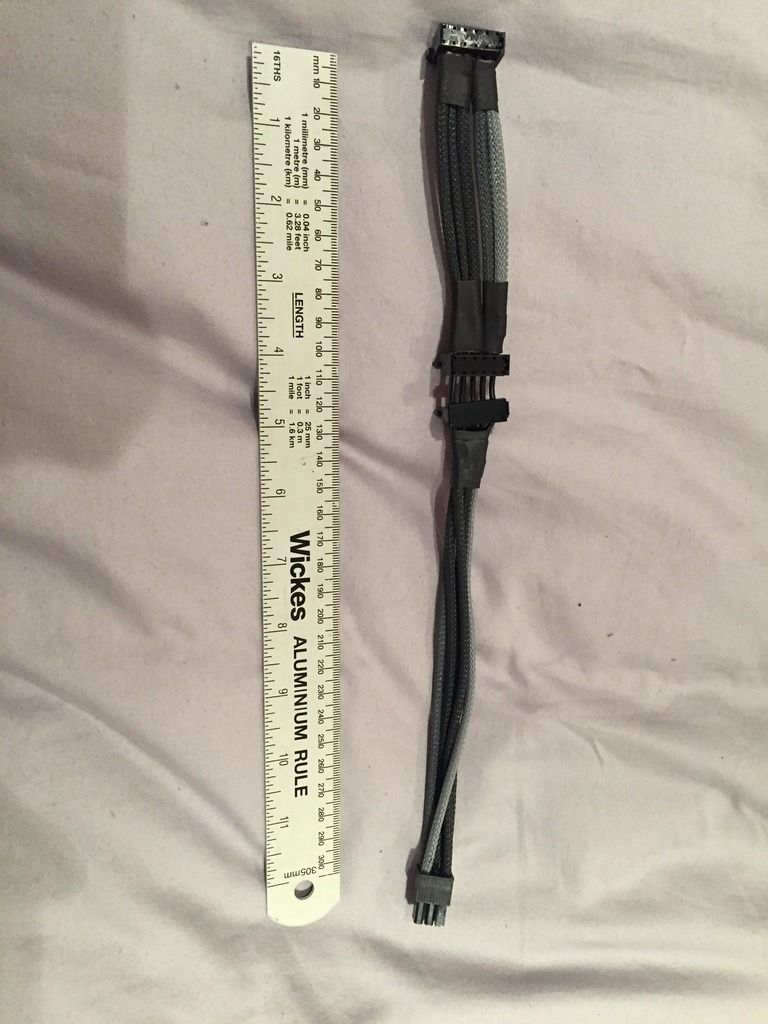
Wired the GPU cables as extensions which I forgot to mention last time, the reason for that was mainly to avoid having 4 single cables to the PSU whilst avoiding having doubled up pins in to connectors which is a pain with braid. It was also partly just to make life easier if I changed the supply in future... So basically I rewired the stock cables to create some tiny short versions to plug in to my long extensons:

IMG_2384_zpswq2ryms4.jpg

IMG_2386_zpszfpcrpny.jpg

And again for some of the braided pump cables decided not to directly wire them in but I might change my mind... Created some short Molex connectors, losing 2 of them from the stock configuration:
IMG_2389_zpswe5dcxda.jpg

Next up, SATA cables... Needed literally 3, two for LED fan modules and 1 for my SATA dock so instead of using the annoying chain of crap they PSU comes with where you end up with 5 evenly spaced connectors I made this one with two side by side (LED modules) and one for the dock. Braided it because I don't know why it was frankly pointless but there you go:

IMG_2388_zpsgvjkgxpl.jpg


So everything in the back is pretty neat and tidy... Tested the power cables and they work so thats always nice :D

IMG_2390_zpsacf0mmem.jpg


Finally recleaned the piping and finished it AGAIN after my stupidity in man handling it before it got totally filthy so now its all shiny once more ready to put back in CAREFULLY and wearing GLOVES lol.

IMG_2391_zpsdwhot7ms.jpg


Once thats in its pretty much there, the rear fans are back in and working (-LEDs) so the only job left to do is get some new SATA cables to replace the old ones (probably slim ones which are less ridiculous to run) and then buy 3 vandal switches to mount on one of the 5.25" panels which i'll connect the LED controller too so the lighting can be changed at the front of the case.

I think it might even get some water in it this week... HOLY. CENSORED.
 
Soldato
Joined
4 Jun 2007
Posts
2,619
Location
Watford, UK
Ooh, you don't want water* in there...it'll make the inside of your shiny pipes mucky! ;)

Tiny short versions of cables are great for making them tidy. As long as you don't mind making a new one if you make any sort of change.

*or other coolant.
 
Soldato
Joined
23 Apr 2010
Posts
11,896
Location
West Sussex
That's shocking the ATX jumper was wired wrong. Good job it wasn't sending power somewhere dangerous!
Fittings are looking good as are the fans. GPU cables look good and nice that the ATX cable echoes that.
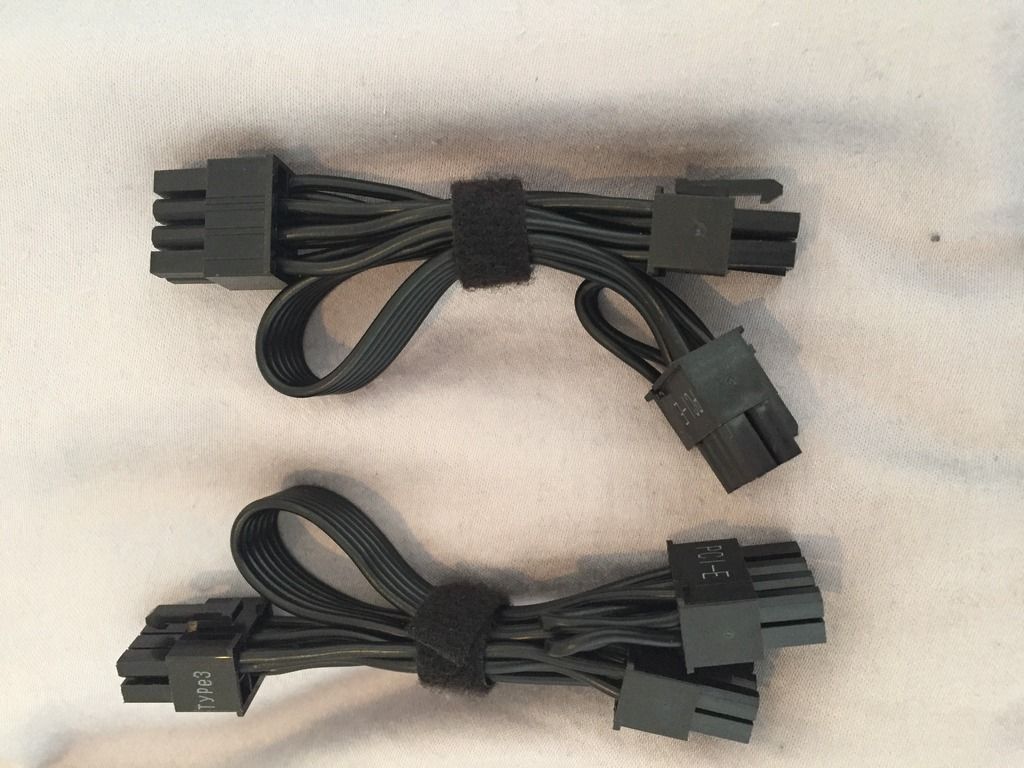
I bought a Gelid 24 pin extension once that was wired wrong. It melted two of the 12v connectors on the PSU. I managed to get it working again by pulling two 12 connectors from elsewhere and replacing the melted parts. PSU died completely about six months later.

So yeah, if you ever buy extensions/adapters etc from anybody always check they are wired correctly. I would surmise that the person who is far worse off than you who has to spend twelve hours a day making them can make mistakes..

Rig is looking stunning fella.
 
Soldato
OP
Joined
4 Dec 2015
Posts
3,221
Location
London
So yeah, if you ever buy extensions/adapters etc from anybody always check they are wired correctly. I would surmise that the person who is far worse off than you who has to spend twelve hours a day making them can make mistakes..

Rig is looking stunning fella.

Yeah I should have checked to be fair I'm just lazy ;)

Currently humpty is back together again so sat here while Dr. Drop is a stable 8PSI thinking about getting the wet stuff out...
 
Soldato
OP
Joined
4 Dec 2015
Posts
3,221
Location
London
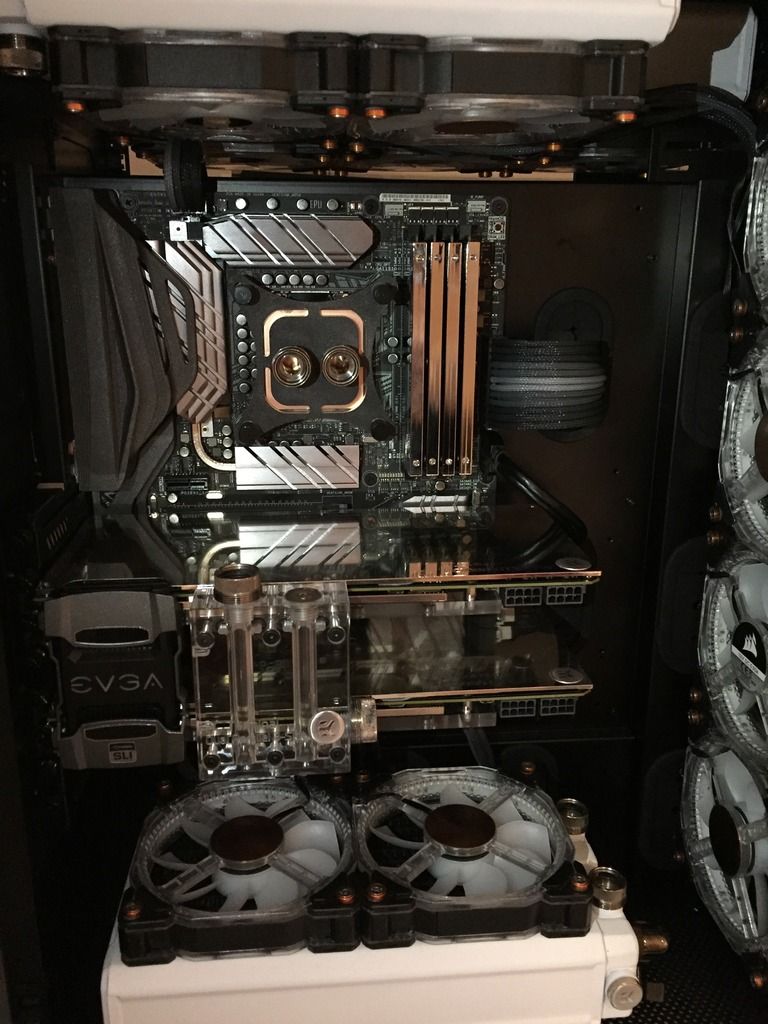
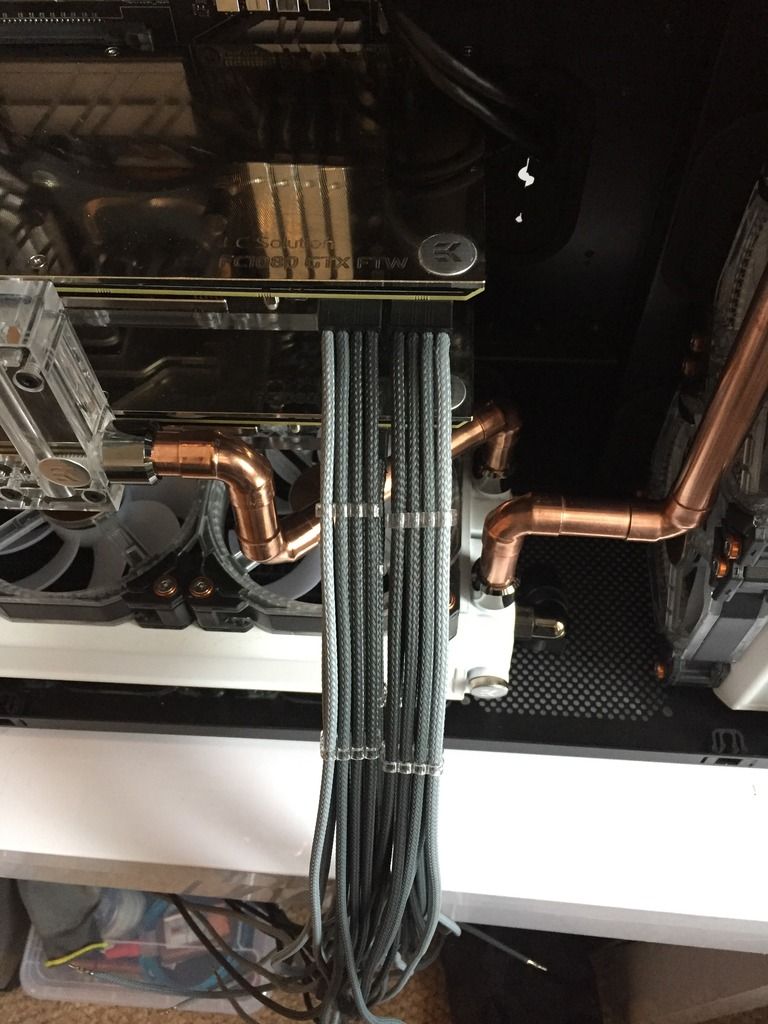
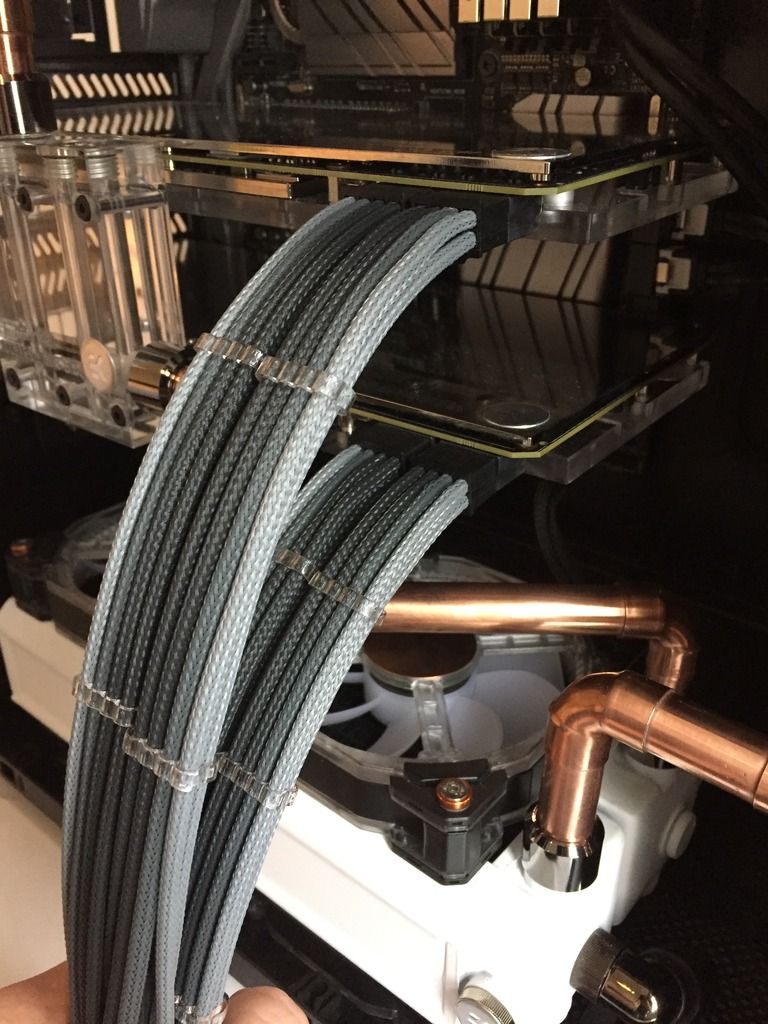
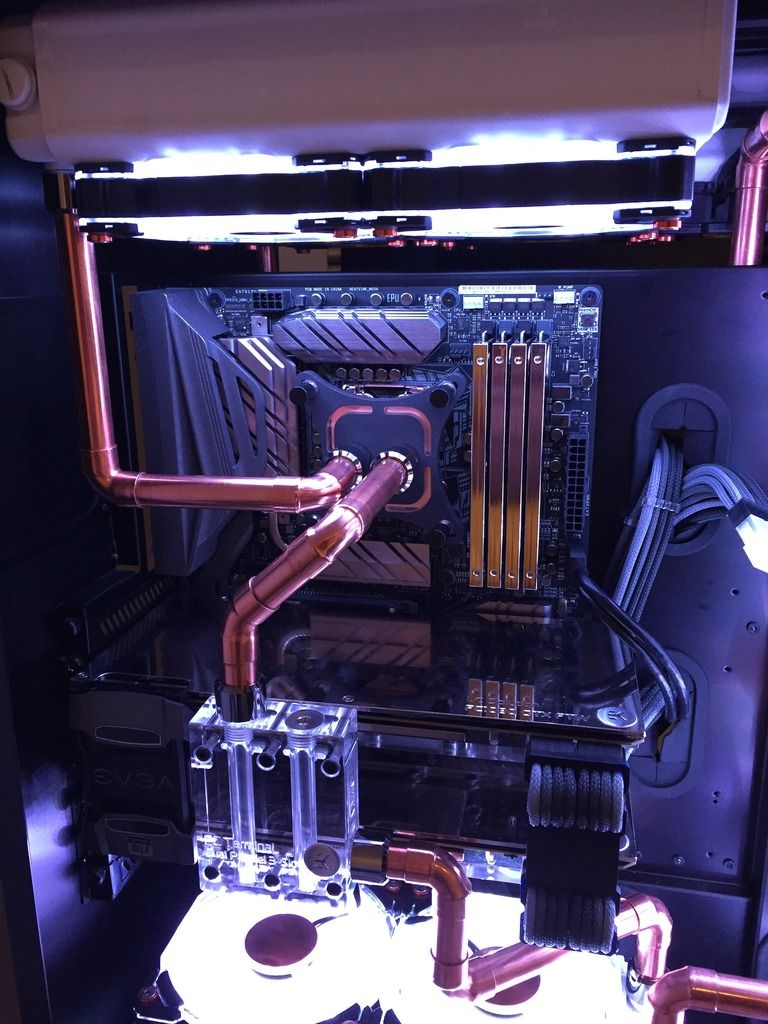
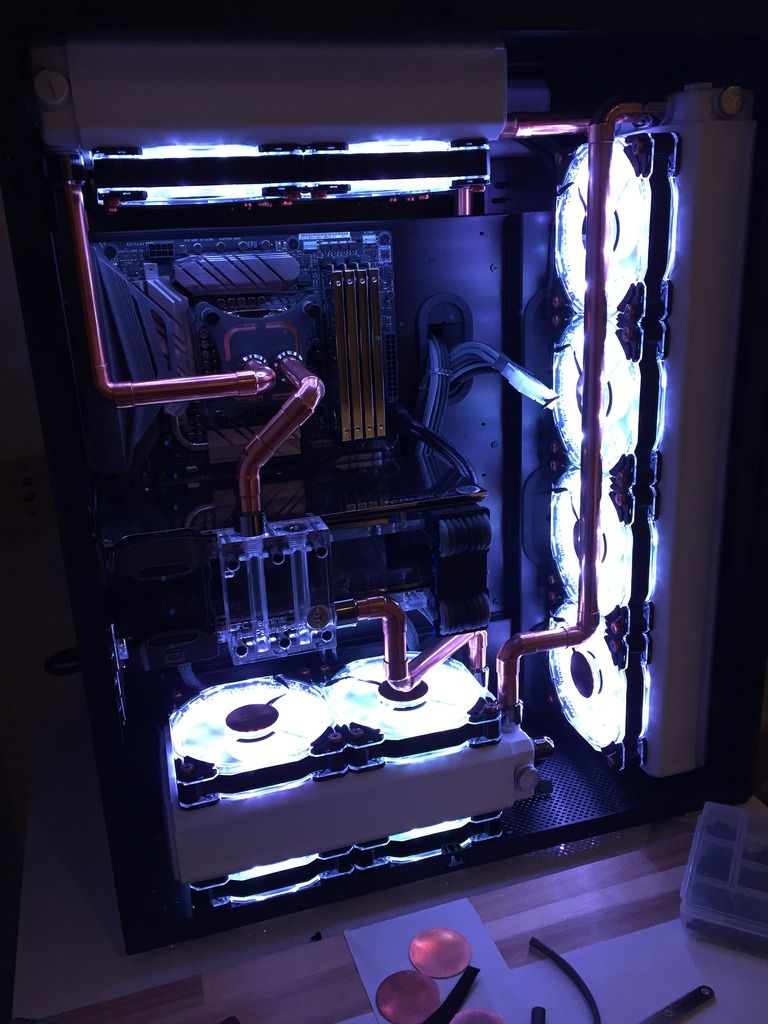
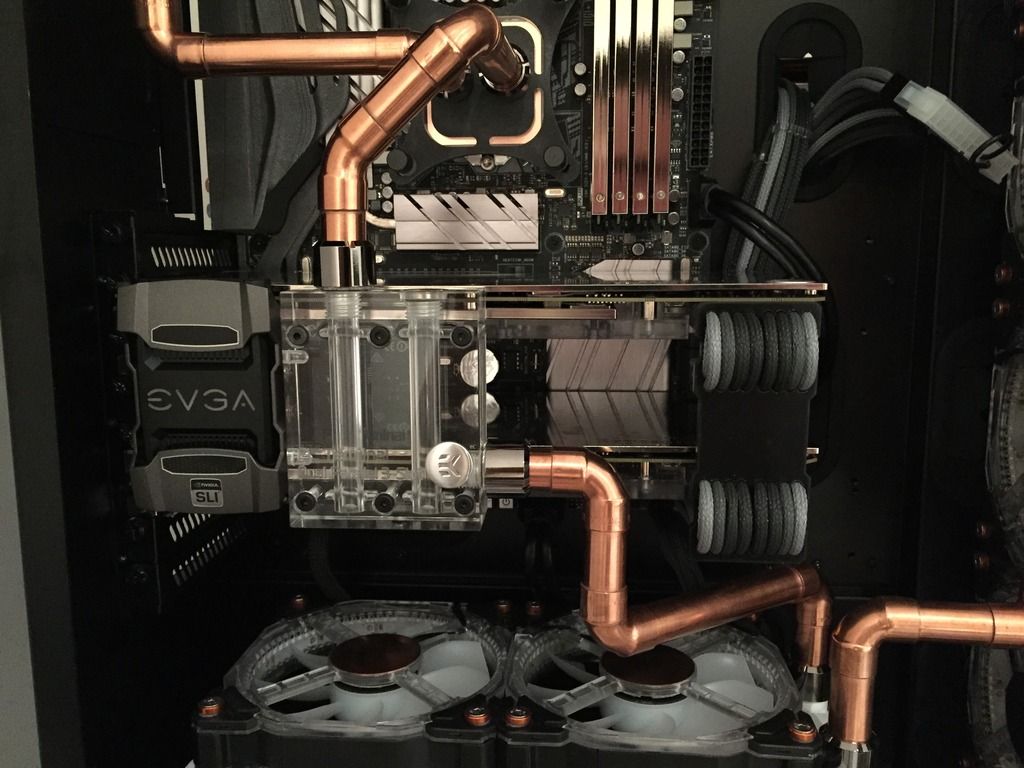
Well, i've had a VERY productive evening... No water involved but basically spent time sorting the cables out after refitting the pipes, including threading in the newly matt black'd GPU cable comb from my old build which looks very nice in my opinion:

IMG_2400_zps3gqw6alq.jpg

With lights:
IMG_2398_zpsm37ntek8.jpg

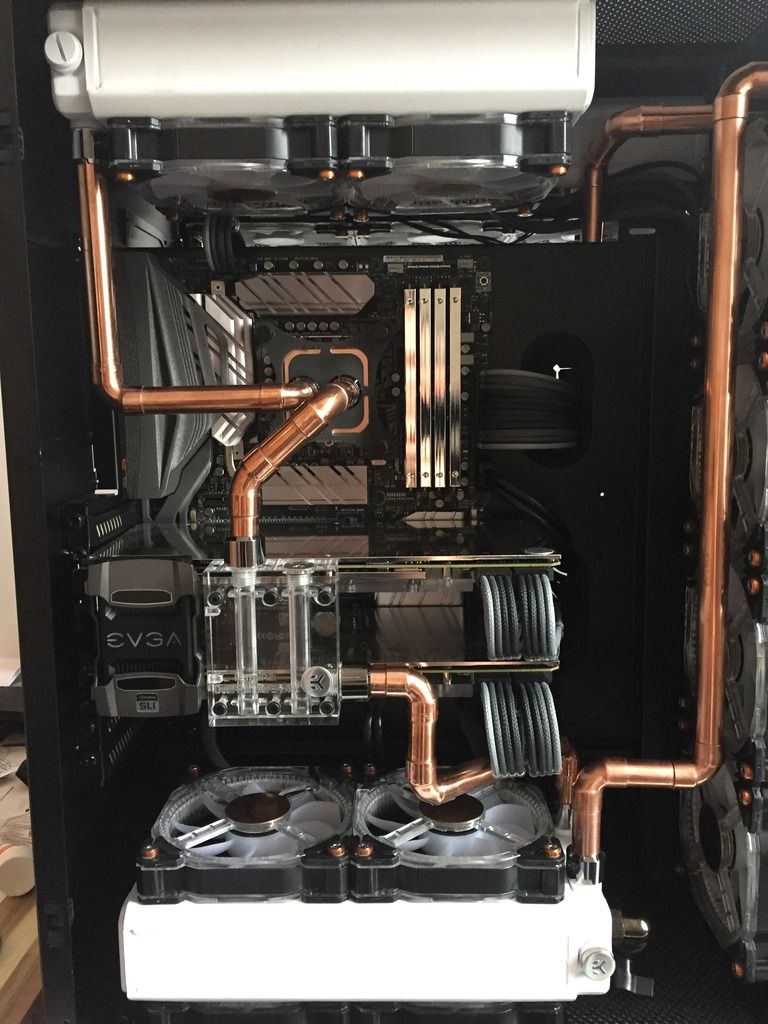
And further away, nice and clean with some decent 24pin combs coming for when I connect the ATX cable to the board for good:
IMG_2399_zpsy9bizaqu.jpg


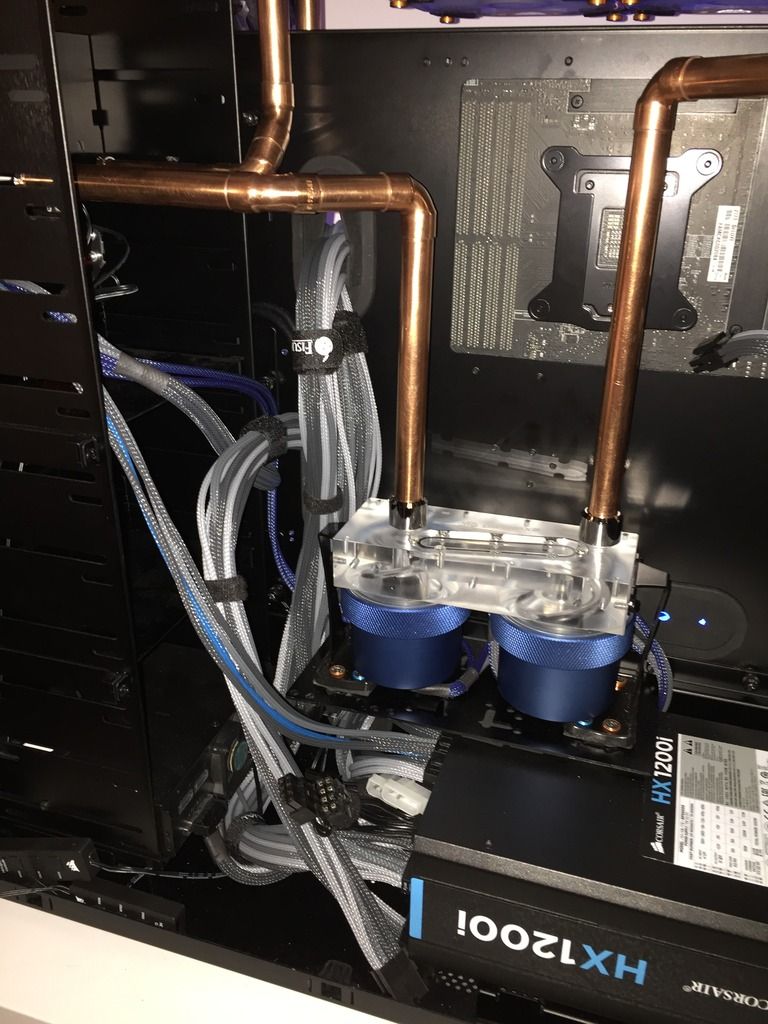
Tidying up behind the scenes, ignore the random turquiose molex cable, need to redo it longer and with the platinum accent:
IMG_2401_zpsb9wp8ijz.jpg

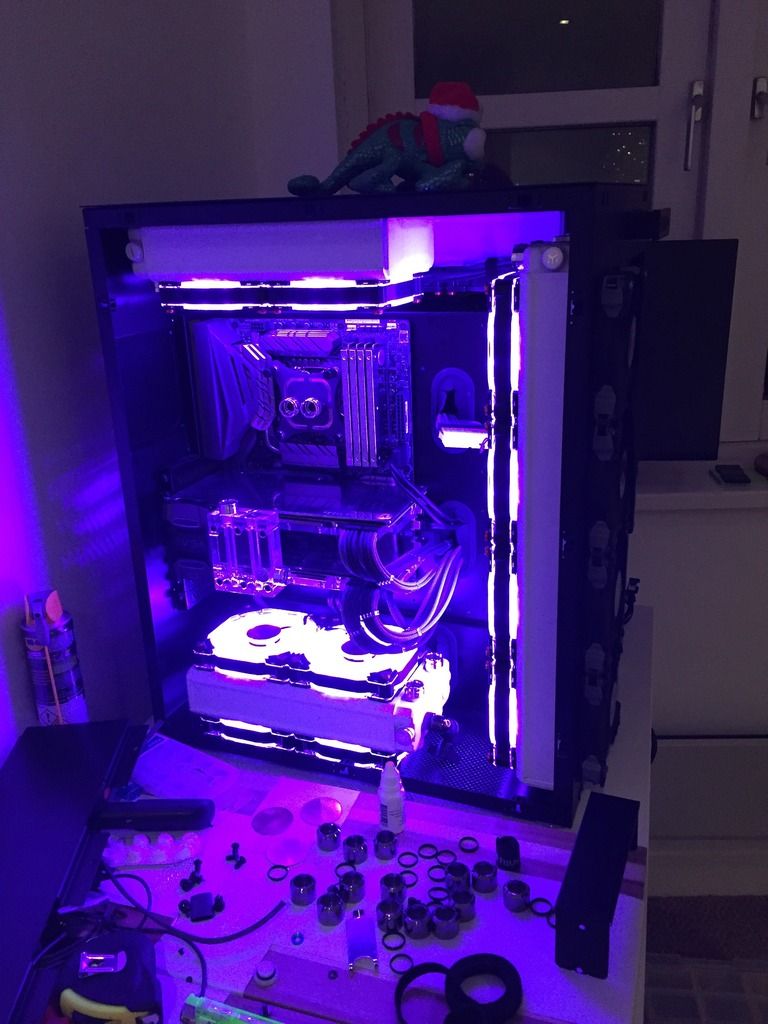
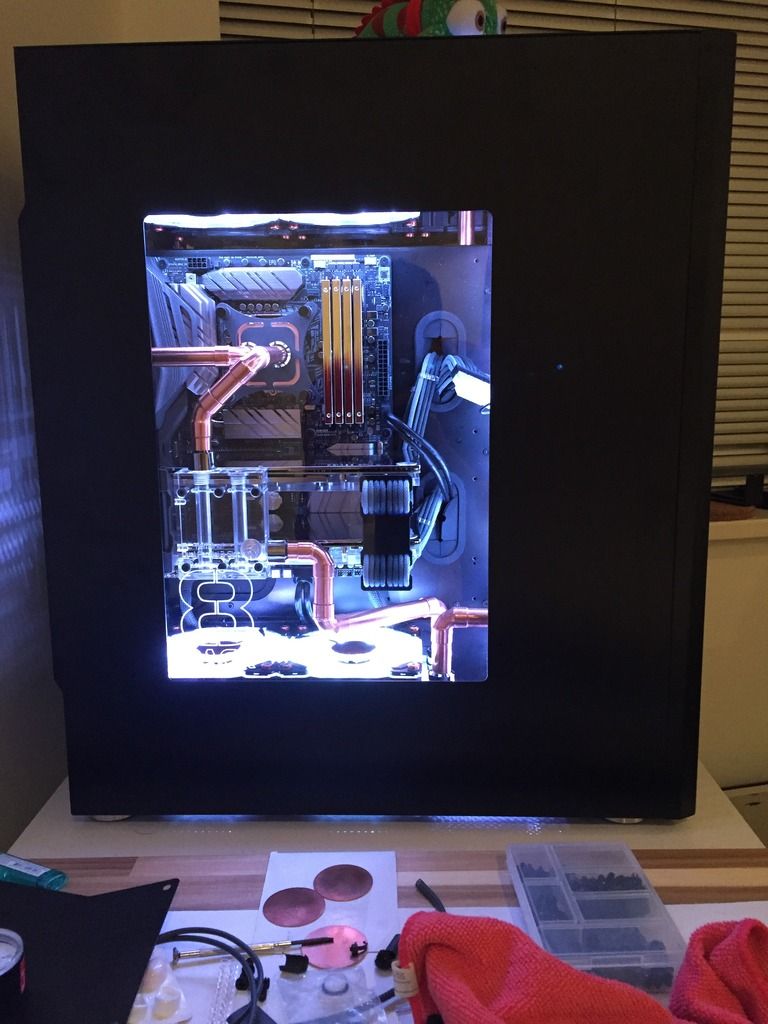
All ready to connect up once its leak tested... Decided I might as well shove the panels on and see how it actually looks once its together:

IMG_2402_zpsvag2bu9j.jpg

IMG_2403_zpsigiyapcl.jpg


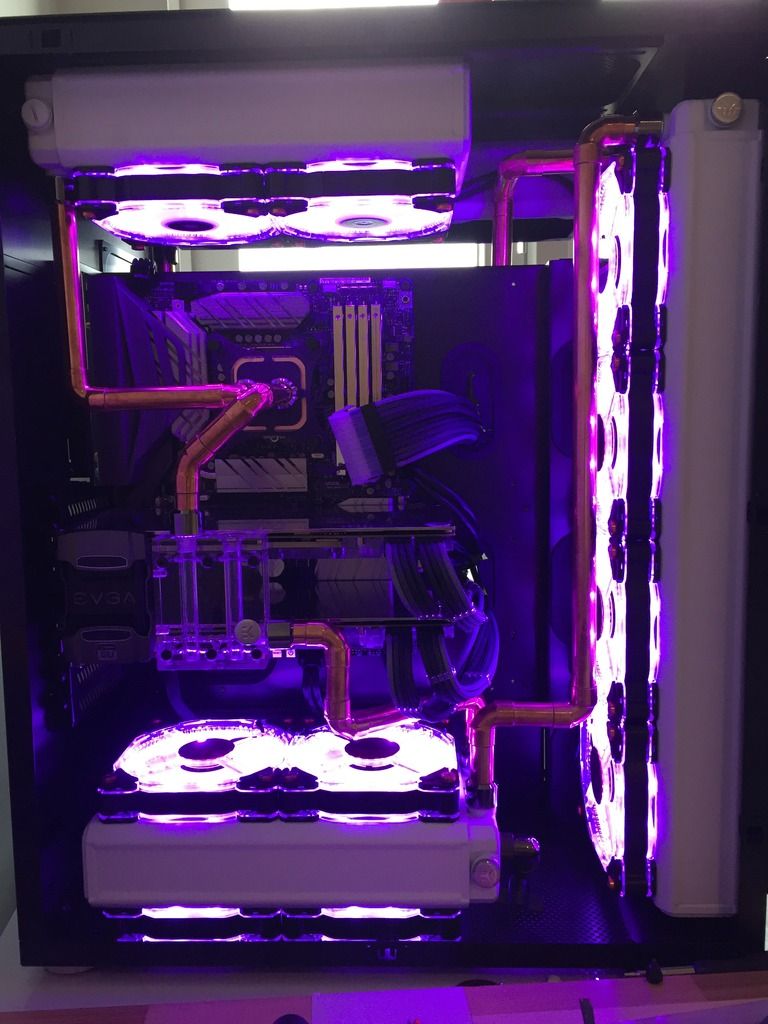
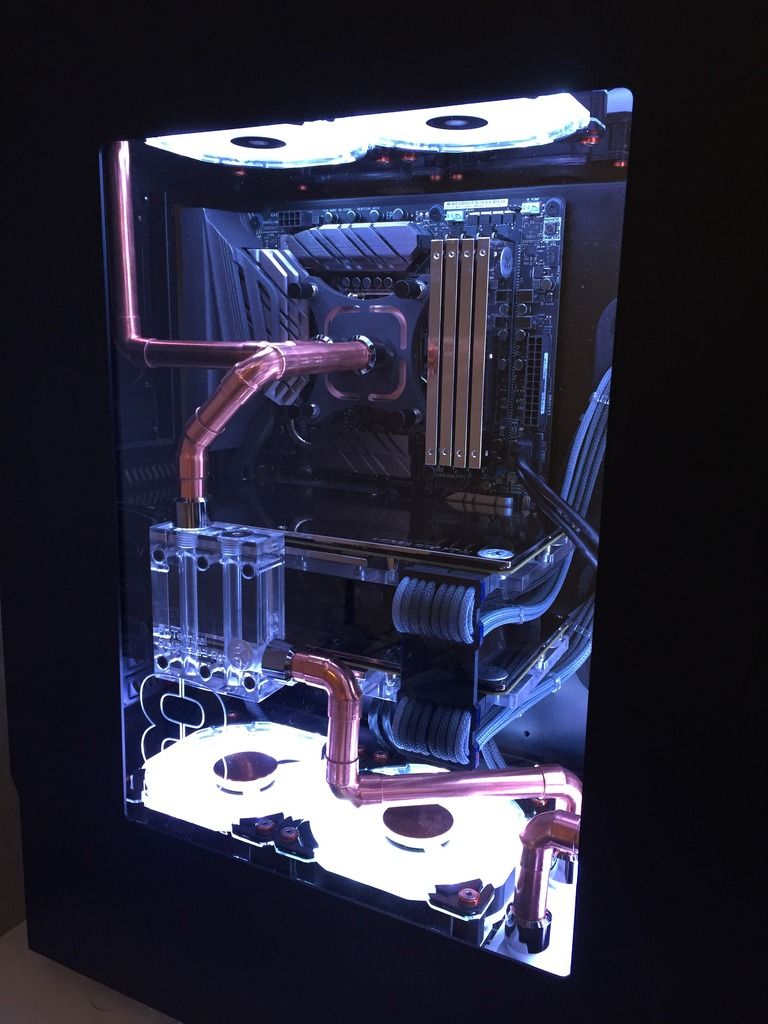
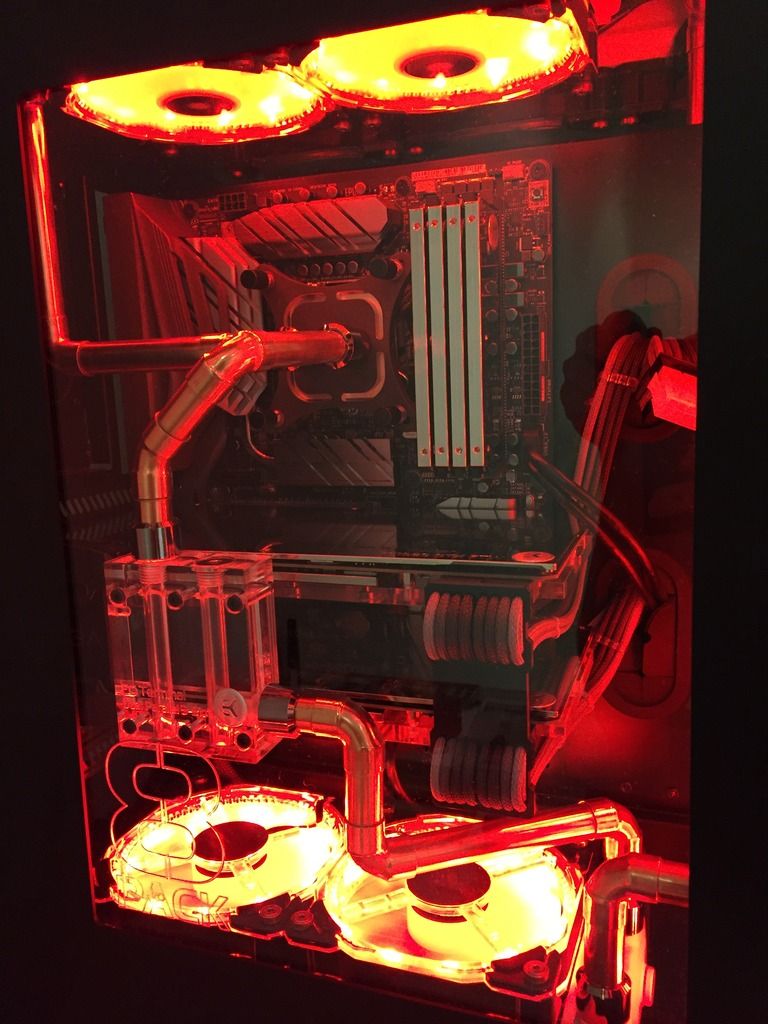
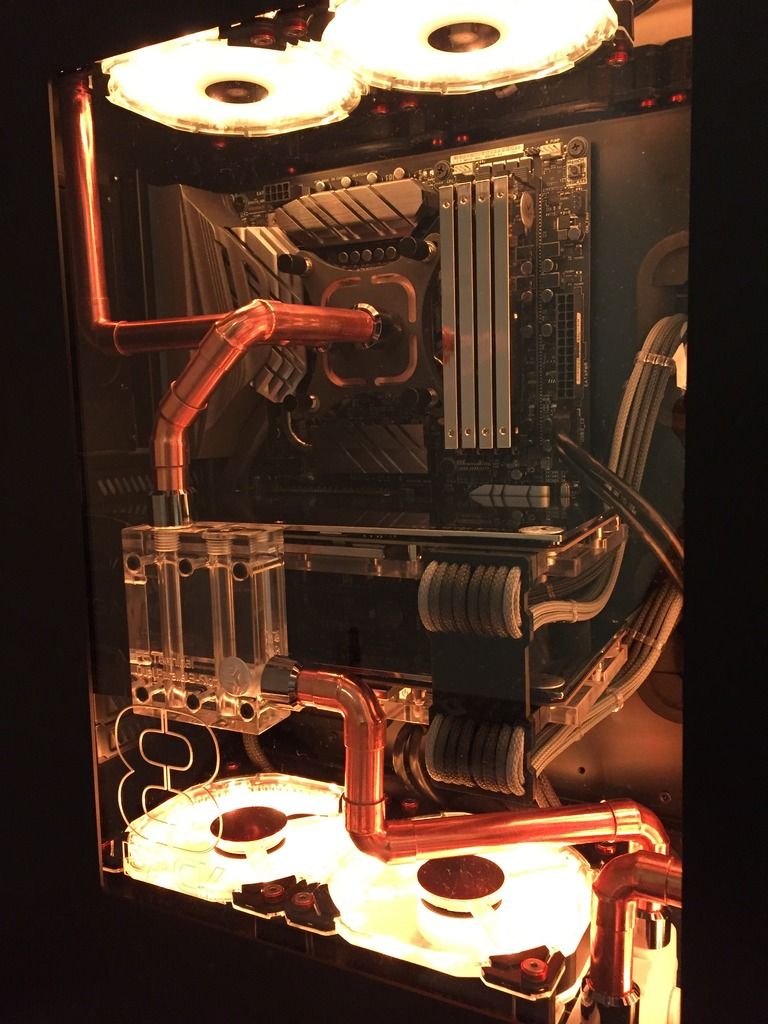
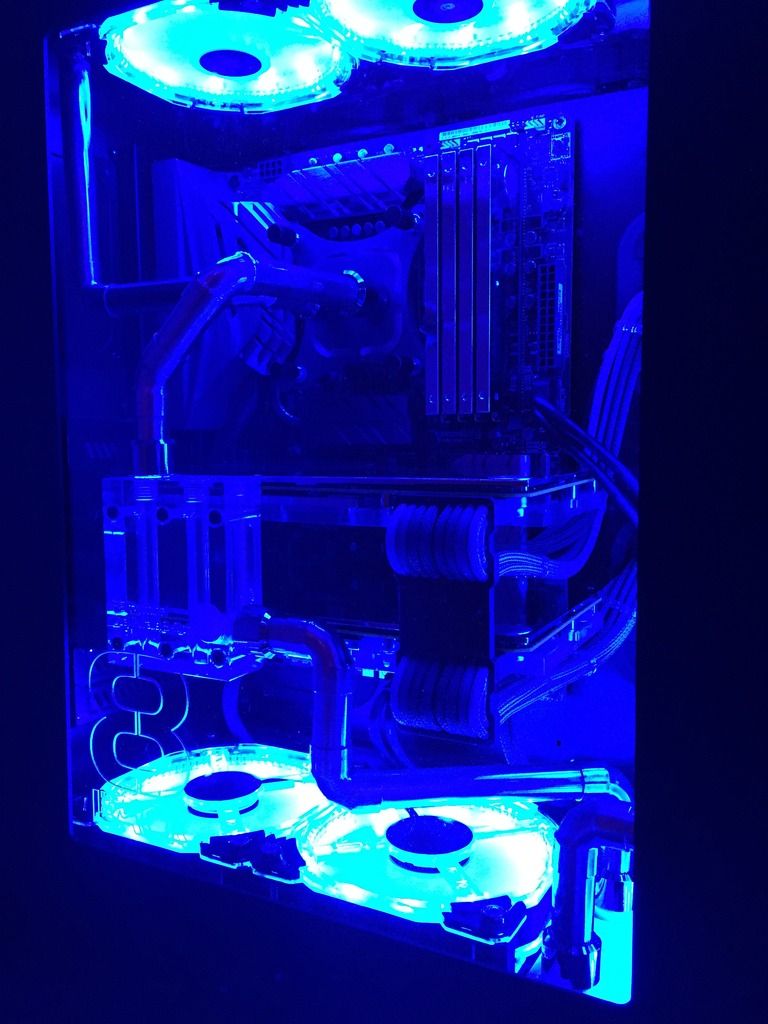
Havent got my vandal switches to connect up yet but the stock controllers for the fans are in the back so keeping on static mode a few of the other colours, the sort of golden Orange and oddly the light purple seem to look the best with the copper:

IMG_2404_zpsdx9afzpa.jpg

IMG_2405_zpsrgun0w7l.jpg

Awful blue:
IMG_2407_zpsc1yckaxe.jpg

Nicer...
IMG_2408_zpspcwhr3ud.jpg


And thats it for one evening, few bits arriving this week so nearly time to see how many components i've murdered in the battle to build it :D
 
Soldato
Joined
4 Jun 2007
Posts
2,619
Location
Watford, UK
Nah, the GPU cable comb looks terrible....you should post it to me; it'll look much better in my case! ;) :D I promise to be very gentle when I cut it in half for my non-sli setup :p

You're right though, the blue looks awful. Purple is better but I think of the lot I prefer the light orange (one before blue). White's good too but could be construed as boring. Colour change based on mood perhaps? Rig it up to a breathalyser and have it change colour based on number of repetitions of step 1? ;)
 
Back
Top Bottom