Project Whurple - White/Purple Watercooled Build - Changes to 3d printer build!!

First stumbling block... The pinouts on my LCD and the Geetech board are different or there is some odd incompatability. With the Geetch board plugged into my bench supply, when I plug in the LCD it hits OCP. After some digging the cheap nasty LCD supplied with my printer was some mixup of a zonestar lcd which in the firmware has these reasuring lines:

Code:
//
#define ZONESTAR_LCD            // Requires ADC_KEYPAD_PIN to be assigned to an analog pin.
                                  // This LCD is known to be susceptible to electrical interference
                                  // which scrambles the display.  Pressing any button clears it up.
                                  // This is a LCD2004 display with 5 analog buttons.

Now here is the thing mine isn't even a legit one of them but some copy and the pinout is mirrored. I am not even going to bother messing about anymore. I have much better displays on the way for my new machine.
 
Any reason you went for this board over a cheaper 32bit one and some nice TMC drivers rather than the 4988's

Probably because I have no idea what I am doing :D all of the other ones I have ordered are probably equally as bad but im learning as I go and its only cost a couple of hundred quid and im educating myself.
 
Last edited:
Learning is the most important bit.

This is it. I'm only a couple of weeks into my little adventure and am sure ill get it all wrong before it works! I can't work out why I can't get that lcd working but I have a couple of those 12864 LCD's coming including a fancy touch screen one so would rather try and fail at getting the board working with them rather than an LCD I am never going to use. I have bought a cheap ebay extruder for now to get set up with but will probably grab an E3D Hemera when they come back into stock as I was watching some reviews and they look pretty cool.
 
Last edited:
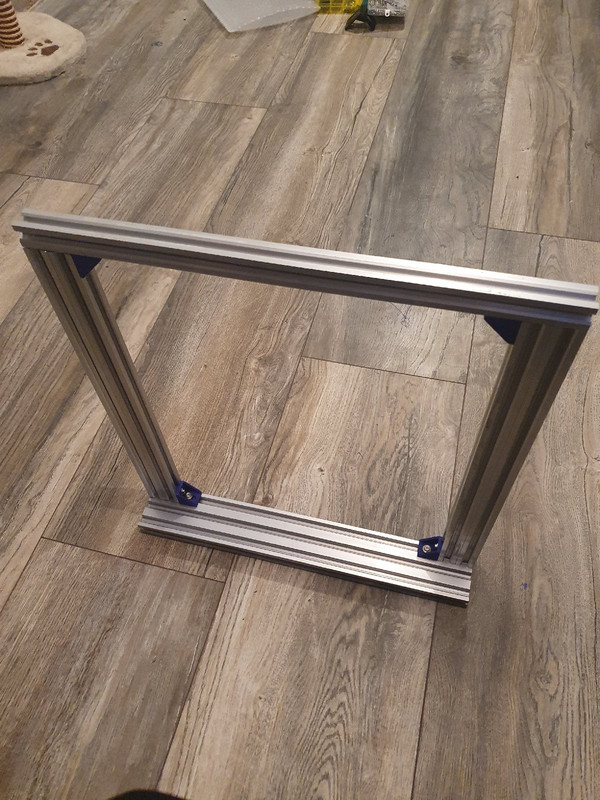
Been messing around a bit more in cad and have decided that the frame is going to be all extrusion. I have been tossing up a few designs including a big box type thing but right now this one, or a variation of it is my favourite, everything in purple would need printing:

 
Some more stuff has appeared:


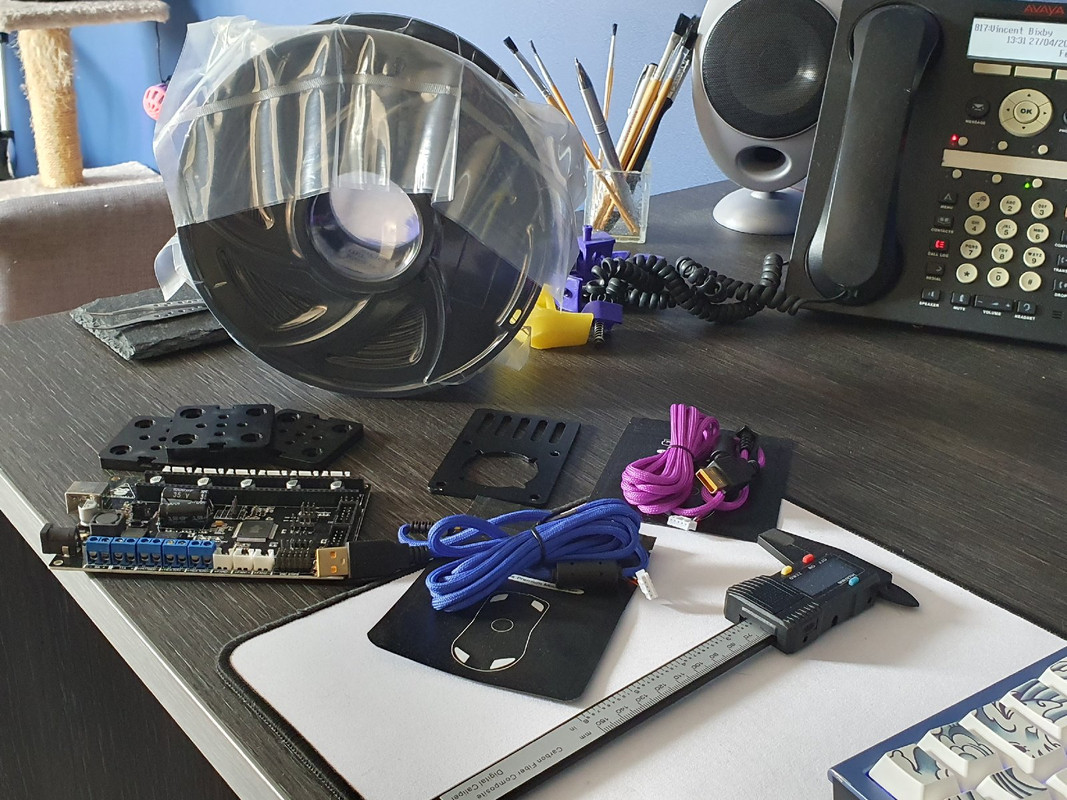
The second of the boards is here, this one is the Anycubic TriGorilla and its absolutely covered in flux. Then we have a couple of mounts that I was going to print but for a couple of quid I thought I would just order them. Then we have the Joke that is a pair of Glorious upgraded cables. Bought one for me in blue and one for the wife, spent some £40 on the glorious site and then got stung for £16 import charges and waited over a month for them... Poor show!

Oh and a roll of Carbon Fibre PLA to play with!
 
Last edited:
If you're playing with carbon fibre PLA you're going to need some new nozzles. It's abrasive compared to PLA so it'll grind down the nozzle eventually. Cheap enough, but a bit of a pain to switch nozzle when you switch filament.

Already got a selection of E3d hardened ends on the way as well as some Chinese copies. Hopefully they will do the job.
 
Sweet, we do love a hardened end...

...sorry :p

I saw this for £15 and had to have it! It was only after I bought it I googled it and realised it is one of those special filaments and needs 'stuff'

I hear all the best ones are the hard ones :D

One thing I have learned and this may make a difference later, the Anycubic board has much better schematics available which means I can easily program it for my fake Zonestar LCD as 2 seconds in google found somebody with the same issue and a solution of mapping pins in firmware. The same can't be said about the Geeetech board so that may be a consideration when building.
 
Last edited:
Surprised because Geeeeeeeeeeeeeeetech boards are commonplace, so I would've thought there'd be more community twitterings about it.

It is quite bizzare how little there is out there on the geeetech, they have a forum but it is next to usless. The anycubic appears to have pin numbers on everything whereas the geeetech ommits them on the board from loads of stuff including the LCD connector. Perhaps im just not looking hard enough. I found the lcd pinout for the trigorilla in next to no time at all, with the geeetech I had to resort to the multimeter.

The port on the geeetech for whatever reason is also mirrored so pin 1 is 10 and vise verse(hence my bench supply hitting ocp when plugged in normally) so you have to jam the cable in the wrong way around. Madness.

For example with the AnyCubic and my fake ZoneStar that is missing a cable all you need to do is define the pins for this pinout:


Which somebody has usefully shared on the AnyCubic wiki as definitions in the pins file in marlin as:

Code:
#define ADC_KEYPAD_PIN 8
#define LCD_PINS_ENABLE 17
#define LCD_PINS_RS 23
#define LCD_PINS_D4 29
#define LCD_PINS_D5 25
#define LCD_PINS_D6 16
#define LCD_PINS_D7 35

I didn't even have to work it out myself somebody has done it all for me. With the Geetech no amount of googling came up with anything at all like that. In fact most stuff I am finding on the Gt2560 is old stuff whereas the AnyCubic the details above were shared late 2019 so there appears to be much more current info available on that board. Still not entirely sure what I will use yet.
 
Last edited:
@bulb66 could you recommend some 32 bit kit that I can buy and play with please? A board that works on 12v would be nice as I already have a 12v 40amp supply. I could get a 24v as well but for my first build I would like to keep with at least some bits I know.
 
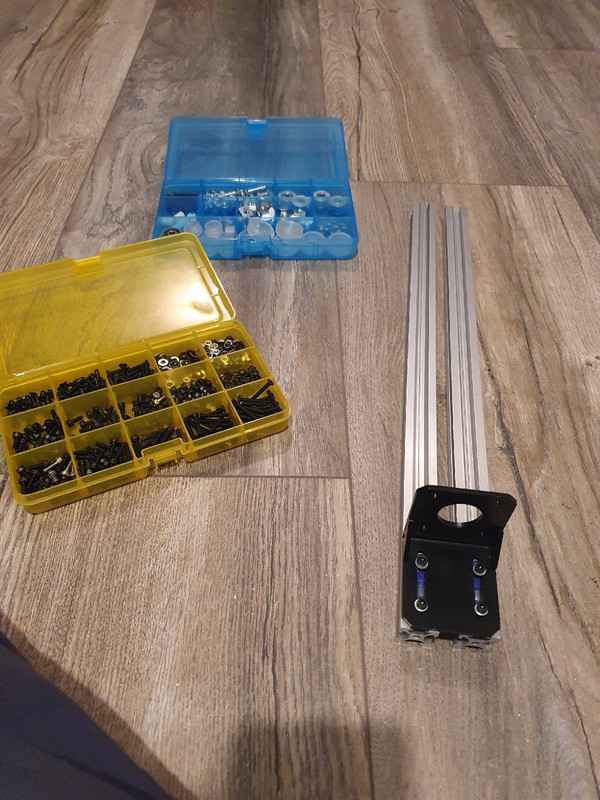
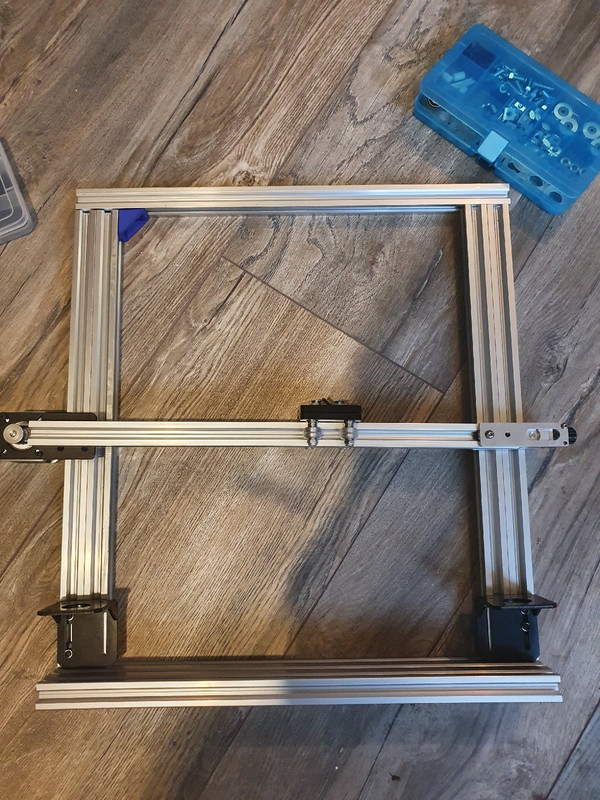
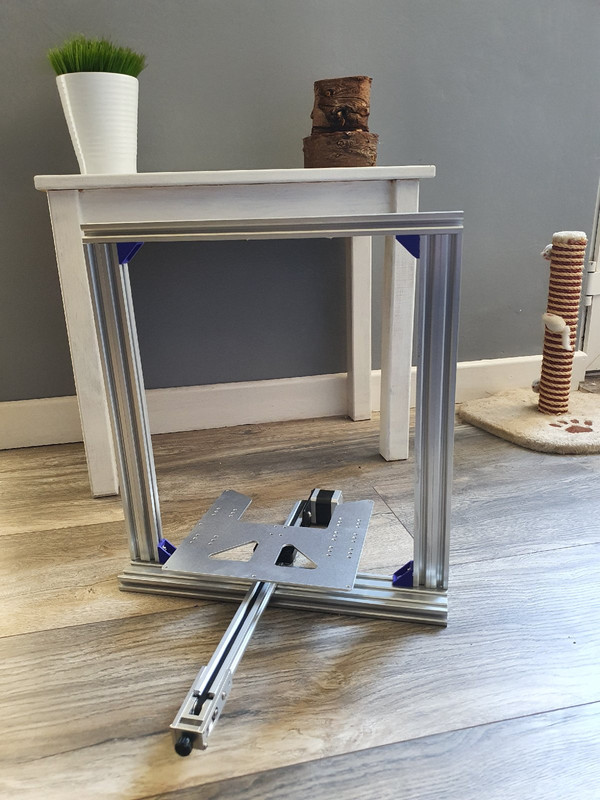
Got a start on this and built a mock up of the bed bit of the frame. Not sure yet on how to properly secure the belts so will design something in cad to replace the couple of plates i have there at the moment. This might change yet but i think i prefer this to the two circular rails.


I love how the belt just sits perfectly inside just missing everything. I might file the ends just a bit but it works a treat.
 
Oh, if only my X carriage belt ran so true. o matter what I do it always slips about 3mm to the edge. Started slightly rubbing on the extrusion now :(

To be fair I haven't got the parts fully sorted out etc but I recon it should work pretty decent when it is done. Ill hopefully have my other printer up and running soon and the rest of the extrusion will hopefully be here this week. When I have a few more bits I can get to work properly. Little bits turning up every day is good though, it's always a mystery what the postie is going to bring.
 
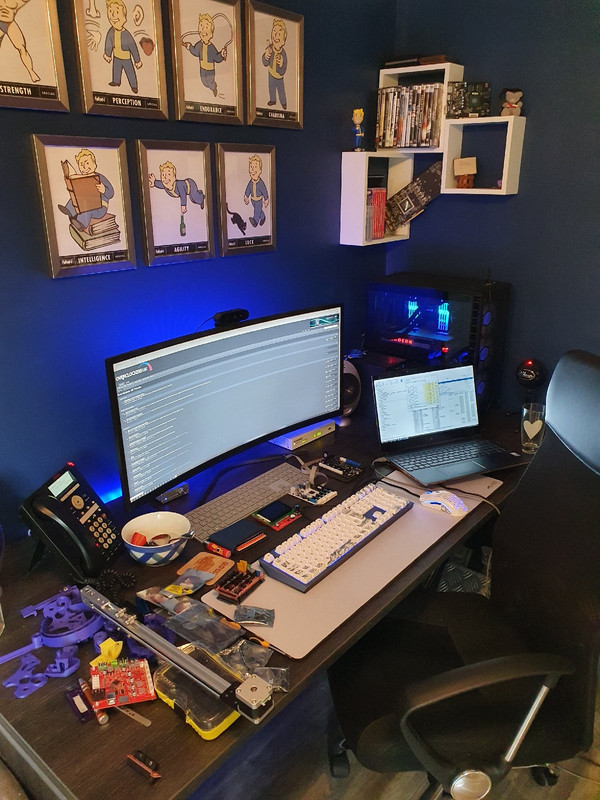
Some updates on the software and hardware side of things as well as some musings about what I have and just general waffle. Some more stuff came today to play with and below in the pics you can see most of it and the mess im making playing with this stuff. New stuff includes a Mega2560 board, Ramps 1.4 board, RepRap Discount Full Graphic Smart Controller and an adapter board for it. Some endstops, some a4988 stepper drivers, some more just random bits of extrusion and some gt2 pullys etc. A fairly decent haul today but really there are other things I would rather have got here. One good thing is that an lcd is here that is more trustworthy and something of a known quantity to deal with so I flashed the boards (both the gt2560 & Trigorilla) with the updated marlin firmware and enabled the LCD with both boards. The GT2560 I get nothing with the instructions on their site but with the TriGorilla I get a garbled mess so at least something to work with. After a small amount of messing about and googling it appears there is a small firmware issue that fixes the garbled lcd, re-flashed it with the fixed code and in no time at all I was up and running. I tried the same fixes on the gt2560 and as yet have no luck with that board but to be fair haven't invested the time into it yet. I now have at least some of the bits so i'm going to wire up my new X axis and play about to make sure that works as well as get some other bl touch etc related bits loaded onto the board to make sure I can do that as well. I will invest more time with the 2560 as I think I have at least now found a pinout for the board so should be able to at least get it running as really that was the board I thought I would end up using for my build but right now the AnyCubic board is proving easier to work with. Anyway here are a few pics:


If anybody wants to chip in with anything at all, particularly if you know anything about the geeetech board, even if its to tell me I am a massive noob (you don't need to, I already know) and I'm doing it wrong then feel free. I have already found a home in another project for the Mega2560 and ramps board as my friend wants to make a camera slider thing and there are already projects out there based around that so I video called him and offered him some presents to get his project off the ground.

Just so you can see where I am at:

 
Last edited:
Use your endstop to let the board know where X Home is. That should then reset your X 0 position to the end of the extrusion and give you full range of motion. Disable steppers in the menu, roll the carriage to the end of the extrusion and then auto home. When the carriage smacks the endstop (and it will smack so hold tight or mount it :p ) the board will have its home set.

Essentially you can't do negative movement so you've set your X 0 to the middle of the extrusion just by virtue of installing the carriage there.

As for X Max, I believe that's something you'll need to program into the firmware.

You were spot on. Last night I thought now that I have managed that how about I give my old printer some open heart surgery and reconfigure that board and LCD into my old printer and re-write all it's firmware so that I have at least one working printer. Was a bit of a nightmare as the old printer board uses HICTOP endstops and this one doesn't and has 3pin endstops (with reversed logic). You can probably do something in the firmware to get it working with the 2pin endstops but for now I put the new ones on the old machine and have managed to home it successfully on all axis. Not a bad job all considered and the firmware is now fully configured for my little i3 clone!

The following video was for a friend who was wondering how small a step the motors can take but it shows some progress :)


I forgot to film it in landscape... Animal!
 
Last edited:
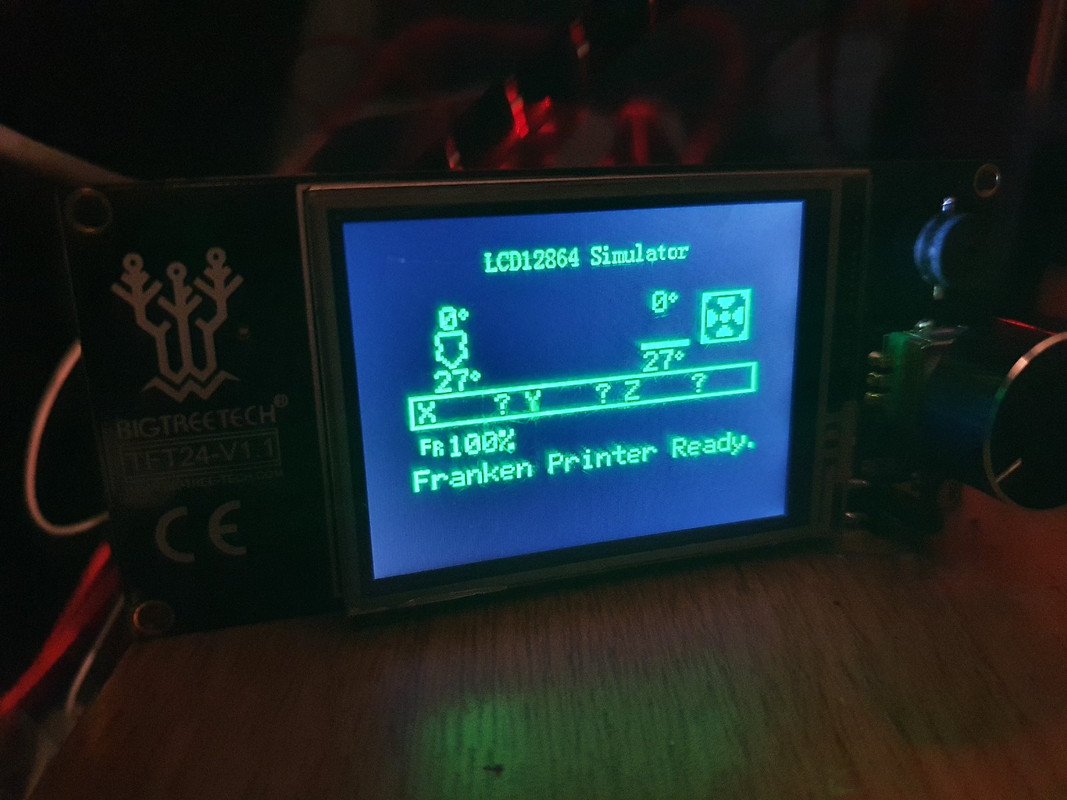
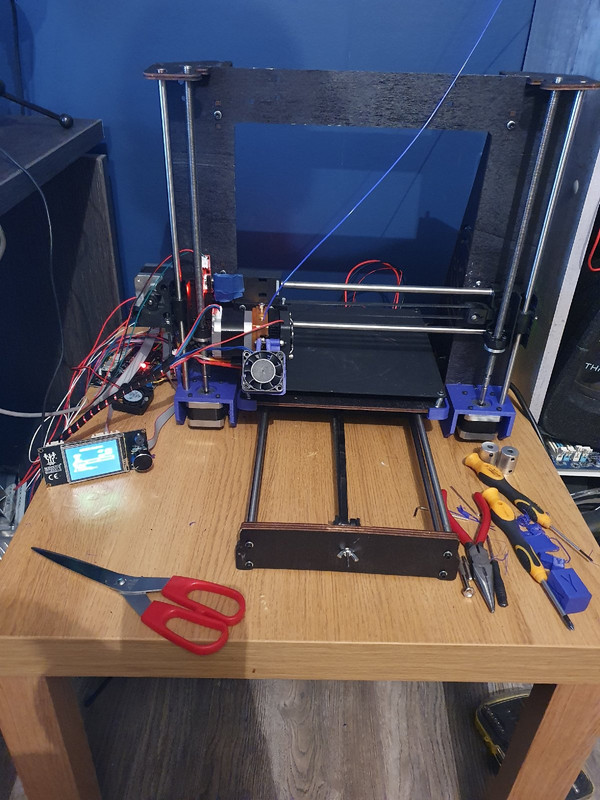
After much messing about we are back in the printing game and are printing stuff for the new build. I spent what I would consider a significant amount of time messing about with all things software and now have the firmware properly dialled in for what has become affectionately named "franken printer". Right now the new lcd is working in simulation mode as this new lcd (not the one in the video above) is the full touch screen capable TFT so that is the next thing to get properly working. There were many issues along the way, for some reason I was convinced that the motors were 0.9 degree 400 step motors so I was doing all my calculations with that in mind so you can imagine the confusion when this happened:


Also here are a few pics. I think I have everything properly dialled in now, from esteps to whatever else writing the firmware to make a board work with a printer from scratch was a bit of a chore:


It looks proper fallout right about now but things I have replaced on this little printer include, end stops, extruder, hot end, motherboard, lcd and a lot of the wiring. The plan I think is to rebuild this one with some new printed parts such as a case for the board, different lcd and some other bits and clean it all up while also printing parts for the new extrusion based printer, for that printer I have now settled on an extruder, not wanting to go full bowden for now I have decided I am going with the Titan Aero so I have one of them on the way as well as one of the small pancake steppers which should keep that x carriage nice and light on the new printer shaving off two thirds of the weight.

I have also been sharing updates with a couple of mates and we have set up a little thing, the deal is, friend number 1 (Alex) buys printer from me for half of what I paid for it (£35) but the catch is he makes his own printer with it then sells it to another one of our friends for half of what he paid for it, but again that person agrees to make their own printer, so far there are 3 of us who are game. They will likely need help from me on the firmware but it could end up being fun and should be interesting to see what they come up with. Alex is an engineer so I am expecting his to be a fair bit better than mine. I also dropped the ramps plus mega2560 board on his doorstep while out shopping and he has made a start on his camera slider build.

I have literally gone from somebody that has never done any work on an arduino before to now having a pretty fair grasp on how the marlin firmware works. I even wrote my own routine for a 3rd fan. To say that a default flash was miles away from the settings required for this little machine is a bit of an understatement. I am now thinking with my new found knowledge that I should have a better shot at the gt2560 board as I have now found a schematic for that board as well :)
 
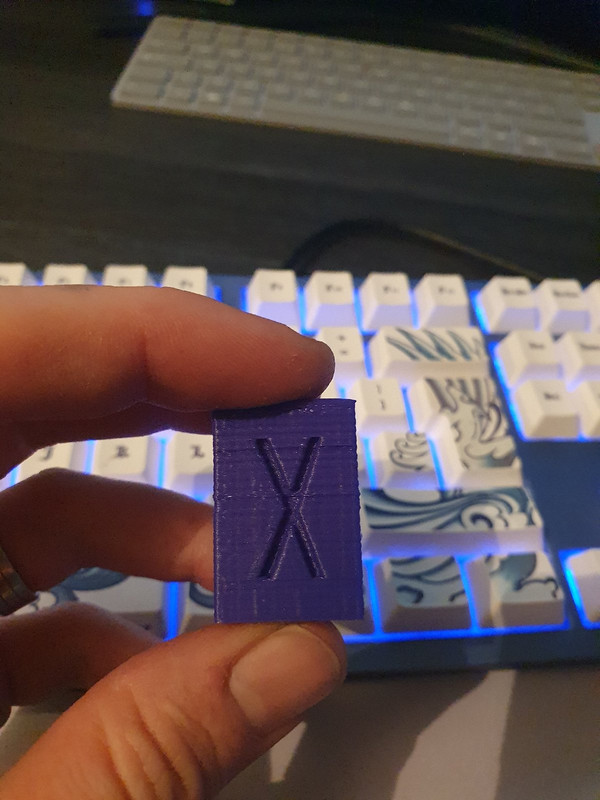
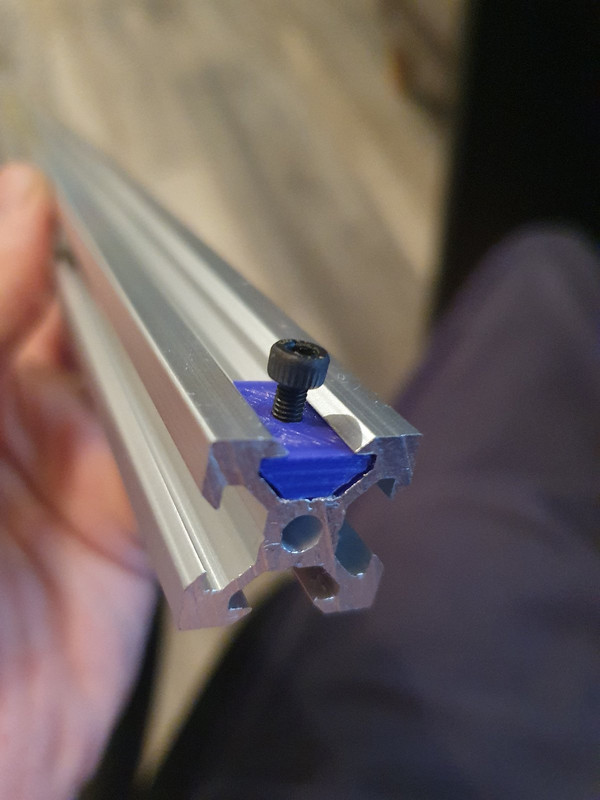
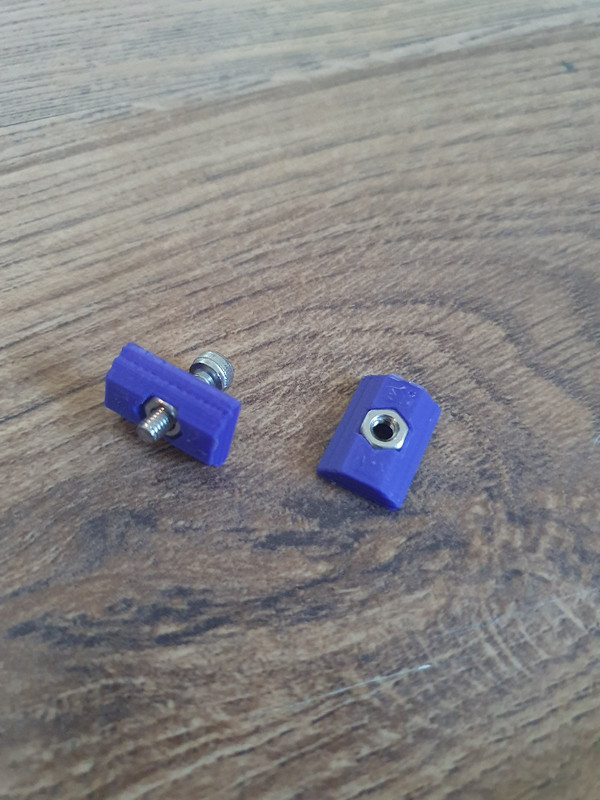
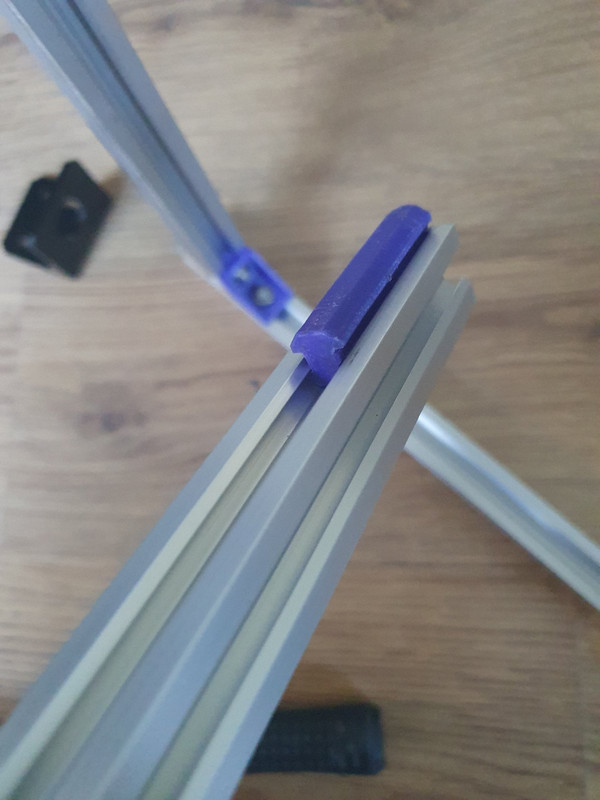
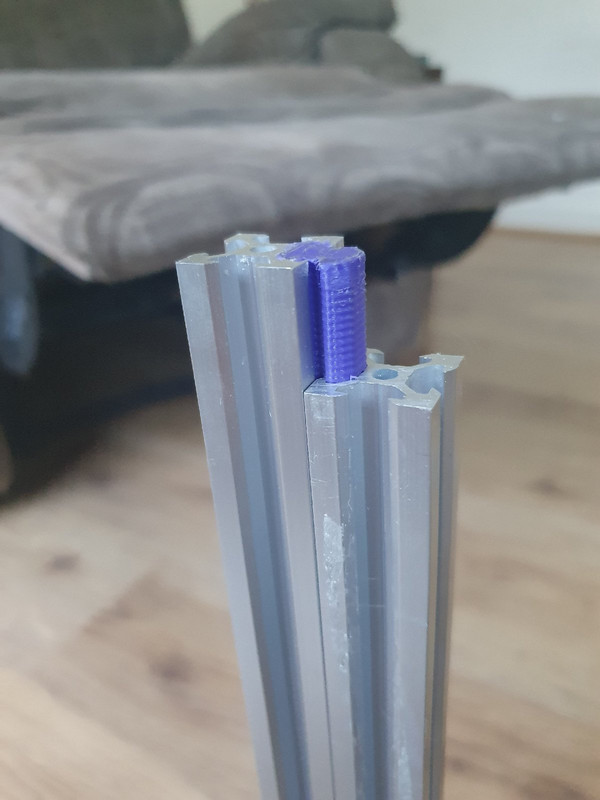
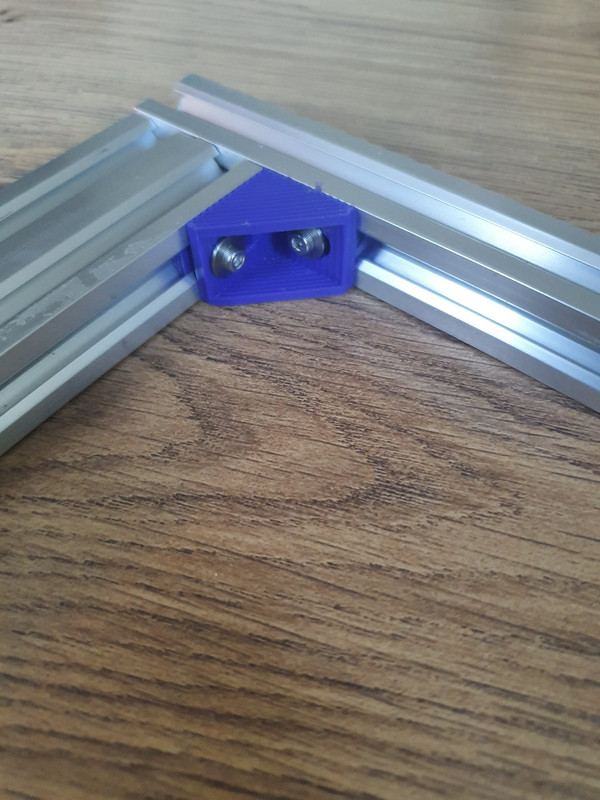
Right some updates as I have been printing some parts and starting to put this thing together. Also some new parts have arrived notable enough to post about so I shall share a little update with a few pics, firstly the build, i've been printing parts then tuning the printer as I go so some of these parts are looking a little jaggy, here are some shots of how i'm constructing this thing, once im finished ill do a full list of parts plus the firmware etc in here if anybody ever wants to build it:


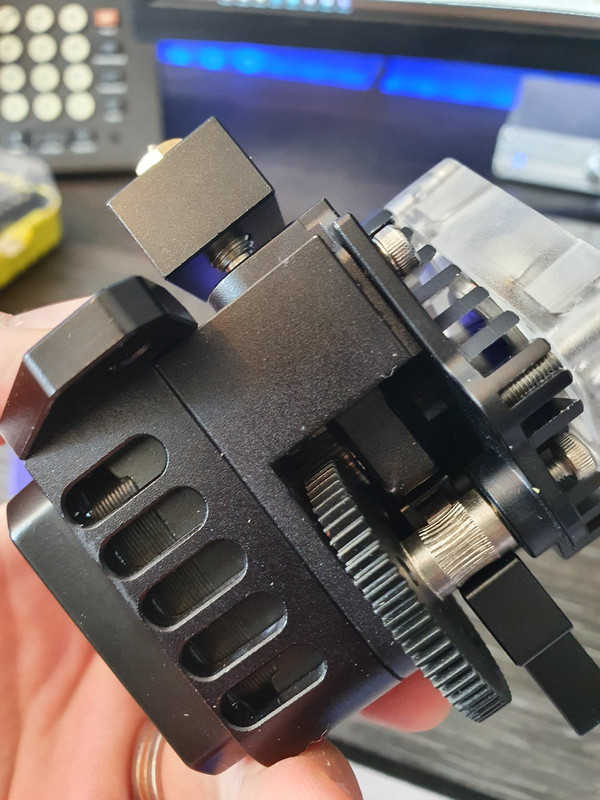
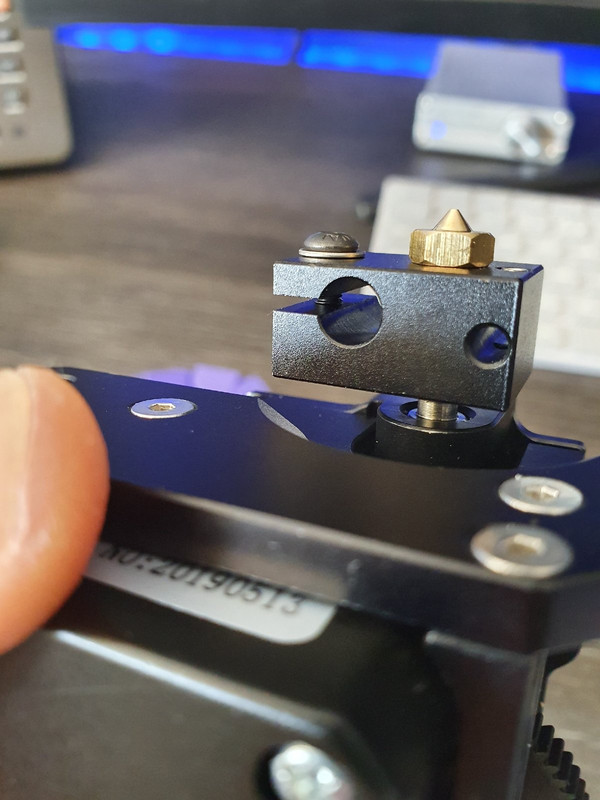
The extruder I am going to use, at first I wasn't sure because its a clone of the Titan Aero but now I am just going to roll with it and for what it cost ill suck it up and buy direct from E3D next time, anyway it is a geared direct drive extruder with a 1:3 ratio:


Its also super light and has a mini motor (pancake motor i think they call them) that should keep the weight down on the x carriage.

Next up I think I am going to work on the bed as I have a new bed and some other bits that I haven't got pics of yet. Hopefully more updates tomorrow :)
 
Last edited:
Homebrew = learning and much more fun!

Exactly and i'm mixing it up between random parts for random printers, for example my x carriage is pretty much going to be all ender 3 - I have an ender 3 carriage, BL Touch (clone) with ender 3 mount and also you might notice that the titan above has an ender 3 bracket (this was luck more than judgement) so basically everything X is ender. Then I was working on the bed and had already bought a ally plate in Prusa i3 style which looks like a U but then I saw that there is an ender 3 pro upgraded bed kit that looks pretty damn nice, much nicer than the i3 jobbie so I have ordered that in as well.

It will be rocking full touch screen capabilities, auto bed leveling (if I can get it working) plus a load of my own custom stuff I have been working on such as boot graphics etc :) Should be pretty cool! Again will make a full part list, firmware and everything available. Would love if somebody else actually built it!
 
Truly living up to the name "Frankenprinter"

Or the Vince i1 ;)

There has to be a better name in this somewhere! I am sure that once it is built it might reveal itself. I've lived my life with the name Vince and I wouldn't wish it on the little printer. Most of the time the name is fine but there are times where it feels almost impossible. Take for example ordering a Chinese, should be easy right? Wrong. It's fine until you get to the name, at my local Chinese it went on for so long trying to tell them each time I rang that now they think my name is Ian, I am not even joking, one day after many many times telling them my name at the end of the order the guy on the phone asked my name, I said Vince, he said back to me Ian and I just said "why not yea that will do". Anyway that seems to have stuck so now my name is Ian.

Same thing happens with Indian call centres for some reason the name doesn't seem to be one that translates well.
 
I feel your pain. I'm Ross but I've put up with Russ and Roz many times before. Ruth was a stretch though. Still, could be worse. Old work colleague is Glyn and he's had Glen, Lyn, Gwyn, Gwen, Len and...Clint :confused:

Never could work out why my missus Kelly is "Miss T" at the doctor though...

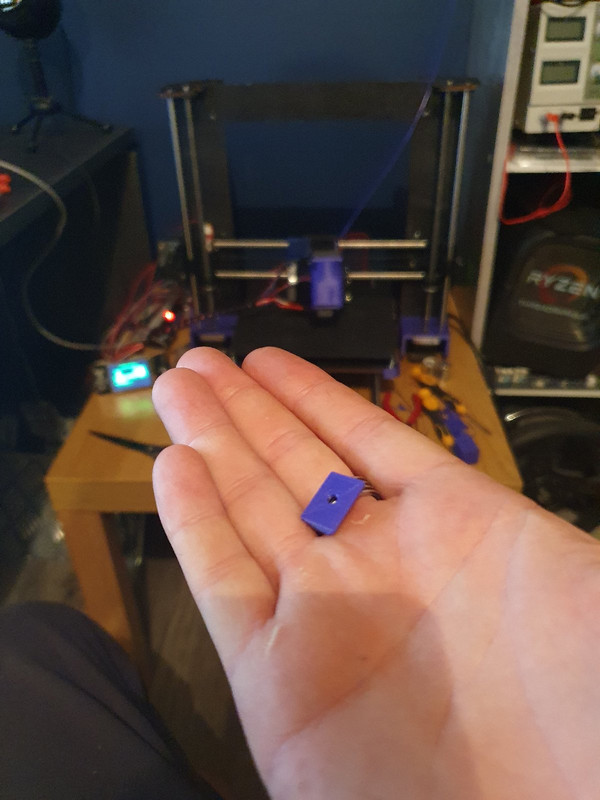
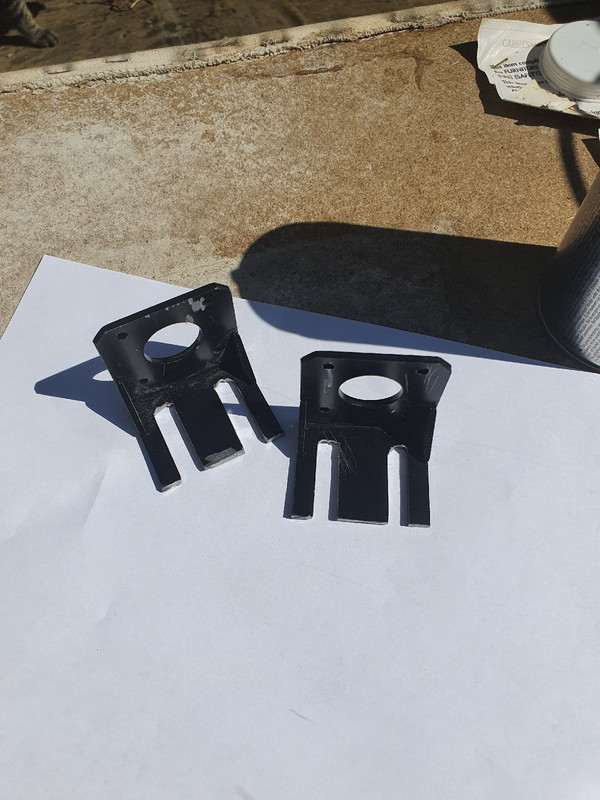
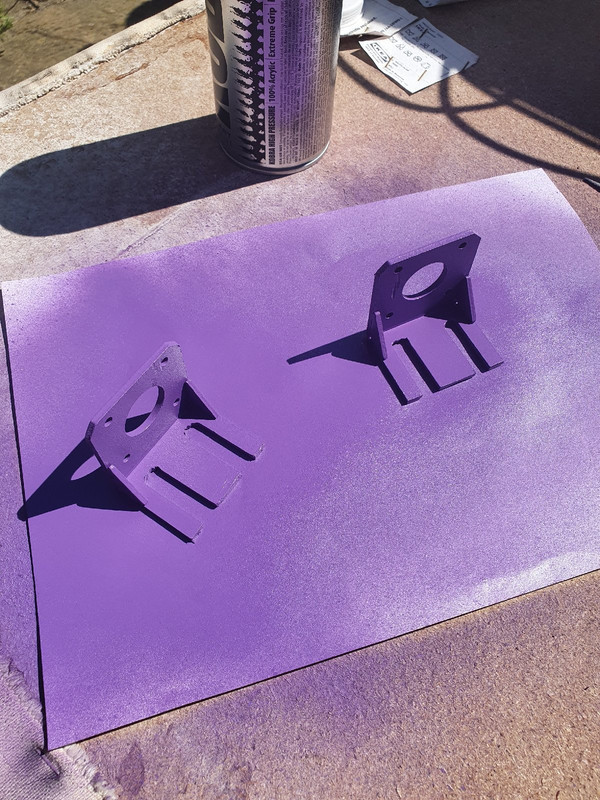
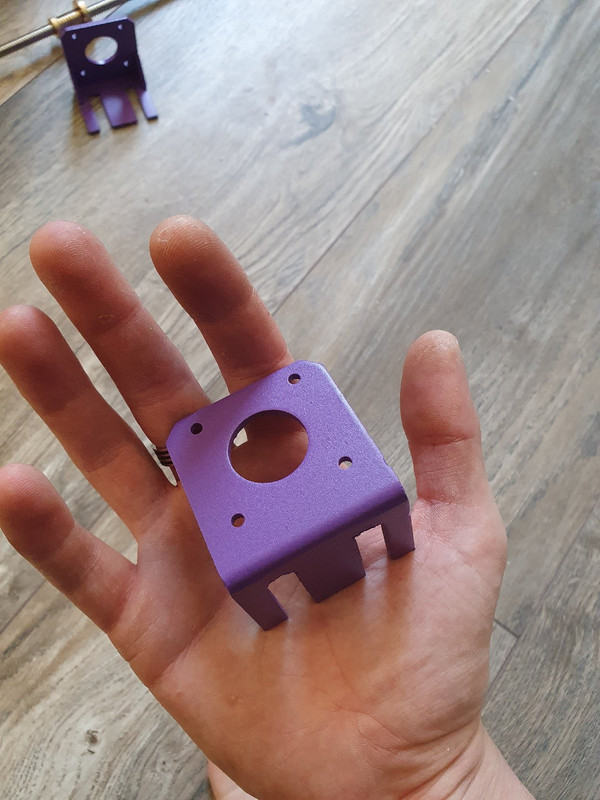
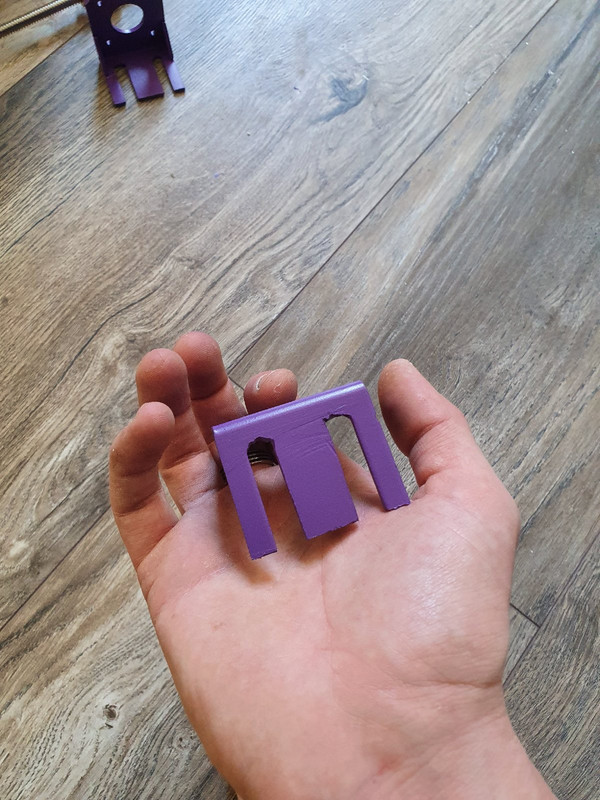
Brilliant so it isn't just me. :) I took a half day at work because i've been being hammered and it looked pretty clear this morning, the queue was clear so my one remaining support guy didn't have masses to do. This means I can play! So I started looking at the z motor supports. I'm not happy with how they were in that the mounts didn't quite line up with my build. I was thinking I will design and print some new ones (eventually I will and by the time I put up all the parts there will be some motor mounts in there) but for now I decided to get out the angle grinder and do a quick and dirty fix to my problem.

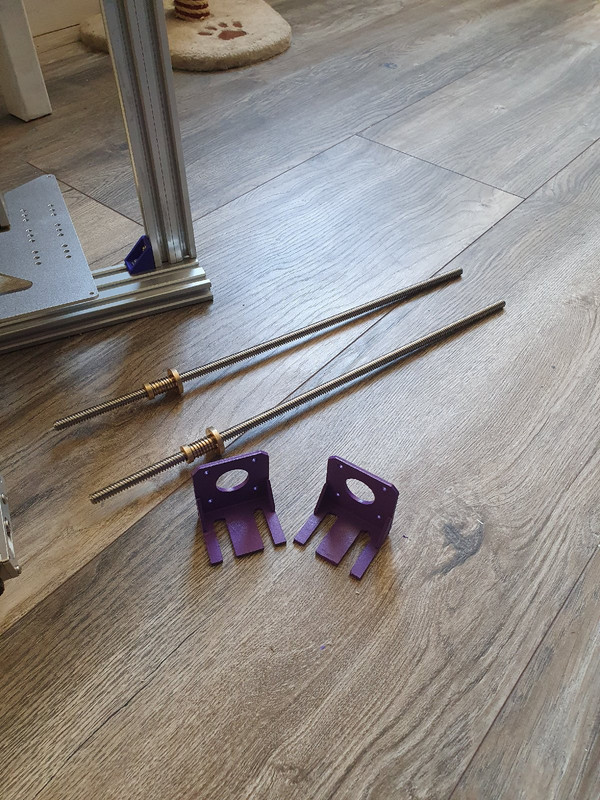
You can see what the mounts used to look like in one of the pictures last night, once id finished with the grinder I needed to give them a quick coat of something to prevent the rust so ive still got some purple paint ;) When it doesn't fit you gotta make it fit right?


Also im starting to mock up the bed, I think a single rail would work quite well and am just working out the best mounting method, I'll probably wait until the other bed gets here as well just to really work out how that might sit and what sort of mounts I need. I noticed the kind of mounts im thinking don't already exist on thingiverse so will probably have to make them all up myself.
As for the rods you will also see that there are some very nice T8 2mm rods complete with antibacklash nuts waiting for the build, I also have some 8mm pitch rods on the way without the antibacklash but to be honest I will need to do a bit more research here to work out what is best. Right now im thinking the ones in the picture just seem right to me.

I am also trying to work out the x axis mounts as I haven't ordered anything for that and am in two minds of how I want it to be. I could go with similar to how the ender is but am not sure I like the mounts and would also need to consider the dual z axis shafts. There is another printer out there that uses 2040 on that axis and its called a Tronx (? I think) anyway that uses something similar and somebody has set up a brace part that might be a good starting point:

https://www.thingiverse.com/thing:2275654

Im thinking design a part that is flat to that and brings that into a more rectangle shape where I can then start adding the things I need onto it, so a motor mount, somewhere I can attach the x rail to, perhaps a place for a guide pully, I dunno, I think I will print that part, see how it works and then start designing my own parts :D With the right design on these it should be able to print on any size bed up to about 350mm squared or if I do dual rail you could go anything upto about 500mm x 350mm. The bed I have with the glass, 150w gel pad etc is 220mm squared so that's what I will dial it in for at first but now ive measured it up against a bed I kinda feel it should have got a bigger build surface.
 
Last edited:
Back
Top Bottom