Project Whurple - White/Purple Watercooled Build - Changes to 3d printer build!!

And for those of you following that thought "jesus I didn't sign up to some random 3d print thread", I present to you:
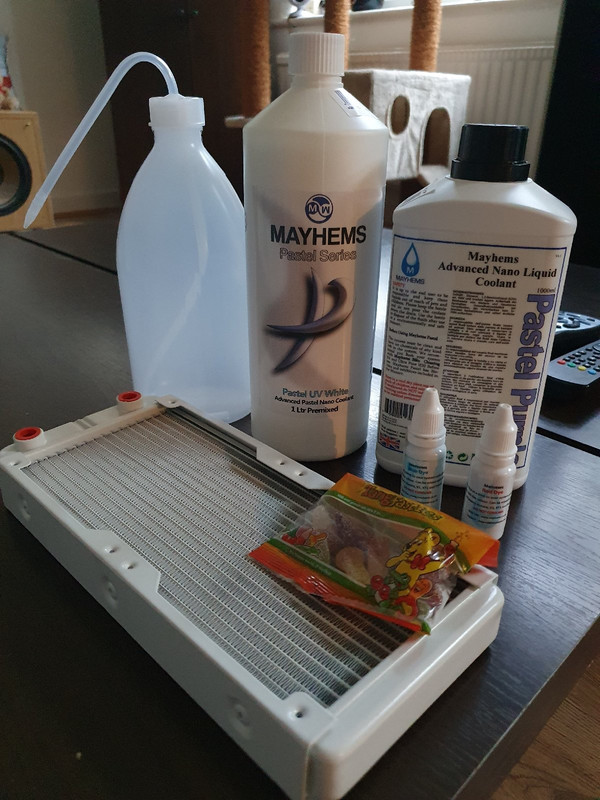


More Toys! We aim to cater for everybody so we will continue with the build!

Waiting bendy thing now!

Not the best finish on the rad tbh compared to the stuff ive been spraying it's a really dull finish, perhaps more of an off white. Will do the job just fine though and means I don't need to spray. Ill sell the Bykski rad for a fiver to somebody on the members market or something.
 
Last edited:
Lick them? urgh no you gotto suck them kinds of sweets lol.

I'm sorry that we have to disagree on such matters. Everybody knows that once you pop a Haribo in for this sucking you speak of that it is game over. The lick on the other hand, haribo never fully enters the mouth and as a result no swallowing takes place. Simple anatomical logistics really. :D
 
Just put actual little fish in there

For fear of some sort of animal cruelty fine I better refrain :)

Aww I thought they would add to the fizz of the cooling fluid.

Please see below for full scientific testing of your theory.

Vince is the man to try it. Doubt it will cause a fizz though! lol

There should be something that causes a pop inside the tanks like the old sweet popping candy! Ha Ha!

You will see my friend! Some testing has been done. The results of which were largely as expected.

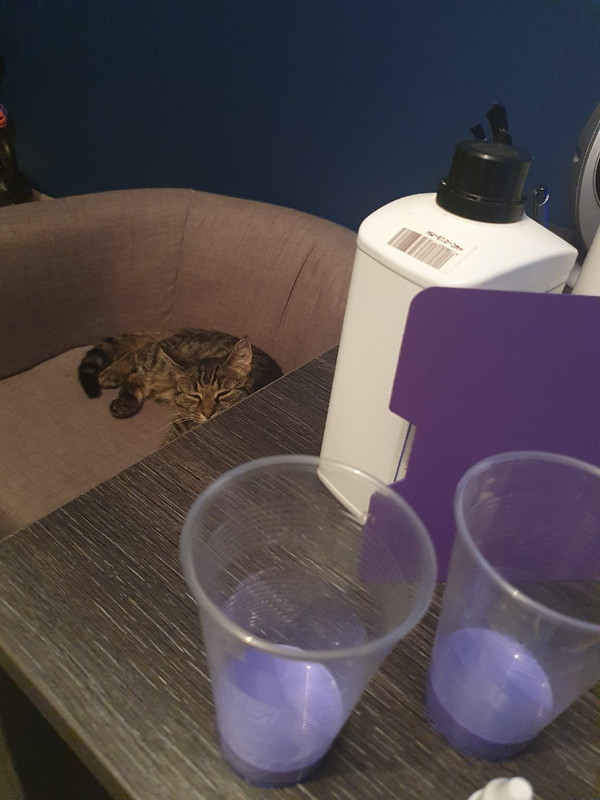
While you lot were up in here messing about I was getting on with some proper scientific testing! Below I present to you my findings. The first image is simply the Mr Ghandi guest feature. That chair has been properly claimed while I am in that room now. Otherwise if im in here its on my lap.


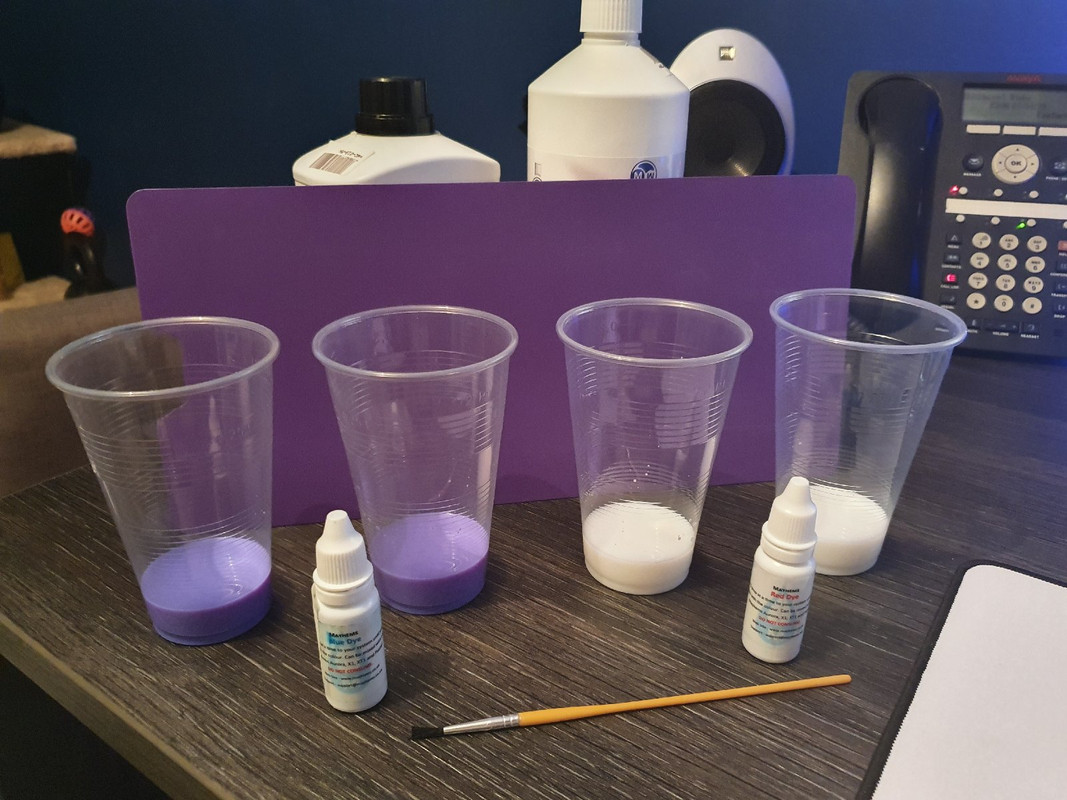
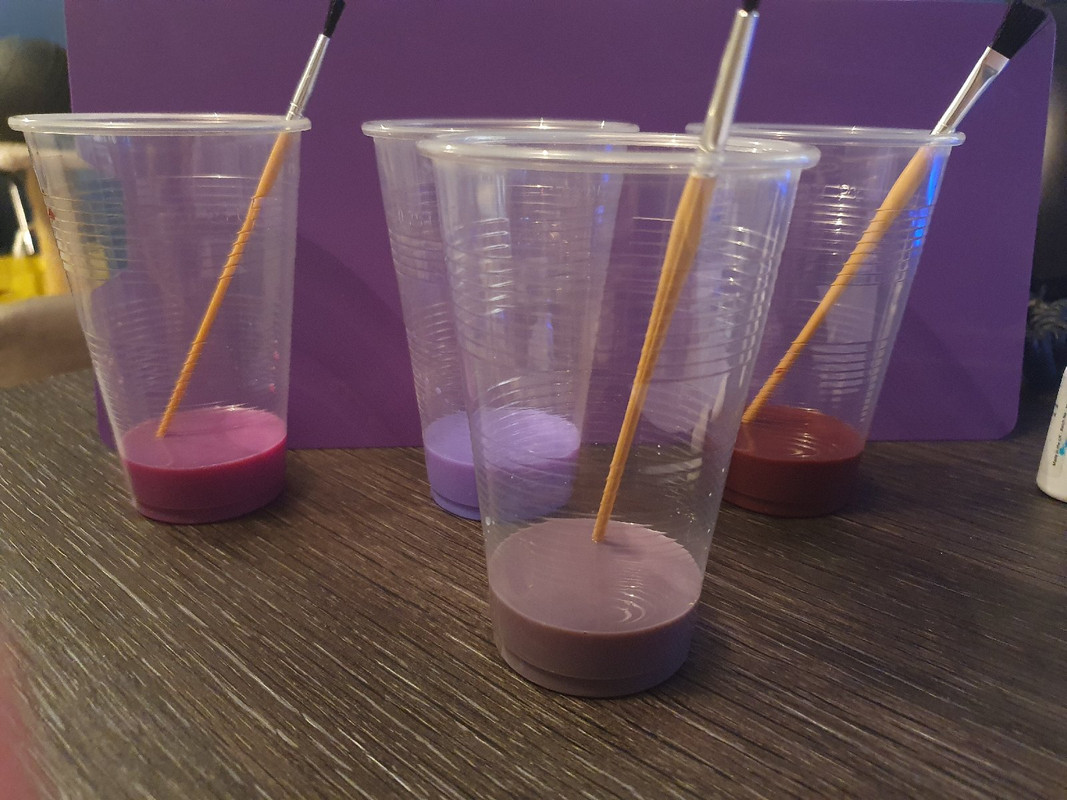
As you can see proper setup going:


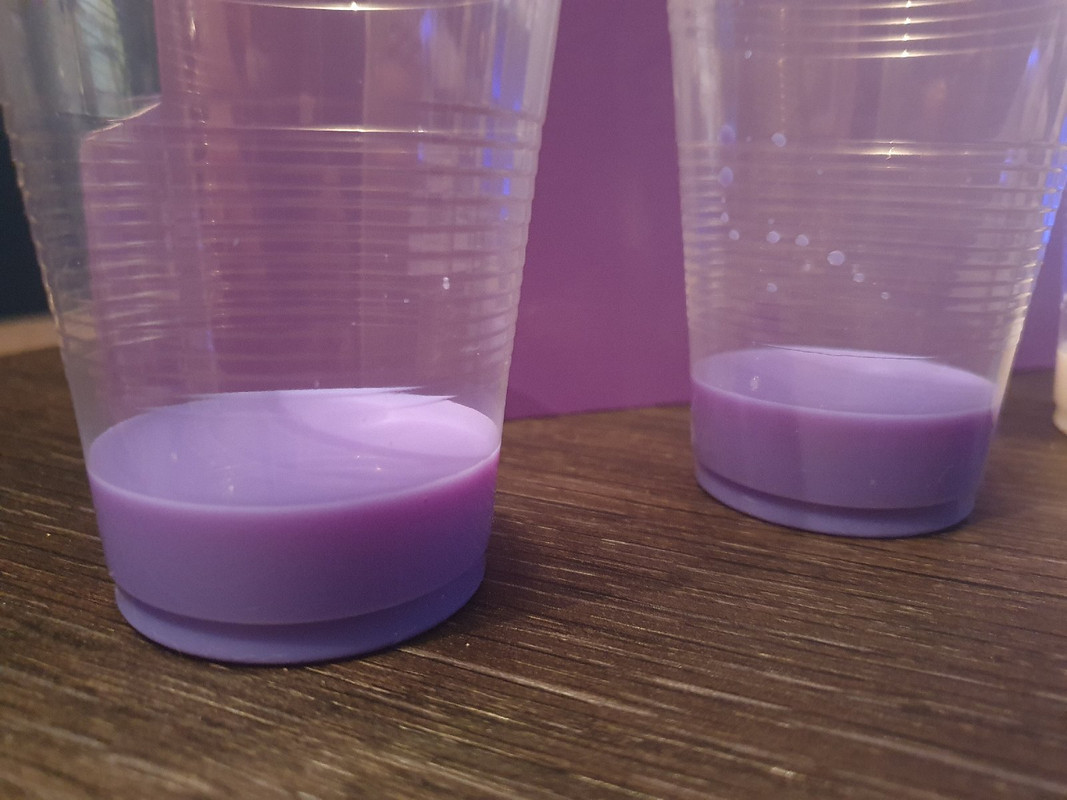
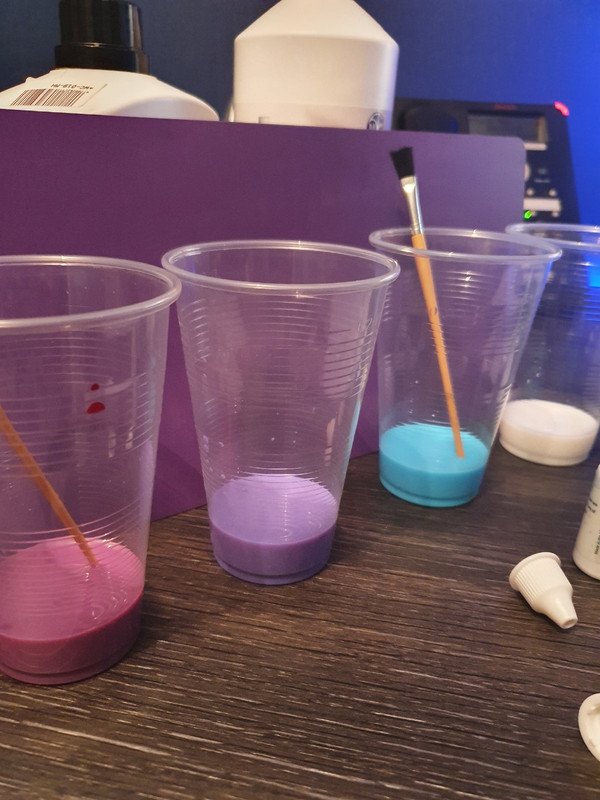
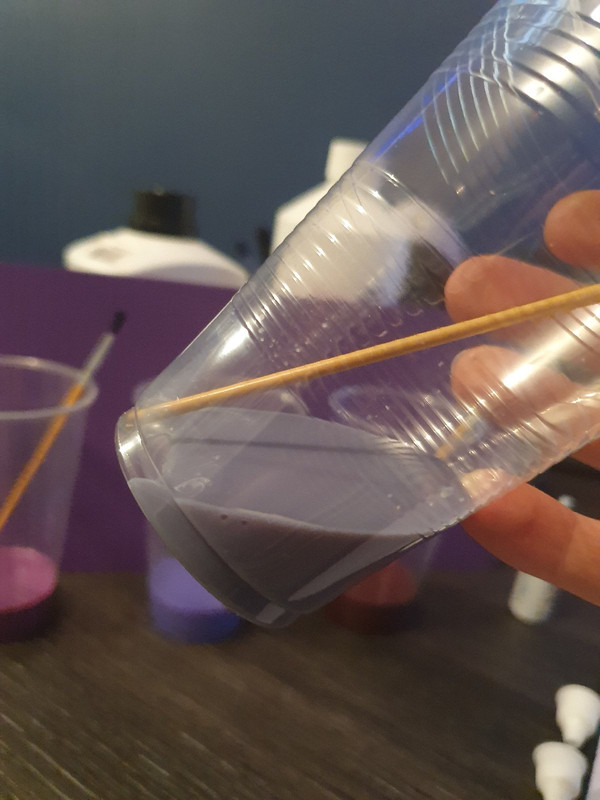
Then below I do a load of mixing things with largely poor results:


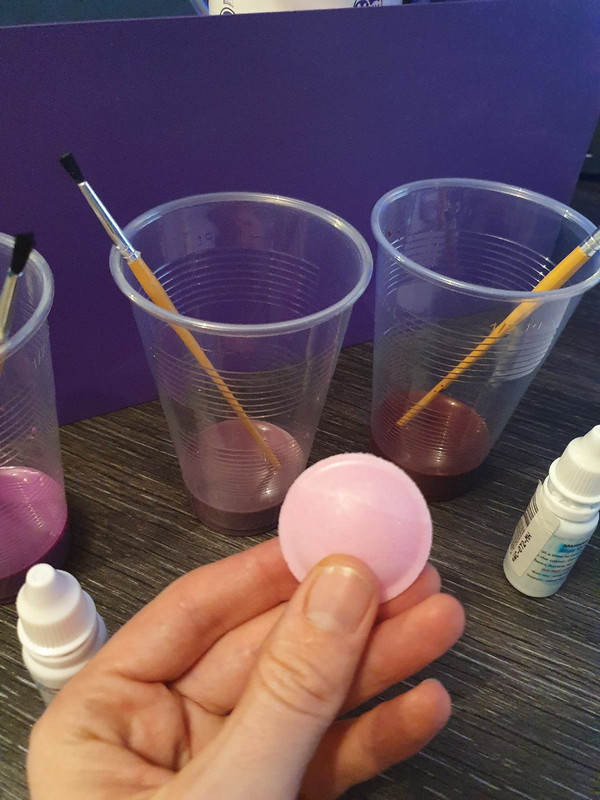
Now the real testing starts, and yes I know its not a haribo and that's because we ate them.


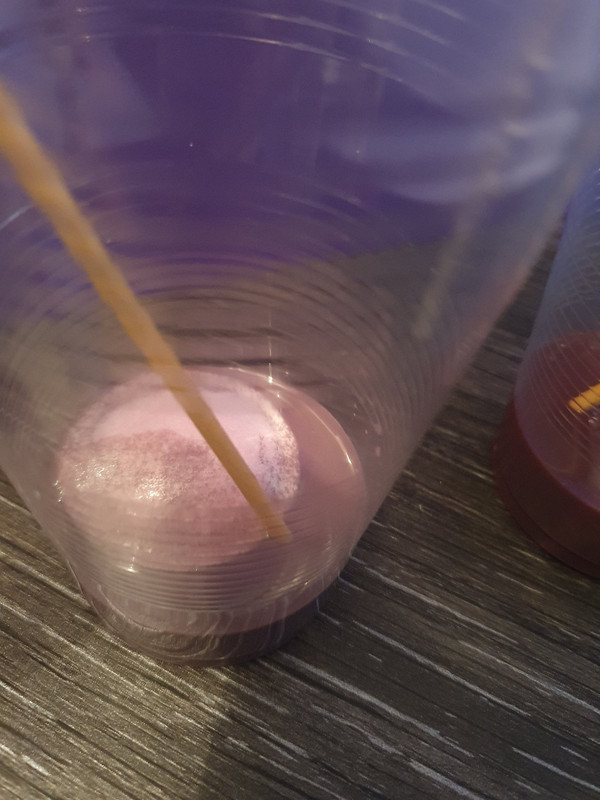
What did we get? Thermonuclear reaction of utter devastation? Nope. Just an inedible sweet, and I quite like them space ship ones as well :(


In conclusion the best way to get a better purple is to start off with purple and add about 3 drops of the red for about yay much liquid, starting off with white although entertaining will simply give you some grey or nasty brown if you mix in the red and the blue. The blue on its own however is pretty cool. I will be using the purple and adding a small amount of red which will get me close to the purple I want but will still mean, many, many shades of purple.

As for what we all really want to know horibo (or any other confectionery) in your coolant probably wont look cool and may reduce cooling effect. It also doesn't make any sort of cool reaction.
 
Last edited:
oh @Vince @Vince @Vince.... did you not do predictions at school for science? I could have predicted and even give you a conclusion before you started that experiment lol

Then answer me this sir, how does one mix the perfect purple?

Booo, they are barely more than just plants with eyes

Loving the Johnny ball experiments though

Plants with eyes? whats plants with eyes? man can I have some of whatever you having. Make it a double!
 
Well it's not looking good on the bendy tube thing. Tracking hasn't updated in over a week so we might not get to see it finished this weekend :( - Sad times.

For the LOL's I am going to fill a tube with sealant... Should be interesting!
 
Last edited:
Well given that I have got the bendy thing and once again have ordered the wrong size I thought I may as well post a pic of what I have been doing instead:


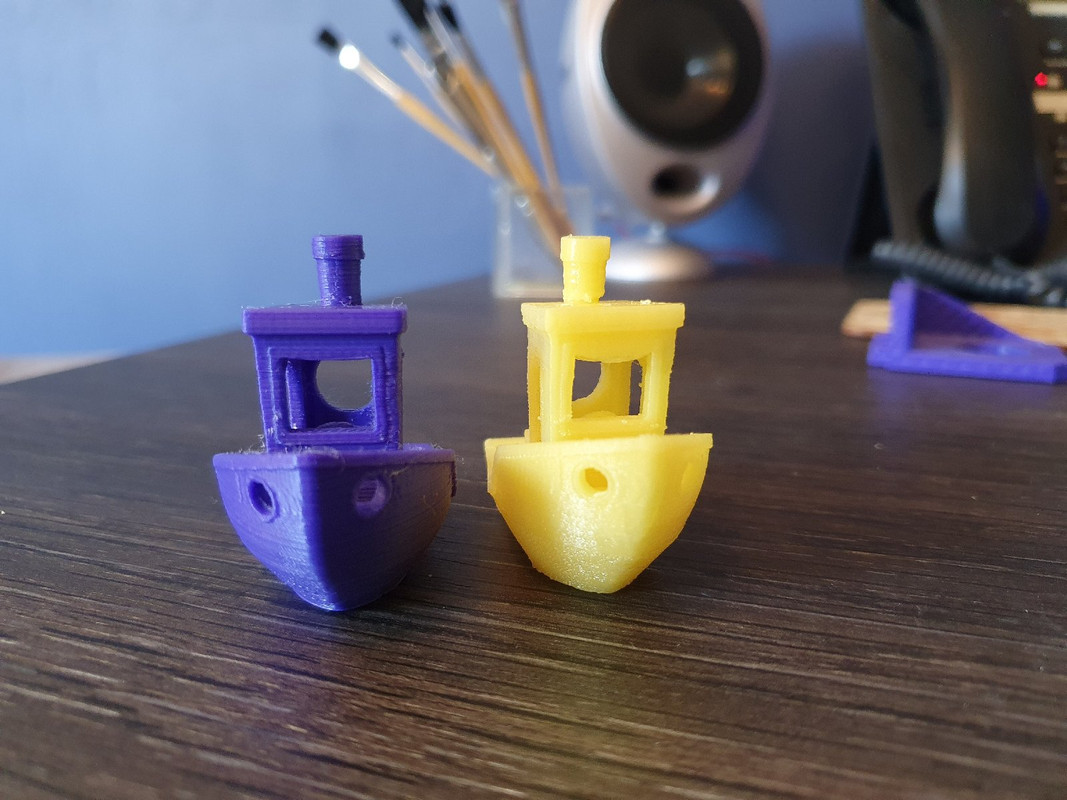
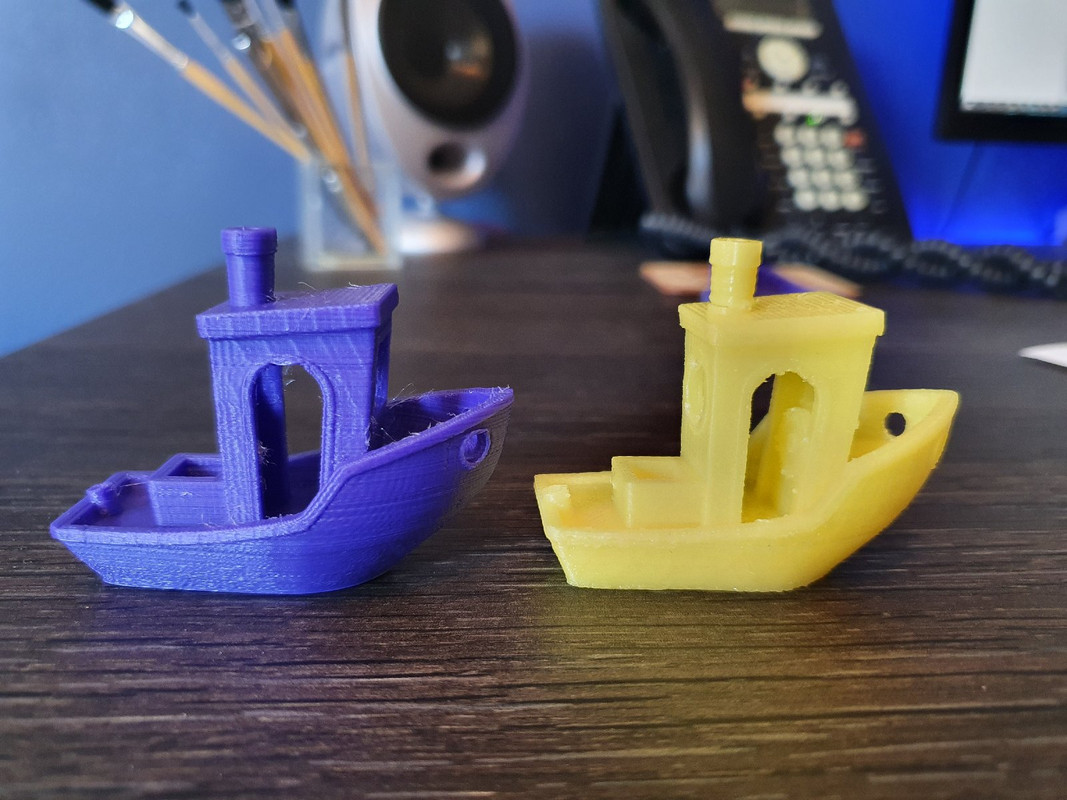
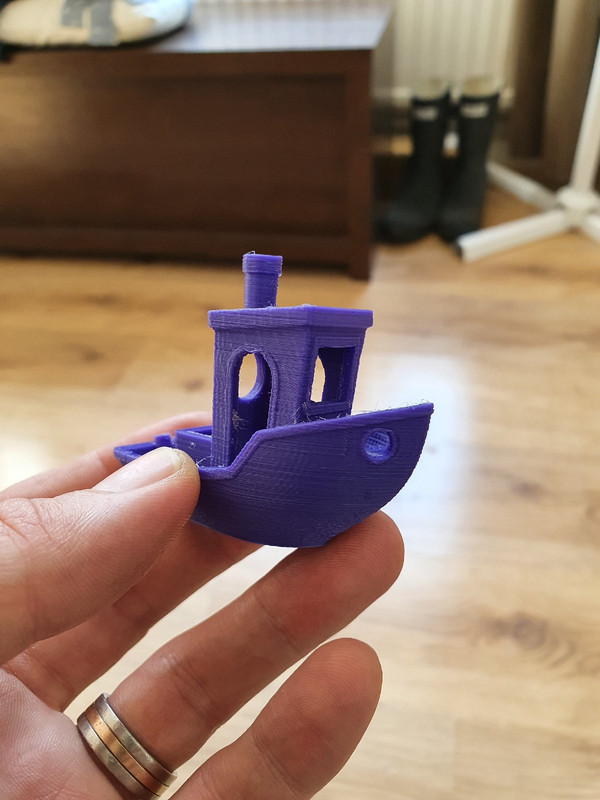
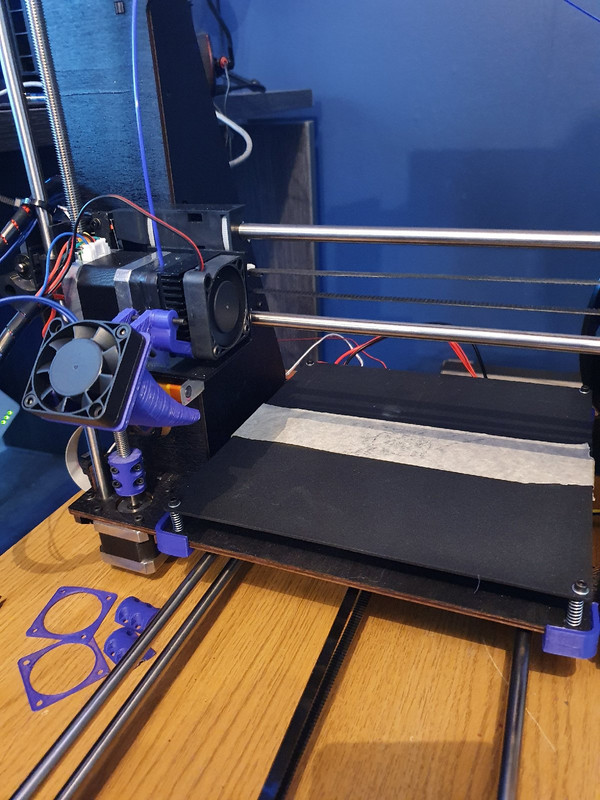
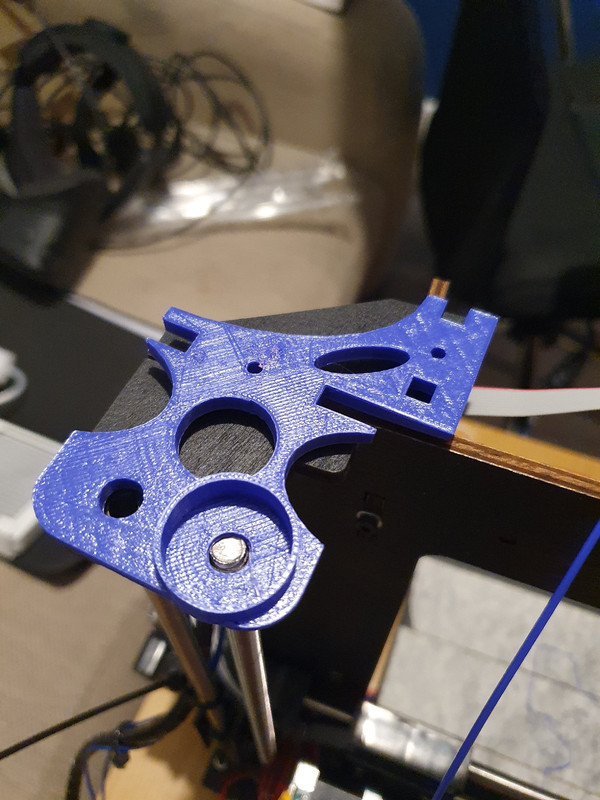
Printed a load of printer upgrades and installed them all. Printed a new benchy :)

It's getting better all the time! :D
 
Honestly I'm more interested in following the 3D printer saga now! Looking good, second boaty is looking sharp!

Honestly its the most fun ive had in a long time for £75! Endless amounts of upgrades and stuff to make and print! Last night I left it printing these upgraded Z axis mounts which I am going to pop a couple of bearings into to improve that Z axis. I think next I will design my own brace for the central section of the machine which will let me remove the last clamp:


Well after buying the wrong thing no less than 3 times the 11mm inner diameter bendy thing is here. Updates to come over the next day or two :)
 
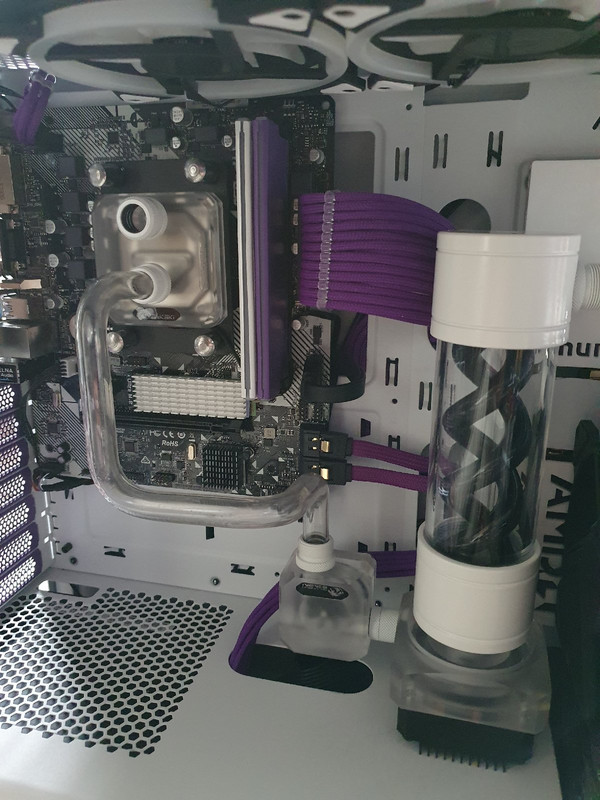
Right First tube is in. I am having to change the design a little bit as I go to accommodate for the fact that I have no idea what I am doing. Also I know the flow meter is upside down but these are the sacrifices you make when you haven't got a clue. Also doing hardline in this case is a nightmare as the tubes are long and there is nowhere to test fit so what I have done is cut up a wire coat hanger and am bending that into the shape I roughly want and then doing the bends. It's not going to be perfect but I should look pretty good once done.


I promise project Whurple will be up and running this weekend!
 
I need to bend a pipe again but ran out so this was acceptable enough for now while I wait for some more tubing:

 
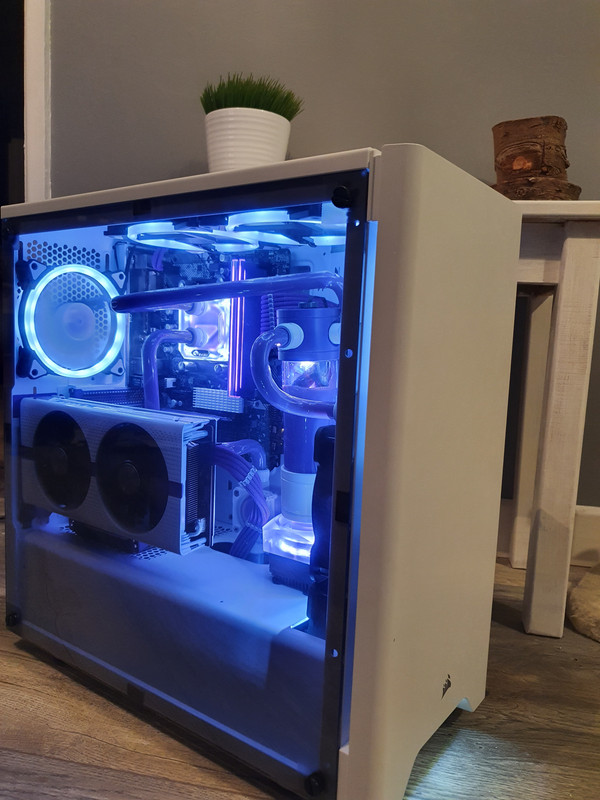
It's not perfect but then it's a £400 build so you take some bits and bobs that don't go right. When I left it tonight this is how it was looking while leak testing.


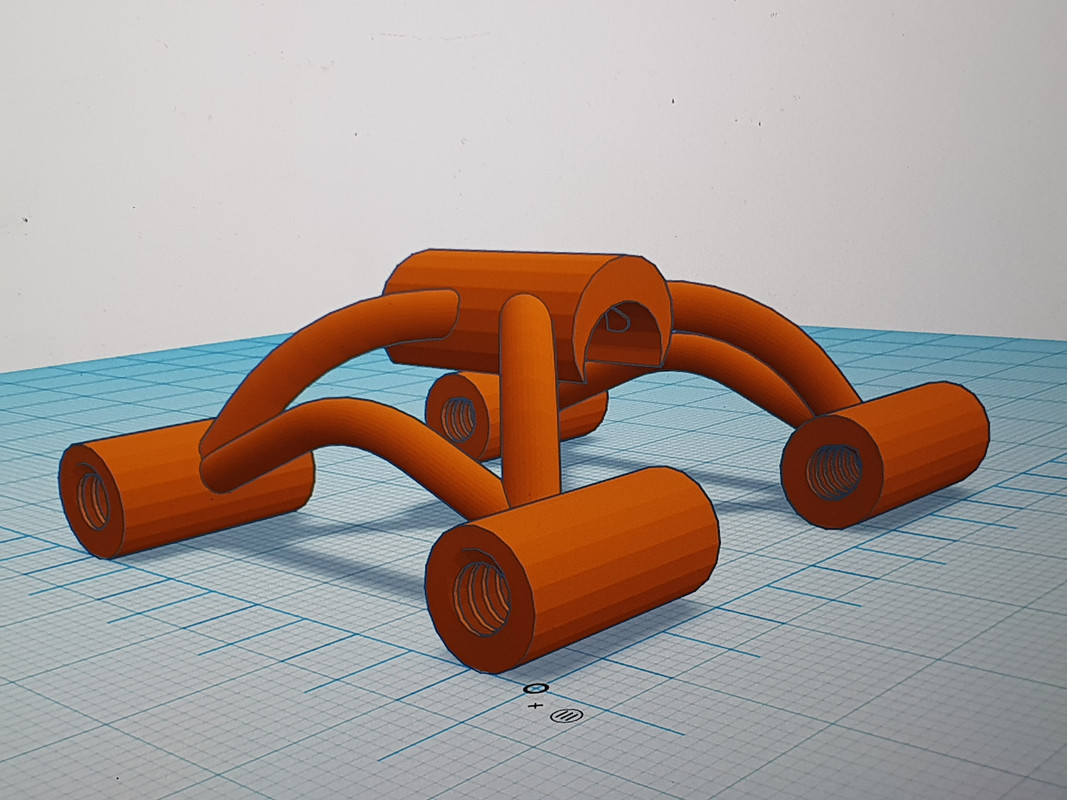
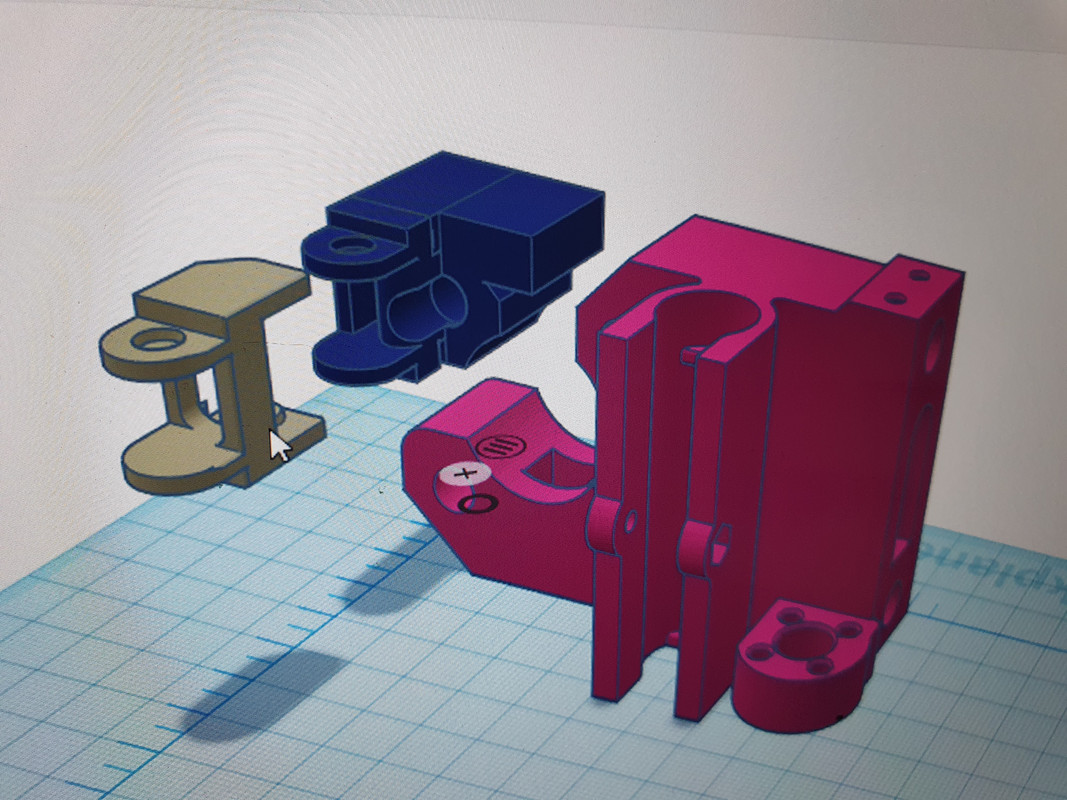
Ive been upgrading the printer as I go and we are now rocking some pretty nice prints even at lower quality settings. I've been experimenting with different mods. Designing my own stuff in cad and generally keeping busy. Some of my desings I need to 3d print:


Some of the stuff I have designed seems to work great, other stuff not so much so we shall see how these ones pan out.

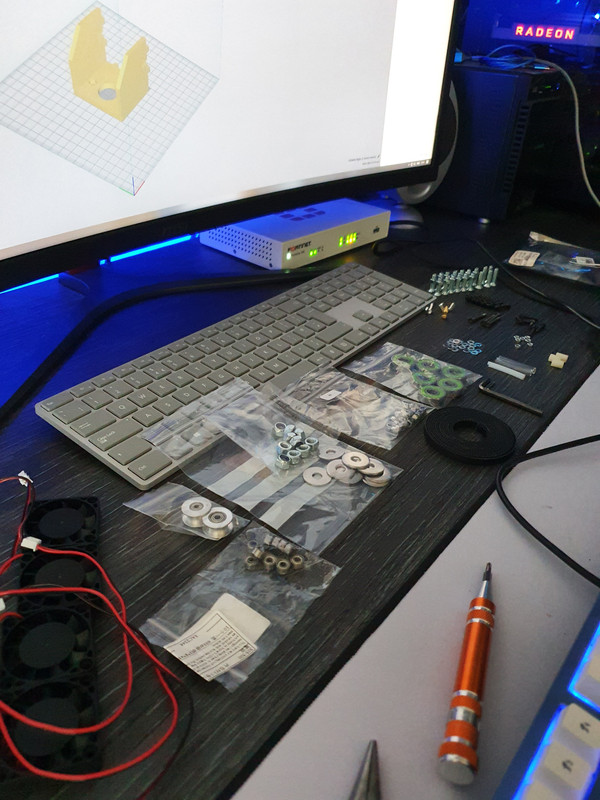
I have some pretty decent plans in mind so have been collecting parts together so that I can redesign the printer for a bigger build area with minimum outlay, we are talking about 20 quid or so and it will get rid of all of the wood parts of the printer. These are the parts I have collected so far and im waiting on many packages. Some of these are for just straight swap out and redesign of existing parts and some are for the bigger plan.


Last edited:
Thanks Vince, you've given me the kick I needed to get my printer back up and running, and get some new prints on the go.

Love the build, turned out great for somebody who doesn't know what he's doing (allegedly). I know you're all plumbed in and running now, but I don't think you need to rebend tubes to get the flow meter oriented correctly. Unless the picture is misleading, those 2 ports are on the same plane, so will still fit: with the label back facing you, rotate the meter 90 degrees anticlockwise, then 180 degrees via the fitting on top.

Now, are you keeping this thread going for the printer odyssey or starting a new log? :p

You definitely need a free-spinning filament guide though, I hate to think how much drag is on the filament as it comes up from the spool, over the top gantry and sharply down into the extruder.

Bloody good question. I have designed an entire 3d printer on bits of paper and in CAD so will be rebuilding the printer in entirely my own design, probably with different Z axis drive but I am throwing around a few different designs right now, about the only parts being used are the motors and some of the extruder even the power supply at 15 amps just will not do so a 40amp one is on the way! I also have about 10 m8 rods, 10 m6 rods both threaded and non threaded and am going to print just about all of the other parts I need. Could be an interesting build log if people are interested or I could just continue in here. Ill do whatever people think. The printer will most likely also end up white and purple and will be connected to Whurple on a more everyday basis rather than being on a little table next to my desk.
 
Back
Top Bottom